


A delicate laser cut cake topper is a beautiful addition to any wedding or party decor, and you won’t believe how easy it is to make with the XTool M1 laser and blade cutting machine!

Custom Laser Cut Cake Topper
Cake toppers are one of our favorite DIY party crafts because they are easy to make and can take a super basic cake to another level. Most of our DIY cake toppers have been for birthday parties, but today we are excited to show you how to make a wedding cake topper!
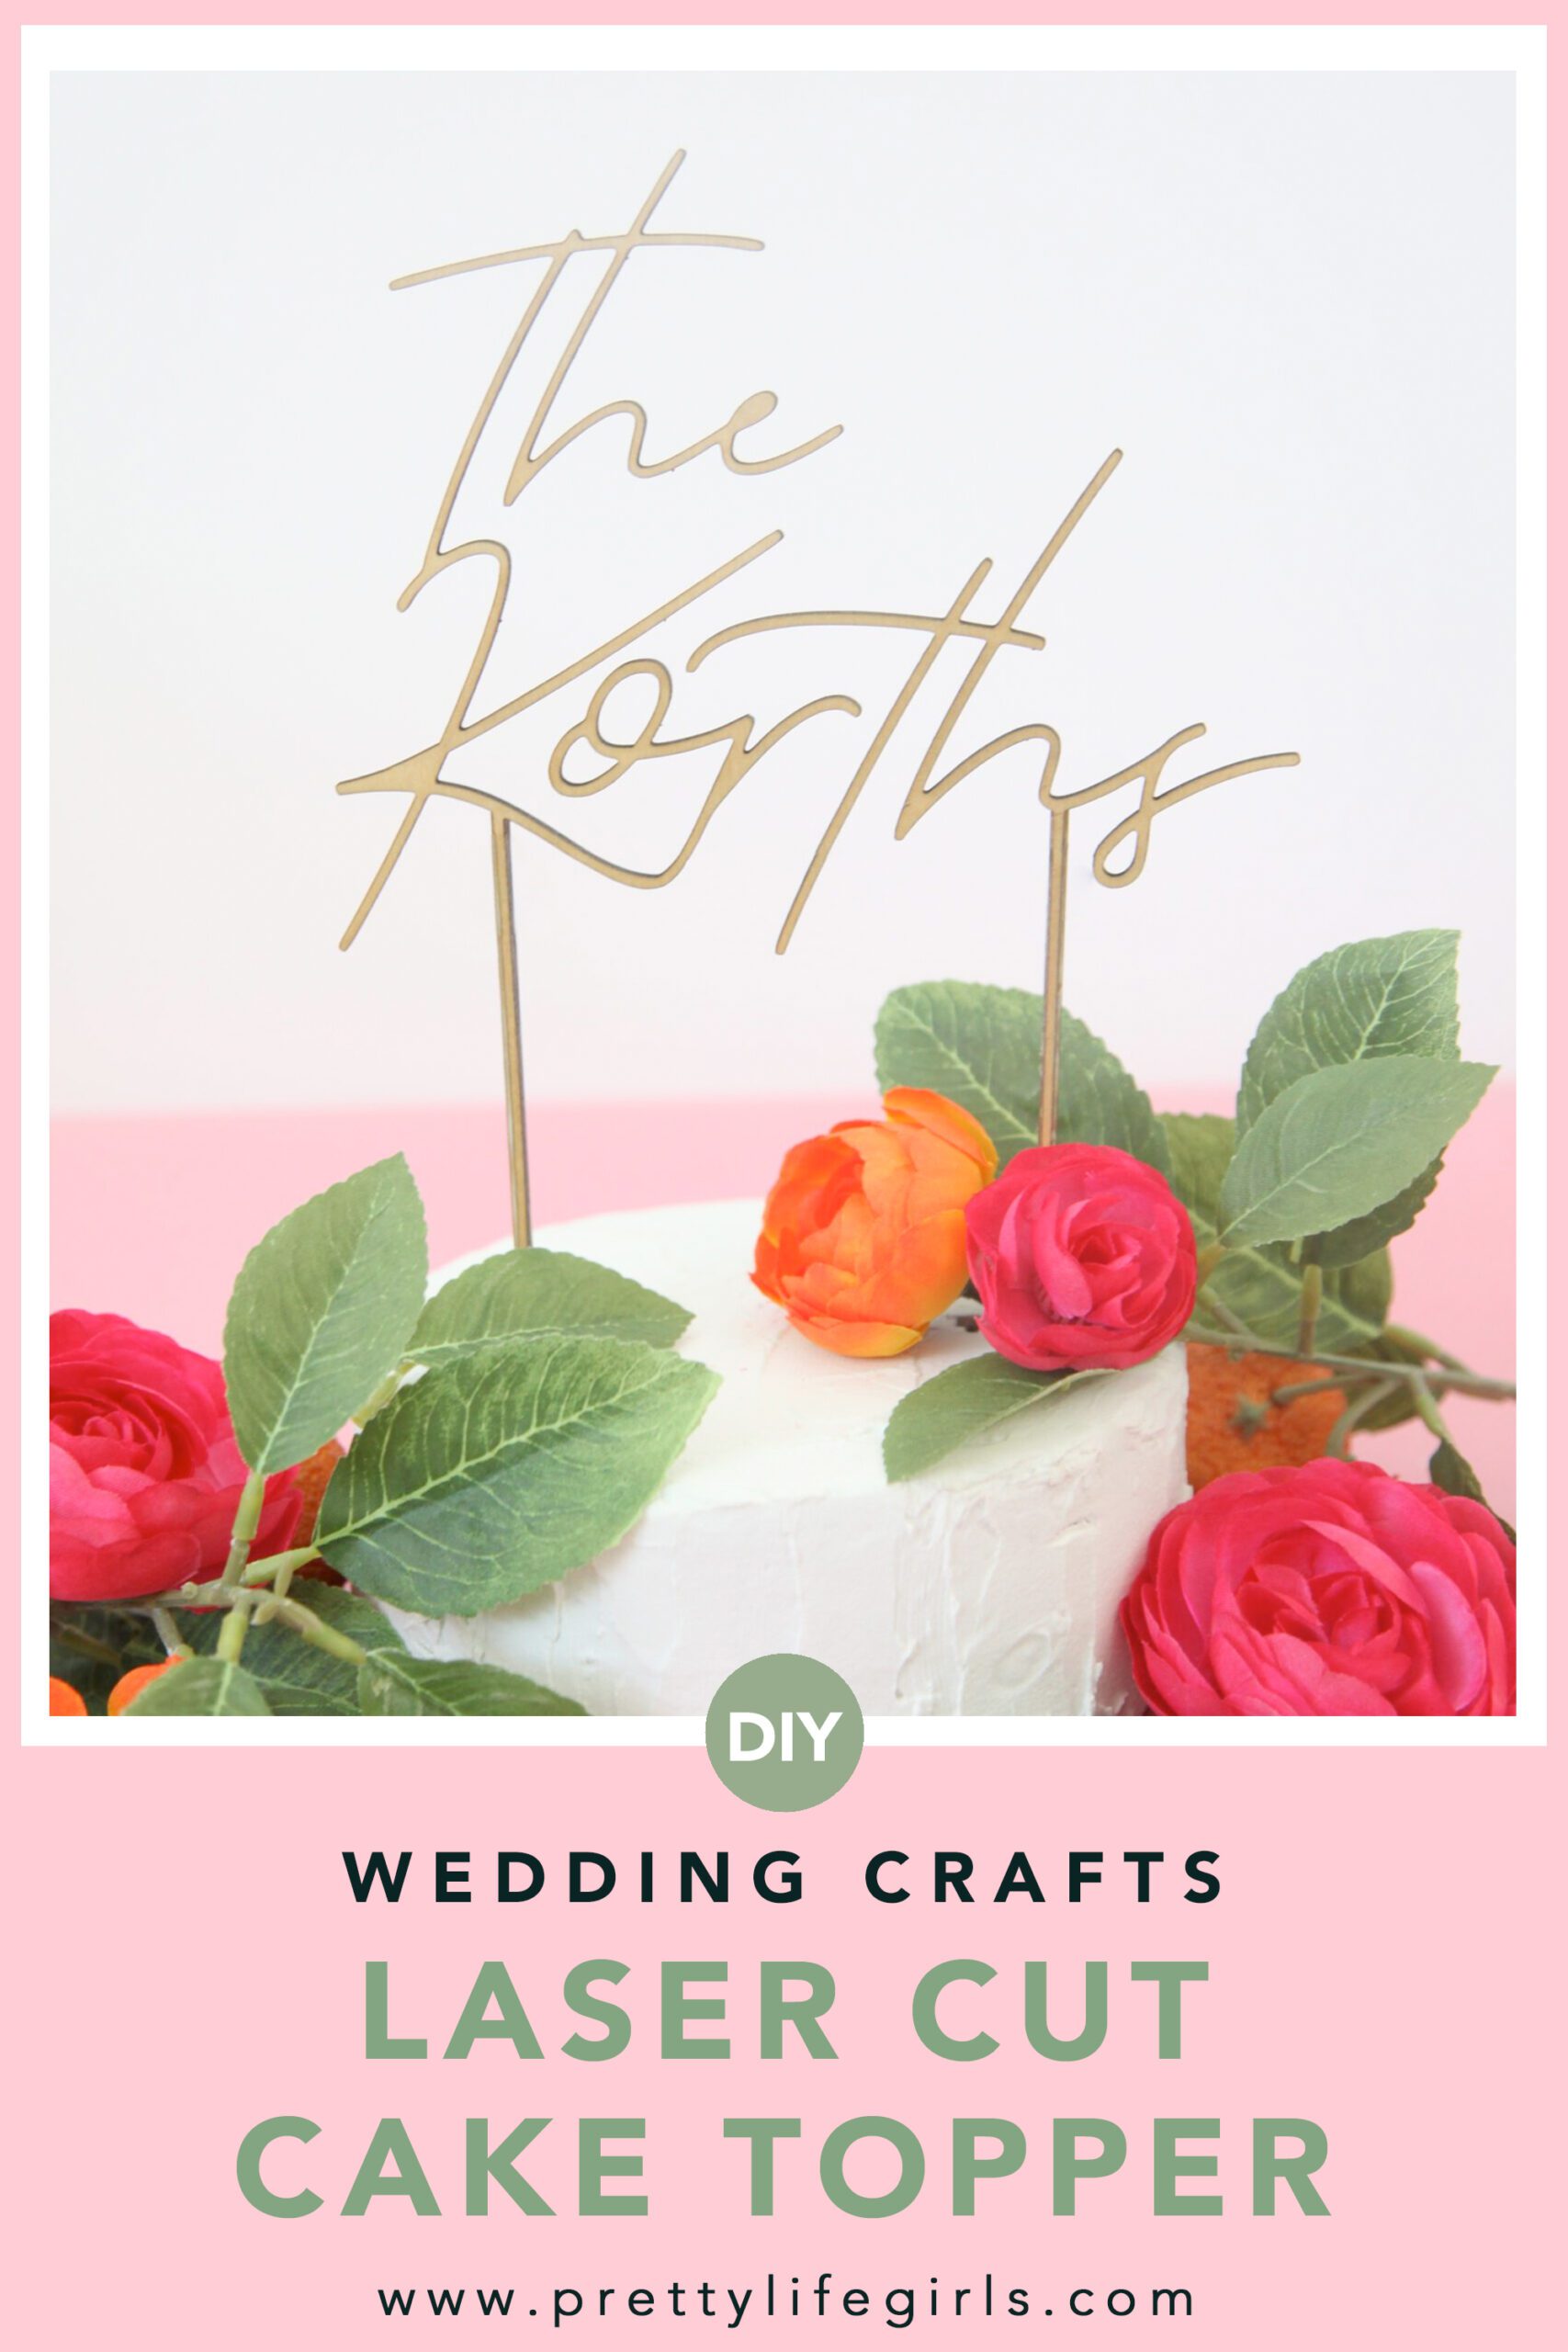
A custom laser cut cake topper with the newlyweds’ last name(s) adds a beautiful, personalized touch for the big day!
What machine cuts cake toppers?
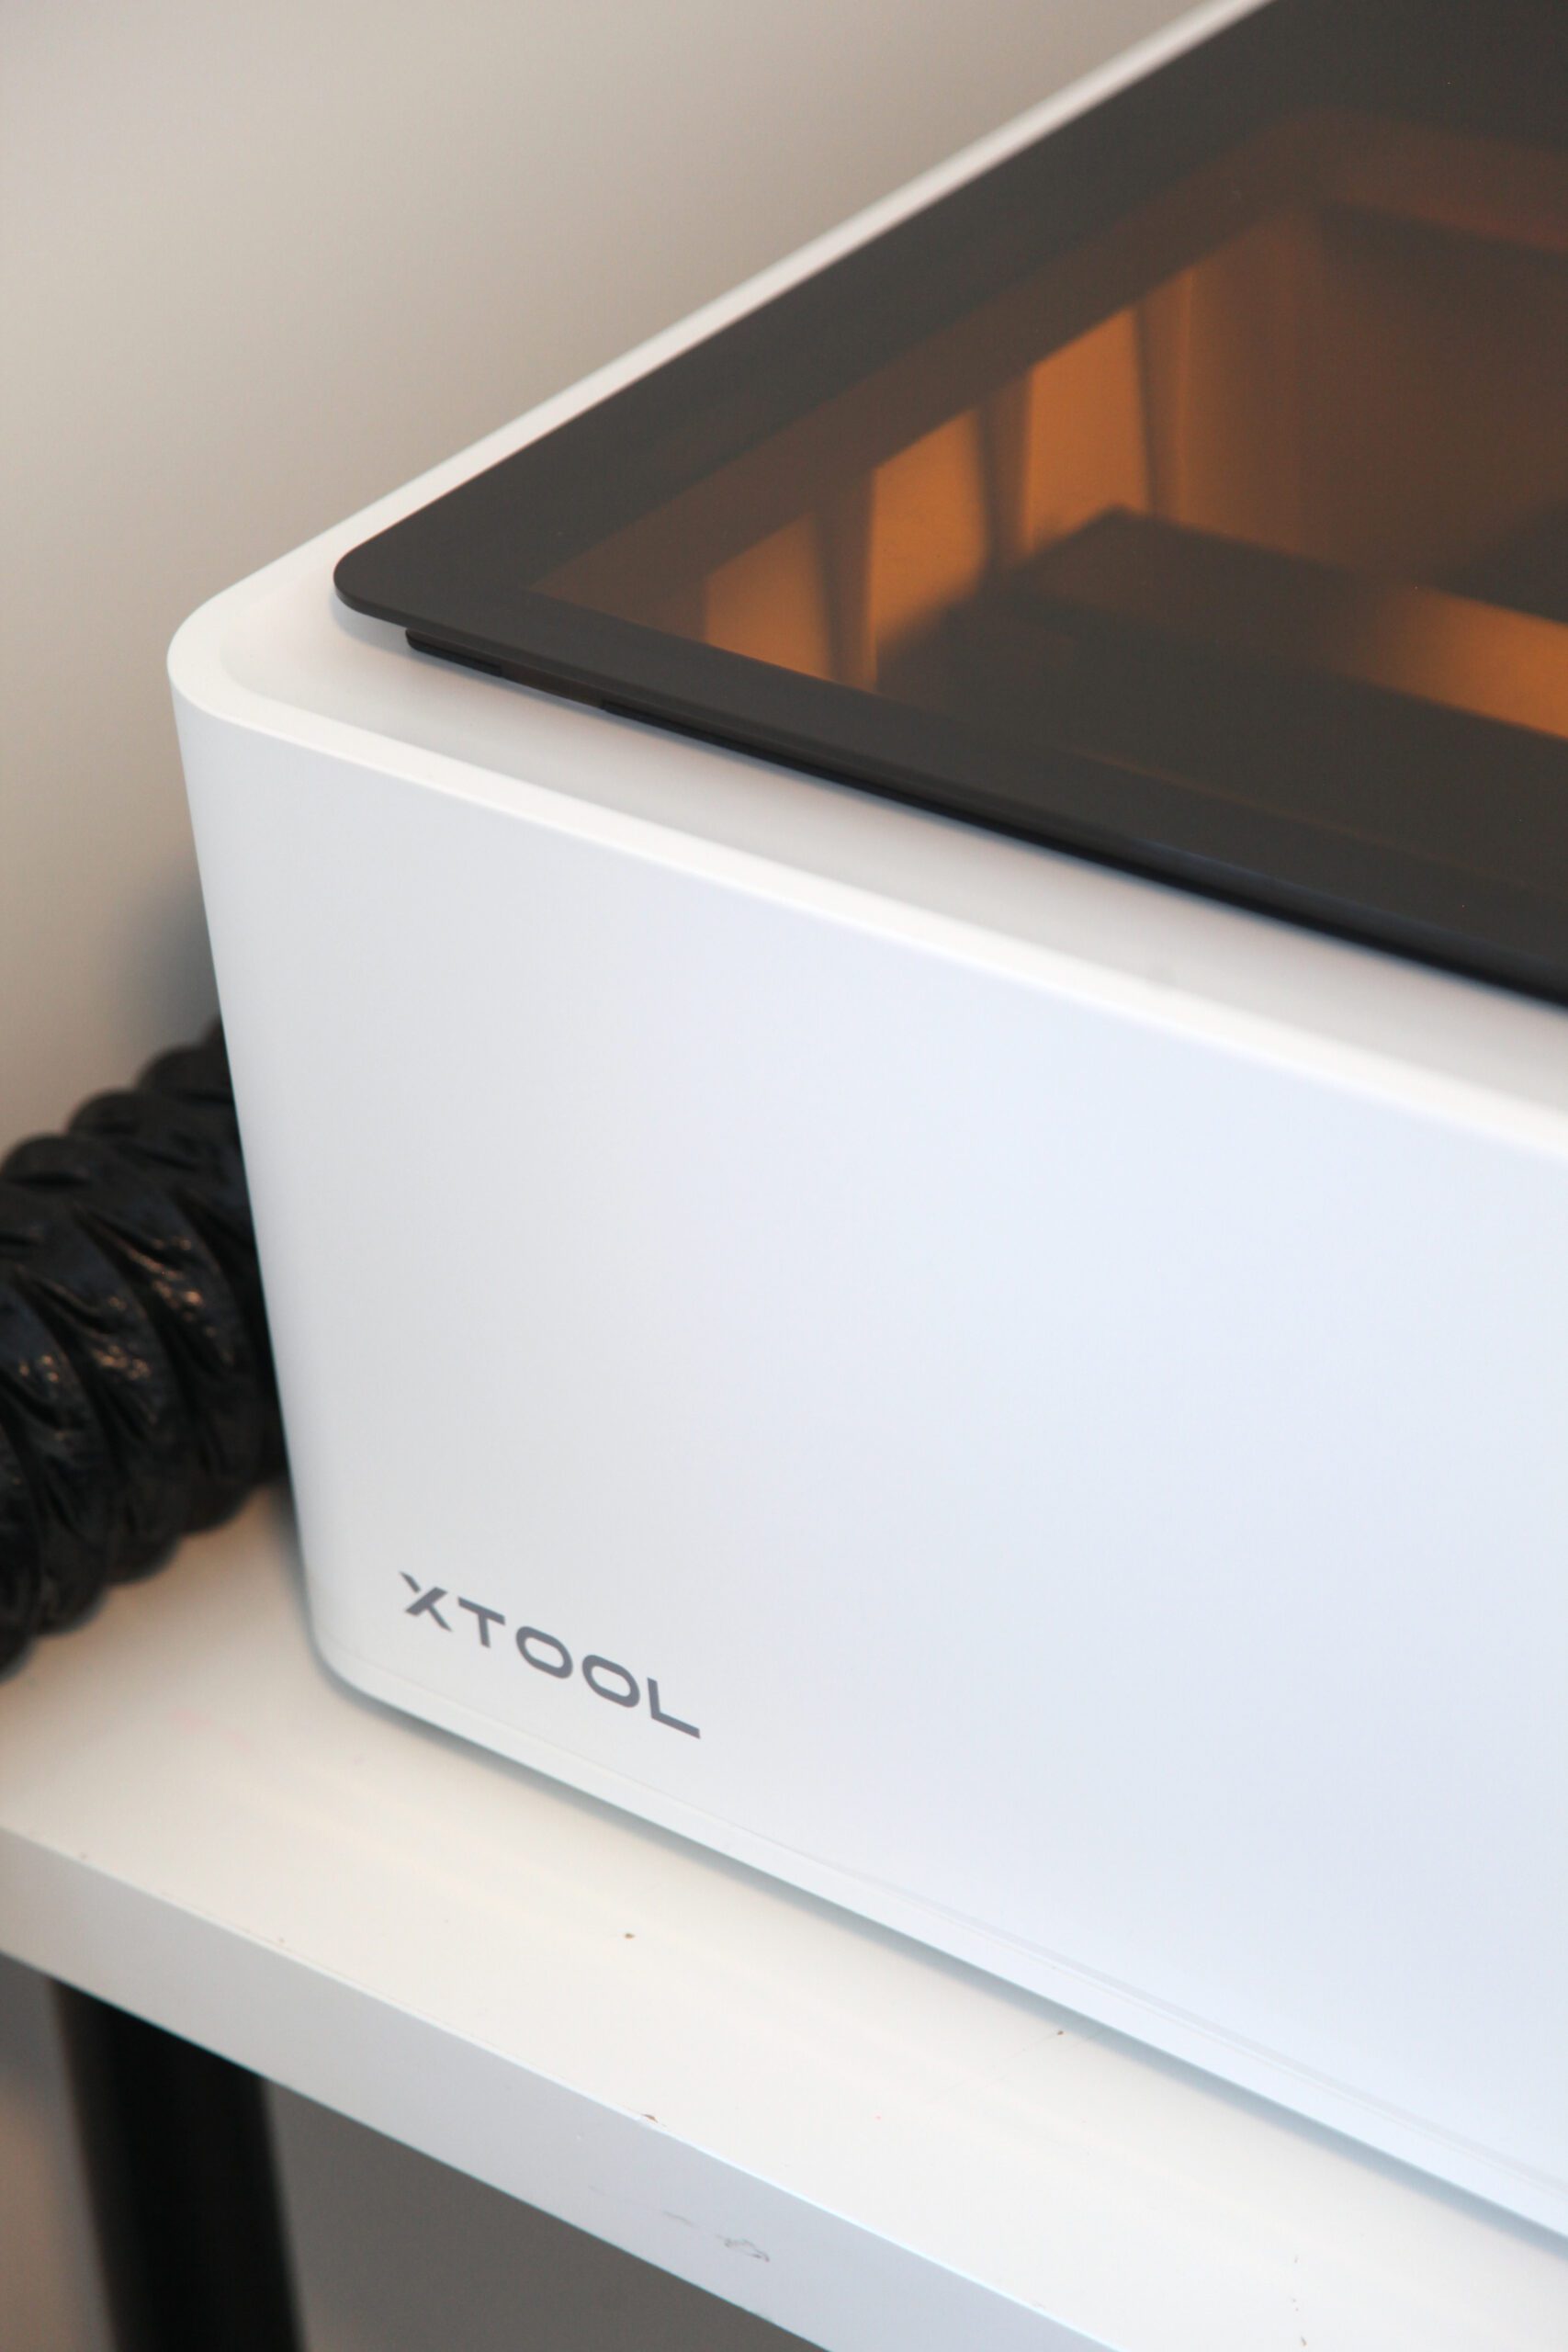
To make this custom wood cake topper, we used the xTool M1 Laser & Blade Cutting Machine. This machine is a great crafting tool for custom and personalized gifts, decor and other crafts.
If you are looking for a laser cutter for personal or business use, the XTool M1 is a more affordable option than others on the market.
The machine and design software are easy to use, and have all the needed features to make your own designs or import existing designs.
What materials can be laser cut?
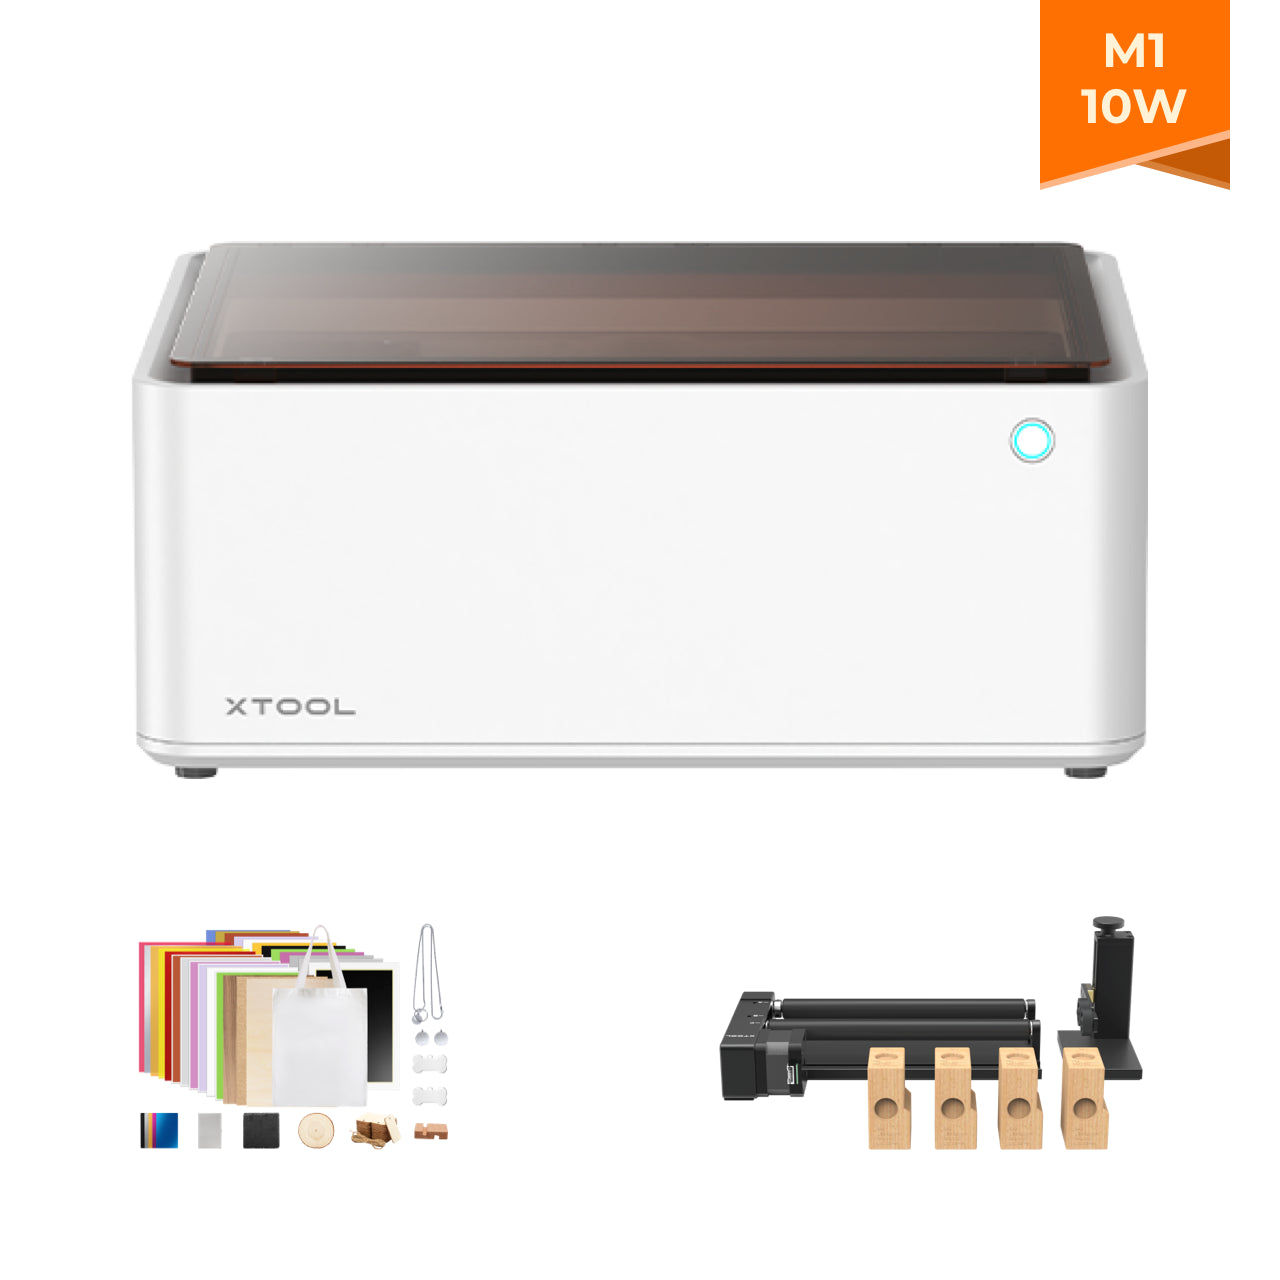
The XTool M1 is a hybrid laser and blade cutting machine, which means that you can cut a wide variety of materials.
The blade can cut common materials used with a craft cutter, like vinyl and paper. The laser is more powerful and is able to cut plywood and acrylic and engrave wood, acrylic, metal, rubber and even stone!
For this project, we used the laser to cut plywood, but acrylic cake toppers are also beautiful!
Supplies needed to make a Laser Cut Cake Topper
xTool M1 Laser & Blade Cutting Machine
3mm plywood
How to make a Laser Cut Cake Topper
Step 1: Design the cake topper
For this project, I created my design in Photoshop and saved as a .PNG file. The XTool Creative Space software has quite a few design capabilities, but since I wanted more control, I stuck with what I knew.
Step 2: Open the design
Once you’ve created your design, import the file into XTool Creative Space. With the design selected, click the Outline button and adjust the offset to your preferences. You can then delete the image file and just work with the outlined design.
Tip: The thicker you can make the design, while still having it be readable, the more sturdy your topper will be.
Step 2: Prep your materials
To prevent smoke residue on your material, mask the top with a layer of masking or painters tape. This step is optional and not necessary if you plan to paint your project after cutting. You can also remove residue after cutting by sanding or wiping the material with vinegar.
Step 3: Load the machine
Connect the machine to your computer and turn it on.
Place two or more of the triangular prisms in the bed of the machine to keep your material raised from the bottom. Place your material on the prisms. Close the lid of the machine.
Step 4: Align the design
In Creative Space, an image will appear of the material inside the machine. Align and resize the design on the material.
Step 5: Cut the material
Select your material in the software and check the settings. Adjust the settings if necessary. Be sure that you have the Cut tab selected (the design outline should be purple for cutting).
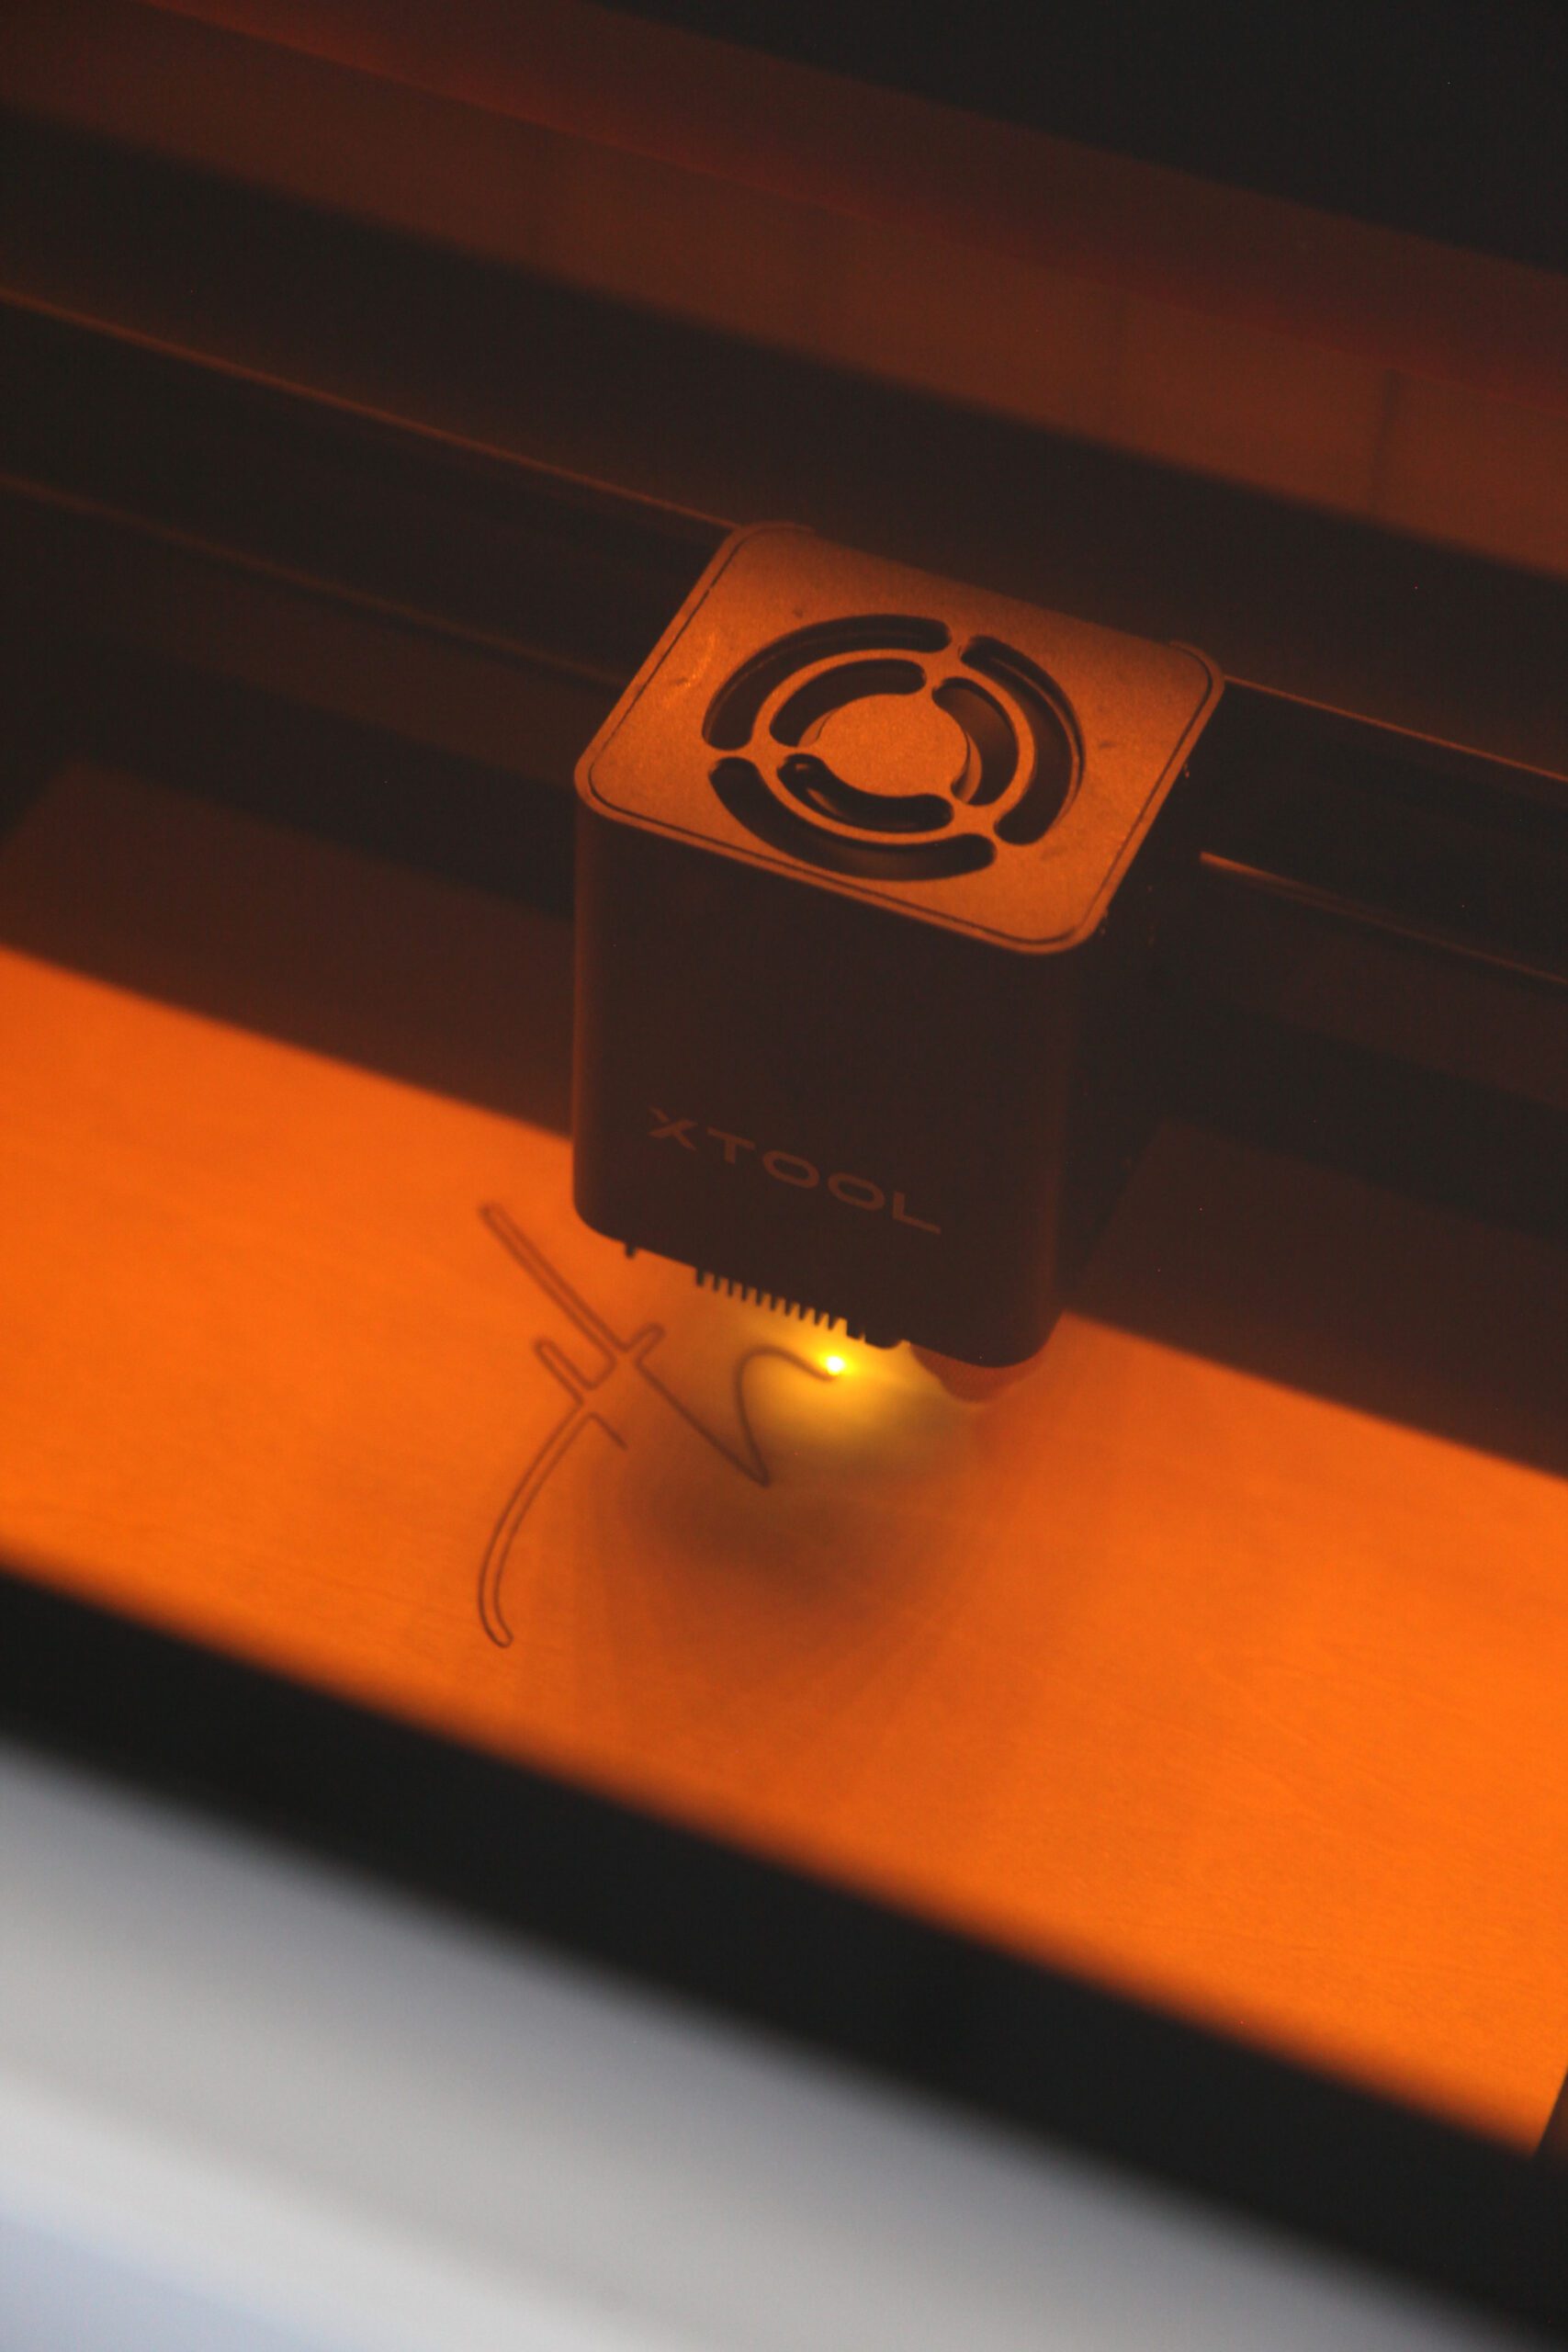
Click the Process button and follow the prompts on the screen to begin cutting. Watch the magic happen!
Step 6: Finalize your cake topper
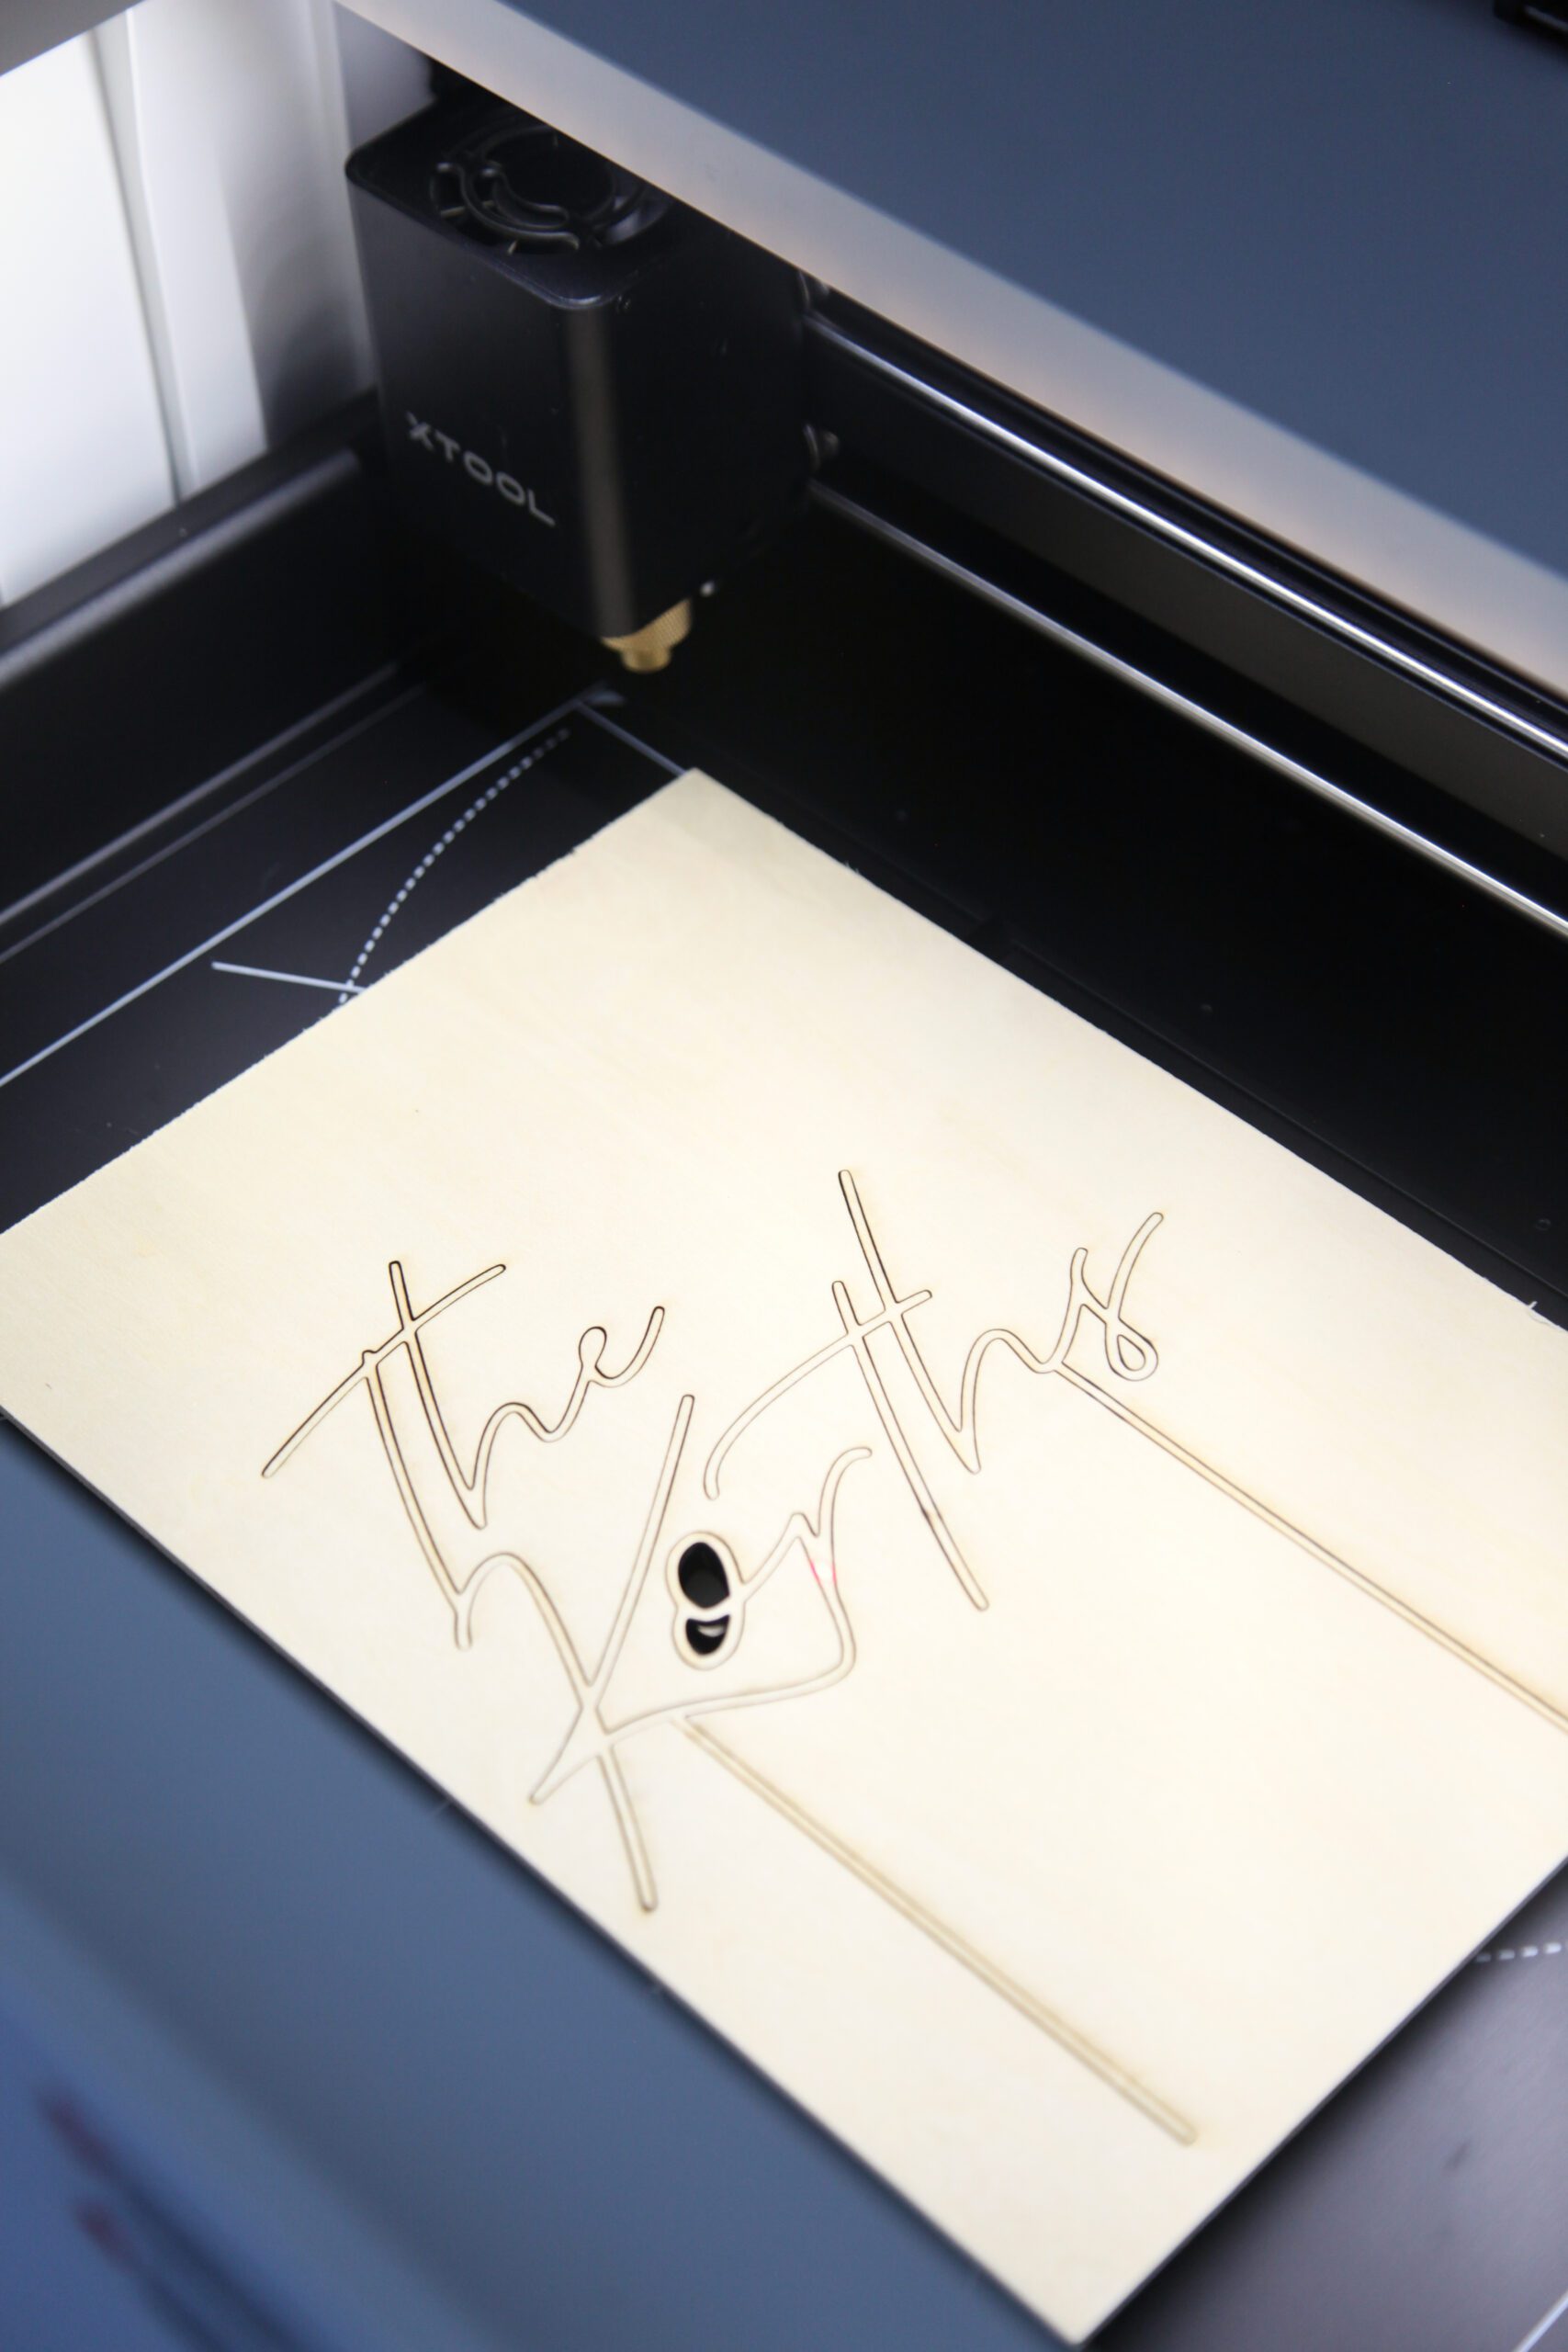
When the machine finishes cutting, open the lid and carefully separate your topper from the rest of the material.
Tip: If your topper feels flimsy, cut two of your design and use wood glue to attach one on top of the other. Let dry completely, and your topper will be much more sturdy.


DIY Custom Laser Cut Cake Topper

A delicate laser cut cake topper is a beautiful addition to any wedding or party decor, and you won’t believe how easy it is to make with the XTool M1 laser and blade cutting machine!
Materials
- xTool M1 Laser & Blade Cutting Machine
- 3mm plywood
Instructions
- For this project, I created my design in Photoshop and saved as a .PNG file. The XTool Creative Space software has quite a few design capabilities, but since I wanted more control, I stuck with what I knew.
- Once you’ve created your design, import the file into XTool Creative Space. With the design selected, click the Outline button and adjust the offset to your preferences. You can then delete the image file and just work with the outlined design.
- To prevent smoke residue on your material, mask the top with a layer of masking or painters tape. This step is optional and not necessary if you plan to paint your project after cutting. You can also remove residue after cutting by sanding or wiping the material with vinegar.
- Connect the machine to your computer and turn it on.
- Place two or more of the triangular prisms in the bed of the machine to keep your material raised from the bottom. Place your material on the prisms. Close the lid of the machine.
- In Creative Space, an image will appear of the material inside the machine. Align and resize the design on the material.
- Select your material in the software and check the settings. Adjust the settings if necessary. Be sure that you have the Cut tab selected (the design outline should be purple for cutting).
- Click the Process button and follow the prompts on the screen to begin cutting. Watch the magic happen!
- When the machine finishes cutting, open the lid and carefully separate your topper from the rest of the material.
Notes
- The thicker you can make the design, while still having it be readable, the more sturdy your topper will be.
- If your topper feels flimsy, cut two of your design and use wood glue to attach one on top of the other. Let dry completely, and your topper will be much more sturdy.
Recommended Products
As an Amazon Associate and member of other affiliate programs, I earn from qualifying purchases.
Save this post for later!
Check out our other cake topper projects!
- Printable Cake Topper for Birthdays and other Celebrations
- How to Make a Mini Balloon Cake Topper
- DIY Sprinkle Number Cake Topper Tutorial
- How to Make a DIY Flower Cake Topper
- 3D Printed Cake Topper Tutorial
- How to Make a DIY Flamingo Cake Topper
- DIY 3D Wooden Egg Easter Cake Topper
- DIY Glitter Heart Cake Toppers
- DIY Layered Heart Cake Topper
- Adorable DIY Mini Paper Chain Cake Topper Tutorial
Happy making!
Sam

