This DIY Flower Cake Topper is sponsored by Silhouette. All opinions are ours alone.
This post may contain affiliate links, which help us support this site.
I know some people love to take their Christmas trees down and make their house neat and tidy again, but when I do it I’m always left feeling like any type of magic that was once in my house goes away with it. I mean, yes, Christmas is over, but can’t we still have just a little cheer? Maybe some tiny twinkle lights? Neighbors still making fudge deliveries? Anything!??
So, in an effort to combat my post-holiday blues, I’m looking ahead to the little celebrations and holidays coming up and decided that some preempted cake topper-making was in order to bring back a tiny bit of the magic and whimsy we lost when the holiday decorations went away!
This gorgeous floral cake topper is made out of felt and cut with our Silhouette Cameo 4, using its incredible rotary blade that can cut felt and other fabrics! This is the first time we have made a project using the rotary blade and it was a game-changer! It made cutting flowers so simple, and using felt gives the flowers a bit of texture that you can’t get with paper! We think this topper would be perfect for a shower, Mother’s Day, Valentine’s Day, or any other flowery event! Here is what you’ll need to make your own:

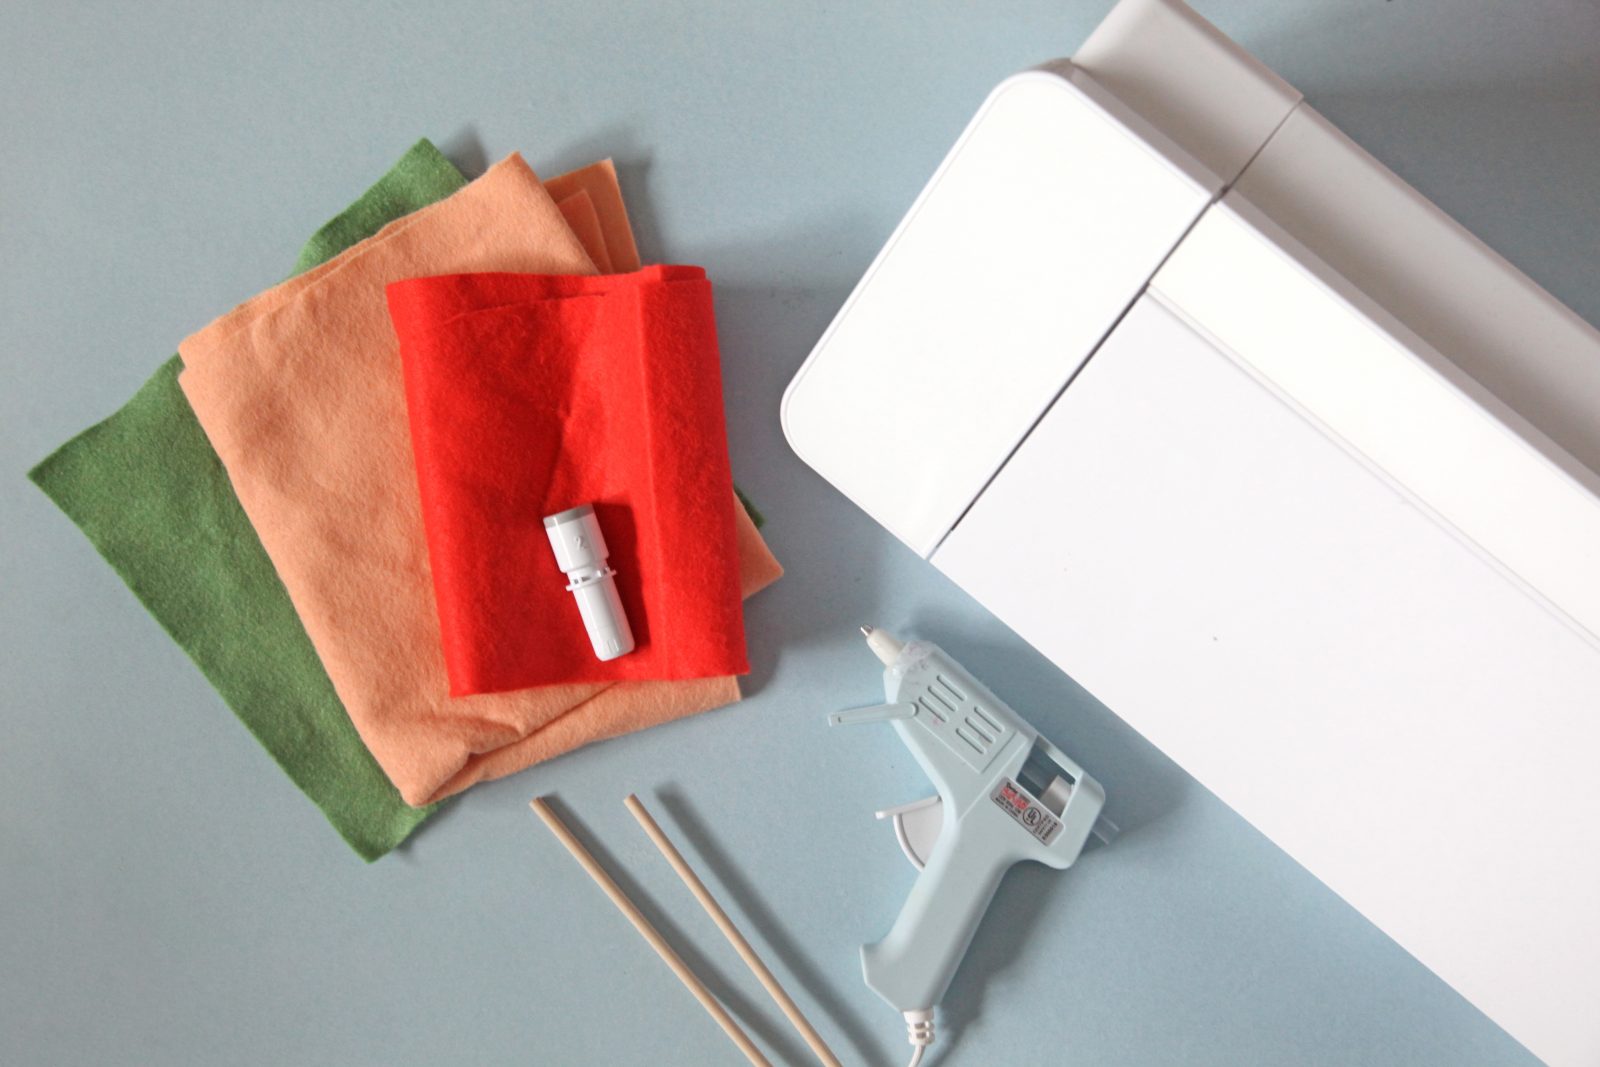
Supplies needed to make a DIY Flower Cake Topper
Silhouette Cameo
Silhouette Rotary Blade
Silhouette Strong Tack Cutting Mat
Felt
Hot Glue + Gun
Wire
Skewers/dowels
How to make a DIY Flower Cake Topper
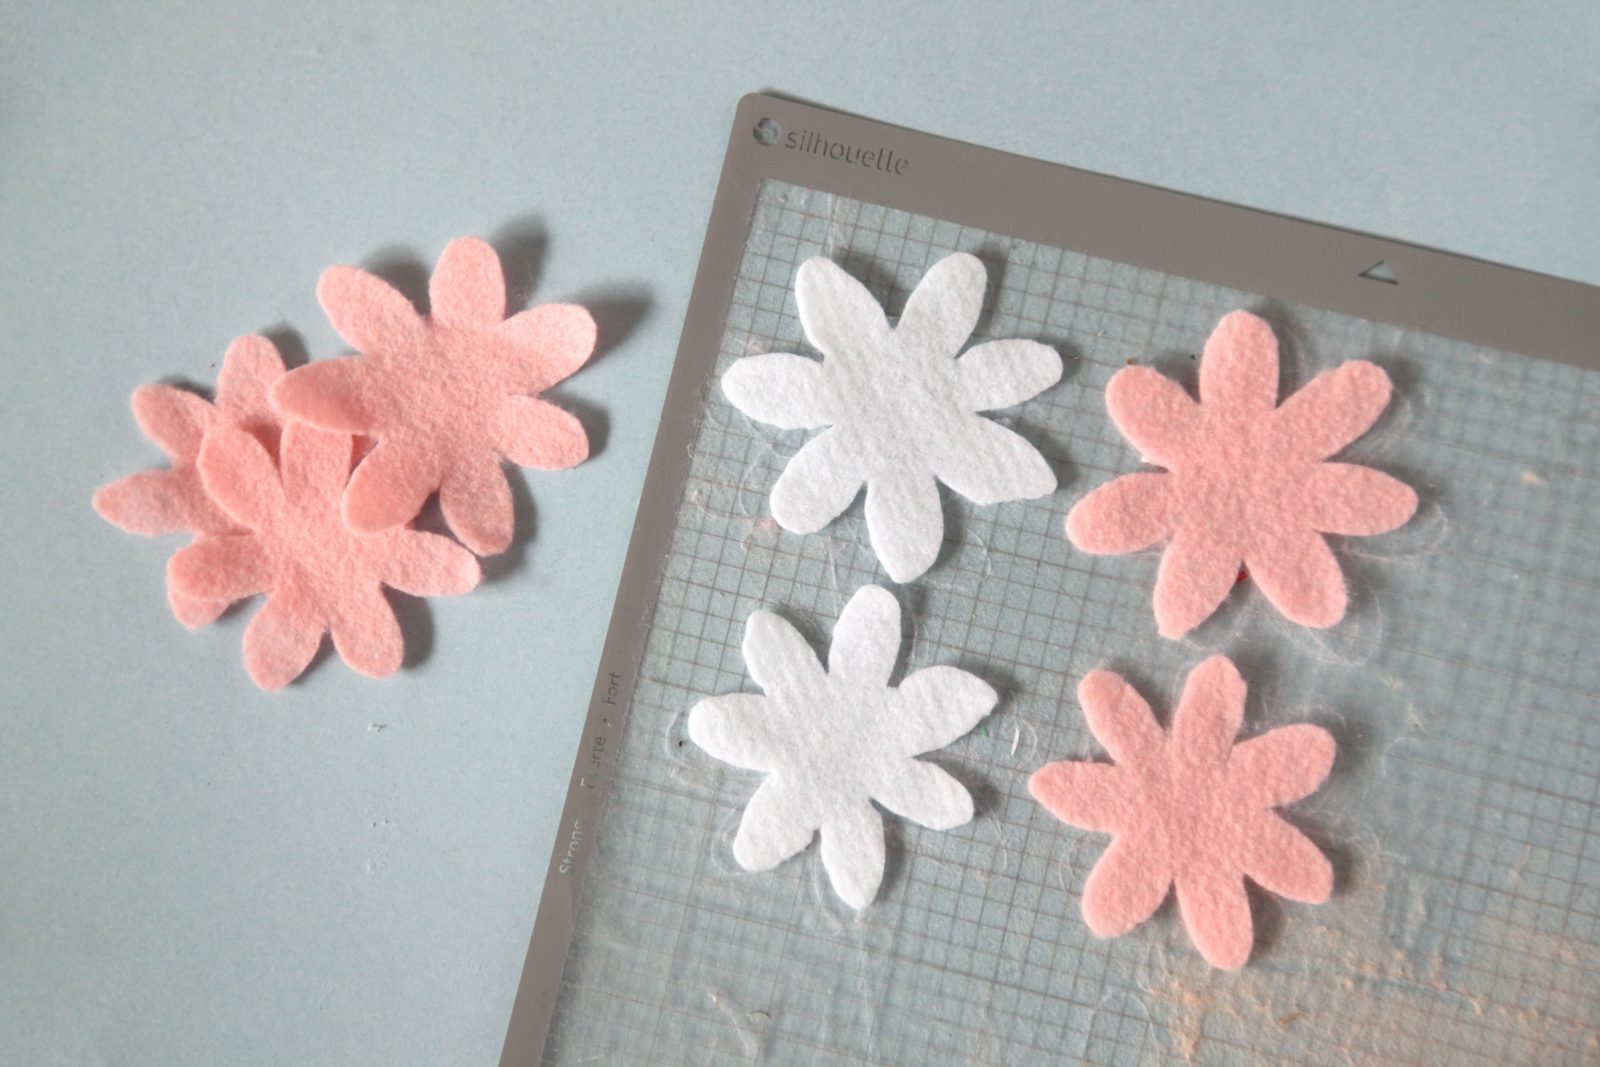
Step 1: Create your design in Silhouette Studio. You can import our template and trace it to make the cut file (you can also print the template for cutting by hand).
Step 2: Using the rotary blade and Silhouette machine, cut 14 flower shapes (two per flower) in your desired felt colors. Set aside.
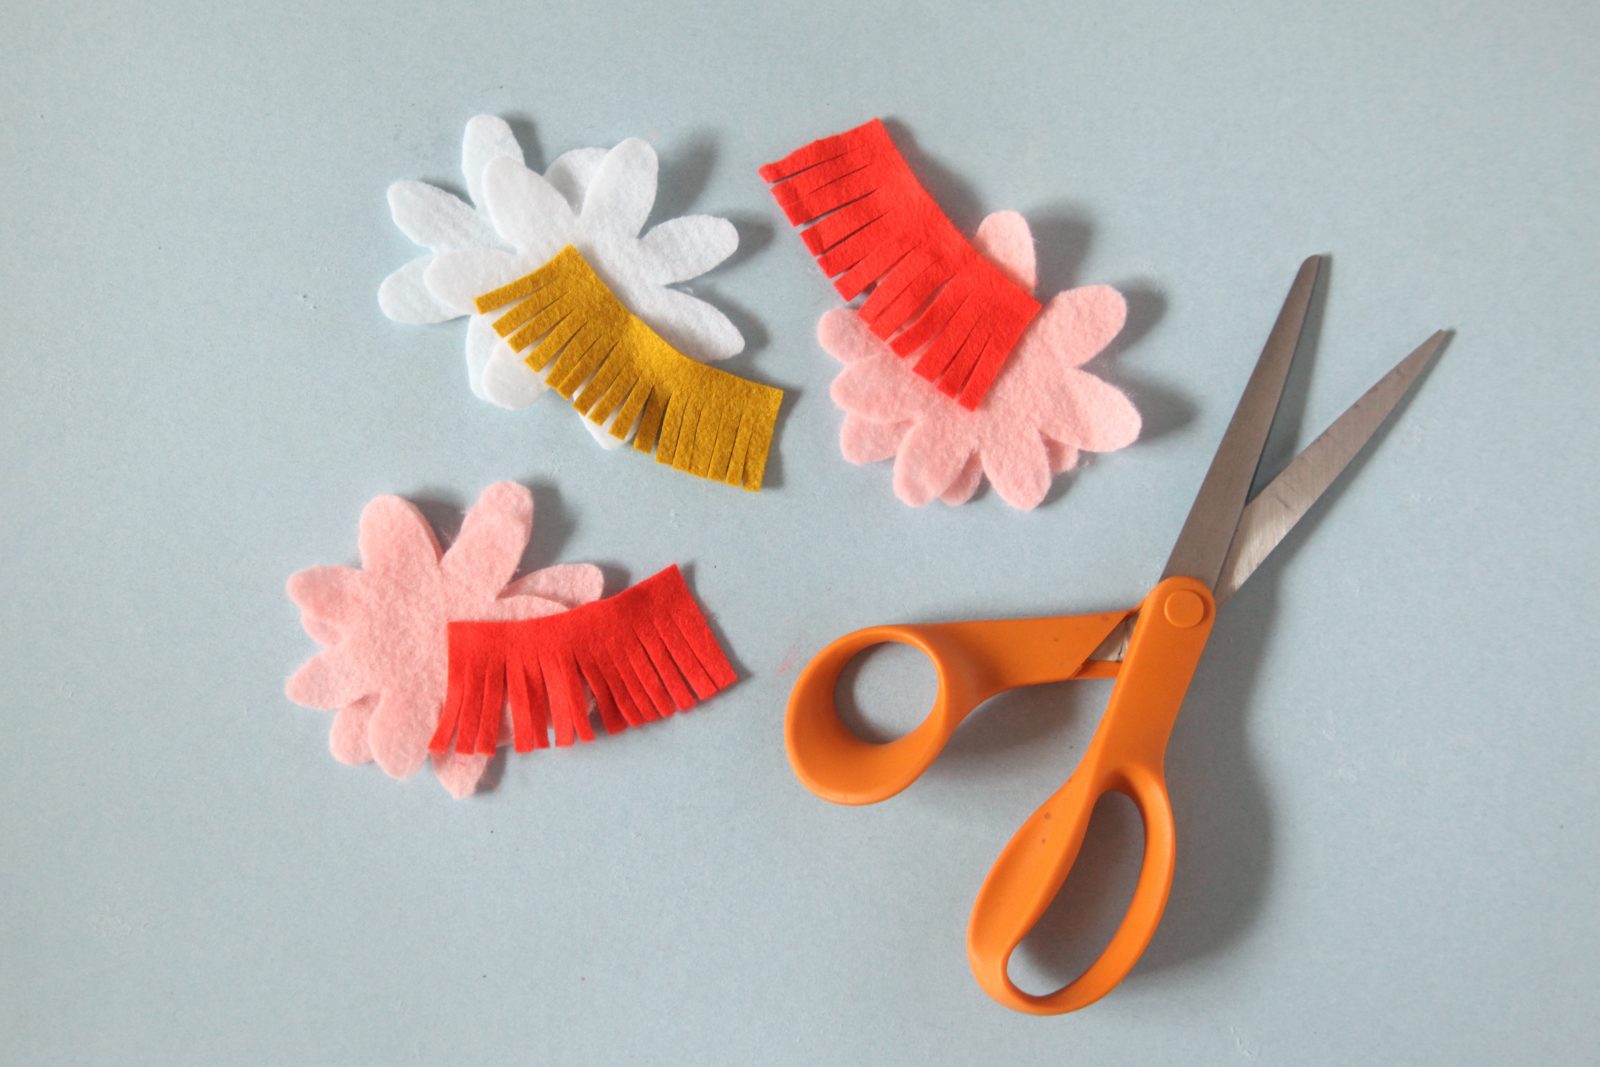
Step 3: Make the flower centers by cutting a 2-3 inch rectangle out of felt and cutting fringe along one side.
Step 4: Roll the center strip, and secure with a glue gun on the non-fringed side.

Step 5: Apply hot glue to the center of one flower piece and pinch it around the center piece. Let the glue cool.

Step 6: Apply hot glue to the center of another flower piece and pinch it around the flower from step 5. Let the glue cool.
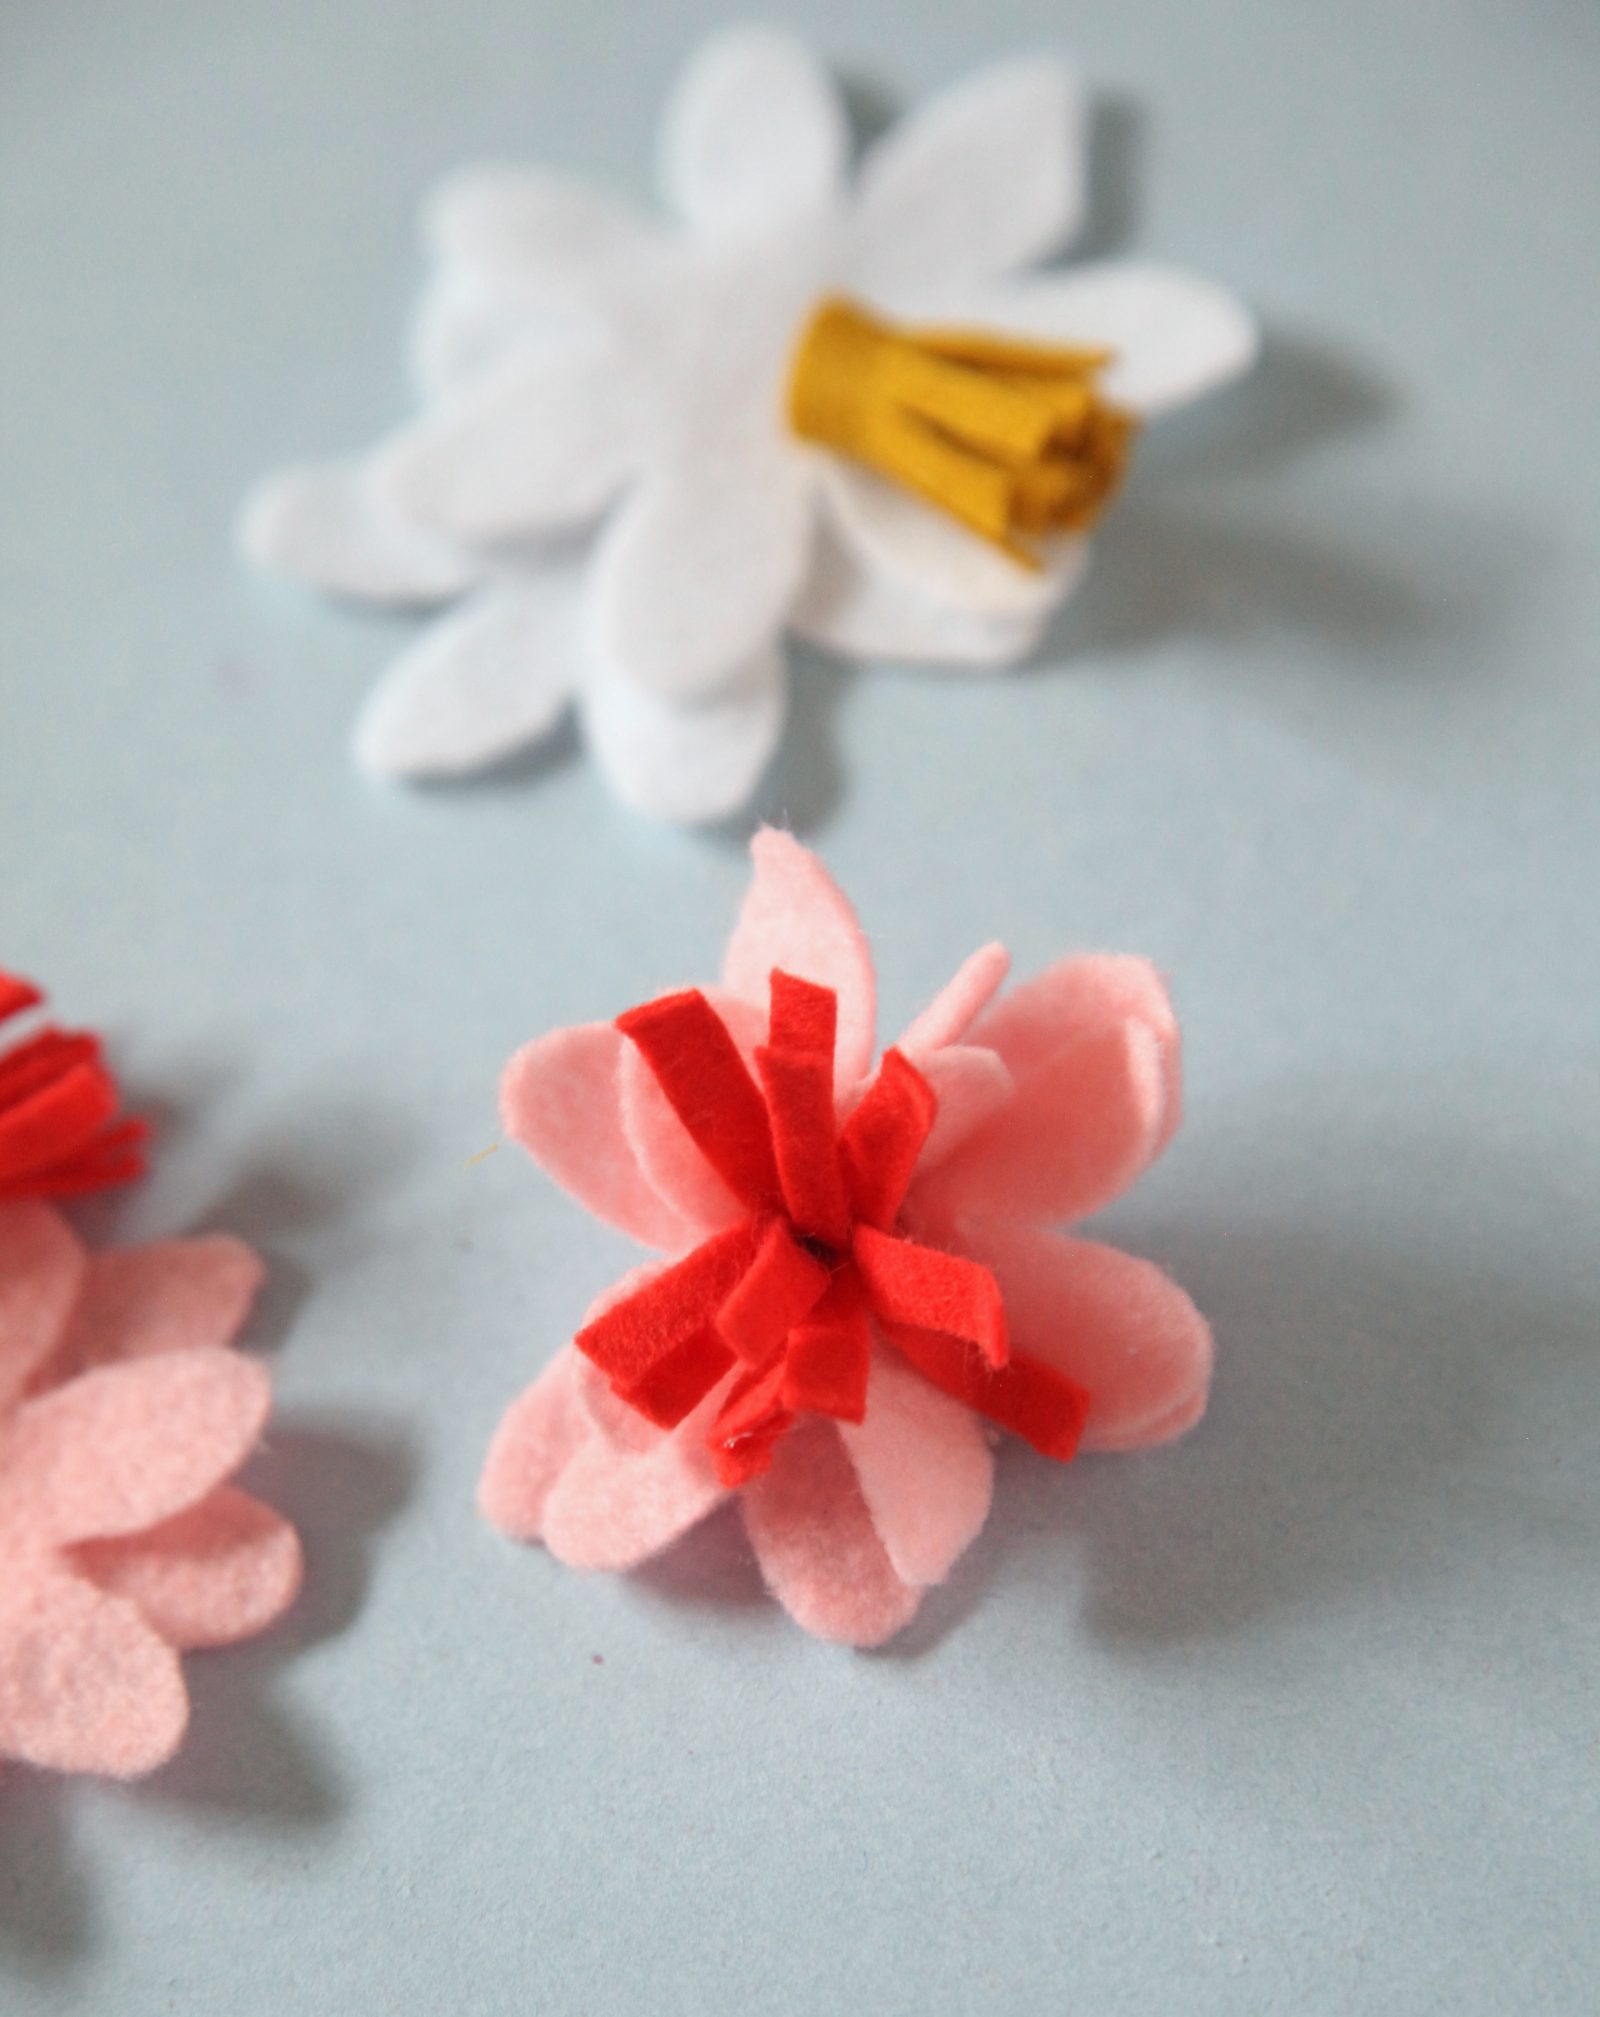
Step 7: Repeat steps to make the rest of your felt flowers.

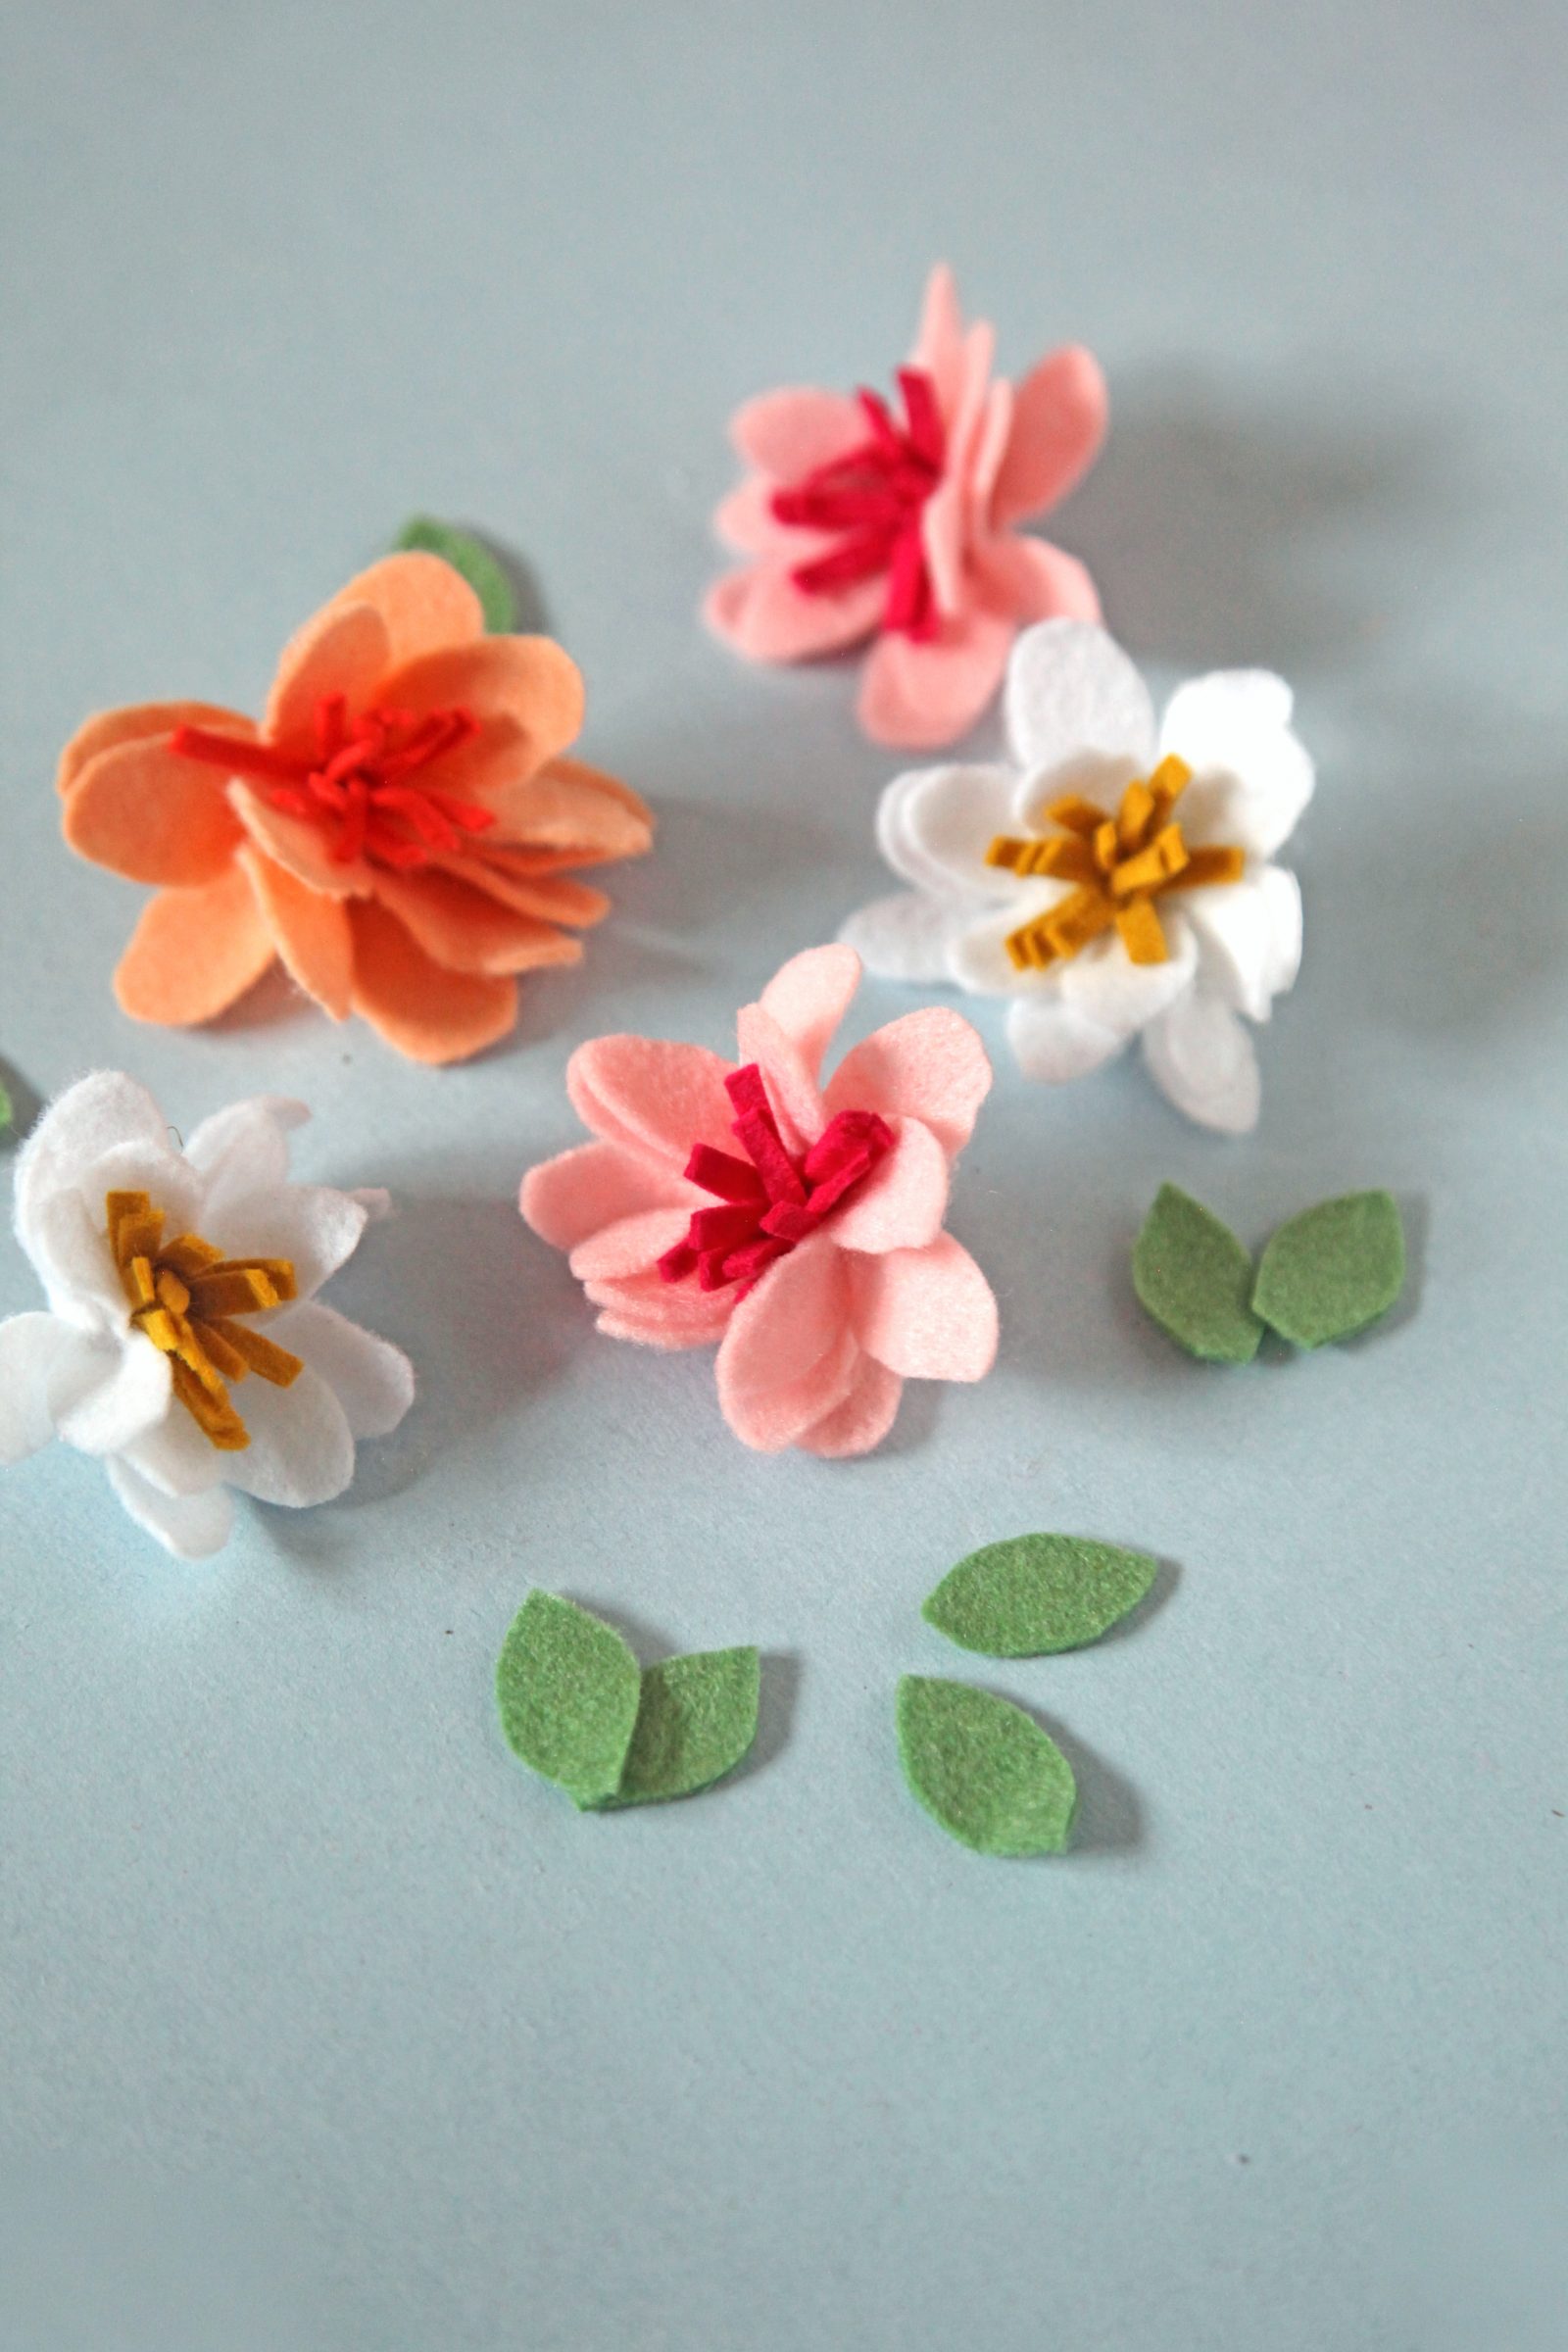
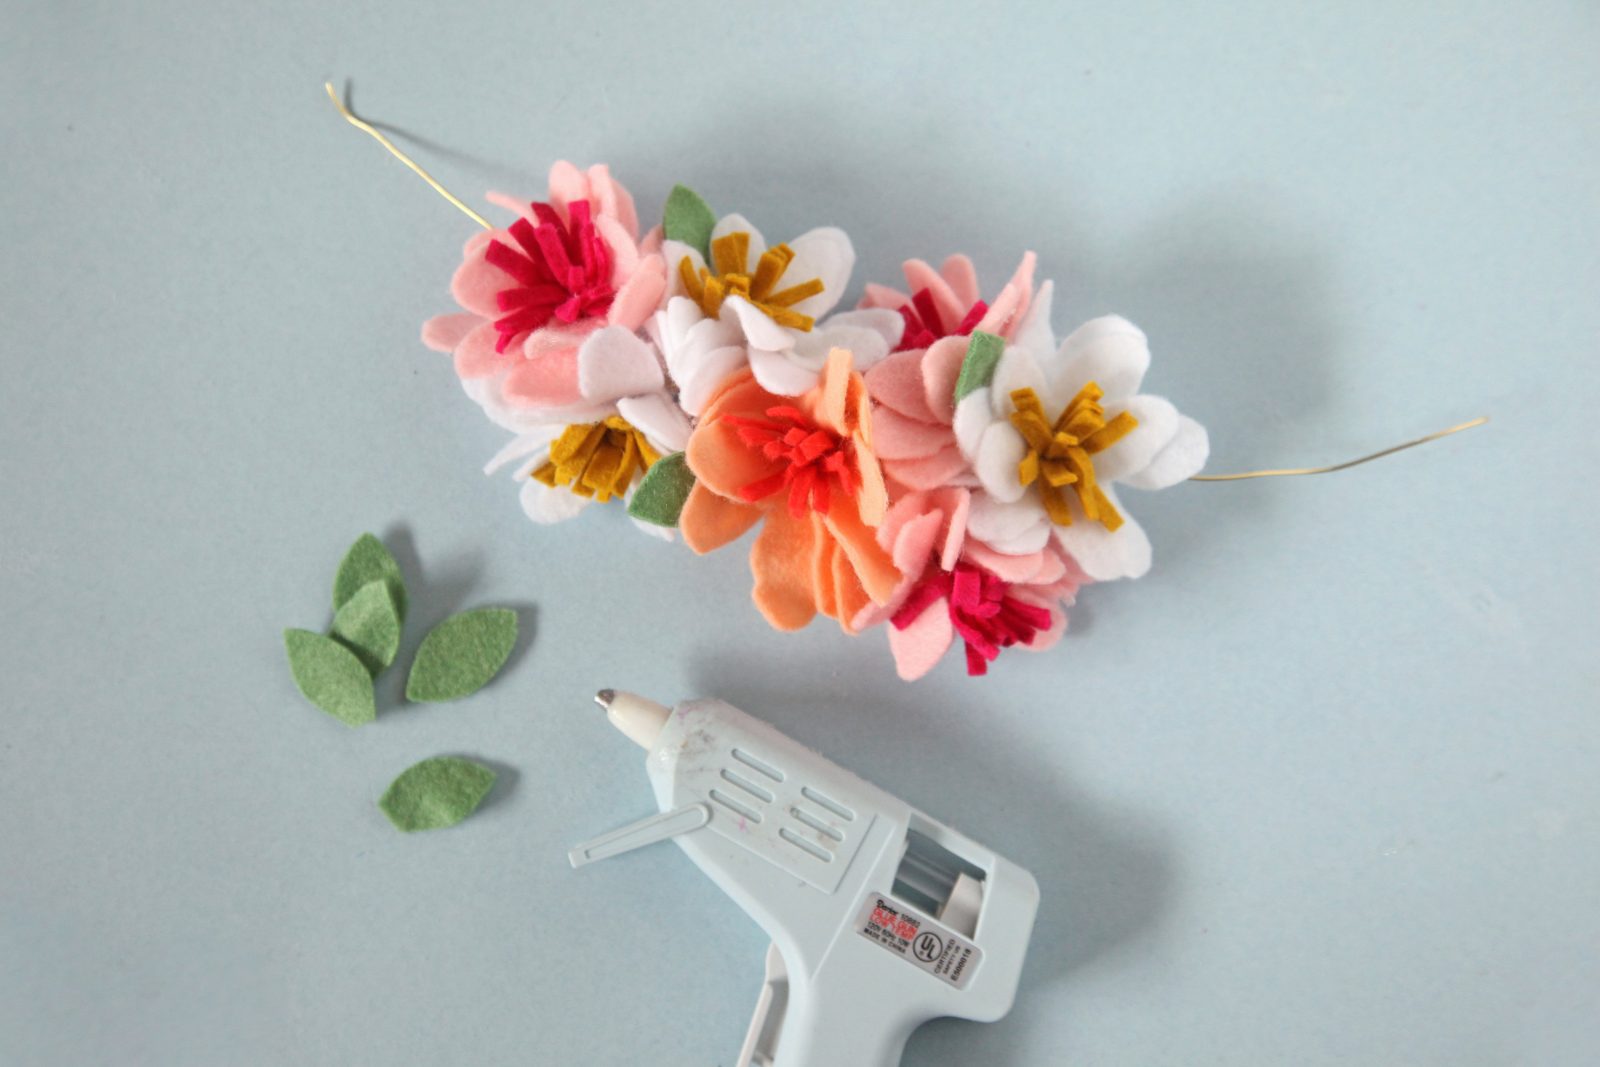
Step 8: Use scissors to cut leaves out of green felt.
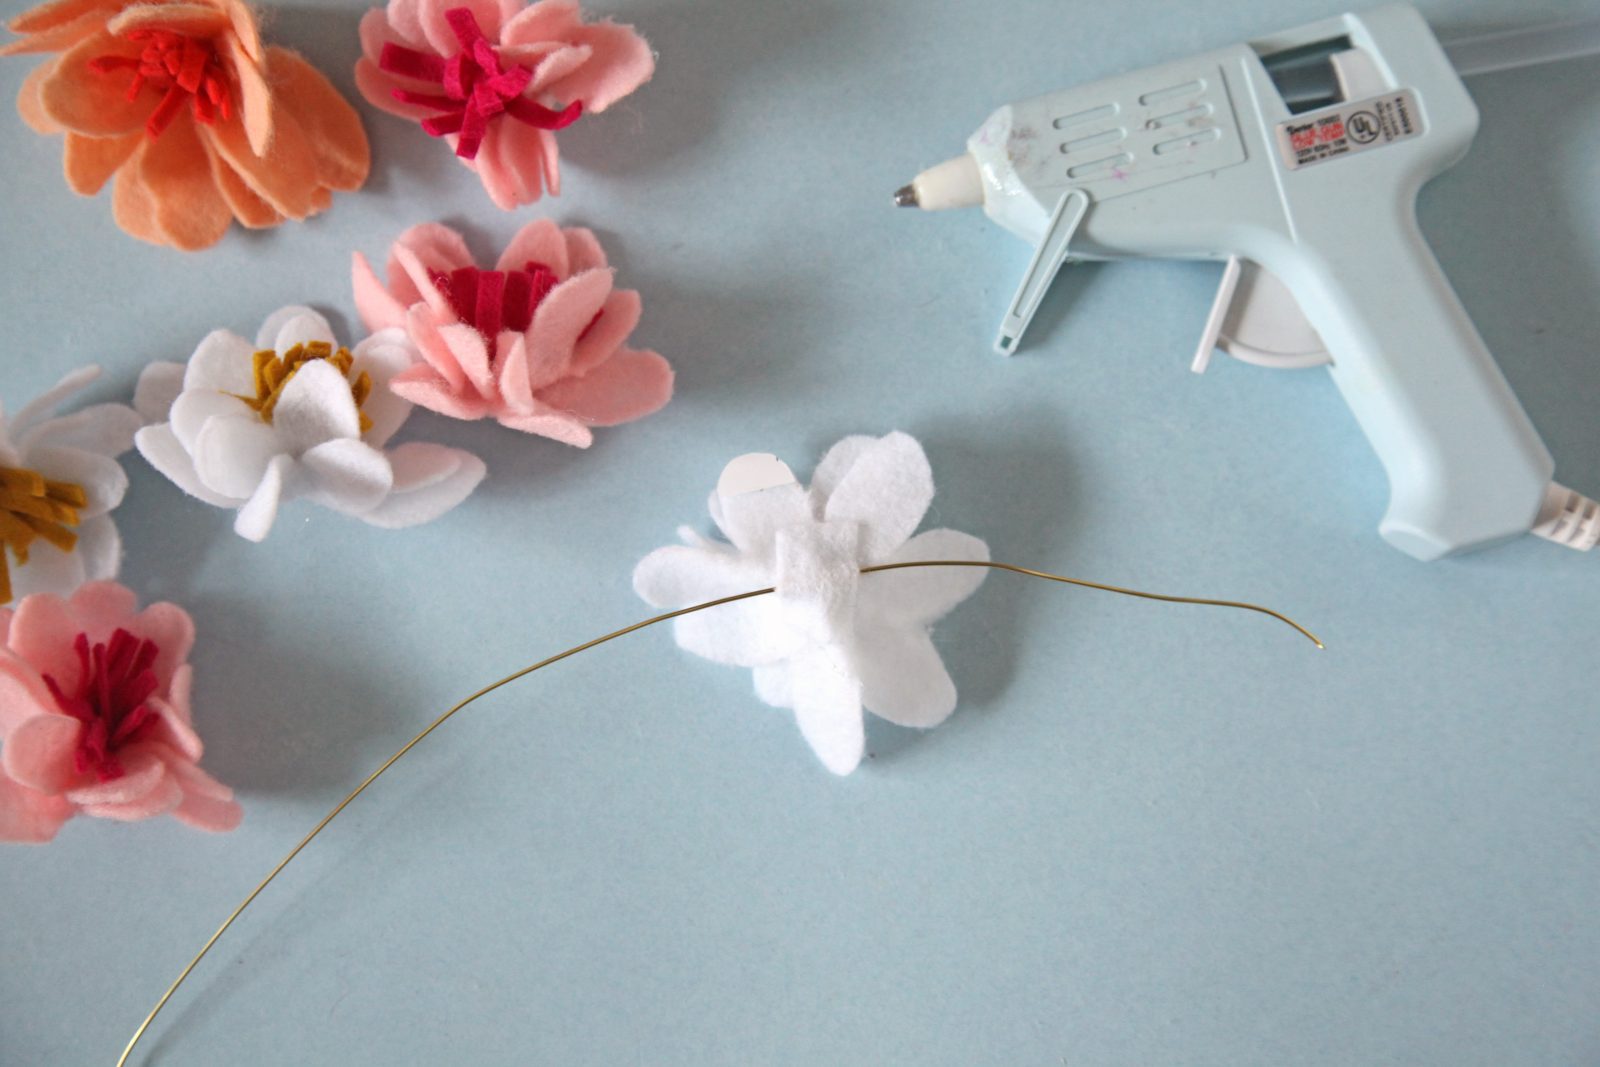
Step 9: Cut a 12 inch piece of wire. Arrange the flowers on the wire with hot glue, securing with felt rectangles on the backs of the flowers.

Step 10: Attach the leaves to the flowers with hot glue.
Step 11: Wrap wire ends around the top of two skewers or dowels, and secure with hot glue.

This DIY flower cake topper is so fun to make and is such a beautiful was to dress up any cake!


Happy making!
Sam & Liz
Looking for more Silhouette project ideas? We think you’ll love these tutorials!
 How to Layer Heat Transfer Vinyl on a Graphic Tee