This post may contain affiliate links, which help us support this site.
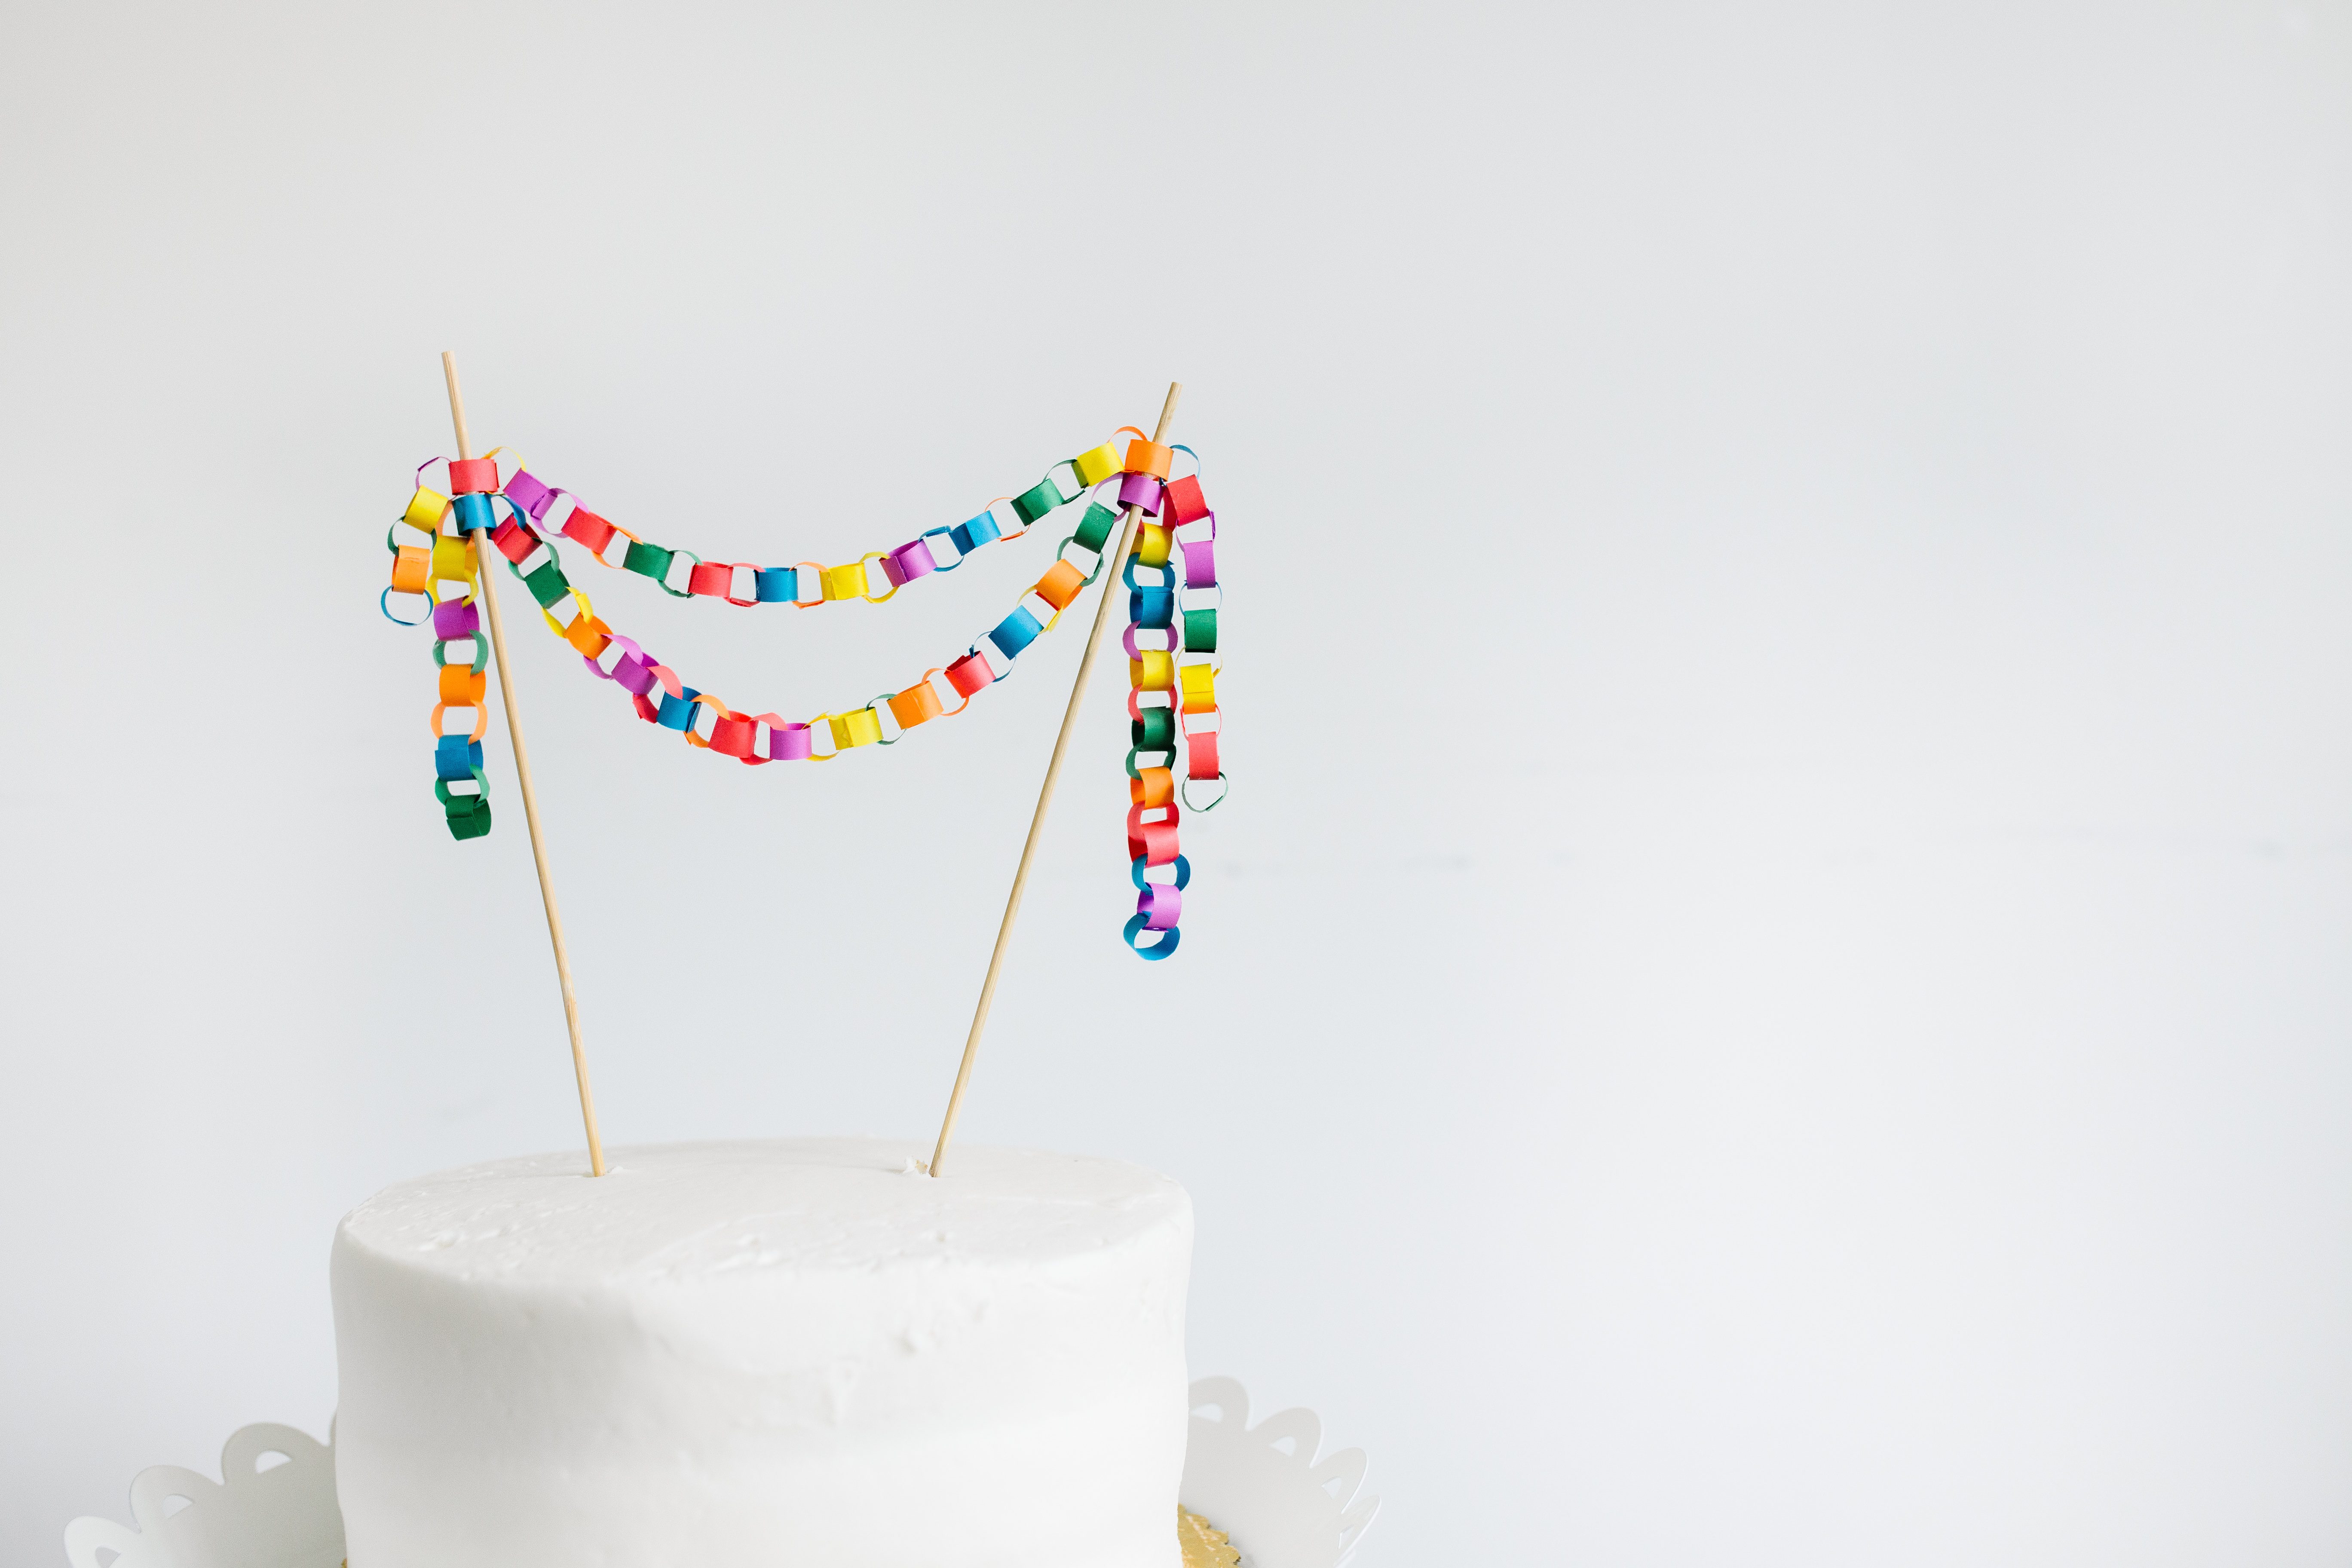
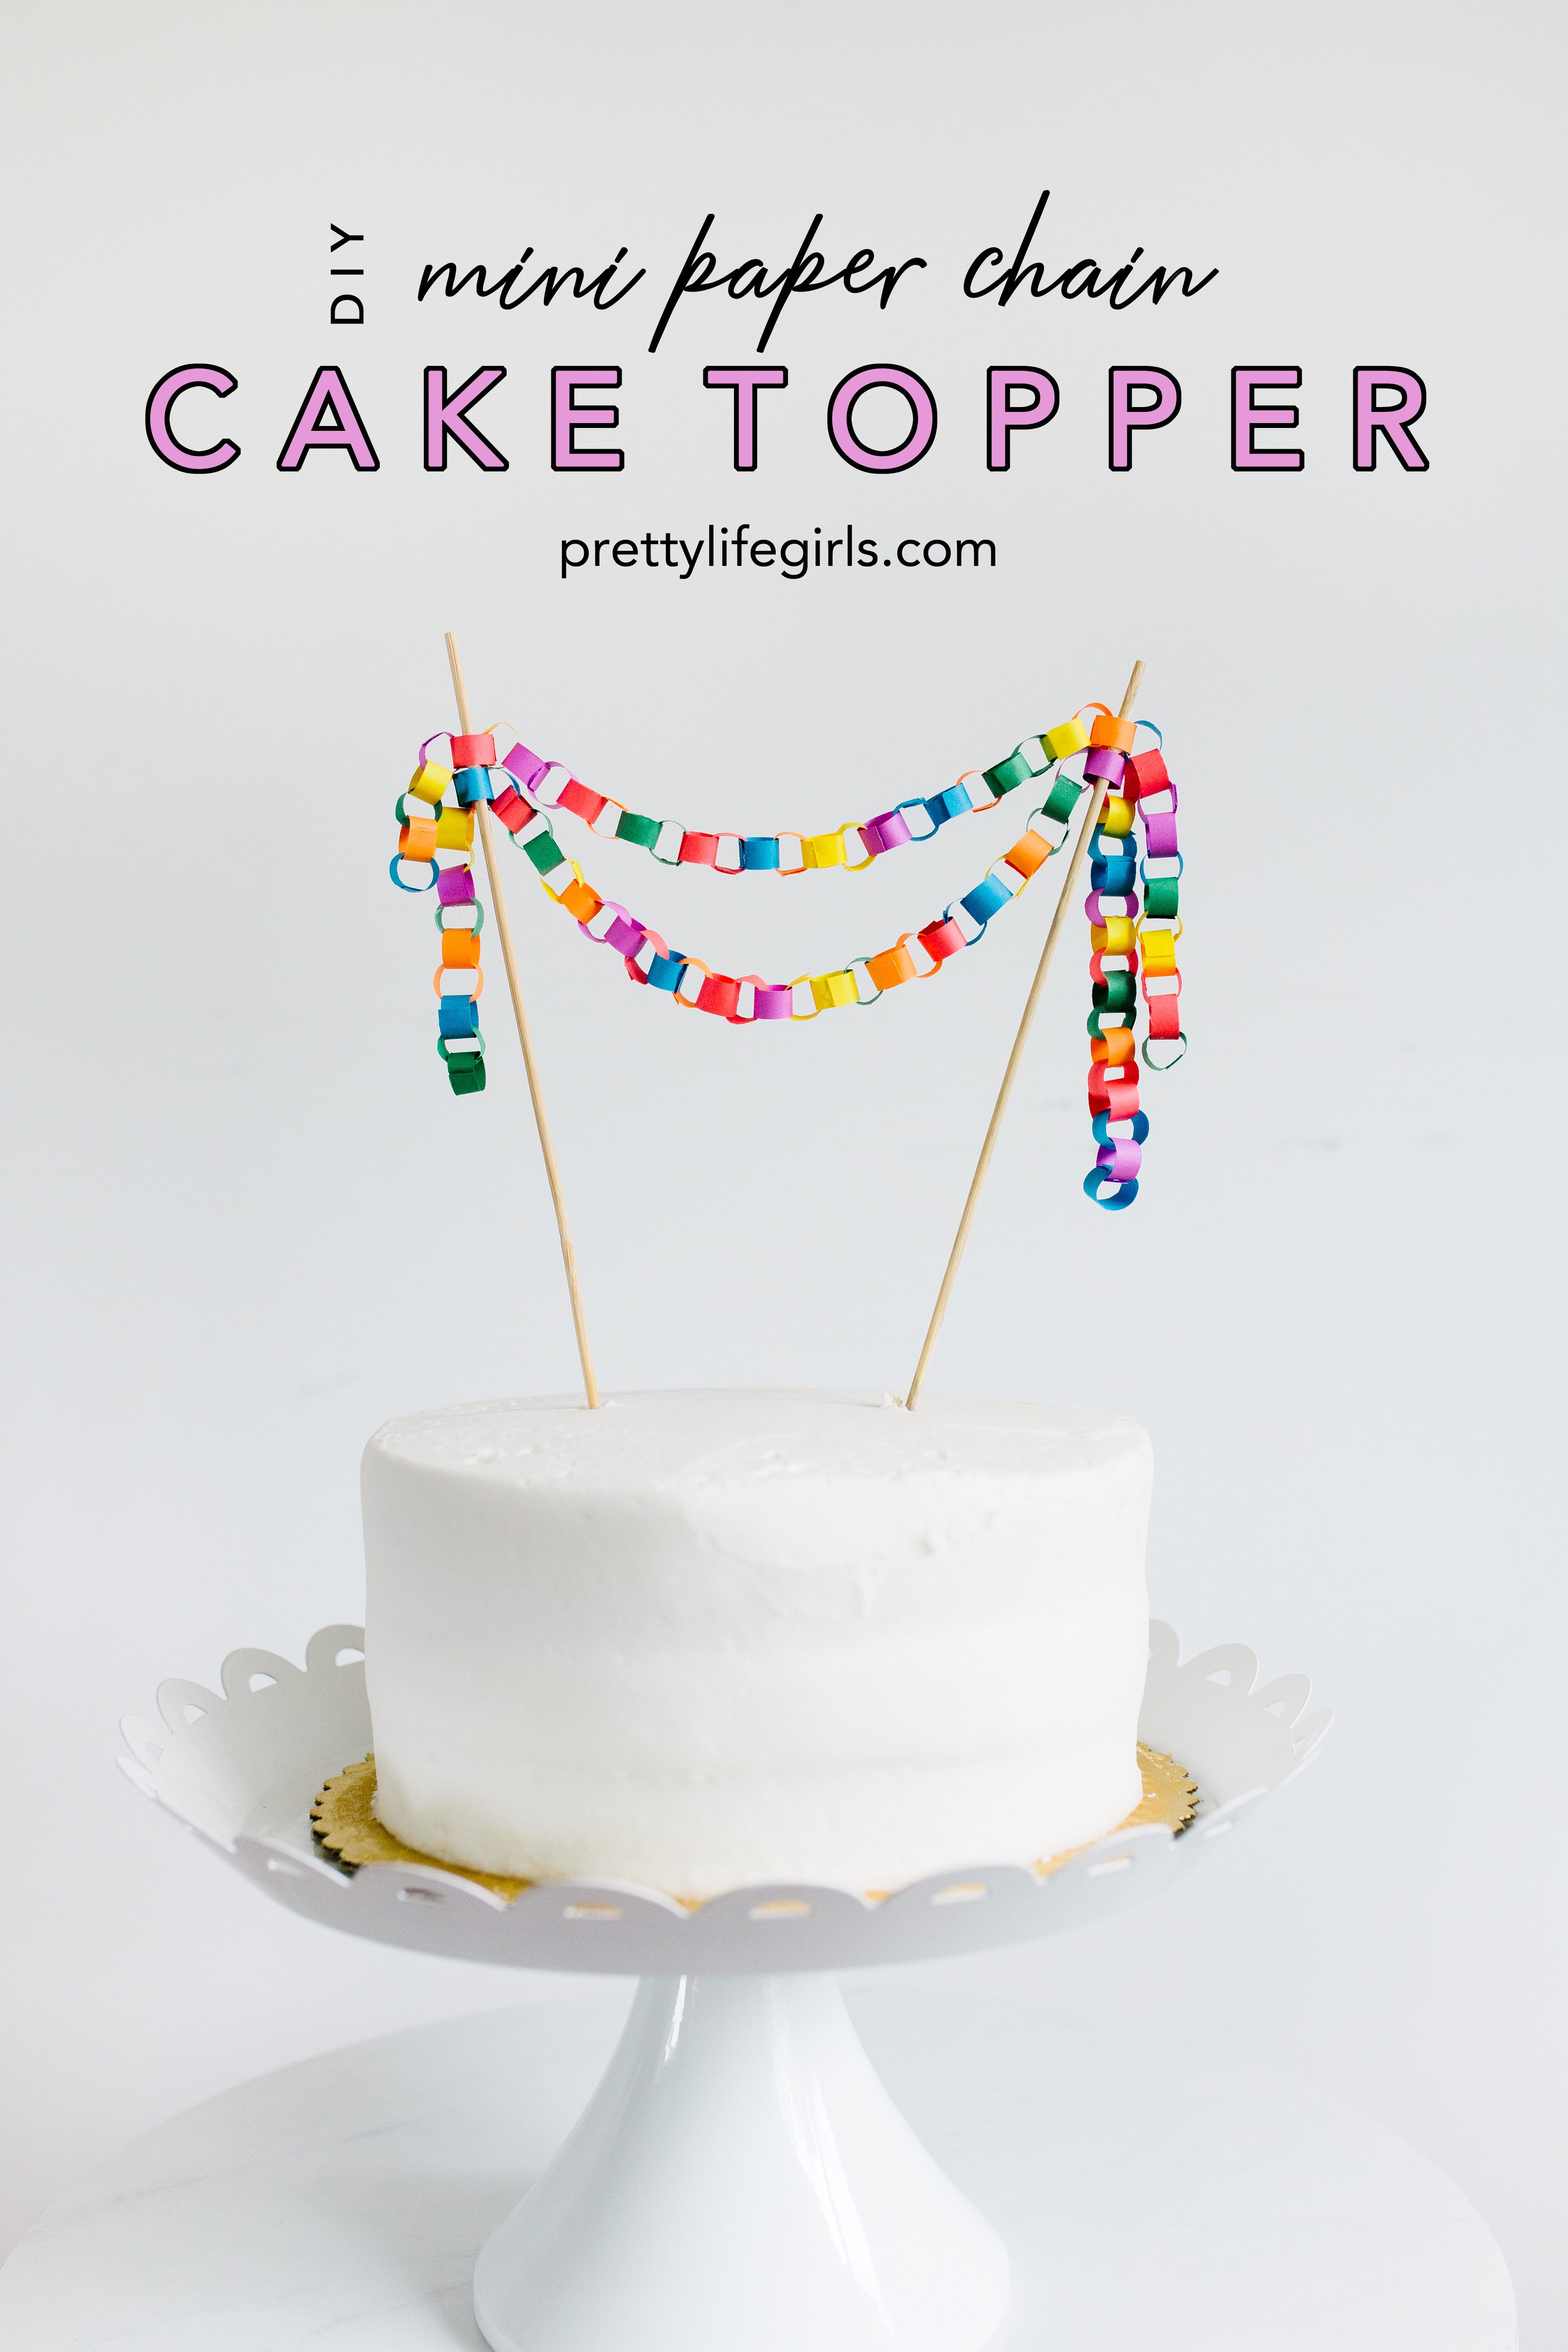
When we were brainstorming paper chain projects for a TV segment earlier this month, I knew I had to make a Mini Paper Chain Cake Topper. I had seen this one from Oh Happy Day all over the internets and always wanted to try making my own, so this was the perfect opportunity! This project is colorful and adorable (who doesn’t love things that are mini?!) and easy and customizable, and those are things we love in a craft project! It’s perfect for any celebration, and you can even get your kids to help make it. Keep scrolling for the tutorial!
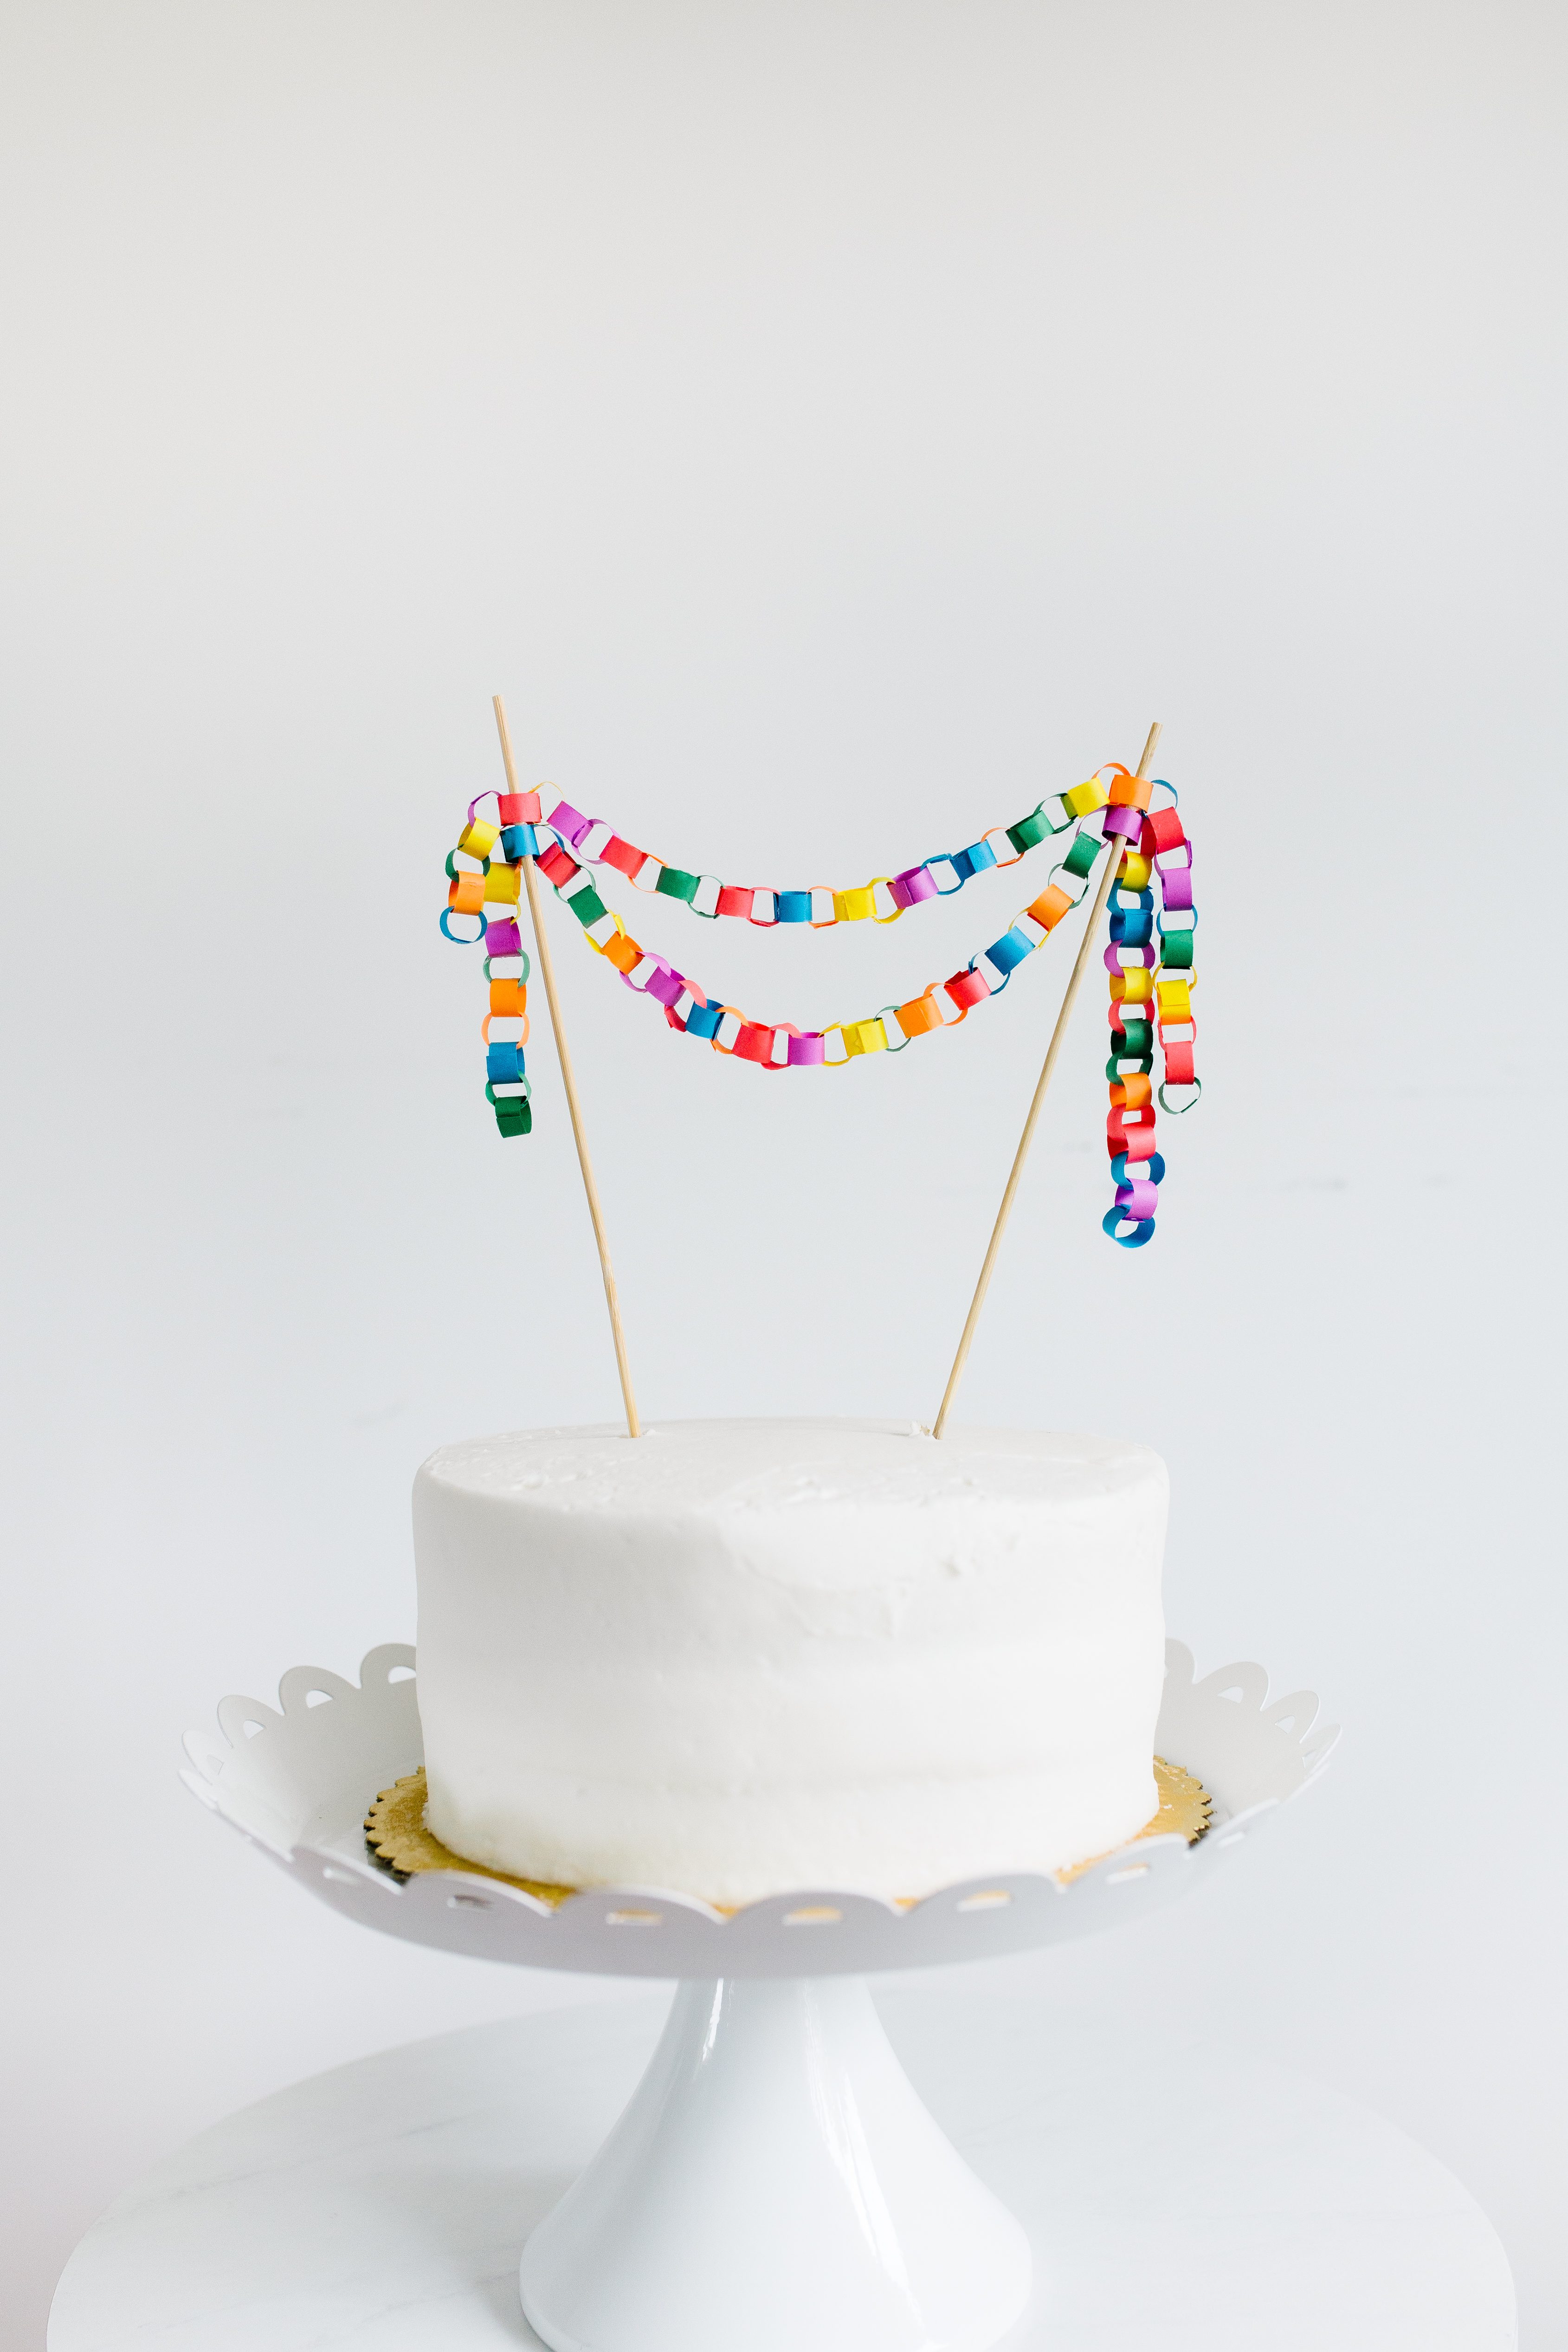

Supplies needed to make your own Mini Paper Chain Cake Topper:
Assorted copy paper colors (I used Astrobrights)
Wood skewers
Scissors
Hot glue/glue gun
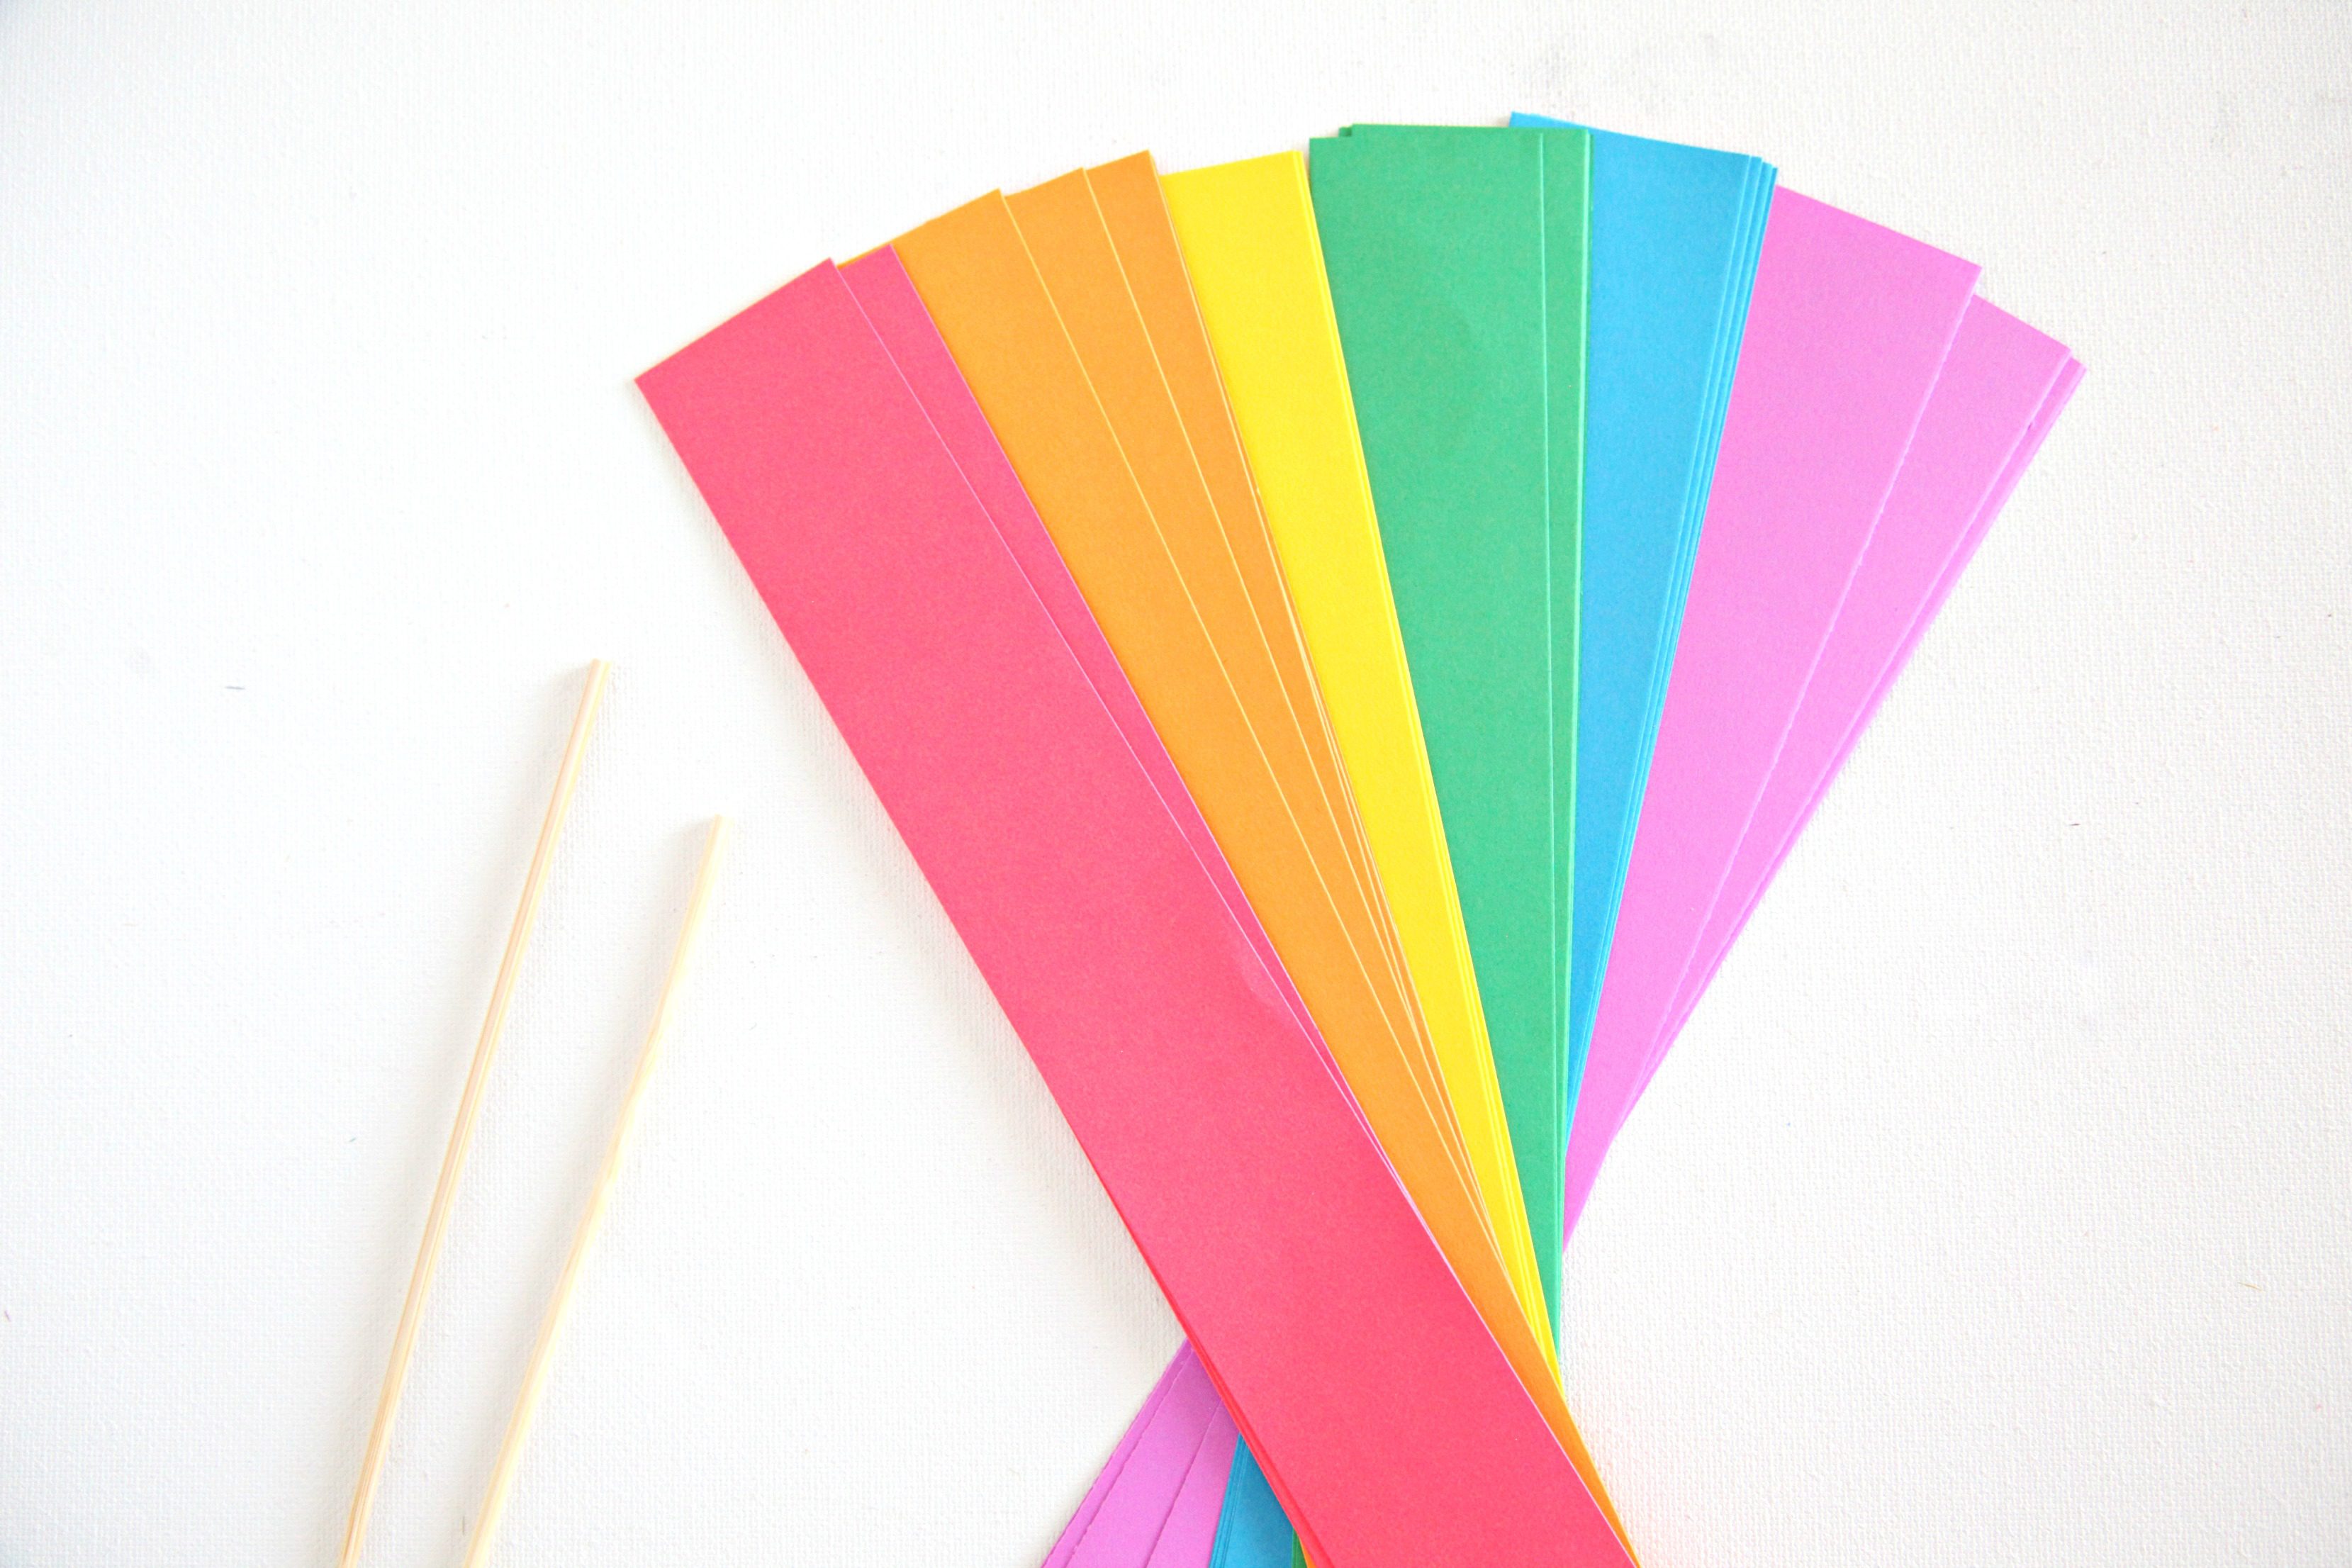

Step 1: Cut the copy paper, in a variety of colors, into little strips – about 1 inch long and 1/4 inch wide. I loved the brightness of the Astrobrights paper we used!


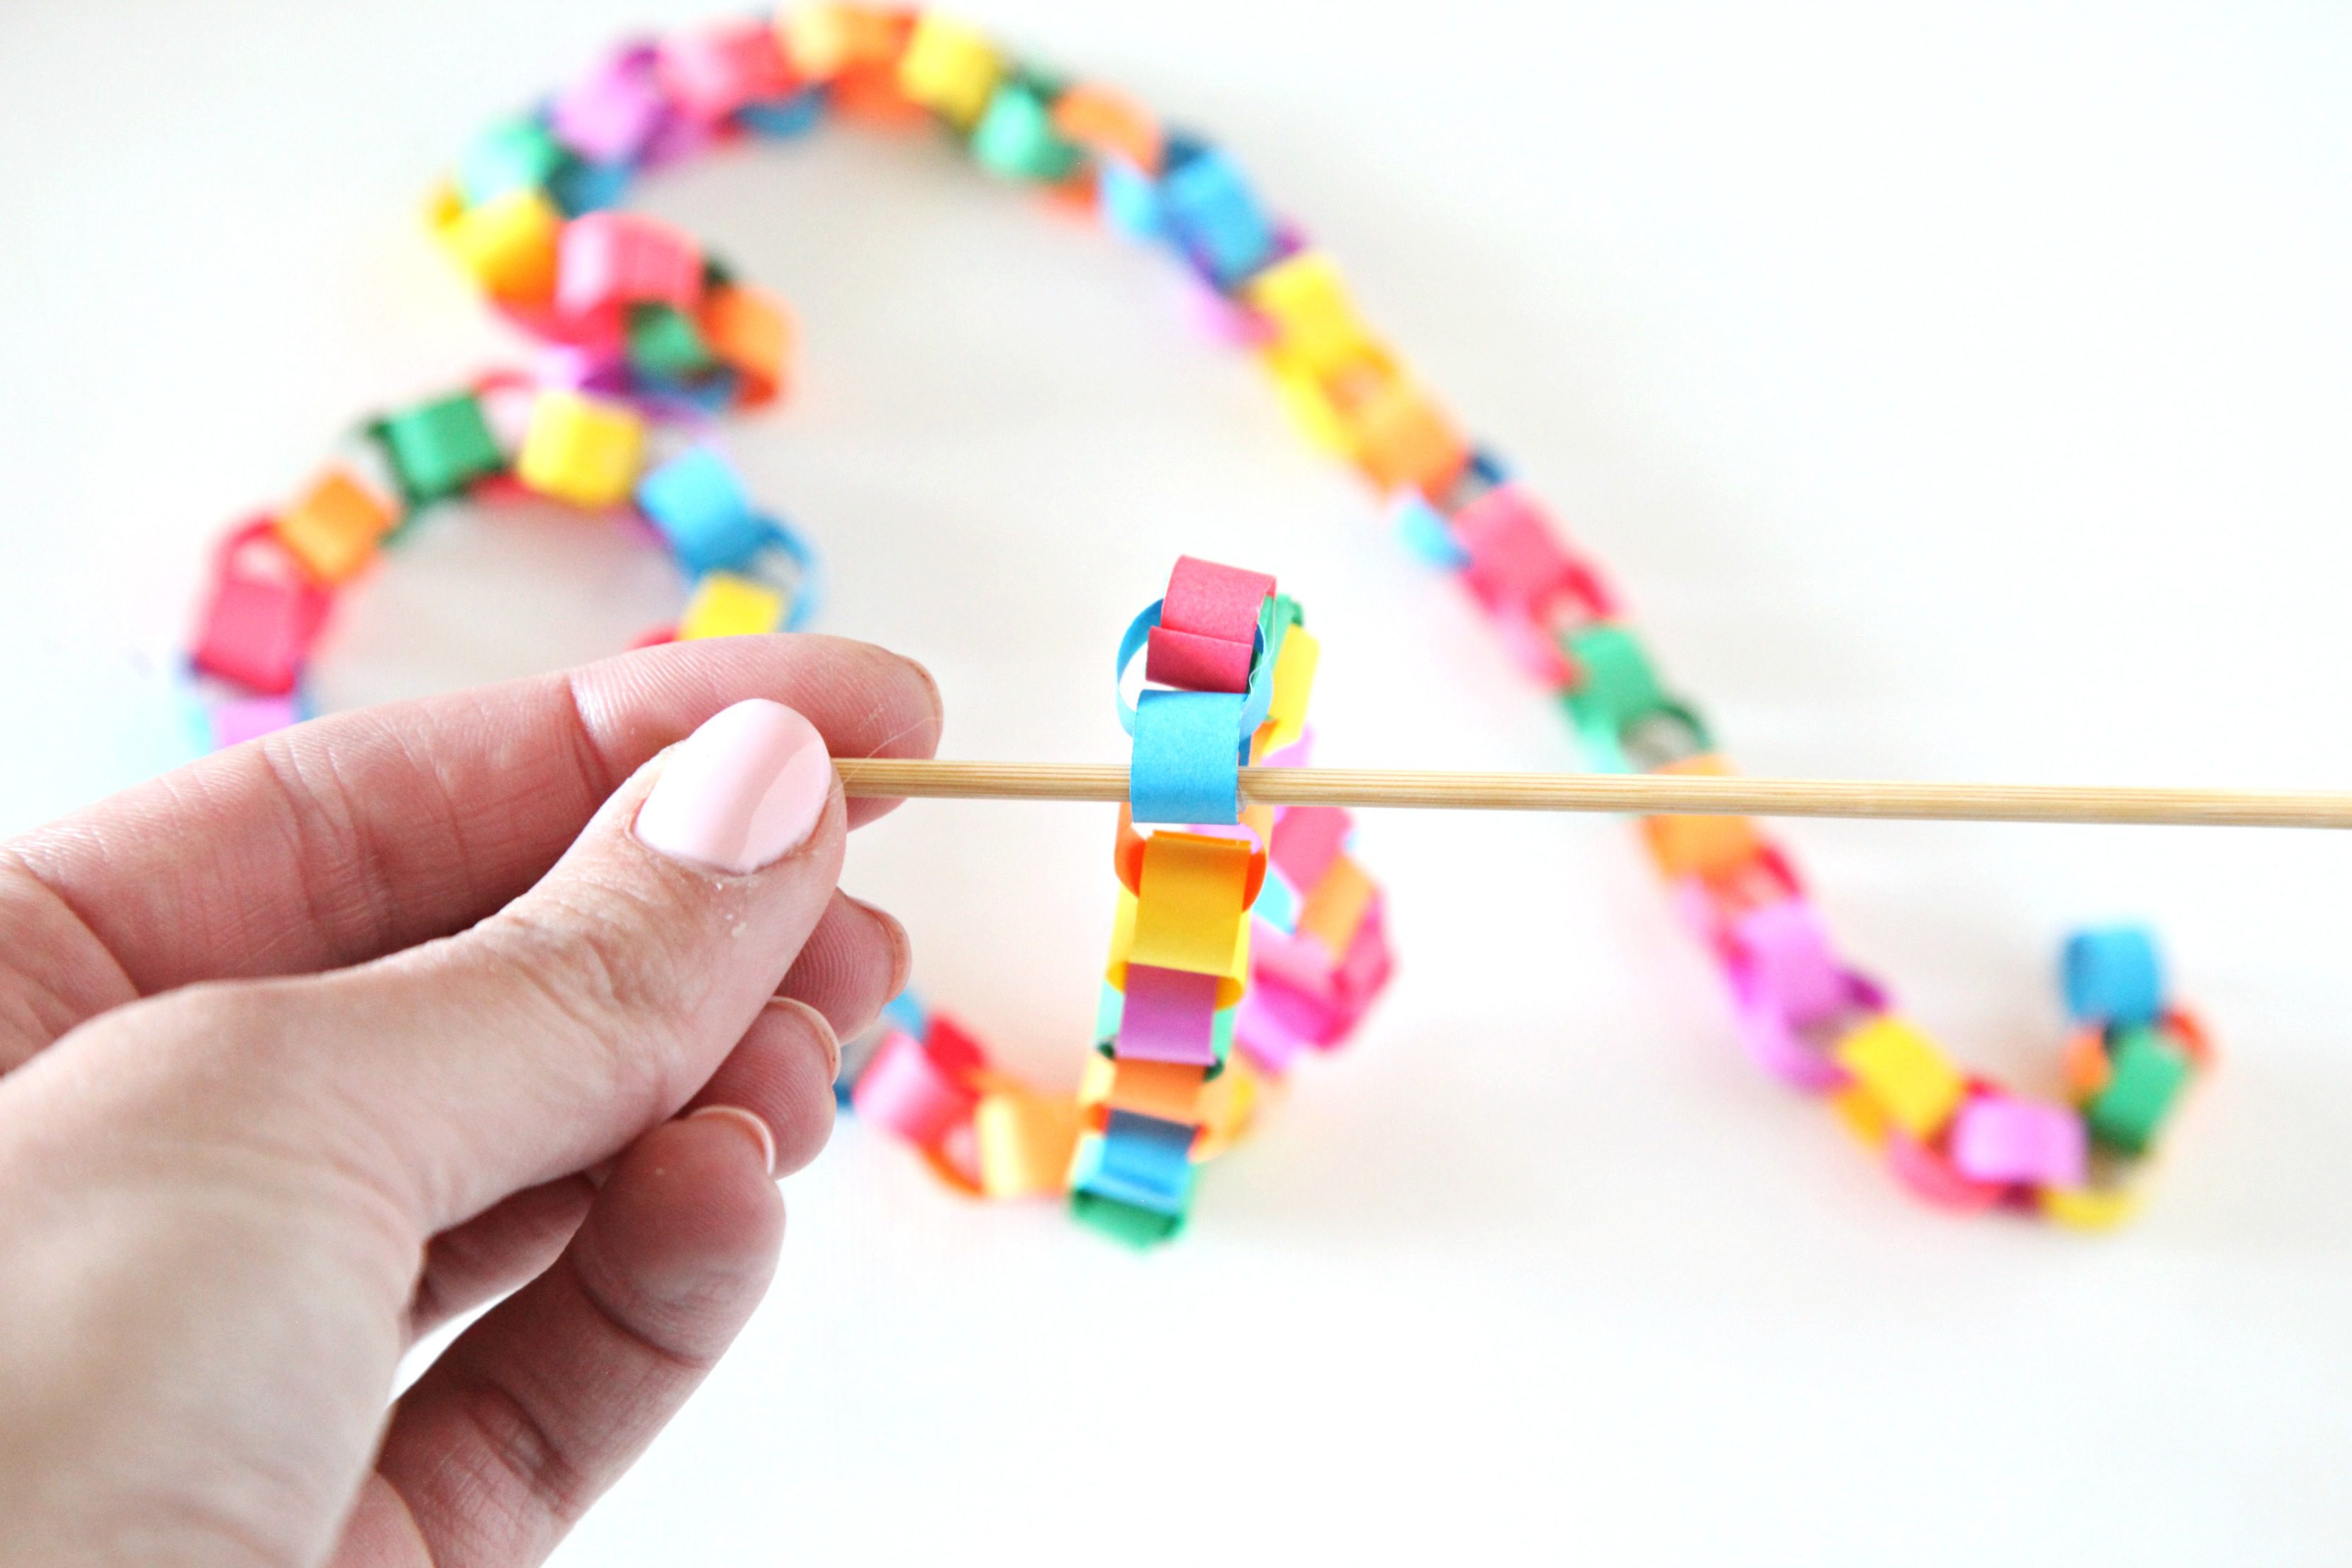
Step 2: Start making a paper chain by gluing one strip in the shape of a circle. Repeat with different colors, connecting each link to the one before. It would also be super fun to make a pattern with your colors, but I kept ours random.
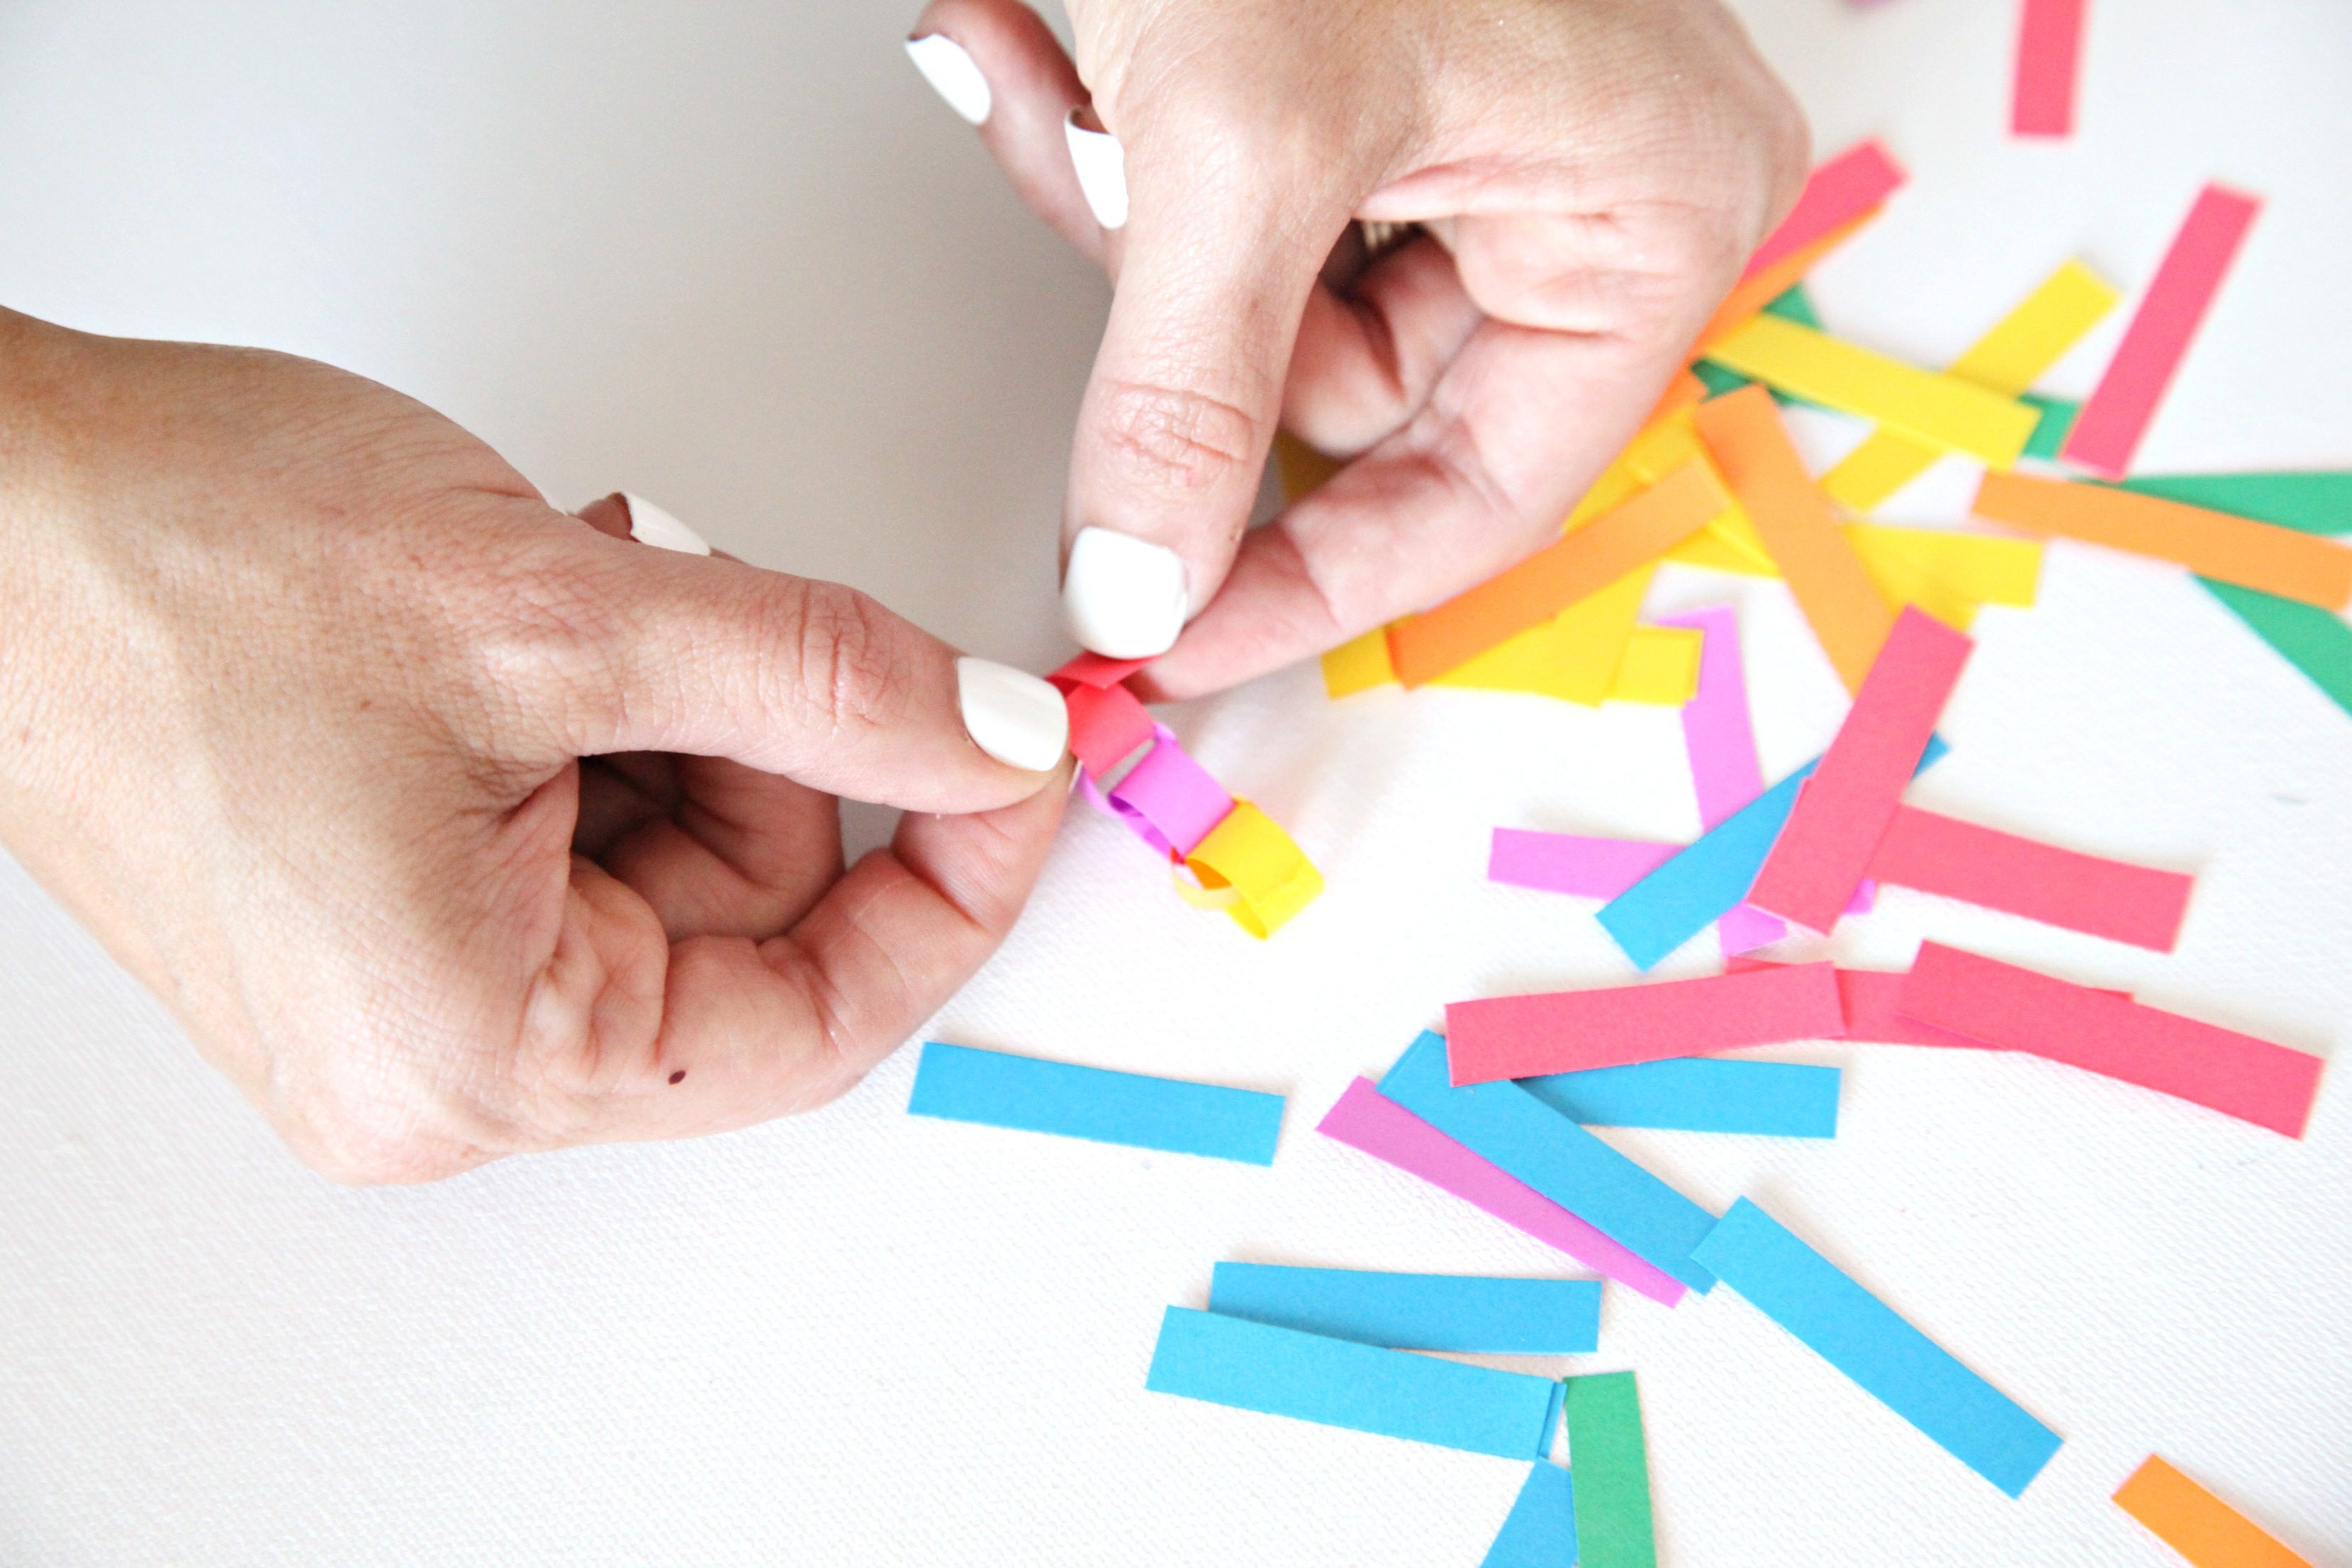

Step 3: Make one chain about 18 inches long, and a second about 15 inches long (or adjust the size to fit your cake).
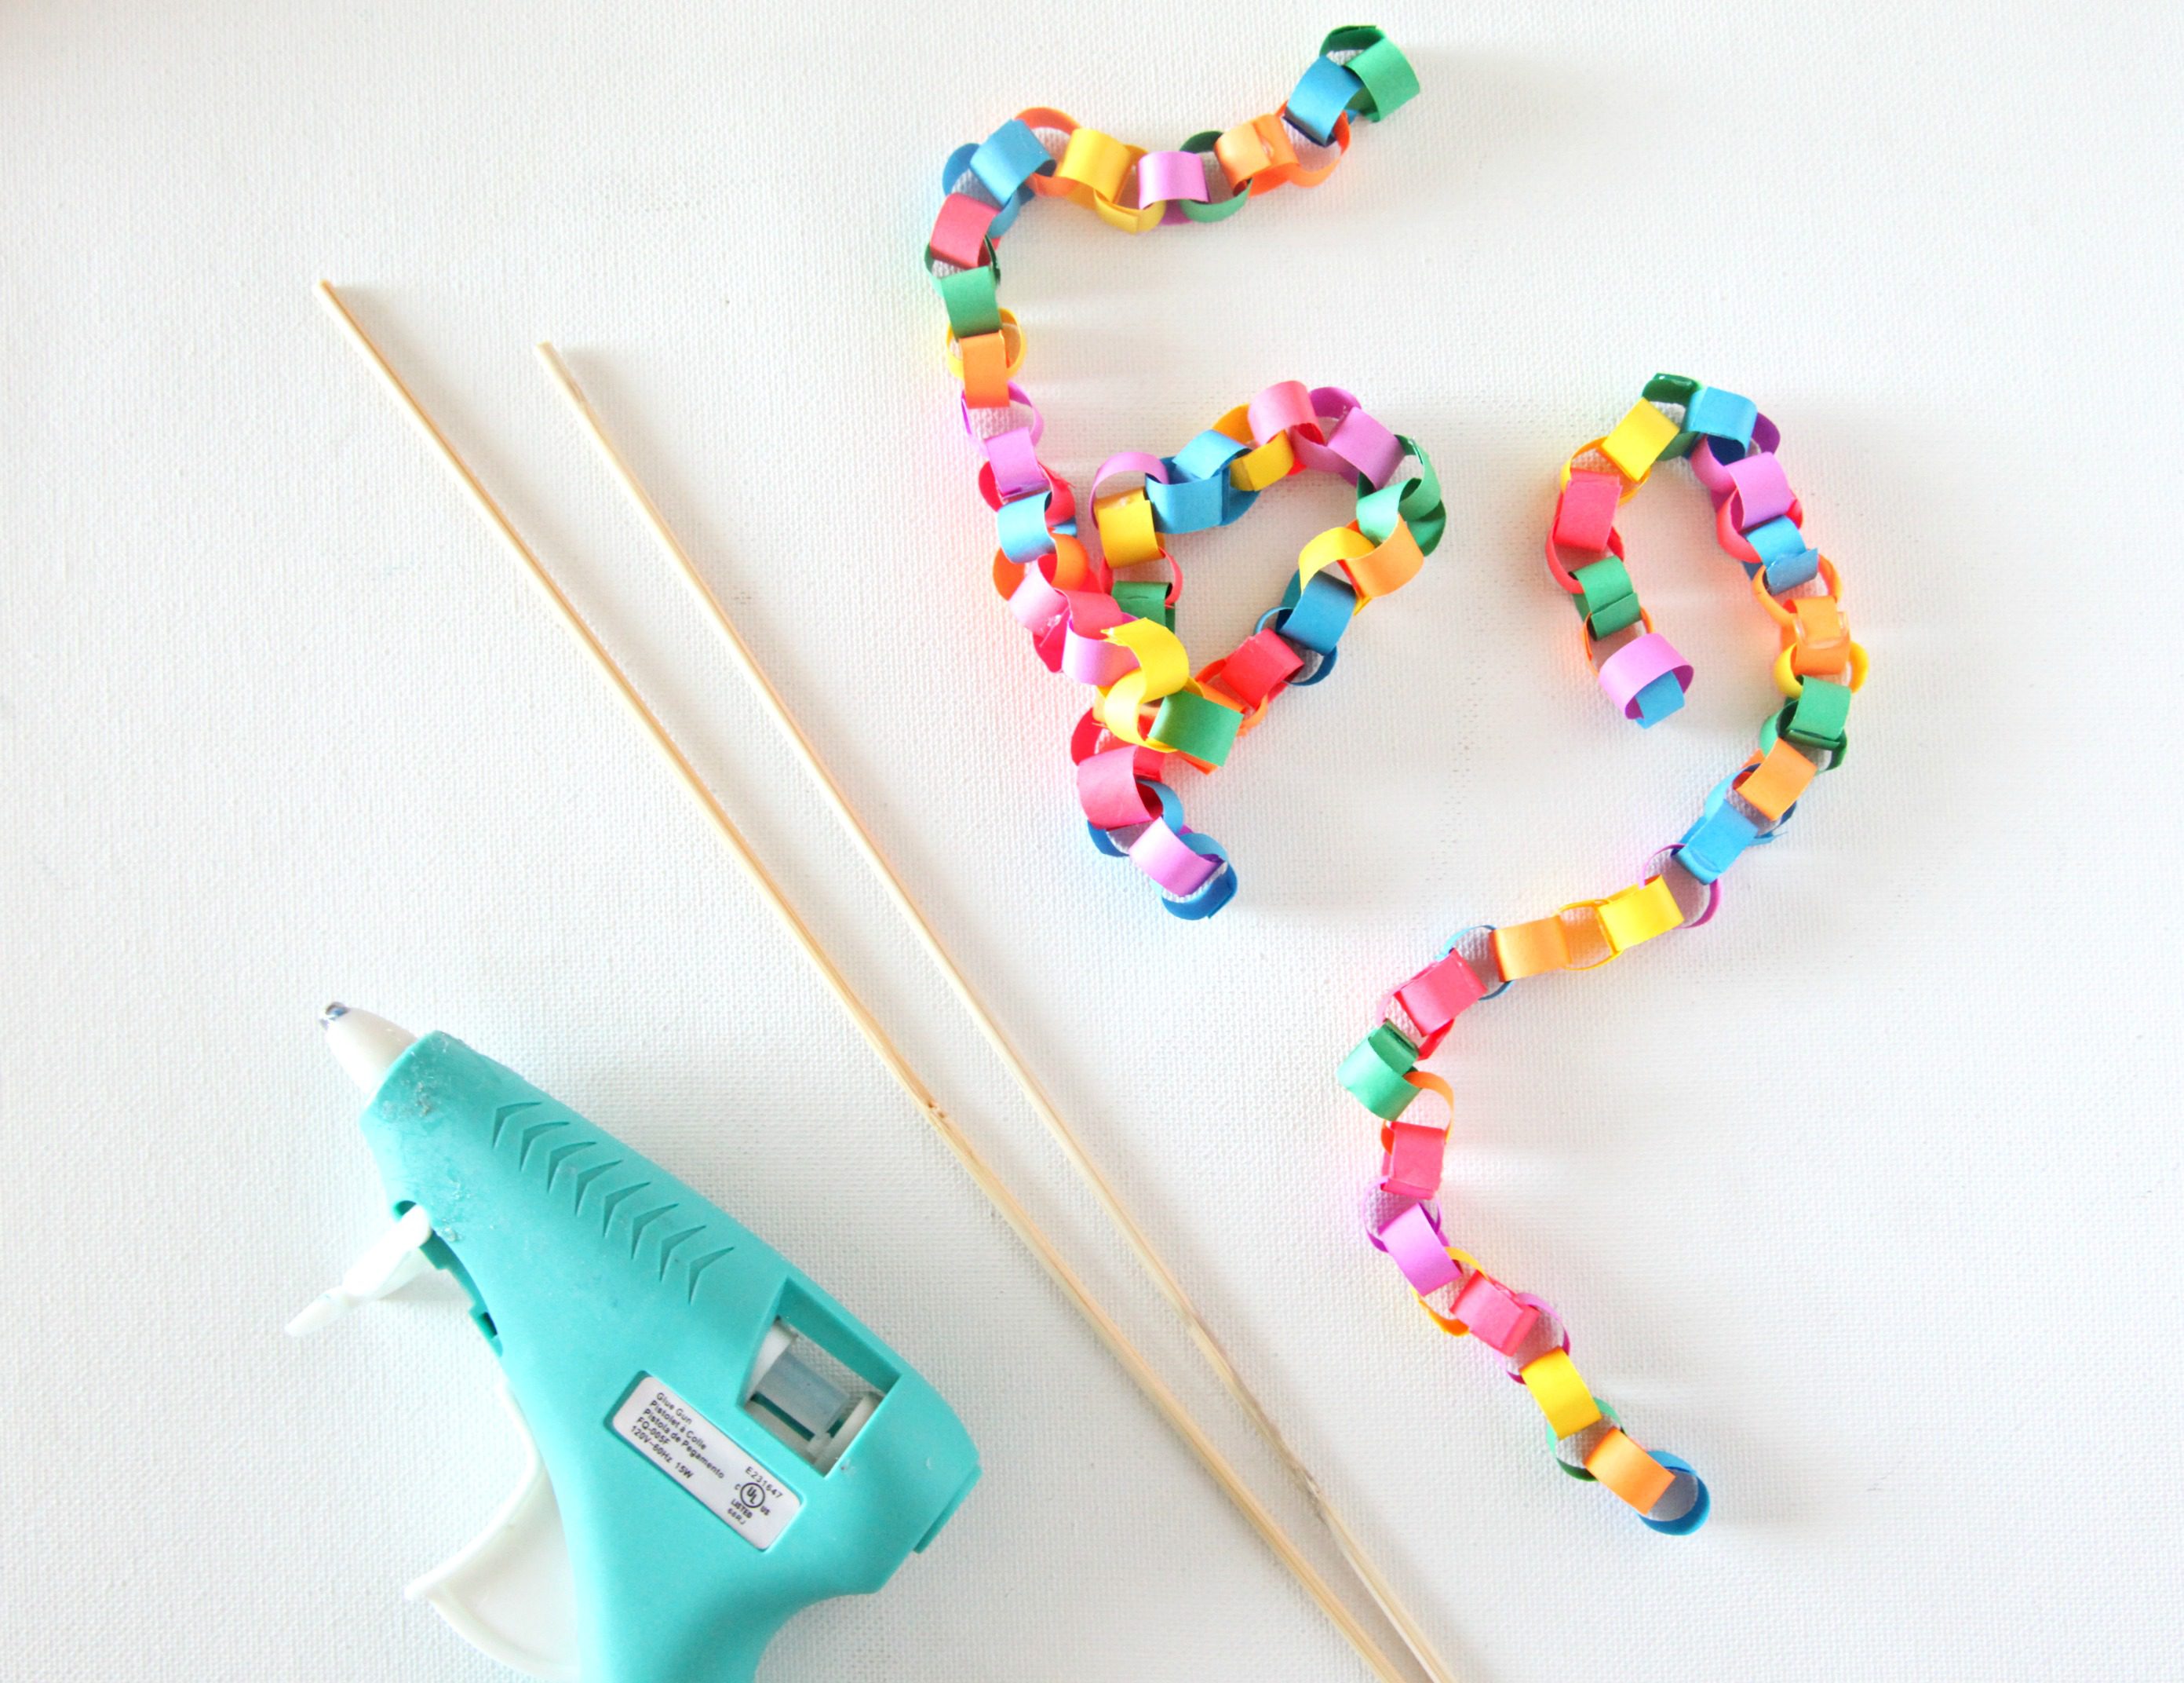

Step 4: Using hot glue, attach the skewers to the chains an inch or two from the end, attaching the shorter chain just above the other.

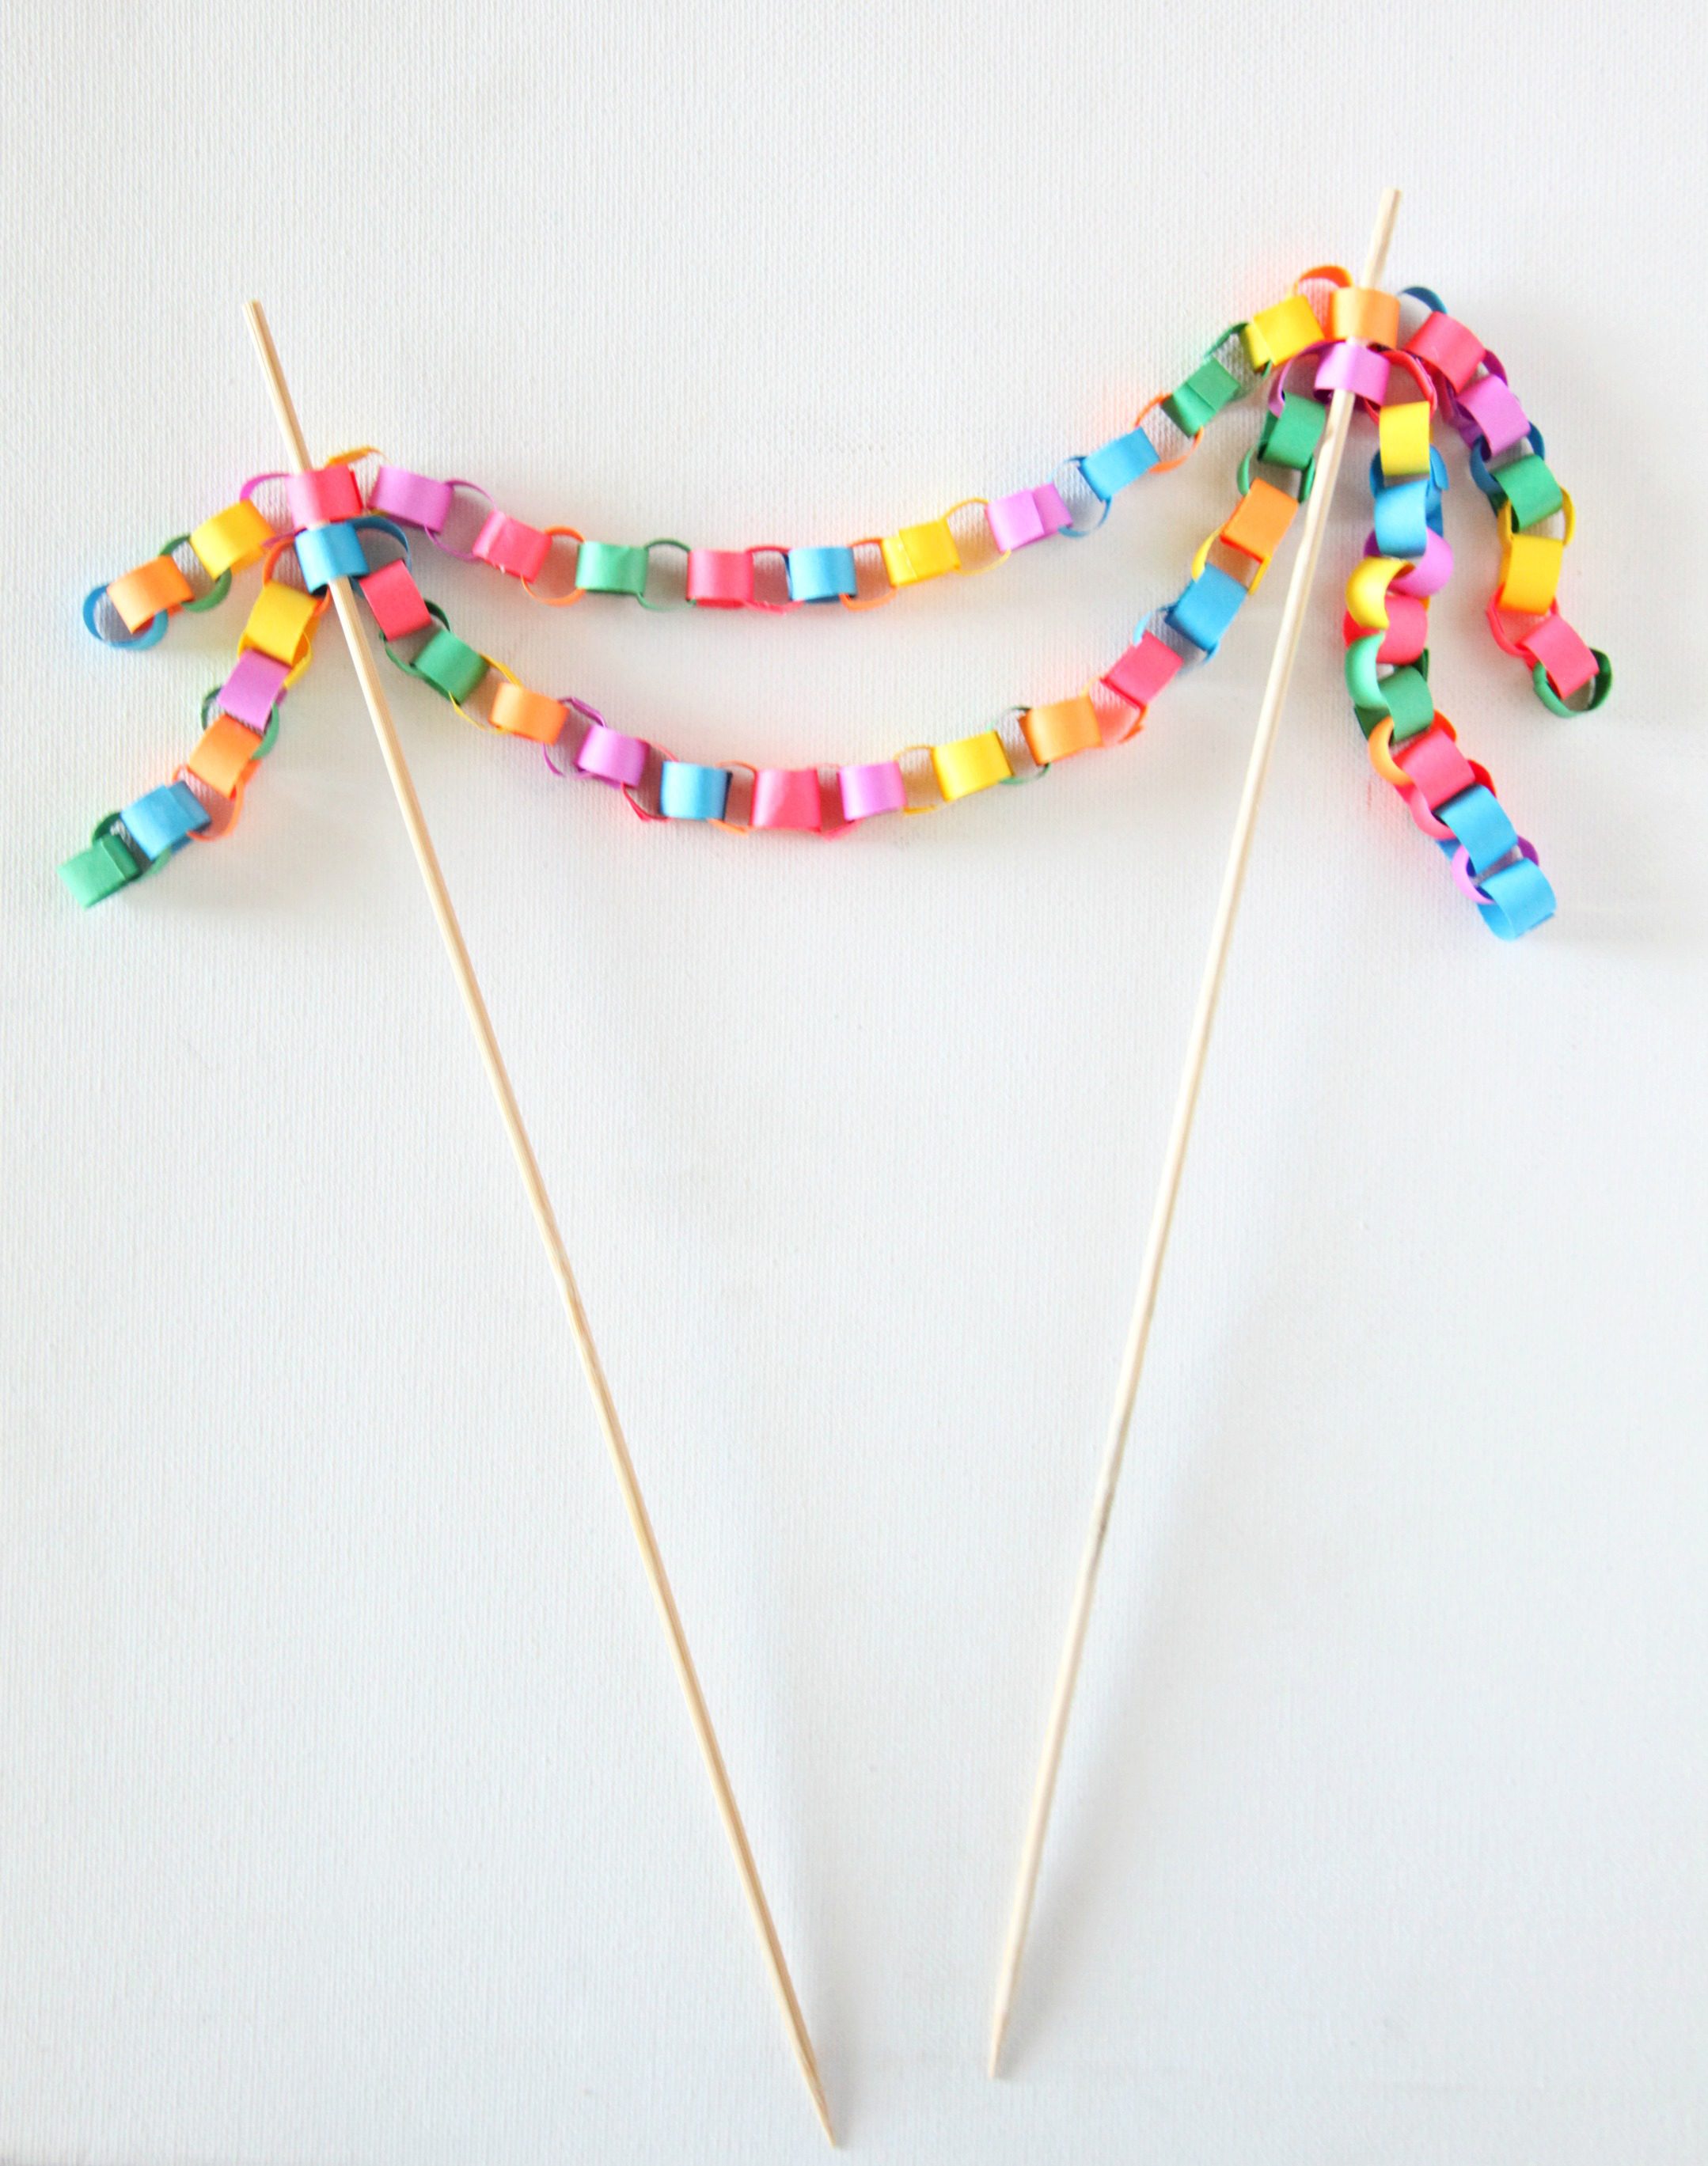

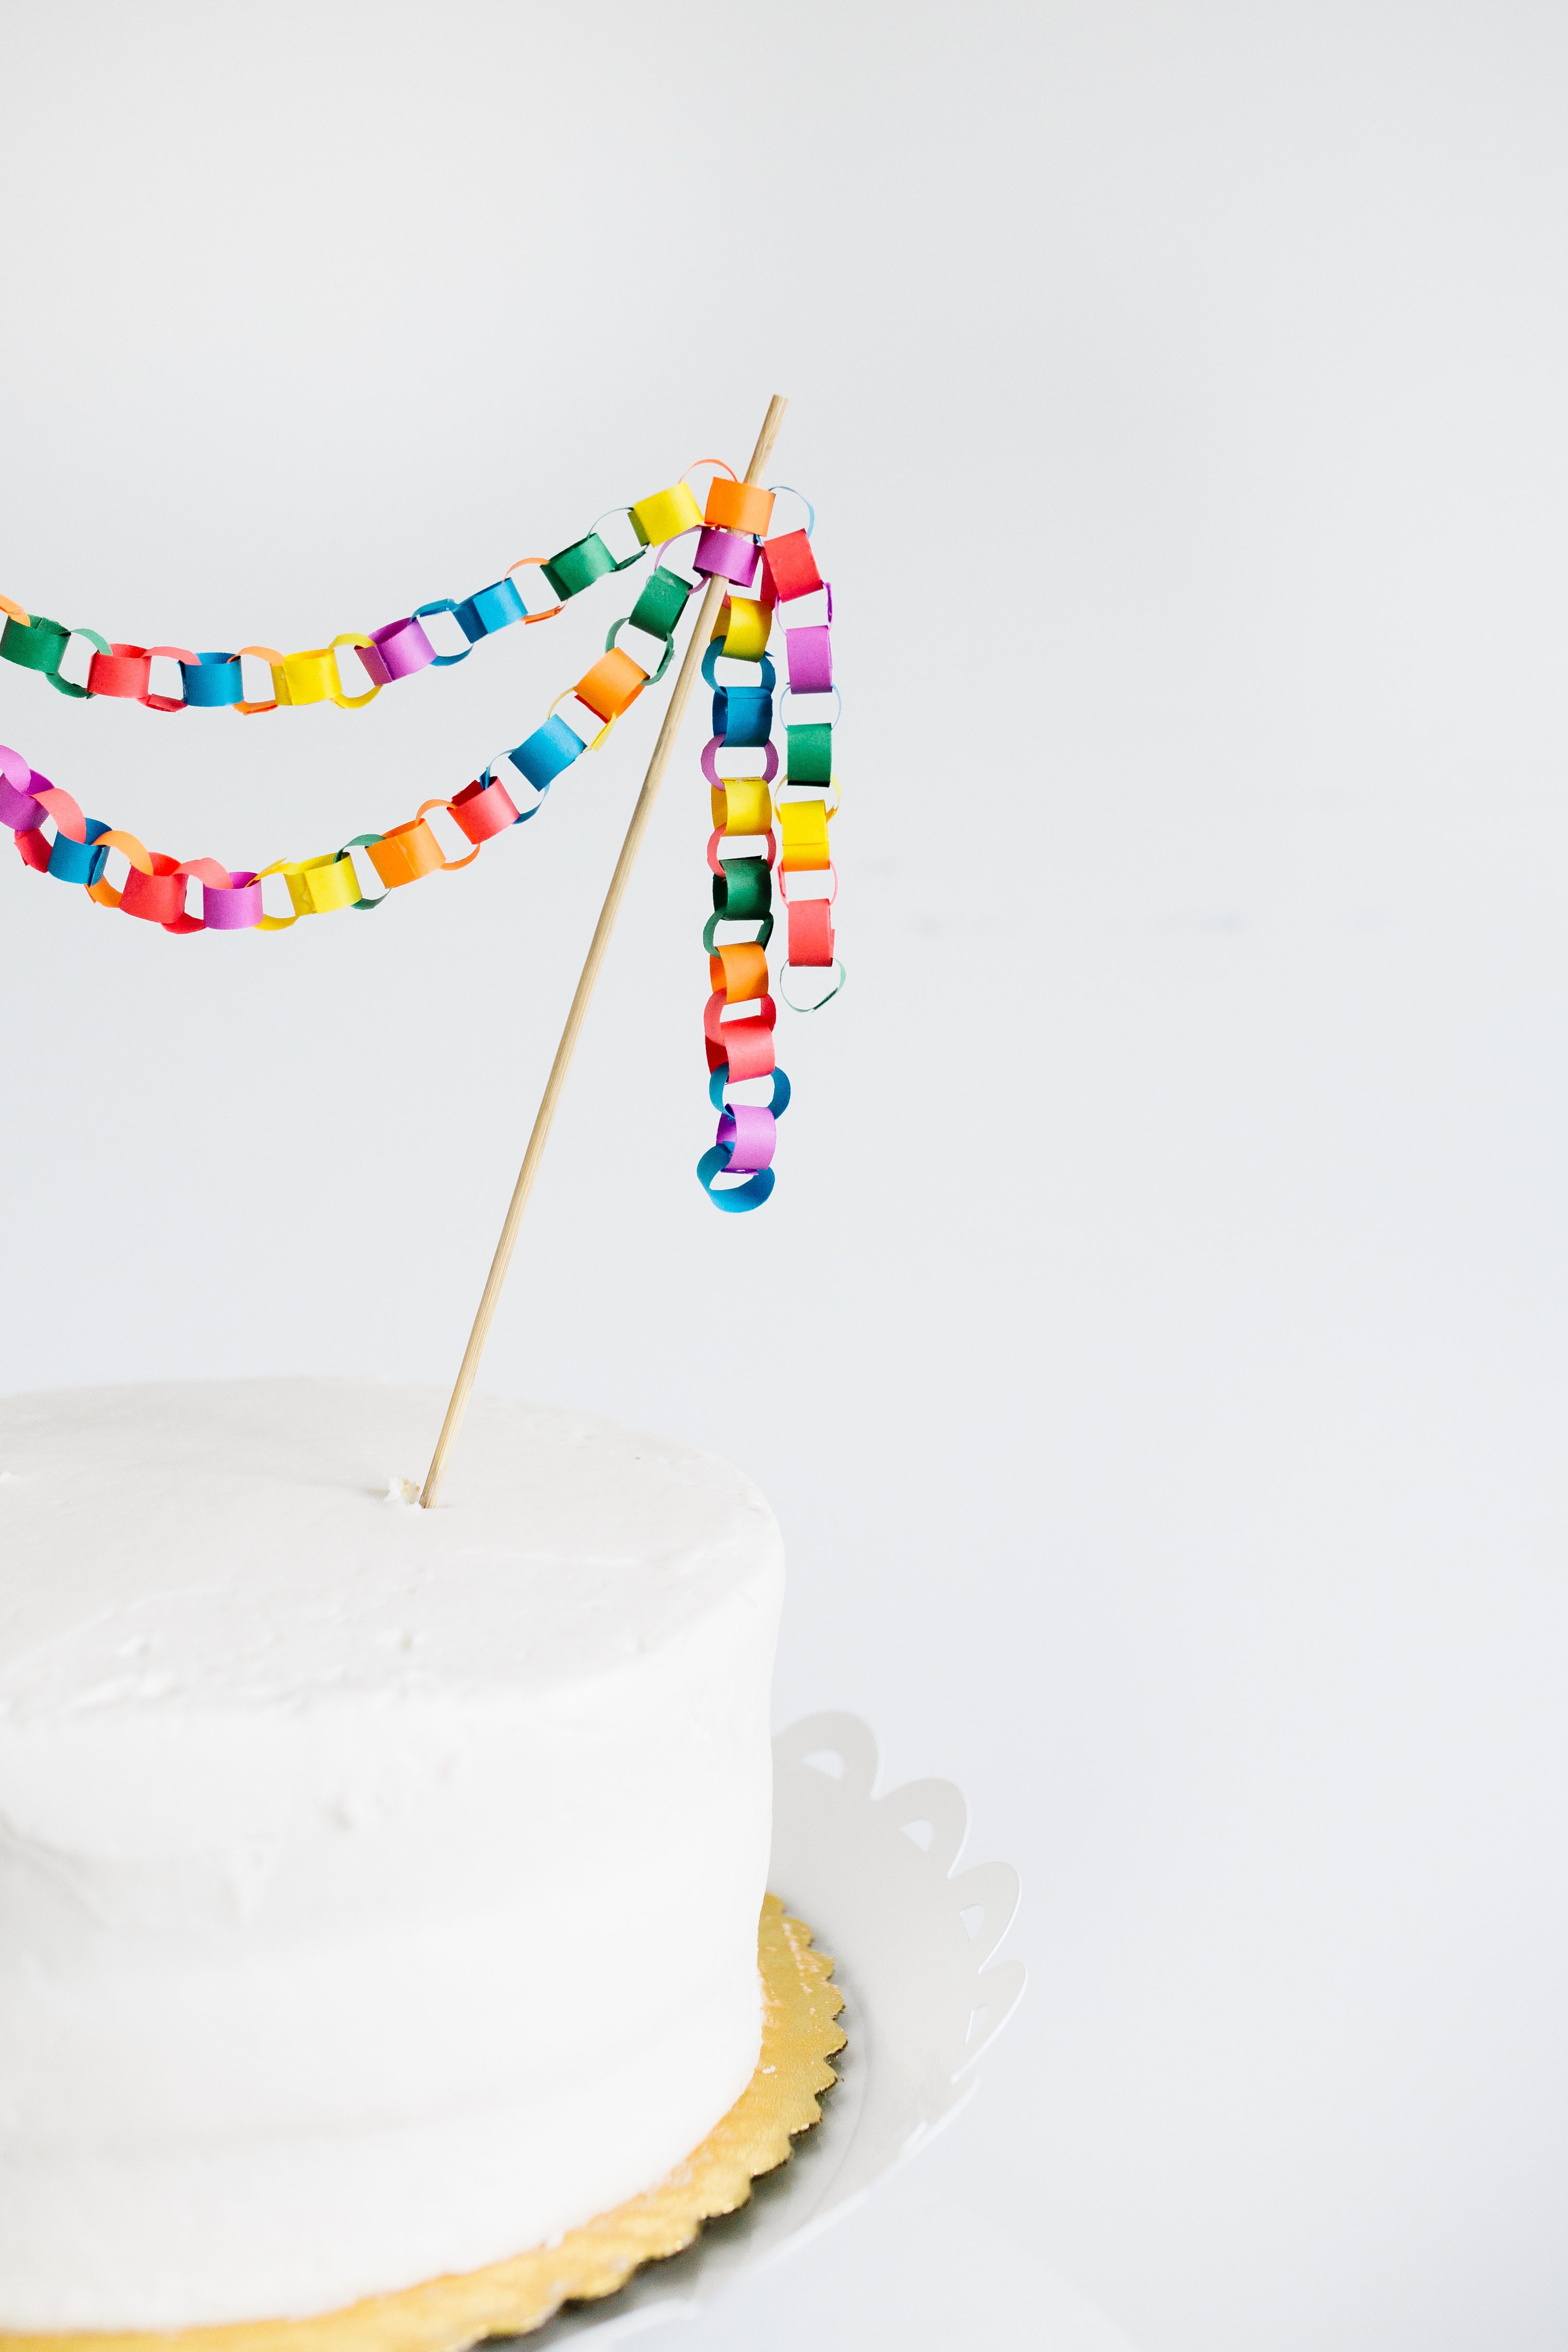
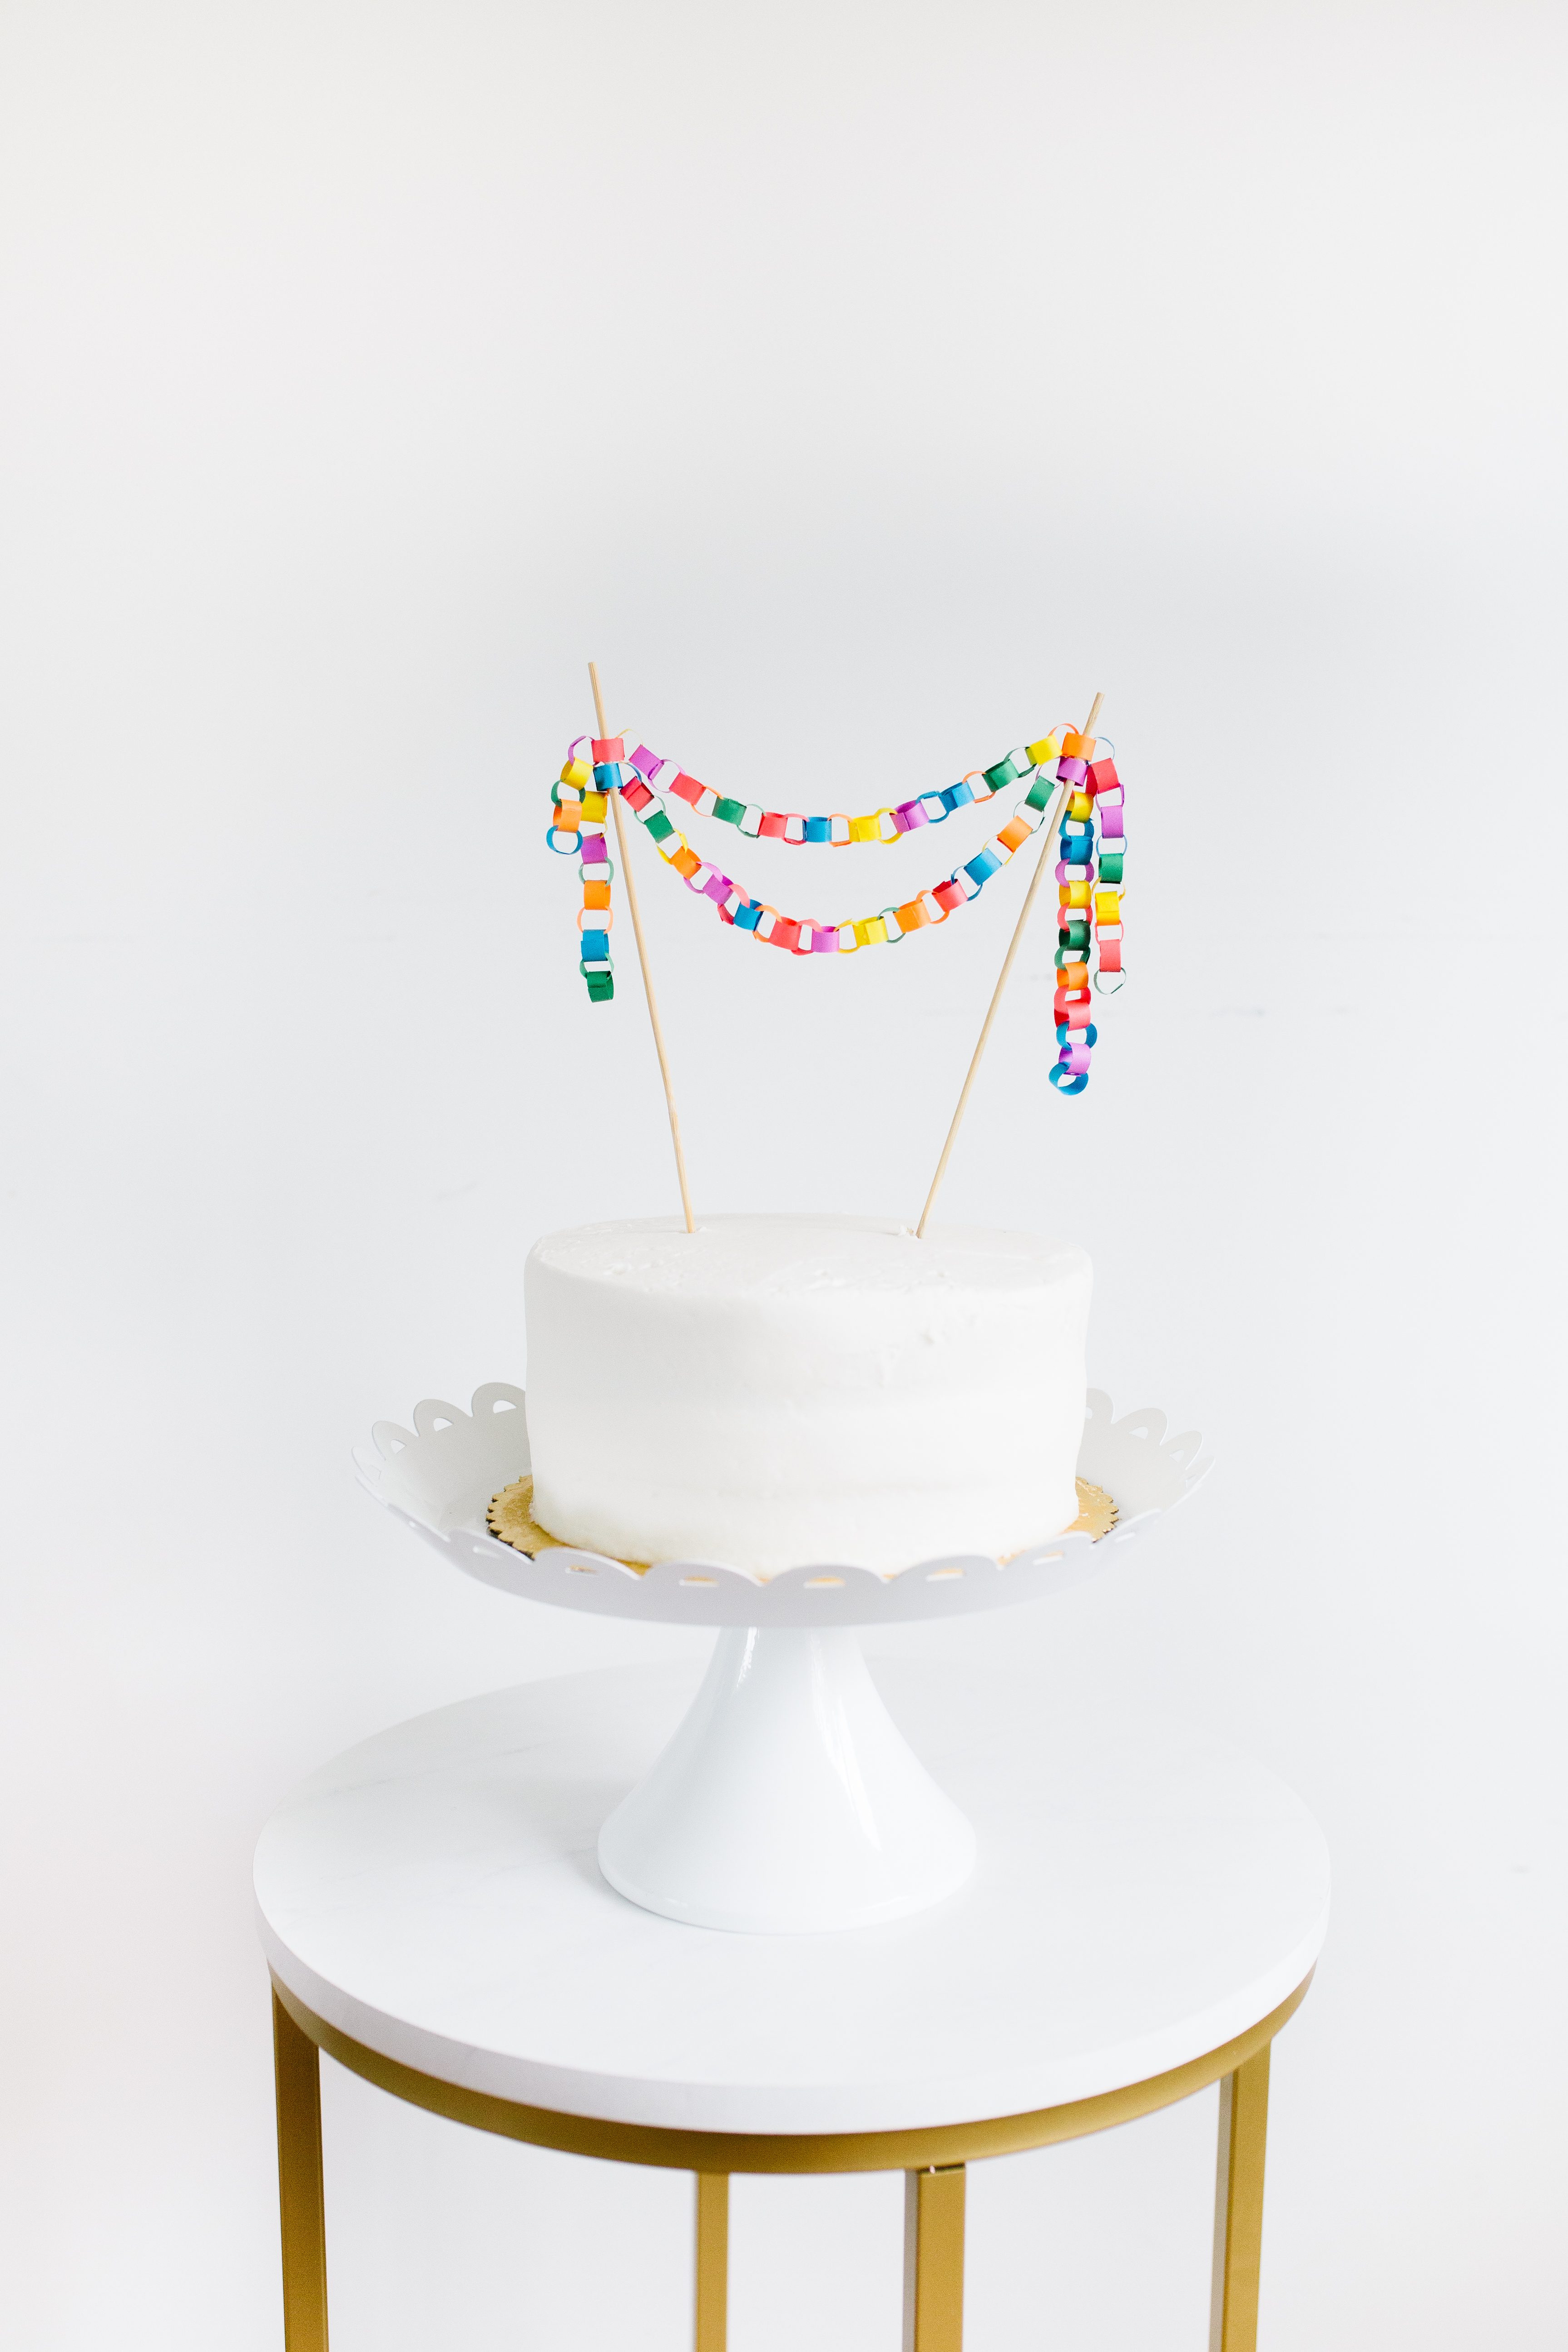
Step 5: Now it’s time to stick the cake topper into your cake! Be prepared for lots of ooohs and ahhhs because this cake topper really is the cutest thing.




Happy crafting!
xo, Sam
Check out these other fun party projects!


