


This post was originally published in November 2020
and updated as of October 2022.
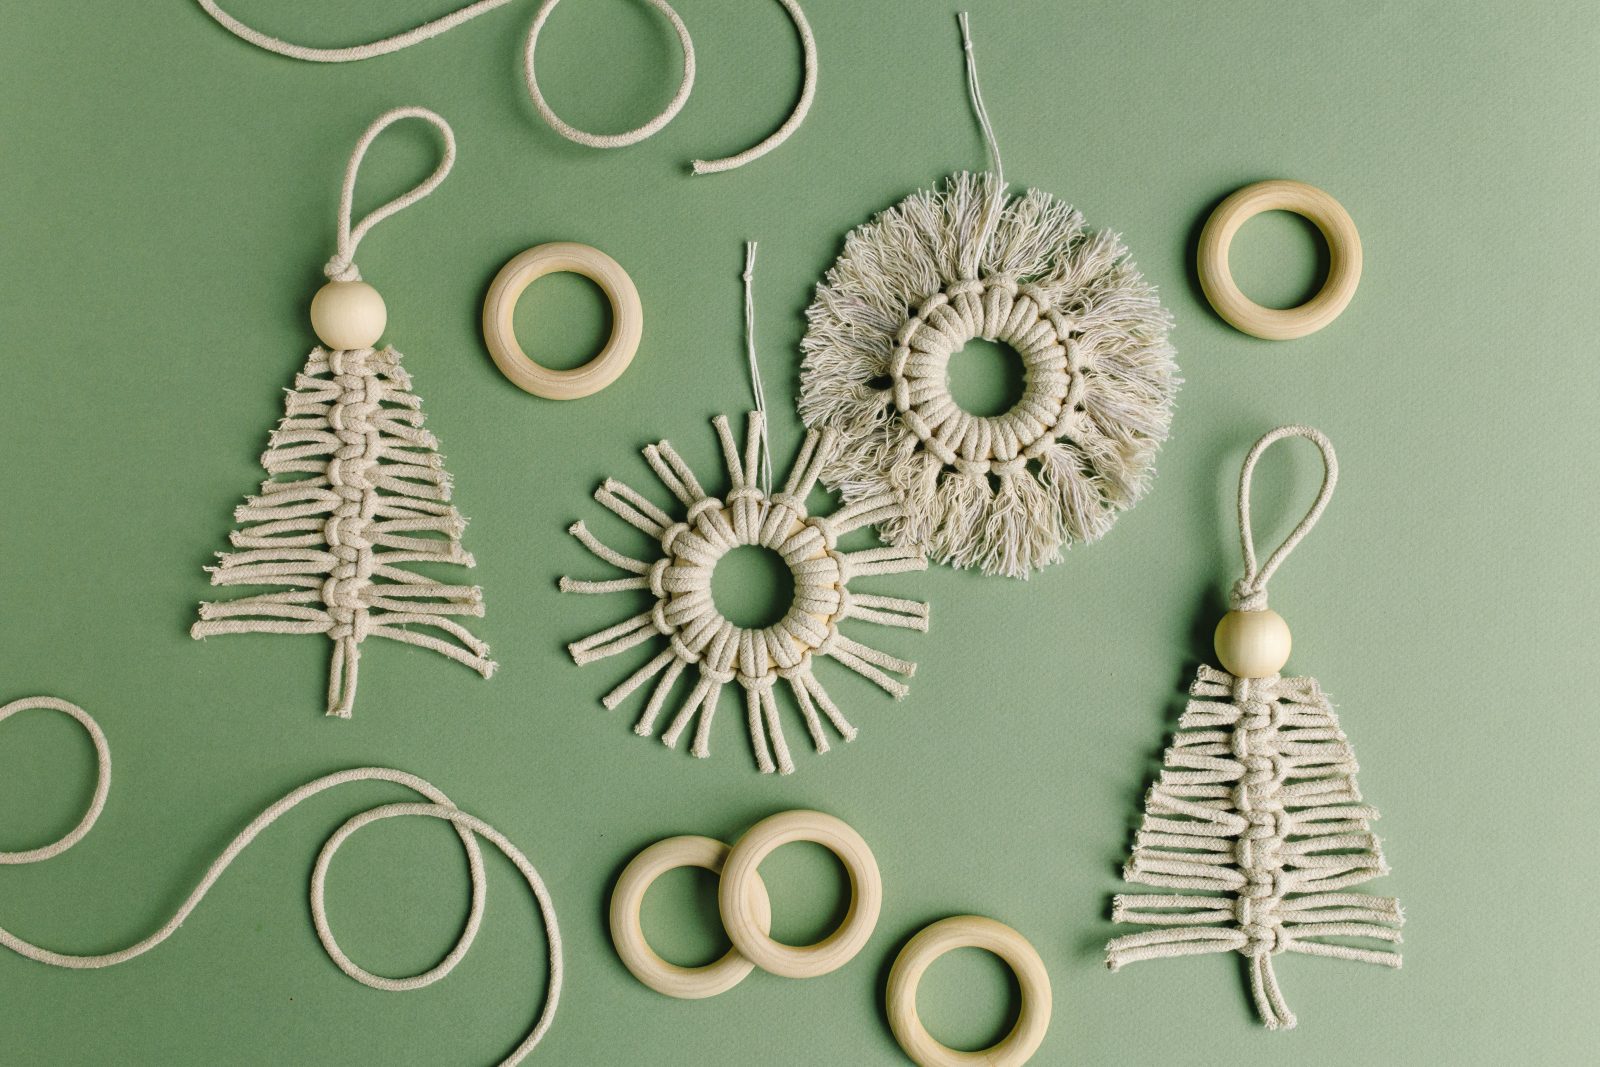
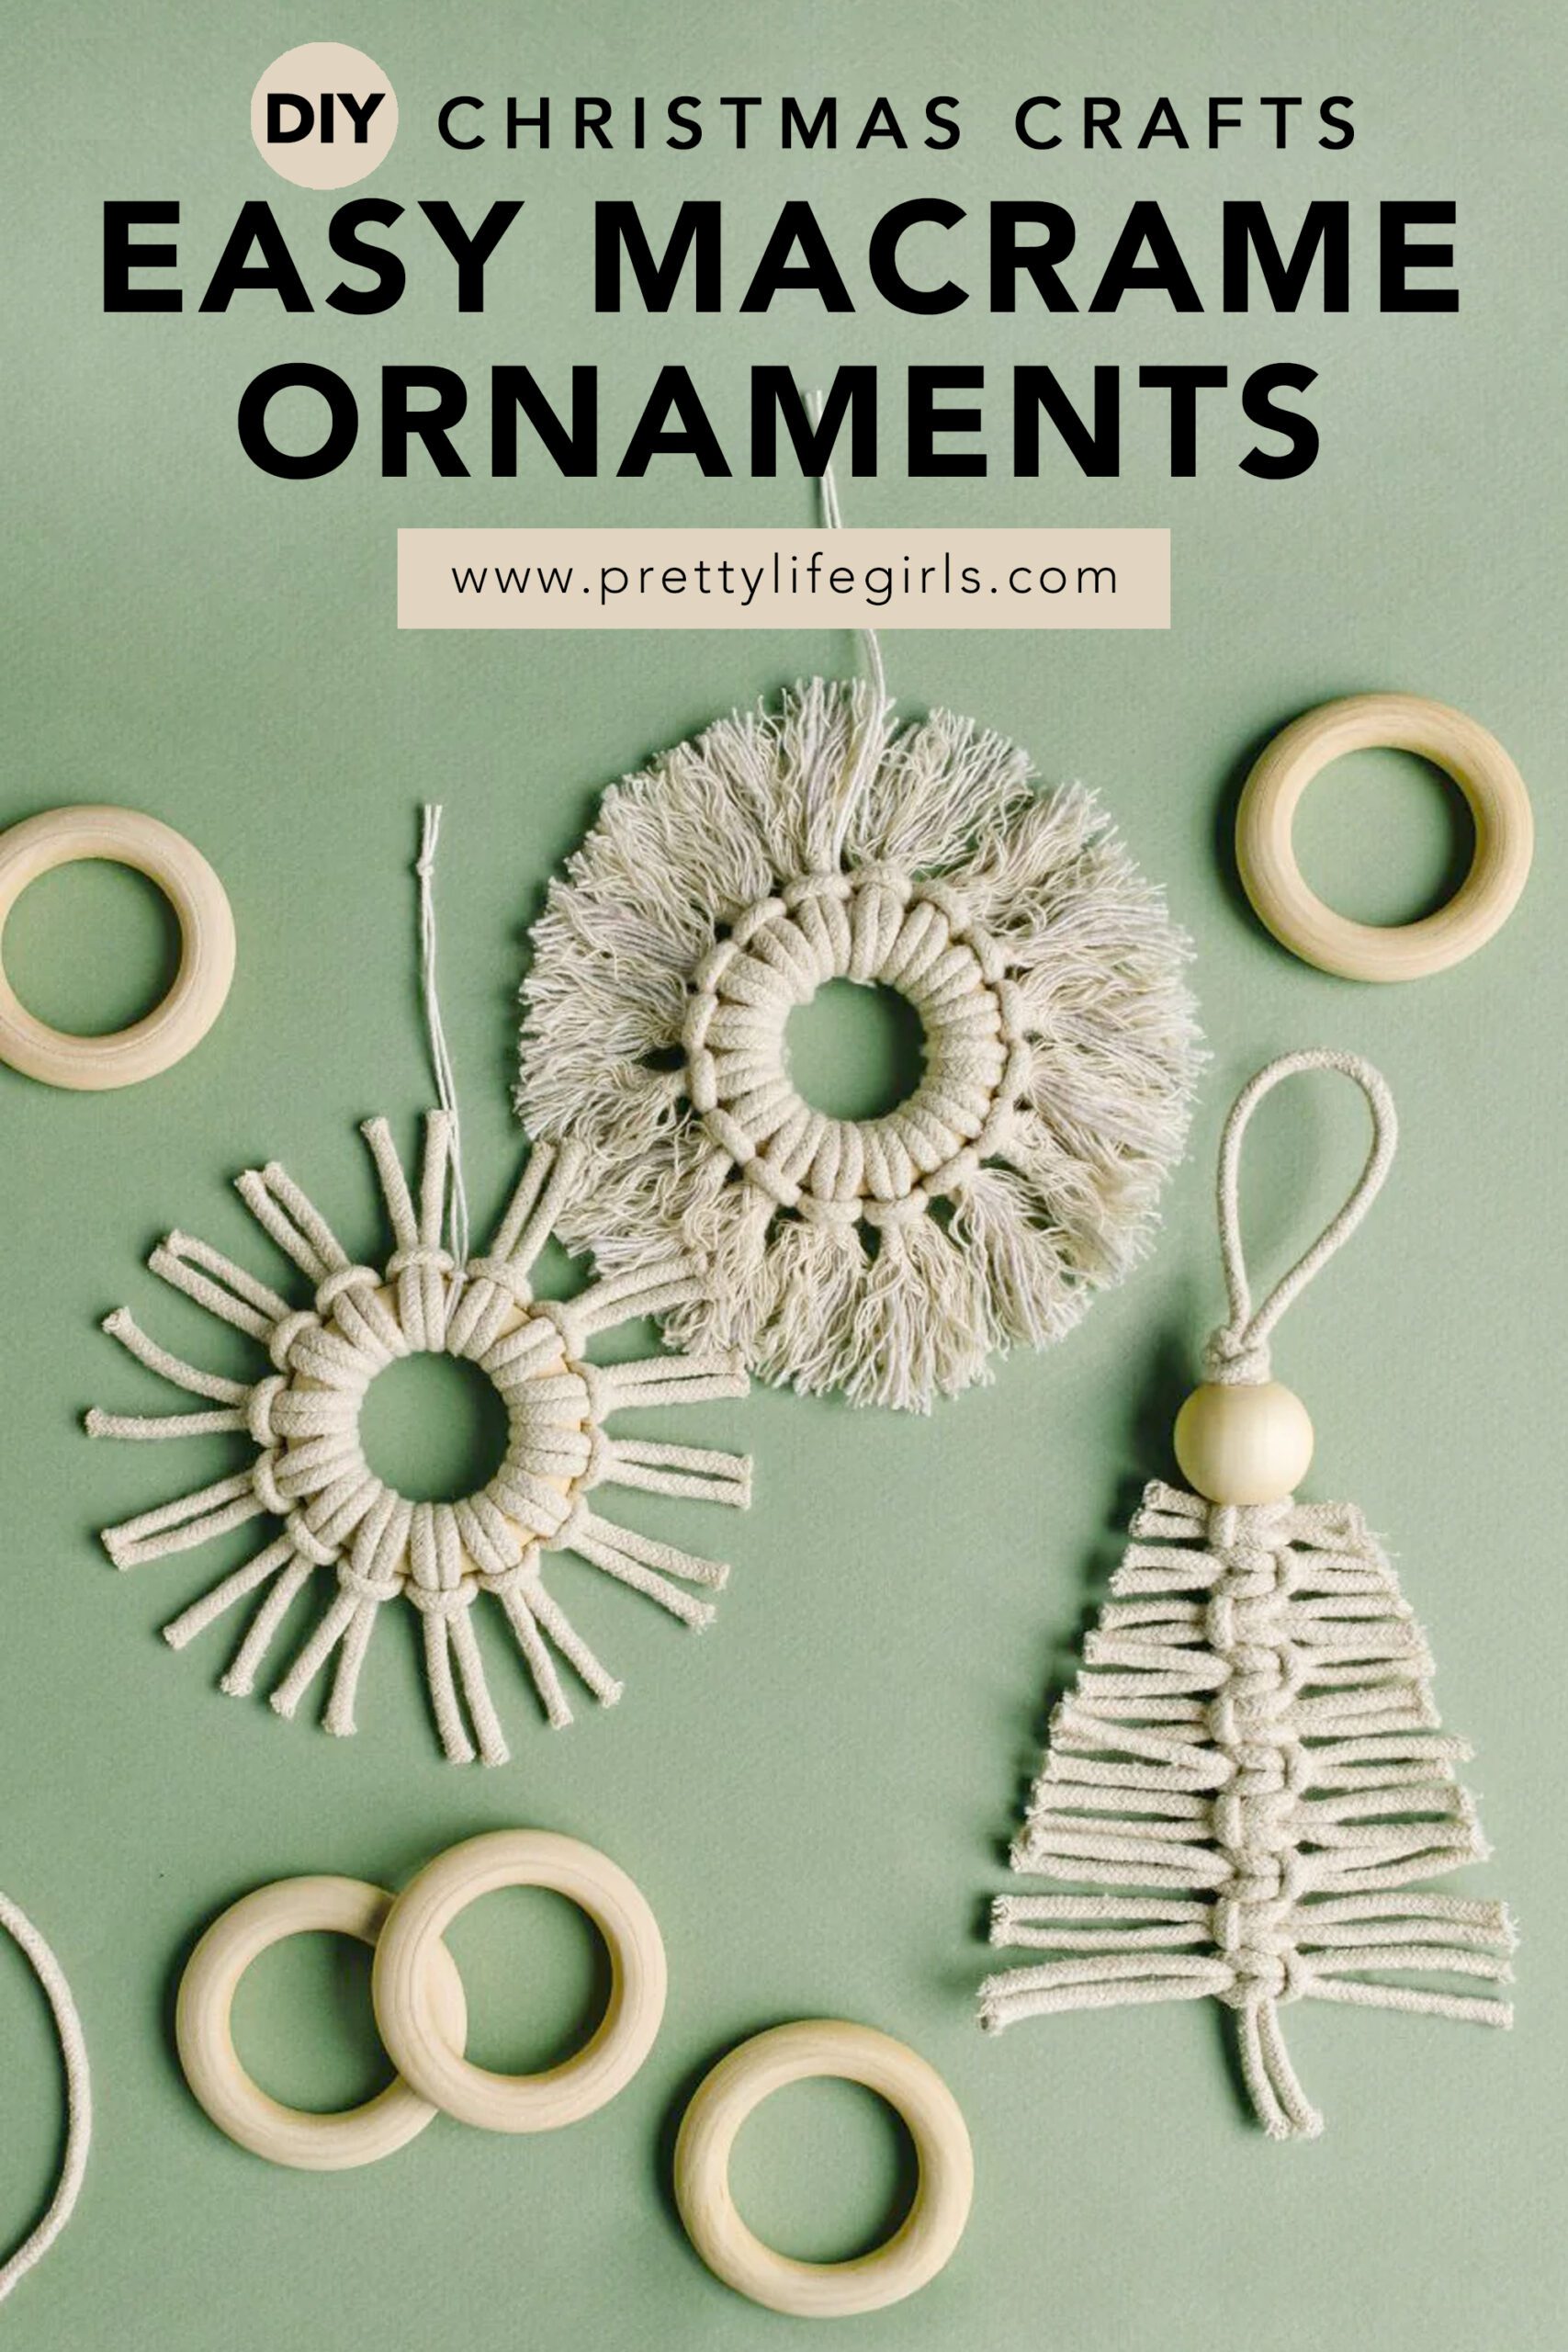
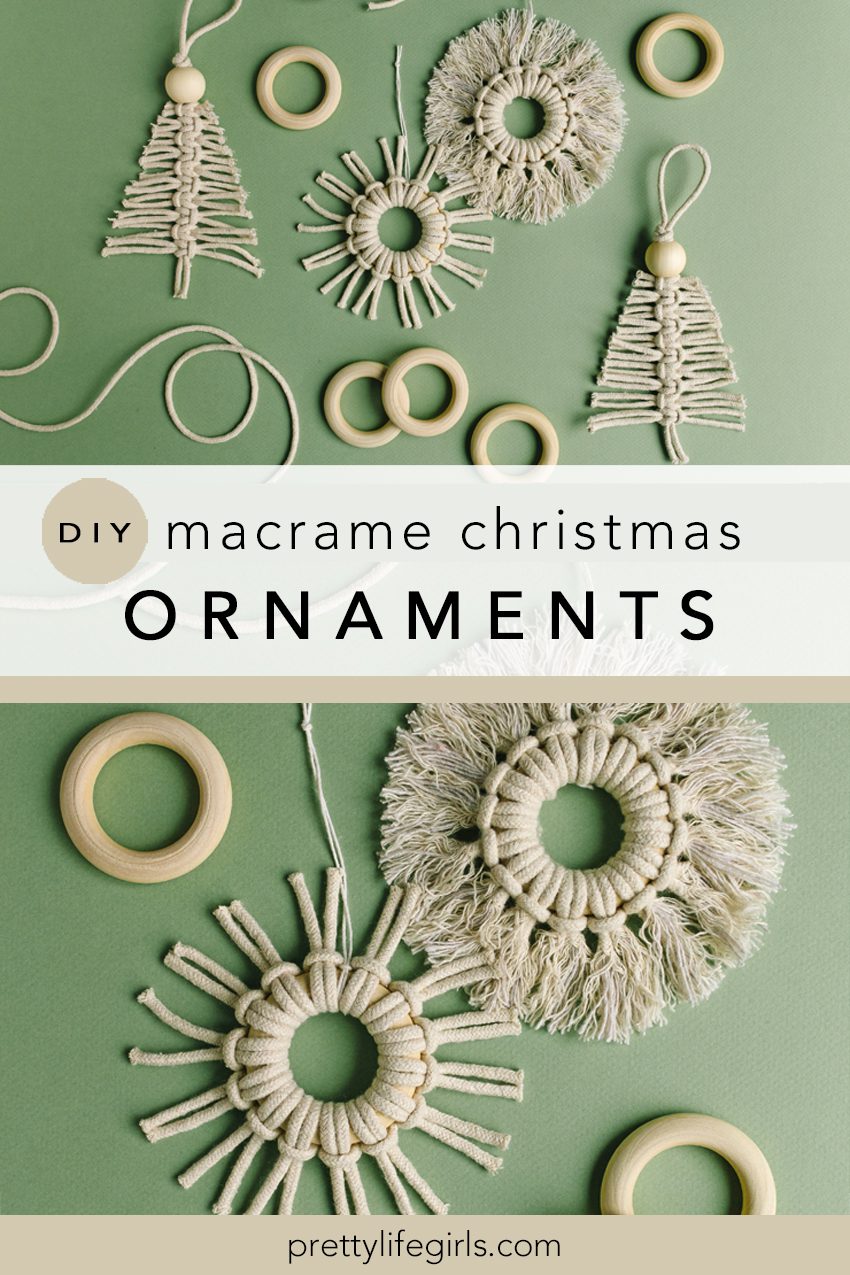
This DIY Macrame Christmas Ornament tutorial uses simple knots and only a few supplies. They are the perfect handmade Christmas craft!
Holiday Crafts: DIY Macrame Christmas Ornament
Although we aren’t particularly talented with it, we love making macrame projects (see our Dyed Macrame Keychains and Mini Macrame Wind Chimes). It takes us back to the days of making friendship bracelets and putting Chinese Staircase hair wraps in our hair! These DIY Macrame Christmas Ornaments use similar skills and only a few supplies, but they are the perfect handmade touch for any Christmas decor. Keep reading for the full tutorial!
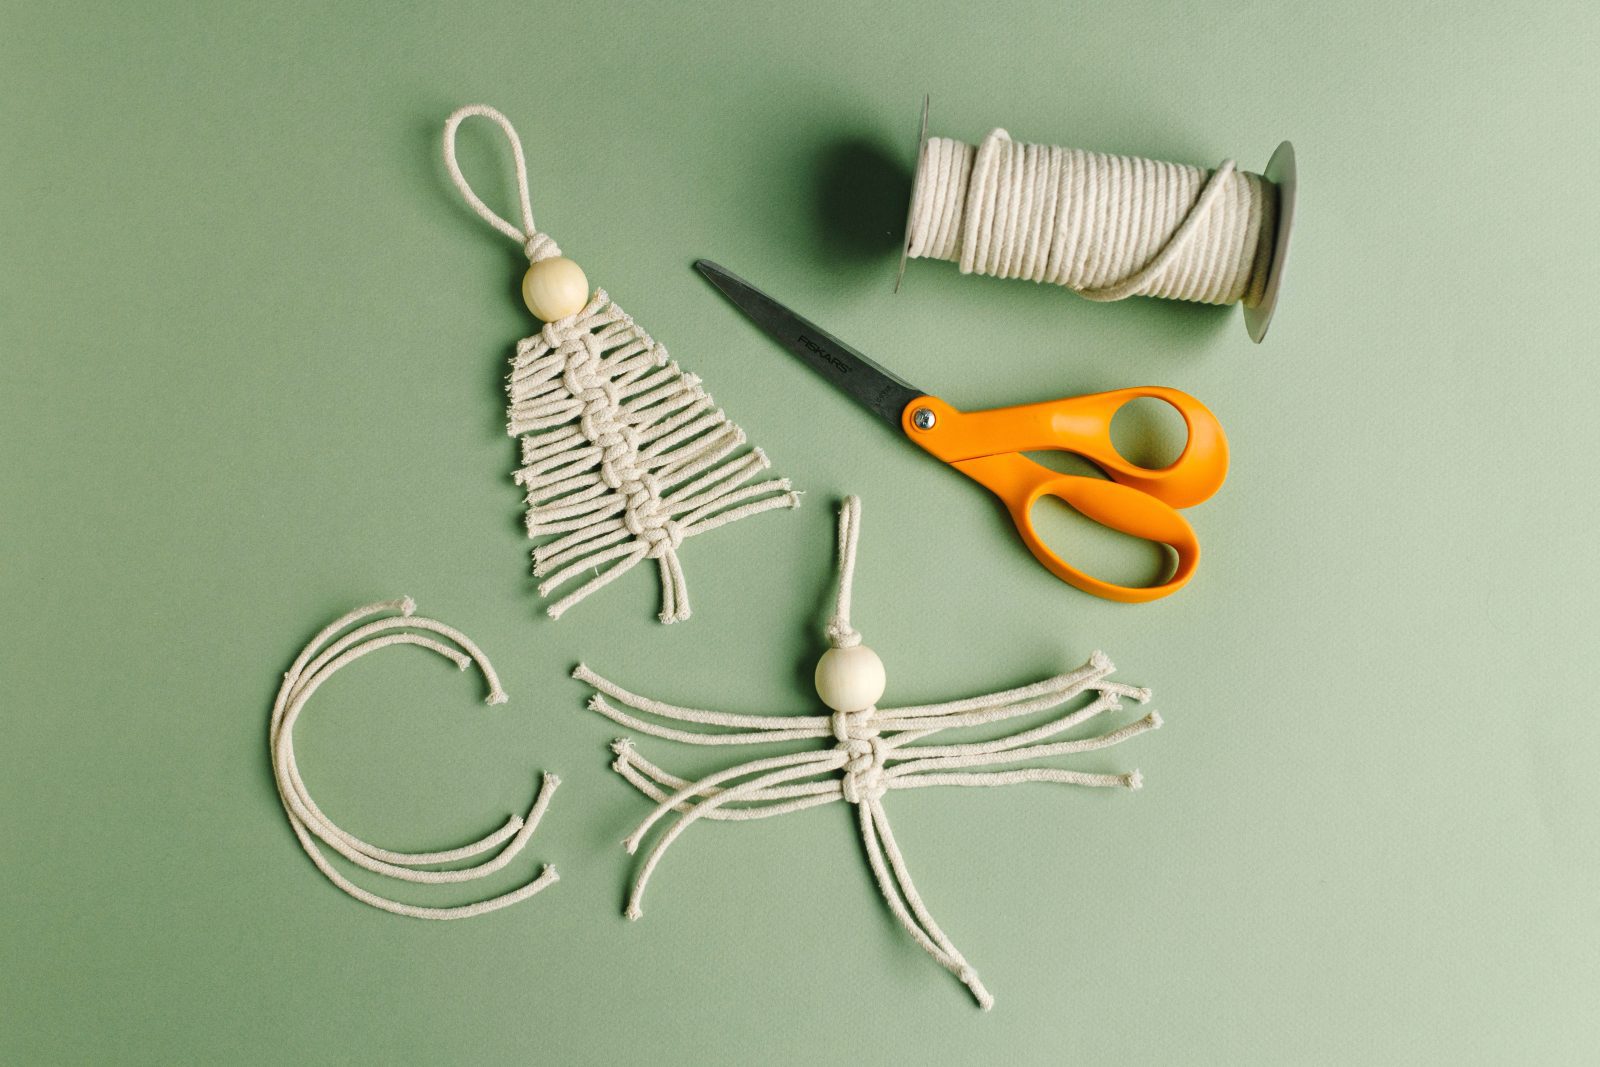
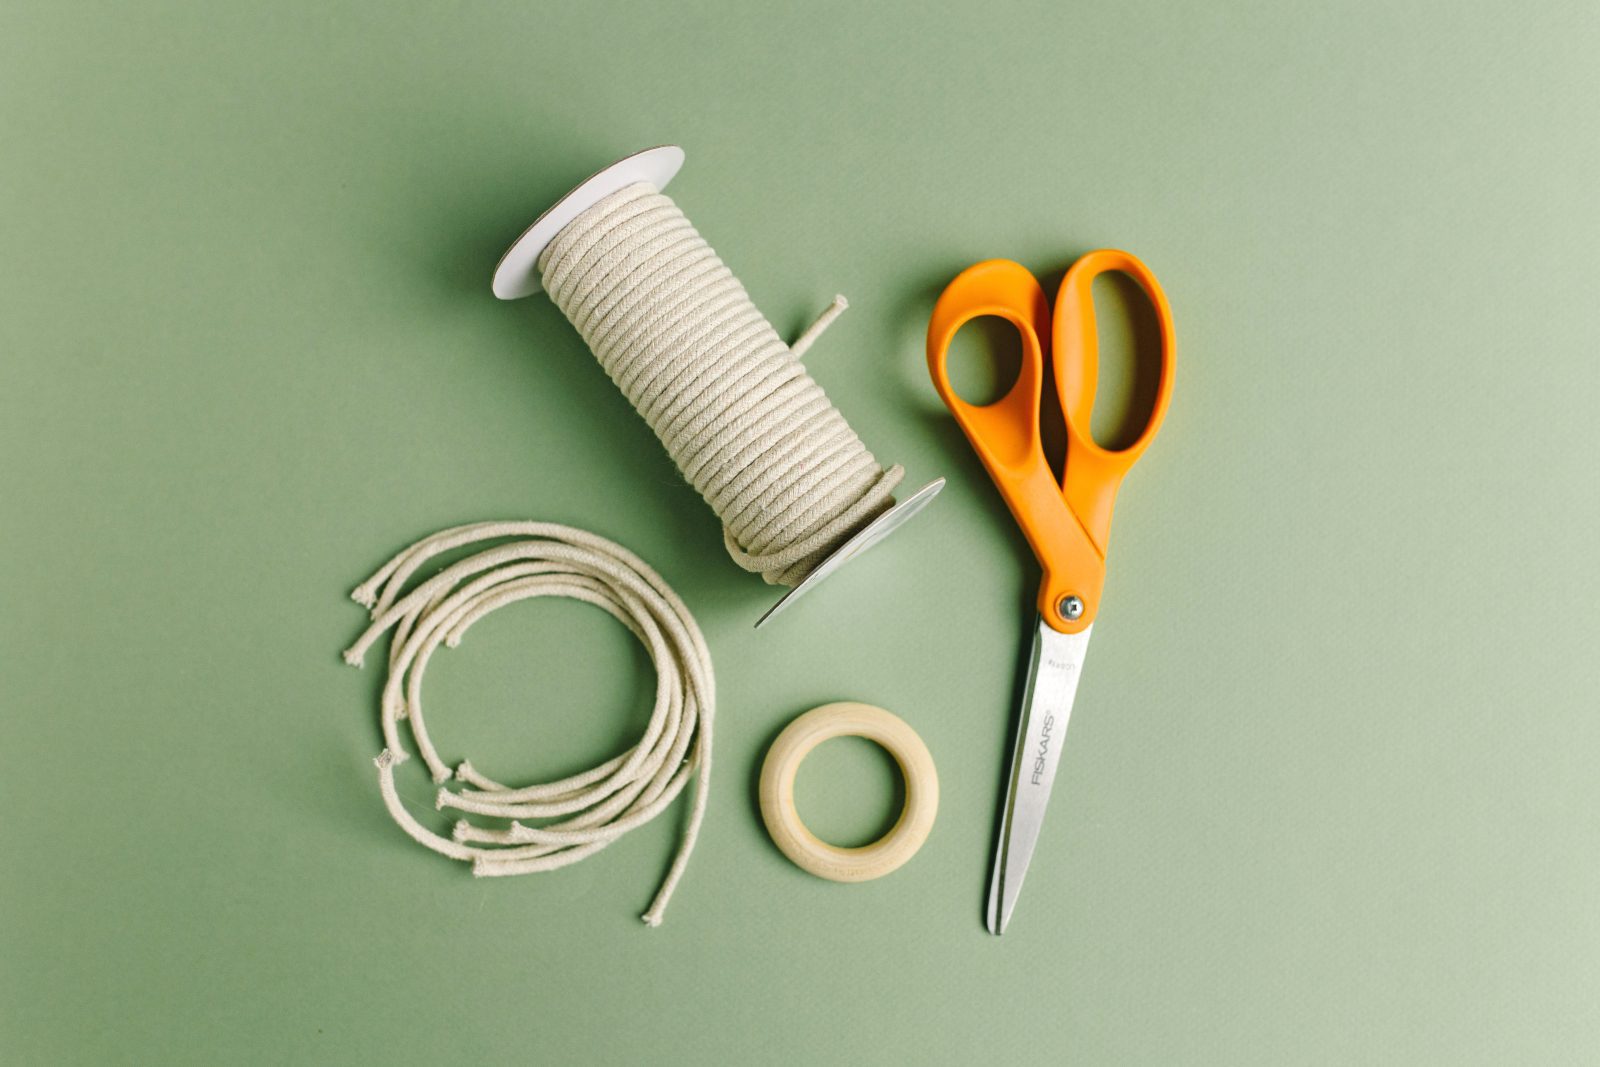
Supplies needed to make a DIY Macrame Christmas Ornament
Macrame cord
Scissors
Wood beads (Tree)
Wood ring (Snowflake)
White twine (Snowflake)
Buy our kit, with all the supplies here:
Watch the video (and be sure you subscribe to our YouTube channel), or read the steps below!
How to make a DIY Macrame Christmas Tree Ornament
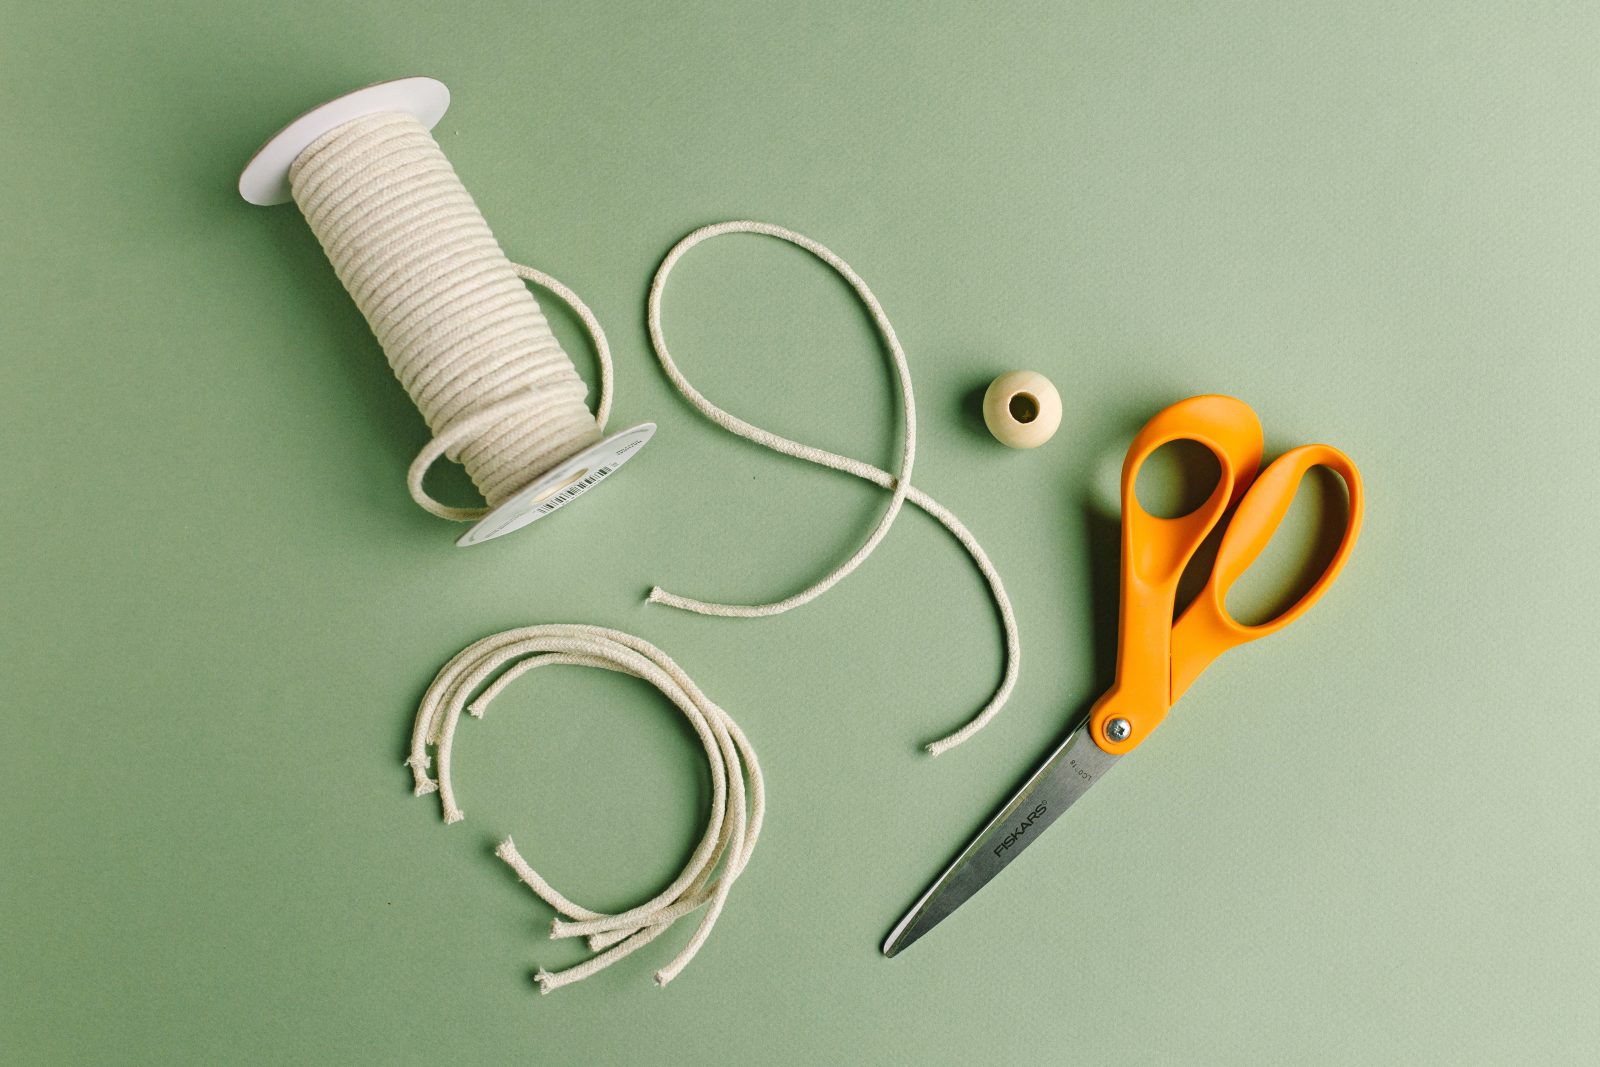
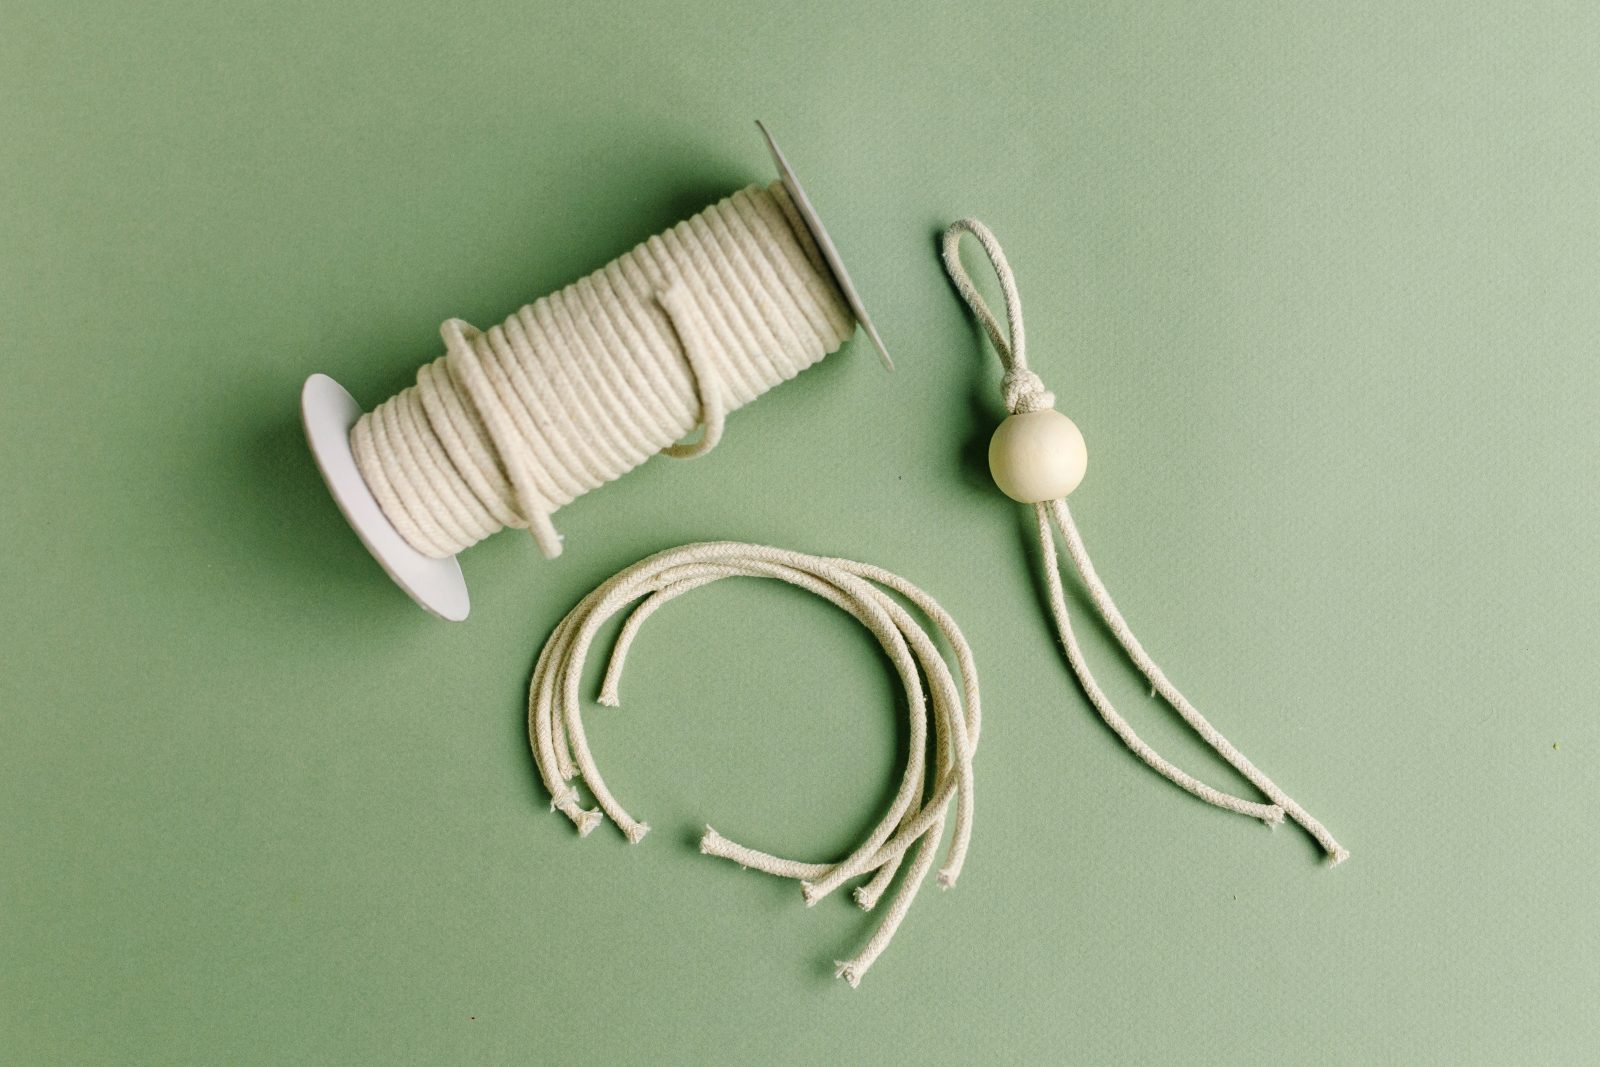
Step 1: Cut 20 pieces of cord eight inches in length, and set aside. Cut one piece of cord about 20 inches in length. Fold the long piece in half and tie a knot below the fold, leaving a two inch loop at the top. String the cord ends through the bead, and pull the bead up to the knot. This will be the center piece of your tree.
Step 2: Start creating your branch pieces by folding one piece of eight inch cord in half and lay it under the center piece with the loop on the left. Fold another piece of cord in half and lay it over the center piece with the loop on the right. Pull the ends of each piece through the loop from the opposite piece and pull tight to create your first knot.
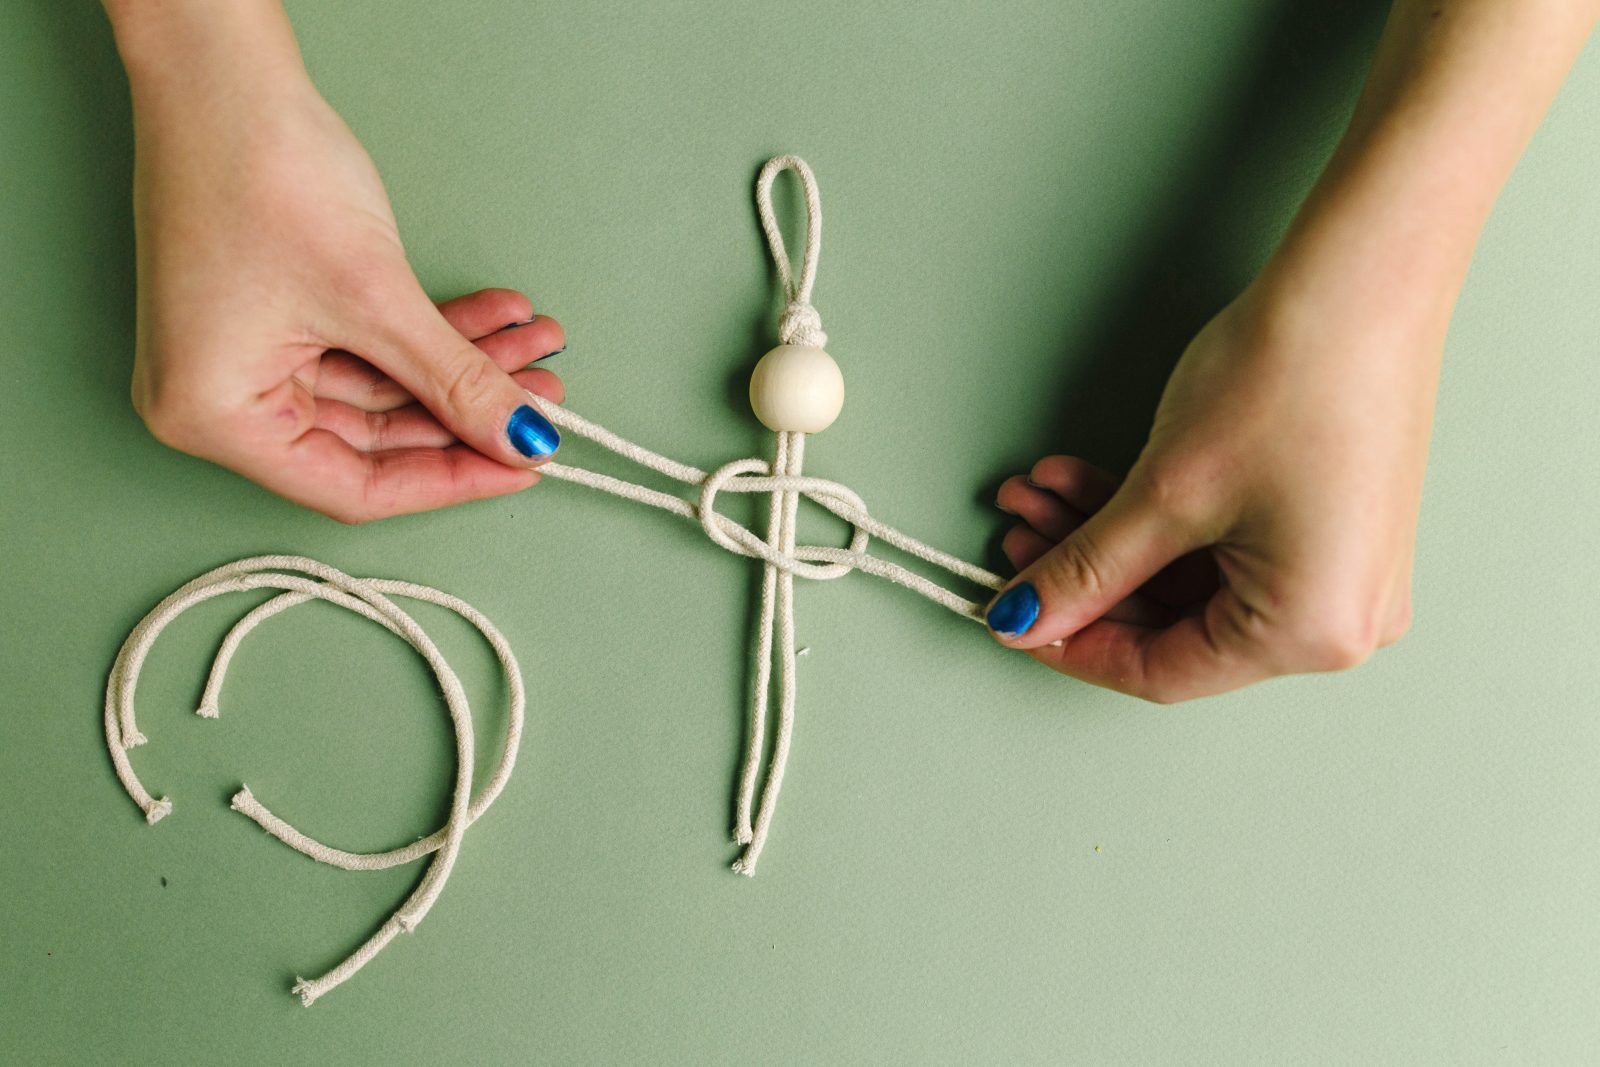
Step 3: Make your second branch by tying the same knot, but this time putting the bottom loop to the right and top loop to the left.
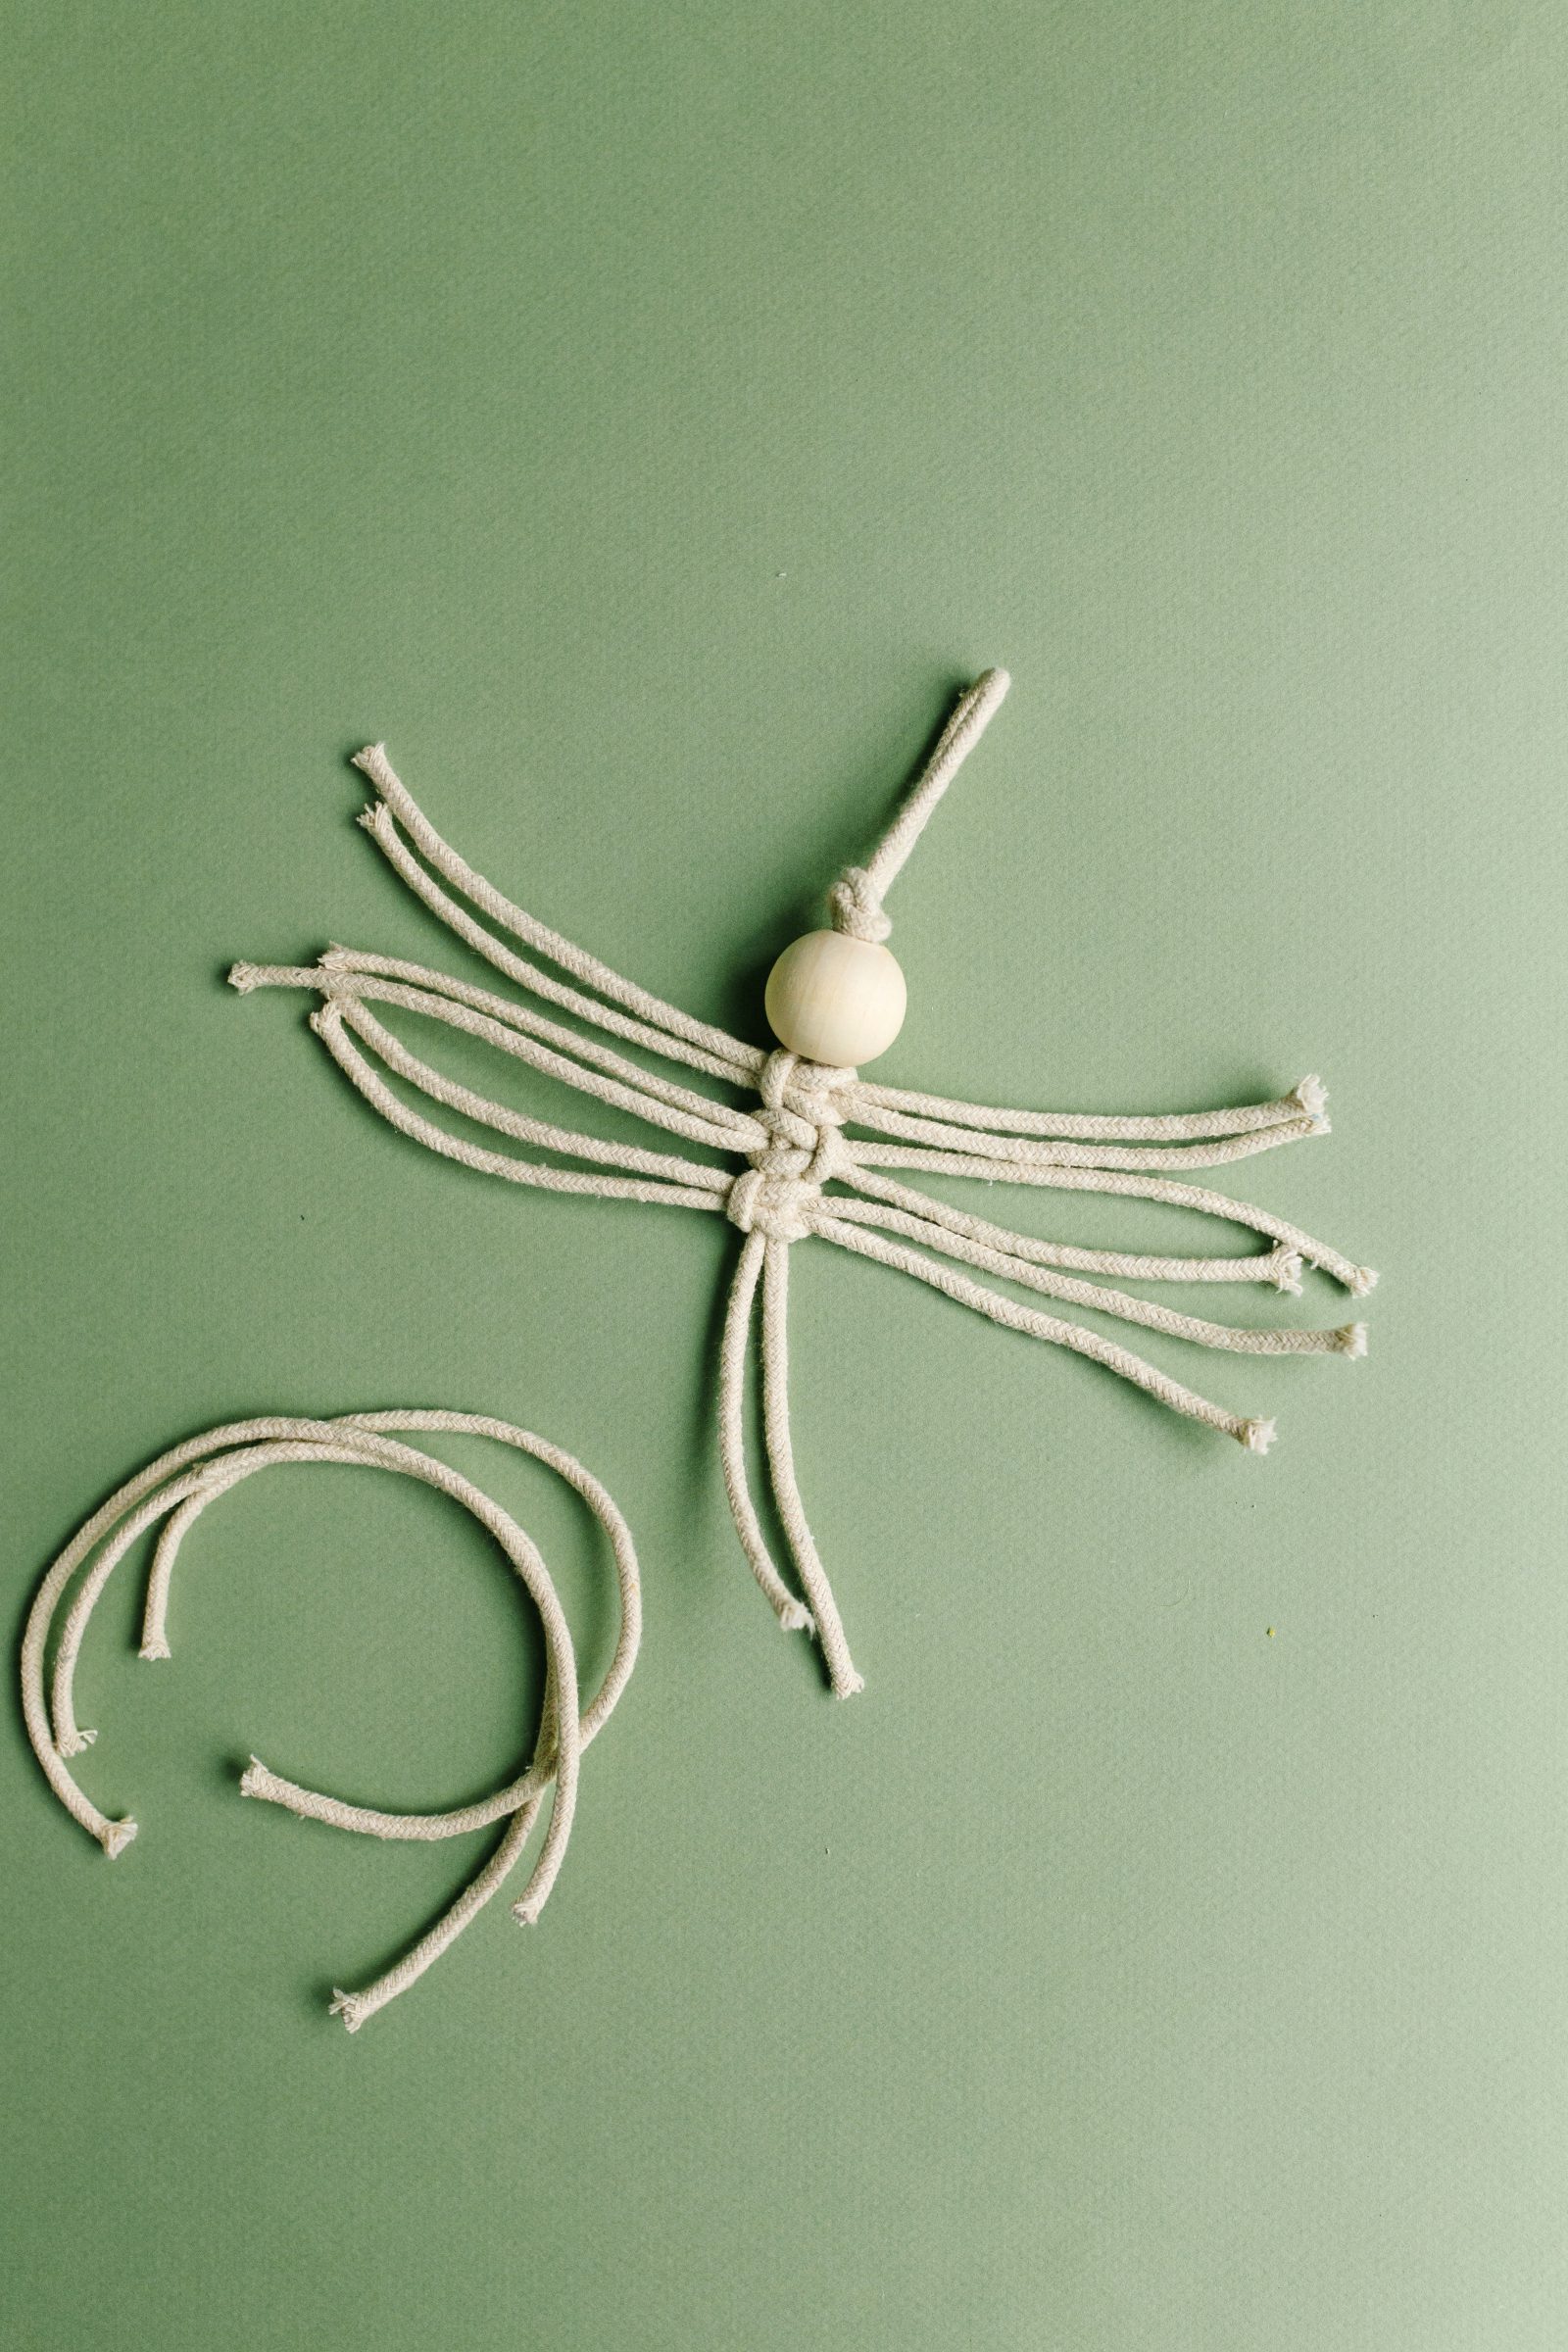
Step 4: Repeat the knots with the remaining pieces of cord, alternating the sides of the loops with each branch.
Step 5: Use scissors to cut the branches at an angle to make a tree shape. Cut the center piece so about one inch sticks out on the bottom.
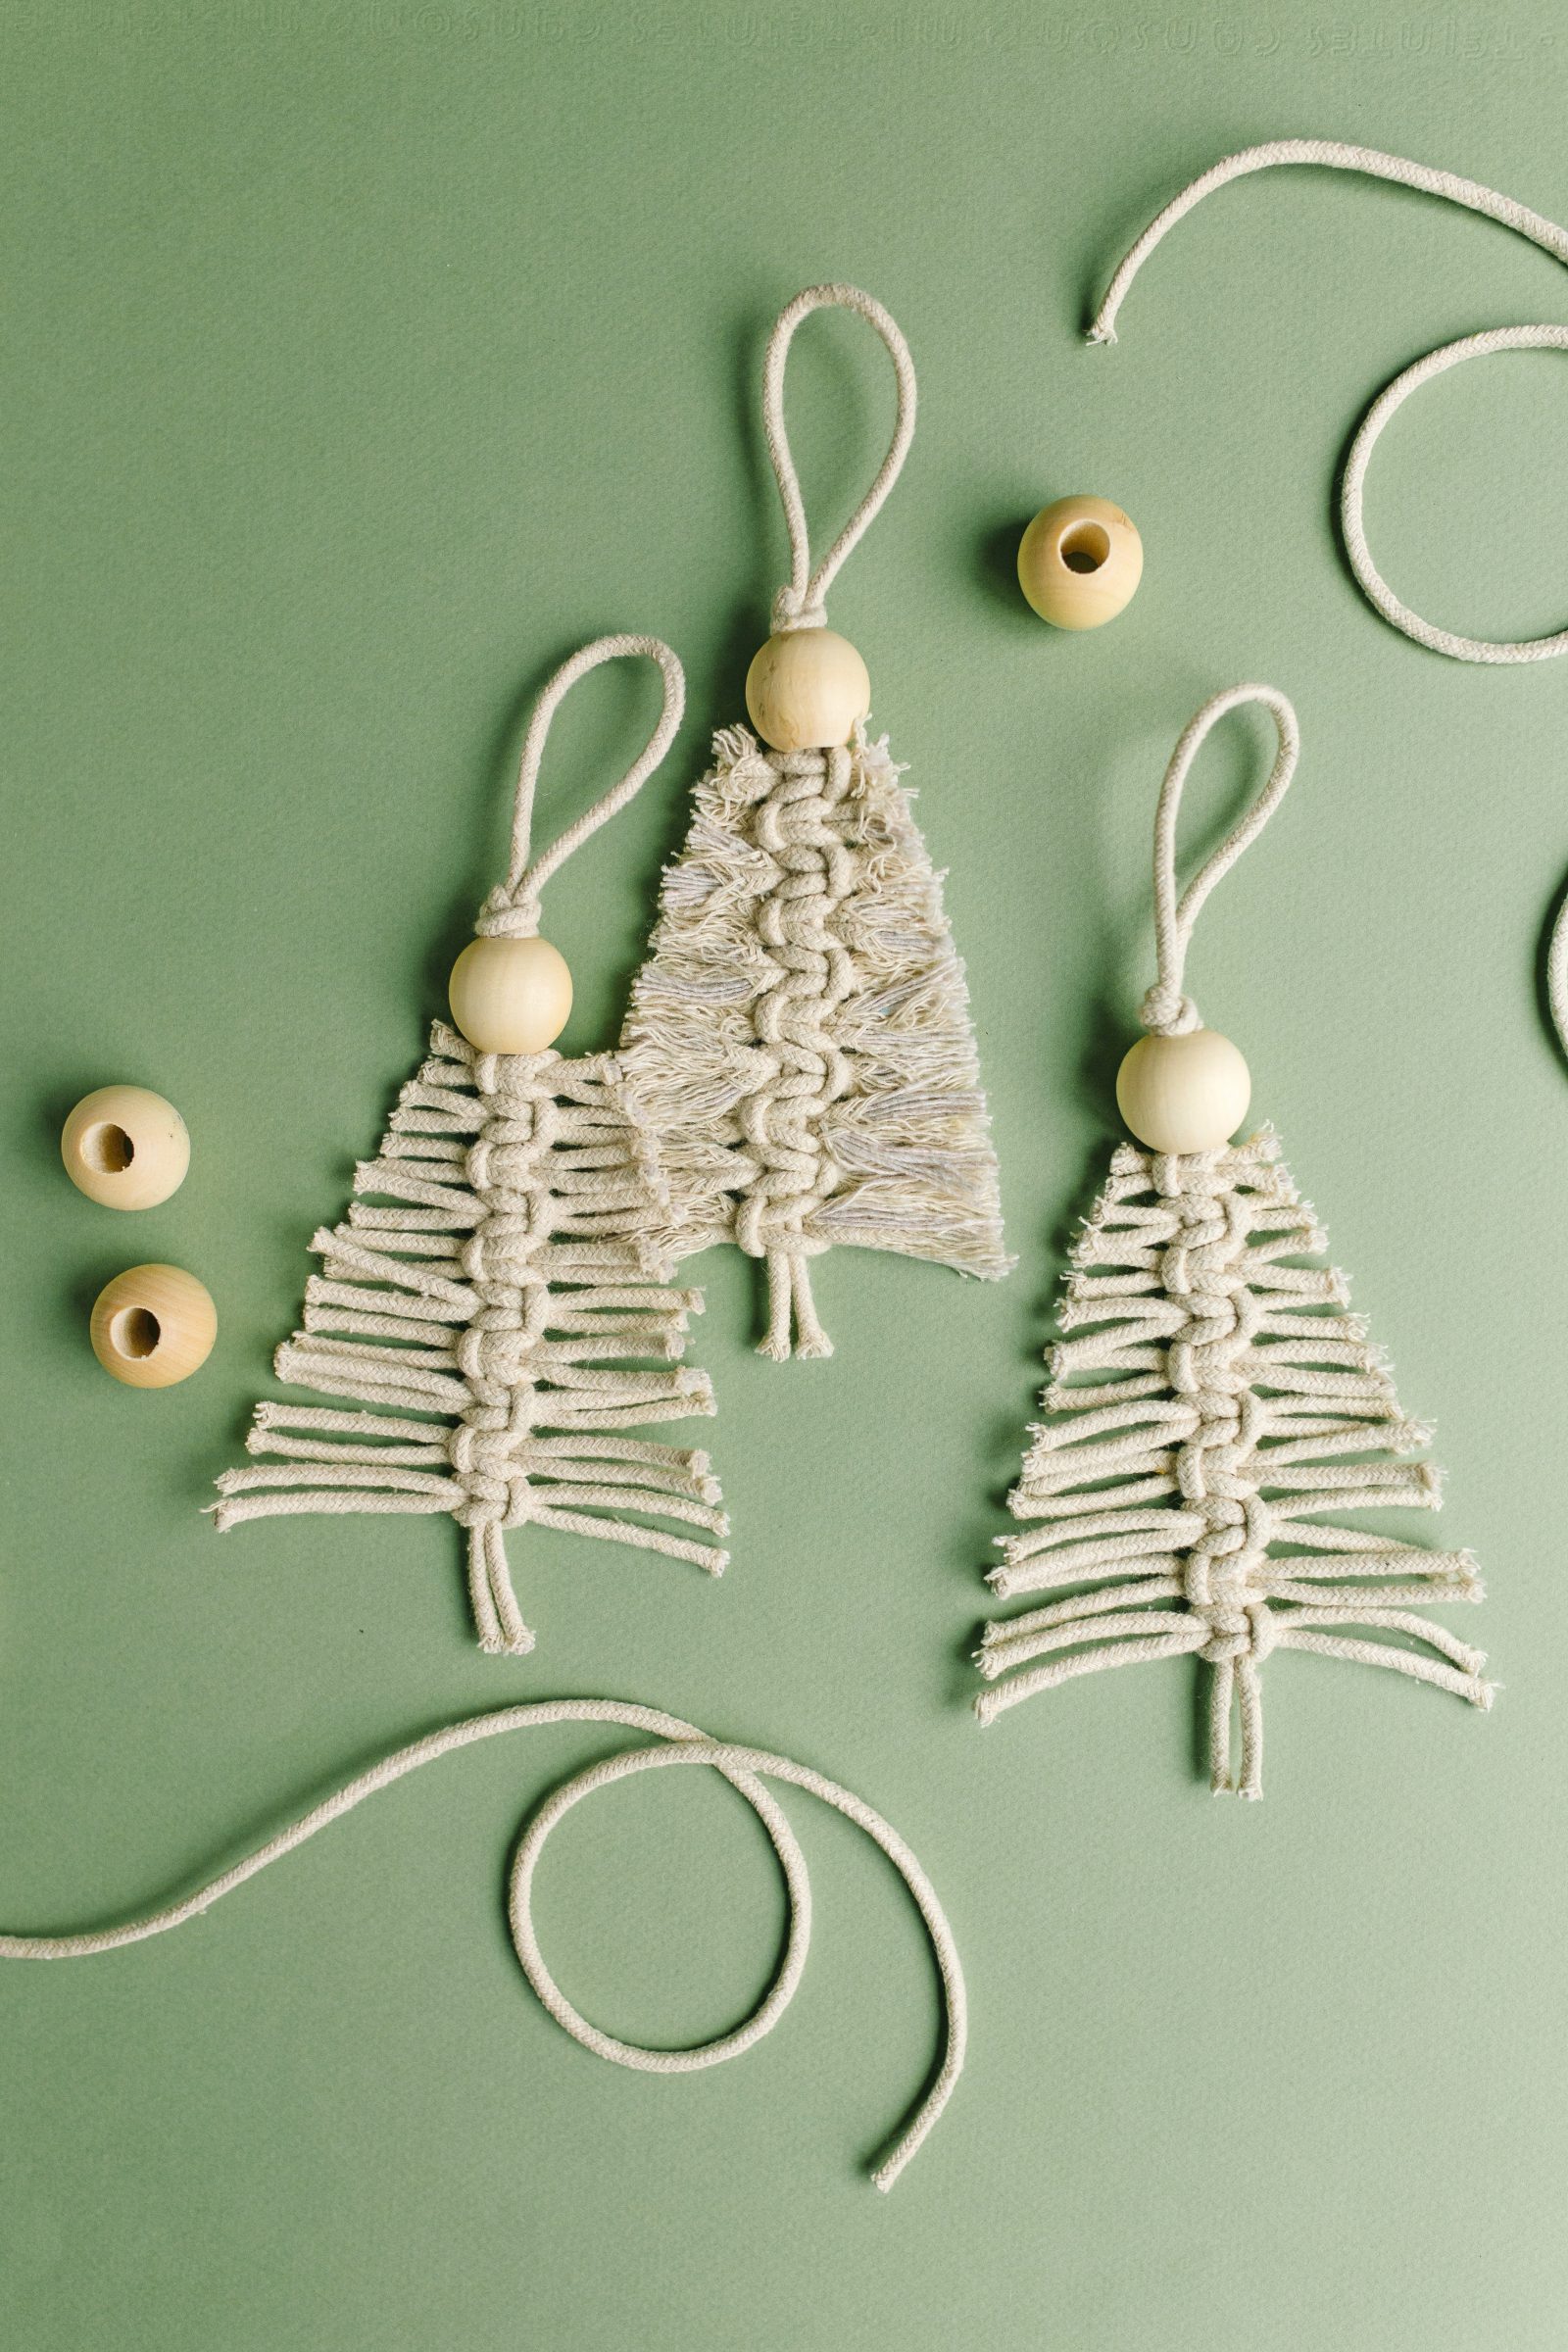
Step 6 (optional): Use a comb or brush to fray the branch pieces (this part can take a little time, but just keep combing). Trim the tree shape, if needed.

That’s it! And now on to the snowflake version…
How to make a DIY Macrame Snowflake Ornament
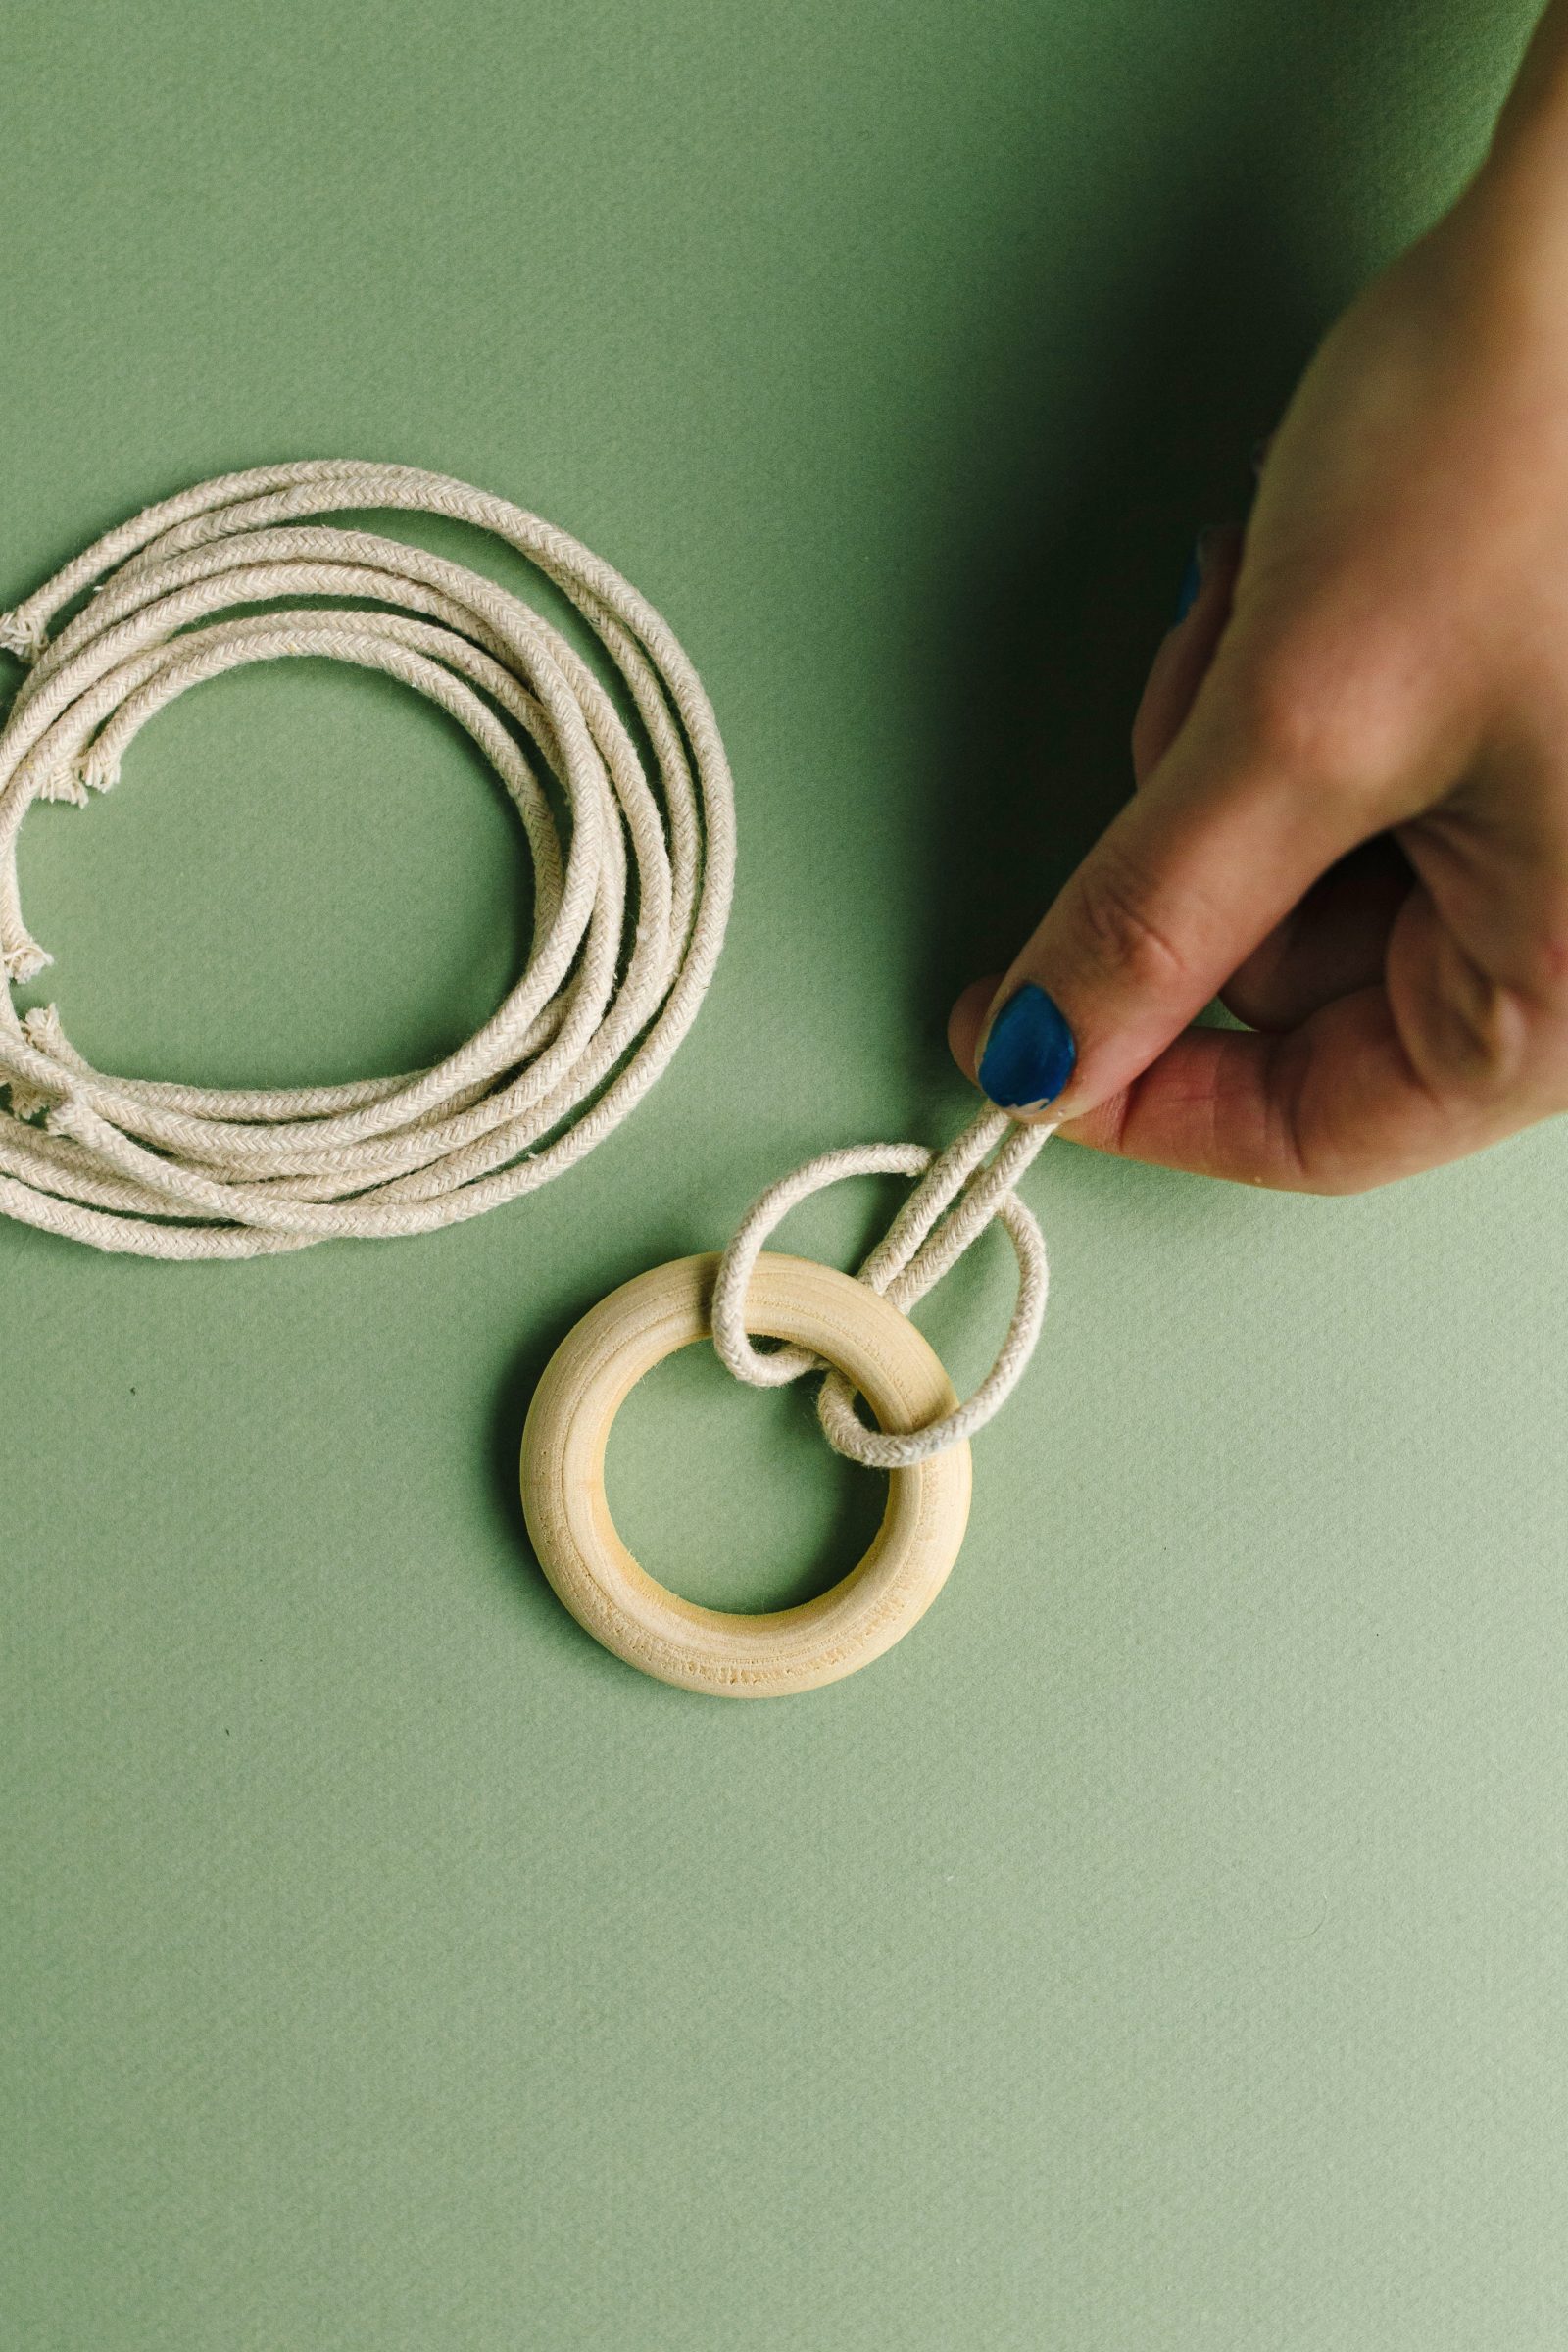
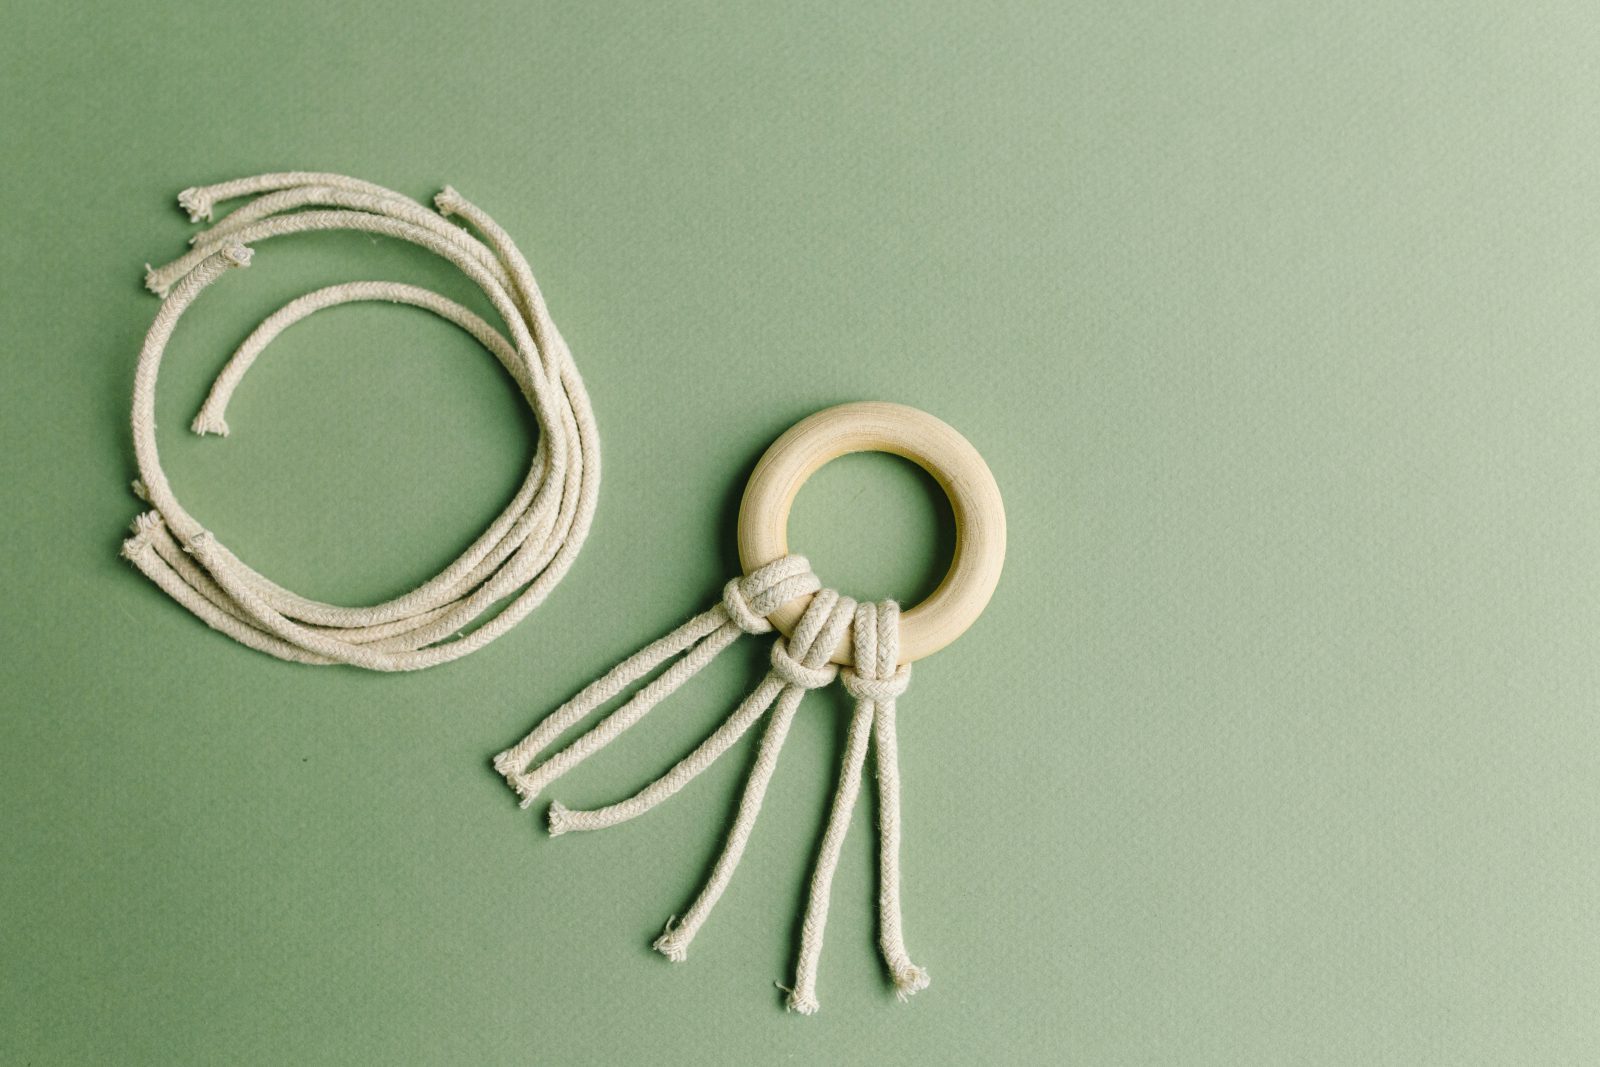
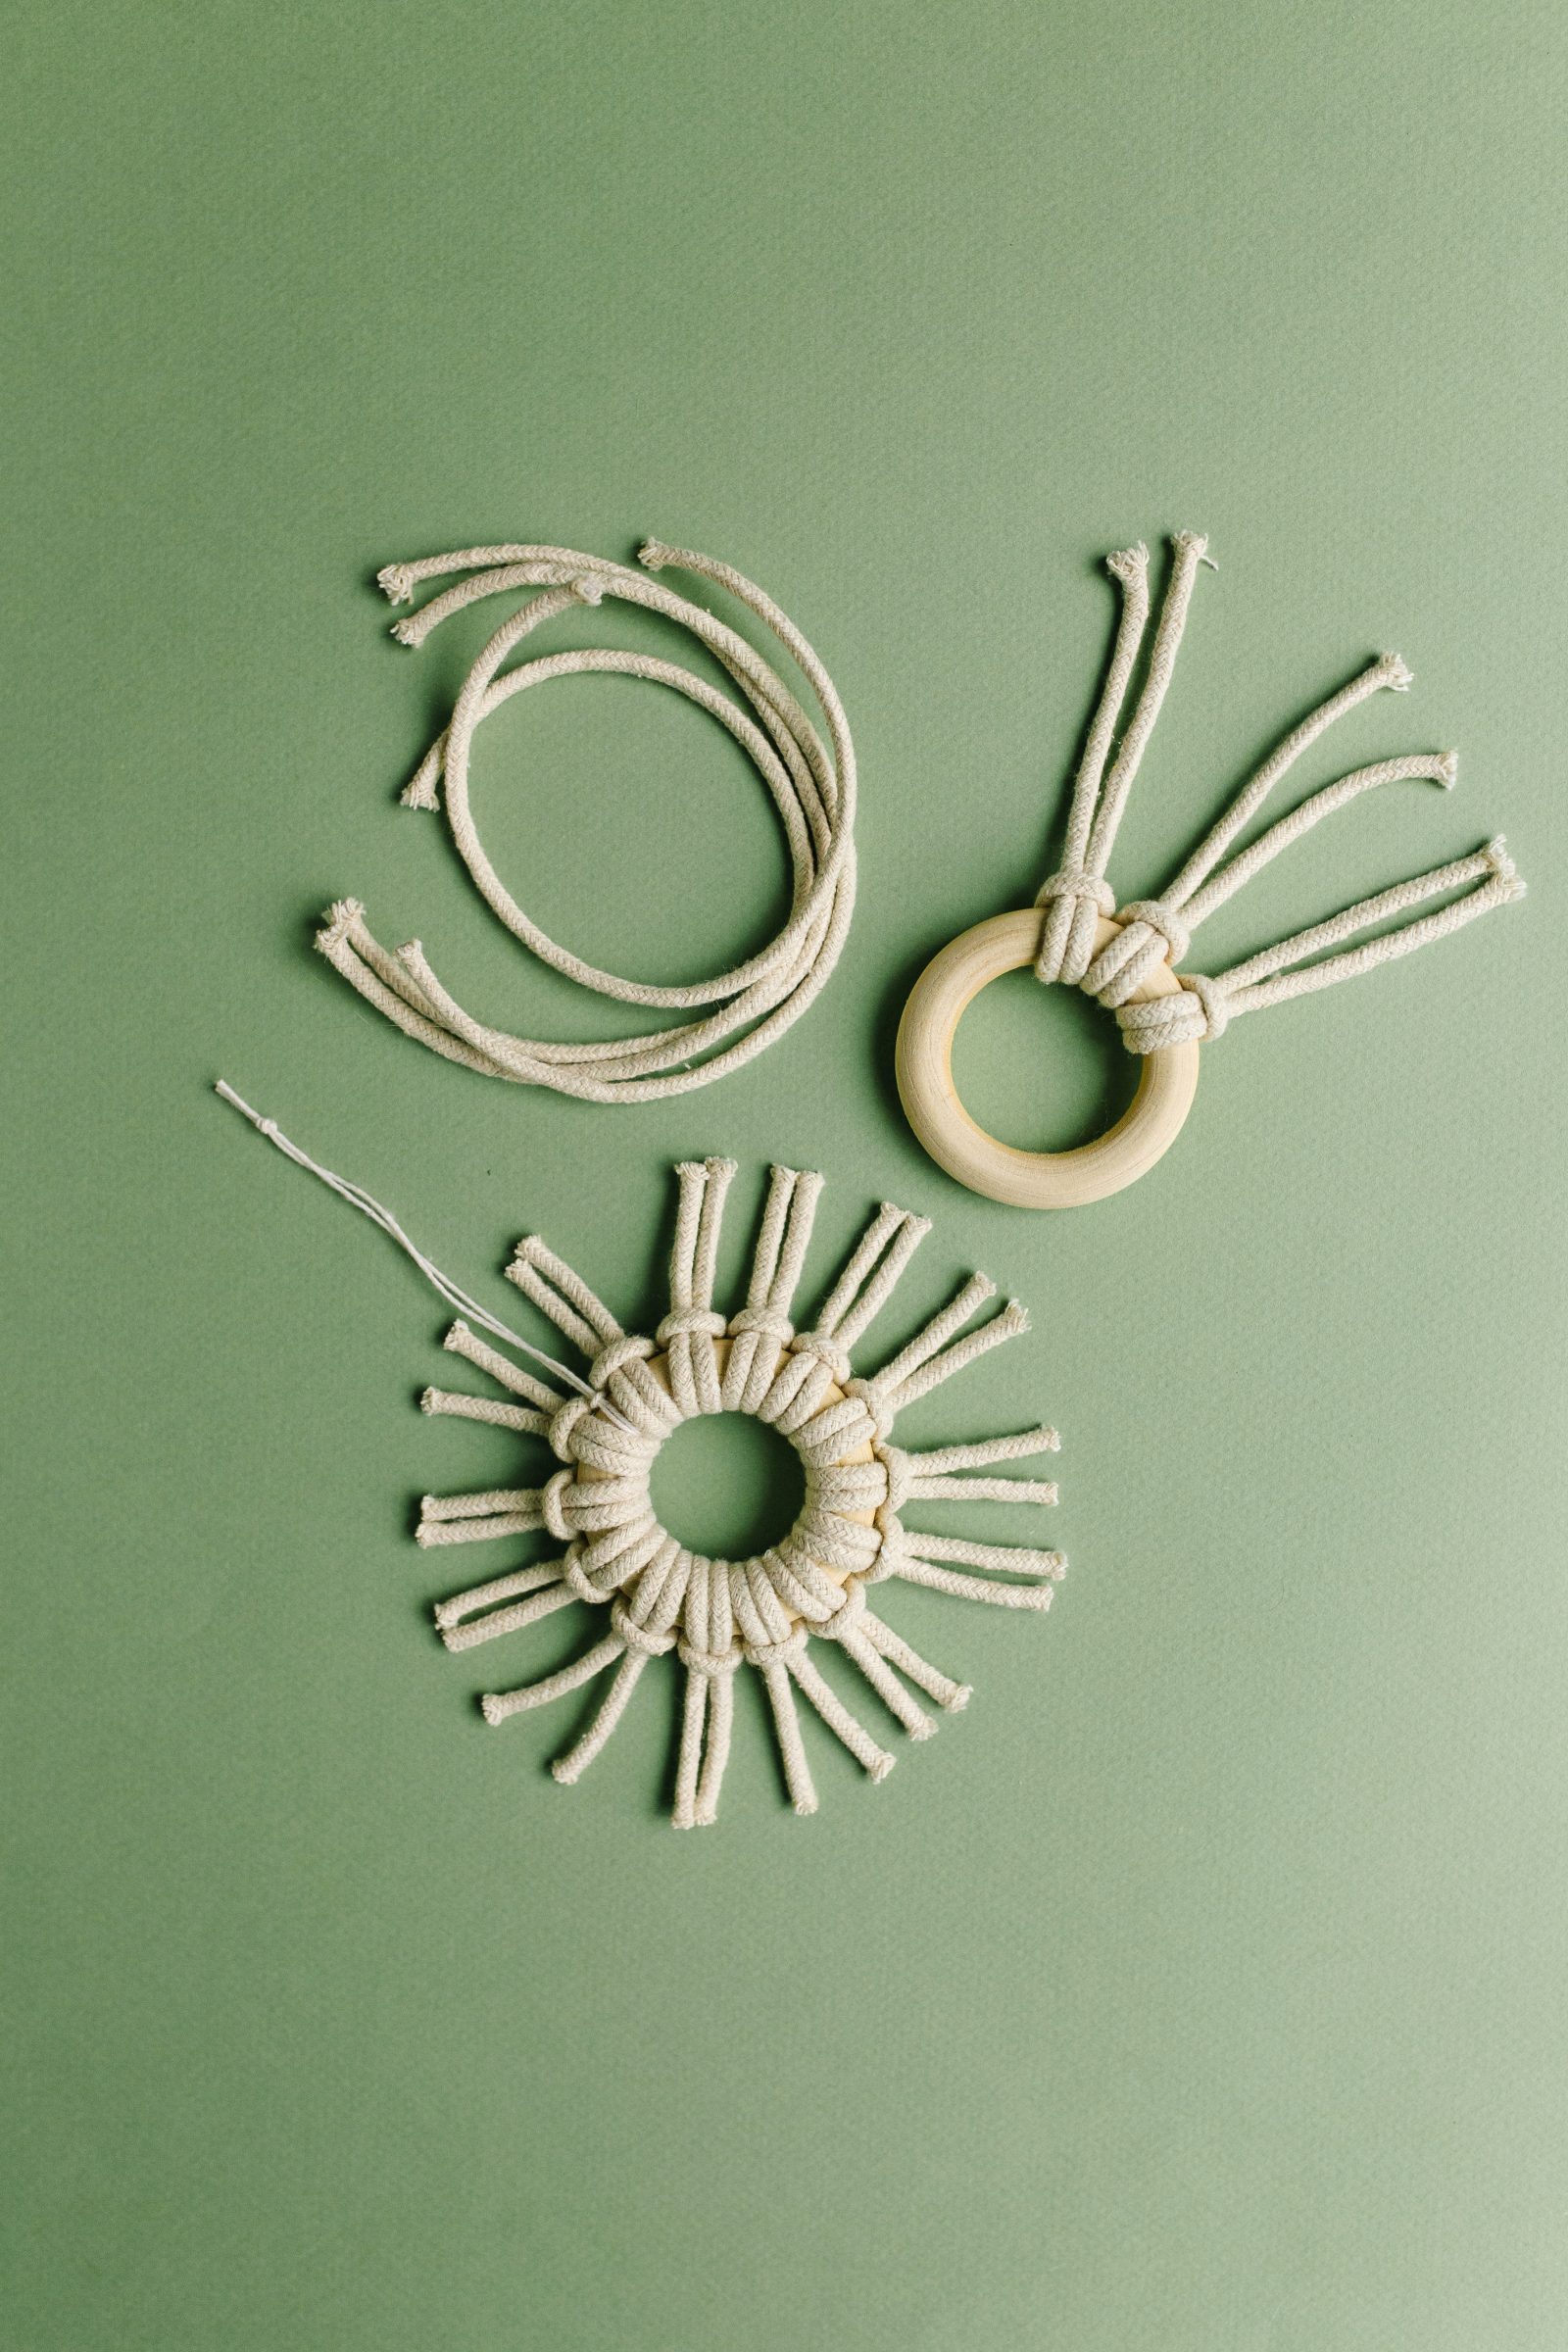
Step 1: Cut 16 pieces of cord eight inches in length. Take one piece of cord and create a larks head knot around the wood ring by folding the piece in half, putting the loop through the center of the ring, and pulling the ends of the cord through the loop.
Step 2: Tie larks head knots with the remaining pieces of cord.
Step 3: Trim the cord pieces to about one and a half inches.
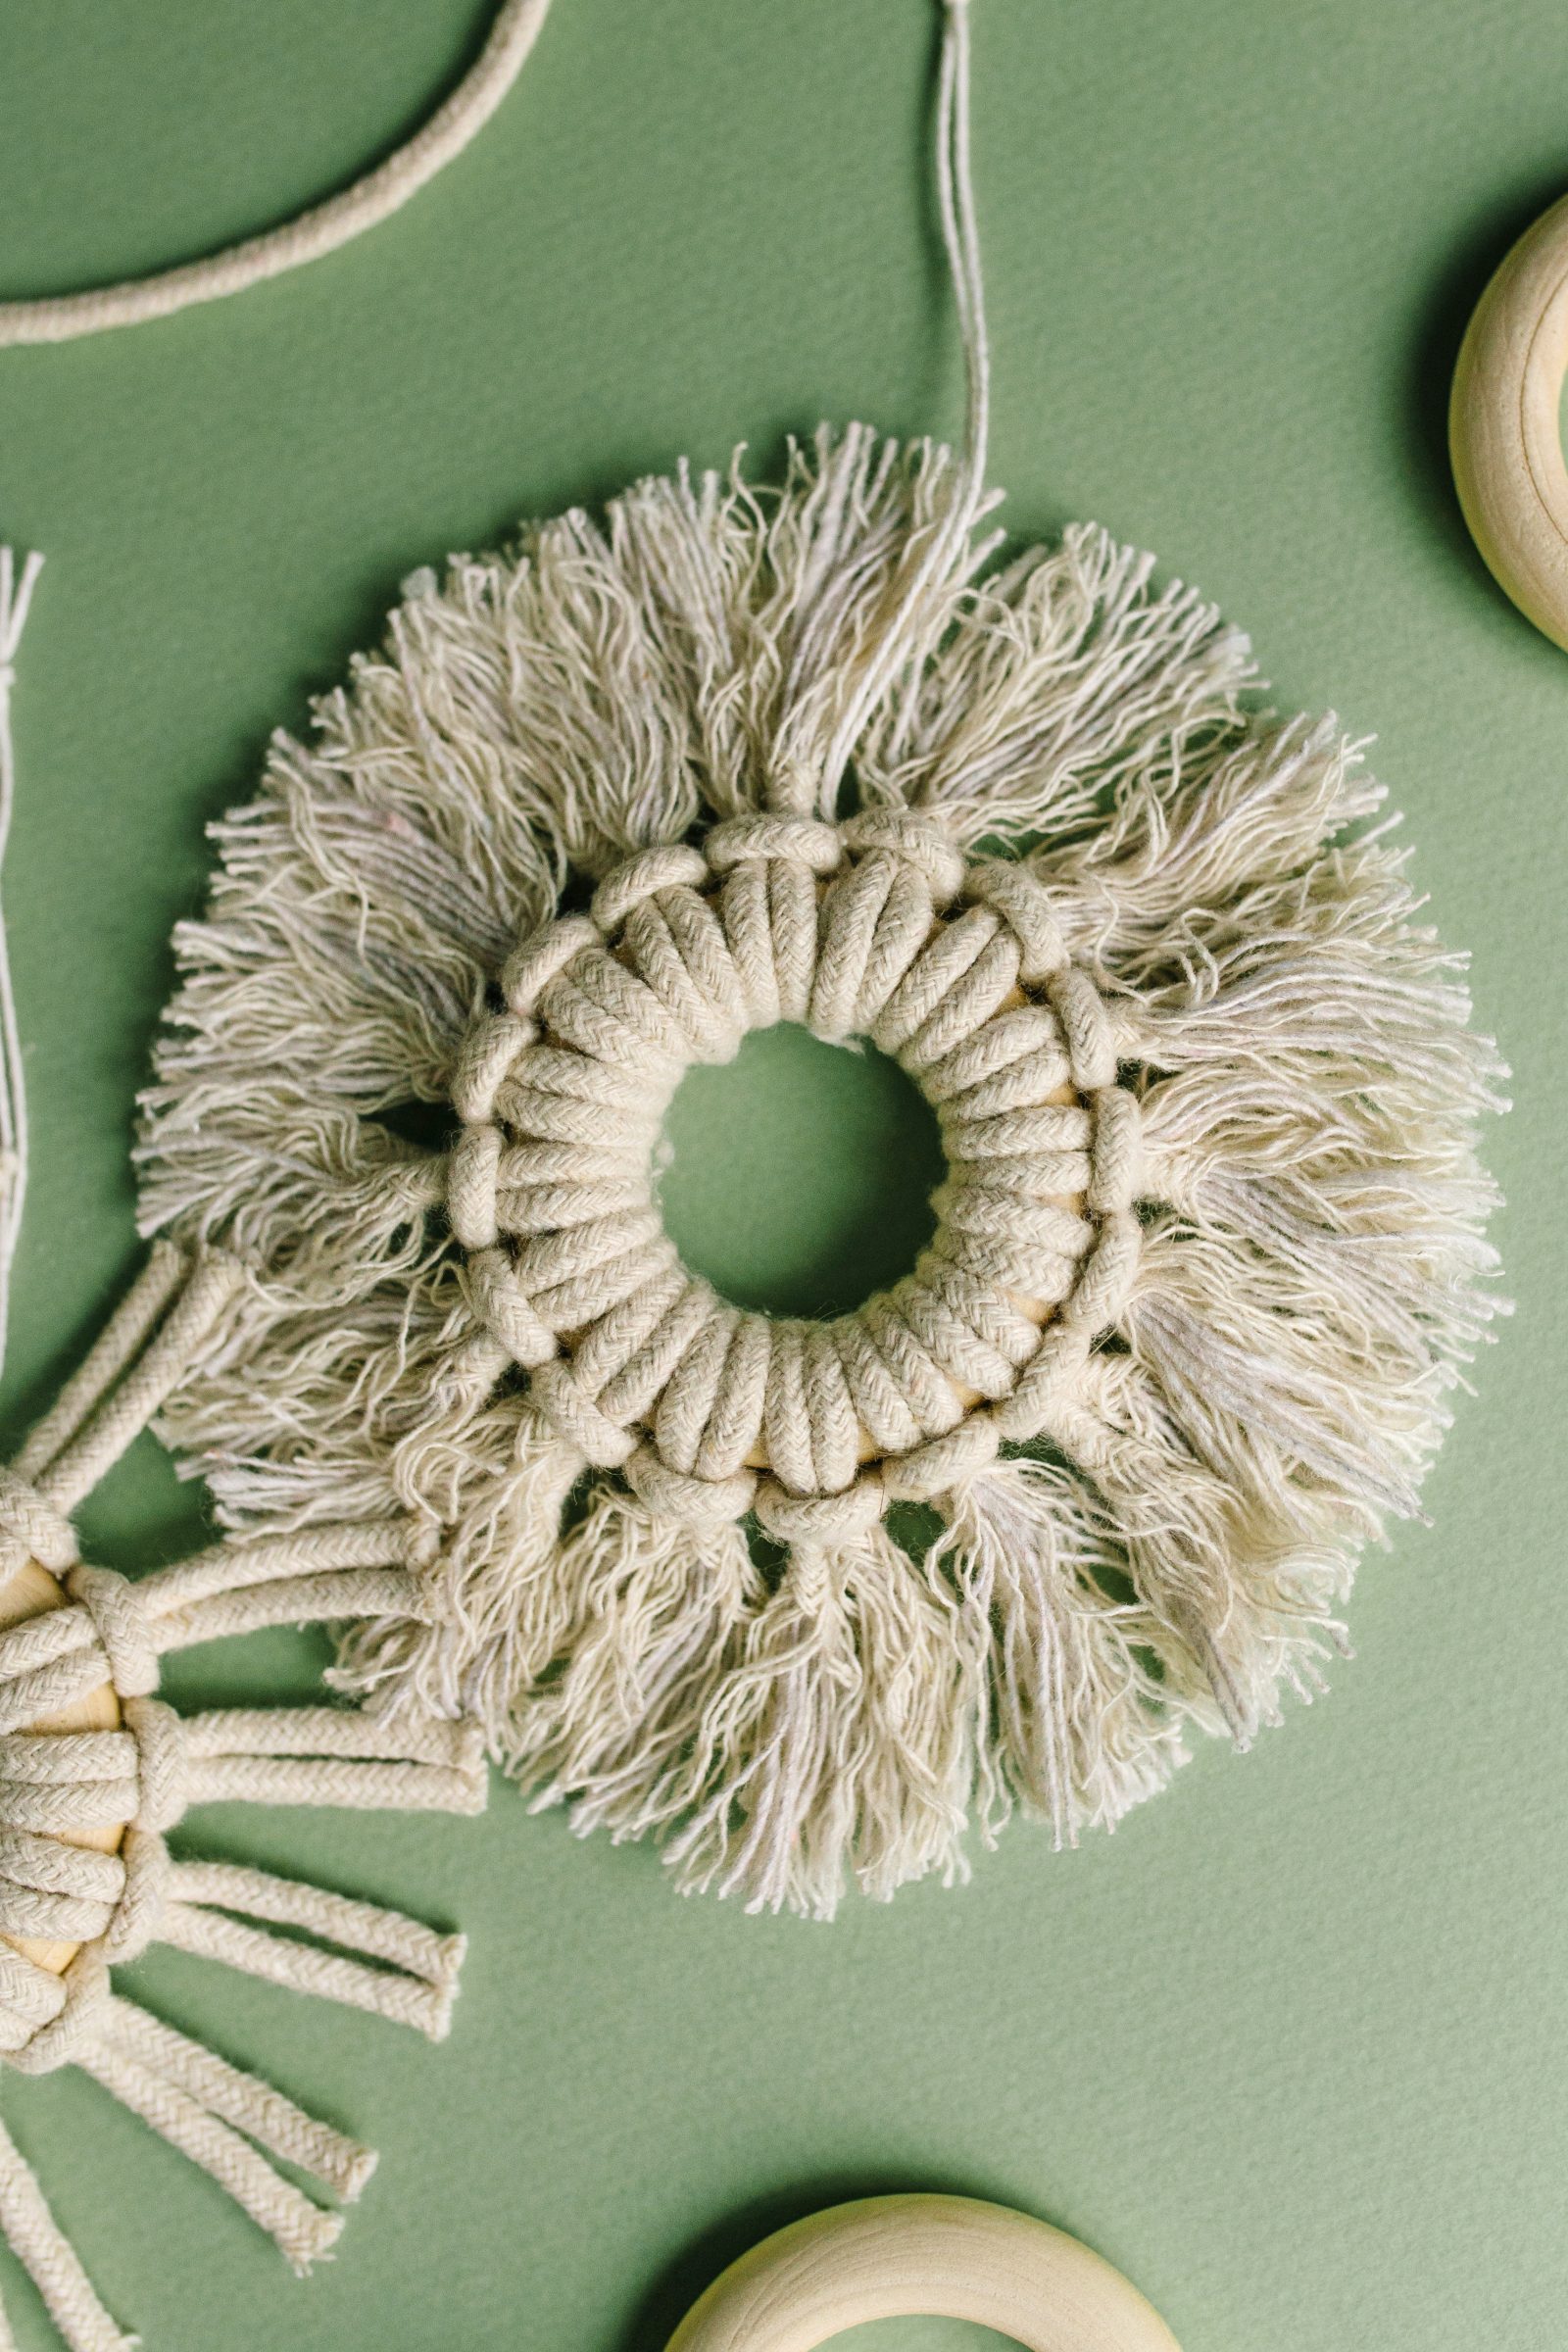
Step 4: Cut a piece of twine to about ten inches. Fold the piece in half and tie a knot half an inch from the top. Attach the twine to the ring with another larks head knot.
Step 5 (optional): Use a comb or brush to fray the pieces. Trim the snowflake shape, if needed.

Aren’t they so cute? They would be so cute for gifting, and I can just imagine a Christmas tree covered in them!
Be sure to visit our shop to get this and other holiday craft kits!
Happy making!
-Sam
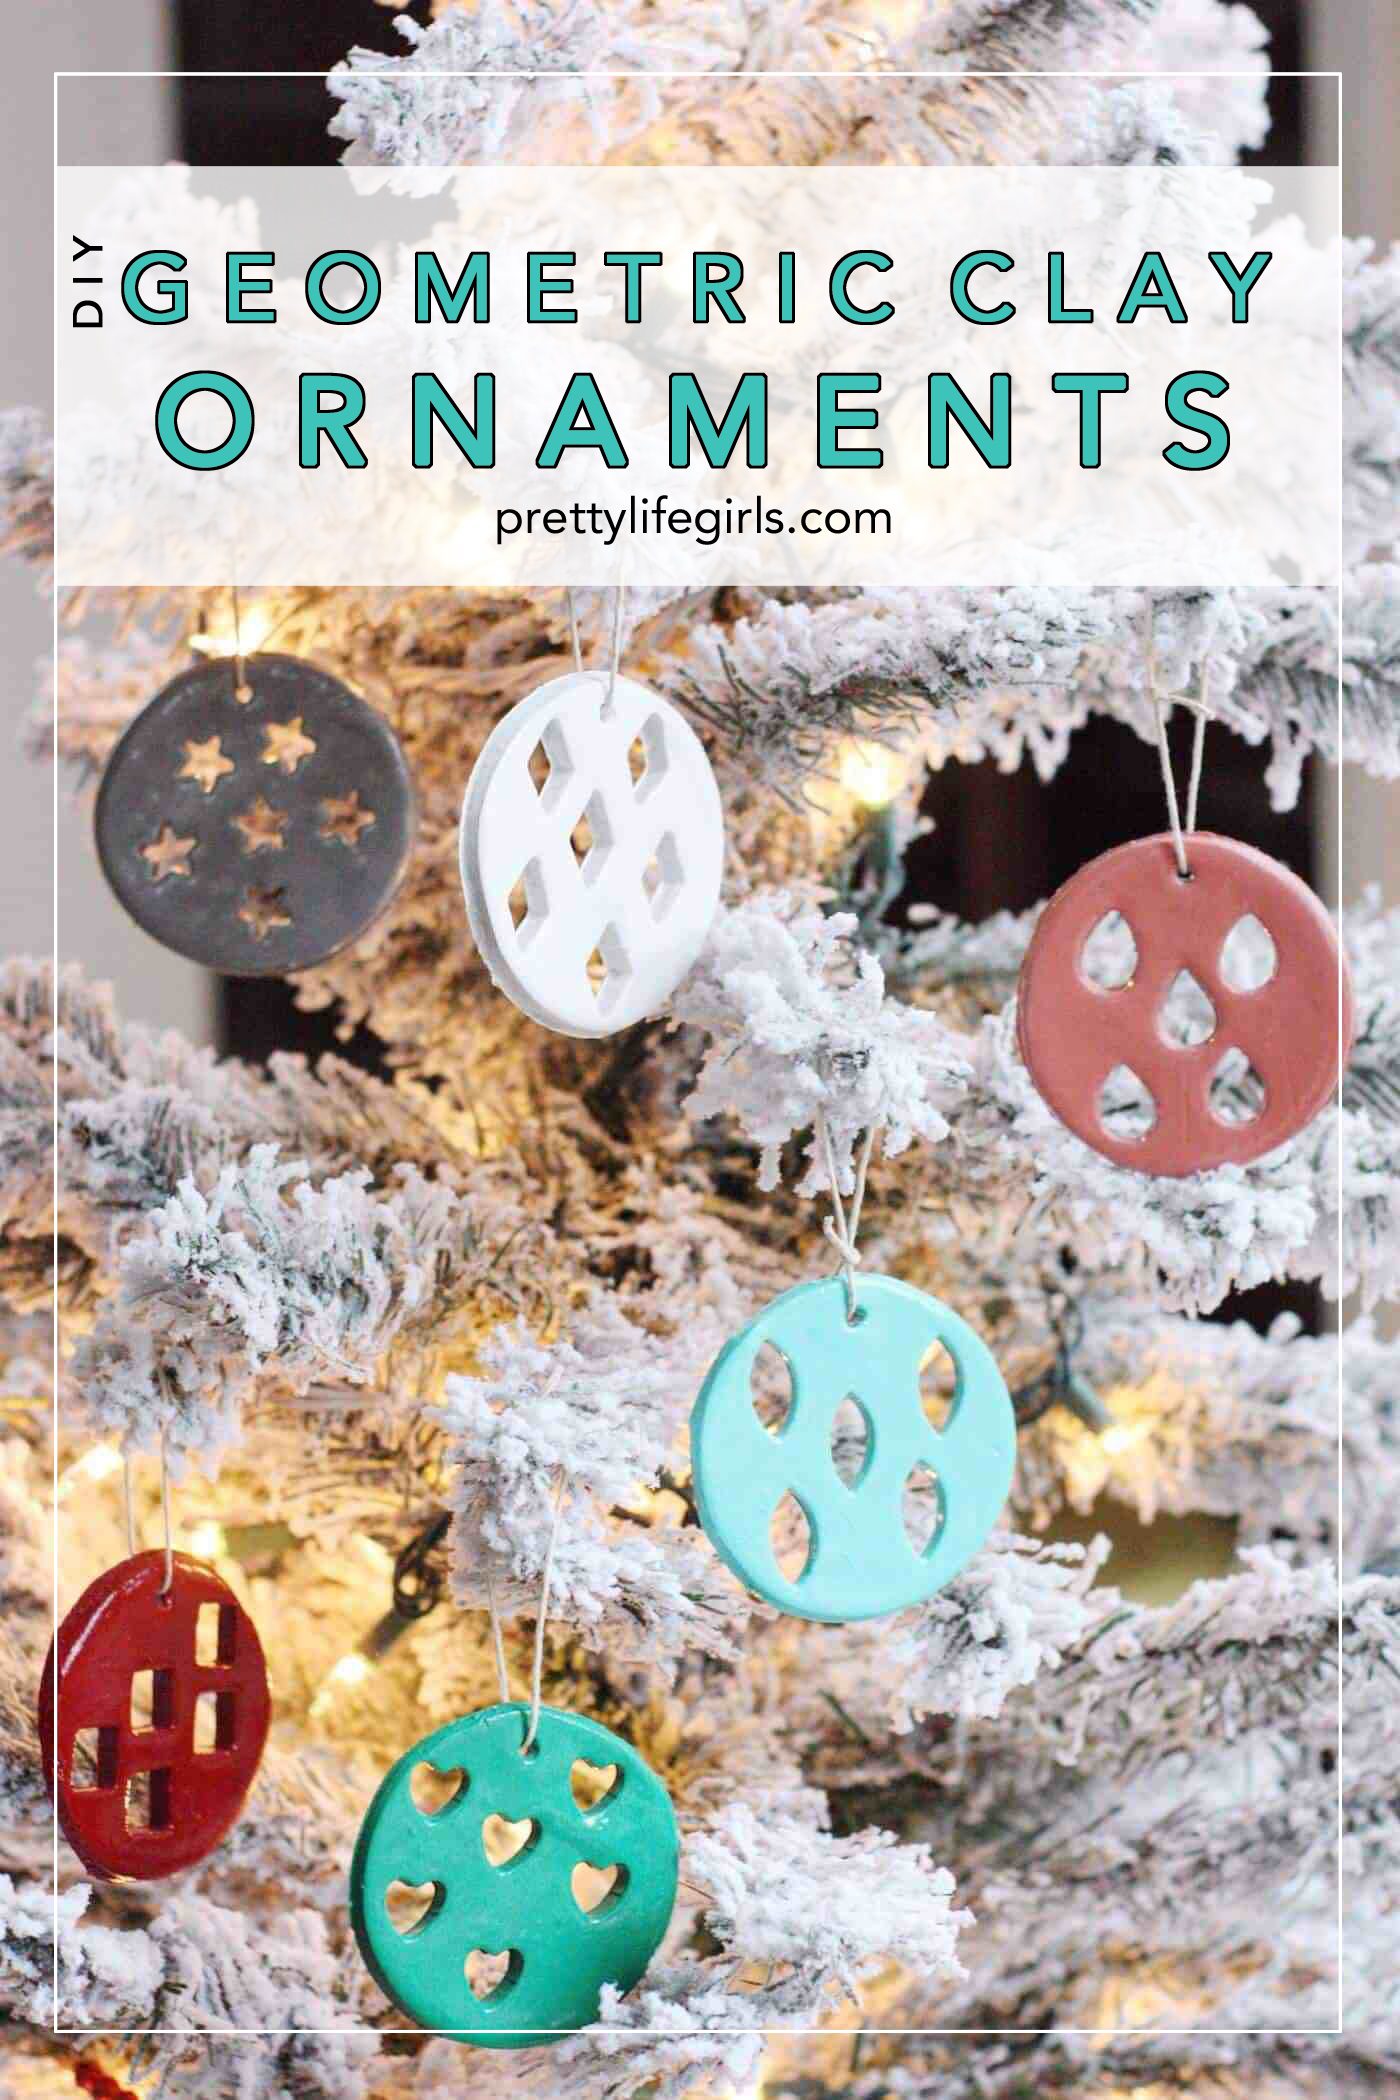
Check out these other DIY Christmas ornament tutorials!

 Wood-Burned Monogram Ornaments
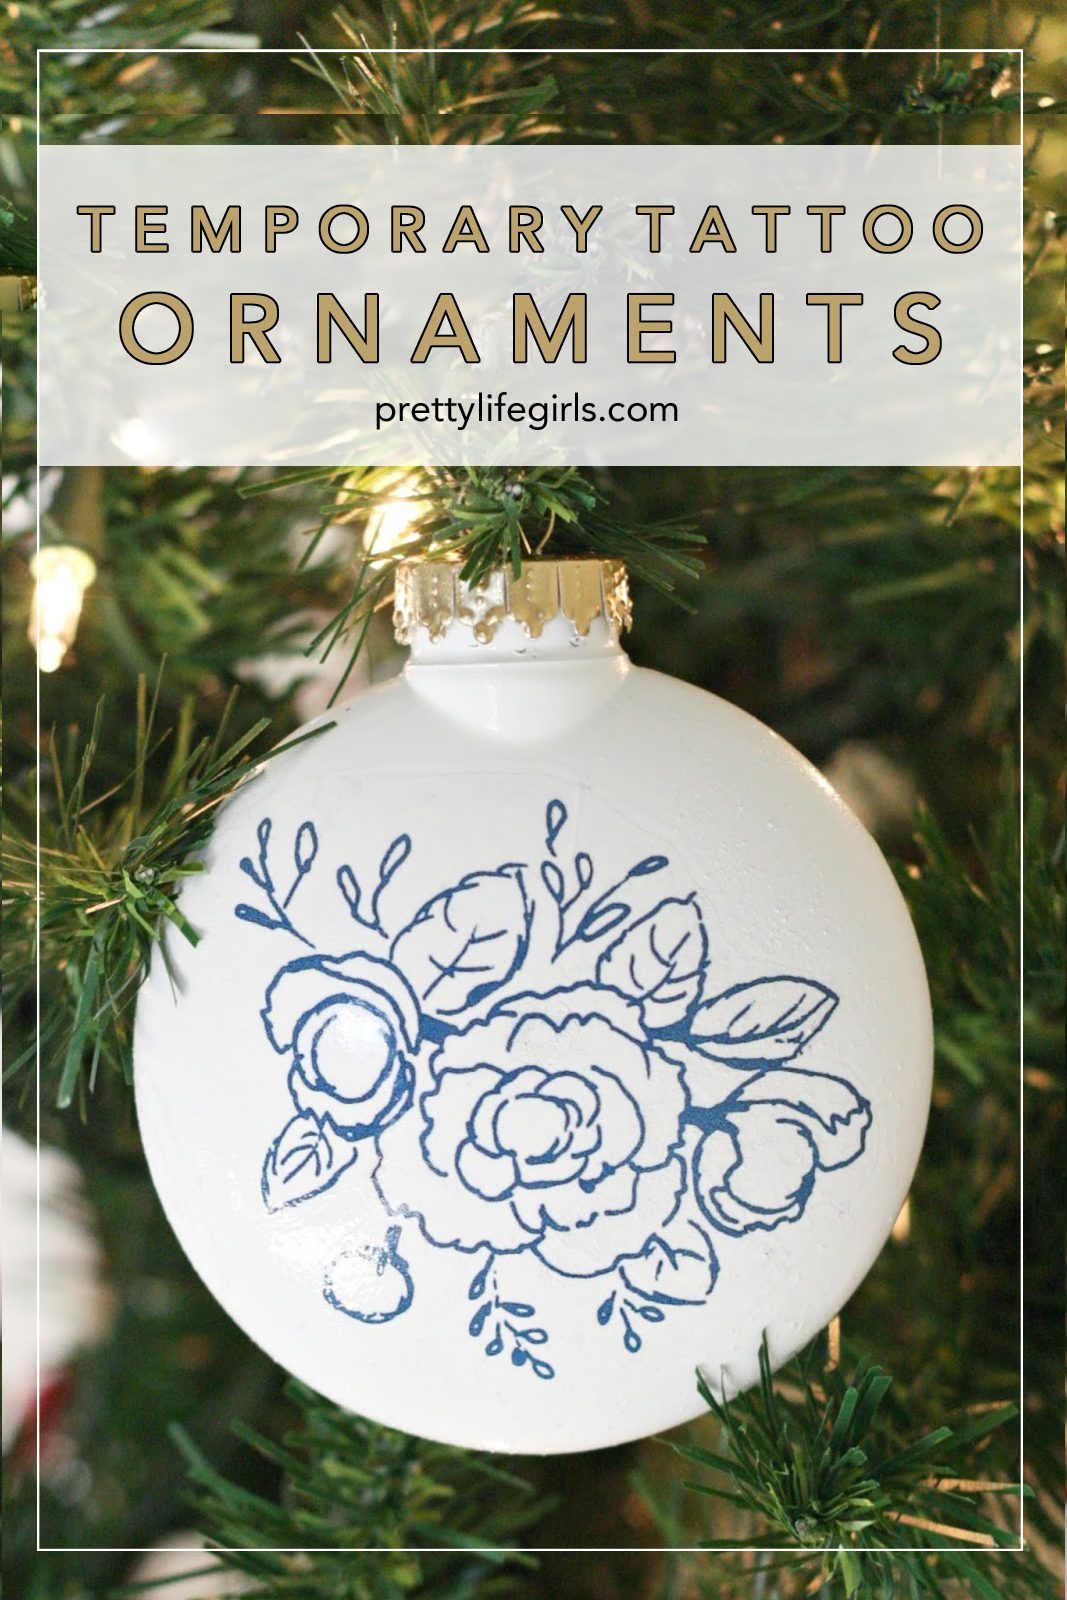 DIY Temporary Tattoo Ornaments


Hi there, I am hugely impressed by your Macrame tree decorations. Could you pls give the size of the wooden rings and beads for the benefit of the crafters new to Macrame?
Thank you in advance.
Hello! Thank you for your kind words! We included the exact rings and beads we used in the supply list early in the blog post! I hope that helps!
Hi,
The links taje me to Anazin but not the specific item you used. Could you advise what size wooden beads and what size wooden ring you used, thanks!
Hi Jennifer! We updated the links, so they should work now!
I’m new to macrame as well. Could you please tell me what size cord you use for this project? Thank you!
Hi Mary! We used 4mm cord for this project – we linked to some in the supply list. We also sell kits with all the supplies you need, which you can see just below the supply list!
These are darling and would enhance a wrapped package as well as make a wonderful gift of four for the tree.
Thank you!
Oh I love the idea of using them for a gift topper! So smart Laurie!
Hi, A question about the macrame cord you use for the trees. In the photos it looks like a multi strand braided cord. The link you provide goes to a 3-strand twisted cord on Amazon (which isn’t available ATM). I’m wondering that these are different cords, and would the result with the frayed tree be the same with the twisted cord? The braided cord seems to fray out nicely, judging by the photos, but would the twisted strands fray out as nicely? I really like that look.
Hi Deb! Good catch – I will update the link. The cord I like for this project is from Michaels, but we also sell kits with everything you need!
Love these! Have you ever tried a thicker cord?
I haven’t! I imagine it would work, but the amounts needed would be different! Let us know if you try!
I just tried the tree and snowflakes as I am new to macrame but was easy to follow ur directions. I didn’t see ahead of time what cord you use do I used a 3 mm twisted and it’s harder to comb out. Tomorrow I’m going to try a. 4 mm. Thank u
I’m so glad the directions were helpful! The combing is definitely the most time-consuming part – just keep at it! Thank you Peggy!
I have made several of the little trees, but my cord isn’t as stiff, so the limbs are droopy. Any suggestions?
Hi Rhonda! There are stiffening sprays you can find at the craft store!