How are you advent-ing this year? Do you keep it simple a grab one of those chocolate calendar advents from the grocery store or go for full merriment with gifts and surprises and activities each day? I love the idea of having lots of magic everyday, but really I think I fall somewhere in the middle of store bought and simple/crazy DIY Christmas elf, and today’s advent calendar project is perfect for other middle-of-the-road adventers like myself!
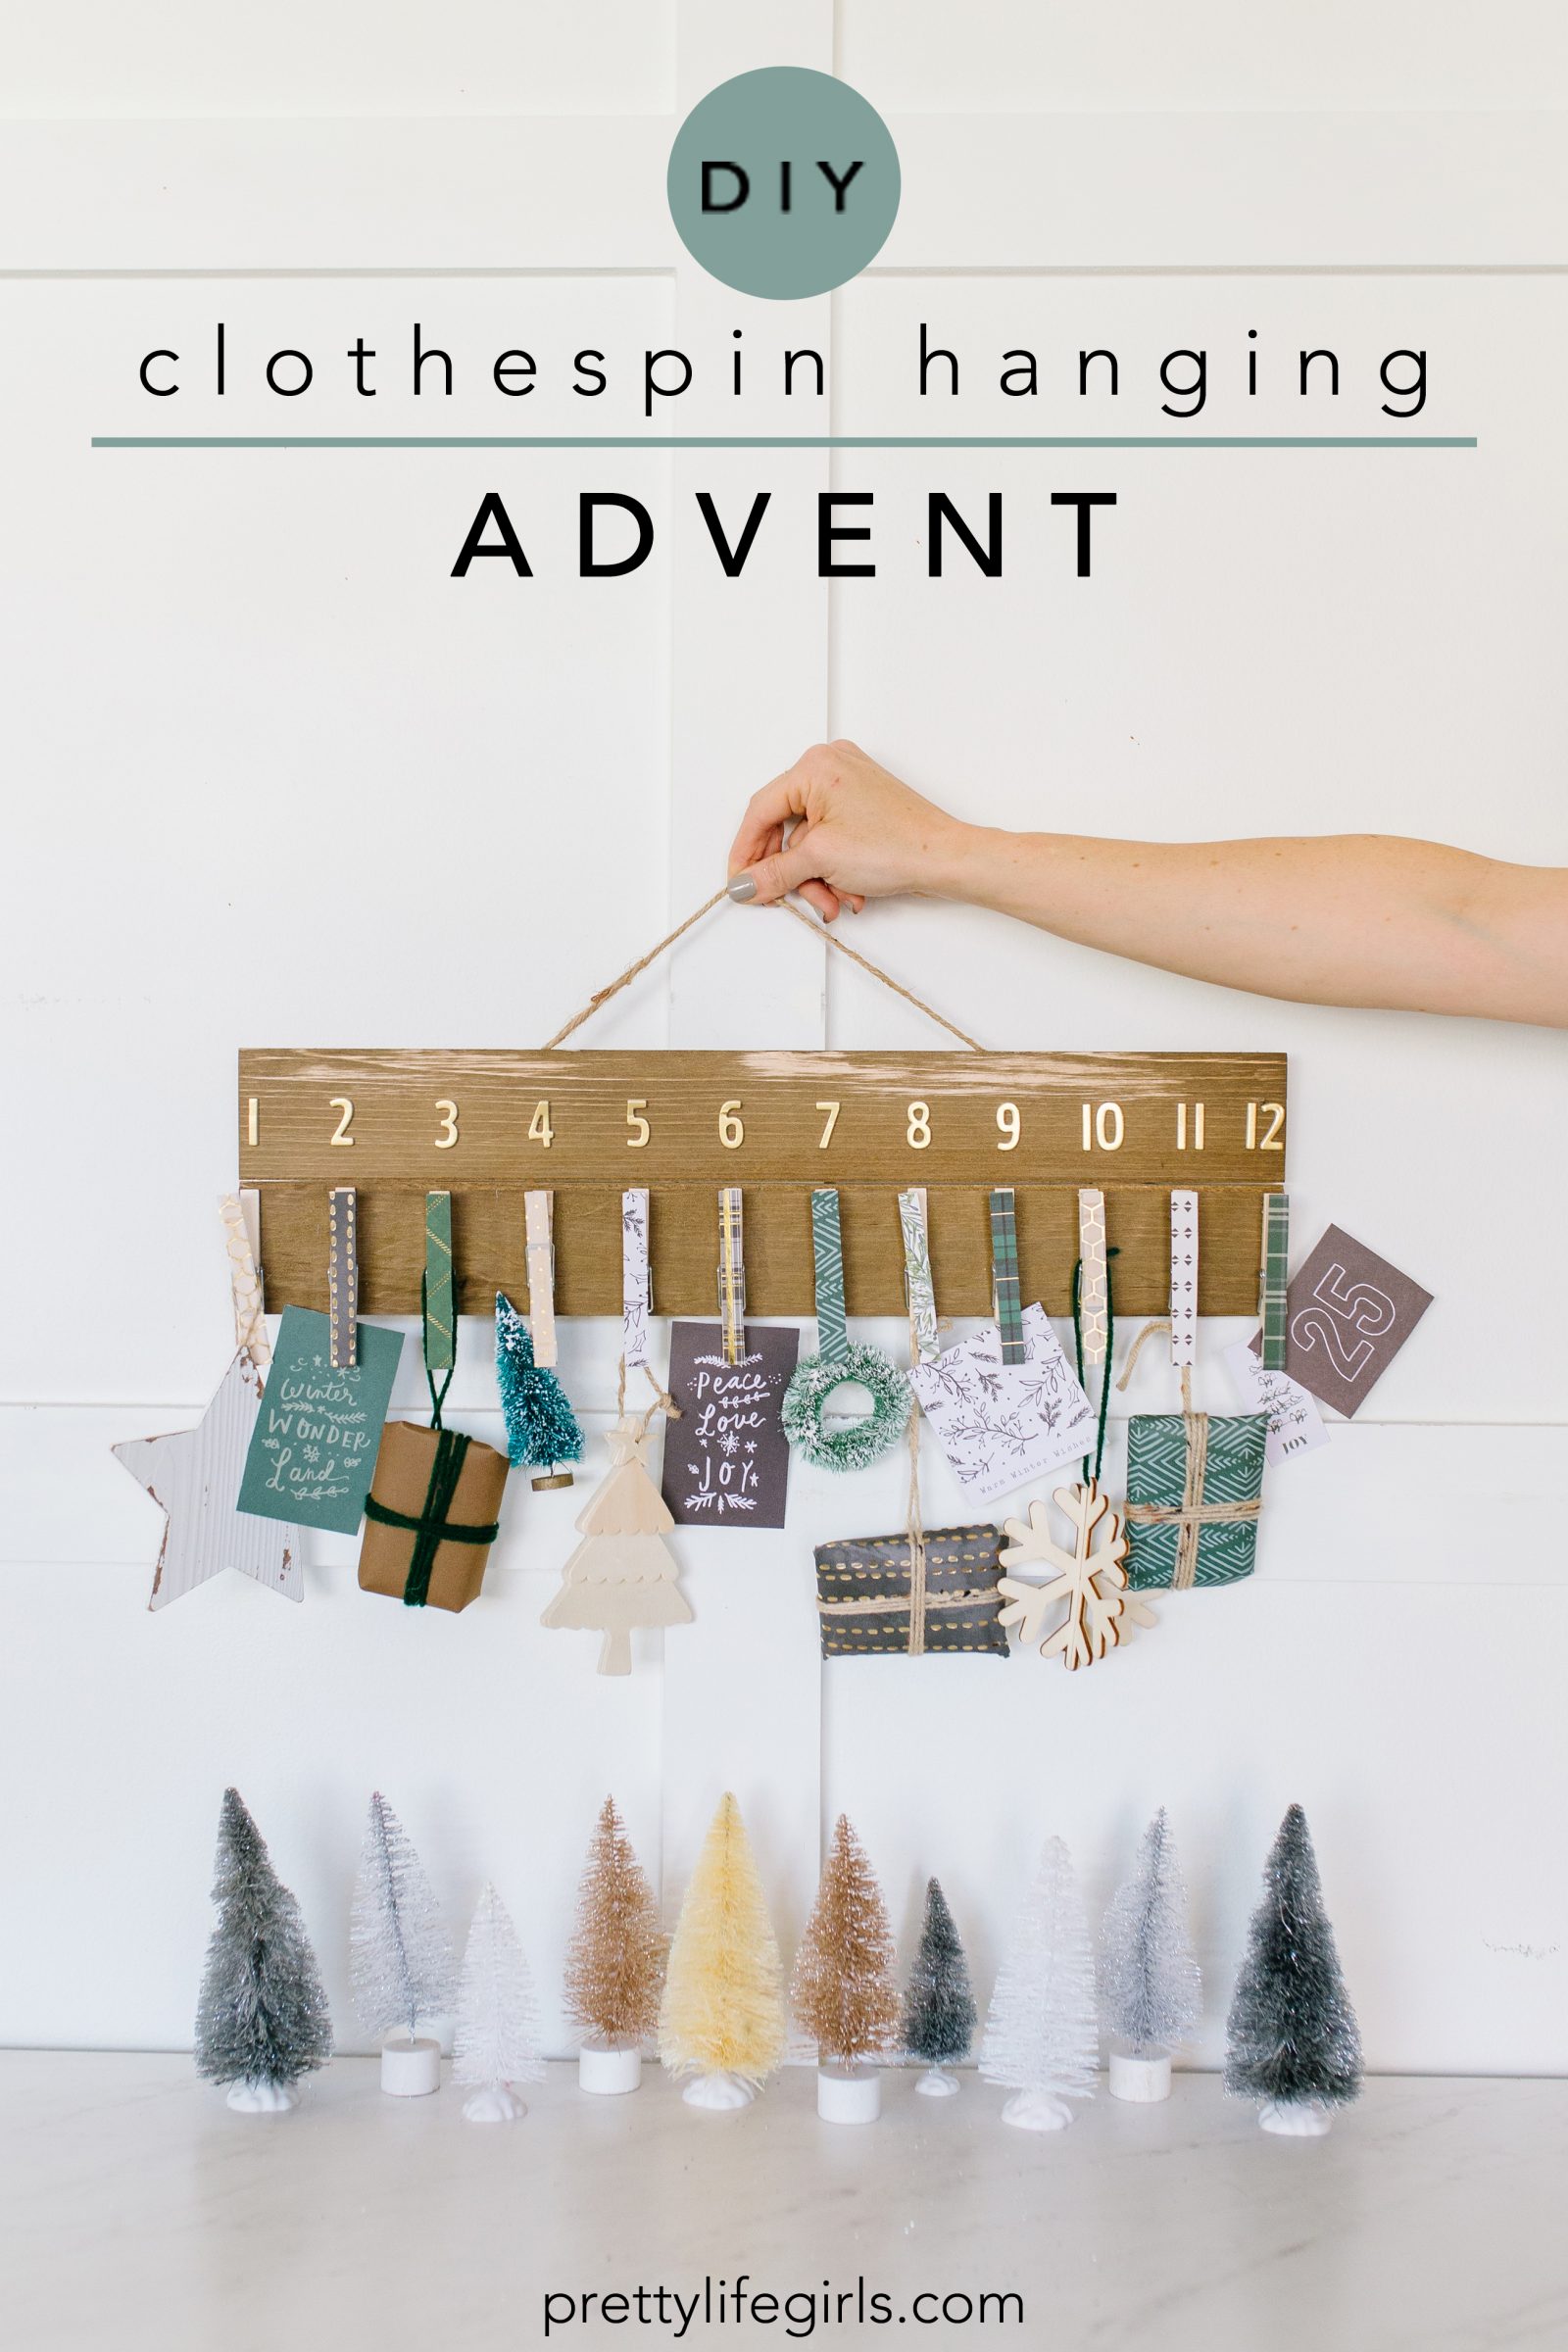
This clothespin advent calendar is a simple project that can be whipped up in less than an hour and can hold anything from a small daily gift to a piece of paper with a Christmas activity. We made ours a little smaller as a 12-day advent, but you could get a bigger, longer board if you wanted to make it the full 24.
We made this project in a workshop on Michaels.com, so for a really detailed class on how to make your own you can watch the video below, or keep scrolling for the written details!
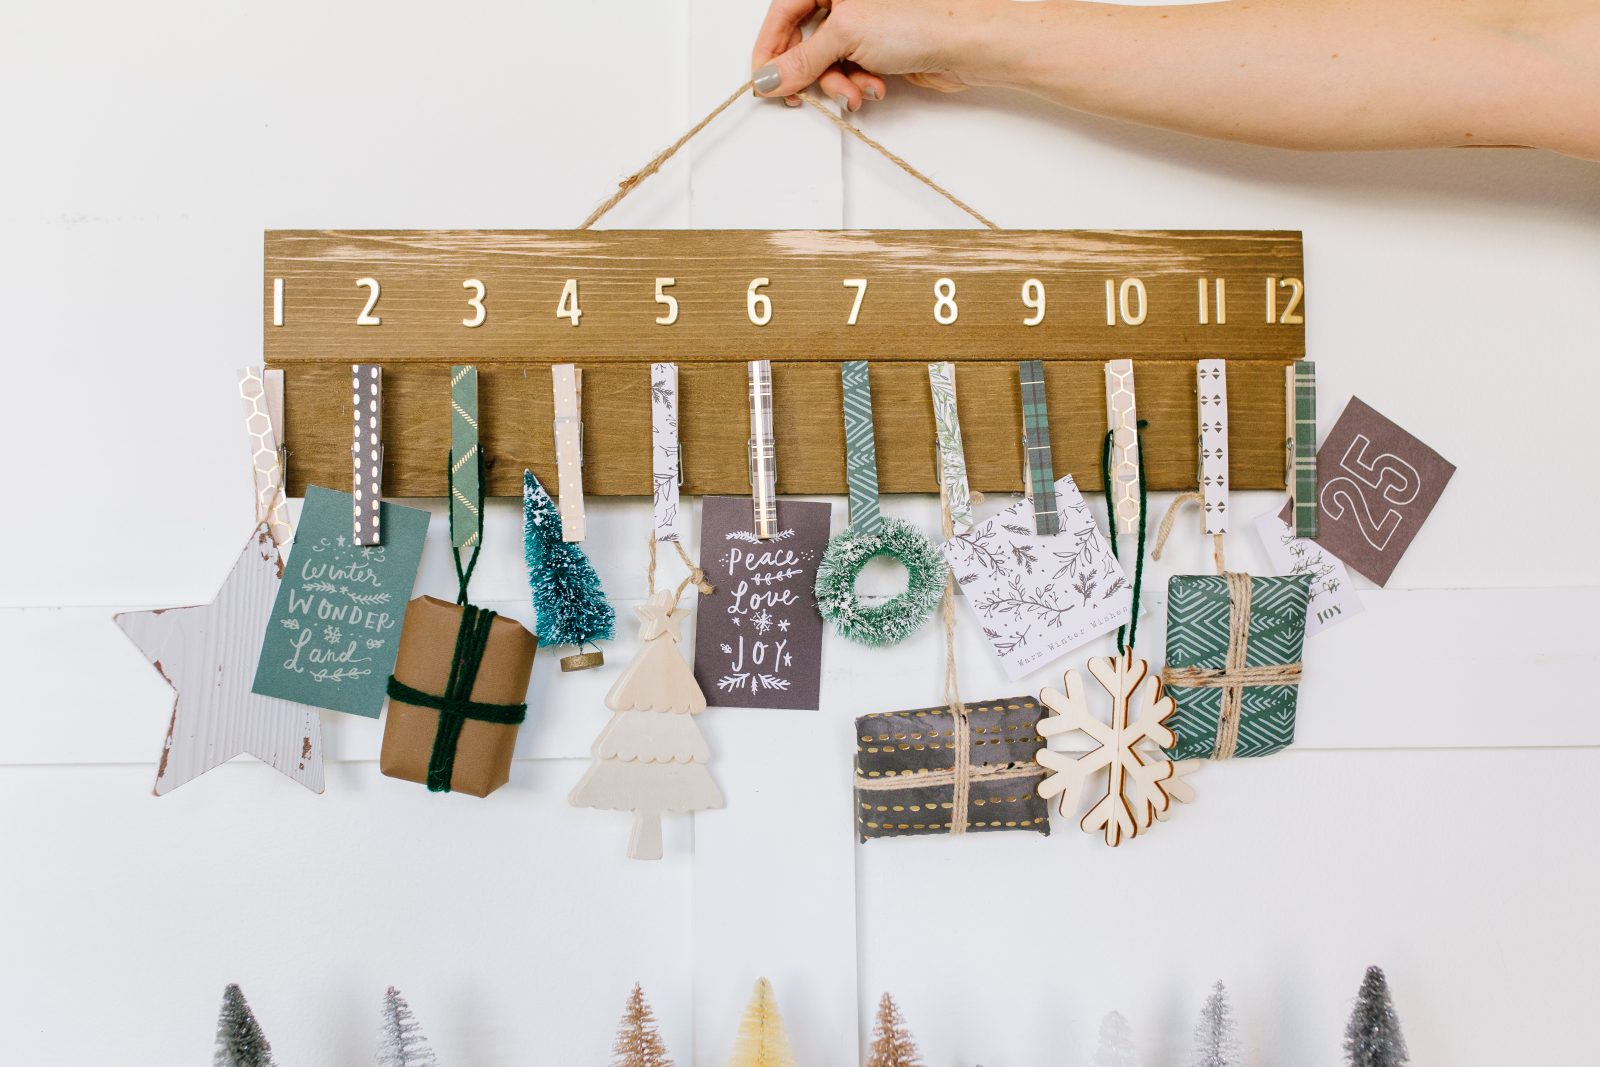

Supplies needed to make a Clothespin Advent Calendar
Wood Palette Plaque
Clothespins
Aleene’s The Ultimate Multi-Surface Adhesive
Patterned paper
Scissors
Letter Stickers
Pencil
How to make a Clothespin Advent Calendar
Read the steps below or watch the video!
Step 2: Put a light coat of the adhesive on the clothespin and press a paper strip into the glue, smoothing the paper with your fingers so it is smooth. Repeat with all twelve clothespins until all 12 strips of paper are attached to the clothespins. Trim any paper that might hang over the edge of the clothespins with scissors.
Step 3: Lay your clothespins on the board and arrange them how you would like them to be glued. Then, place a line of glue on the non-papered side of the clothespin and attach it to the plaque. Repeat until all 12 clothespins have been attached.
Step 4: Using a ruler or a strip of tape, determine the spacing you would like for your numbers. Then, attach them to the board, one number per clothespin. (Note: If you can’t find stickers you like, you can do the numbers with a marker, stencil them with paint, cut them out of vinyl, etc.)
Step 5: Let the glue dry completely, then attach treats, cards, ornaments, candy, etc. for each day and hang!
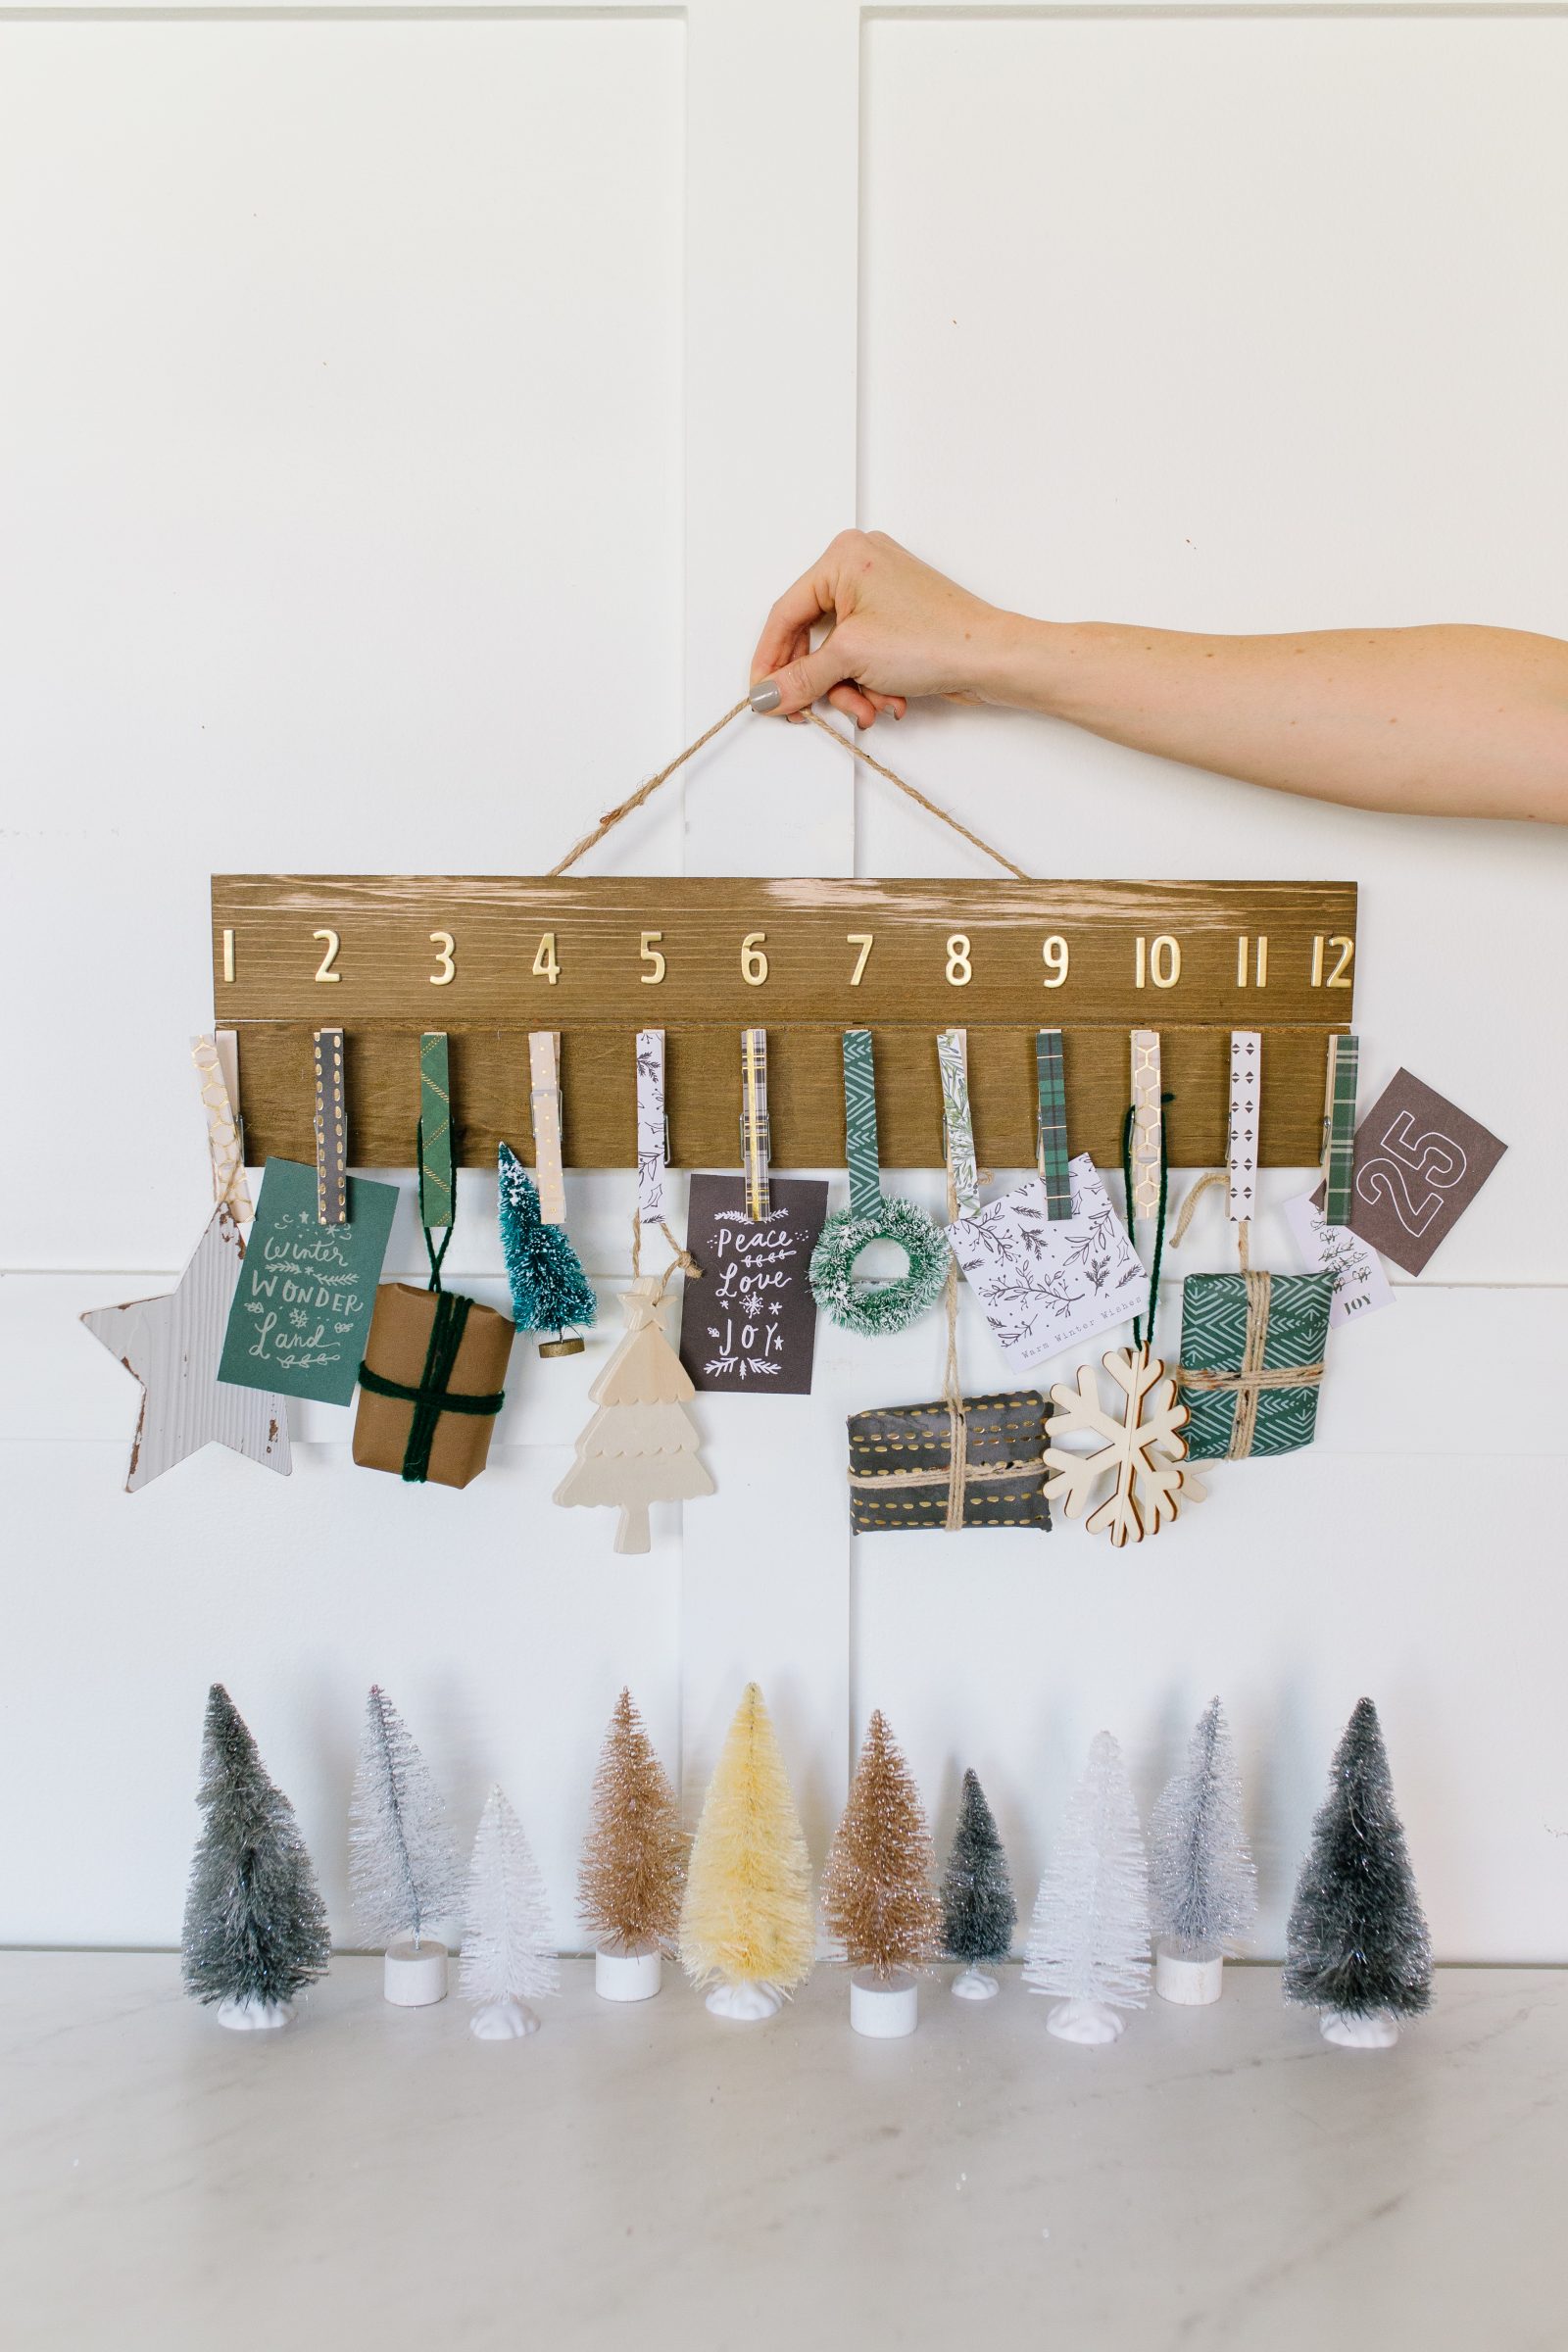

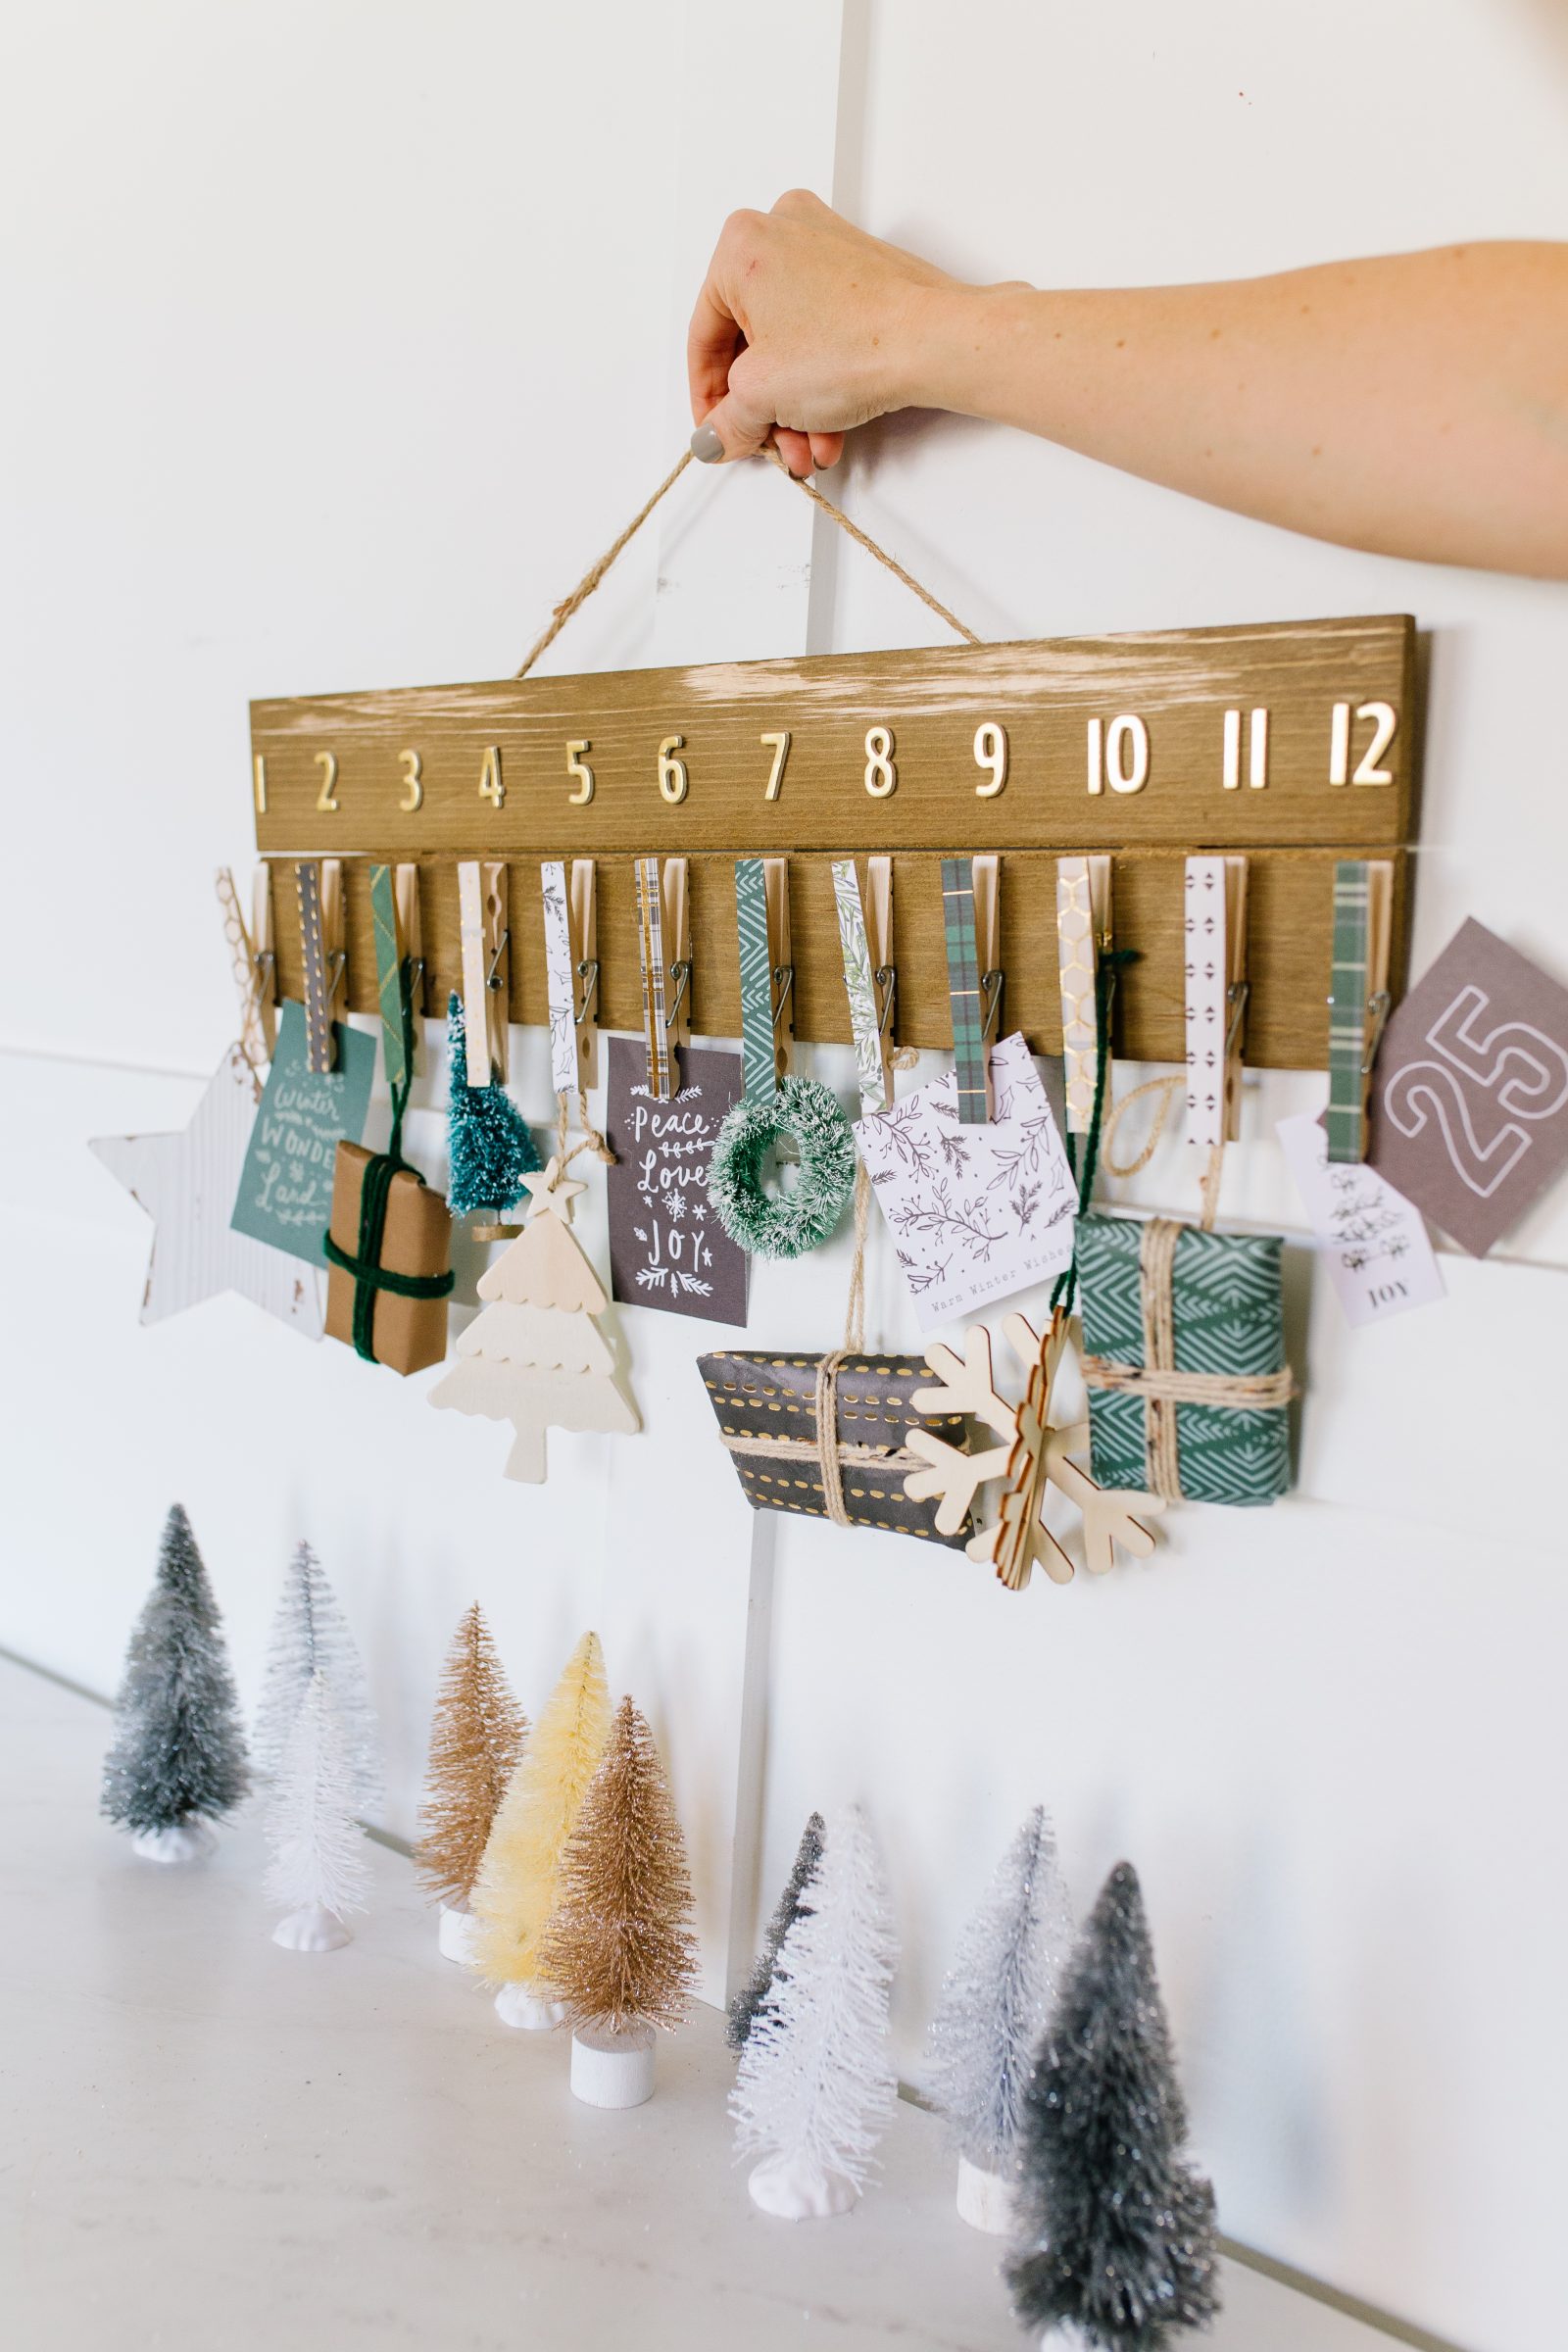

That’s it! This is such a simple project to put together but it can be used and love for years to come! Using Aleene’s The Ultimate Adhesive will help everything stay put so you can pull it out each holiday season and know all of the pieces will still be hanging on! Plus, we love that you can choose papers in the color scheme that fits you best and will match your own holiday decorating style!
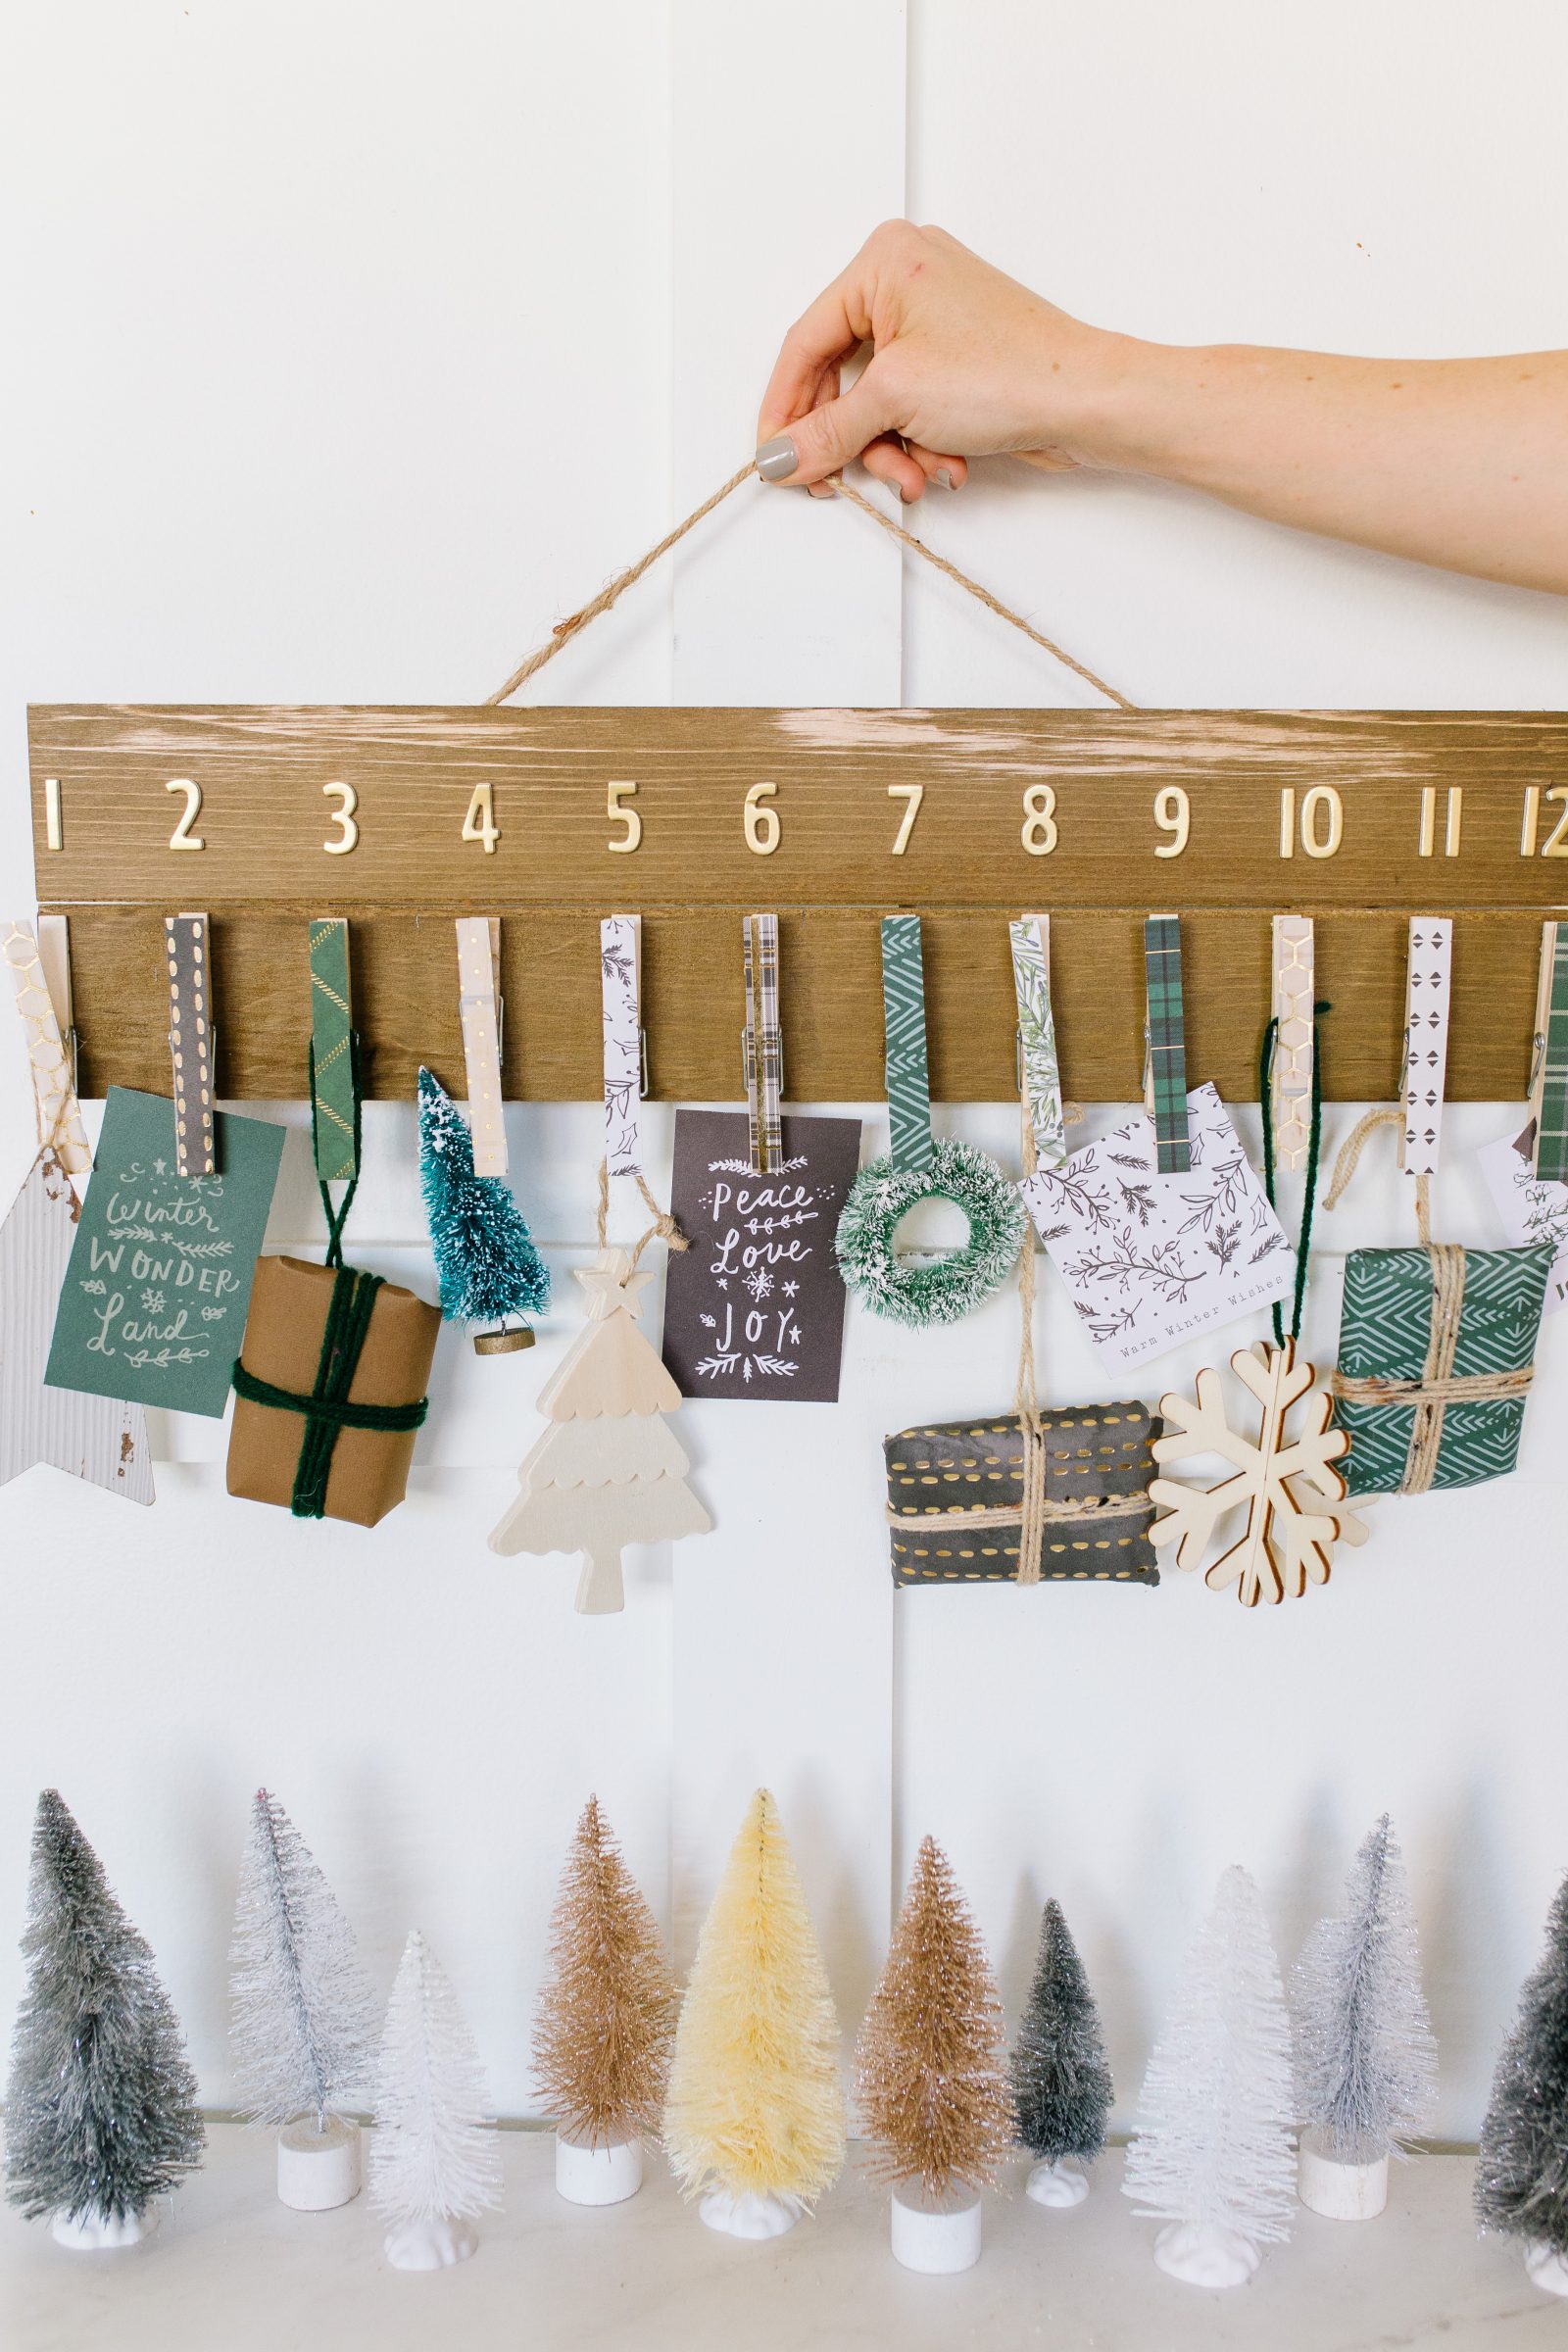


Happy making!
-Liz
We think you’ll love these other holiday projects!




In your supply list for Light the World you call for letter stickers.
Did you mean number stickers?