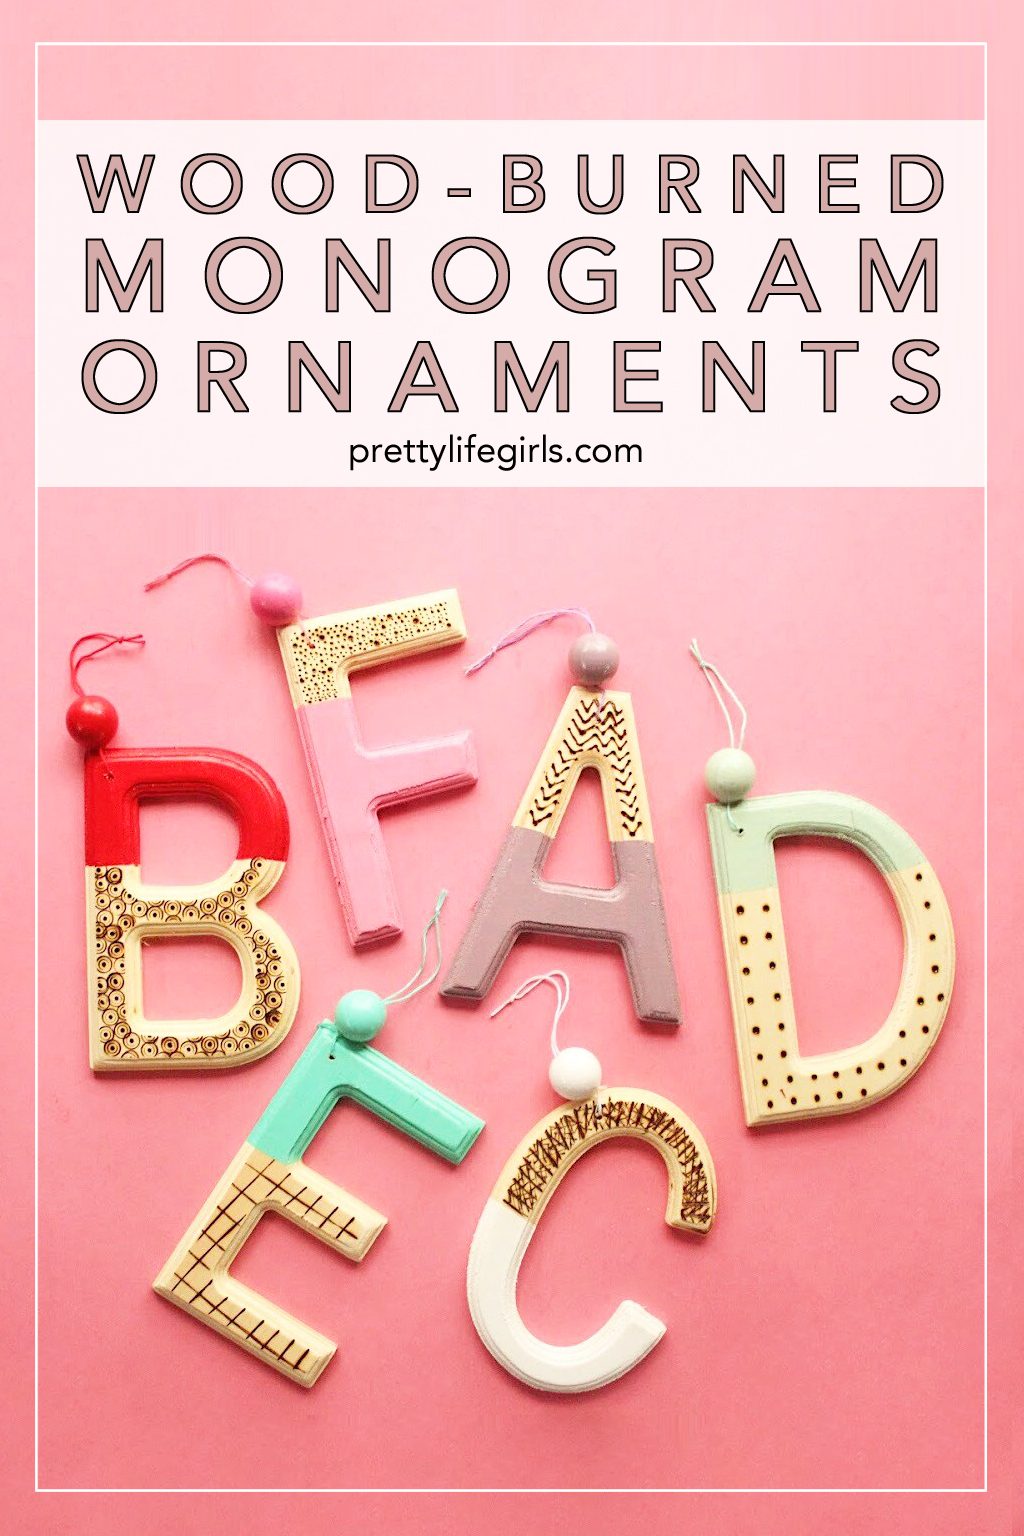
Do you have any traditions for ornament making around the holidays? We like to make a few each year that the kids can get involved with like salt dough and spices (smells unreal when they bake!), or make shapes out of popsicle sticks and paint and glitter. Getting your hands messy and being creative is such a fun way to feel connected and bring in the spirit of the holidays and this year we had so much fun thinking up our ornaments: these wood burned monogram ornaments! These are so much fun to make because it lets you get personal! The kids loved making their own monogram ornament and love seeing “their letter” on the tree.
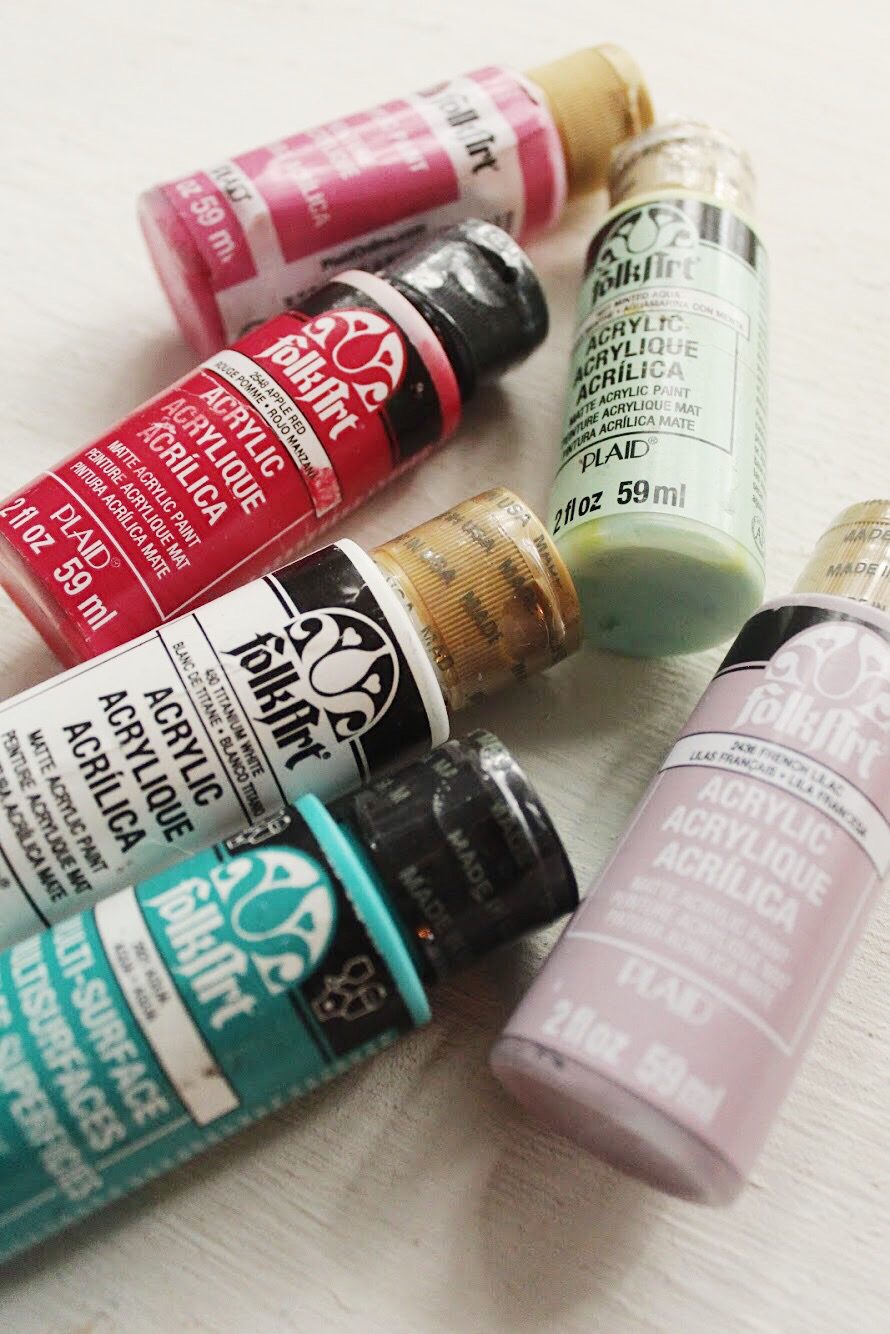
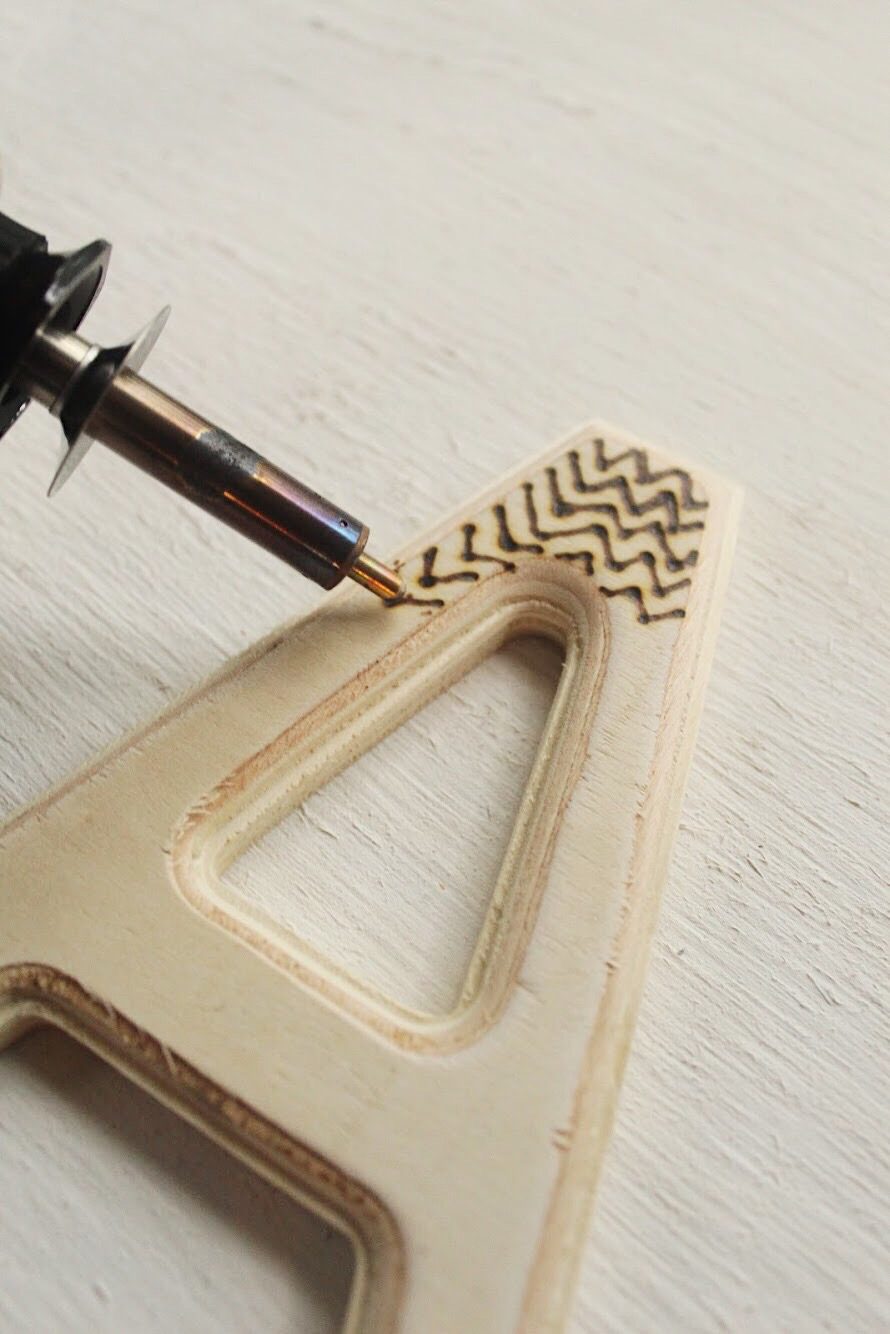
For this fun ornament project we used FolkArt Multi-Surface Paint to make sure the colors were the most gorgeous they could be and because ForkArt Multi-Surface works great on nearly any surface. Plus, we used the Plaid Decorative Wood Burning Set to give them an extra special touch! If you have never used a wood burner, it’s such a cool addition to your craft supplies. It can create texture and interesting design elements that no other tool can! However, it gets HOT so I didn’t let my little ones do the actual burning. They drew out their design ideas and then I burned them on the ornaments and they loved watching that magic happen! Let’s start making!
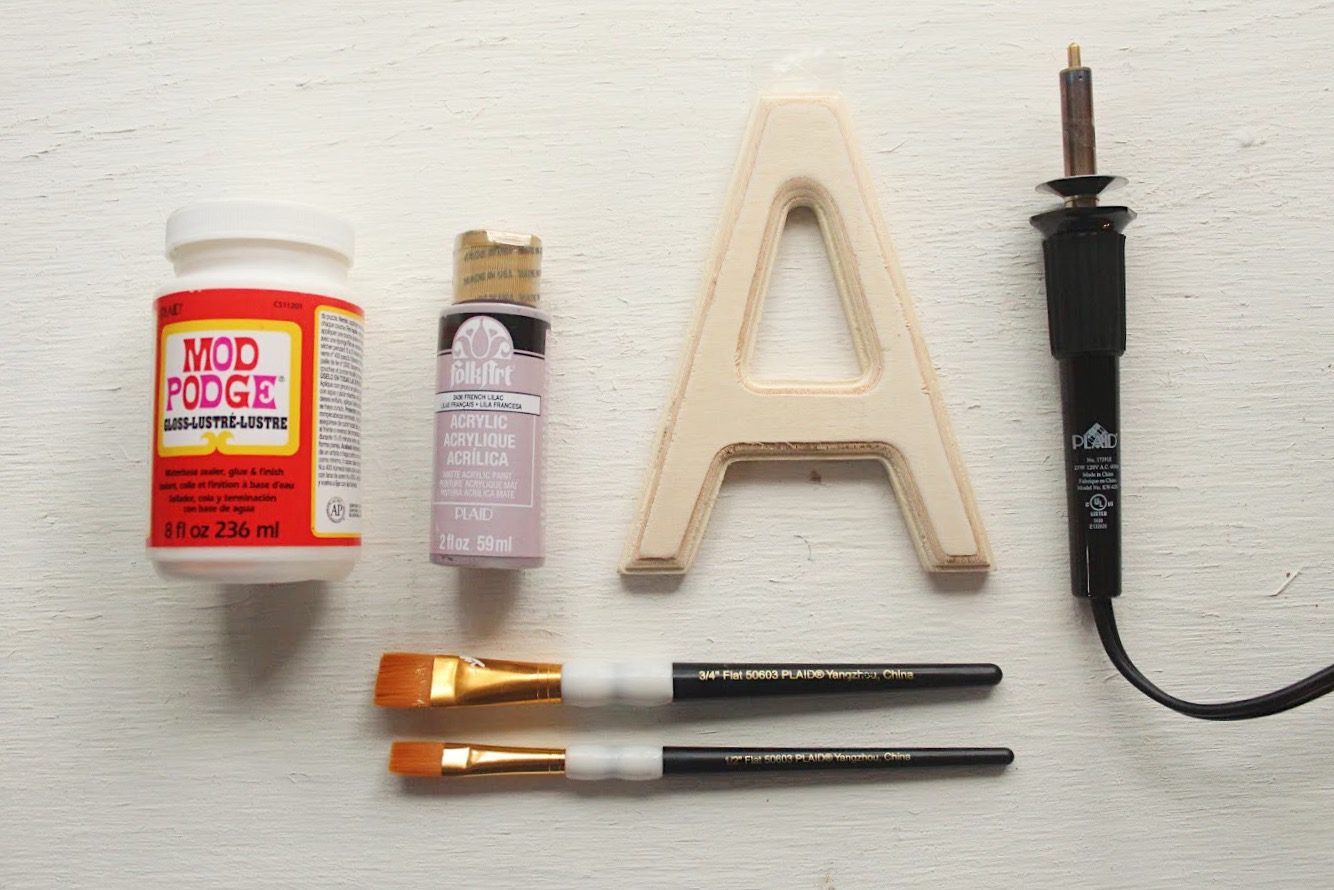
Supplies Needed
Unfinished Wooden Letter (I used a 6 inch wood letter)
Unfinished Wooden Bead
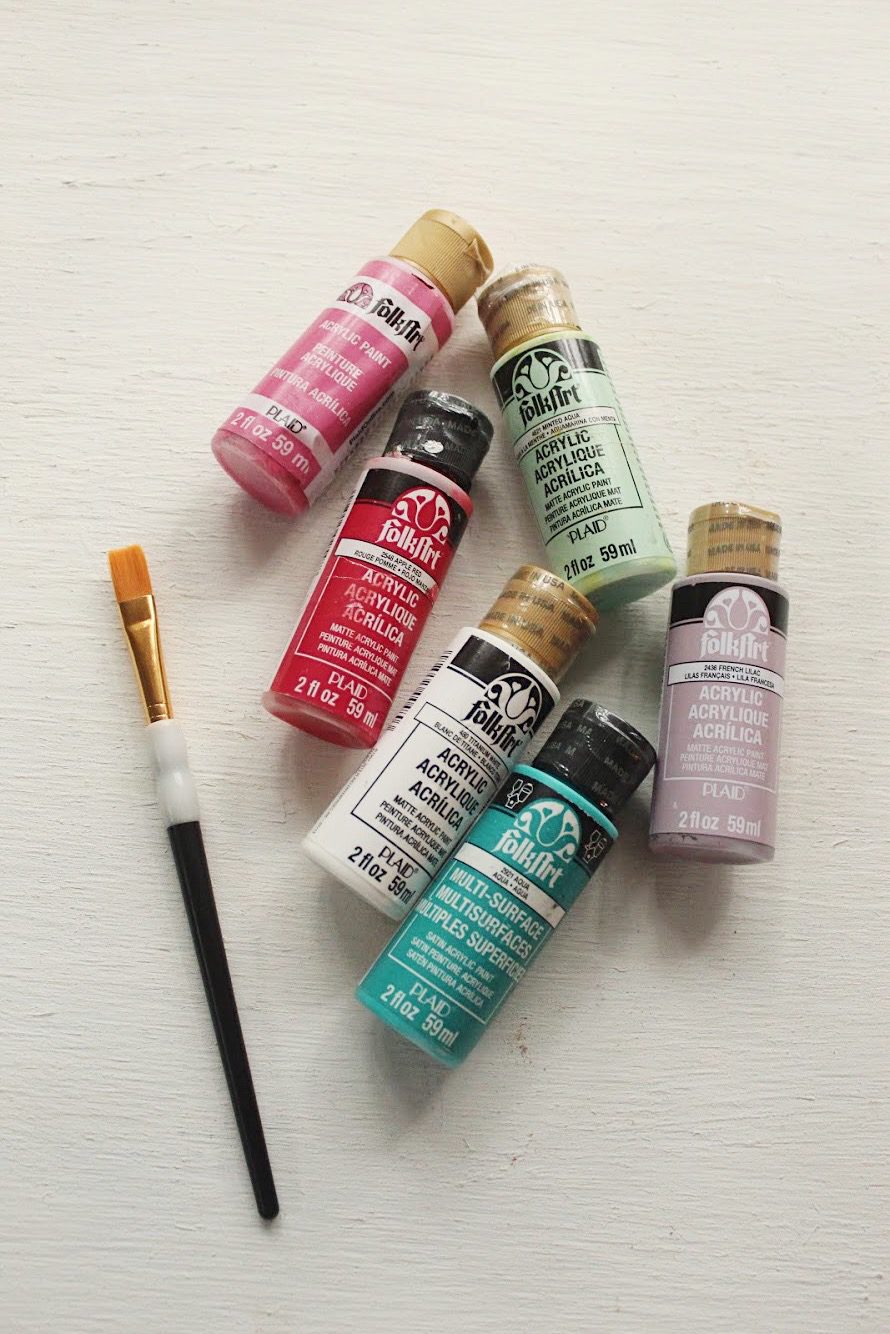
FolkArt Multi-Surface and/or FolkArt Acrylic Paint
FolkArt Paint Brushes
Plaid Decorative Wood Burning Set
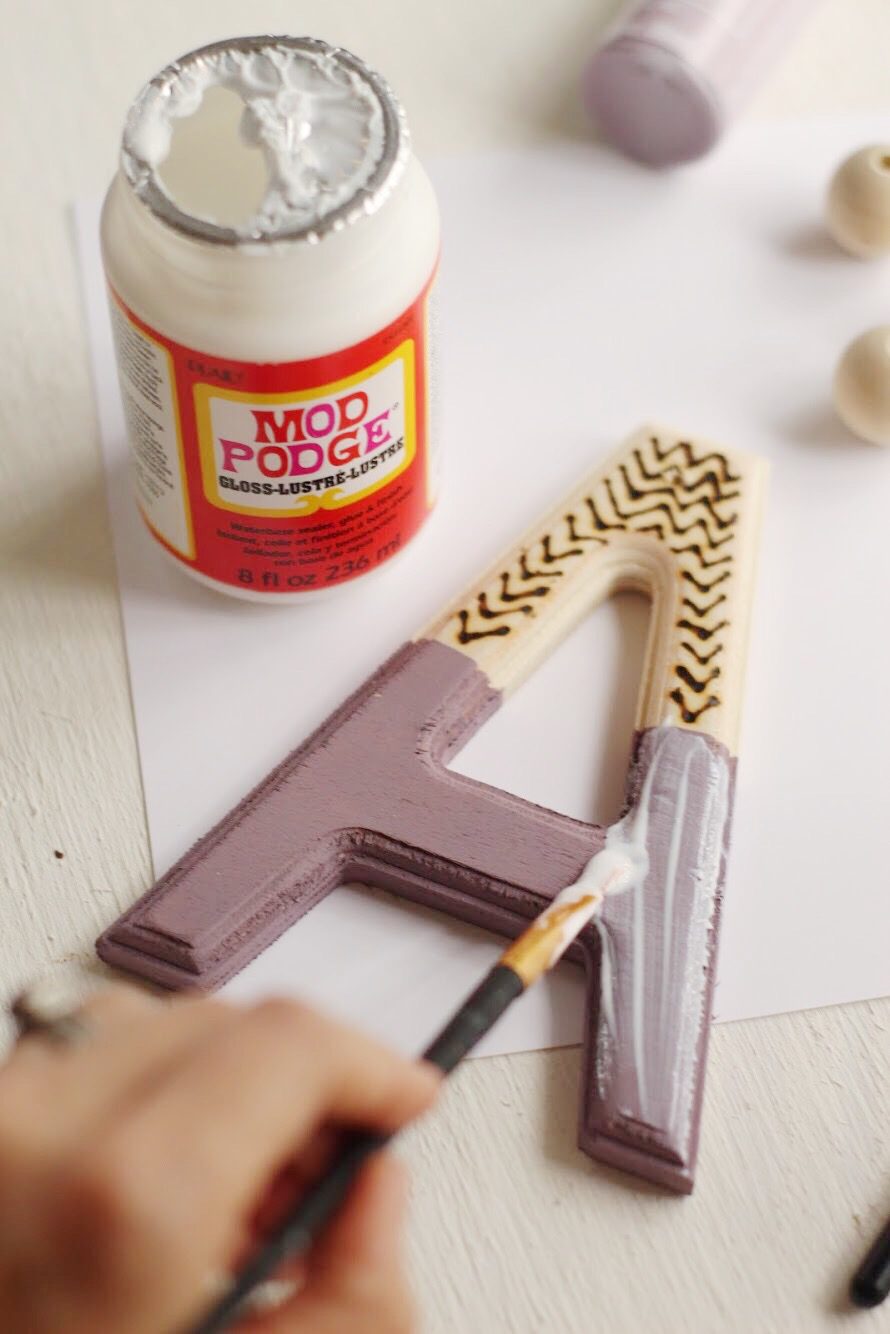
Mod Podge
Drill
String or twine
Painter’s Tape (if desired)
Hot glue gun + sticks (if desired)
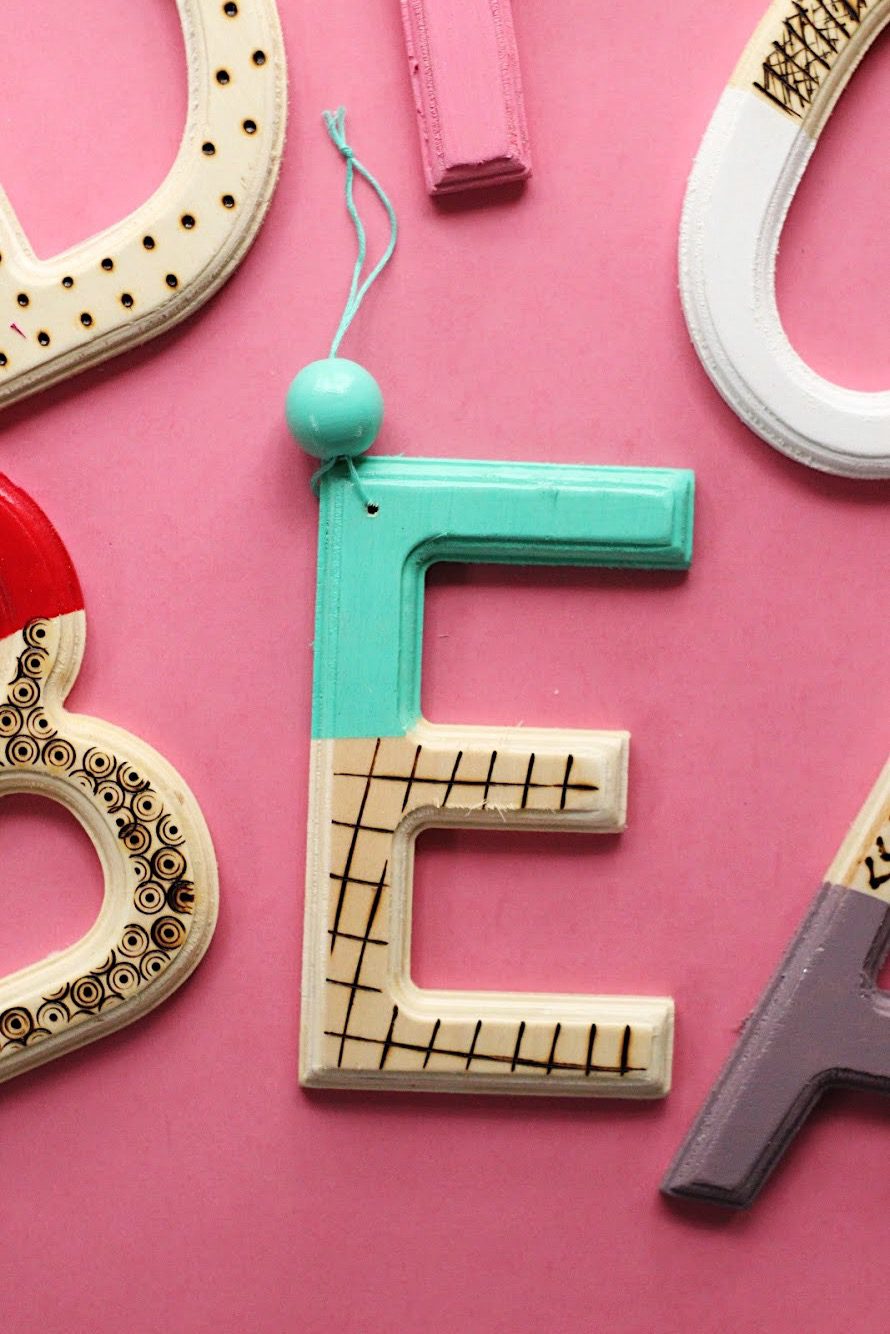
1. Sketch out your design for burning your ornaments, or if you’re wild, just go for it! It’s a good idea to have a test piece of wood that you can practice on first before doing the actual ornament so you can get a hang of how it feels and burns the wood. The Plaid Decorative Wood Burning Set comes with several tips for different shapes and lines so the possibilities are endless and you can make your ornaments really unique! Once you have designed your lines and shapes and are ready to go, create your designs using your wood burner on the letter.
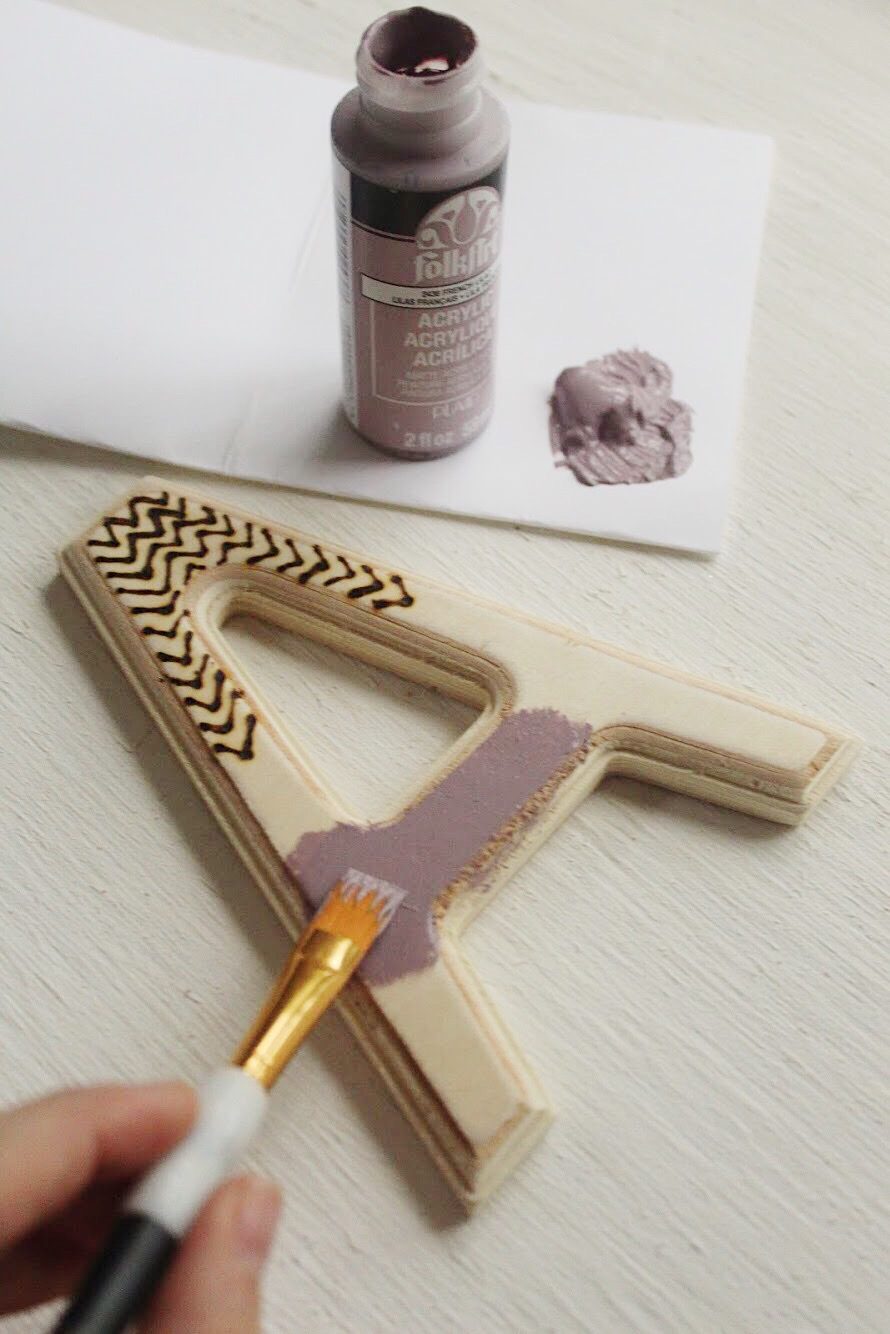
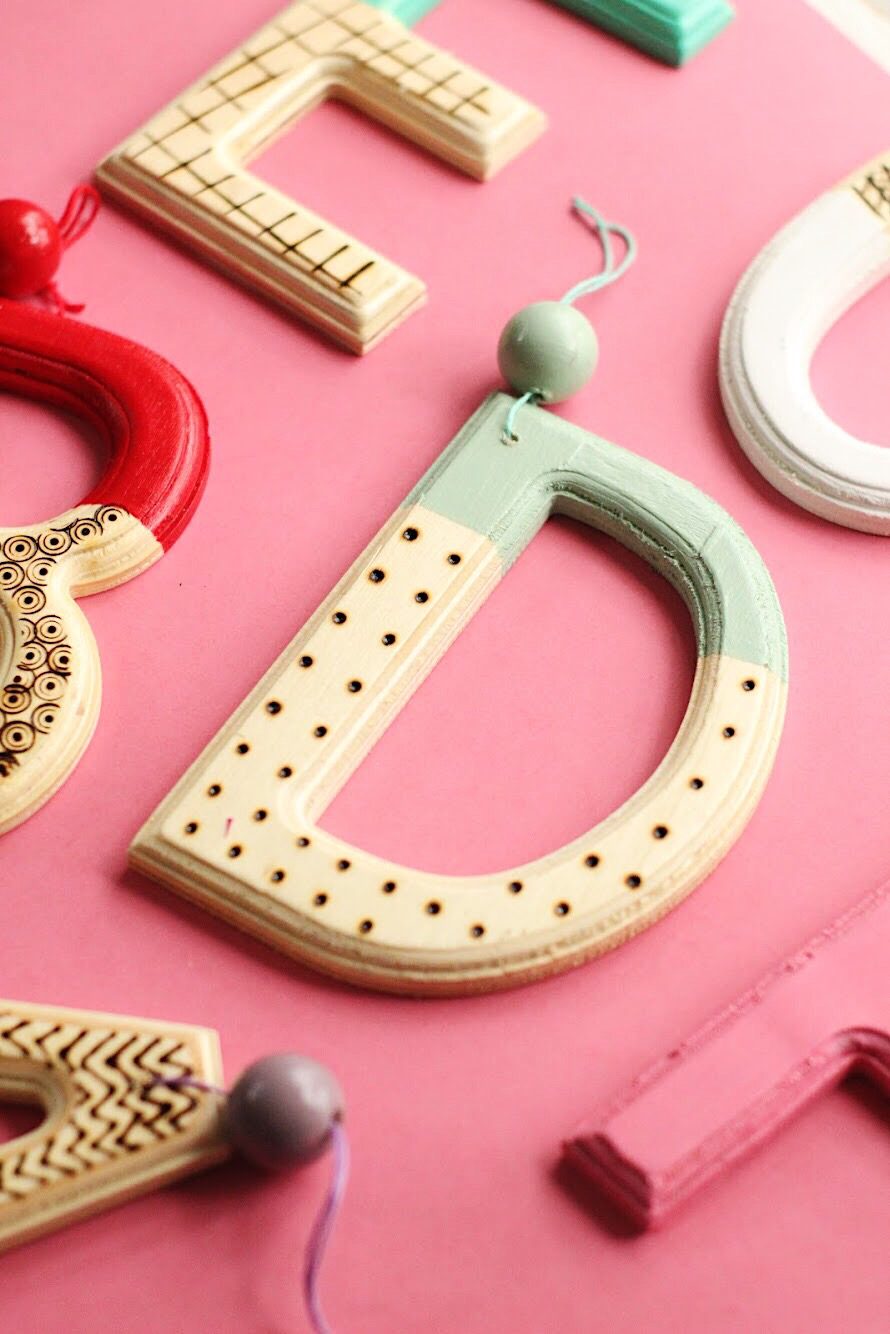
2. Next, it’s time to paint. If you’d like a really clean line, tape off where you are painting, then paint your letter. I love the dipped look of the paint on half and the wood burning on half, but you can apply them however you’d like! Apply two coats of FolkArt Multi Surface Paint and let dry completely.
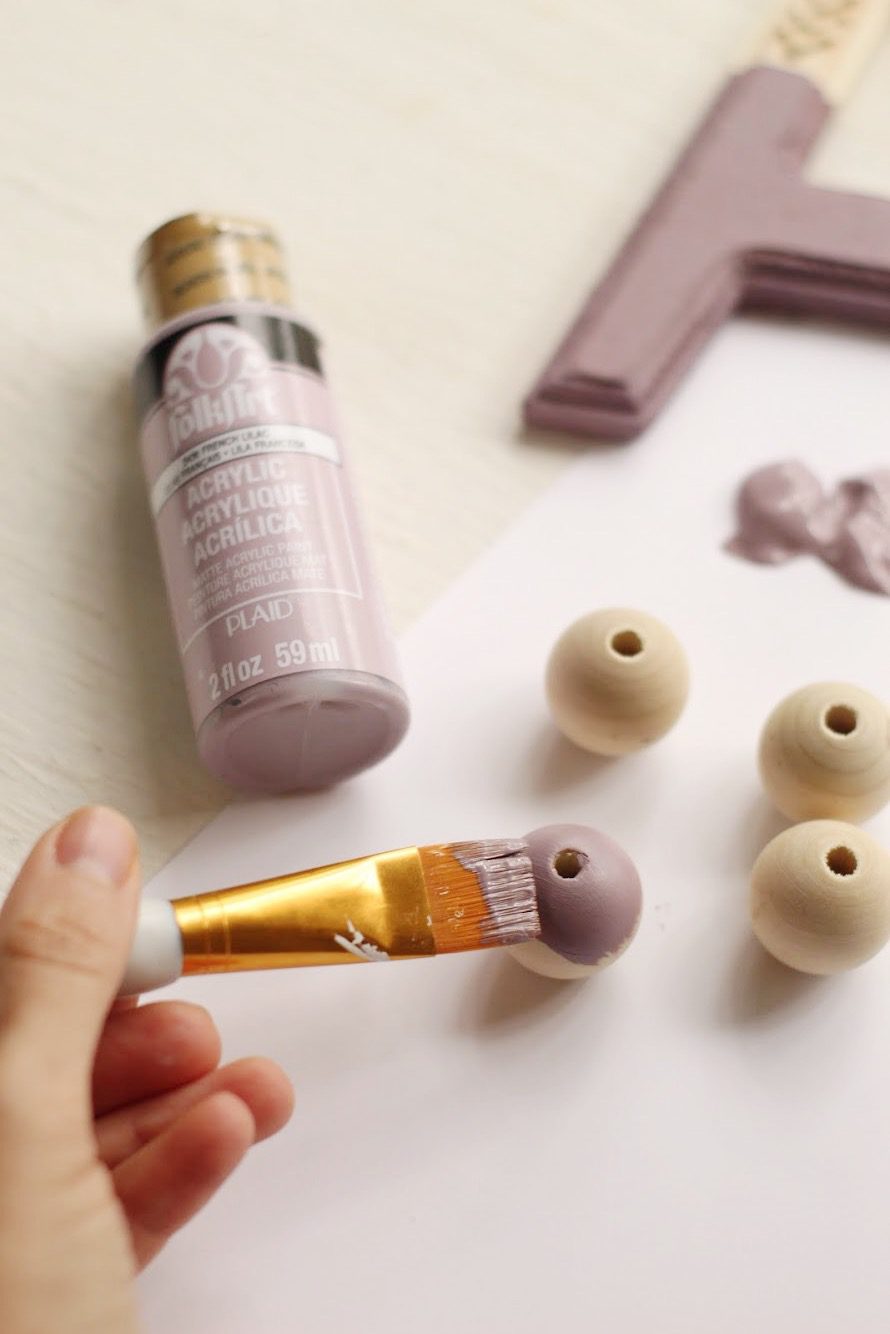
3. Next, give your beads two coats of paint and let them dry completely.
4. Apply two coats of Mod Podge to seal your ornament and the bead to give it a nice, glossy, finished look. Let dry completely.
5. Using a drill, drill a hole in the top of the ornament and attach a string or twine for hanging.
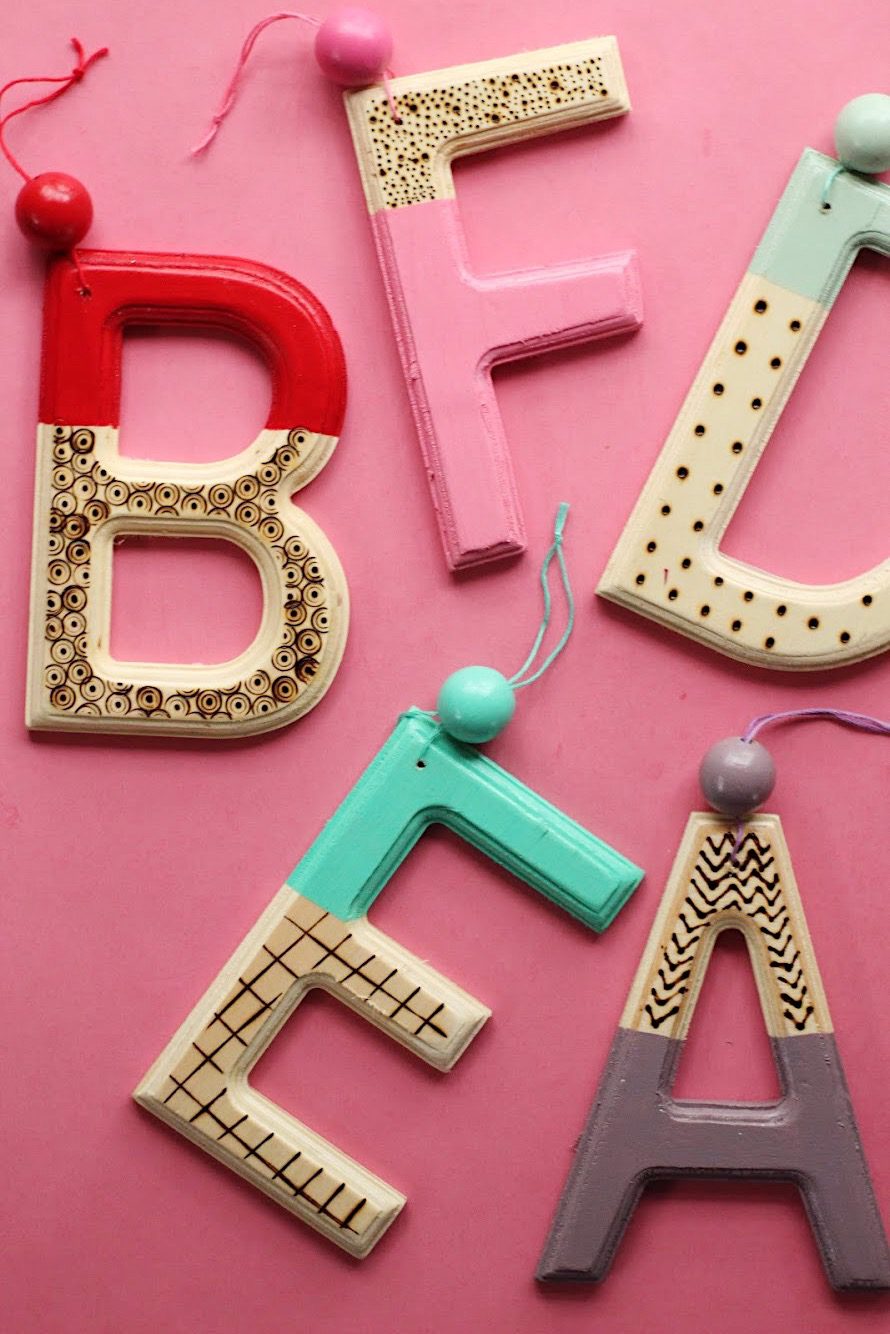
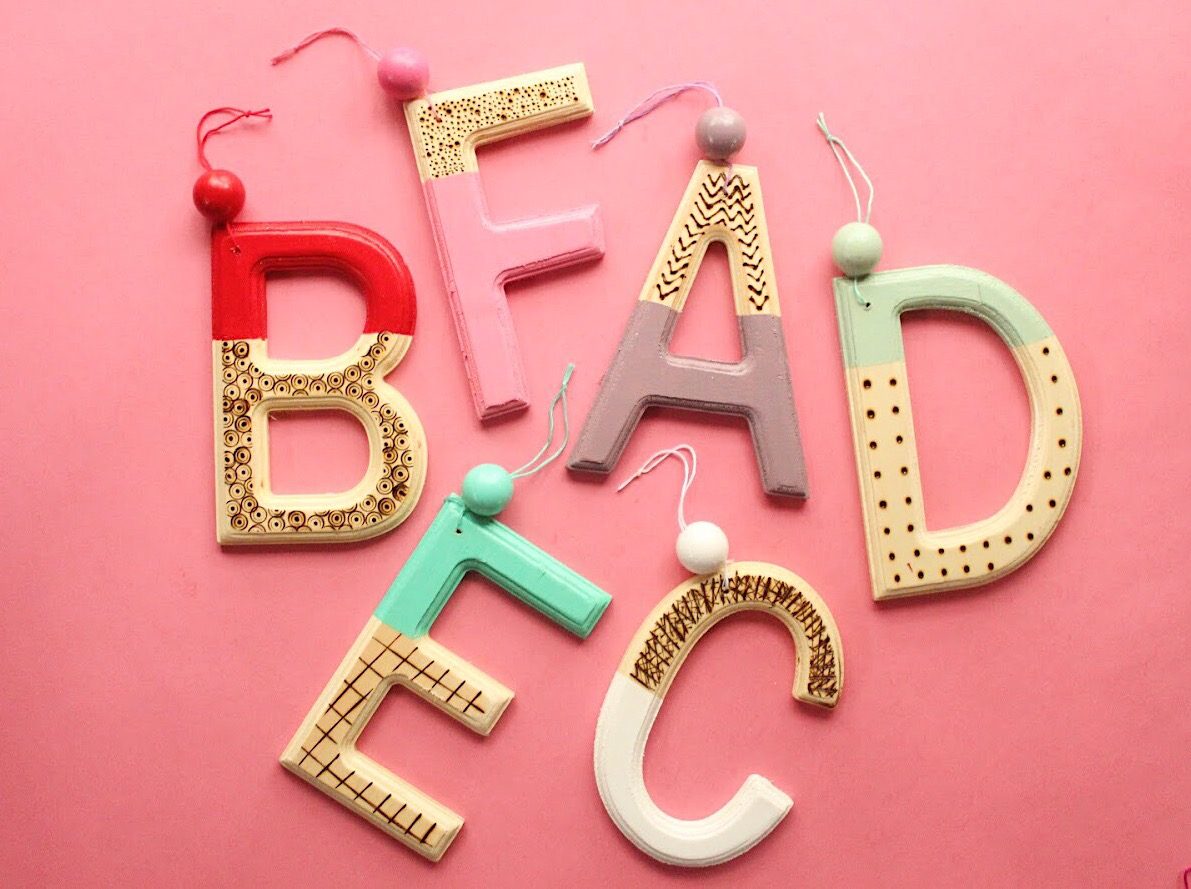
That’s it! Now you’ve created some fun personalized ornaments that are colorful and full of interest. I love the idea of making these to give as presents or making them in a smaller size to attach to gifts for a special touch!

Isn’t your mind running wild with all of the design and color potential using FolkArt Multi Surface Paint and the Plaid Wood Burning Kit? It’s so much fun and no two ornaments will be the same!

How are you decorating your tree this year? We’d love to hear your ideas! And for lots of inspo be sure to visit our friends at Plaid Crafts on Facebook, Instagram, Pinterest, and at Plaid Online!
Happy crafting!
-Liz