This post was originally published September 2017 and updated as of August 2022.
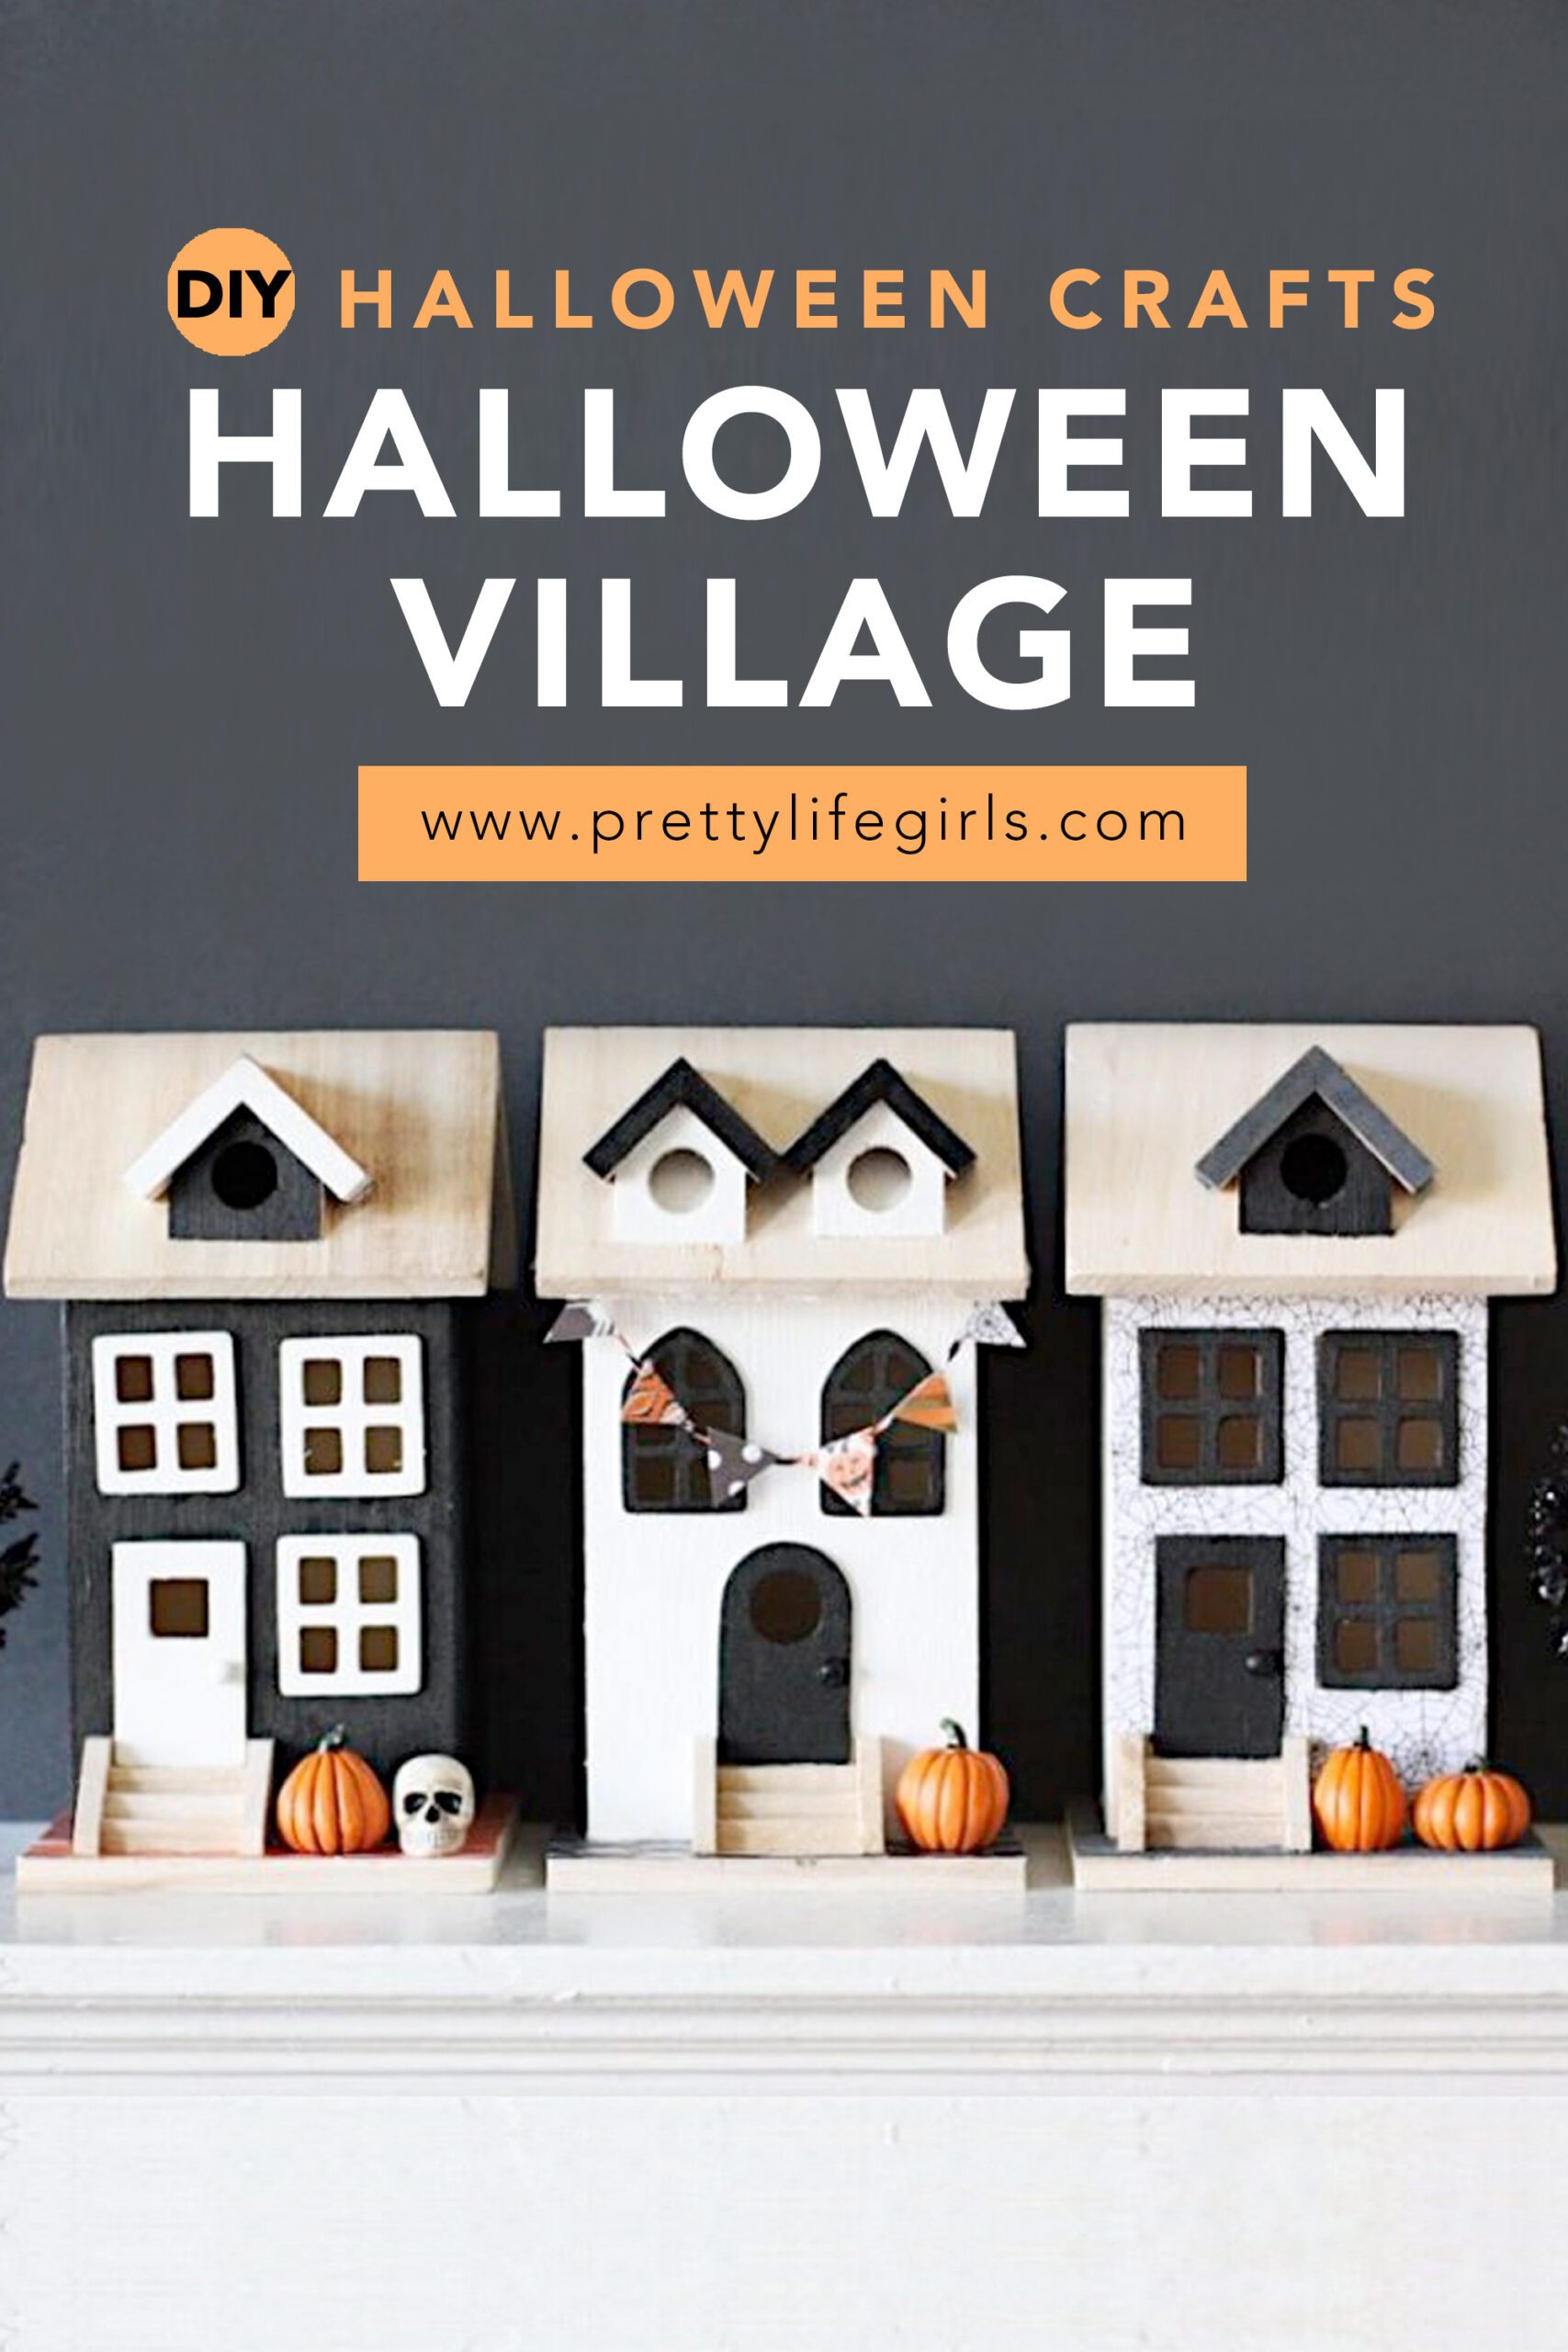
In this tutorial, we’ll show you how to make a DIY Halloween Village using wooden houses, craft paint, patterned paper, and Mod Podge! This is a such a fun project to display at Halloween time, and it’s even funner to make!
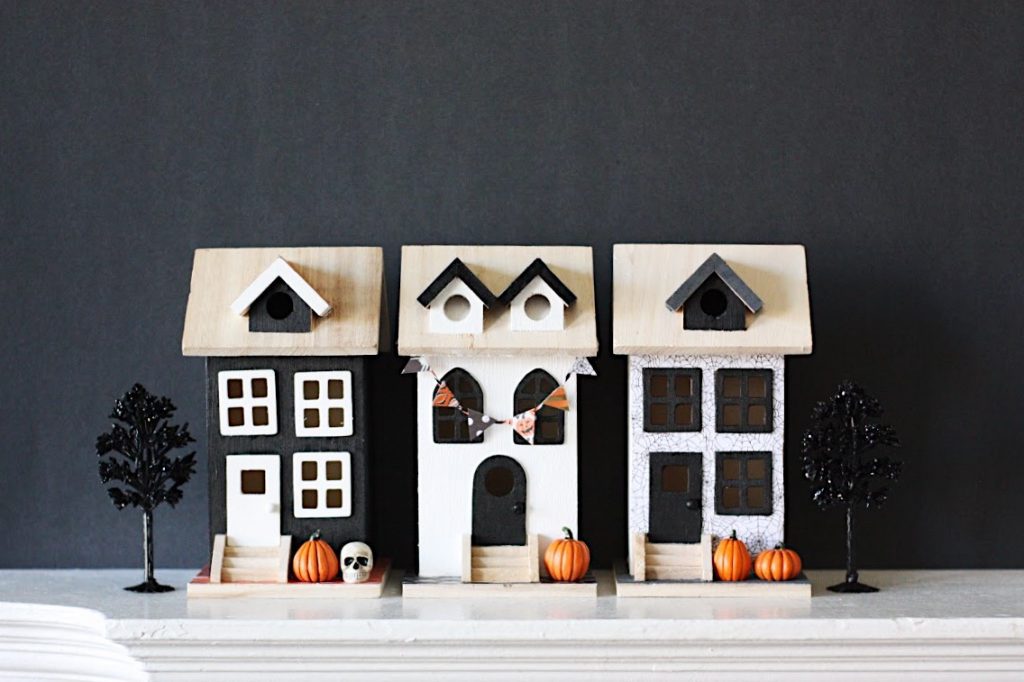

How to Make a DIY Halloween Village
I’ll start by saying that I love all levels of Halloween decorating. I think it’s awesome when people go completely crazy and have animatronics at their door that make you feel like you might get murdered, but I am definitely not one of those people. I mean, I will happily go to your house and walk through the spooky graveyard you have set up on your lawn, and I get it, but I won’t be doing it.
However, I love the holiday and love getting festive, so when I craft for Halloween, I like to have it mirror my personal style so it fits into my space. And lately I have noticed these fun, over-the-top Halloween villages with tons of crazy details that are so cute, but I wouldn’t put them in my house. So, I decided I would make my own DIY Halloween Village and put my own stylistic spin on it!
Subscribe to our YouTube channel!
How do you make a Halloween Village?
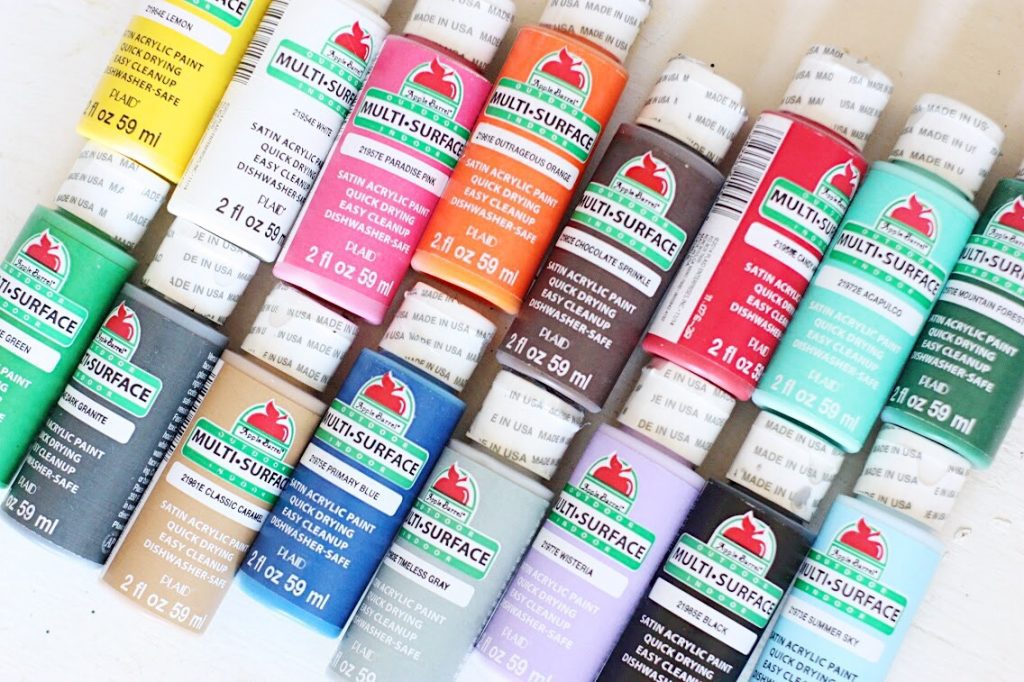
To make this village I used my Apple Barrel Multi-Surface Paint Set which is an awesome basic kit that is perfect for family crafting! It comes with all of the colors you need for small projects (16 to be exact!), and is great for indoor and outdoor projects, is dishwasher safe, AND it covers concrete, glass, ceramics, wood and more!
You can make Halloween Villages a variety of other ways too! We’ve make them out of wood blocks, paper, gingerbread, and even an old Christmas village!
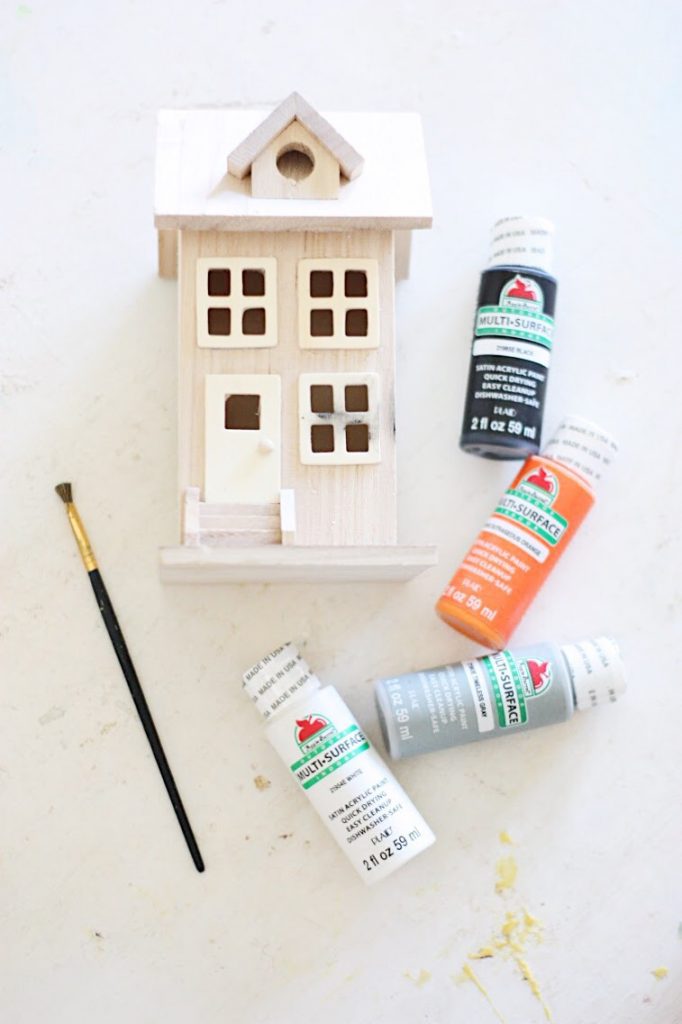


Materials needed to make a DIY Halloween Village
Apple Barrel Multi-Surface Paint
Paint Brushes
Unfinished houses
Mod Podge + Brushes
Halloween paper
Halloween embellishments
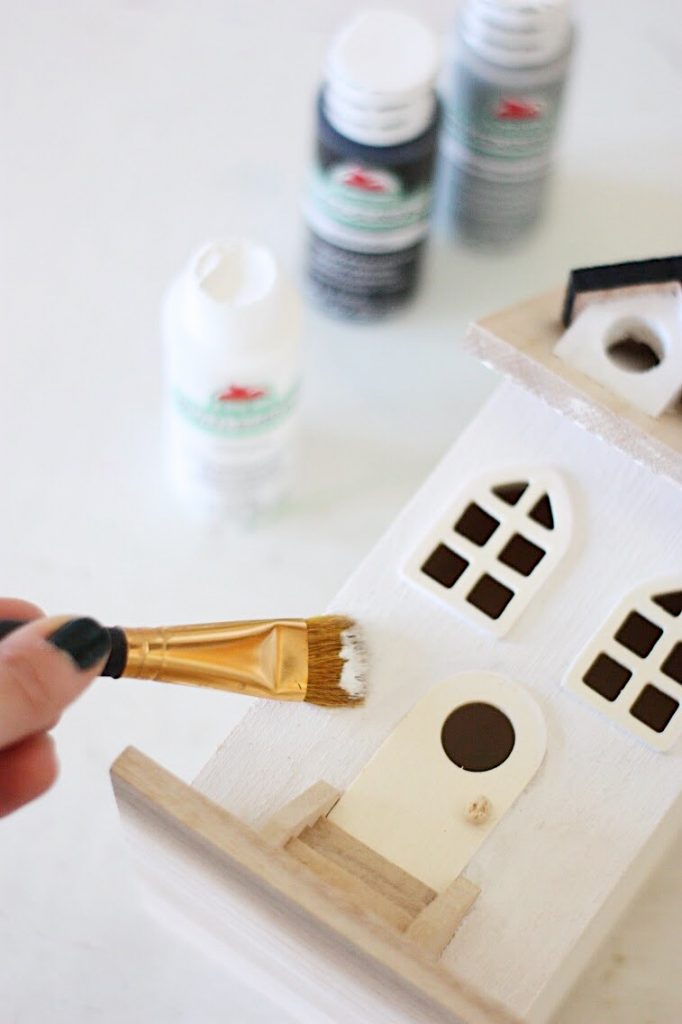

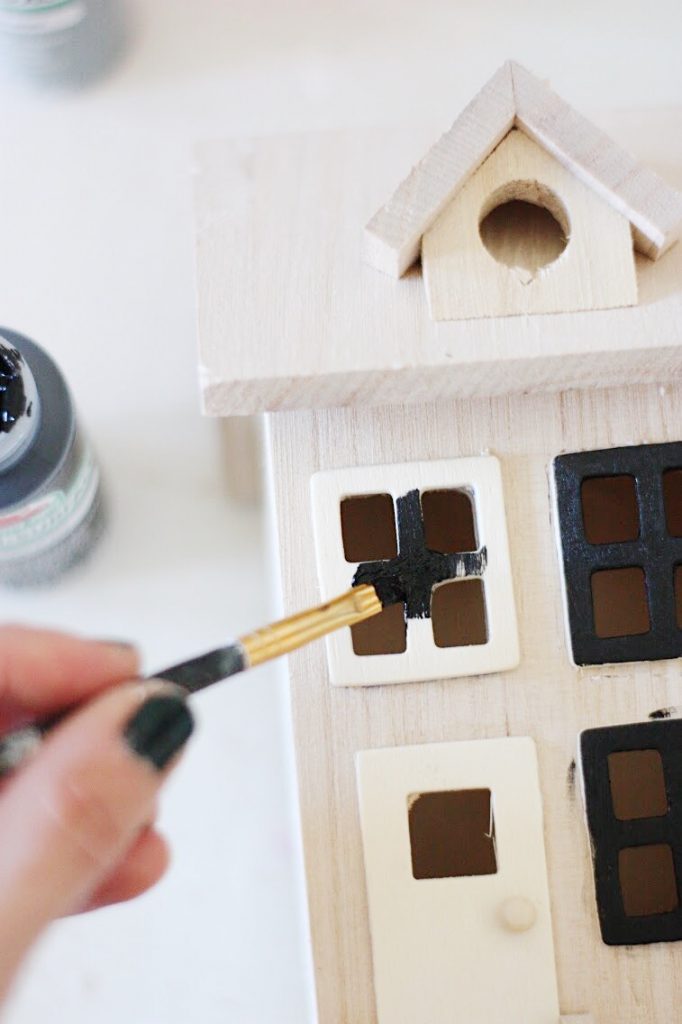
Step 1: Paint your houses using your Apple Barrel Multi Surface Paint. I wanted my village to look relatively minimal so I used neutrals from the set and even left some parts of the houses unpainted.
It was fun doing corresponding walls and windows so that each house looked like they belonged together but were a little bit different. After applying your desired amount of coats, let paint dry completely.
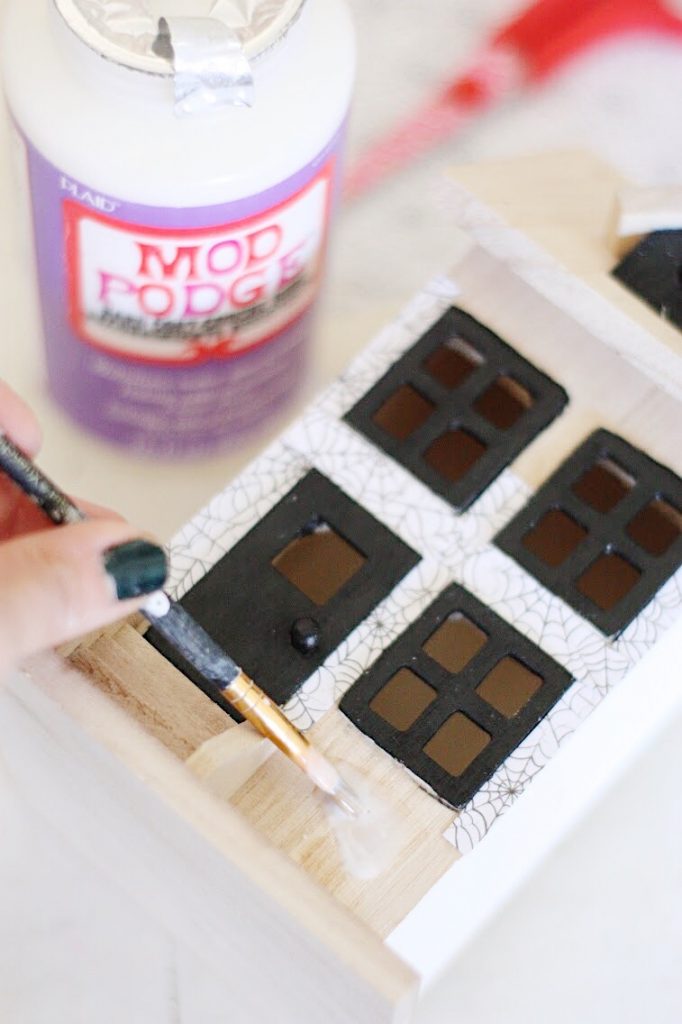

Step 2: To add some fun visual interest, attach some paper to your houses using Mod Podge! To do this, simply measure or trace the areas you would like covered and cut out the paper to fit.
Then, apply papers to the houses according to Mod Podge package instructions. Using Mod Podge for this is great because it acts as a glue and a sealer, insuring that the papers will stay put so that you can use this village as decoration for years to come!
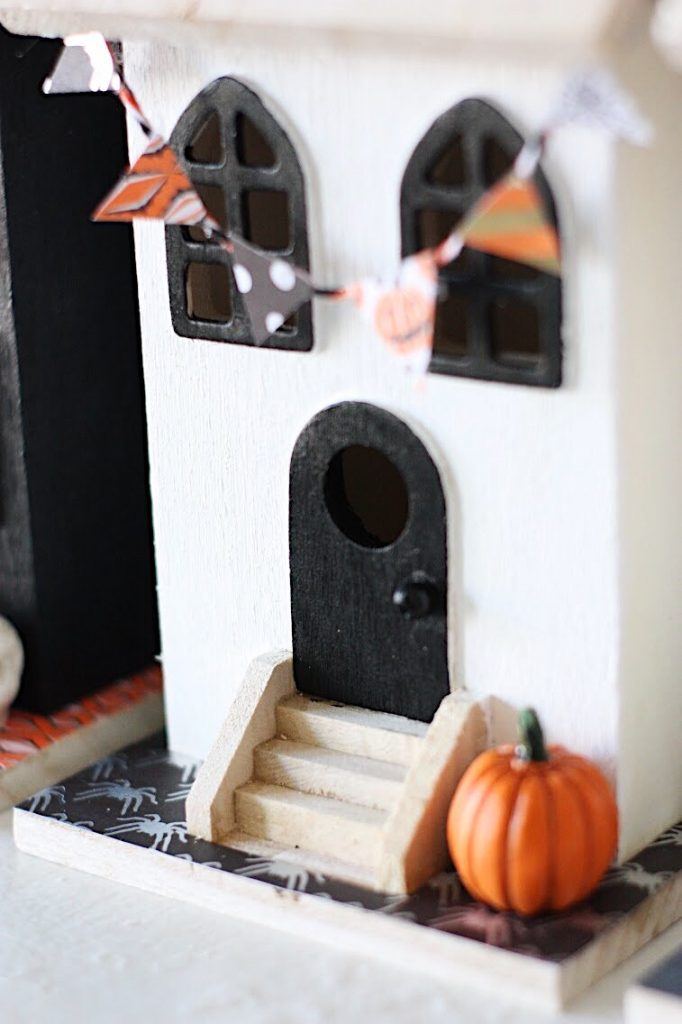

Step 3: Add some embellishment! I had fun creating a little Halloween bunting using some paper scraps and string.
I also found some mini pumpkins, trees, and skulls in the miniature section at Michaels that really add some fun personality to the village.
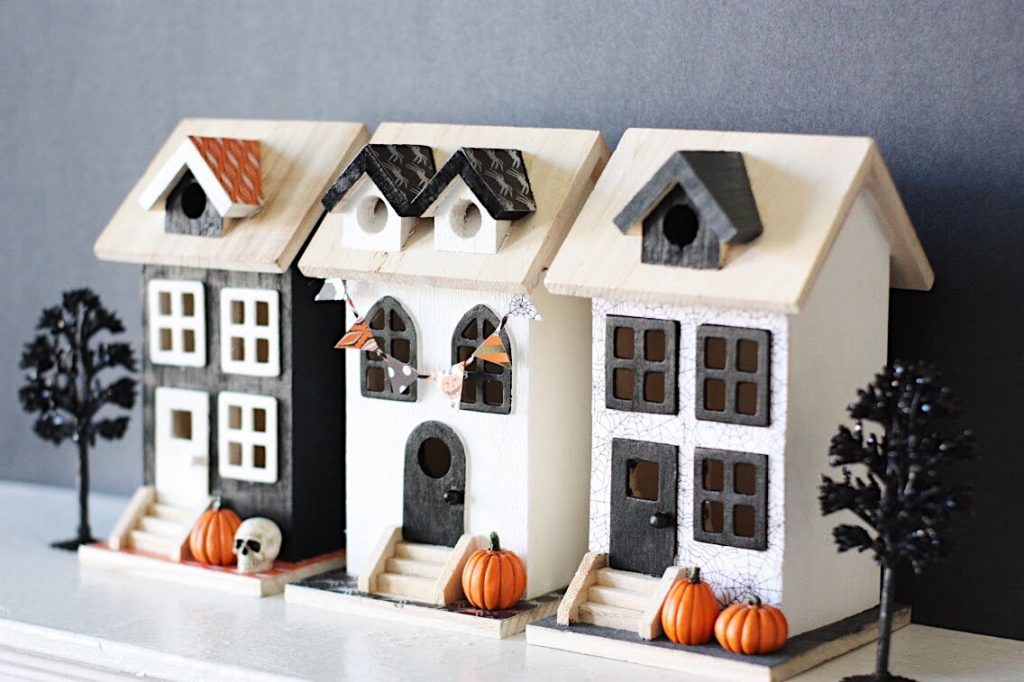

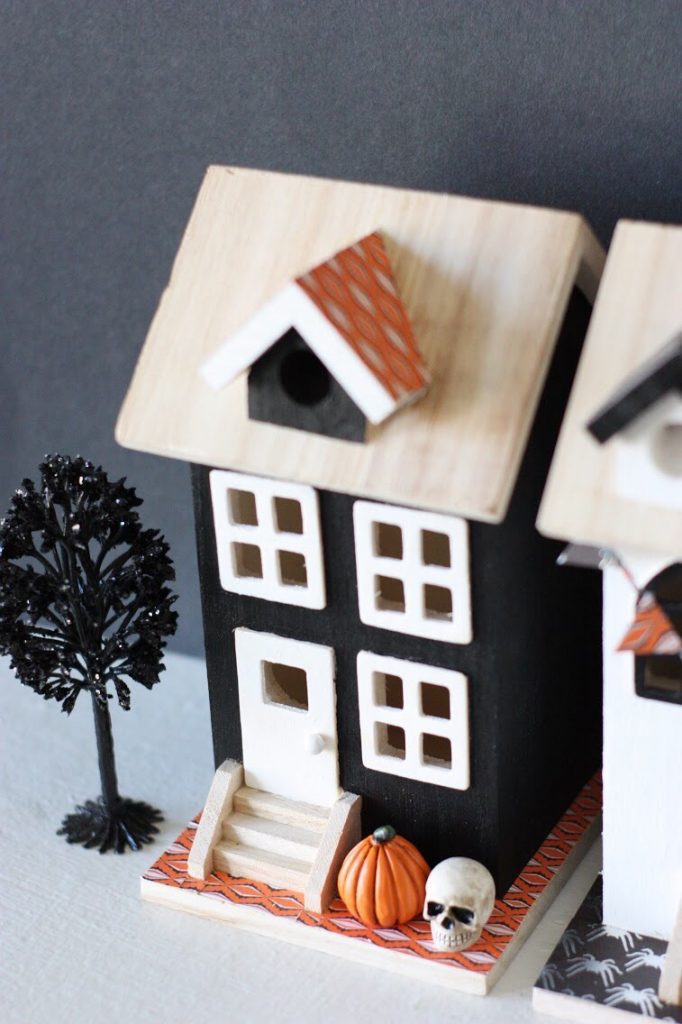

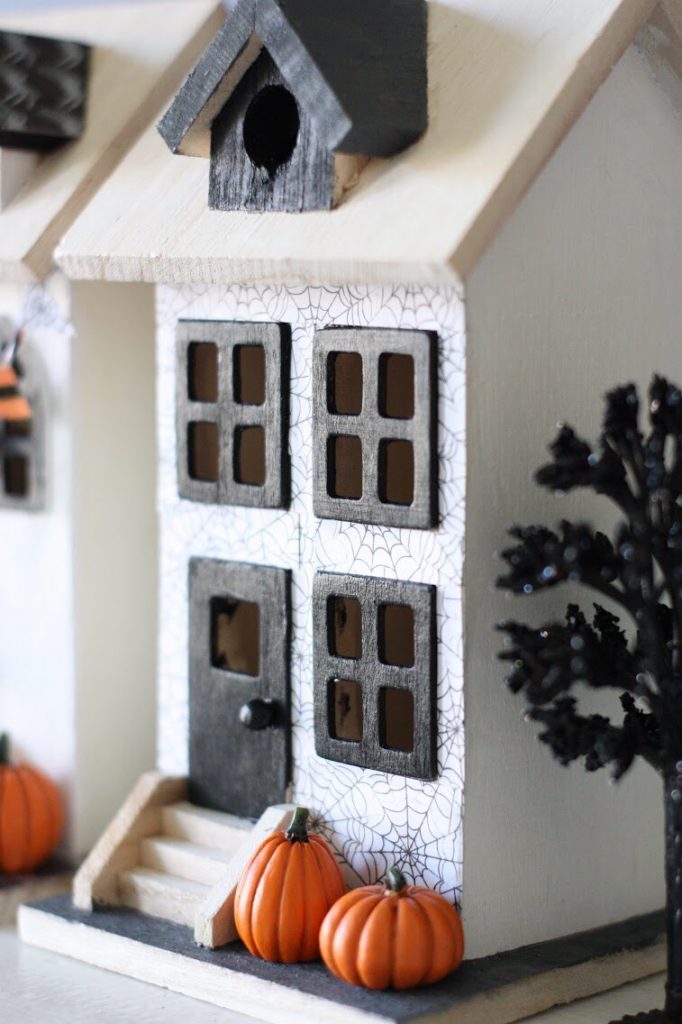

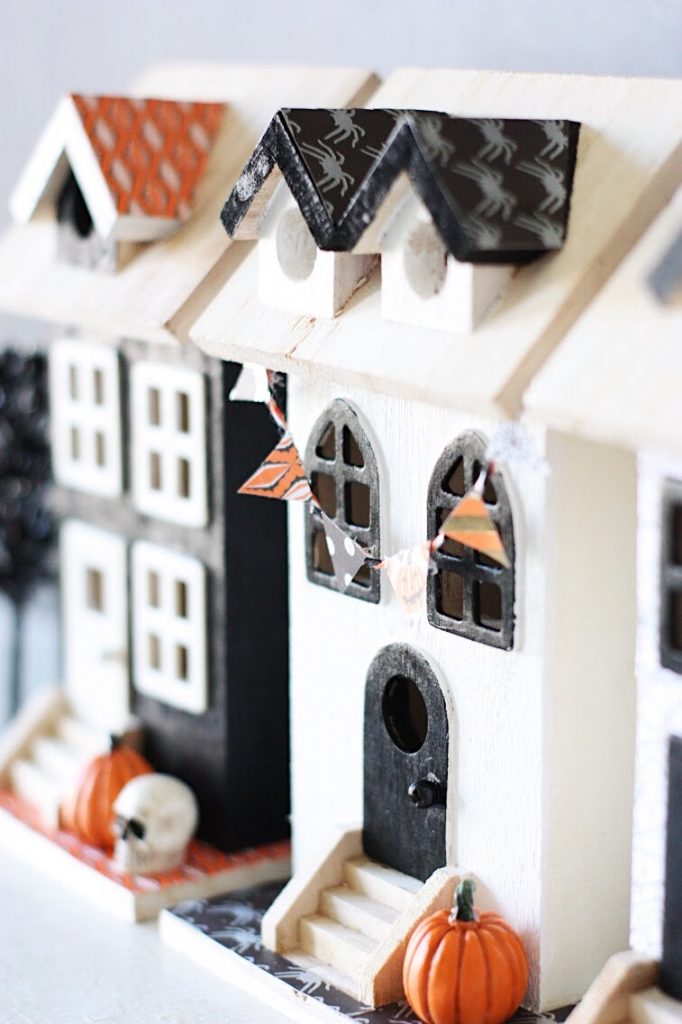

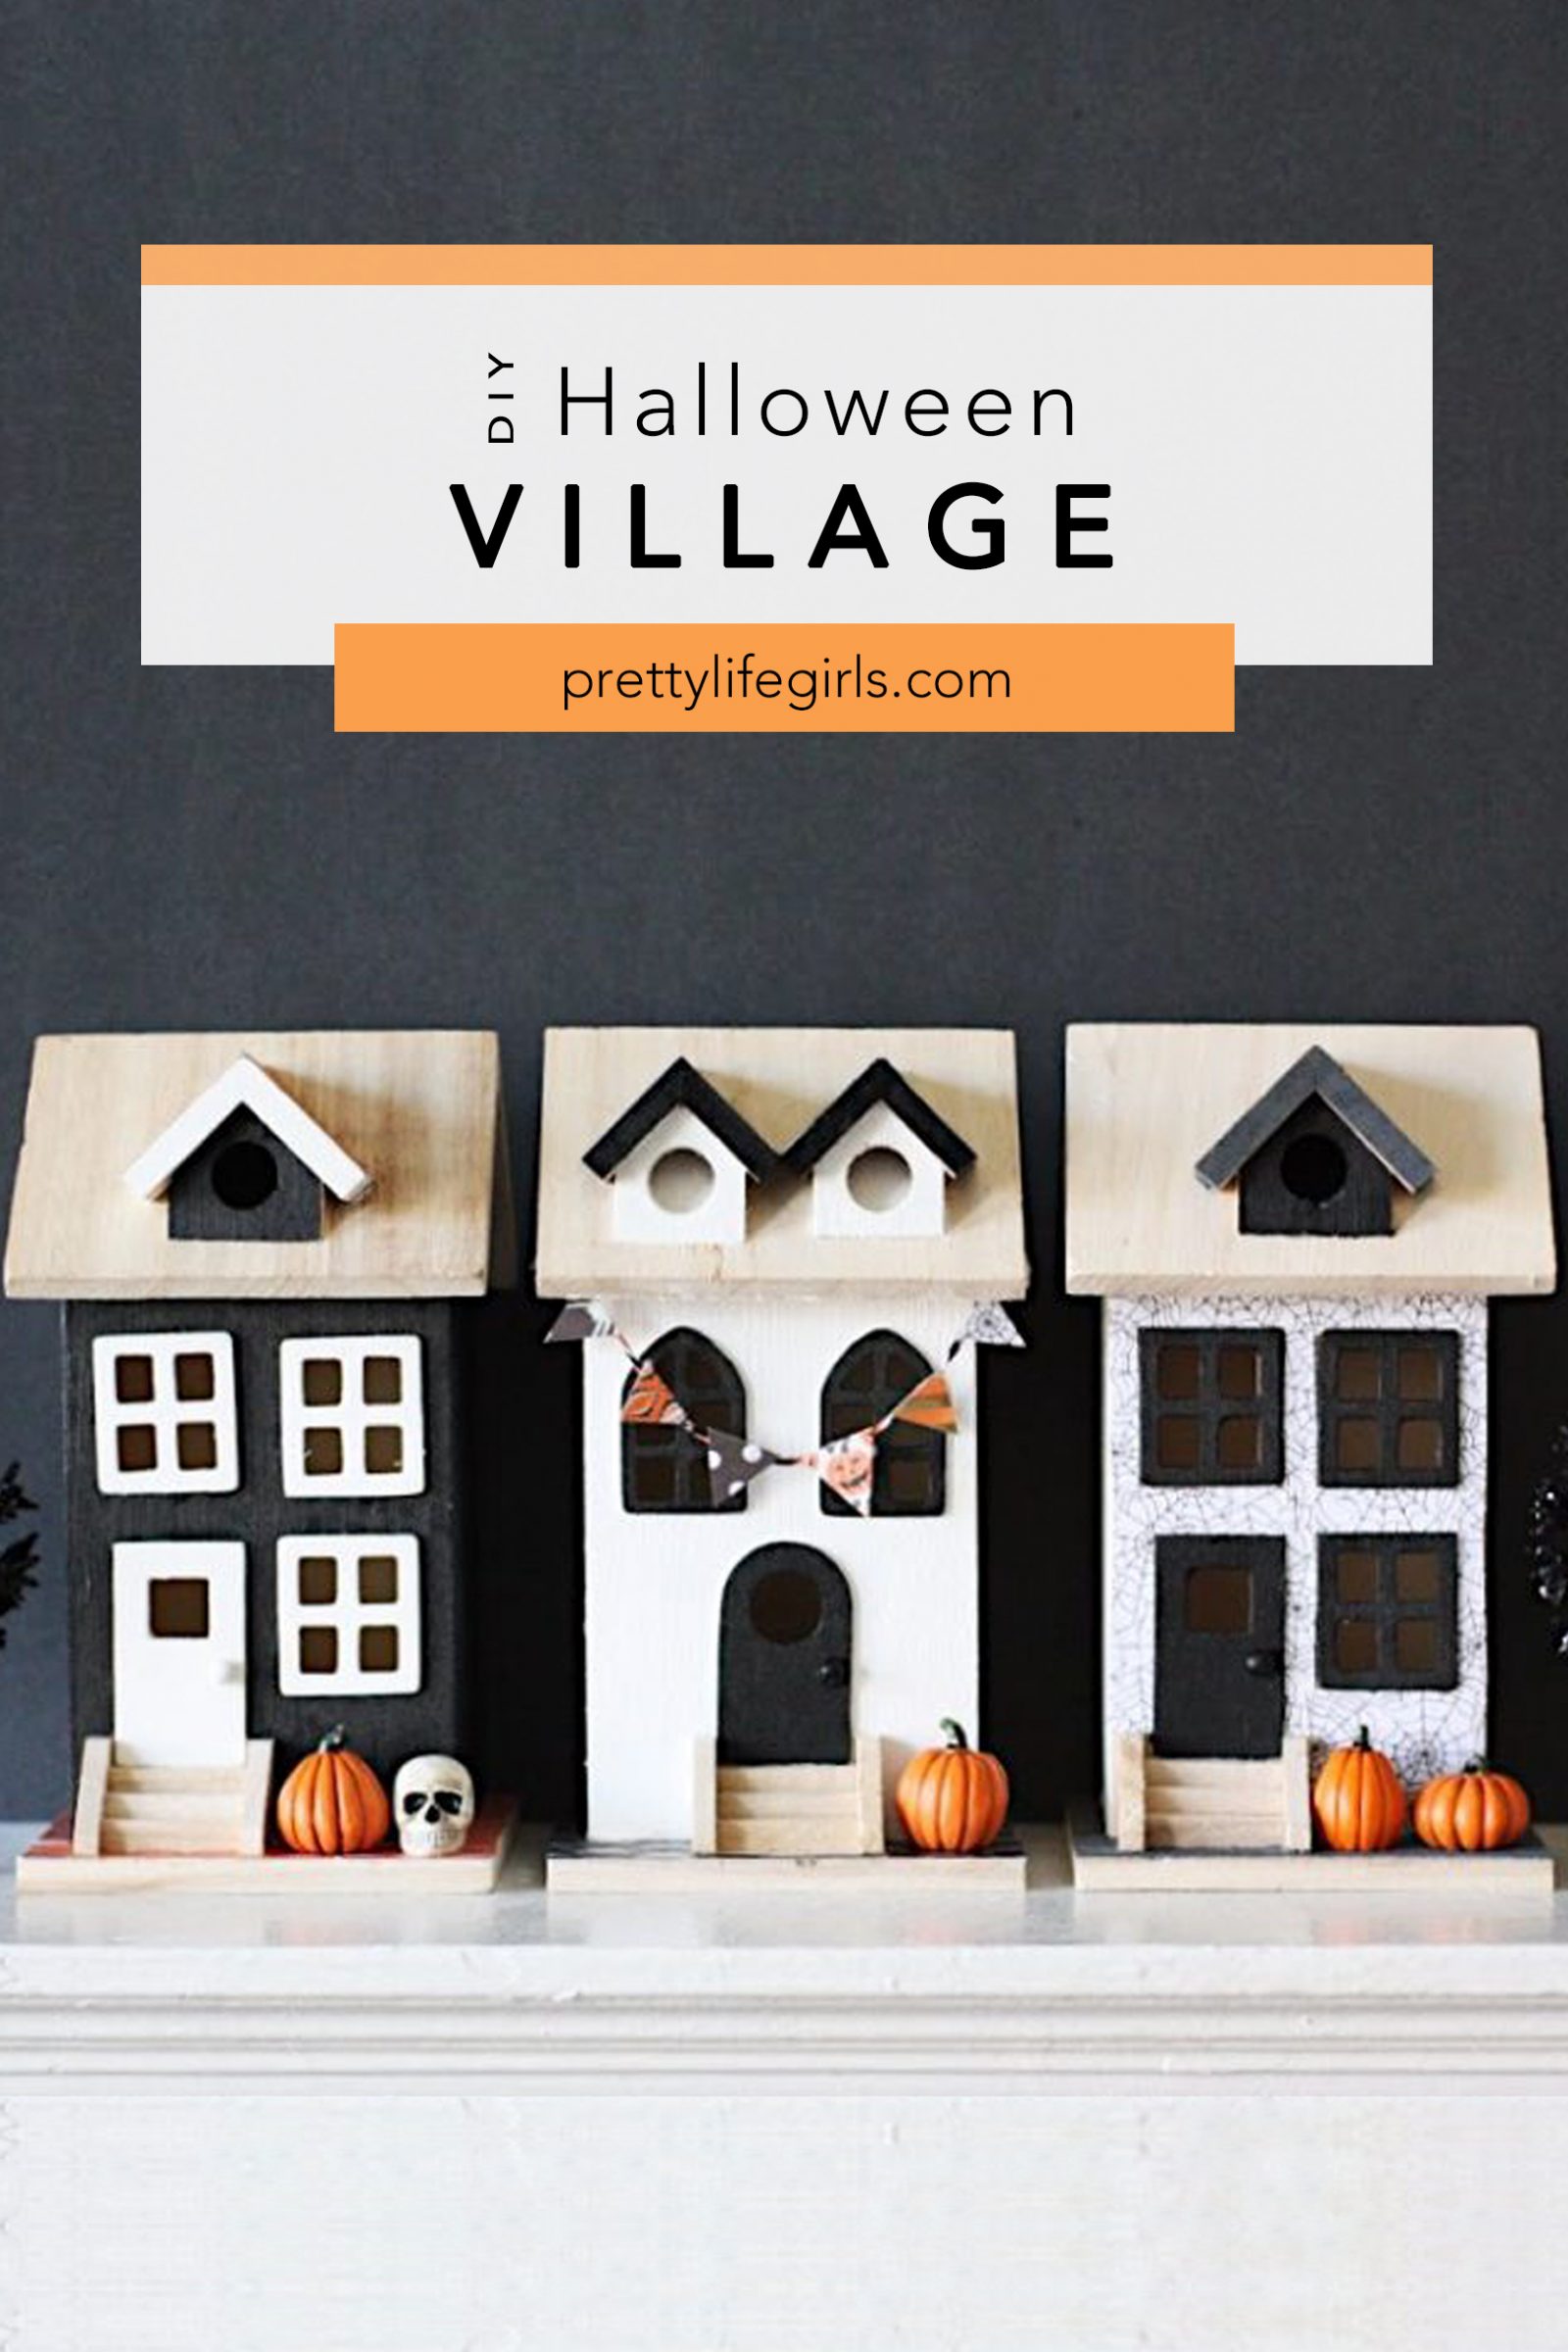
That’s it! This DIY Halloween village a simple project with a lot of impact, perfect for sitting on a mantel or shelf to get festive once October is here!
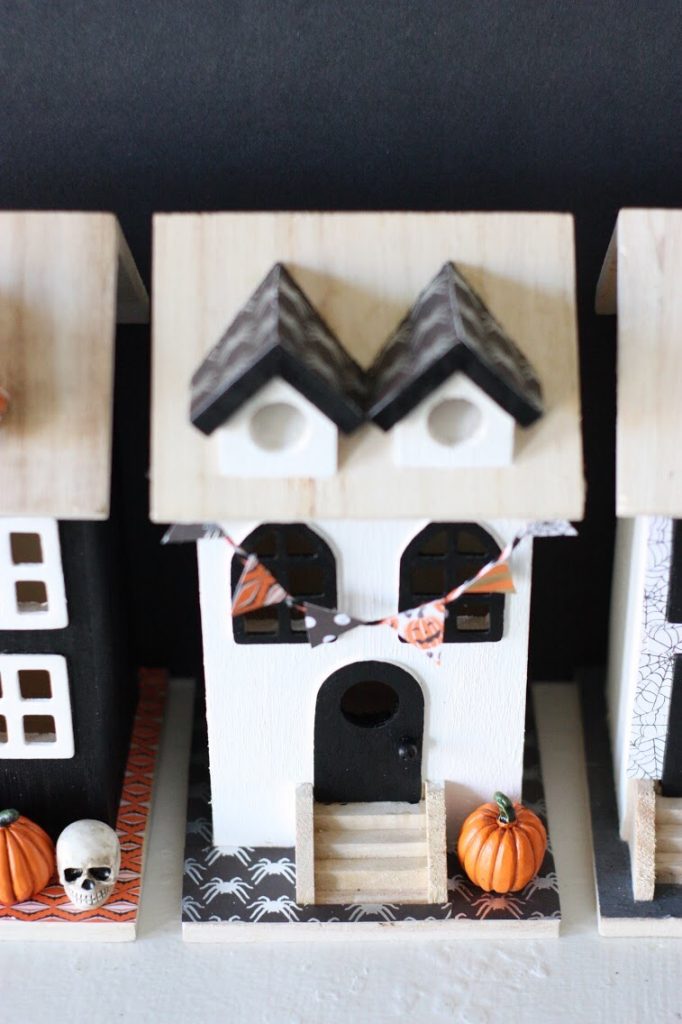

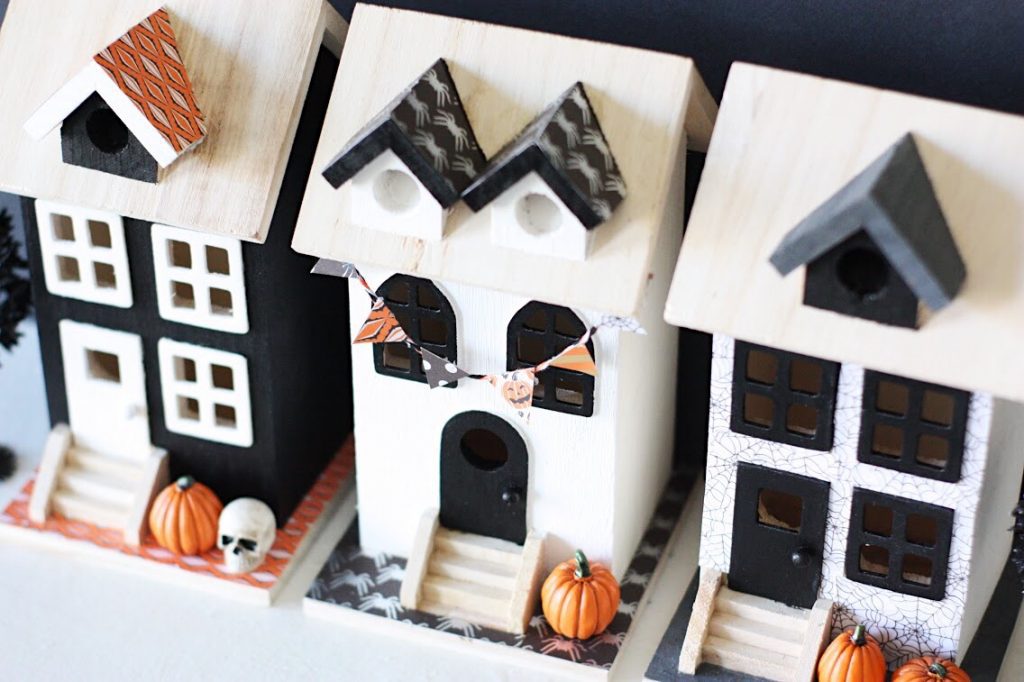

Don’t you just love anything mini? I can hardly handle the tiny pumpkins on the porches. Why little villages are so fun to have around for every holiday I’ll never know but I’ll love them forever.


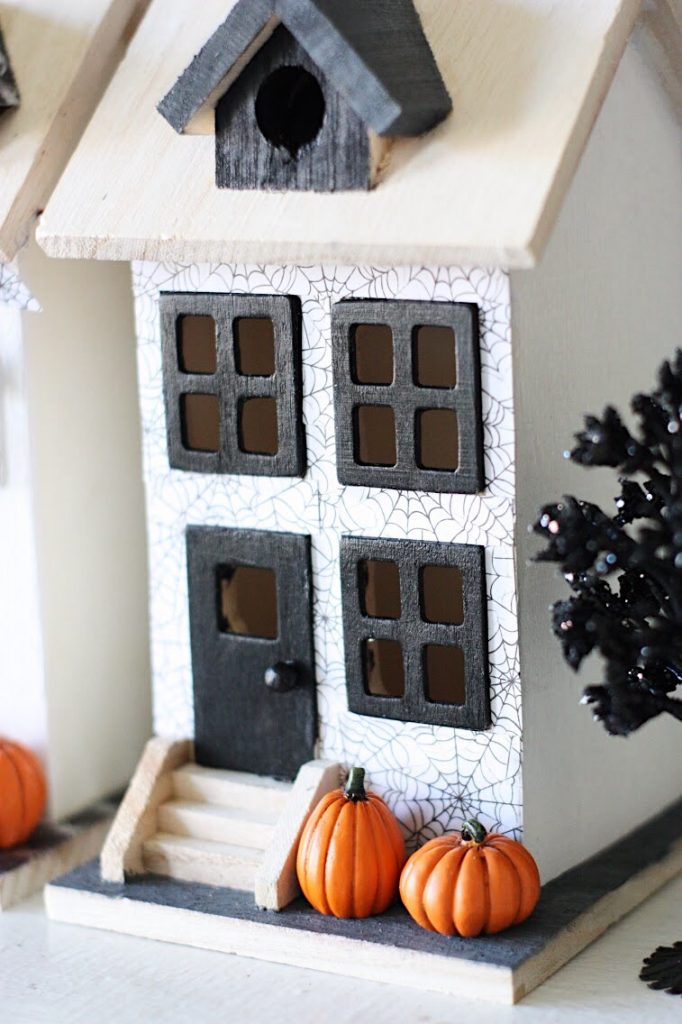

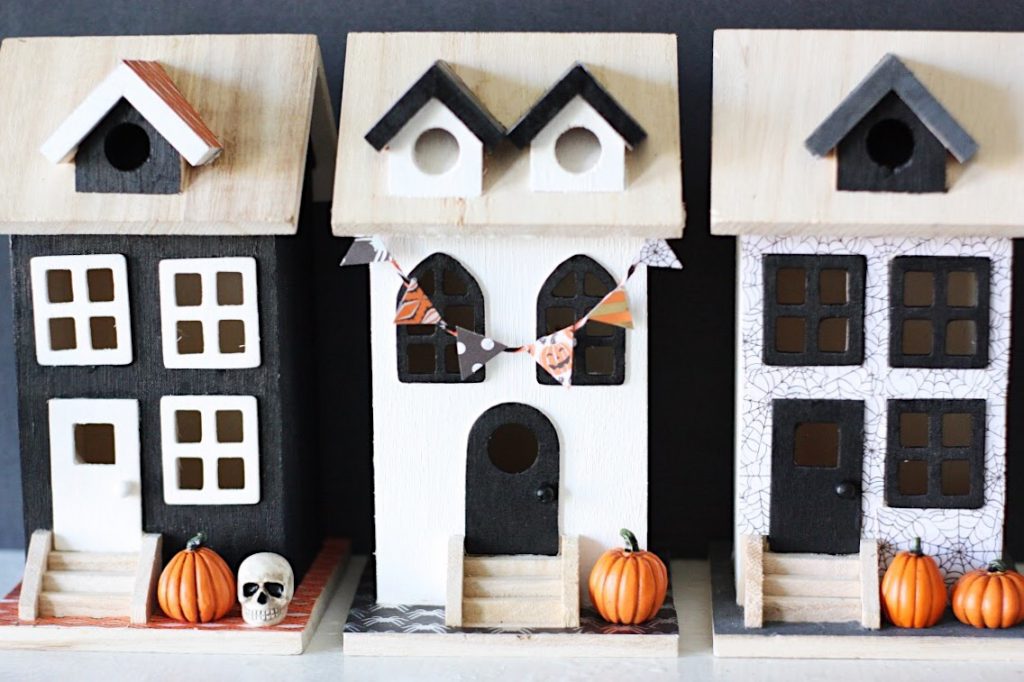

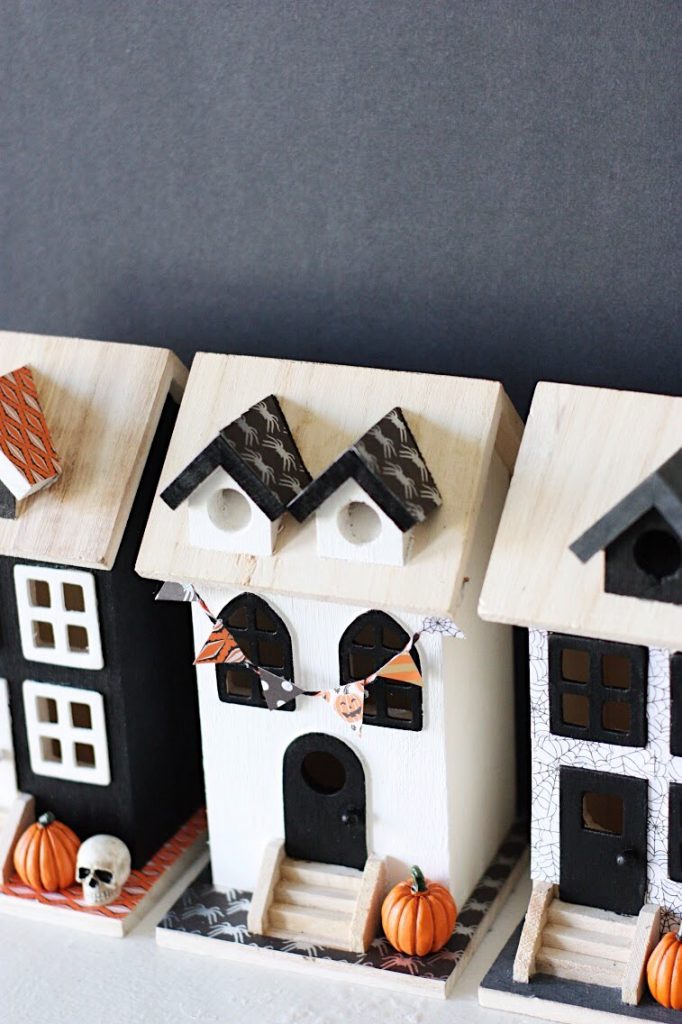


Happy making!
-Liz


Where did you find these houses, or did you make them?
Thank you
Hi Diane! We got them at Michaels – I’m not sure these exact ones are still available, but we’ve linked to similar ones in the supply list in the post!
[…] DIY Halloween Village […]
This is totally charming! What a great idea and thanks so much for the excellent tutorial.
[…] DIY Halloween Village […]
[…] Wood Halloween Village Set (Coming soon! See similar tutorial here.)DIY Paper Halloween VillageHow to Turn your Christmas Village into a Spooky Halloween Village […]
I LOVE all things little too!! This has inspired me to do a little halloween village. Thank you!
Hi, I love what you’ve done! Where did you buy the houses?!
Hi Katie! We got them at Michaels – I’m not sure these exact ones are still available, but we’ve linked to similar ones in the supply list in the post!
Love these houses! Great job! I’ve been looking for an idea for displaying my Lori Mitchell figures. I collect the Halloween trick or treaters and they need something simple like this ! I just realized this is from last year I hope I can find something similar! Can’t wait to look! I make paper tags of my embroidery floss. I use a large paper punch, a smaller round punch to thread the floss through and the smallest hole punch that fits on binder rings. It keeps my floss looking festive and fun and organized.. Great tutorial!????????????????
Thank you KayCee!