This post has been compensated by Collective Bias, Inc. and its advertiser.
All opinions are mine alone. #EmbraceEssentialOils #StimulateTheSenses #CollectiveBias

Now that school has started and a busier, more scheduled routine is upon us, it’s time to reevaluate our self-care strategies, don’t you think? I mean, in the summer self-care is just a part of the daily DNA. Summer is for taking the afternoon off to go to the pool, heading out for a midweek ice cream, or getting in that beach read while relaxing near the waves. However, during the fall it can be a little trickier to find time for yourself with carpools and PTA meetings back on the schedule. That’s why today I am sharing a fun way to get creative and elevate your self-care rituals by making this fun DIY Layered Soy Soap with Essential Oils!
If you haven’t made soap before it is time to make it happen. We made some last year that I lived on for months and I have missed it since using the last bar. It is so simple to make (if you can boil water you can make this soap), and it is also the perfect gift to package up and give to friends once the holidays roll around. Plus, we make sure to make ours with Nature’s Truth® aromatherapy products since they are so versatile and use optimal and honest extraction methods while guaranteeing that each oil is derived from 100% all-natural plant sources such as flowers, leaves and roots! Using Nature’s Truth® essential oils for these soaps makes them so soothing and fragrant that you aren’t going to want to use store-bought soaps ever again.
Here’s how you make them:


Supplies Needed:
Nature’s Truth® 15 ml Essential Oil (I used Lavender in one batch and Eucalyptus in the other)
5 lbs Soy Soap Base
Tupperware or plastic cups
Soap colorants in colors desired
Soap mold or bread pan


1. Using medium heat, melt your soap base on the stove, stirring frequently. While the soap is melting, set out tupperware or plastic cups (lay out one for each color you would like in your soap). Once the soap is completely melted, add essential oil, then stir until combined and pour into containers. Immediately add dye to containers and stir until the color is evenly distributed.


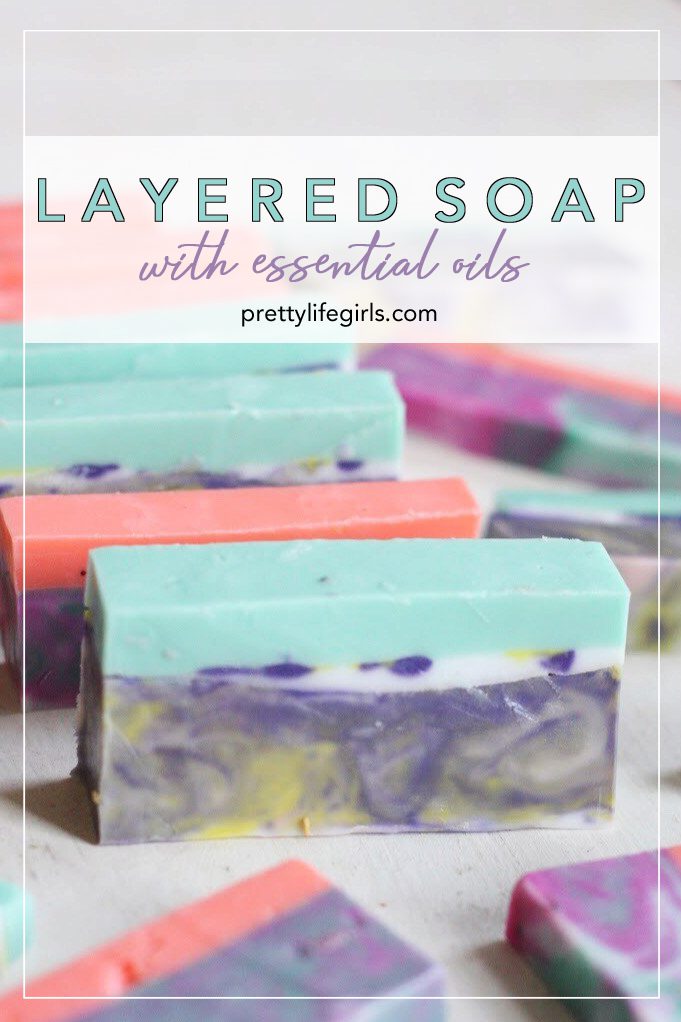
2. Pour each desired colors of soap into bread pan and swirl with a toothpick. Let cool until partially set and then cover with a contrasting color to give a layered effect.


3. Let soap cool until completely solid. Cut into blocks and use or store.


Aren’t the results gorgeous? Just think of all of the different color combinations you could try! Plus, if you combine all of the different variations of gorgeous colors with all of the wonderful aromatherapy possibilities from Nature’s Truth®, your shower won’t know what hit it. You’re going to smell so good, and feel even better.


I can’t wait to experiment with more colors, different scents and other techniques!


I found all of these amazing Nature’s Truth® products at my local CVS. Now I’m ready to make every kind with every oil I can get my hands on! (You can save $1 on yours to get started by visiting right here!)


What do you think? Are you ready to make you own layered soap and put a little “me time” back on the schedule? I hope you do!
Happy soap making!
-Liz


[…] Layered Soap with Essential Oils […]
[…] is another one of our favorite crafts (see here, here, and here), and while this project involves zero tie-dying, the way this DIY soap mimics a swirly […]