


This Watercolor Easter Eggs post was compensated by Silhouette America.
All opinions expressed are ours alone.
The other day I was browsing Pinterest looking at all of the beautiful hand-painted Easter eggs. Every year when we are decorating eggs I wish I could paint beautiful scenes or flowers on my eggs and then display them. However, my art skills when it’s egg decorating time don’t go much farther than drawing a smiley face with that crayon thing that comes in the dye kit from the dollar store that shows up after you dunk it in a bunch of vinegary dye. Luckily, this year I have found the way to make stunning Easter eggs that look like you spent hours painting them with these DIY Watercolor Tattoo Eggs!
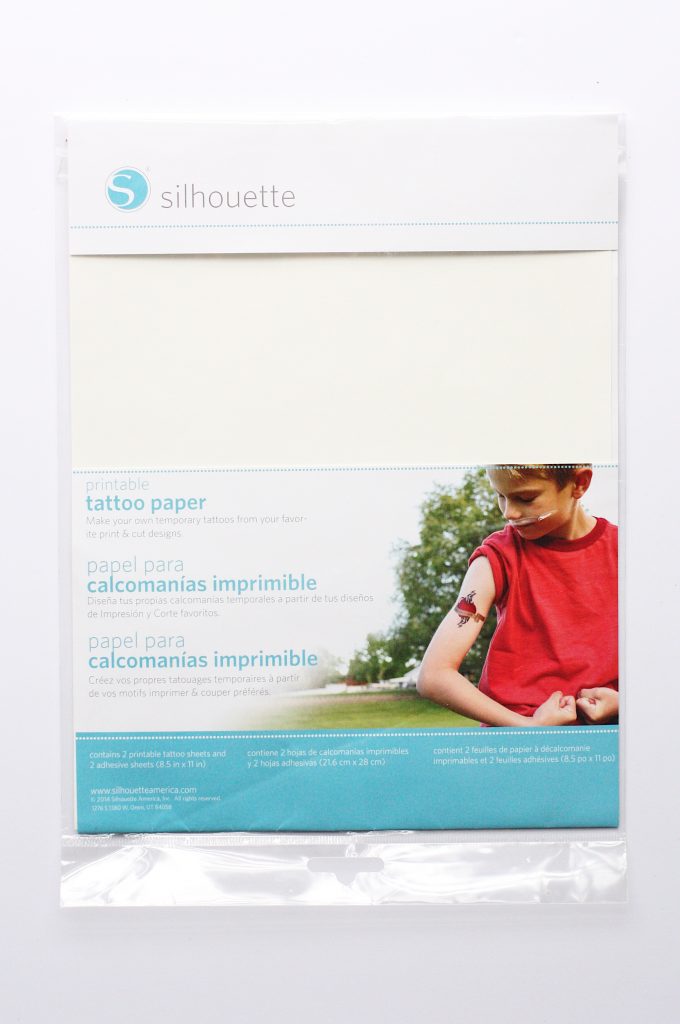
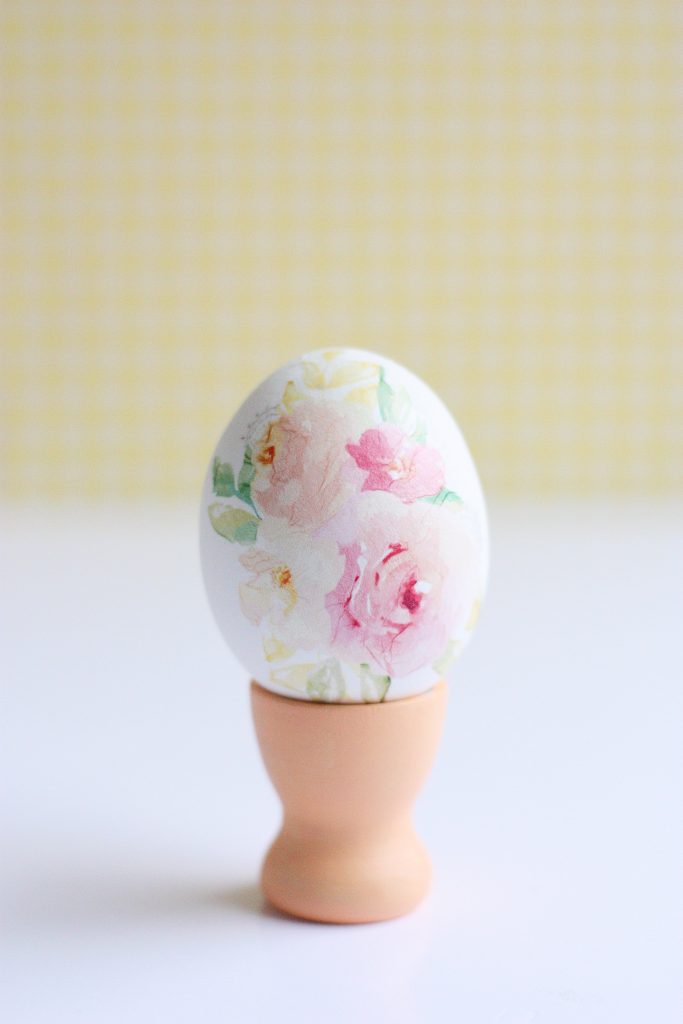
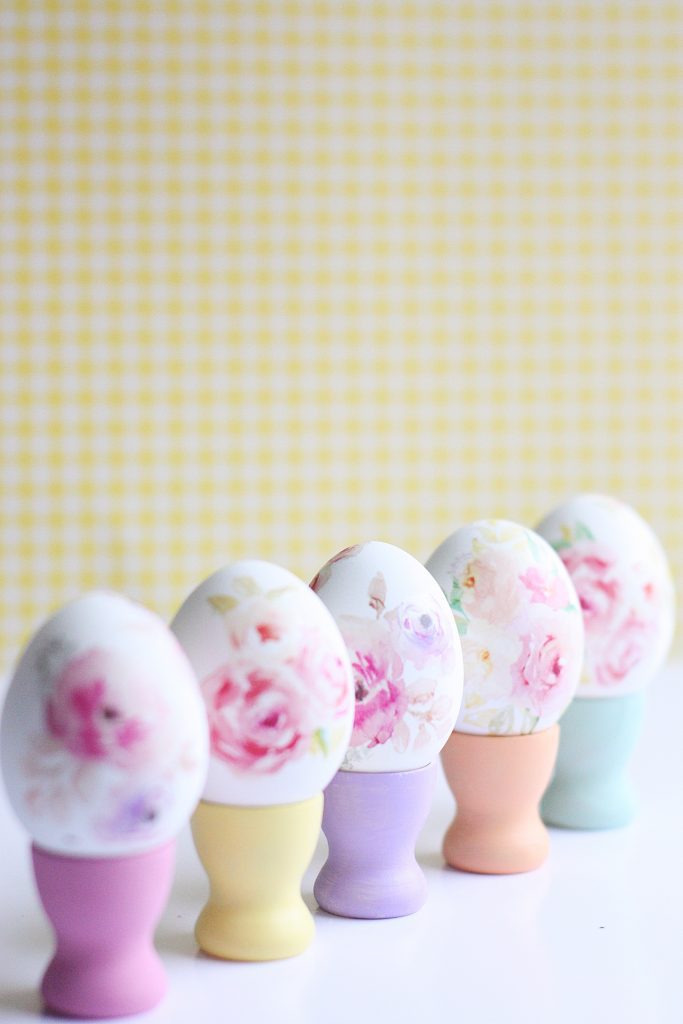
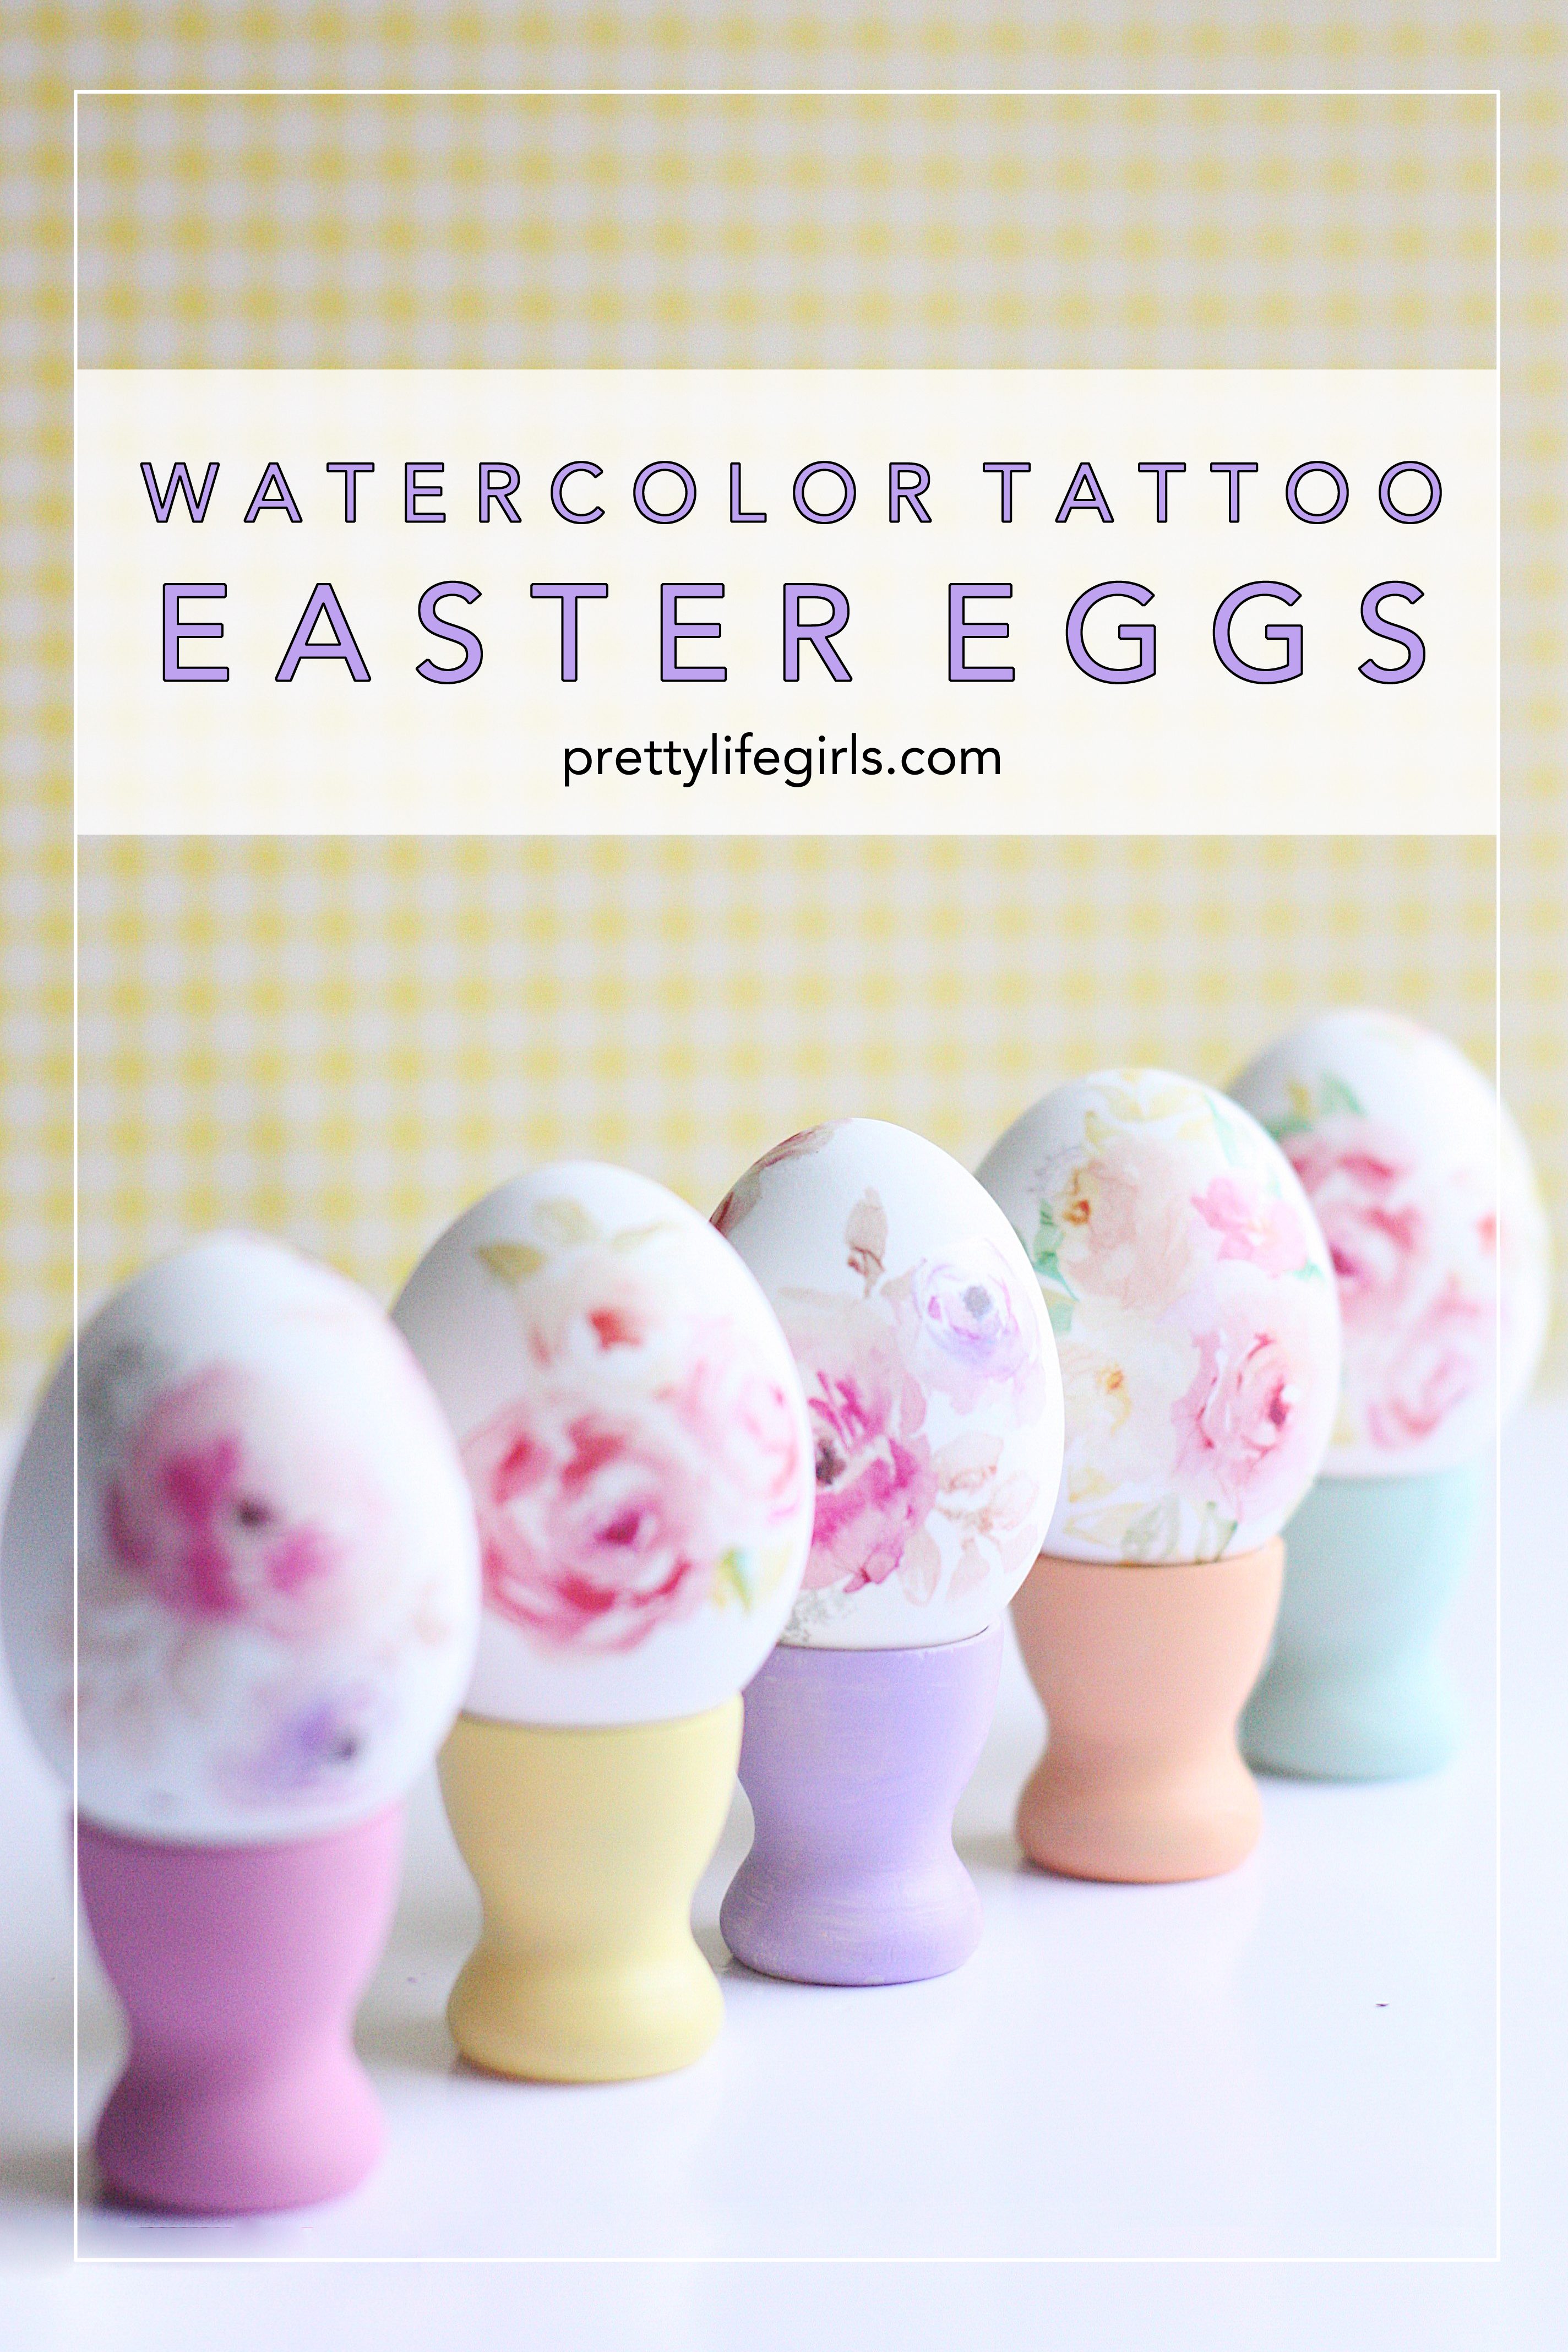
Did you know that you can make any image into a tattoo? You can! Our friends at Silhouette America have some amazing Temporary Tattoo Paper that allows you print any image and turn it into a tattoo! Using this tattoo paper is such a fun way to decorate eggs because it applies the image perfectly on the egg, making it look like you painted the design right on the surface of the egg! Plus, when you use the Print & Cut capabilities of your Silhouette machine (I use the insanely smart Silhouette CAMEO 3) it is so easy to cut the tattoos with complete precision without breaking a sweat. You are going to wow everyone with these beautiful eggs and NO ONE has to know how easy it is to do! And to add a little extra fun, I even made some little egg cup stands to display them proudly and adorably. Let’s get started.
Supplies Needed to make Watercolor Easter Eggs
Silhouette Temporary Tattoo Paper
Silhouette CAMEO 3 (or any Silhouette cutting machine of your choice)
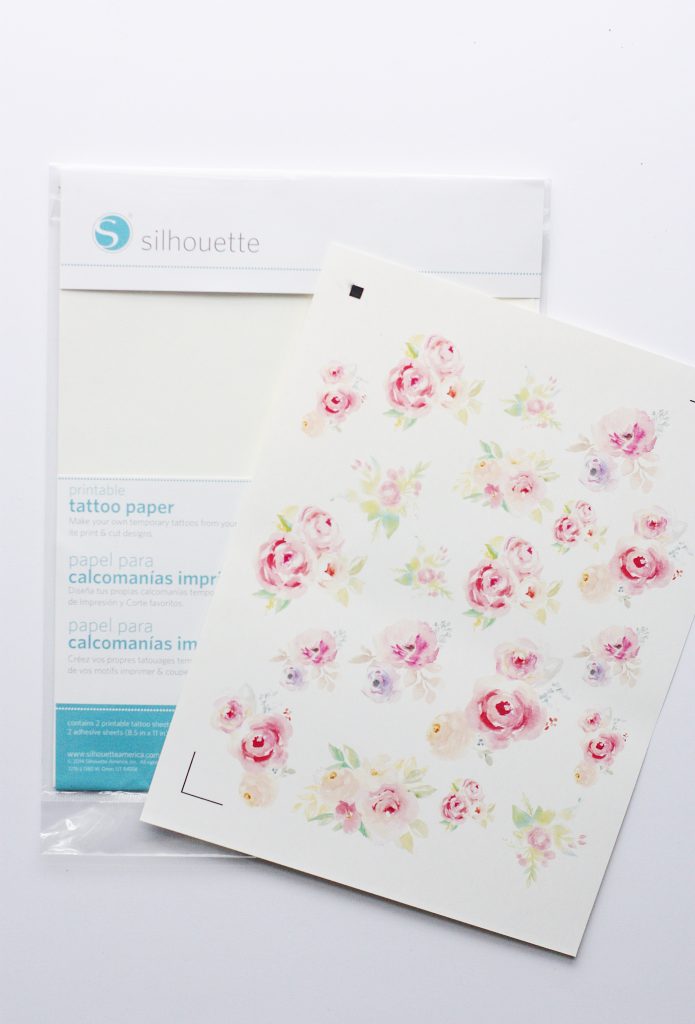
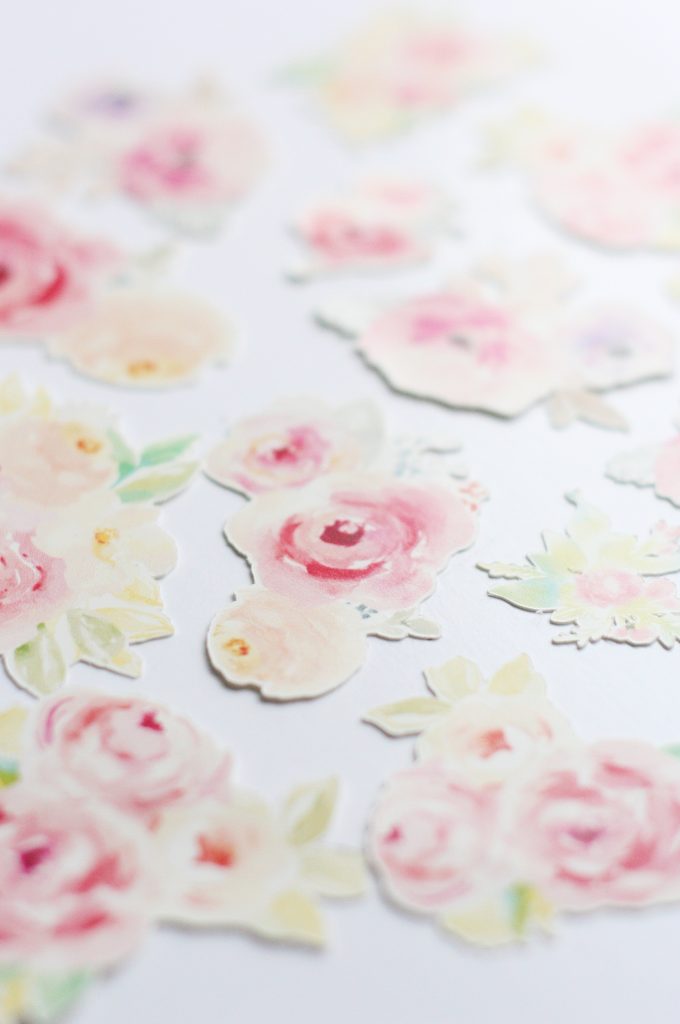
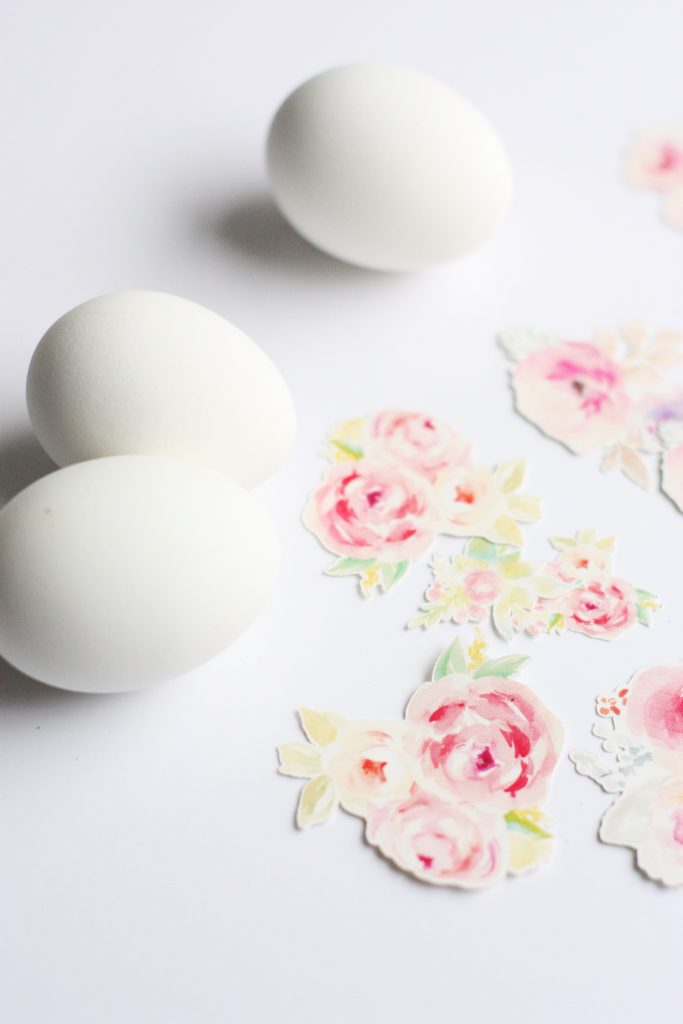
Watercolor Flowers (mine are from Angie Makes in the Silhouette Design Store)
Hard boiled eggs
These unfinished egg cups
Craft paint + brush
How to make Watercolor Easter Eggs
Step 1: Download your designs from the Silhouette Design store and arrange them in your Silhouette Studio Software. Since you will be printing them before cutting them, be sure that you adjust your page size to 8.5 x 11. Next, open the “Registration Marks” window and select “Show Reg. Marks.” This will bring up a grid and some geometric shapes on the corners of your page. Make sure that your images are all inside of these marks since they are going to show you Silhouette where to cut when it’s time. (For more great tips on using Print & Cut, read this post on the Silhouette America Blog.)
Step 2: Load your printer with Silhouette Temporary Tattoo paper and print according to package directions. Once the designs have printed let the ink dry completely to prevent smudges.
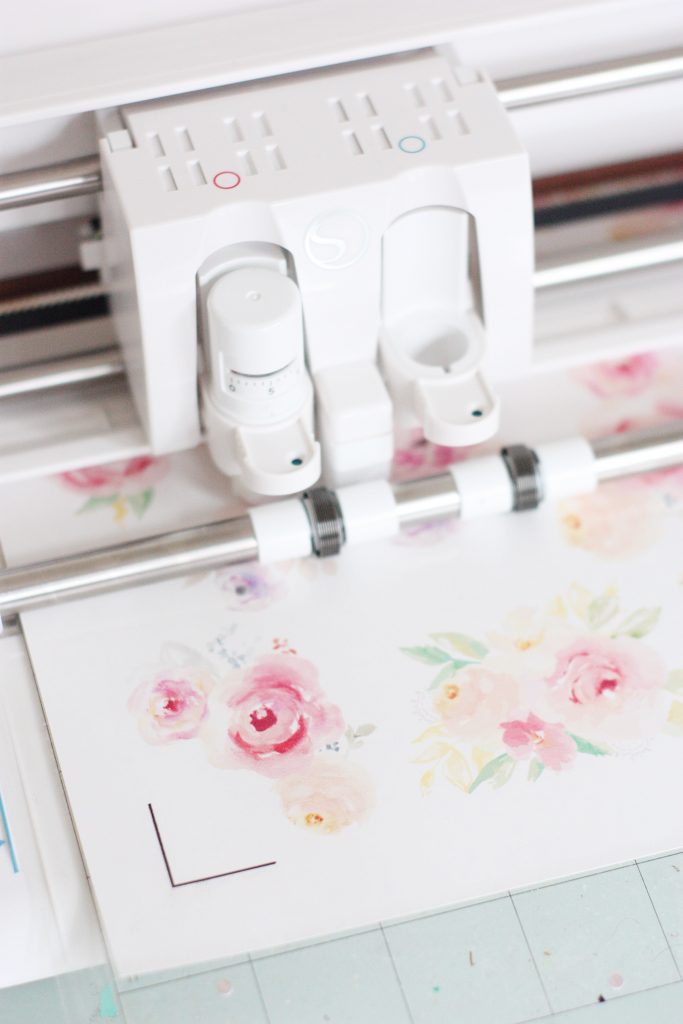
Step 3: Once the ink is dry, align your tattoo paper on your cutting mat exactly as it is shown on your Silhouette Studio Software. Adjust your settings to cut Silhouette Temporary Tattoo paper, click “Send to Silhouette” and watch the magic happen! Those Silhouette machines are SO smart and cut these flowers so beautifully, right down to the tiniest detail. I was so happy to not have to do that by hand!
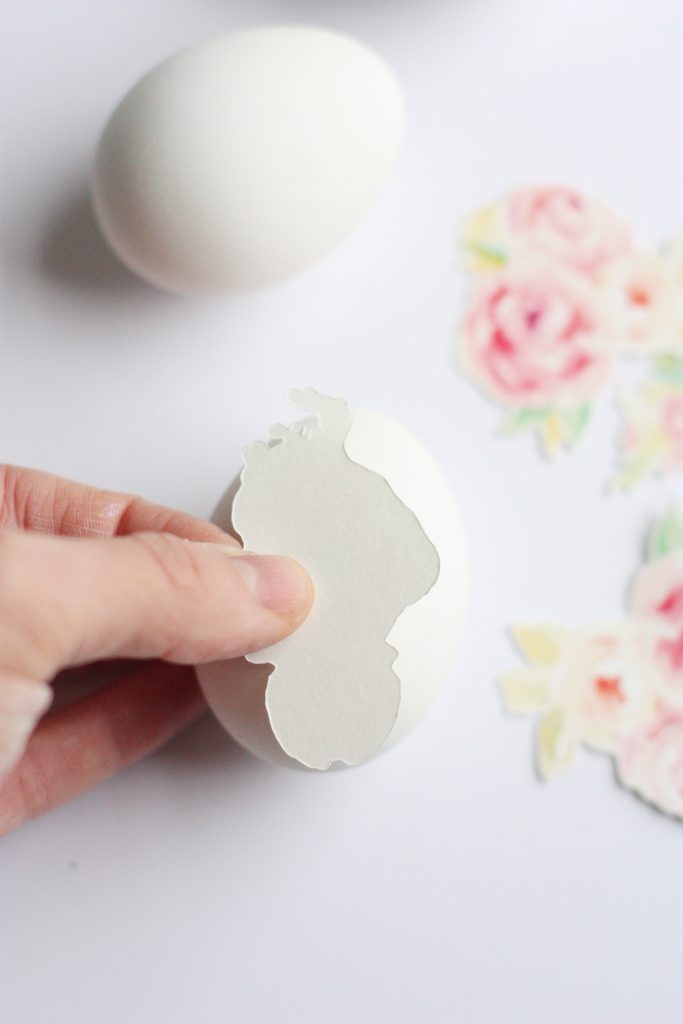
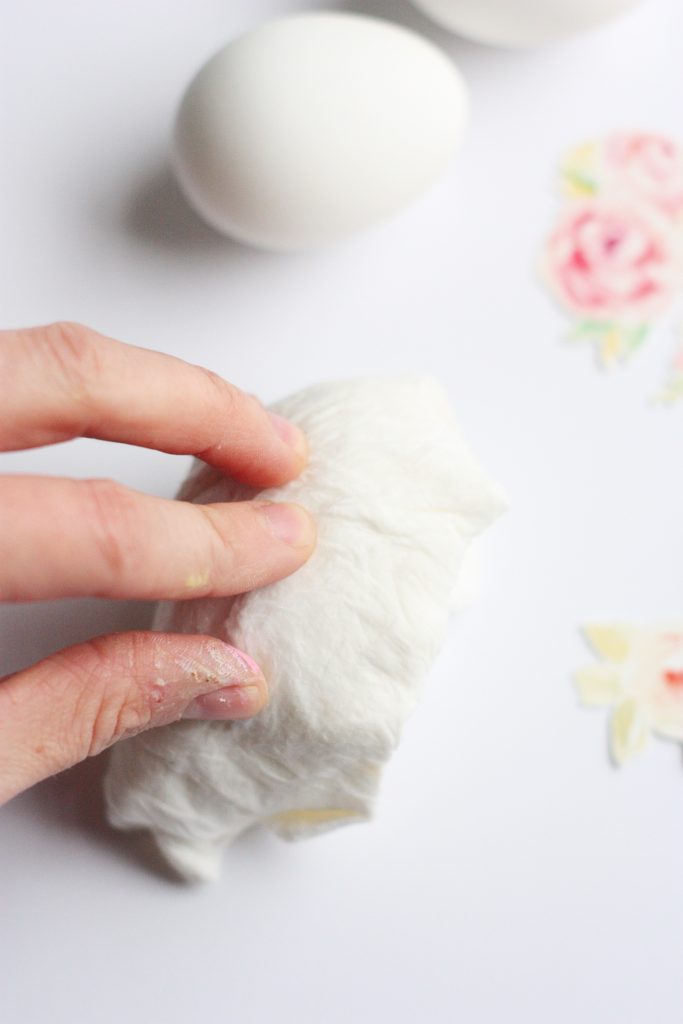
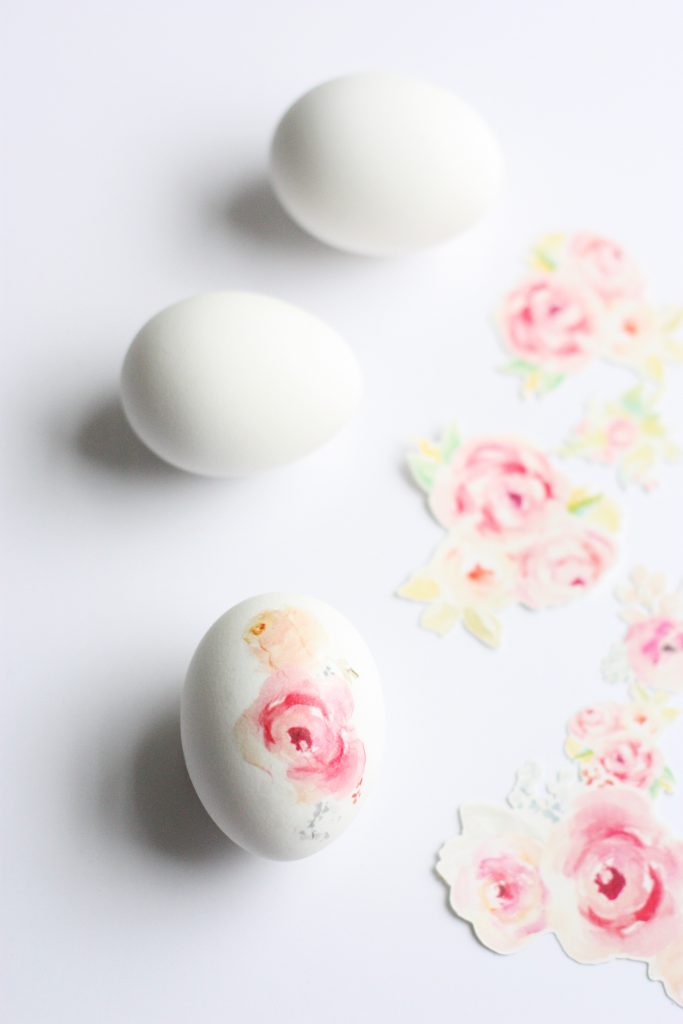
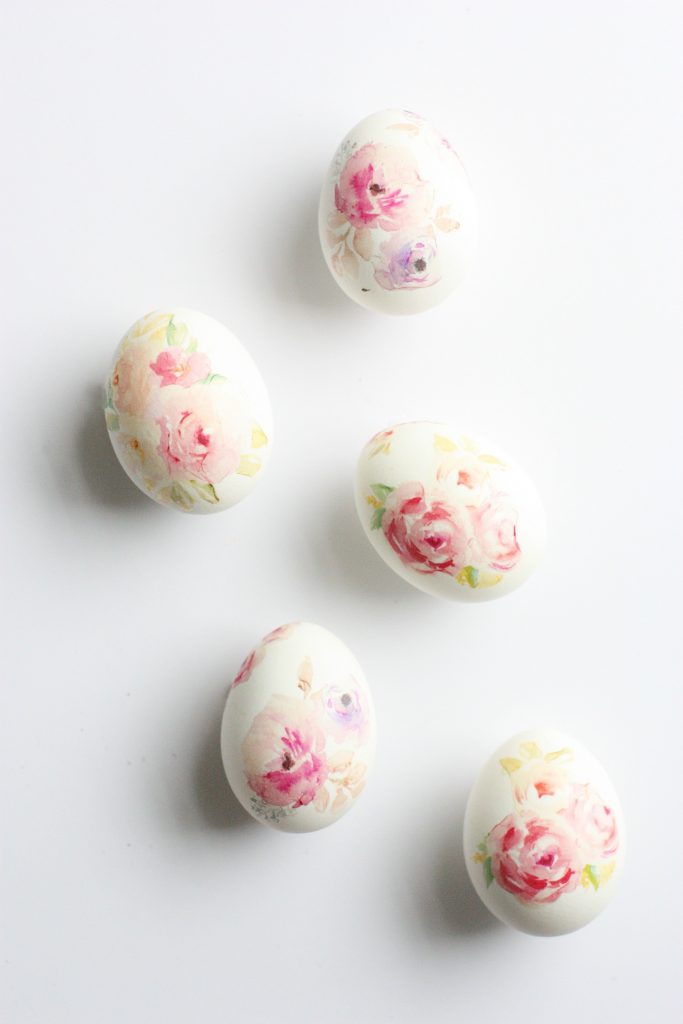
Step 4: Once your designs are cut it’s time to apply them to your eggs! To do this, dampen a paper towel, apply the tattoo to your egg design side down and cover with damp paper towel for 20 seconds, or until the backing lifts easily. After you remove the backing you can lightly dab the design with the wet paper towel if any pieces didn’t stick or aren’t laying smoothly.
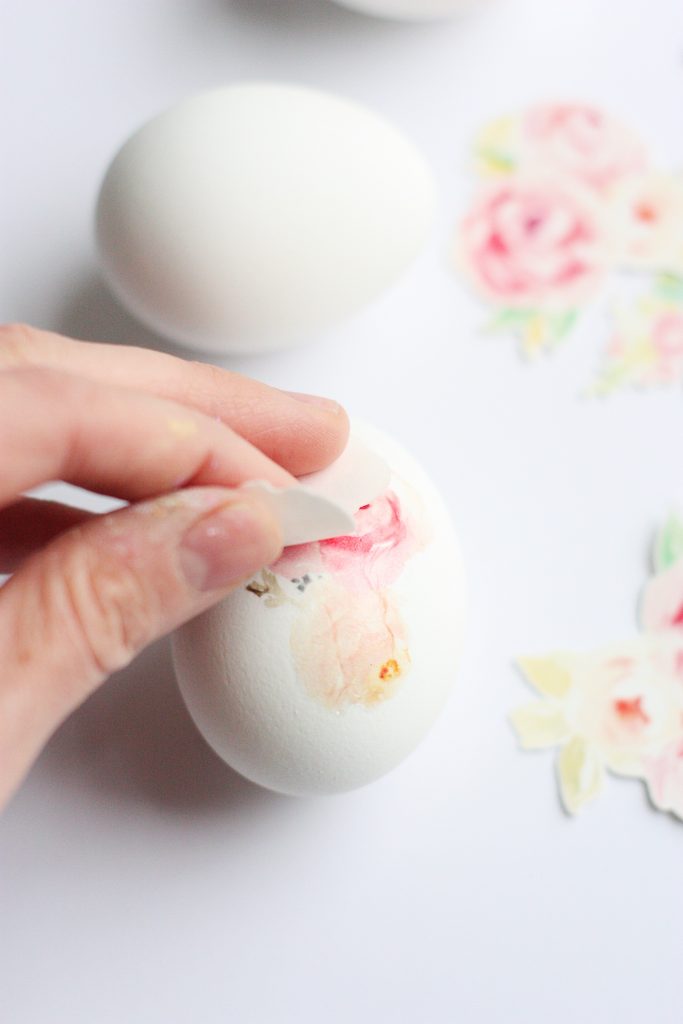
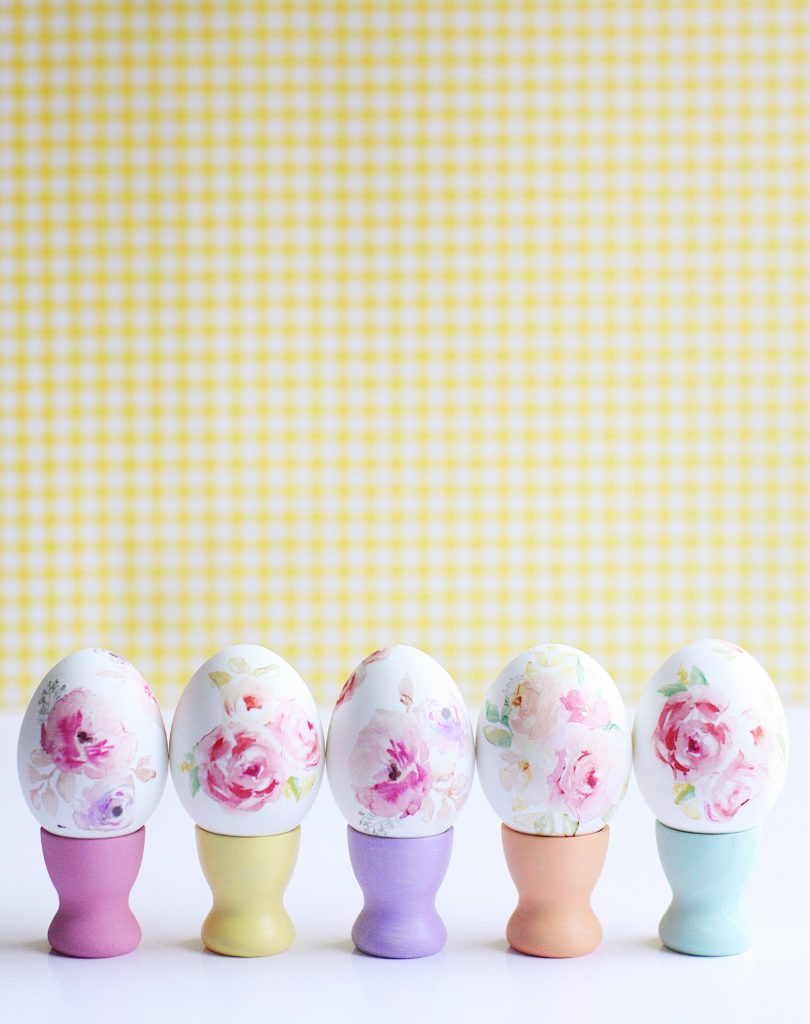
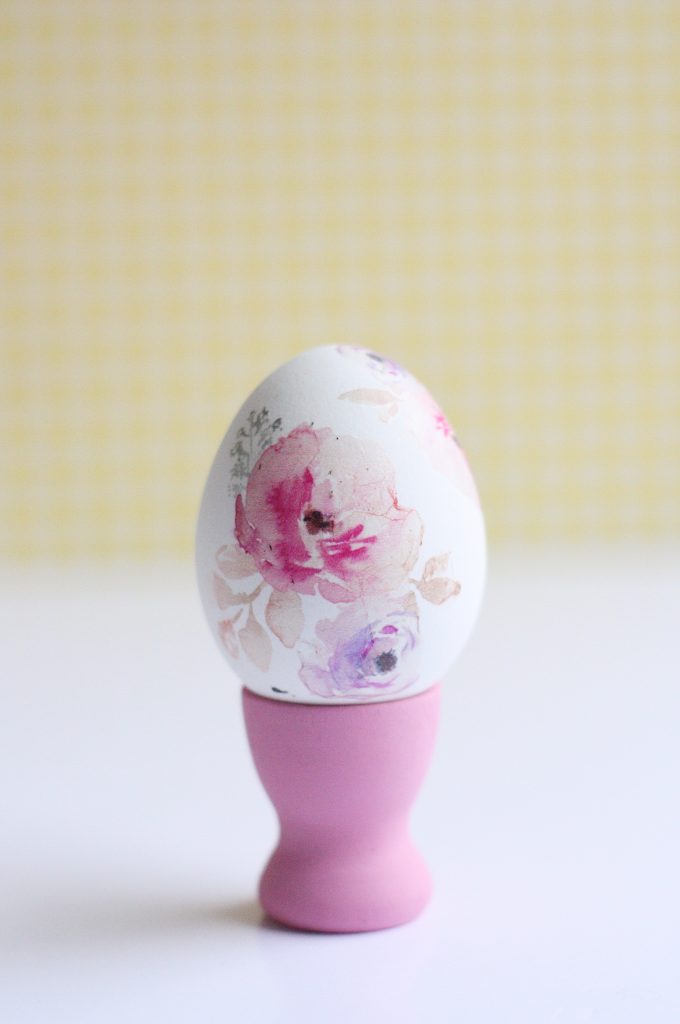
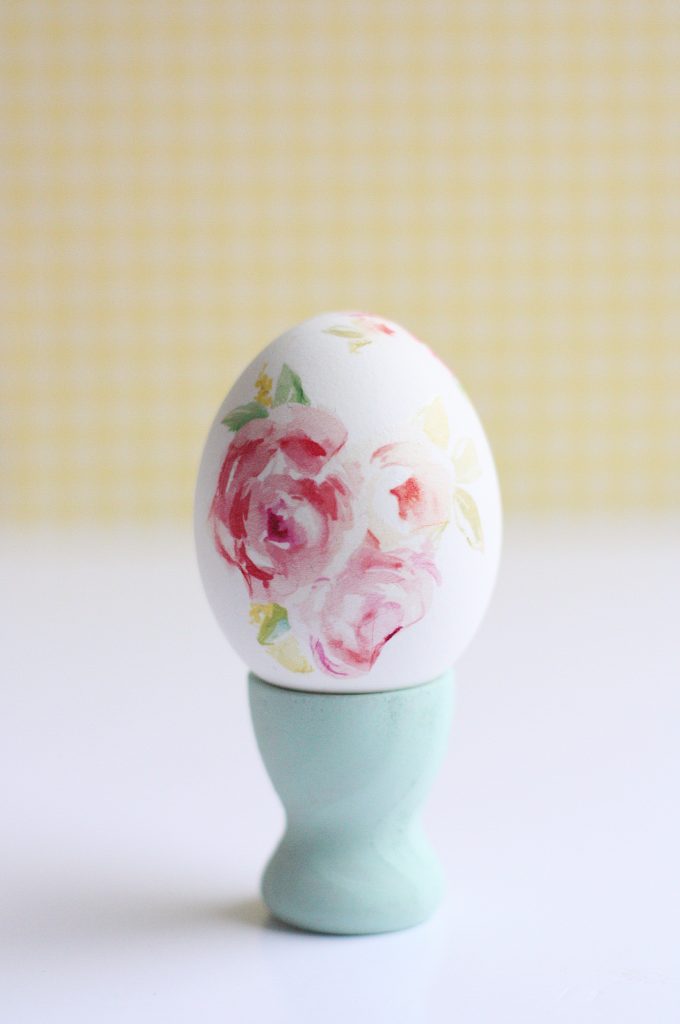
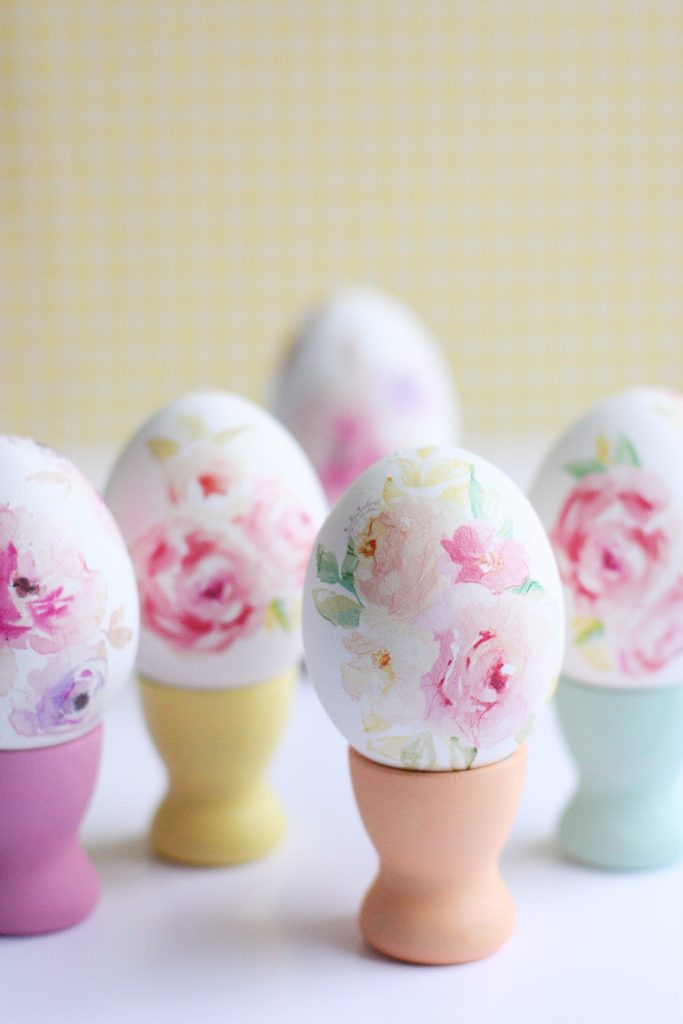
Aren’t they beautiful? The process is shockingly easy for as gorgeous as these turn out. Just keep applying the tattoos until you have the eggs as covered with flowers as you would like!
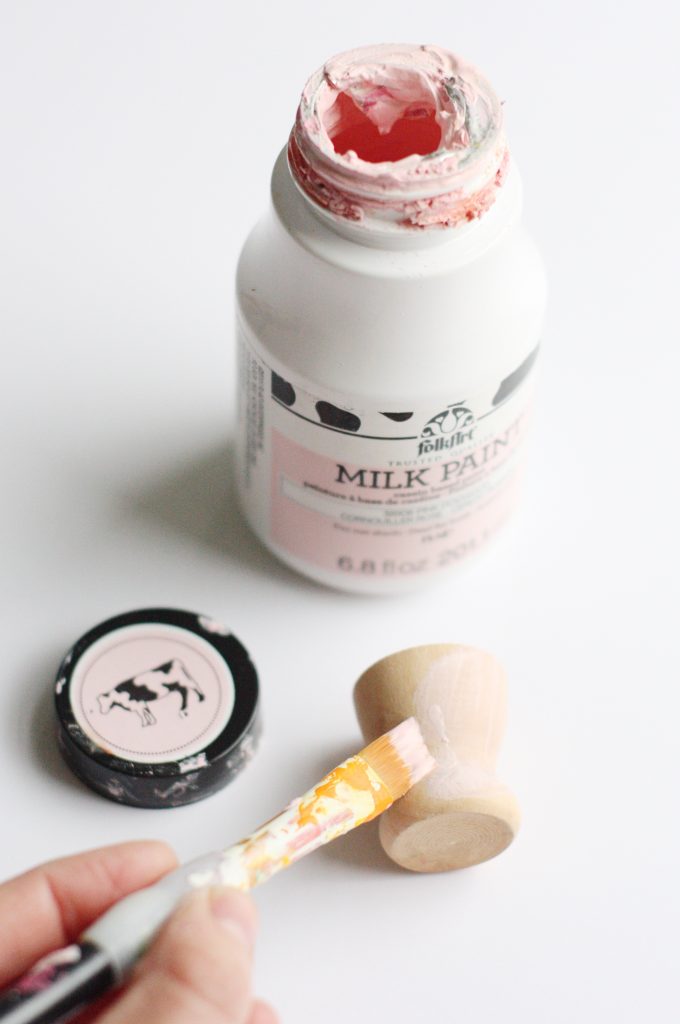
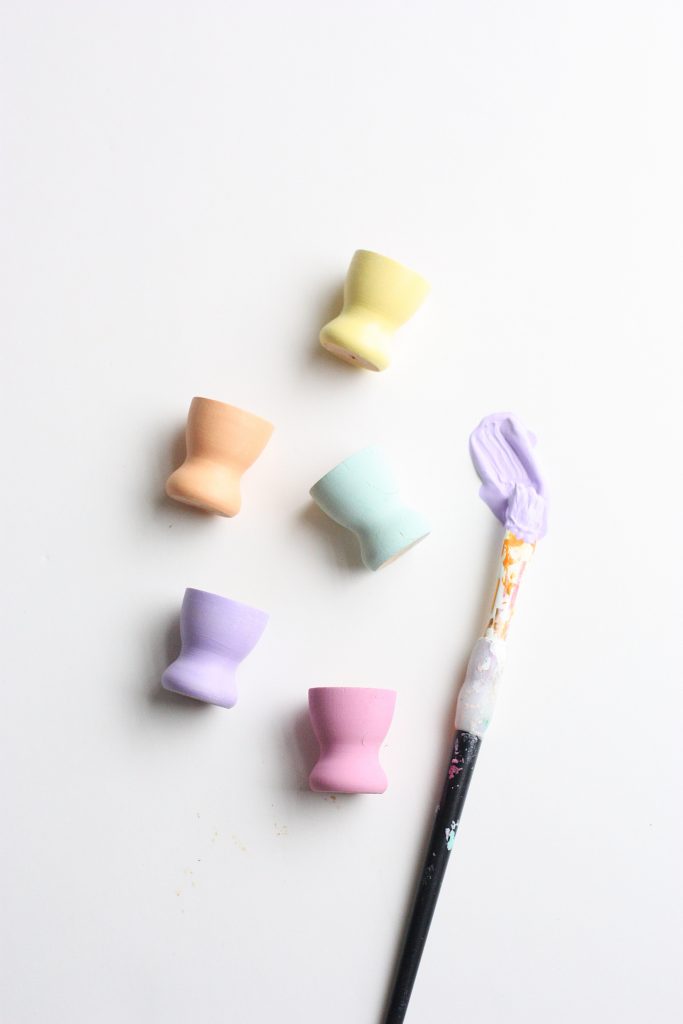
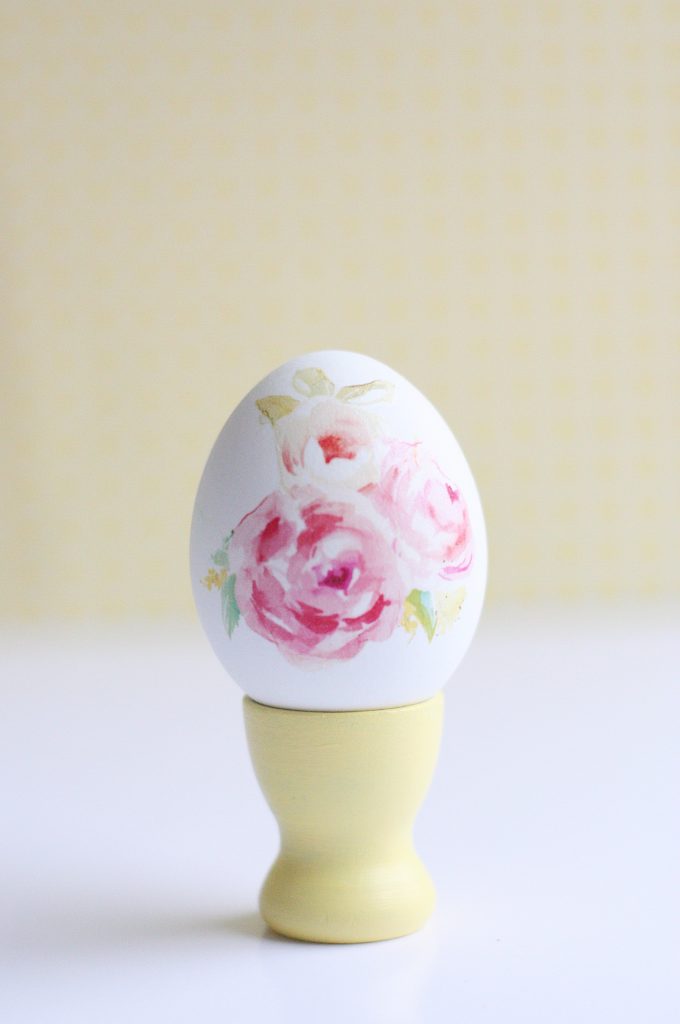
Step 5: Lastly, paint your egg cups! I gave them two coats in corresponding colors to the designs and then let them dry completely. They are the cutest little seats for your beautiful eggs!
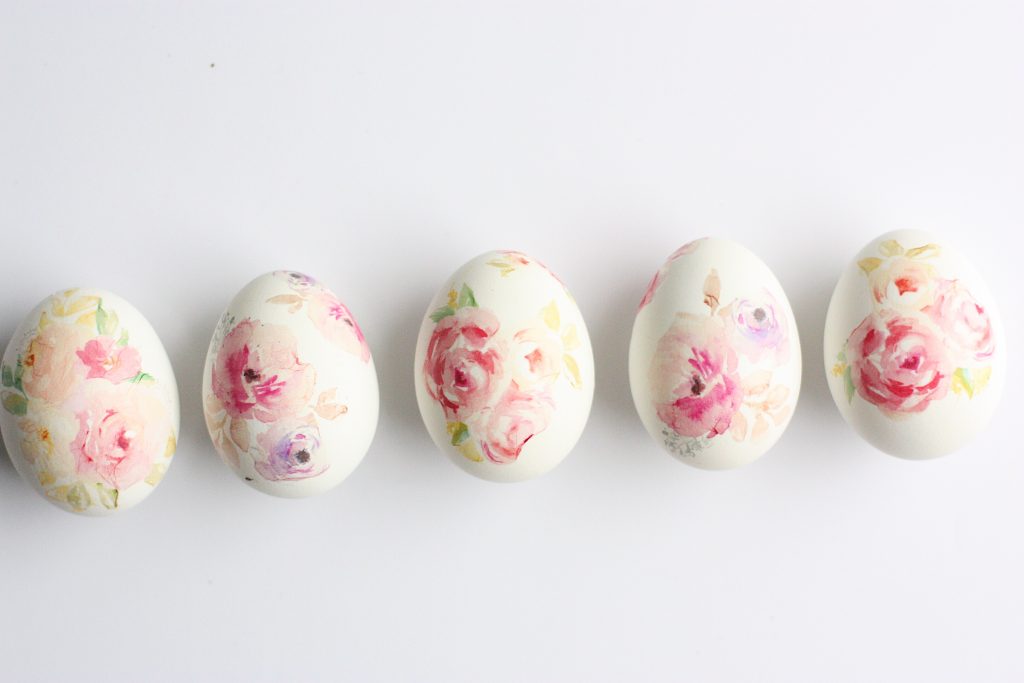
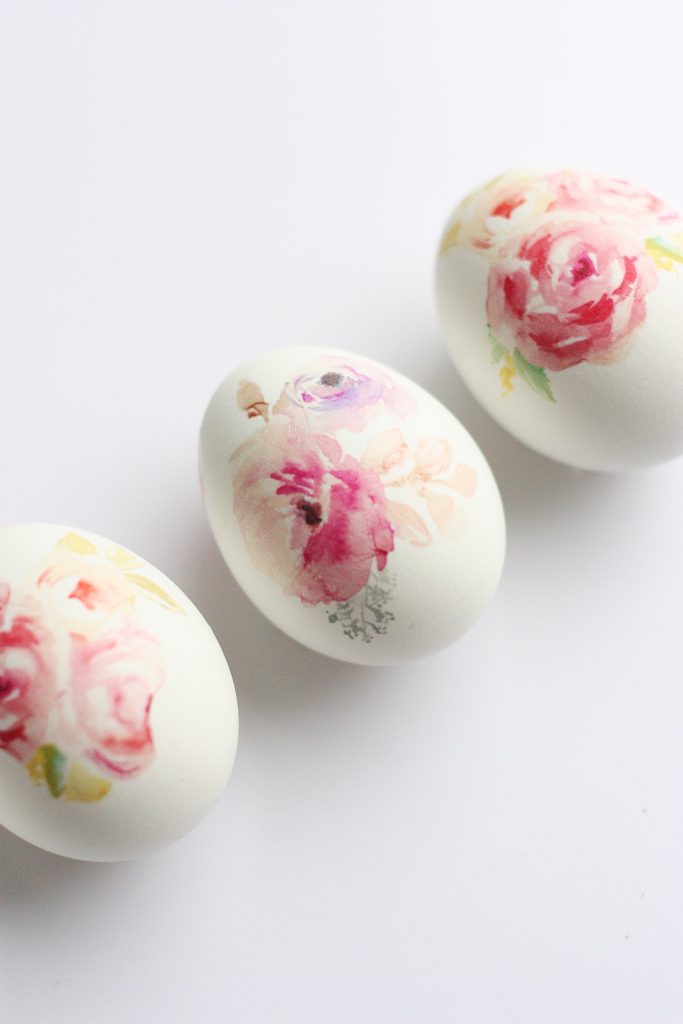
That’s it! You’ve done it! You’ve made eggs that are a work of art and you didn’t have to get an MFA to do it. Aren’t they so beautiful?
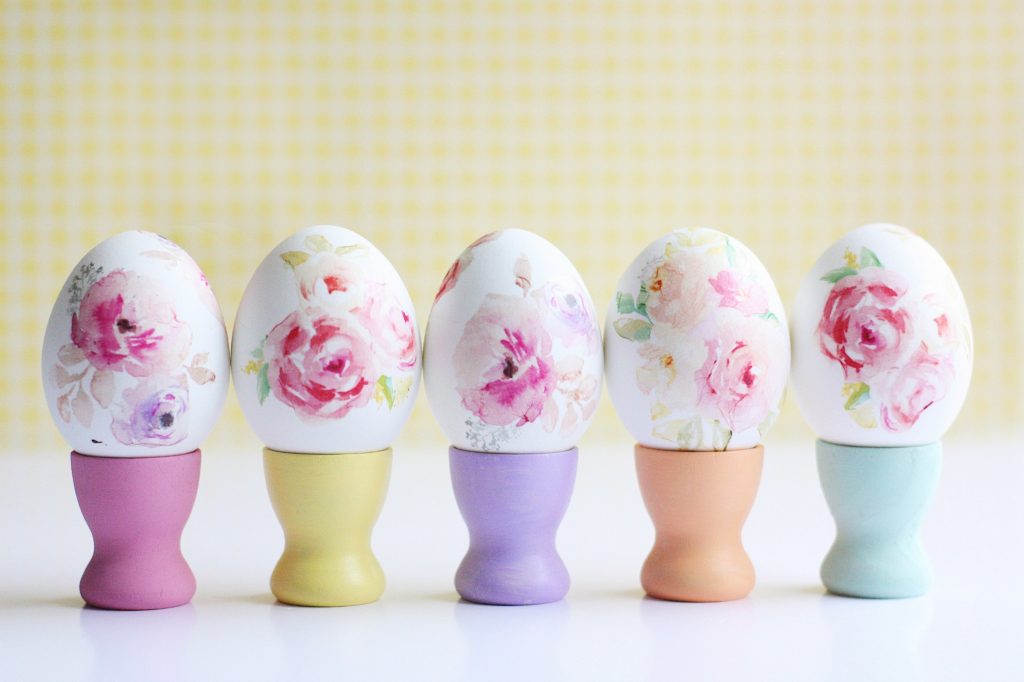

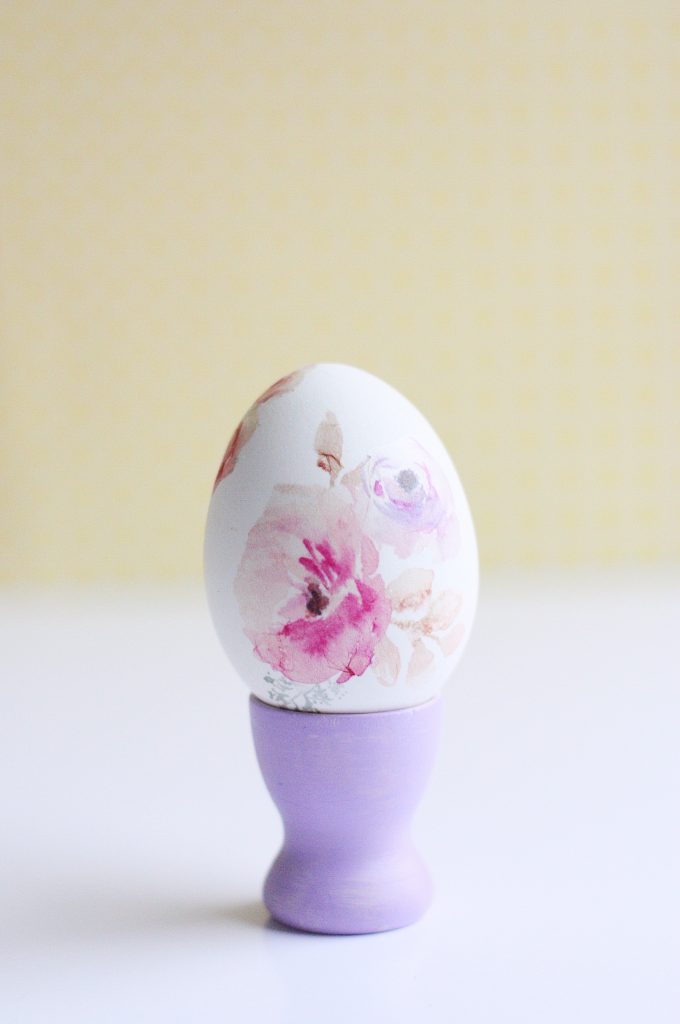
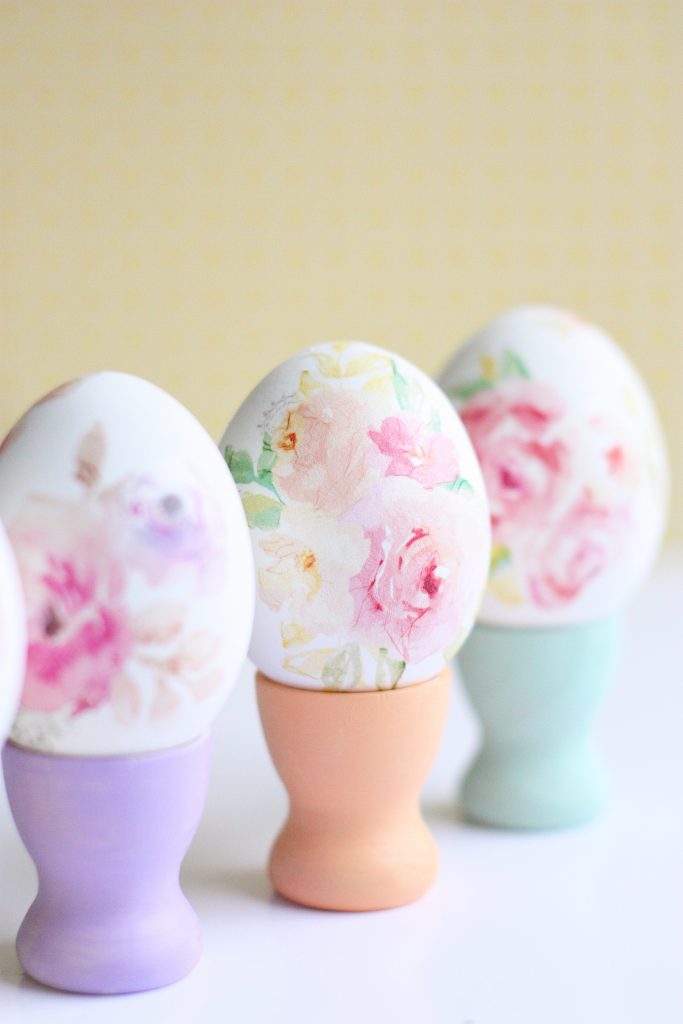
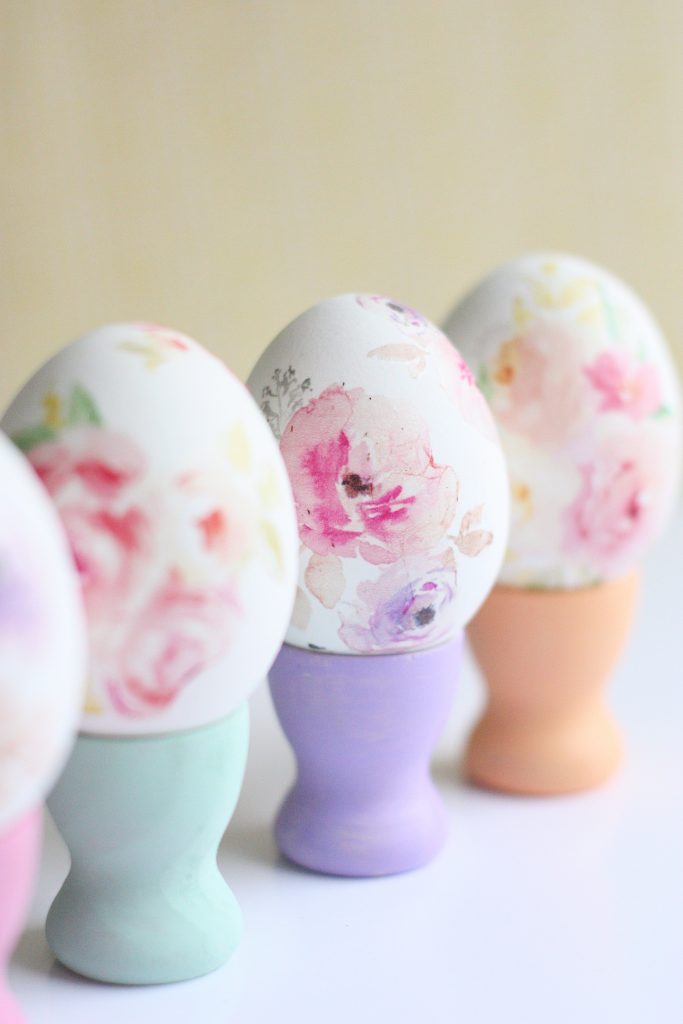
What’s your favorite color combo? I think the purple and pink are my favorite but, MAN it’s hard to choose when they are all this pretty! Your dollar store dye kits aren’t going to stand a chance with these beauties! I mean, just THINK of the possibilities with this tattoo paper! You can put any beautiful design that you love on an egg using this process and it’s so easy.
What are your favorite out-of-the-box ways to decorate eggs? I’d love to hear!
Happy decorating!
ox. Liz
Looking for more Easter egg decorating ideas? Try these projects!


These are so pretty! You did an amazing job!
Paige
http://thehappyflammily.com
I so love this ❤️❤️! Going to try and definitely sharing – Laurena
what’s your printer? The result looks great!
[…] for even more inspiration, you can find our tutorial for decorating with temporary tattoo paper here, gold foil tattoos here, and napkins, tissue, and natural dyes […]
I’m hoping to try this with my kids next Easter, but we won’t be doing flowers or anything like that. I’m hoping I’ll be able to let them make Pokemon and My Little Pony eggs, but I’m not sure how hard it’ll be to find images that I can use to make the tattoos.
[…] Tattooed Watercolor Easter Eggs: You are going to wow everyone with these beautiful eggs and NO ONE has to know how easy it is to do! And to add a little extra fun, we even made some little egg cup stands to display them proudly and adorably. See the tutorial here! […]
[…] DIY Tattooed Watercolor Easter Eggs […]
[…] DIY Tattooed Watercolor Easter Eggs […]
[…] → Click Here ← […]
[…] Watercolor Tattoo Easter Eggs […]
[…] They’d be adorable filled with our Tape-Decorated Easter Eggs, Favorite Foods Easter Eggs, or Tattooed Easter Eggs. So cute for any Easter […]