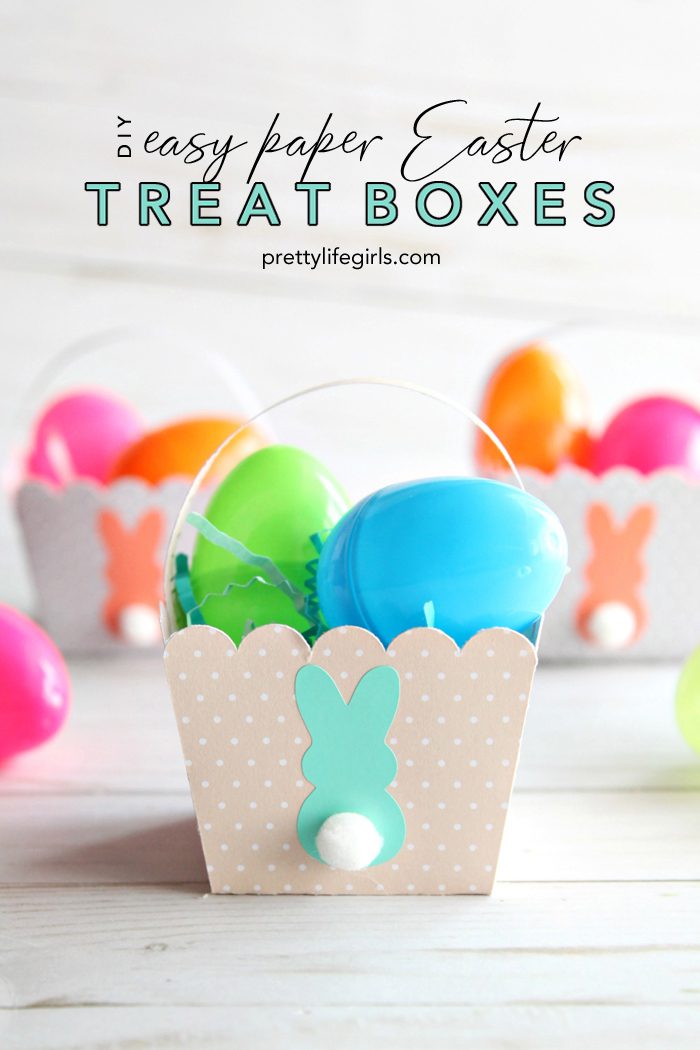
Hey everybody! Today, I’m sharing a DIY Easter gift idea – paper treat boxes with little adhesive vinyl bunnies! They are so simple to make, and the final product is adorable. Keep scrolling to see how I made them!
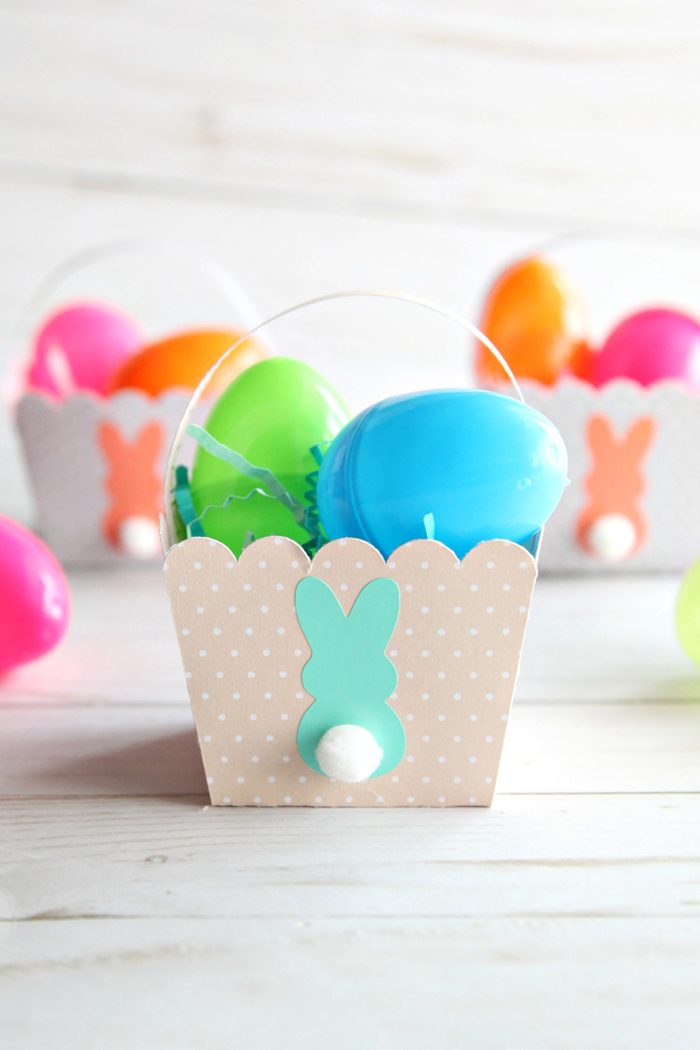

Supplies needed to make your own Easter Treat Boxes
Silhouette CAMEO 3 or any craft cutting machine
Cutting mat
Weeding hook
Adhesive vinyl (I used coral and mint)
Bunny cut file
Cardstock
Hot glue
White pom poms
How to make your own Easter Treat Boxes
Step 1: Open the bunny cut file in Silhouette Studio. You only need the back of the bunny for this project, so delete the front of the bunny, and arrange as many backs as you need on the canvas. Load your adhesive vinyl and cut.
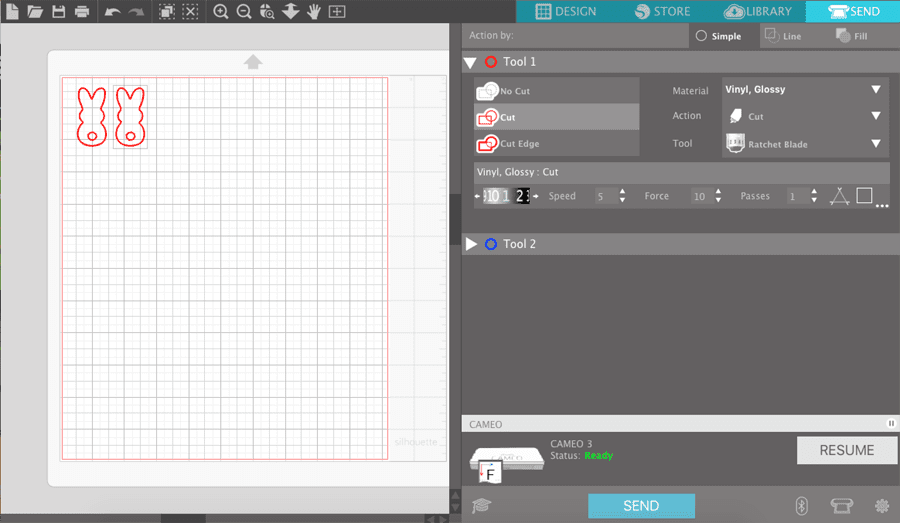

Step 2: After your machine has finished cutting, remove the vinyl, and weed the excess. Use the hook to remove any small pieces.


Step 3: Next, open the cut file for the basket. I used this one from the Silhouette Store. Make any sizing adjustments, load your cardstock on a cutting mat, and cut. Be sure to adjust your blade setting to cardstock.
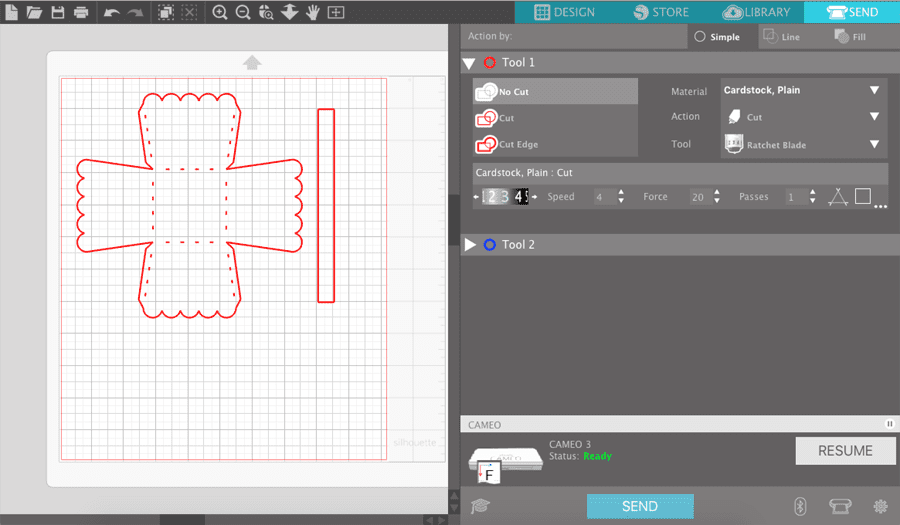

Step 4: Remove the cut cardstock pieces from the cutting mat. Now it’s time to assemble!


Step 5: Fold the basket along the scored lines.


Step 6: Glue the sides together to make a box.


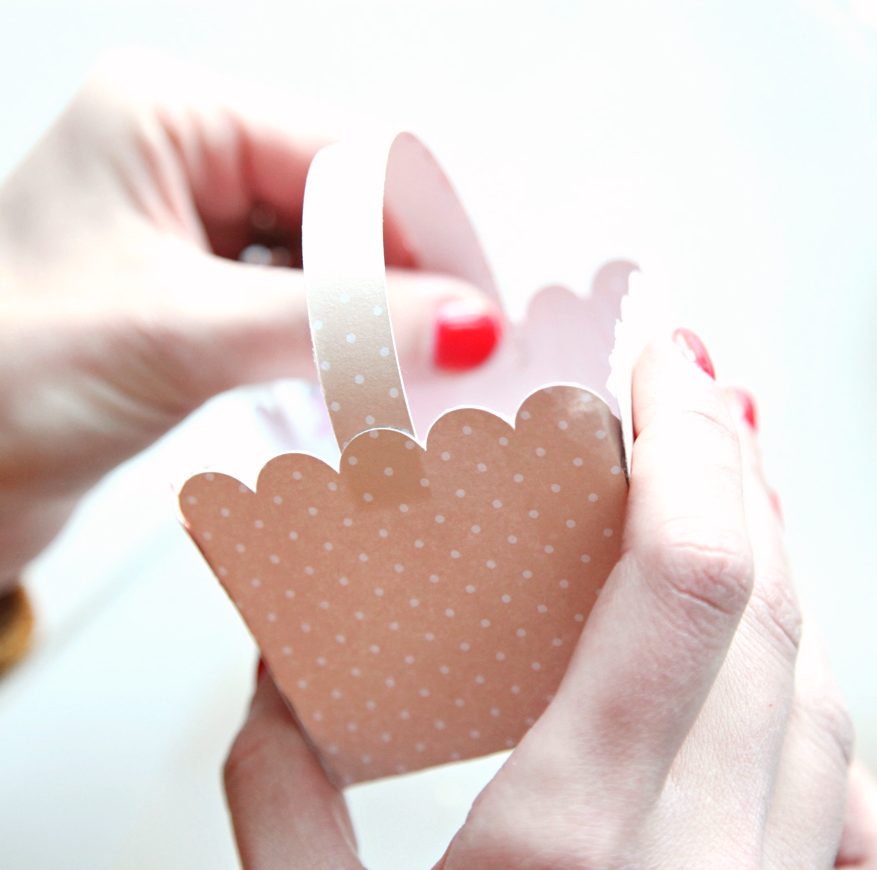
Step 7: Attach the handle with glue or a decorative brad.

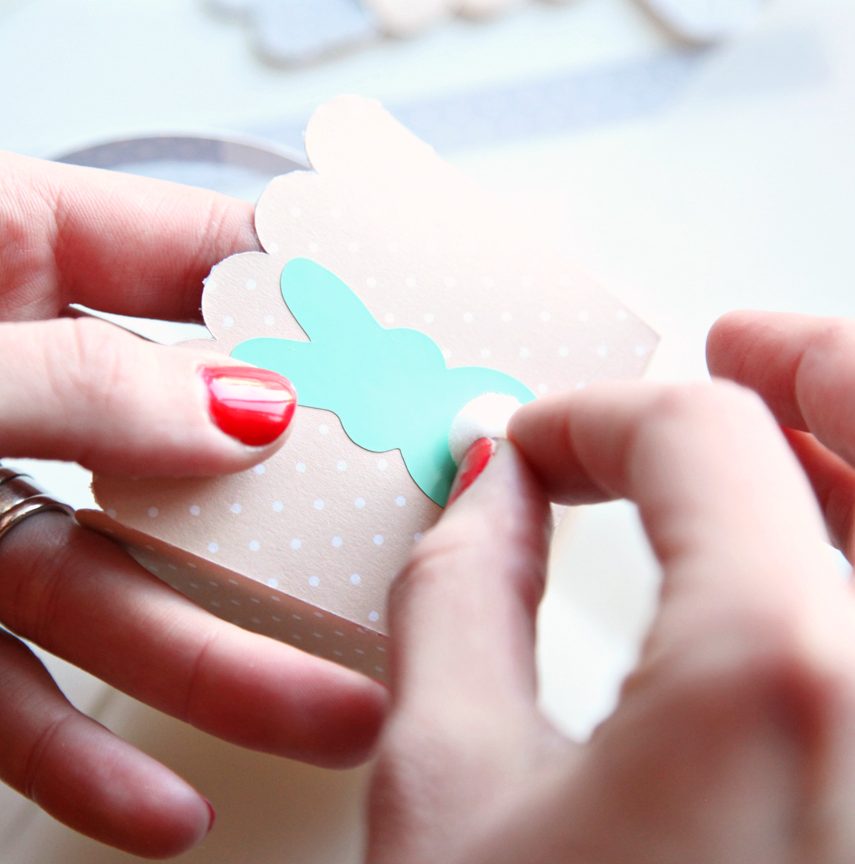
Step 8: Place the adhesive vinyl bunny on the basket.
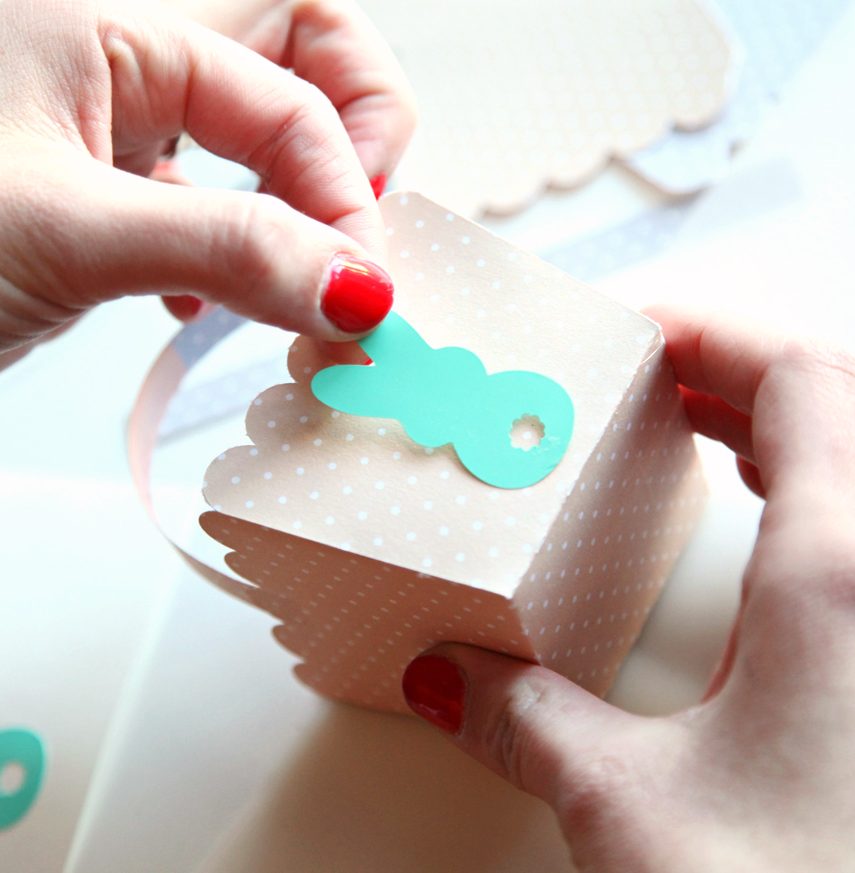

Step 9: Attach the pom pom for a tail.

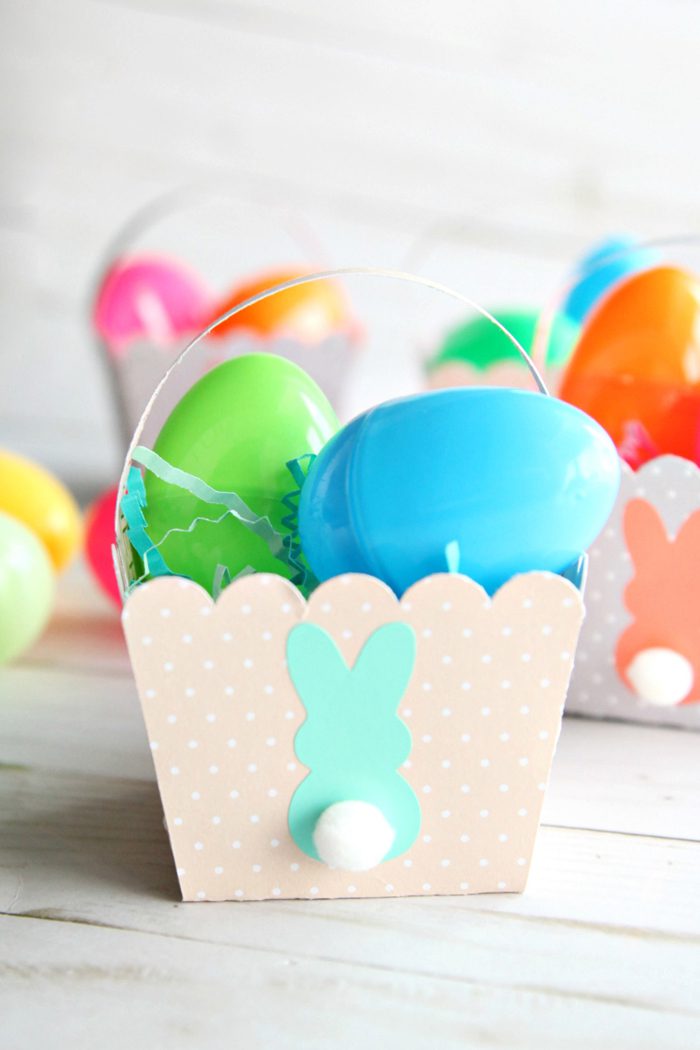
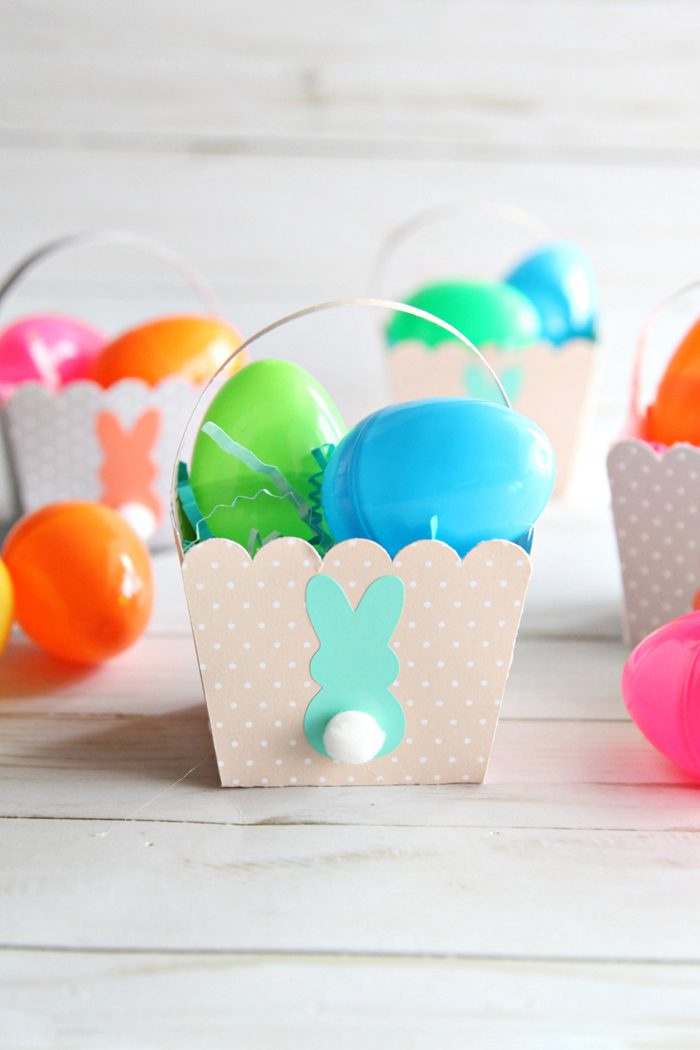
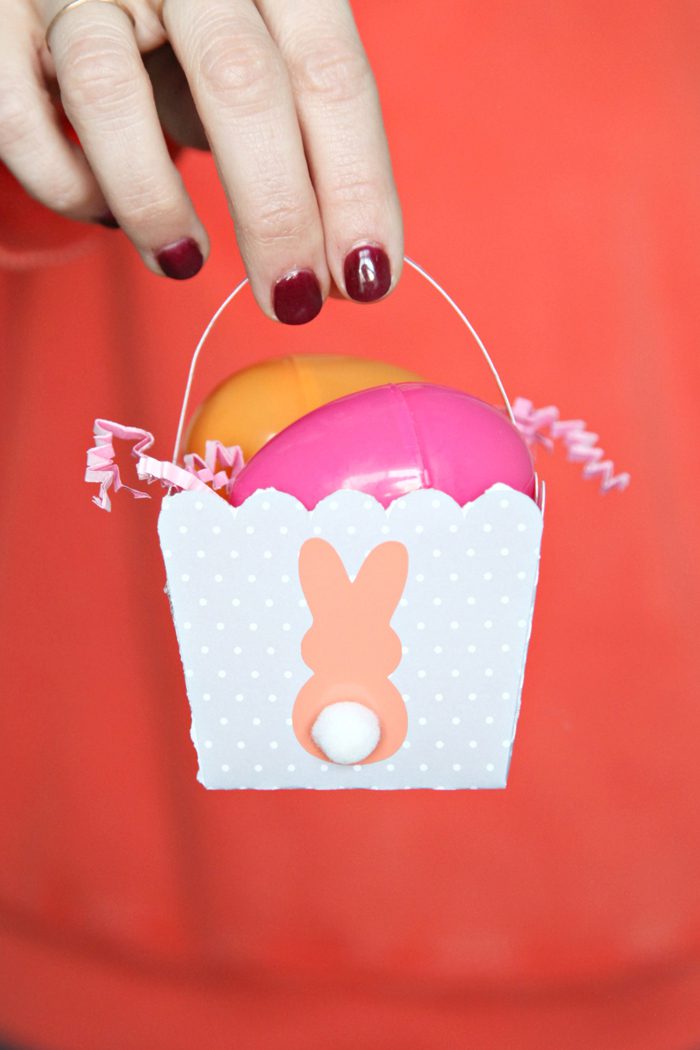
Now the baskets are ready to be filled! They’d be adorable filled with our Tape-Decorated Easter Eggs, Favorite Foods Easter Eggs, or Tattooed Easter Eggs. So cute for any Easter gathering!




Happy crafting!
xo, Sam
Be sure to check out these other fun Easter craft ideas!
