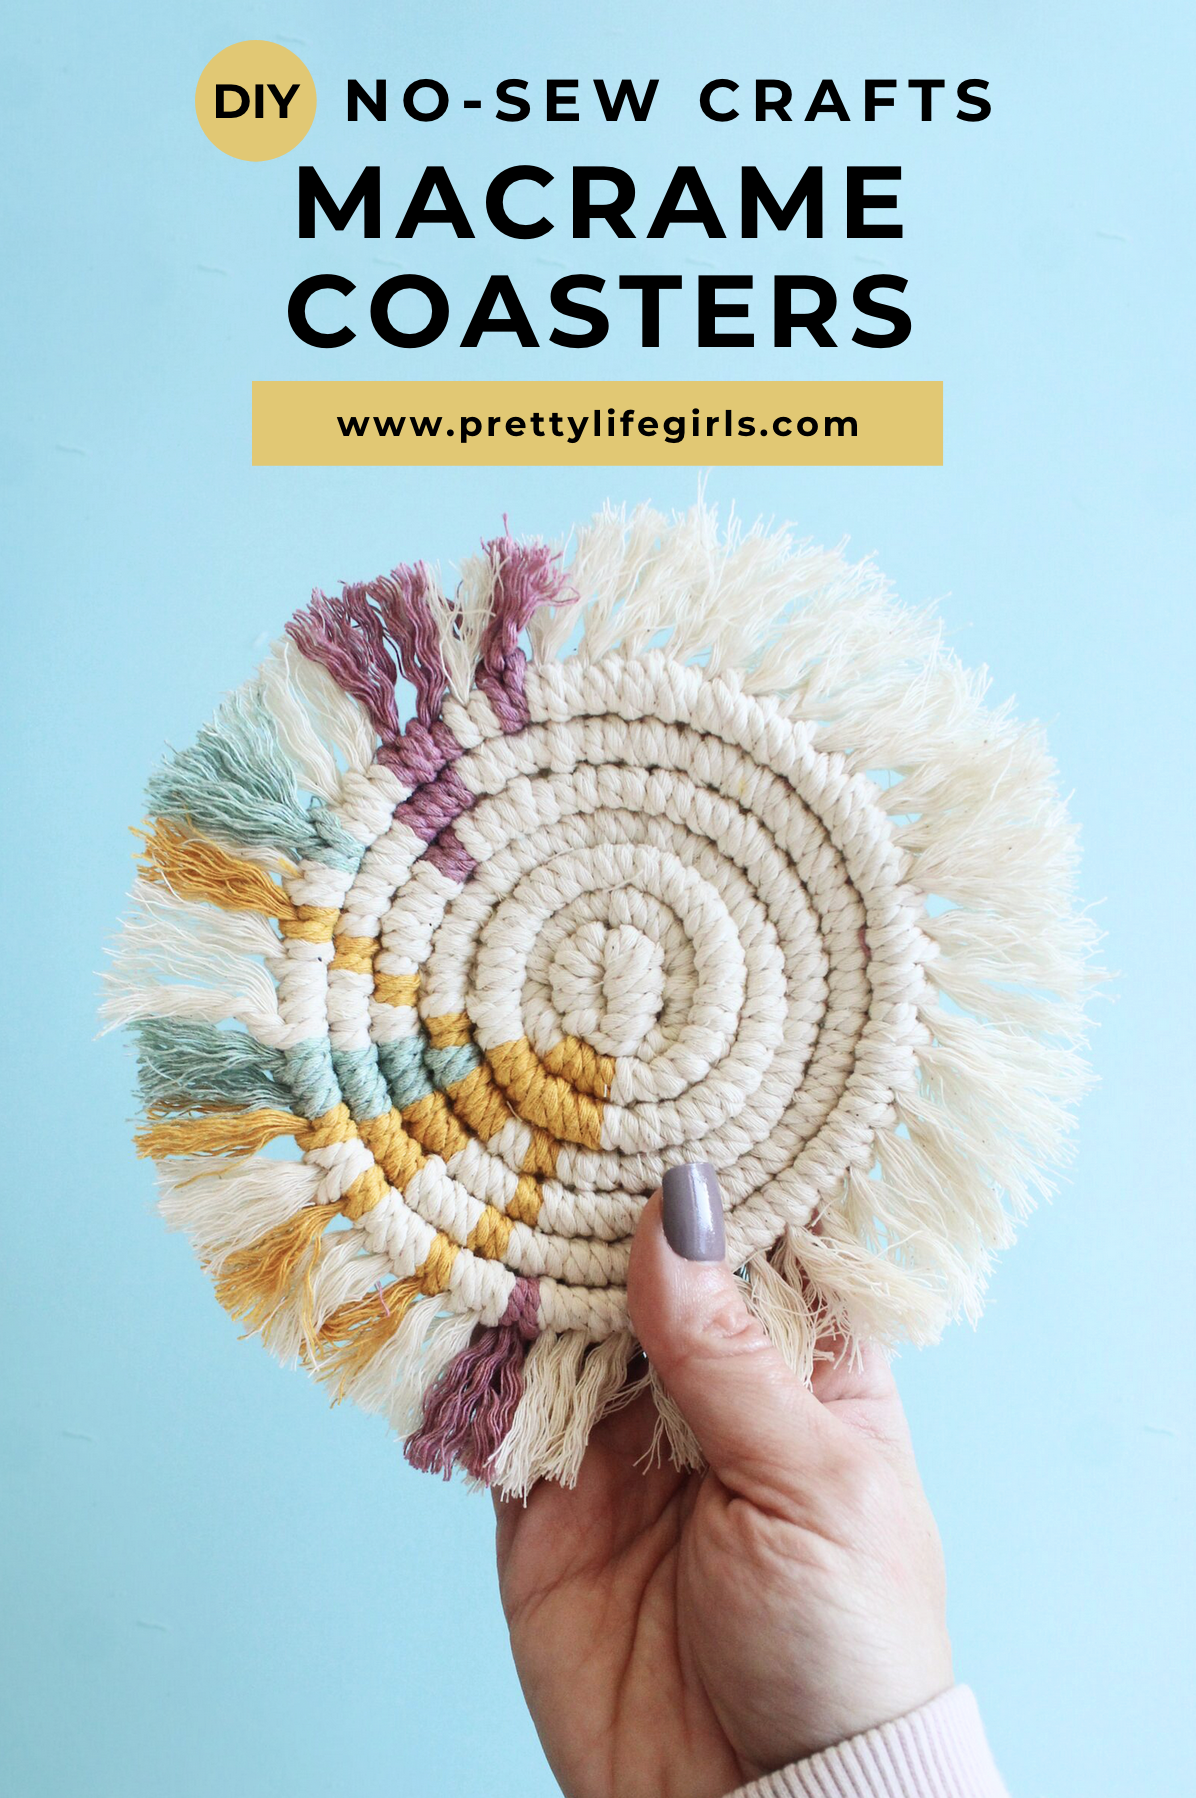
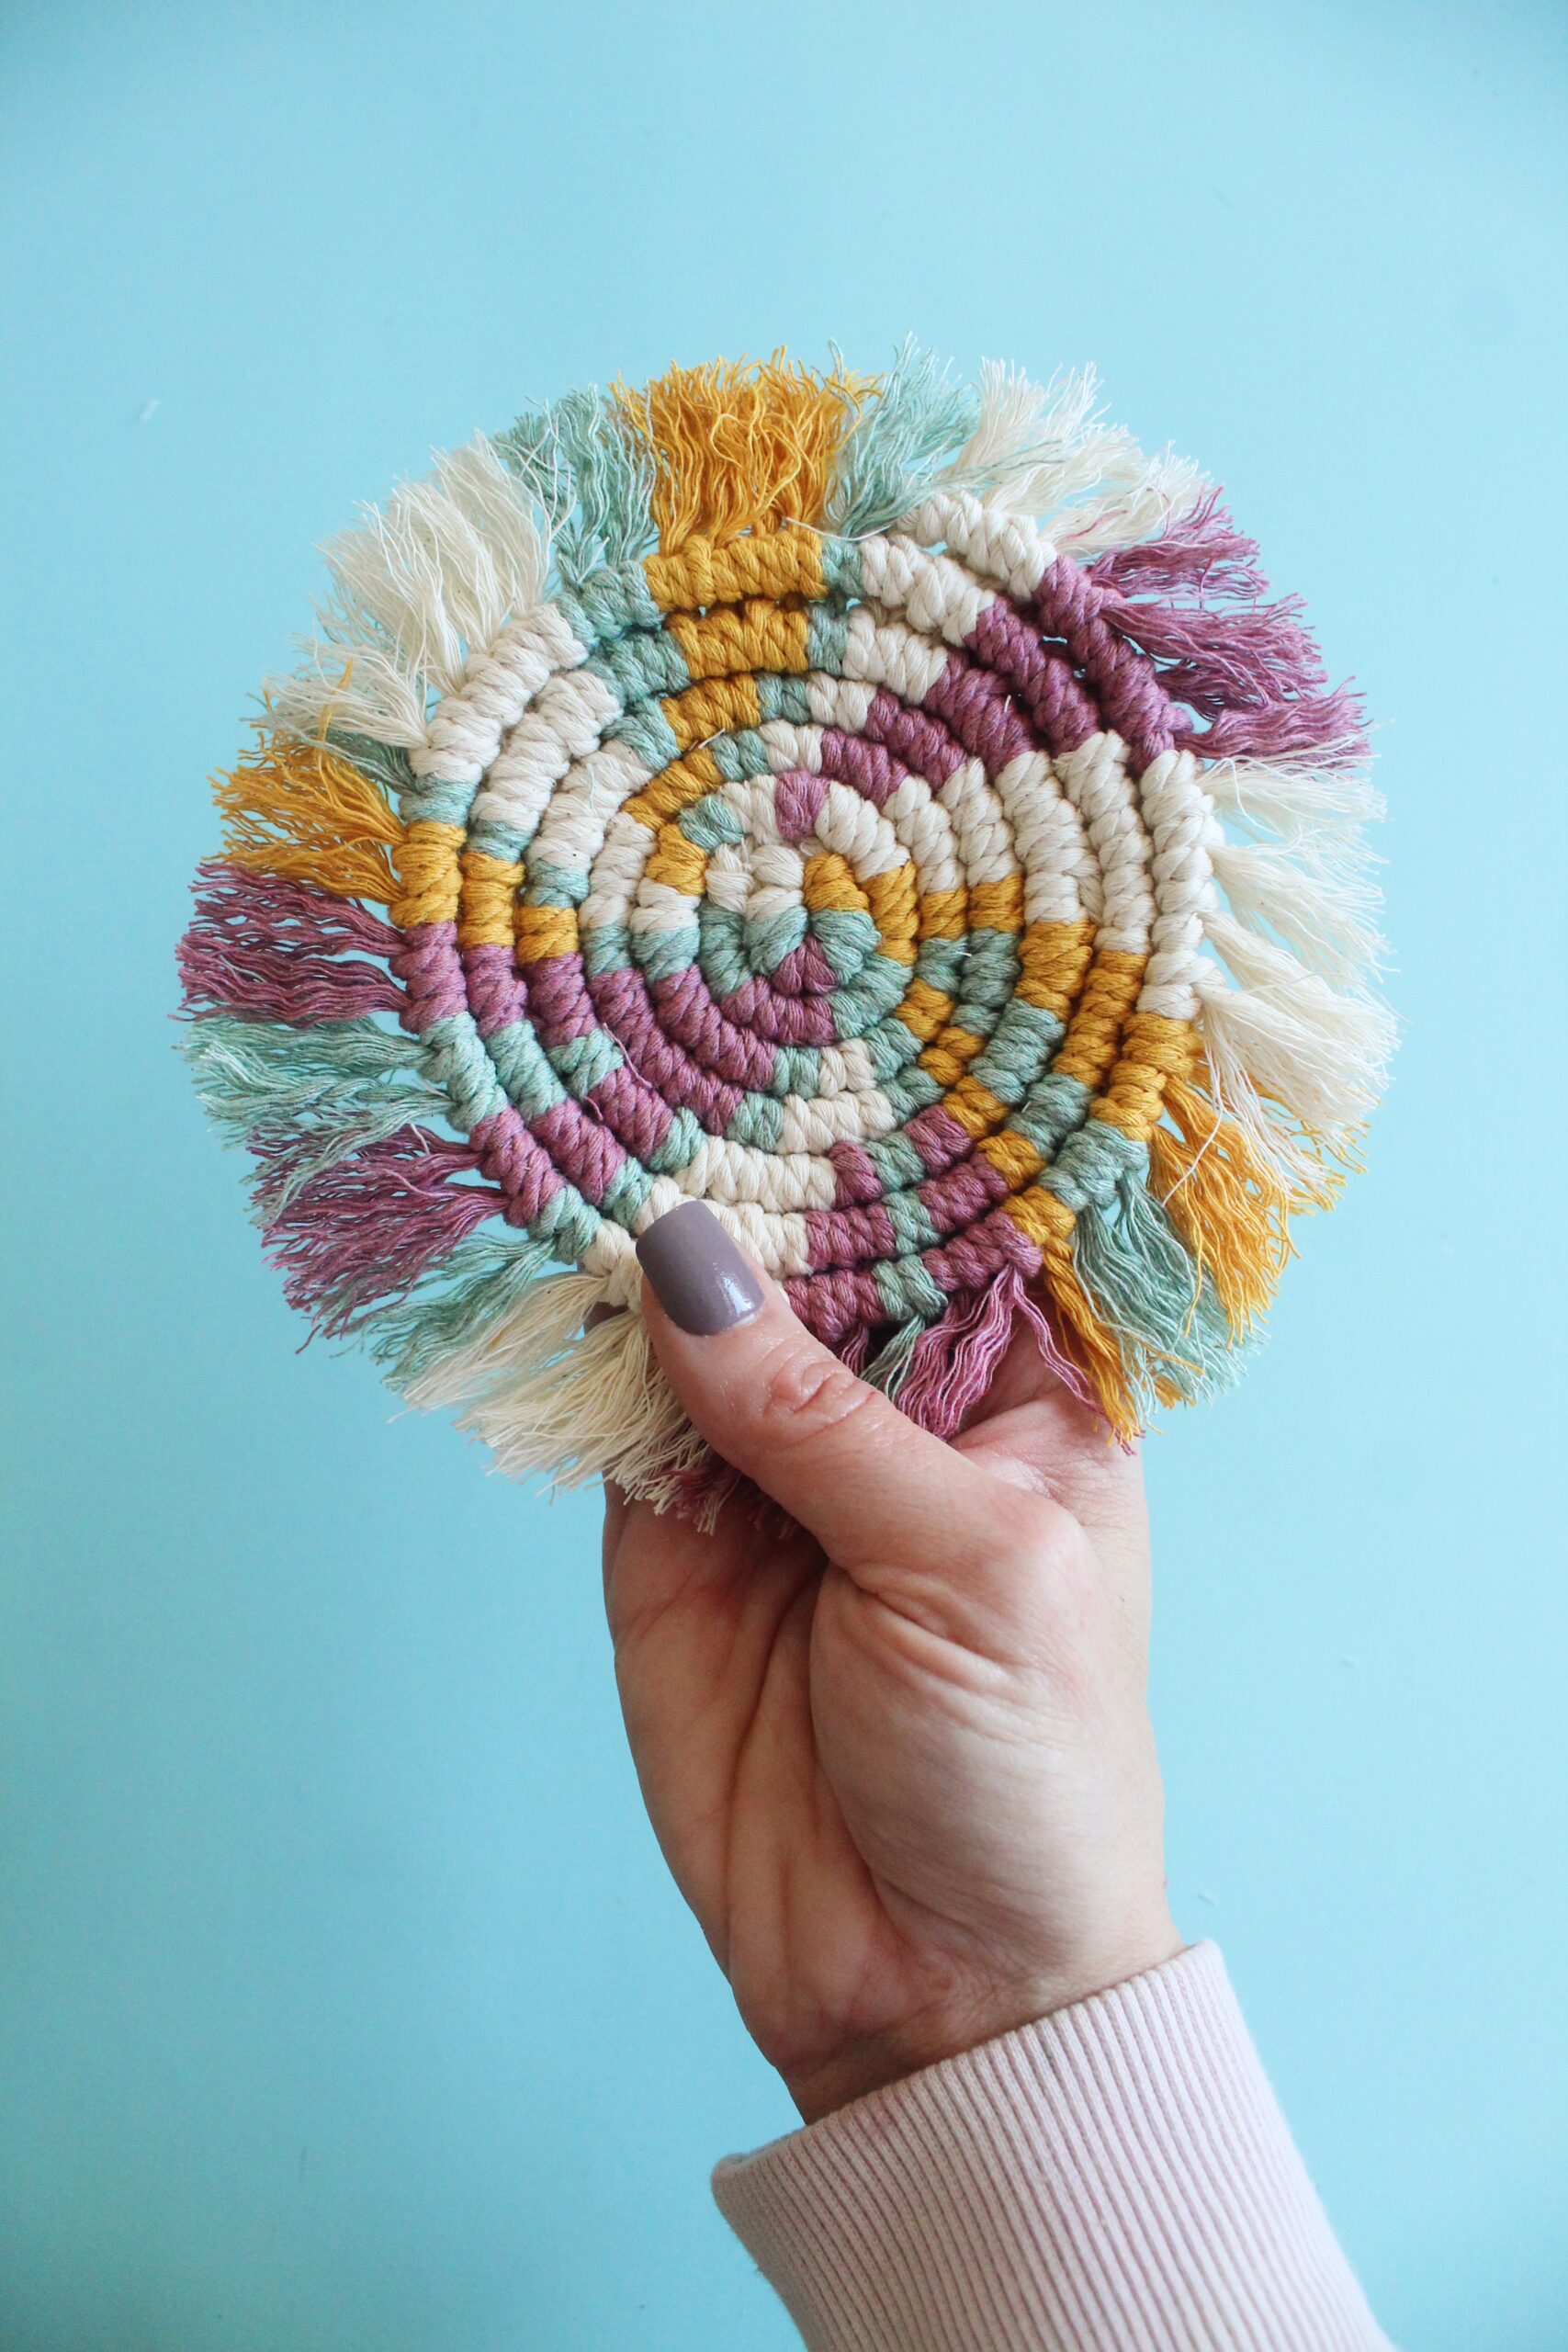
This DIY macrame coaster tutorial is a must-try for experts and beginners alike! Add in some colored cord to make it pop and your drinks will be happier than ever! Keep reading for all the details!
No Sew DIY Macrame Coaster Tutorial
Macrame crafts have been a staple for us for years. It’s so versatile and calming, and all you need to get started is cotton cord! Over the years we’ve made everything from macrame wind chimes to macrame Christmas ornaments to macrame keychains and our love for the method hasn’t let up yet!
So, today we are sharing a brand new project with you that we came across during a late night Pinterest scrolling session–macrame coasters!
How do you make a macrame coaster for beginners?
There are so many possibilities for creating when it comes to macrame because there are endless knot combinations that result in gorgeous designs. However, for beginners it can be overwhelming when faced with a tutorial full of unfamiliar knots.
That’s why this is a perfect beginner macrame project because it uses minimal knots and is simple to execute. Starting here allows beginners to learn one of the most common knots used in macrame and gain confidence for the next project!
What cord is best to use for macrame coasters?
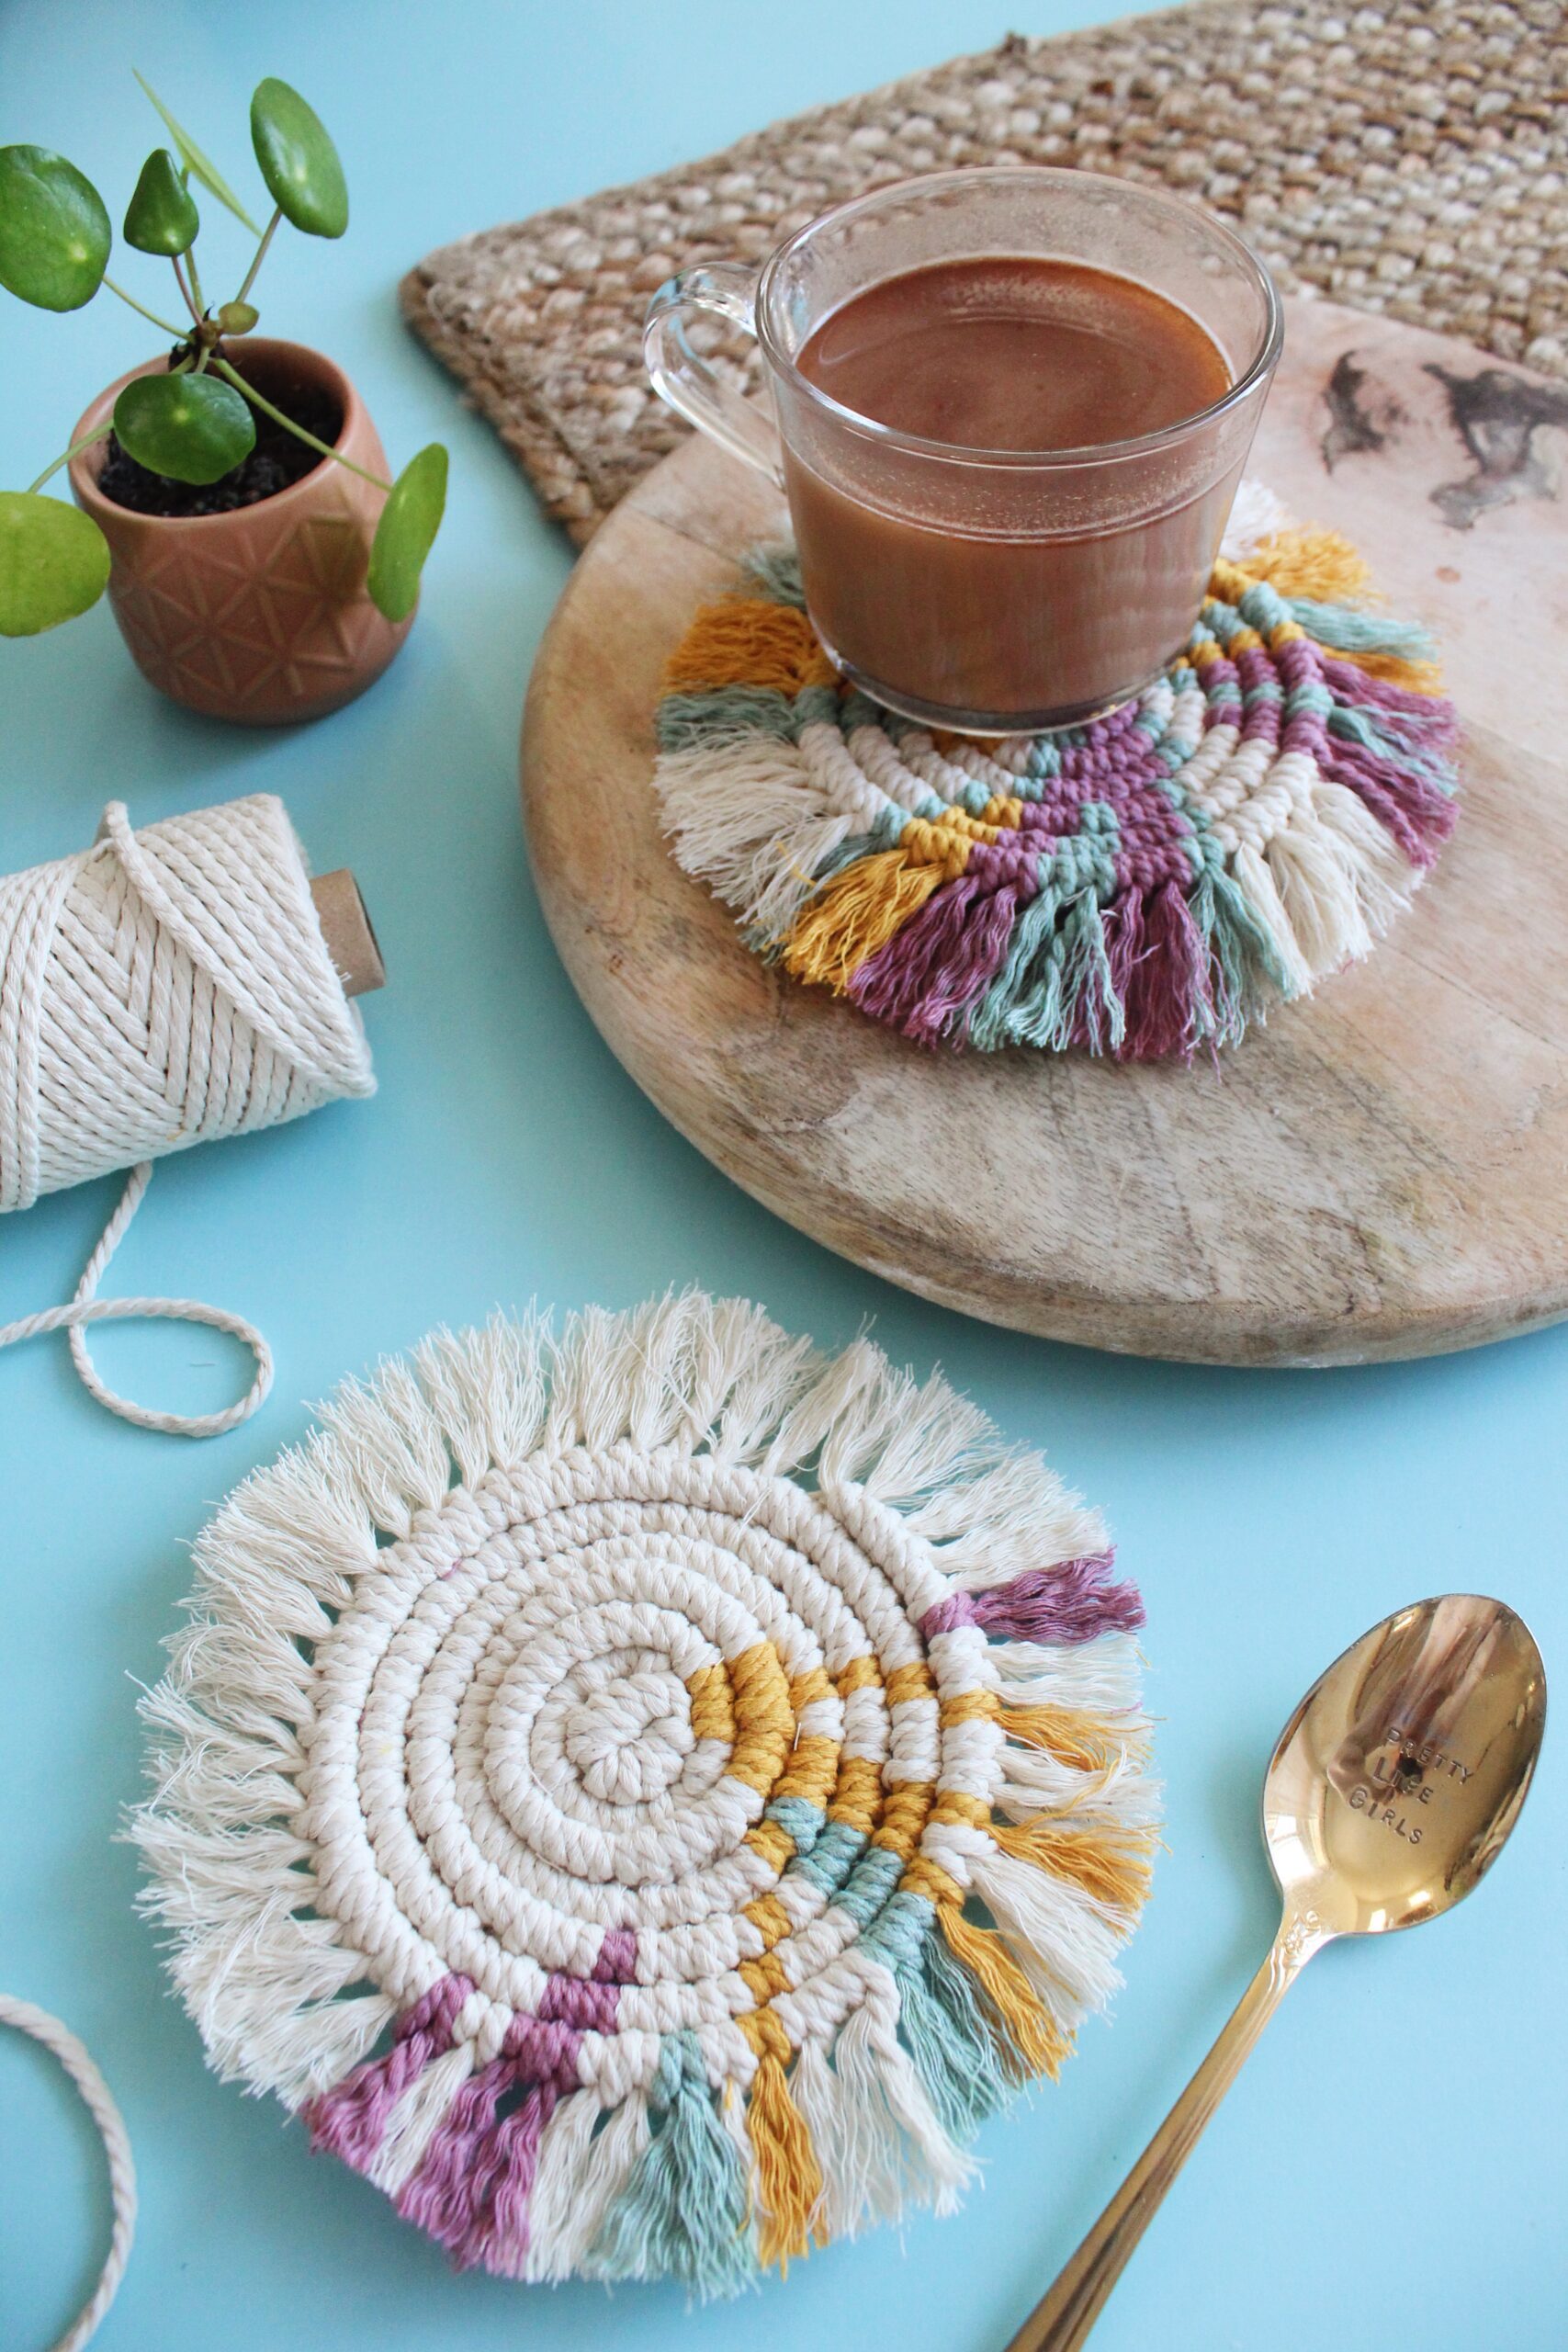
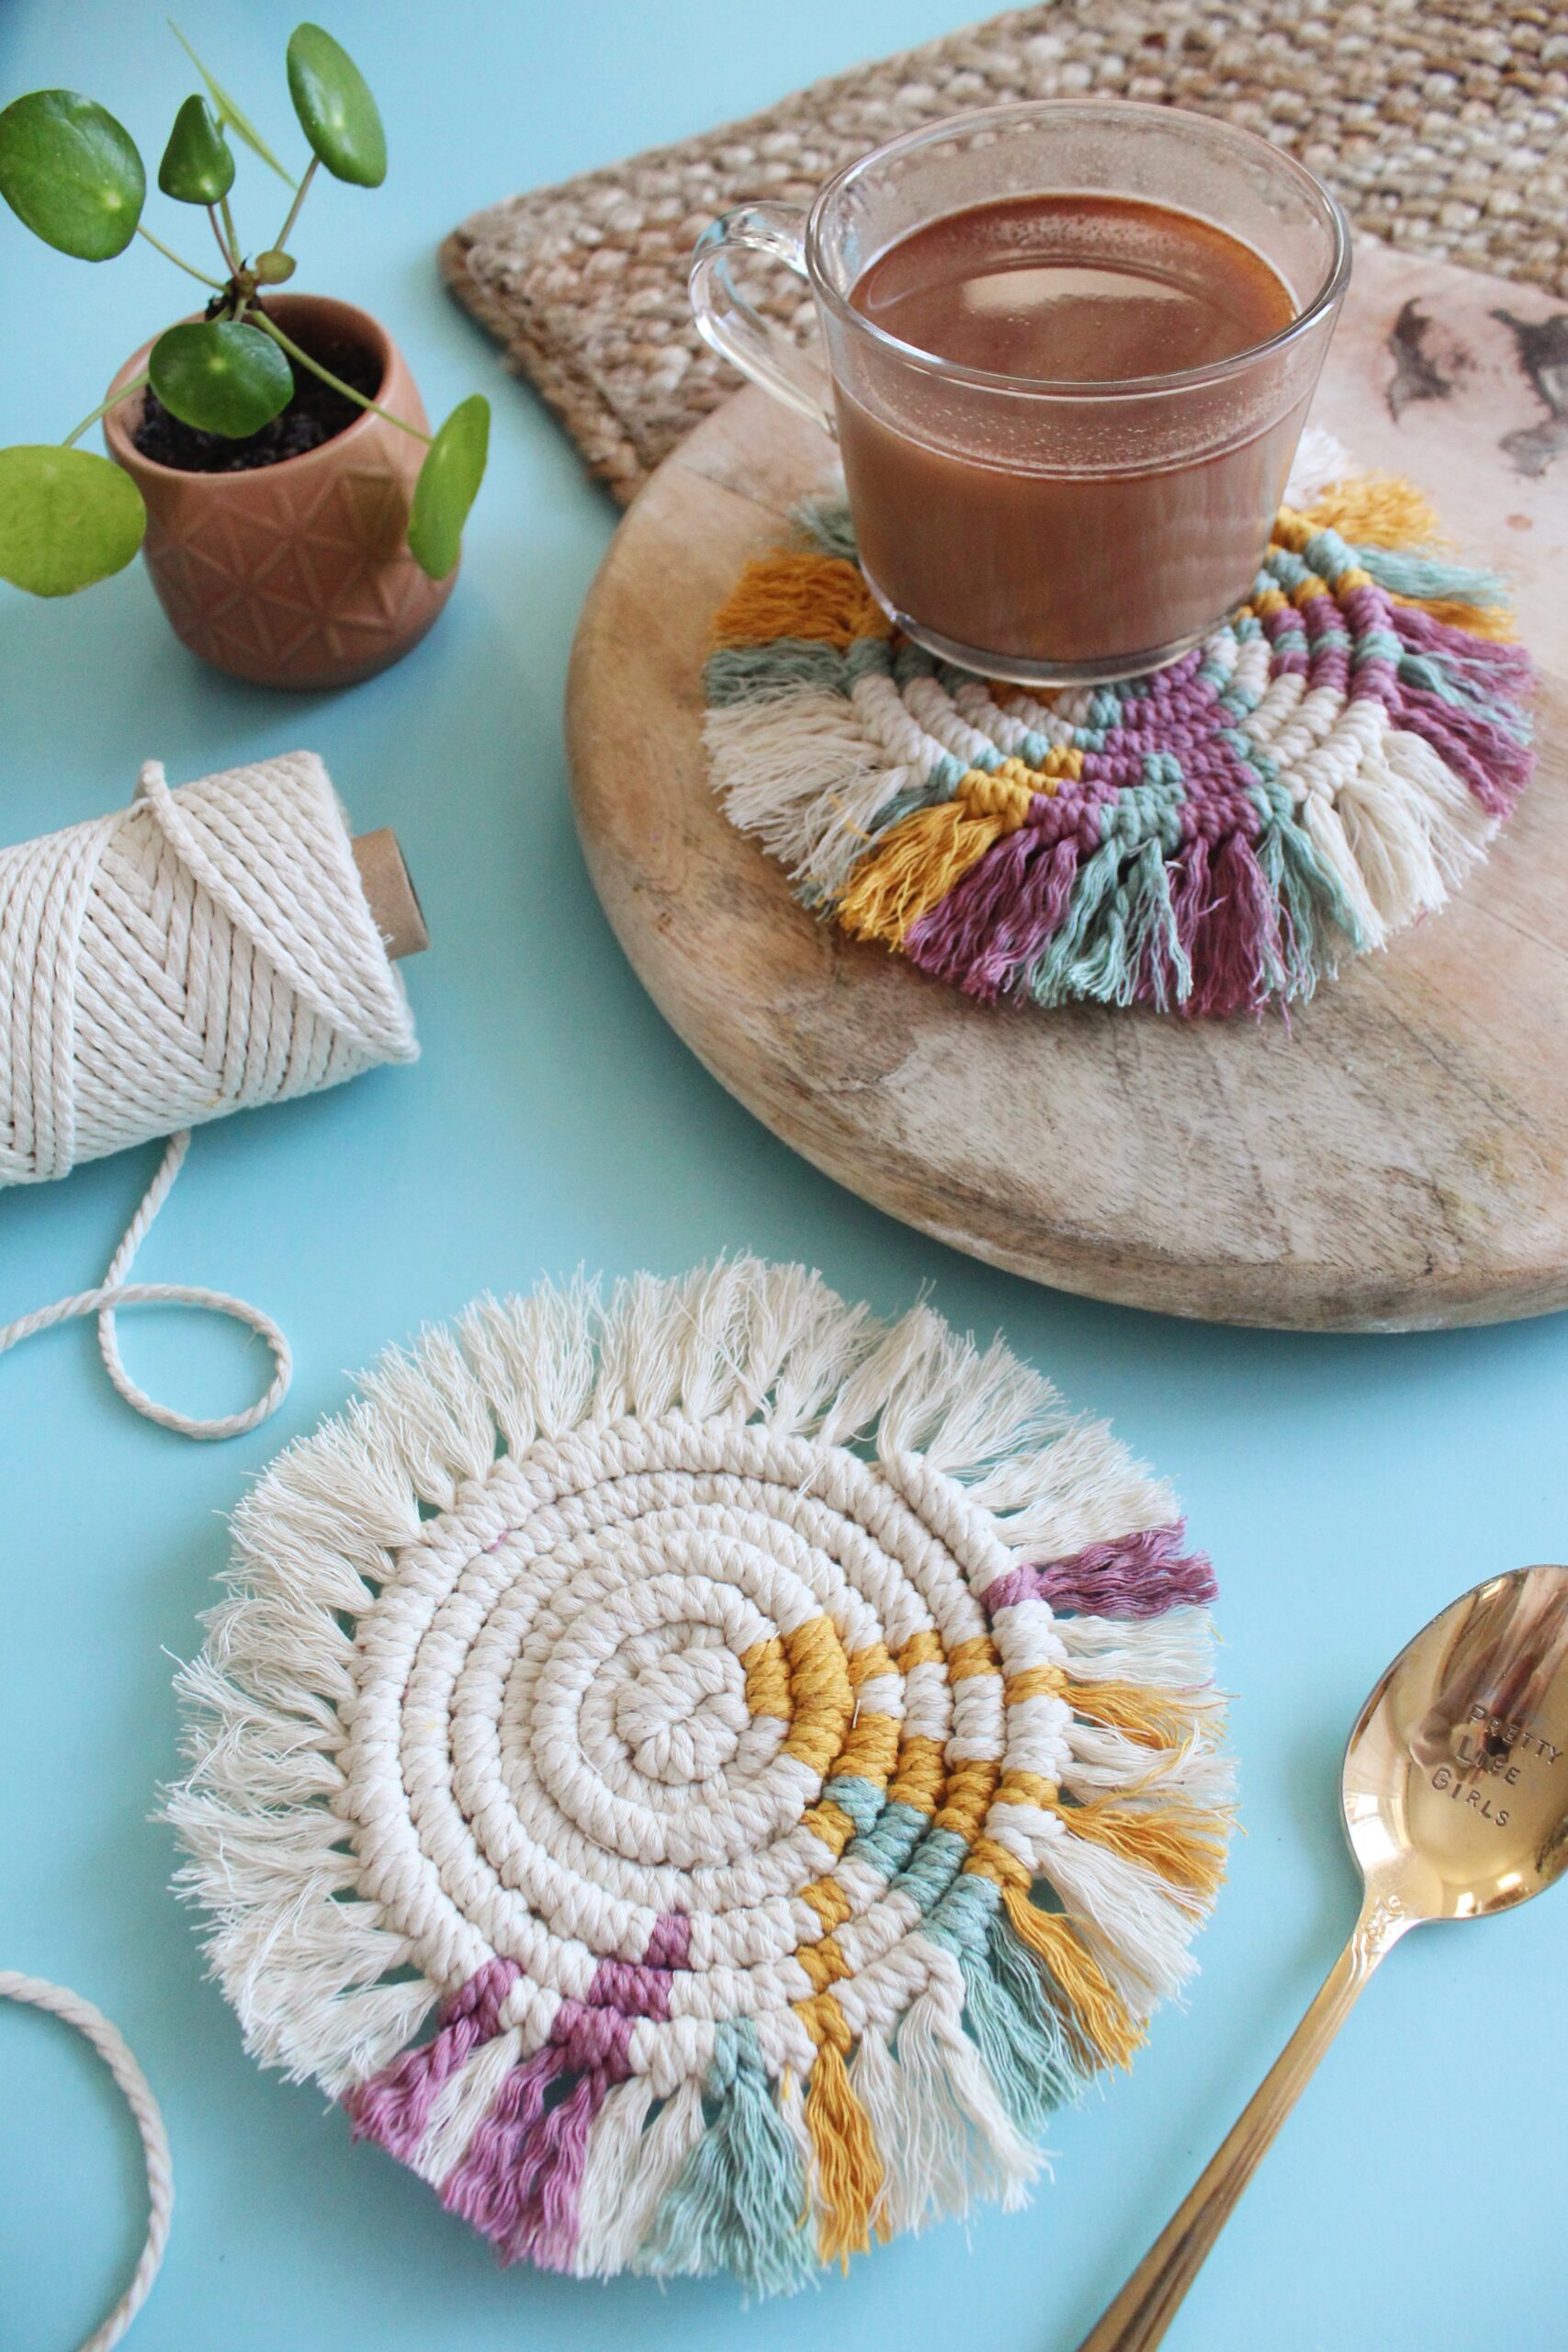
What drew us to this project when we came across it was the way many makers used a mixture of the typical oat-colored cord and colored cord. The combinations were gorgeous and the results elevate this simple project into something extra unique!
Medium size 3 – 6mm cord is the most common size in many general macrame projects. It is considered the standard size of the macrame rope. This diameter is perfect for produce bags, placemats, mandalas, wall décor, plant hangers, etc.
Supplies needed for DIY Macrame Coasters
- Macrame Cord (we used the standard oat colored and then added in 3 accent colors)
- Scissors
- Comb
How to make No Sew DIY Macrame Coasters
When it comes to macrame, a written tutorial is definitely not as helpful as a video tutorial, so, we’ll share the one we used with you! This video walks you through the entire process and is ideal because you can slow down the playback speed and pause when needed. Watch it here!
You can also watch us make the coasters here.
Step-by-step tutorial for Macrame Coasters
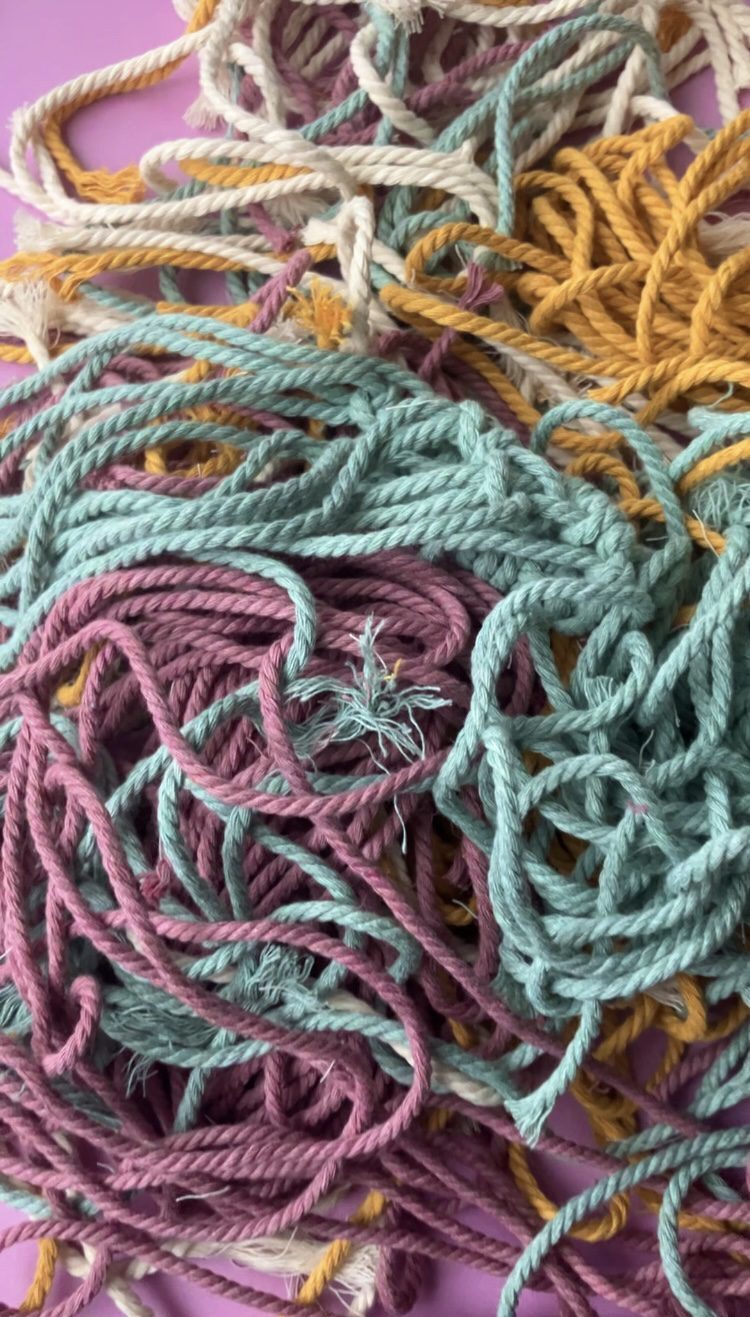
Step 1. Start by cutting the following cords:
- 1x 11 ft
- 5x 4.3 ft (cut a mix of all the colors)
- 6x 3.3 ft (cut a mix of all the colors)
- 6x 2.6 ft (cut a mix of all the colors)
Step 2. Fold one of the 4.3 ft cords (A) in half. Attach the other 4.3 ft cords on cord A using larks head knots.
Step 3. Fold the 11 ft cord in half, with one side matching the length of the folded 4.3 ft cords (B) and the other side being longer. Attach it to cord A with a larks head knot and the long cord (C) on the end.
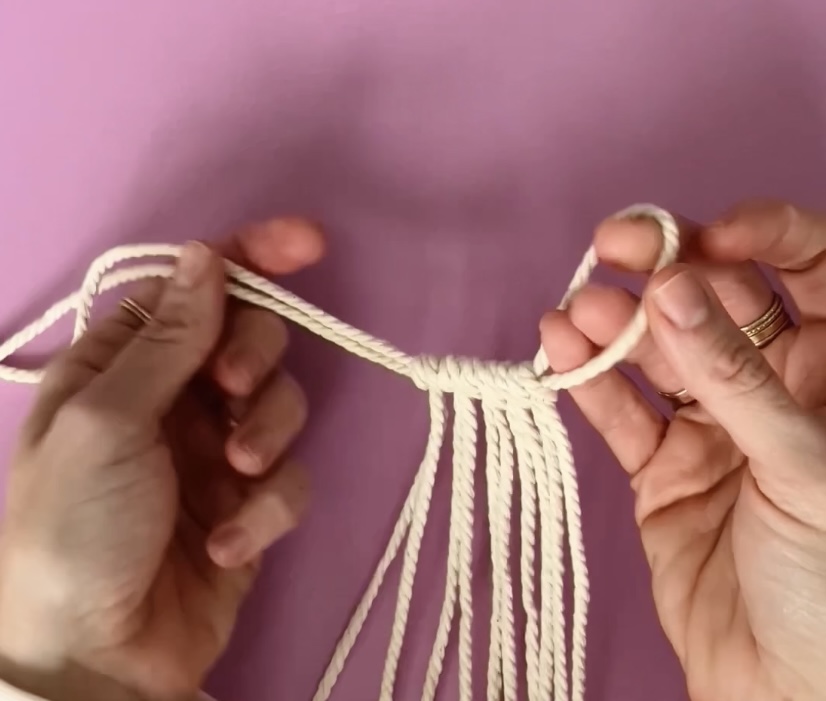
Step 4. Pull the ends of cord A through the loop on the other end and tighten.
Tip: Use push pins to secure the inner circle to a pillow before completing additional knots.
Step 5. Using the B cord next to cord C, make a double half hitch knot around cord B. Move to the next B cord and make another double half hitch knot around cord C. Continue making knots around the circle.
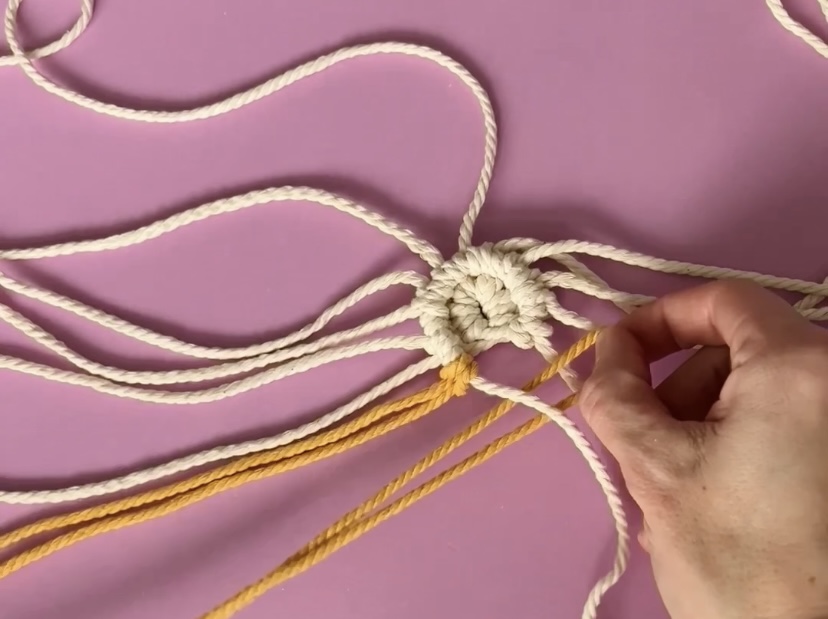
Step 6. When you see gaps between B cords, and to create a design with colors, add in the shorter cords by making reverse larks head knots around cord C, starting with the 3.3 ft length cords and adding the 2.6 ft length cords later in the process.
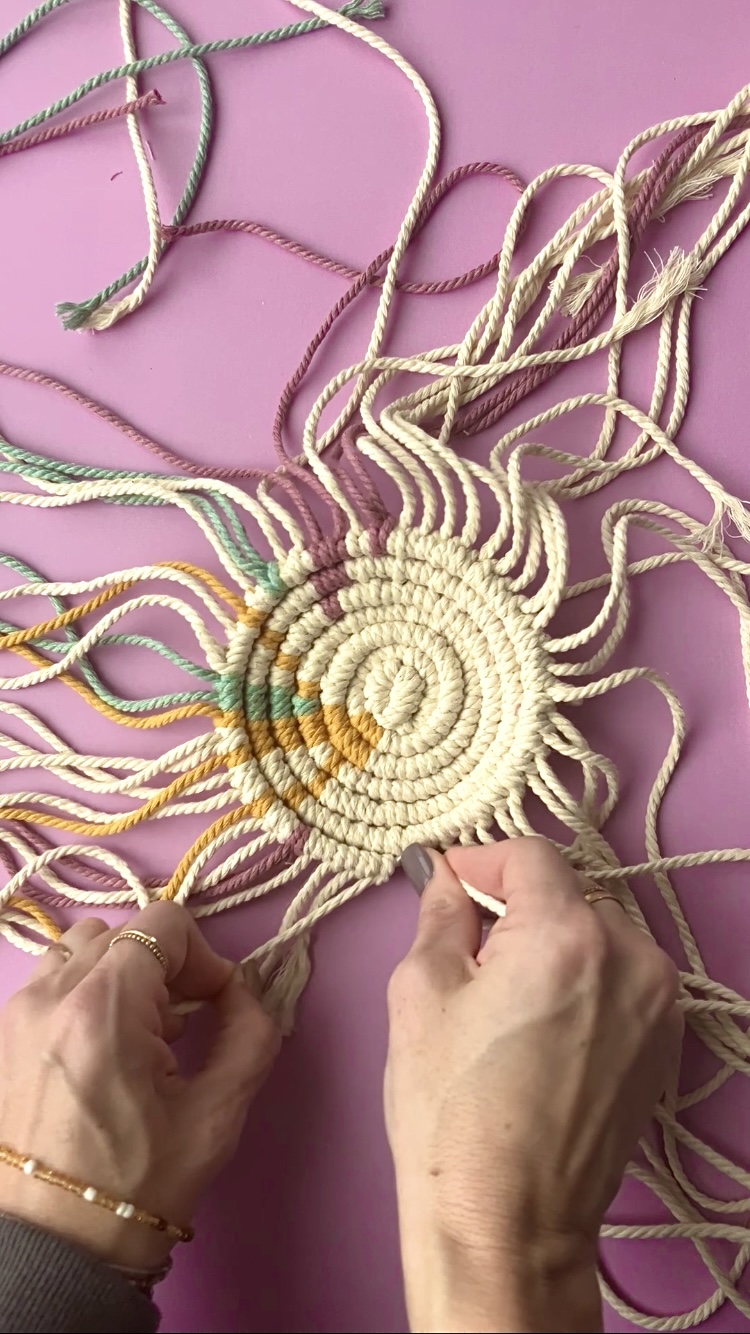
Step 7. Continue making double half hitch knots, adding in cords when there are gaps.
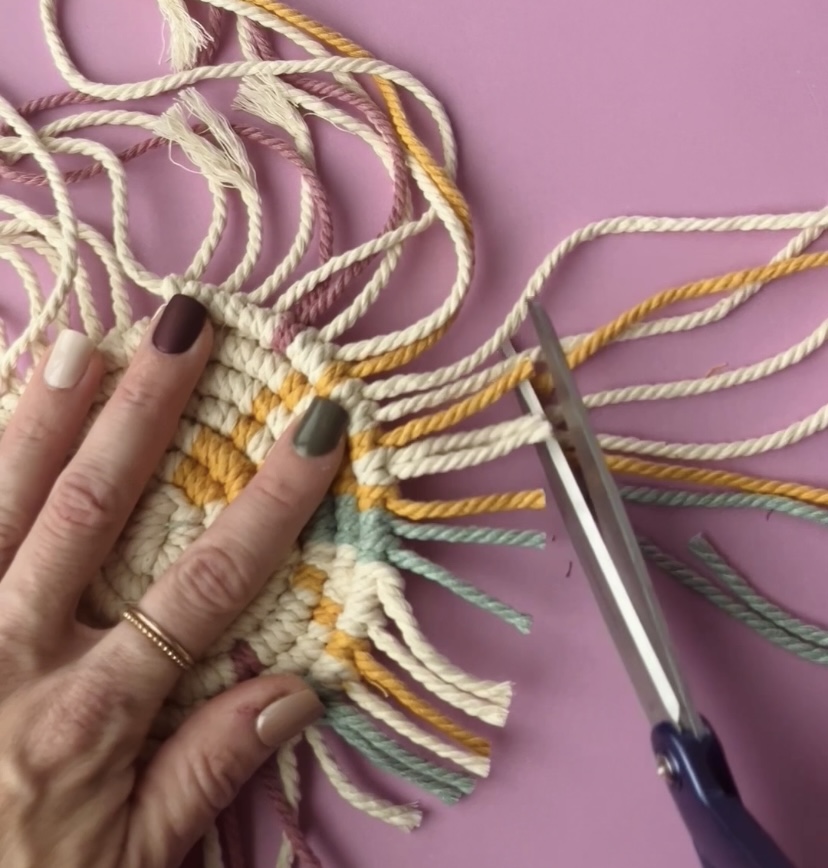
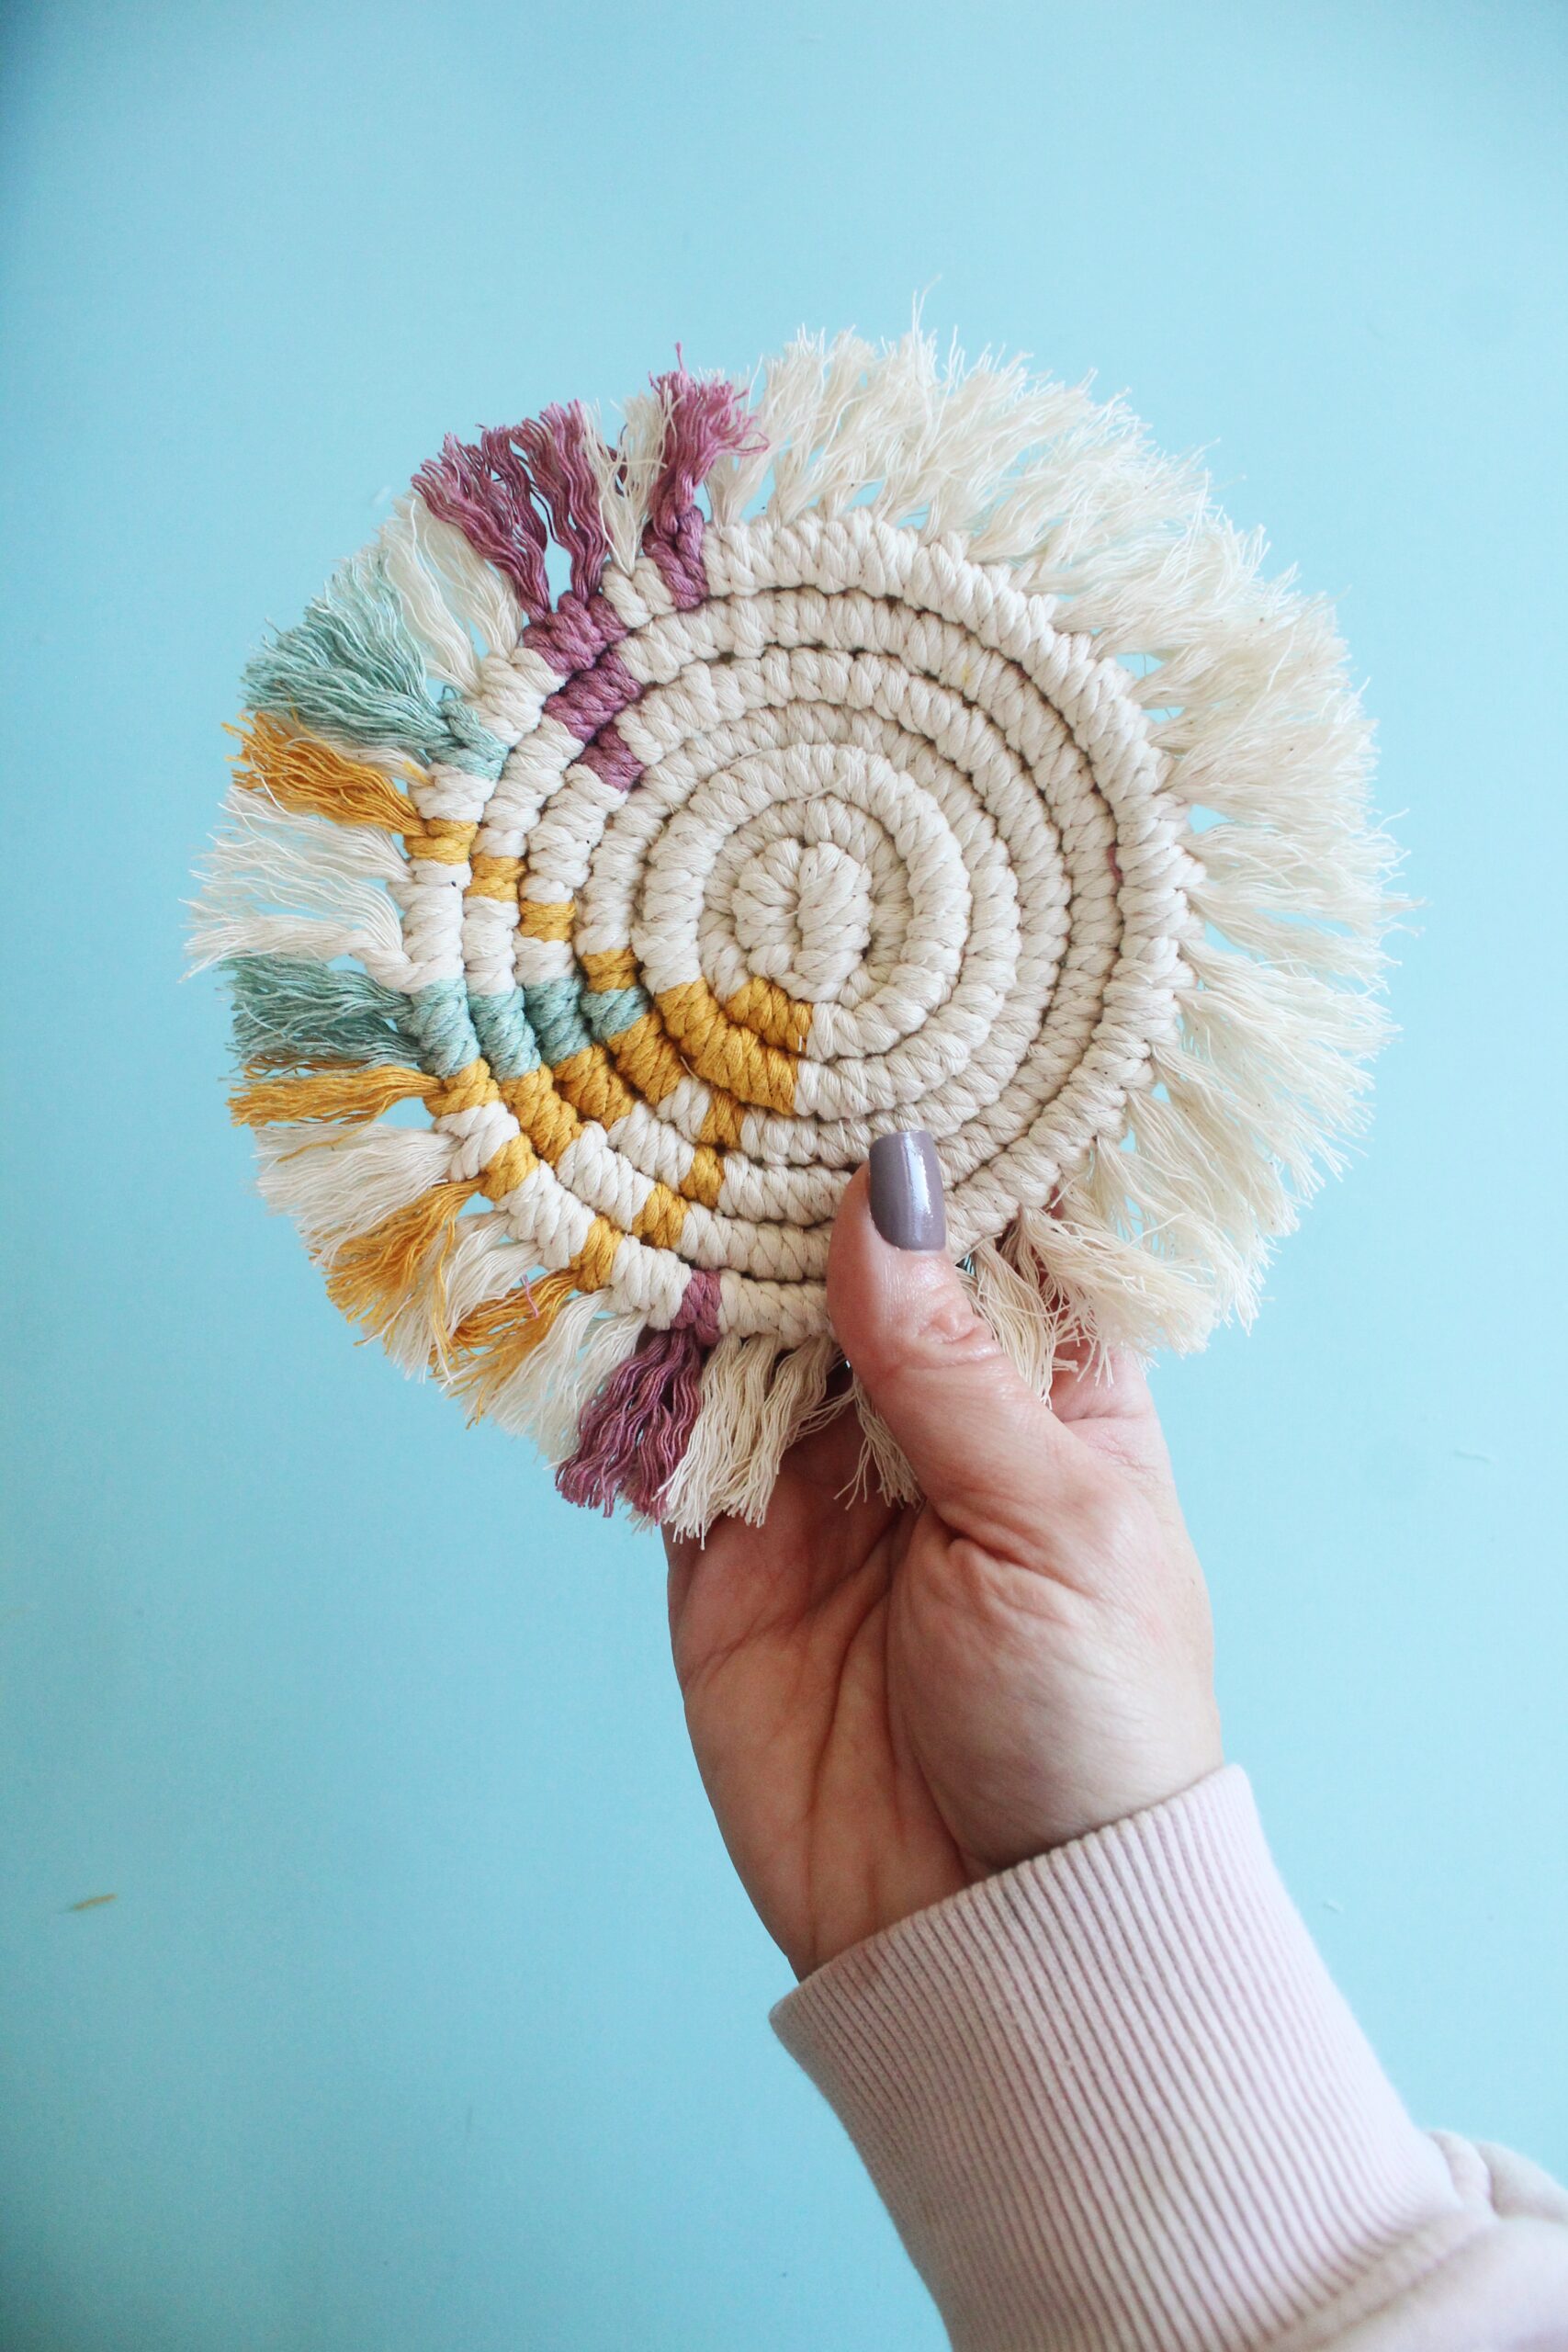
Step 8. When your coaster is the desired size, cut the cord ends to the desired length (we did about an inch).
Step 9. Brush them out with a comb, and trim as needed.
Tip: Place the finished coasters under a heavy object for a day or so after making to help them flatten out.
No Sew DIY Macrame Coaster Tutorial

This macrame coaster tutorial is a must-try for experts and beginners
alike! Add in some colored cord to make it pop and your drinks will be happier than ever! Keep reading for all the details!
Materials
- Macrame Cord
- Scissors
- Comb
Instructions
- Start by cutting the following cord lengths:
1- 11 ft
5- 4.3 ft (cut a mix of all the colors)
6- 3.3 ft (cut a mix of all the colors)
6- 2.6 ft (cut a mix of all the colors) - Fold one of the 4.3 ft cords (A) in half. Attach the other 4.3 ft cords on cord A using larks head knots.
- Fold the 11 ft cord in half, with one side matching the length of the folded 4.3 ft cords (B) and the other side being longer. Attach it to cord A with a larks head knot and the long cord (C) on the end.
- Pull the ends of cord A through the loop on the other end and tighten.
- Using the B cord next to cord C, make a double half hitch knot around cord B. Move to the next B cord and make another double half hitch knot around cord C. Continue making knots around the circle.
- When you see gaps between B cords, and to create a design with colors, add in the shorter cords by making reverse larks head knots around cord C, starting with the 3.3 ft length cords and adding the 2.6 ft length cords later in the process.
- Continue making double half hitch knots, adding in cords when there are gaps.
- When your coaster is the desired size, cut the cord ends to the desired length (we did about an inch).
- Brush them out with a comb, and trim as needed.
Notes
1. After step 4, use push pins to secure the inner circle to a pillow before completing additional knots.
2. Place the finished coasters under a heavy object for a day or so after making to help them flatten out.
Recommended Products
As an Amazon Associate and member of other affiliate programs, I earn from qualifying purchases.


Happy making!
-Liz
SAVE THIS POST FOR LATER!