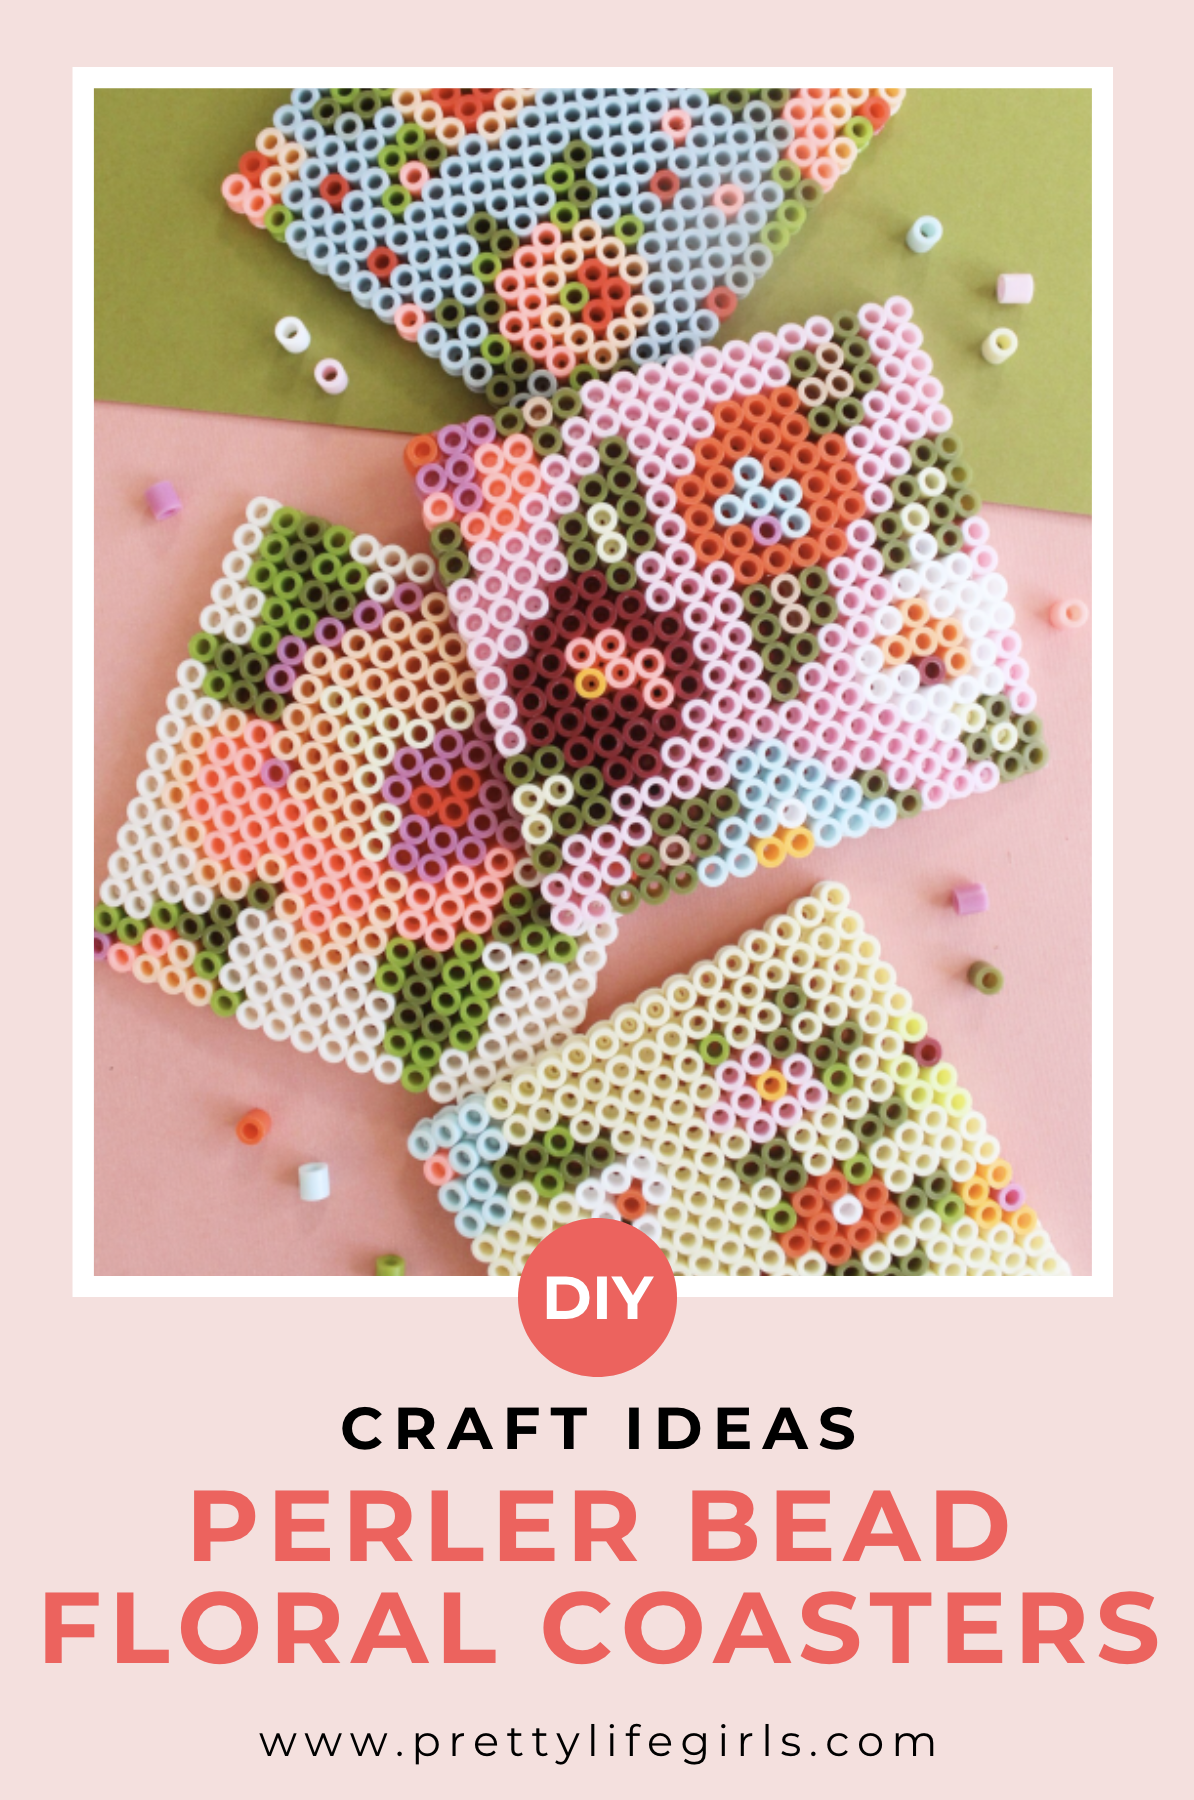
Learn how to make gorgeous floral DIY Perler bead coasters with this simple tutorial! This project will change the way you see this iconic children’s craft.
DIY Perler Bead Floral Coaster Tutorial
It’s so nostalgic to play with Perler beads–digging around for just the right color, carefully placing them on the pegs, and then, the satisfaction of ironing them and peeling back your creations. That feeling of making something tangible from a bucket of loose beads is magical!
And since we always have a big bucket of Perlers lying around at any given time, we decided to tap into our inner child and make something with them that’s a bit more adult. After scrolling Pinterest for some inpso, we decided we wanted to try making a gorgeous floral print with these familiar melty beads.
Can Perler beads be used as coasters?
We’ve made charm bracelets from Perler beads and even added them to salt dough creations. But Perler beads aren’t just for kids and with the right inspo they can be works of art, like with these floral coasters.
How do you make a Perler coaster?
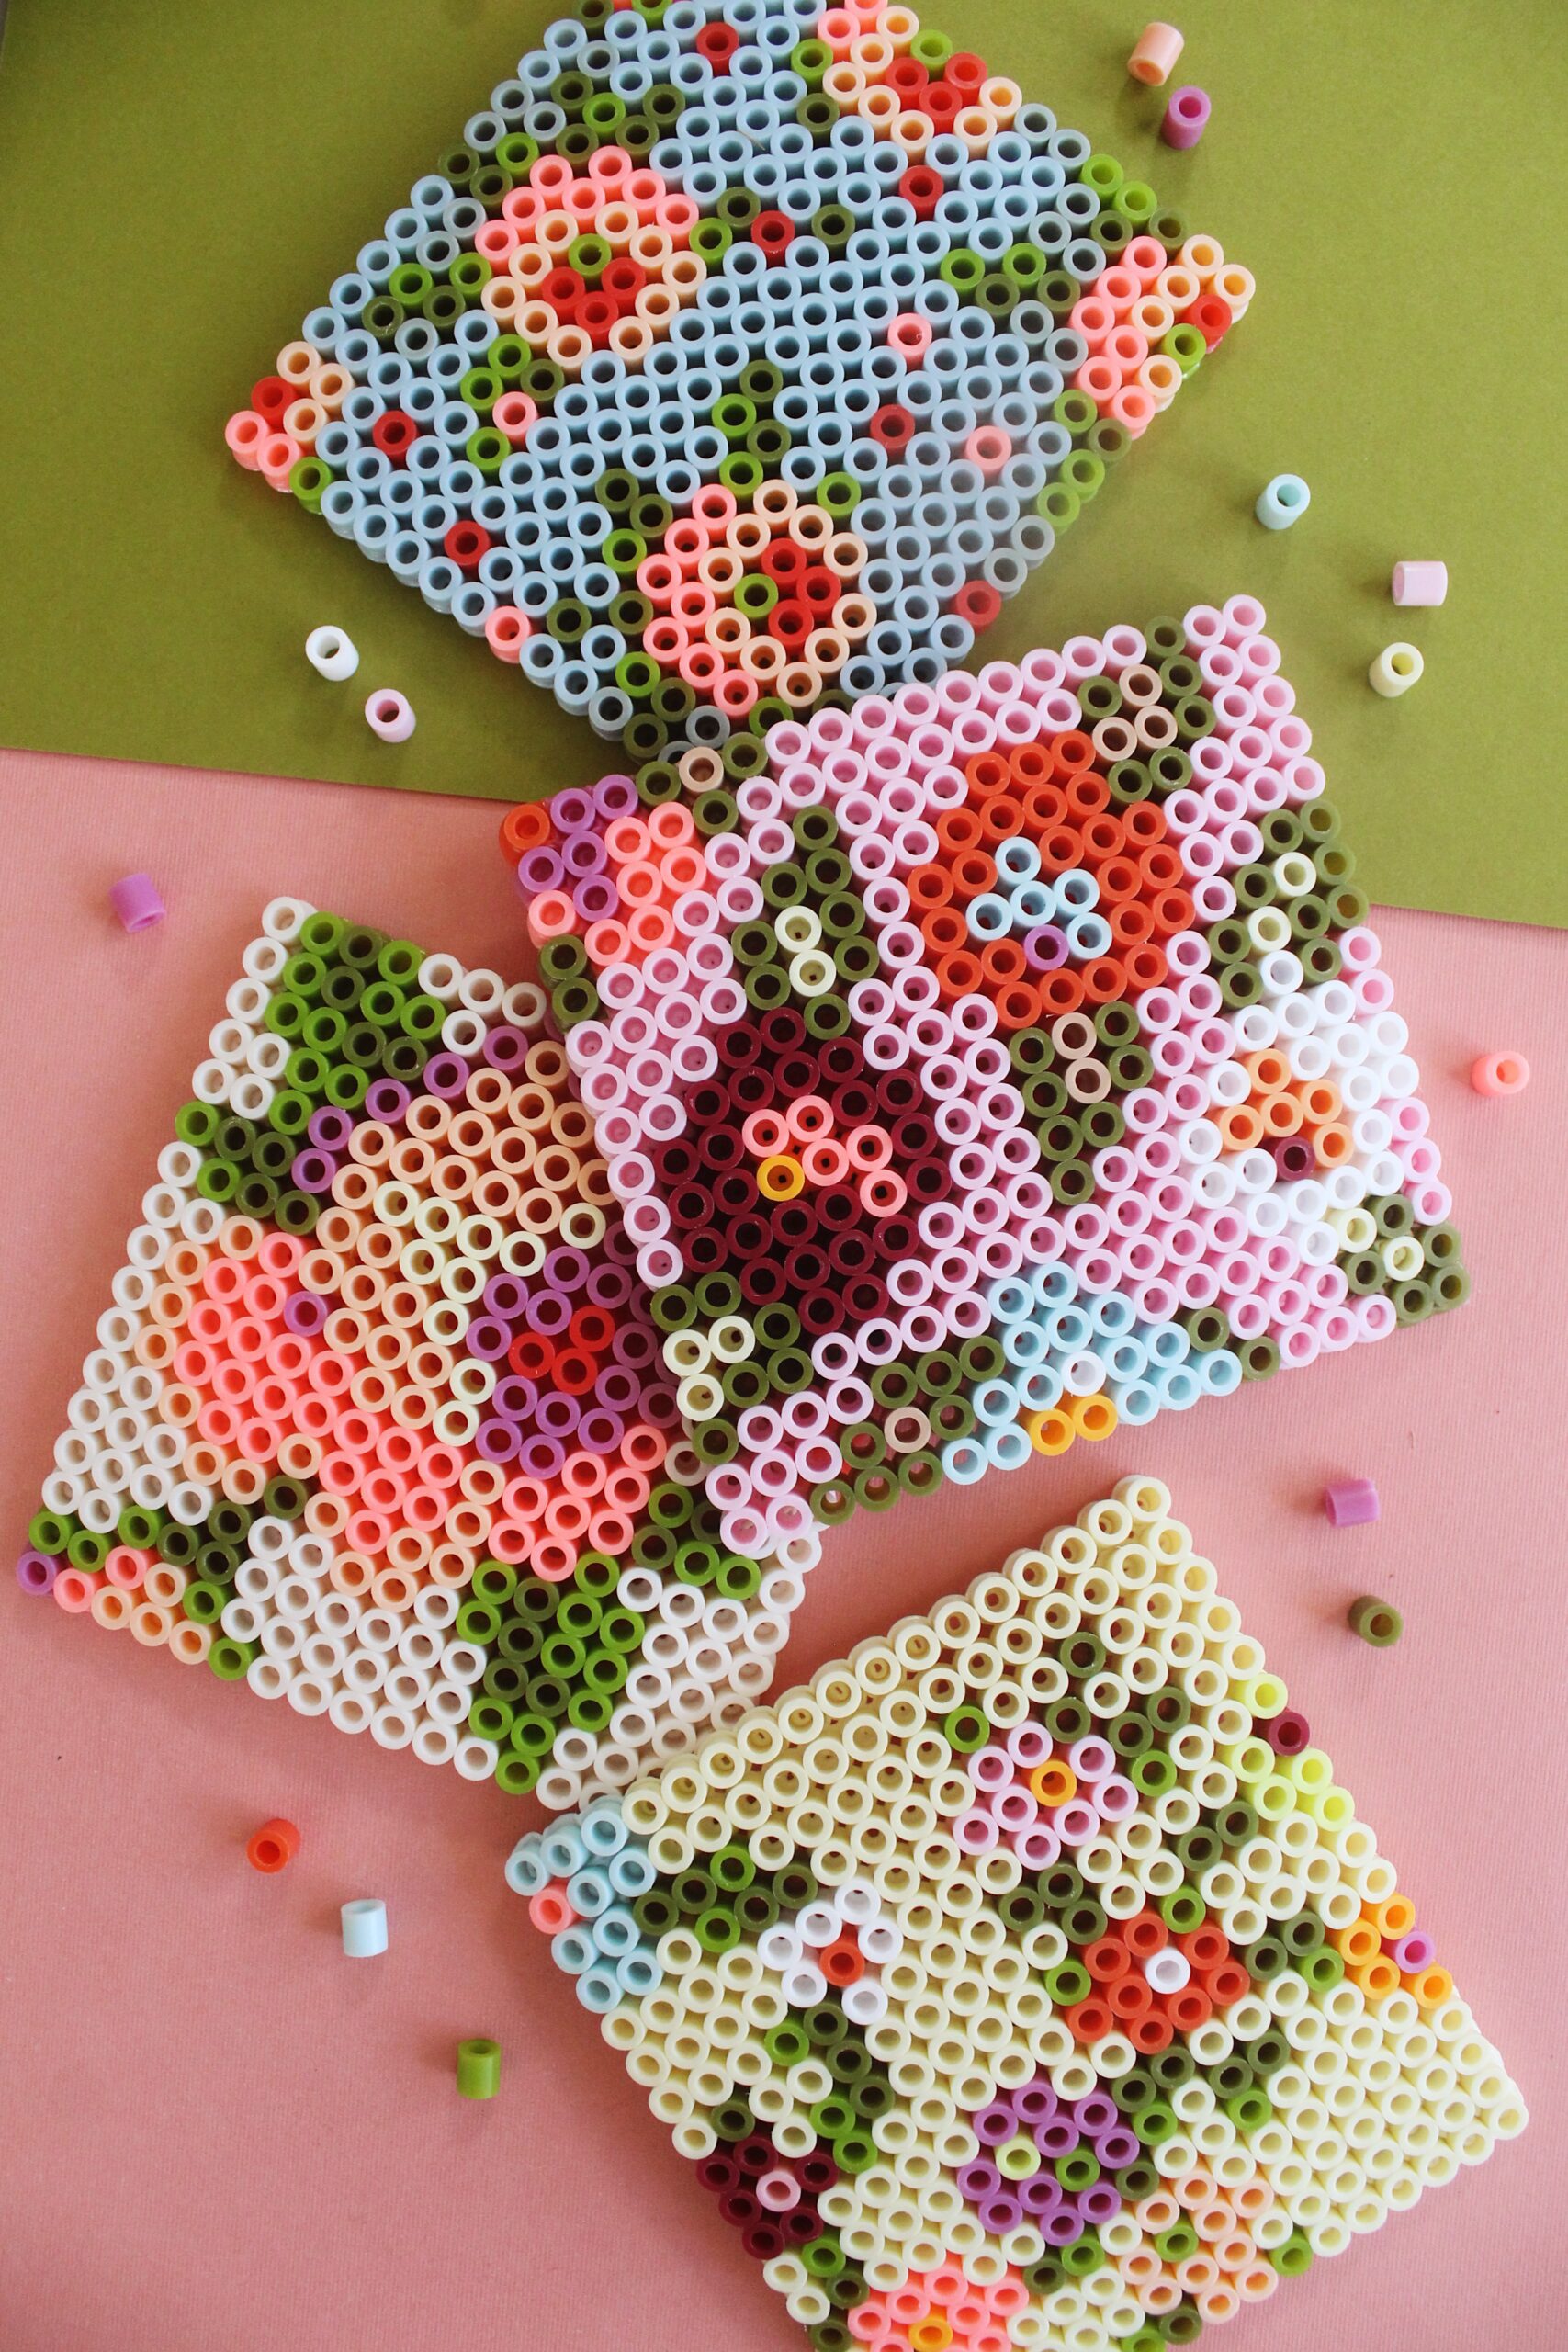
The key to success with this project is to follow a pattern. We used a free floral cross stitch pattern we found on Pinterest as a guide, but any image that is mapped in a grid will work.
Make sure you have a tray that has the number of rows that you need prior to beginning and that the shape of the plate matches the pattern you are using (i.e. a circle or heart plate won’t work for a square pattern.)
What beads are best to use for coasters?
To elevate this project a bit from a kid’s craft, choose a stylish color pallette! We love this kit and are so inspired by the colors. However, you can use the standard primary colored beads that you’ll get at Ikea, etc. and still have gorgeous results!
Supplies needed for Floral DIY Perler Bead Coasters
- Perler Beads (we used this tropical kit)
- Perler Bead Trays and Ironing Paper
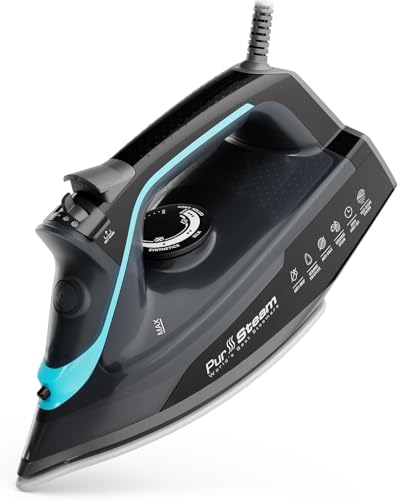
- Iron
Step-by-Step Tutorial for Floral DIY Perler Bead Coasters
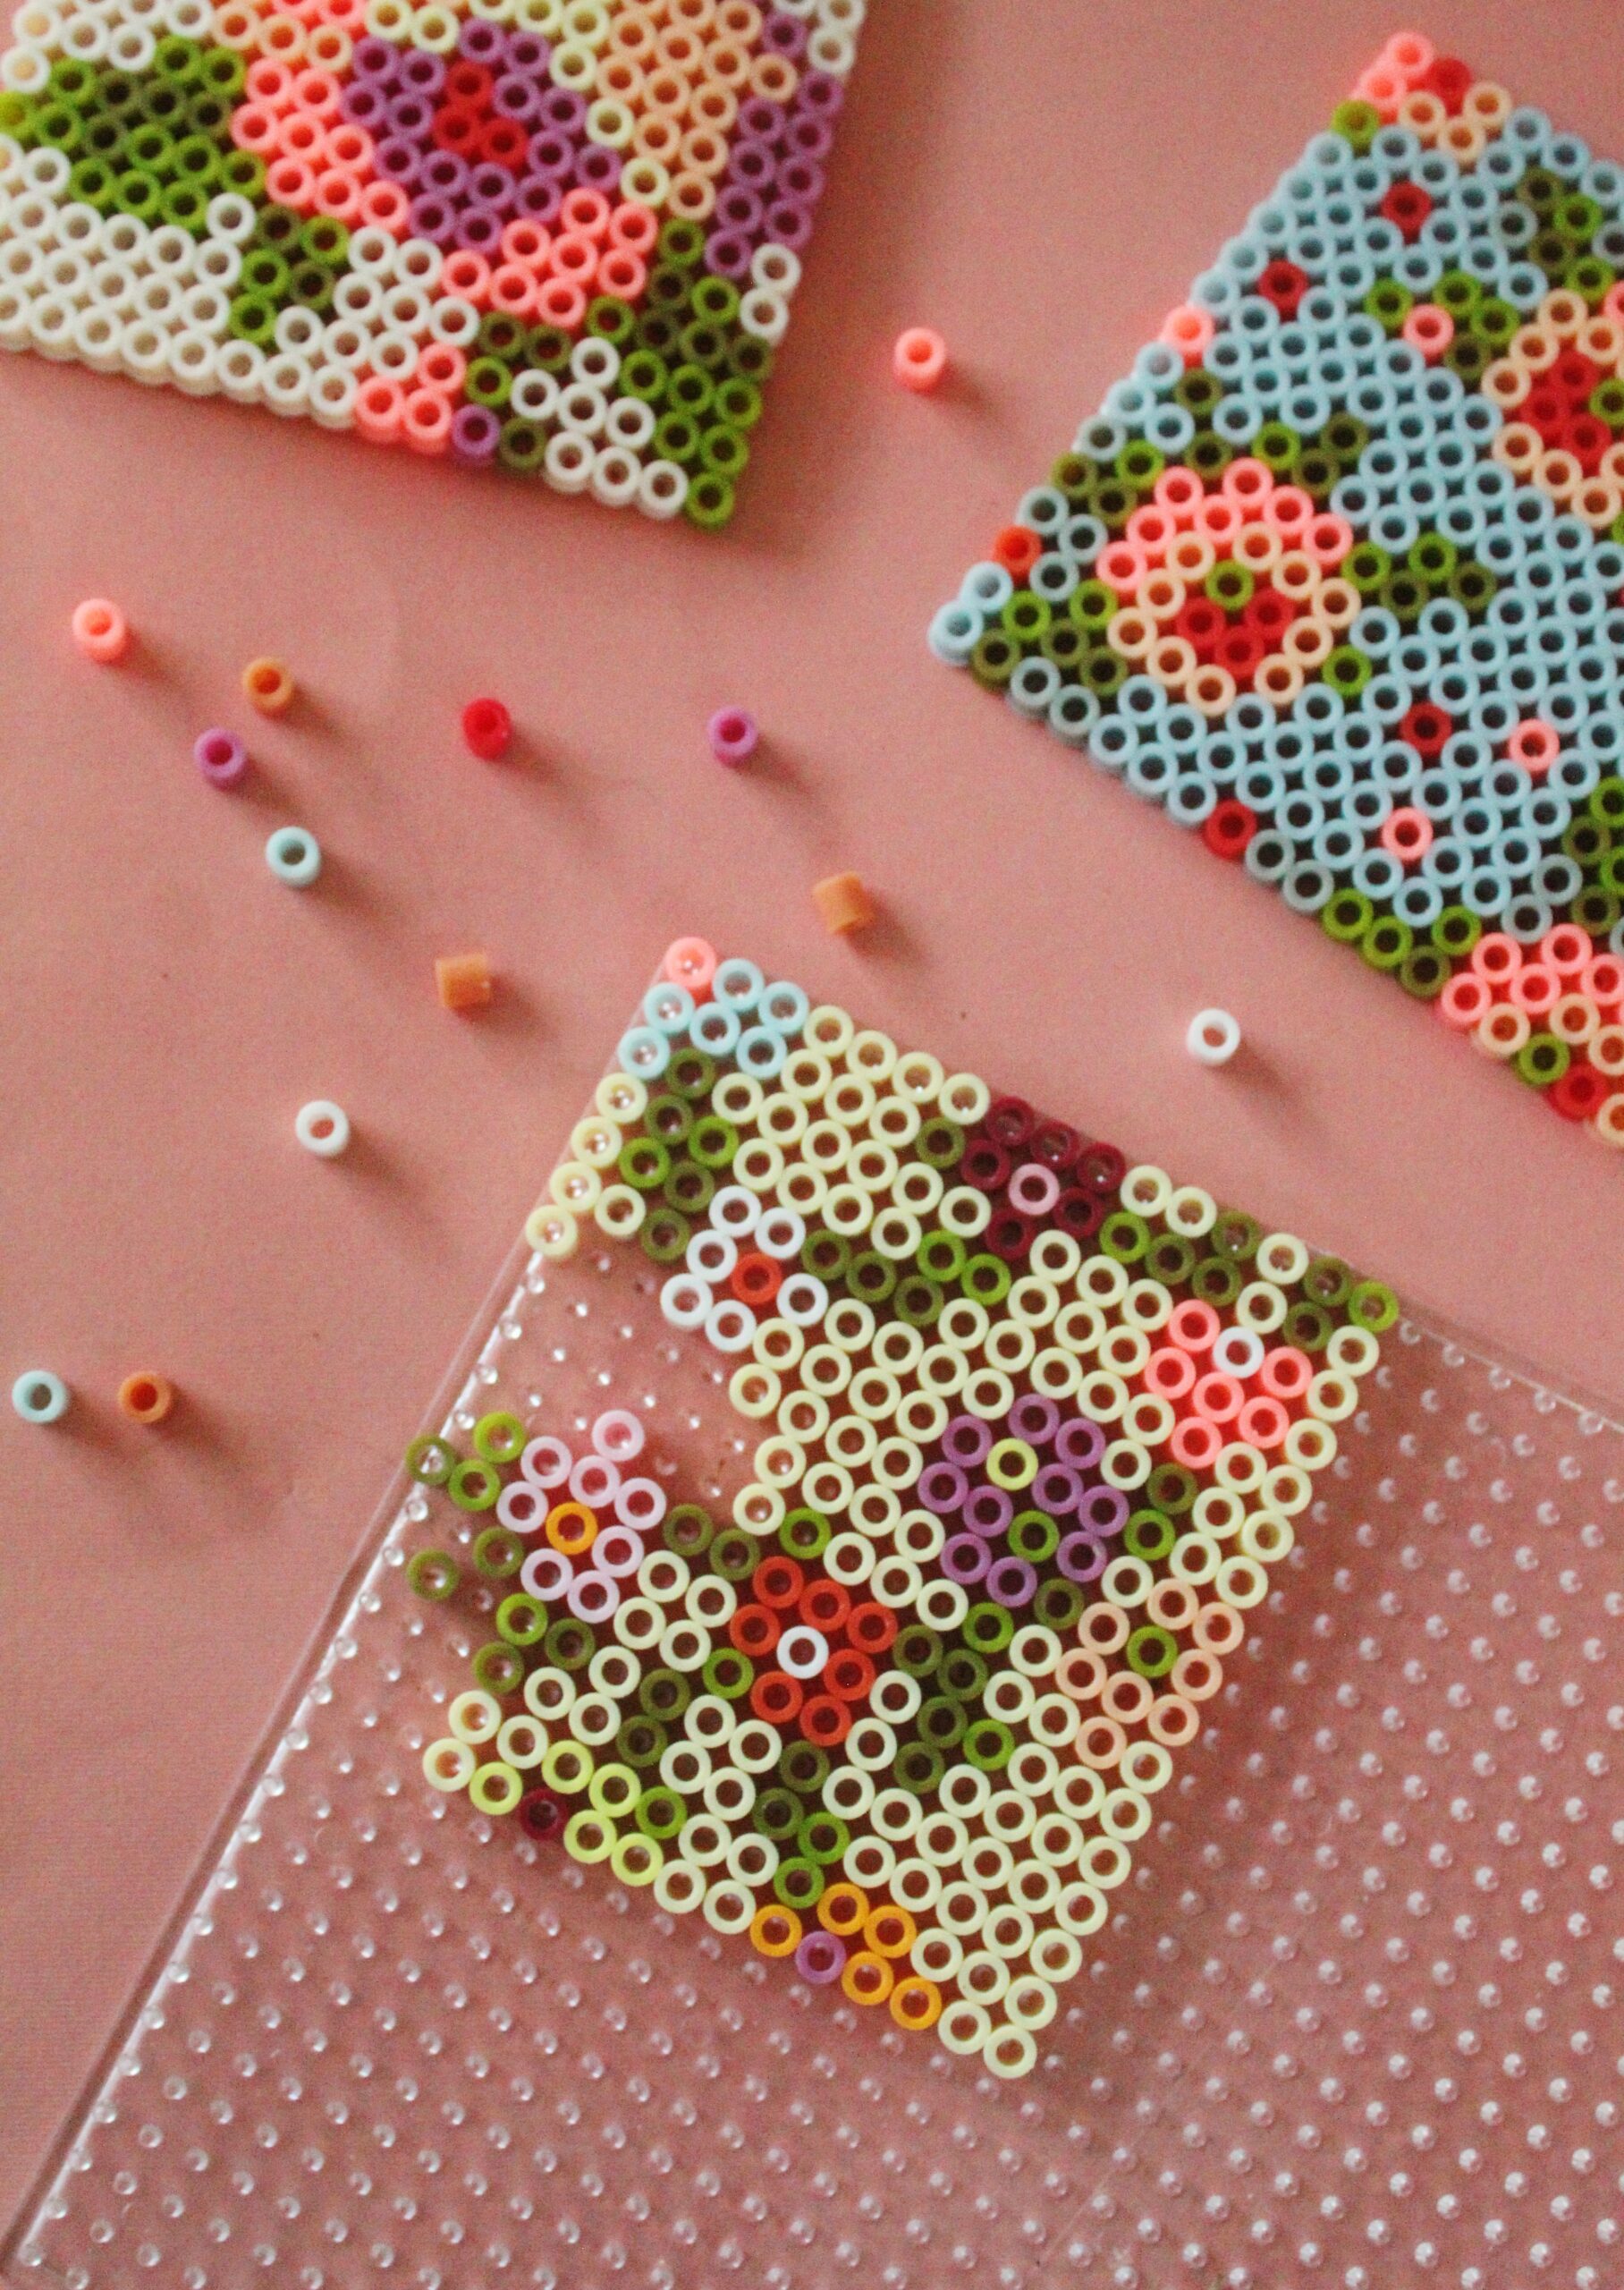
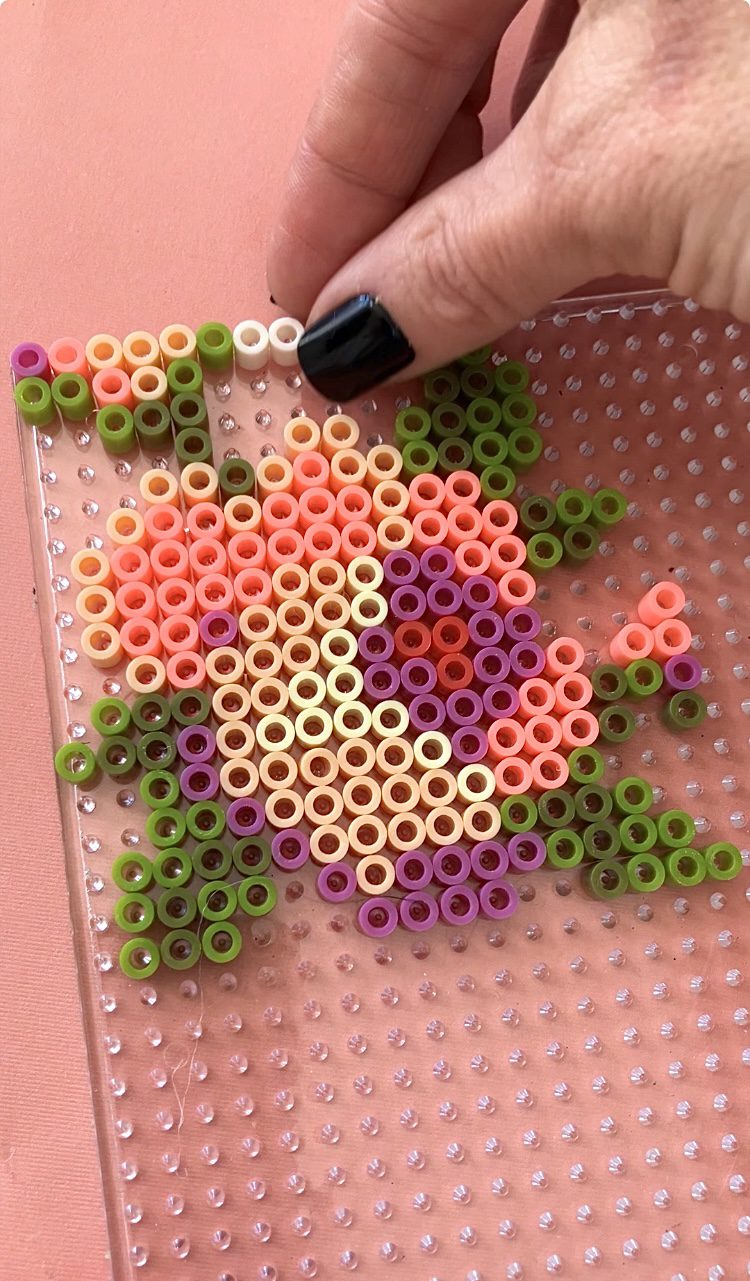
Step 1. Find a grid pattern to help guide you as you go. Something like this, this, or this would work well. We started with one flower on some of the coasters and then repeated the pattern.
Step 2. Working row by row, follow the pattern and use the colors you desire to fill out the design.
Step 3. Once you have completed the design, cover it with ironing paper and melt according to package directions.
Step 4. Let the coasters cool completely then remove them from the tray and enjoy!
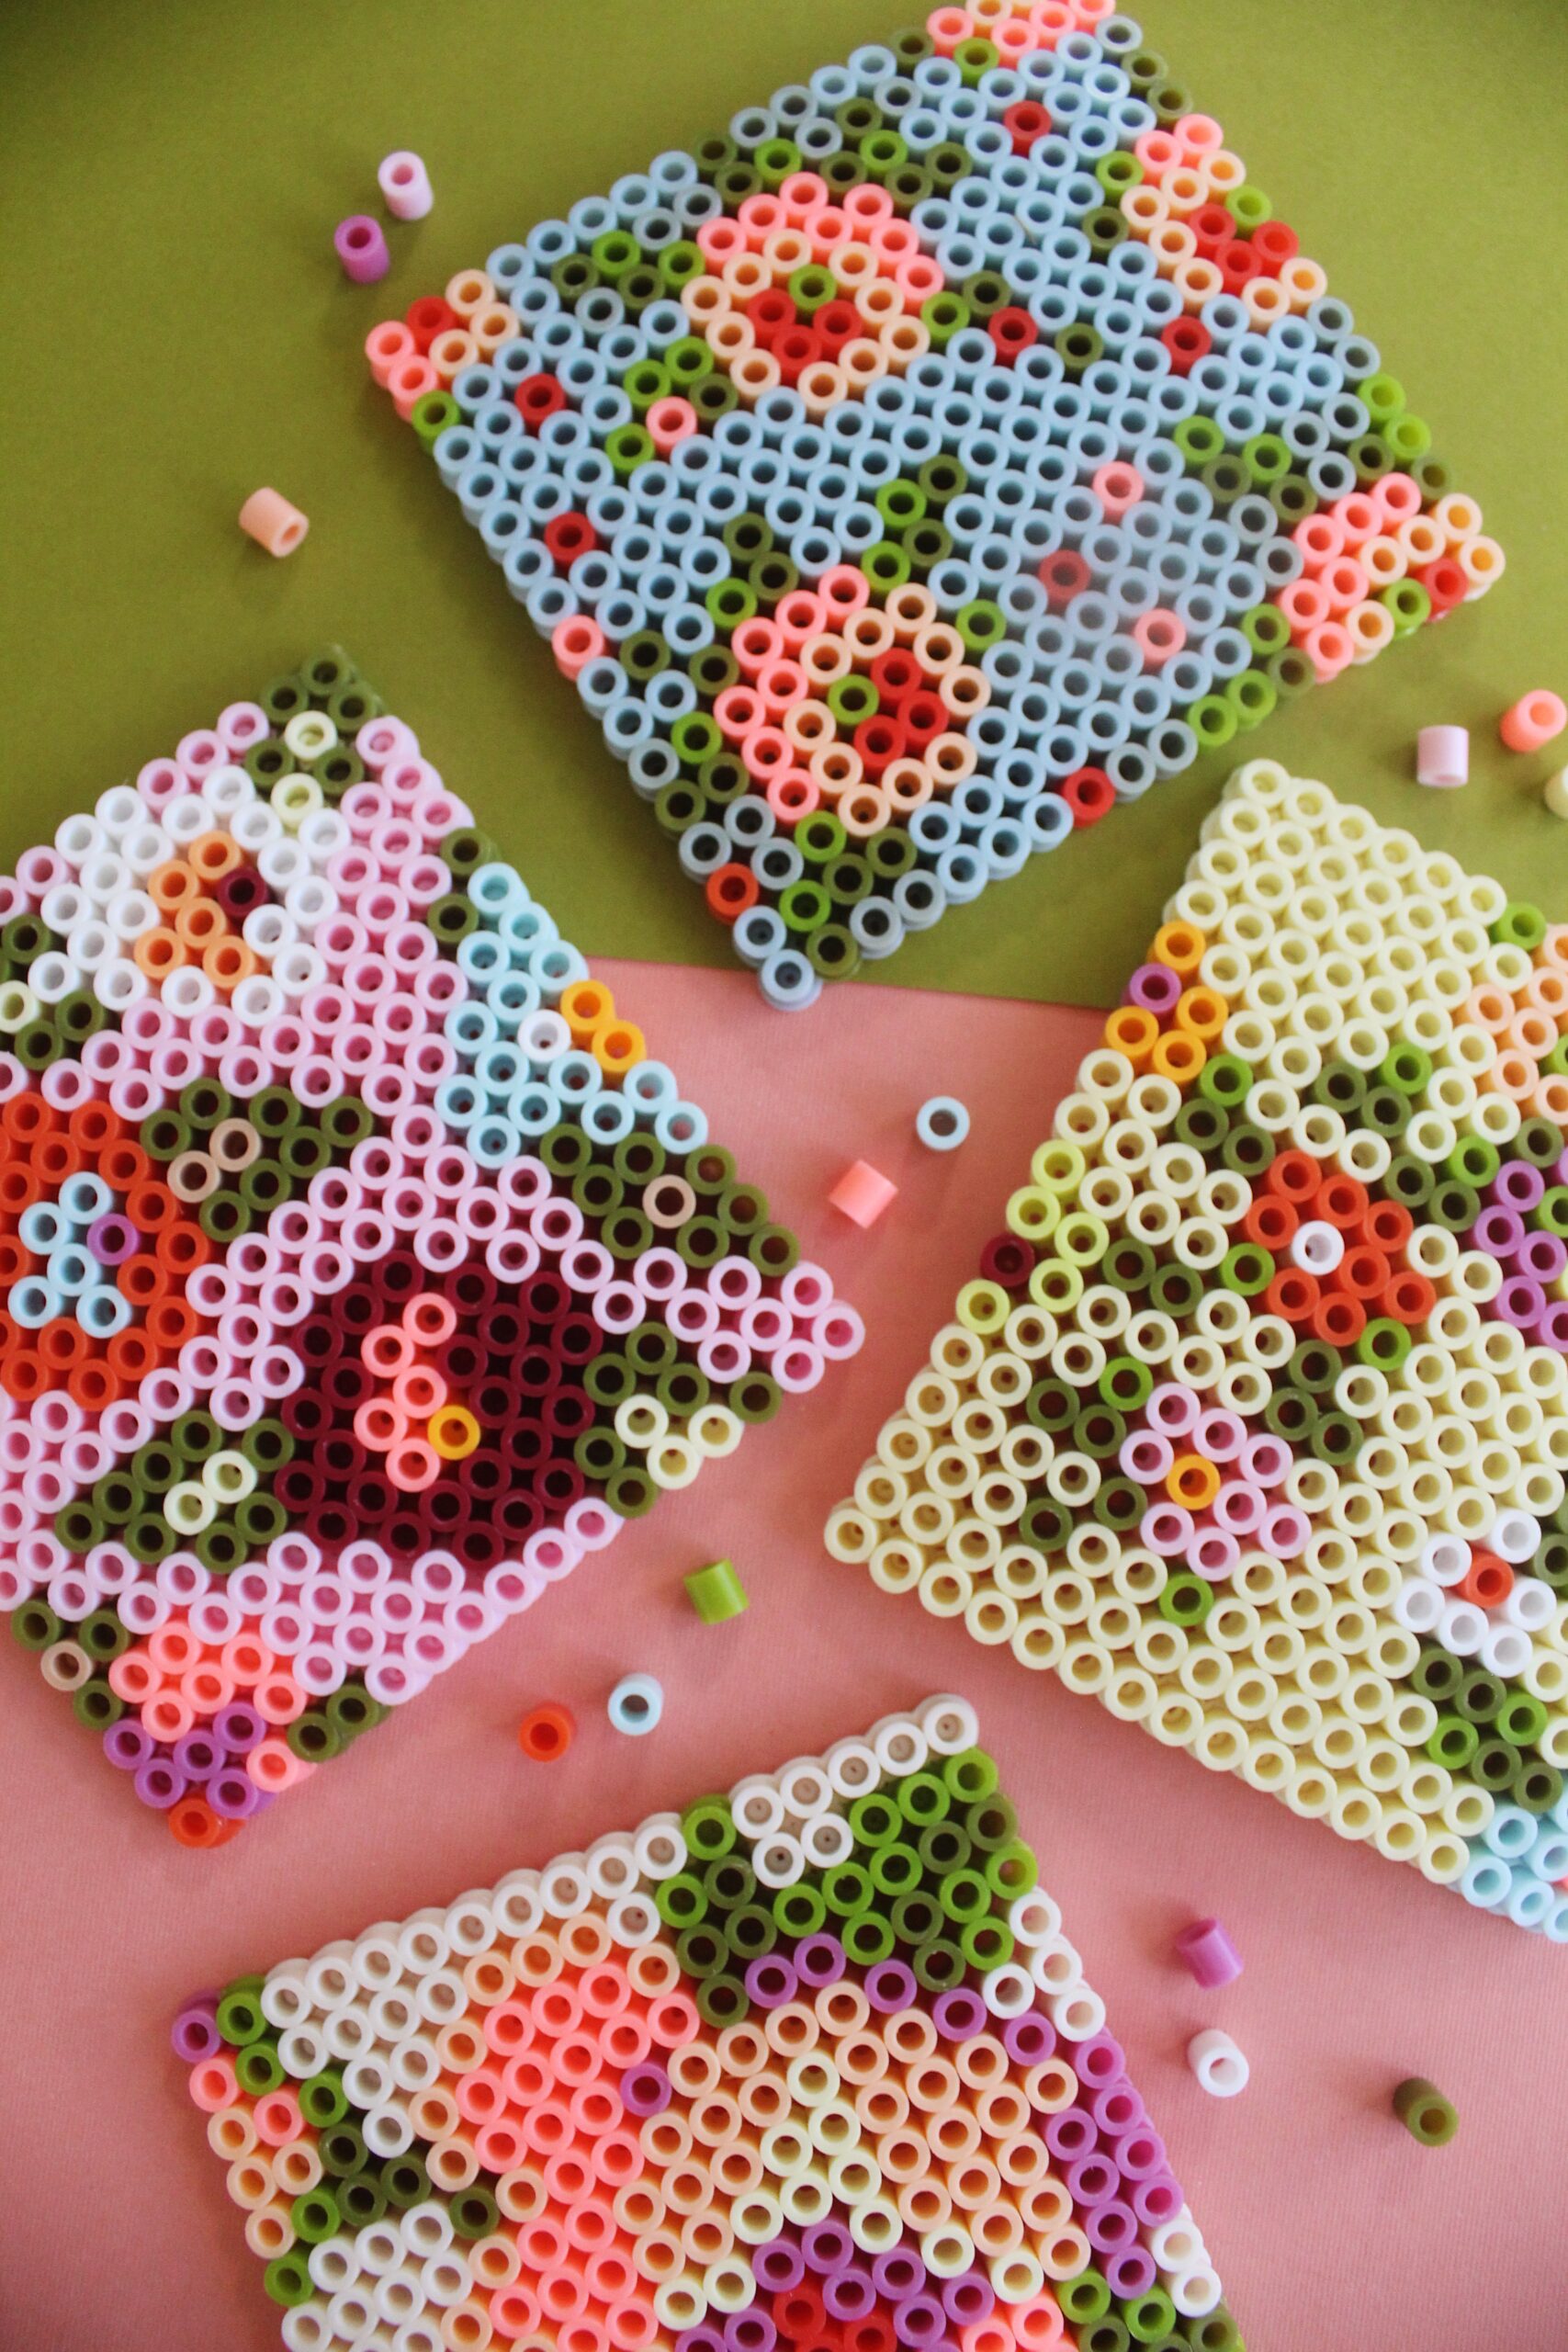
So much fun and just think of the possibilities! Now I want to make all the beautiful coasters to fit different holidays and decor! They’d be perfect for outdoor dining, too!
Floral DIY Perler Bead Coasters

Learn how to make gorgeous floral DIY Perler bead coasters with this
simple tutorial! This project will change the way you see the iconic
children’s craft.
Materials
- Perler Beads
- Perler Bead Trays and Ironing Paper
- Iron
Instructions
- Find a grid pattern to help guide you as you go. Something like this, this, or this would work well. We started with one flower on some of the coasters and then repeated the pattern.
- Working row by row, follow the pattern and use the colors you desire to fill out the design.
- Once you have completed the design, cover it with ironing paper and melt according to package directions.
- Let the coasters cool completely then remove them from the tray and enjoy!
Recommended Products
As an Amazon Associate and member of other affiliate programs, I earn from qualifying purchases.
-
 Perler Tropical Colors Fuse Bead Tray for Crafts, 4000pcs
 -
Perler Beads Assorted Small and Large Pegboards for Kid's Crafts - (5) clear Perler pegboards, (1) sheet of reusable ironing paper, 6 pcs
-
PurSteam Steam Iron for Clothes 1700W with Self-Cleaning Nonstick Stainless Steel Soleplate, Auto Shutoff, Anti-Drip


Happy Making!
ox. Liz and Sam
SAVE THIS POST FOR LATER!