


This post was originally published May 2020 and updated as of April 2023.
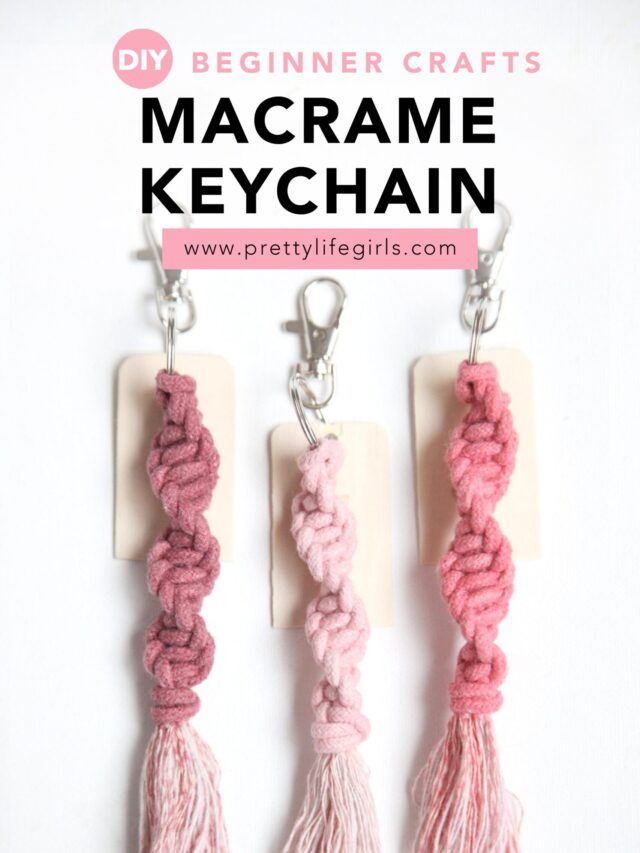
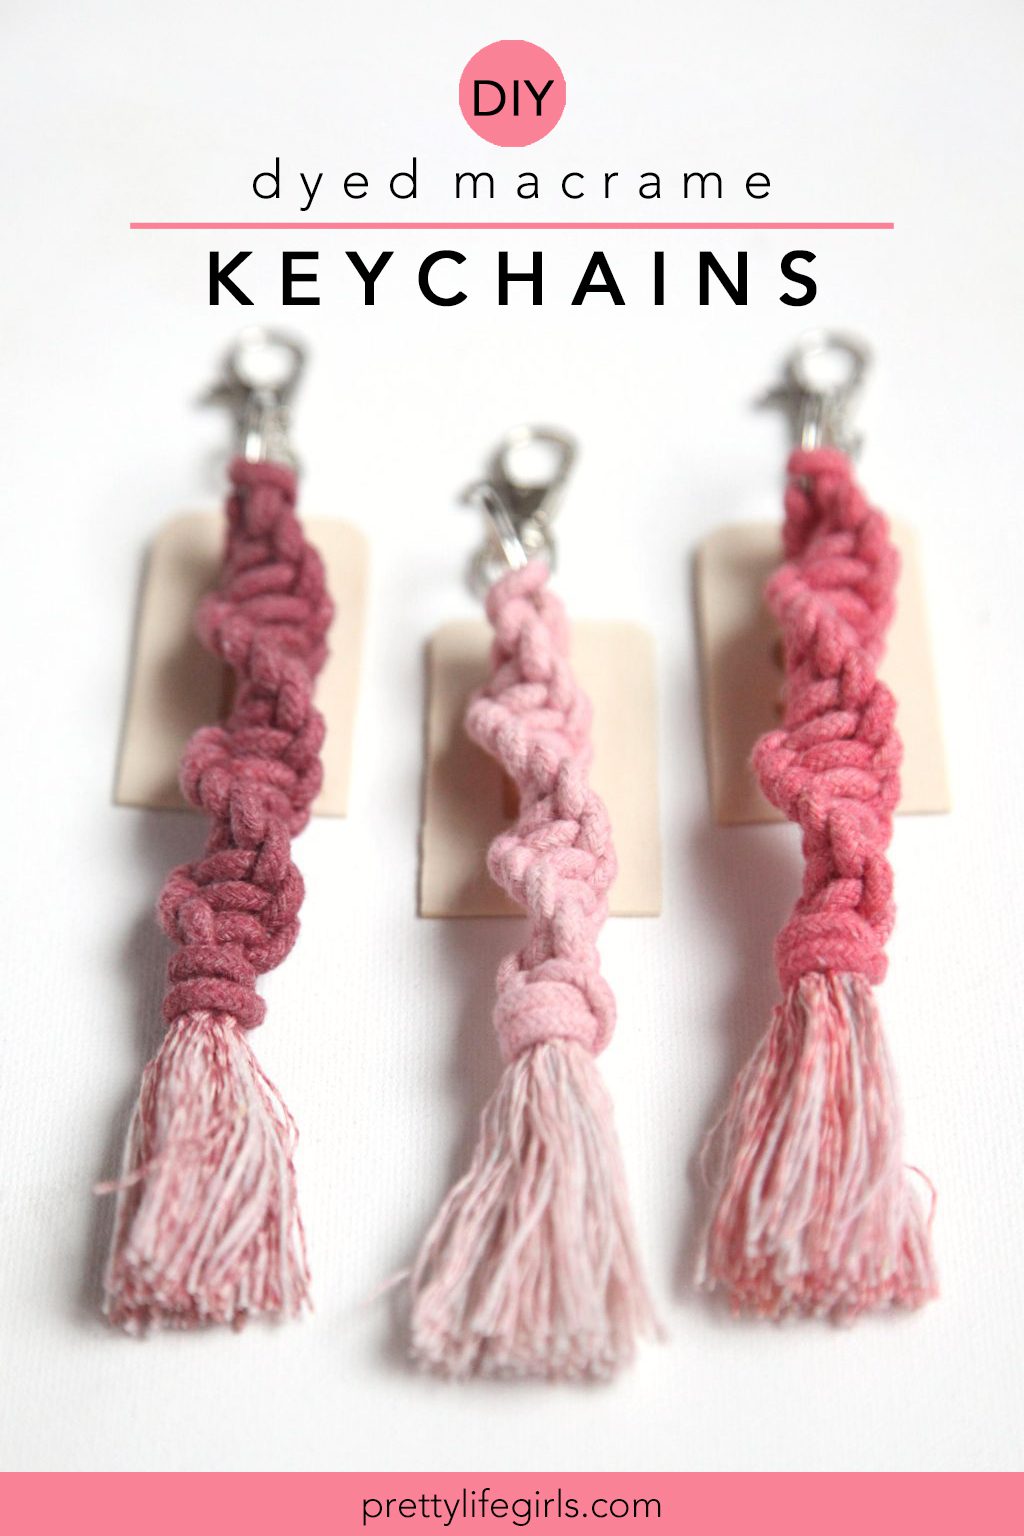
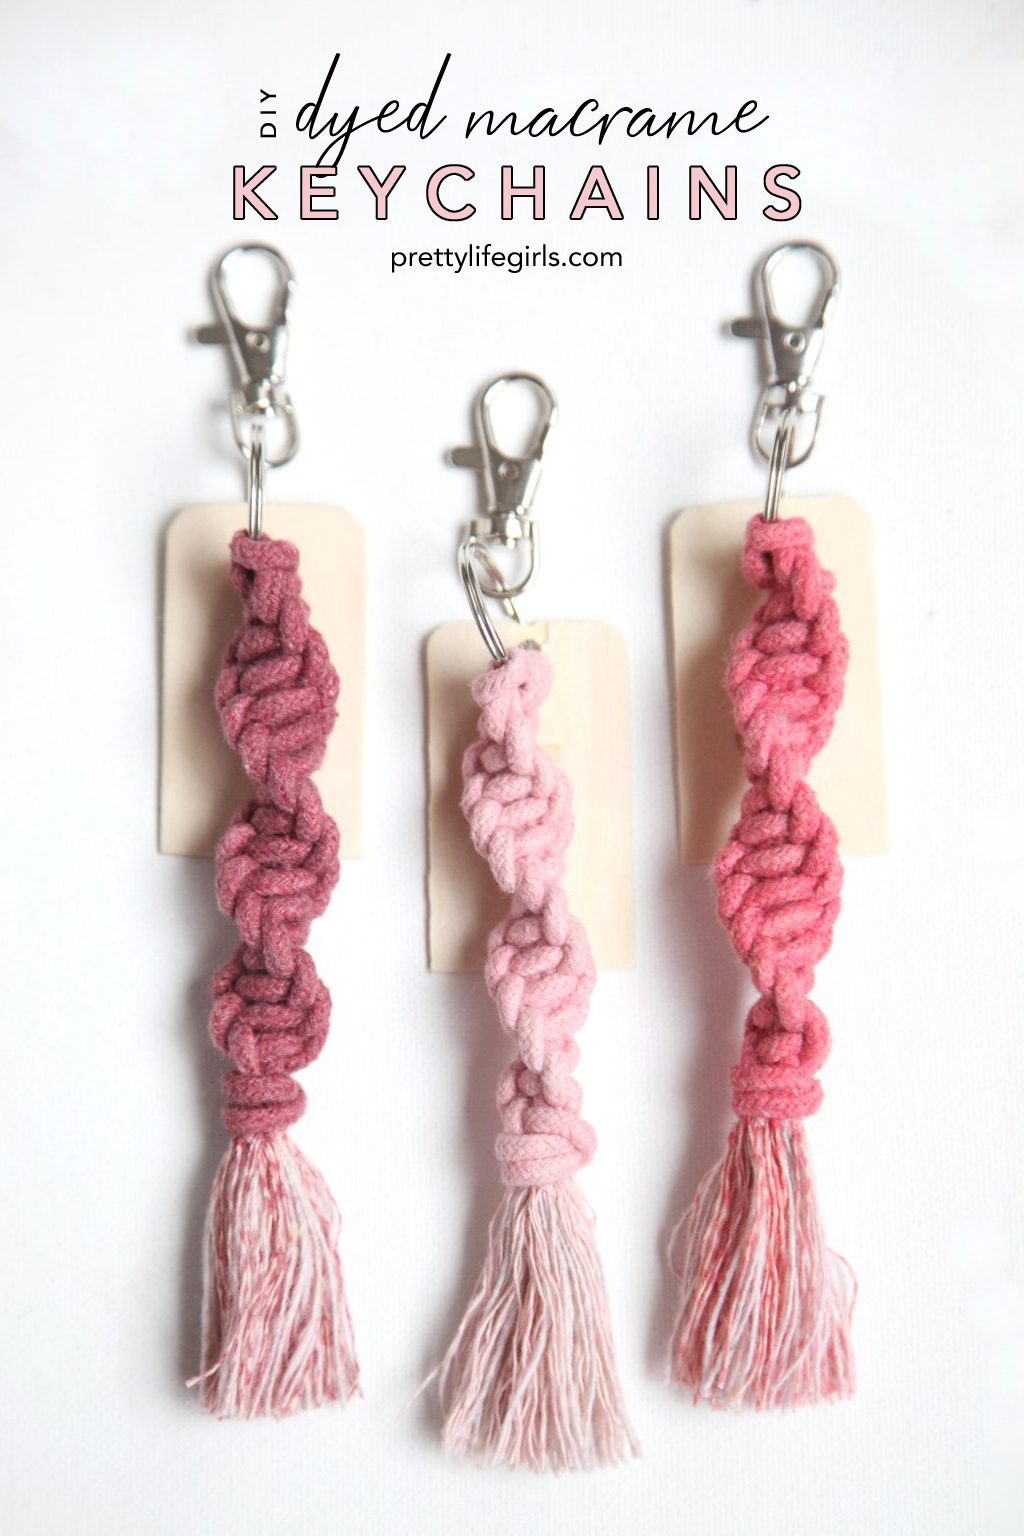
It’s the perfect time to try out a simple macrame craft, and this personalized DIY Macrame Keychain Tutorial walks you through the perfect beginner project!
DIY Macrame Keychain Tutorial
We are big fans of macrame crafts (check out these Christmas ornaments and wind chimes) because we feel like making projects out of macrame can really connect you to your younger self where you might have made friendship bracelets at camp or during a lazy summer day. Lots of the knots and techniques used to make things out of macrame are the same or similar to those of friendship bracelets or lanyards but the results are a bit more chic and adult!
So, since the weather is starting to warm up, it’s the perfect time to tap into your inner-friendship-bracelet-maker and try out a simple macrame craft to get your feet wet in the method, and our personalized macrame key chains are just the thing! Keep reading for the tutorial!
What do you need for a macrame keychain?
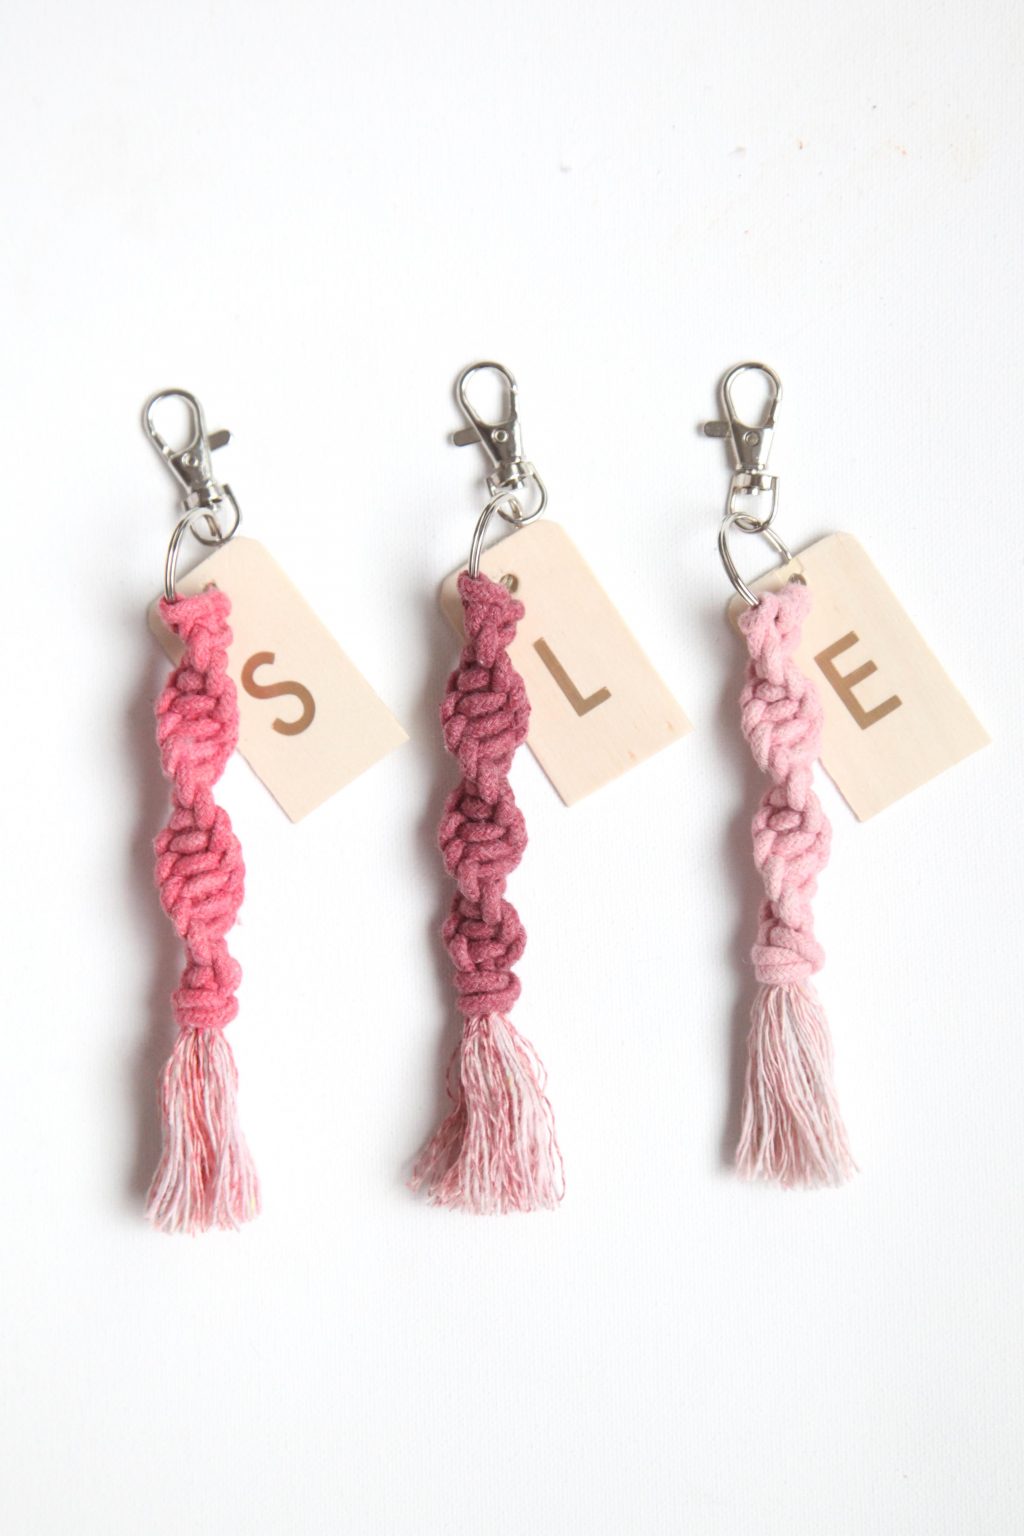
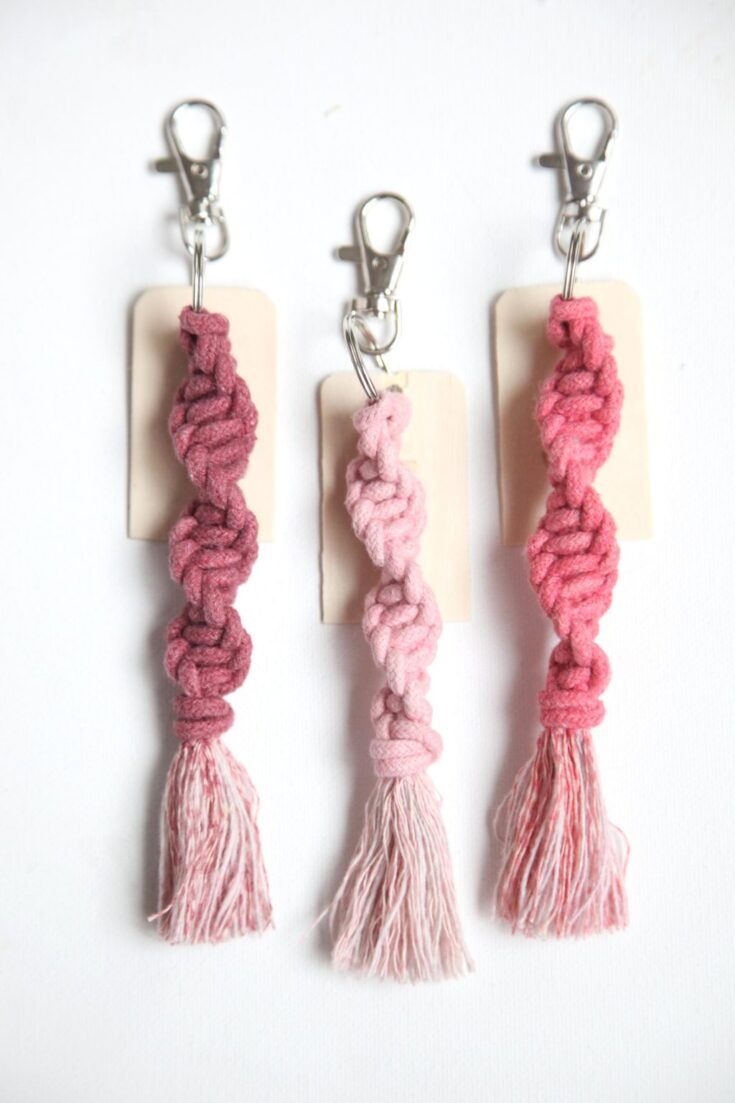
The beauty of this project is that you really only need two supplies – macrame cord and a keychain ring or clasp. In this tutorial we dye the cord and add a monogram tag, which adds a couple more supplies, but you can omit those if you’re planning on making the basic macrame keychain.
How do you make a wooden name tag?
There are lots of ways to personalize a wood name tag – from vinyl, to stenciling, to engraving. The xTool M1 Laser & Blade Cutting Machine make all of these options SO easy. With this one machine, you can engrave and cut a huge range of materials, making all your DIY dreams come true!
In this project, we used a vinyl monogram—keep reading for all the steps!
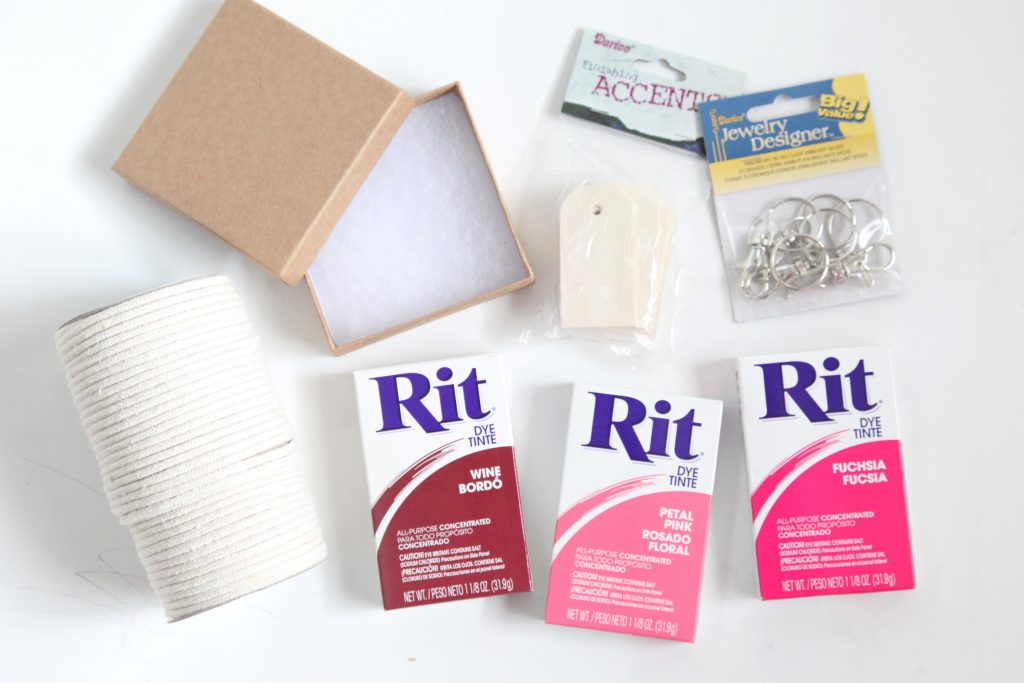
Supplies needed for this DIY Macrame Keychain Tutorial
4mm Macrame cord
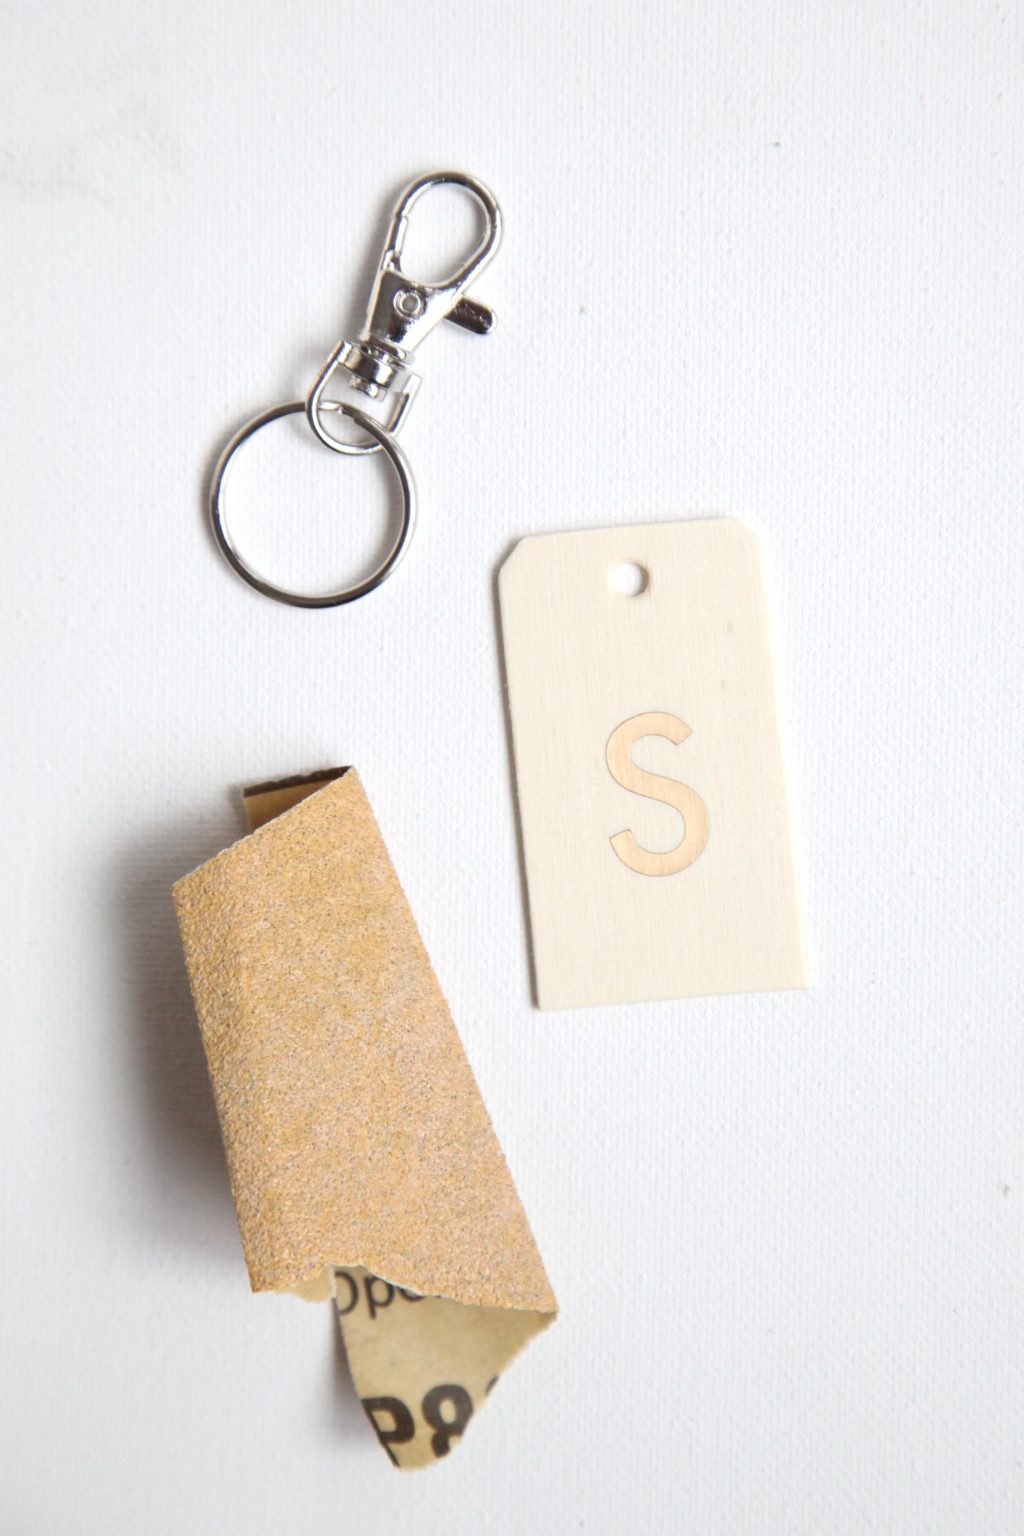
Clasp key chains
Rit dye (rose pink, fuschia, wine)
Wood tags
Vinyl or paint
How do I make a macrame keychain?
Watch the video (and be sure you subscribe to our YouTube channel), or read the steps below!
Step 1: Dye the cord
Cut six pieces of cord three feet long. Mix the dye according to the instructions, and add two pieces of cord to each color. Let it sit for an hour (or until you like how it looks), and then rinse until the water runs clear. Let the cord dry completely. 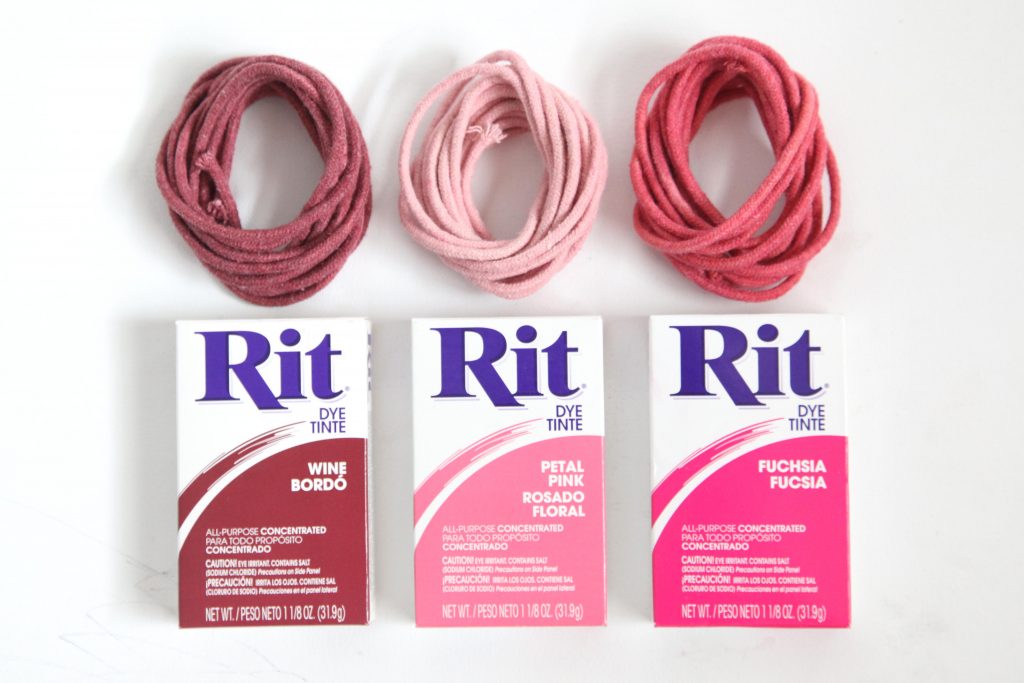
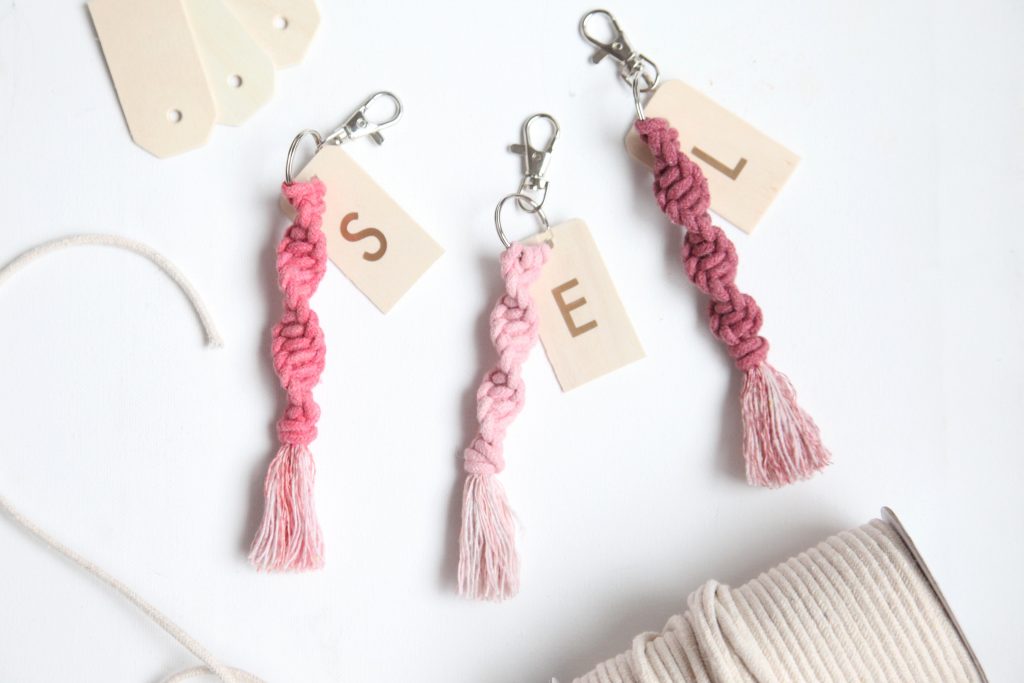
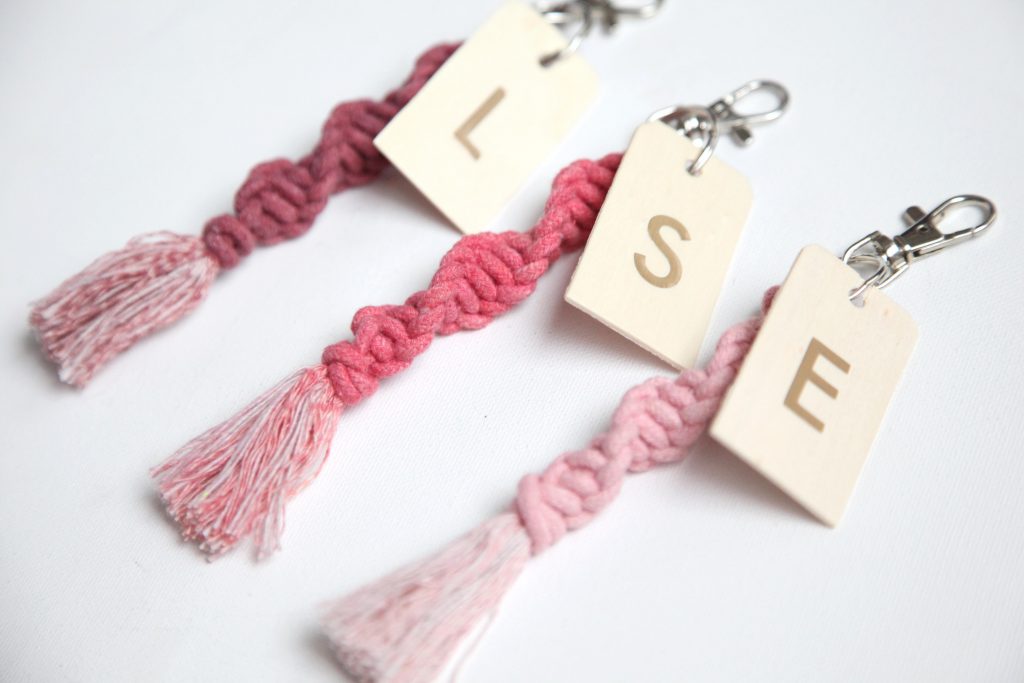
Step 2: Make the monogram tag
Add a monogram to the wood tag by cutting and applying vinyl letters or using a stencil and paint.
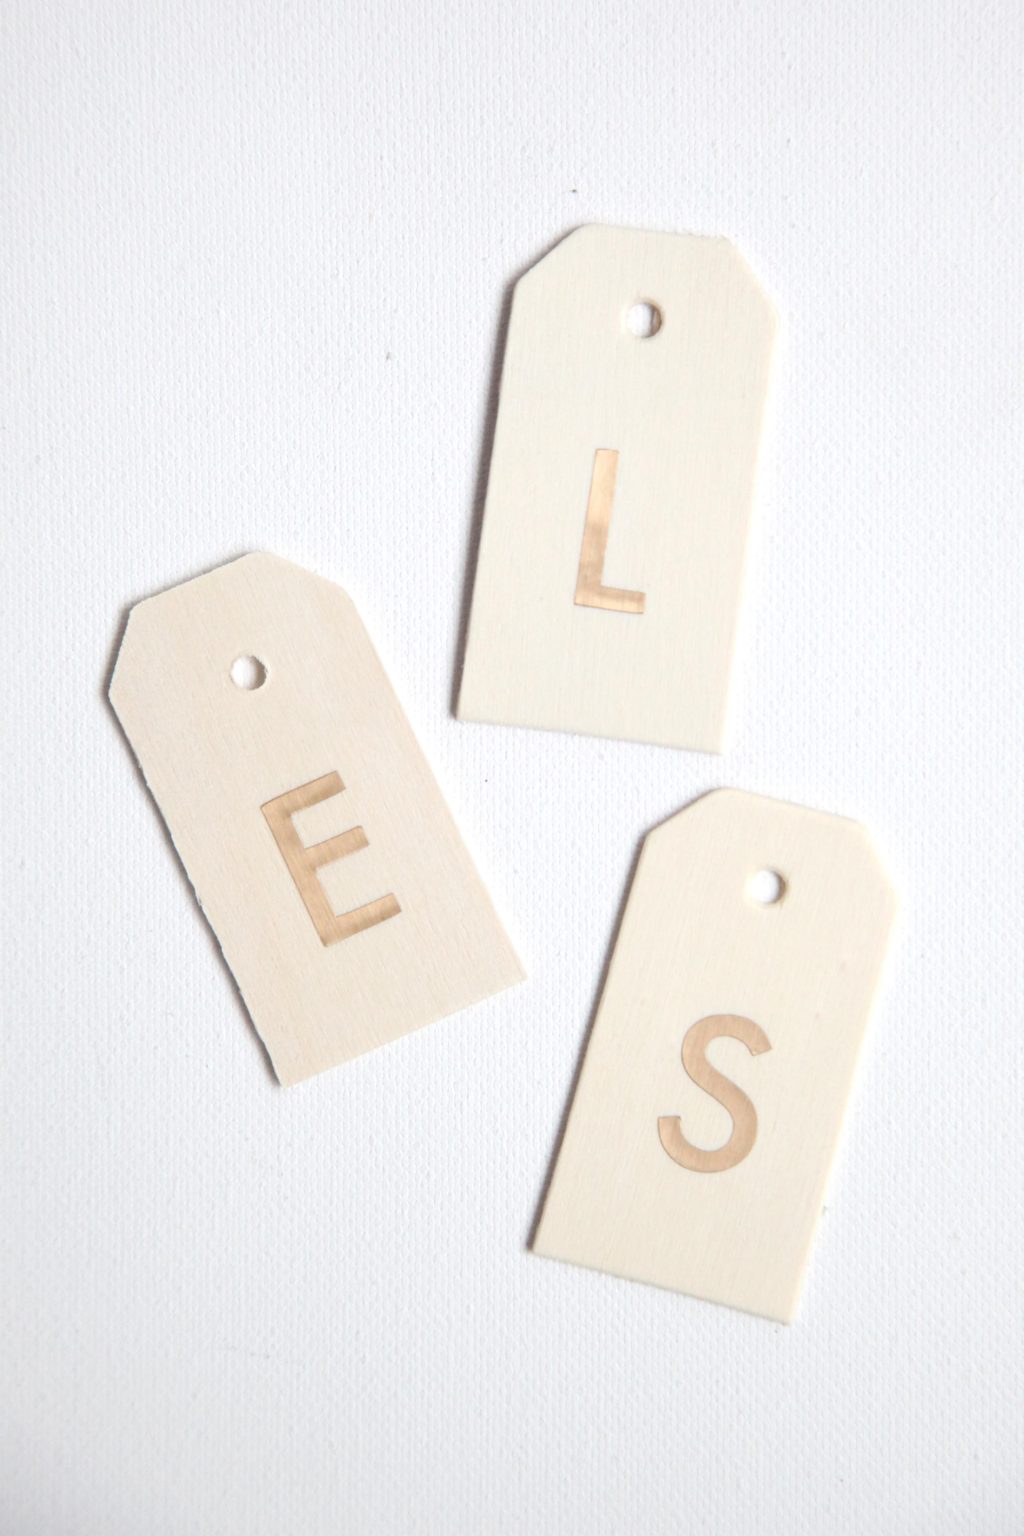
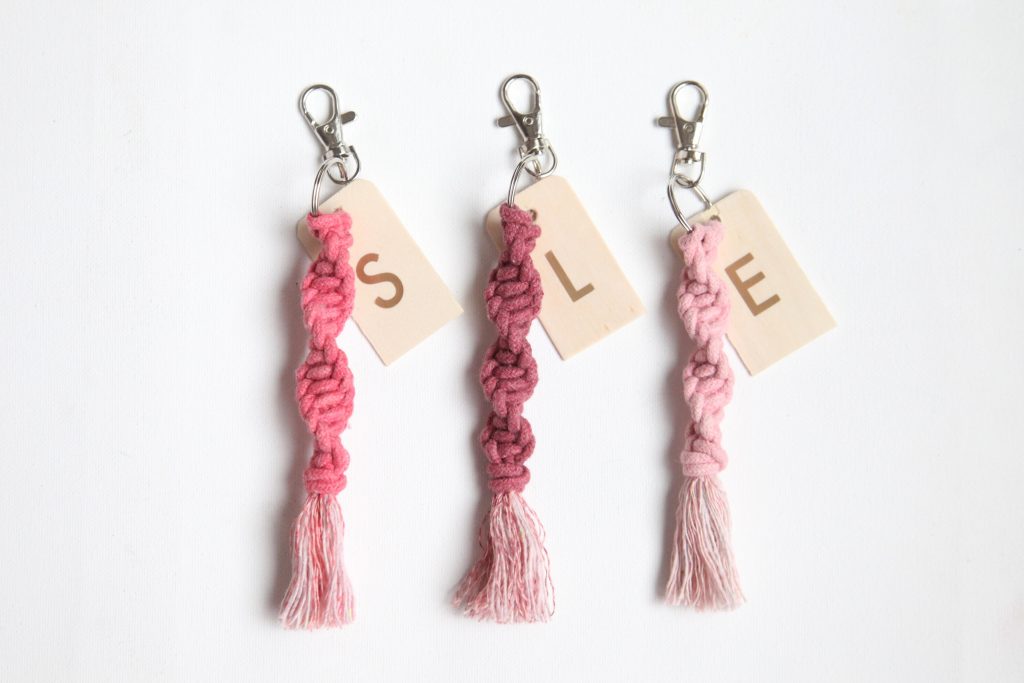
Trim down (scissors work just fine) and sand the top of the wood tag to make it easier to get on the split ring of the key chain. Put the tag on the key chain.
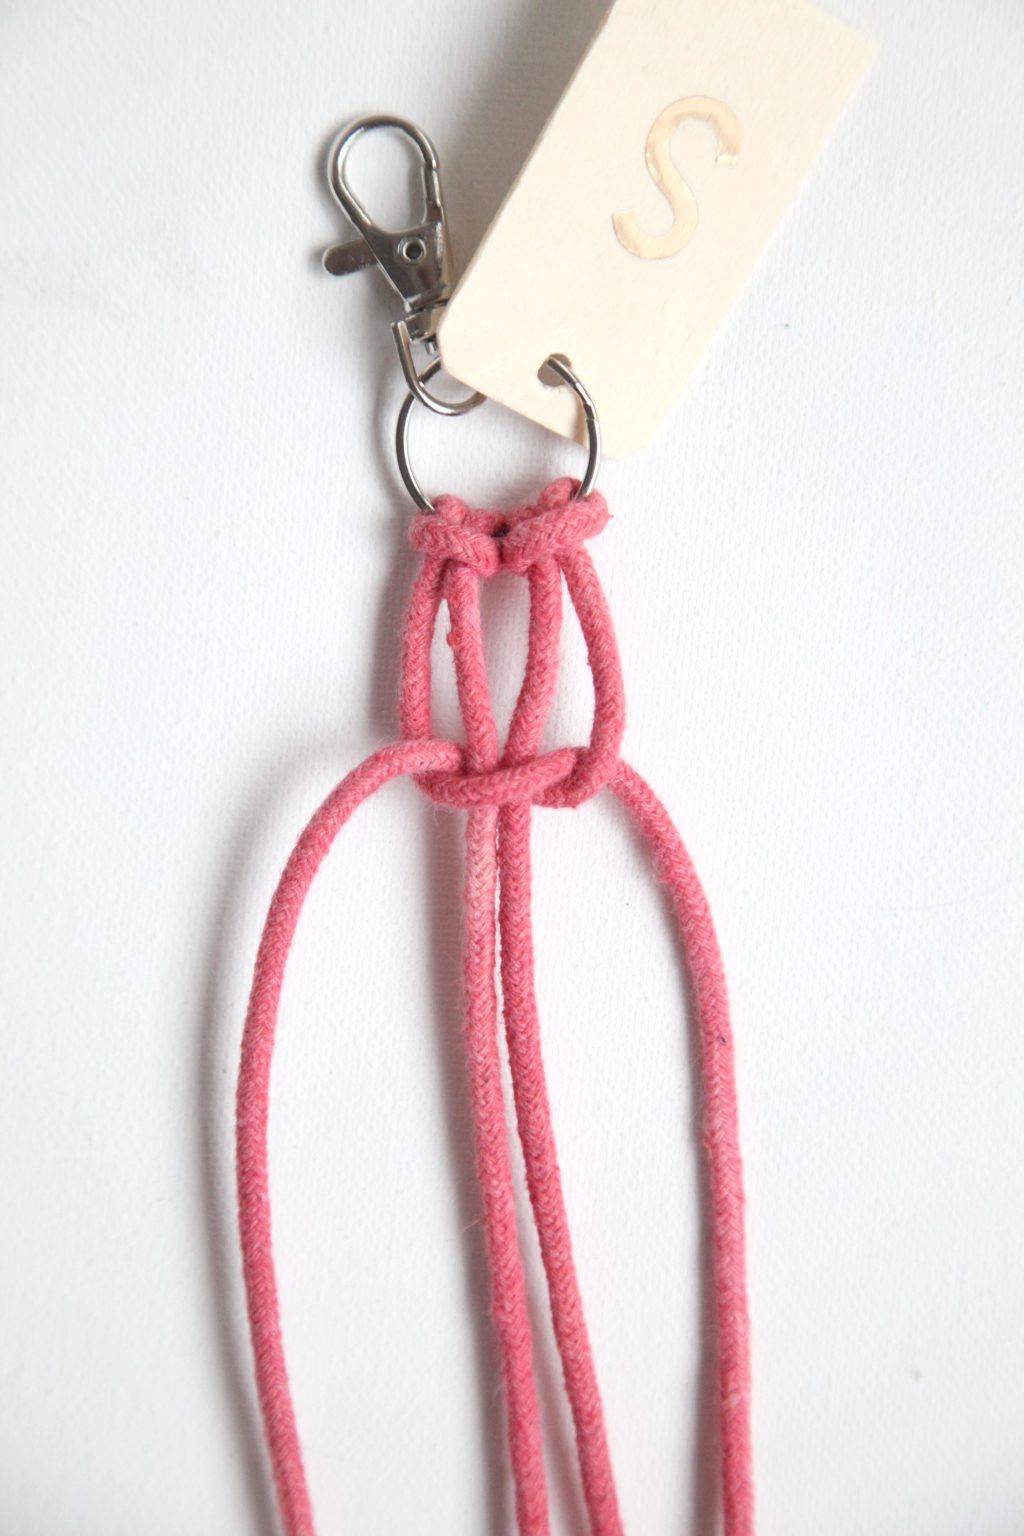
Step 3: Tie the macrame cord
Attach the first piece of macrame cord to the split ring with a larks head knot. You can do this knot by folding the cord in half, wrapping the folded end of the cord around the ring, and pulling the ends of the cord through the loop of the folded end. Pull to tighten.
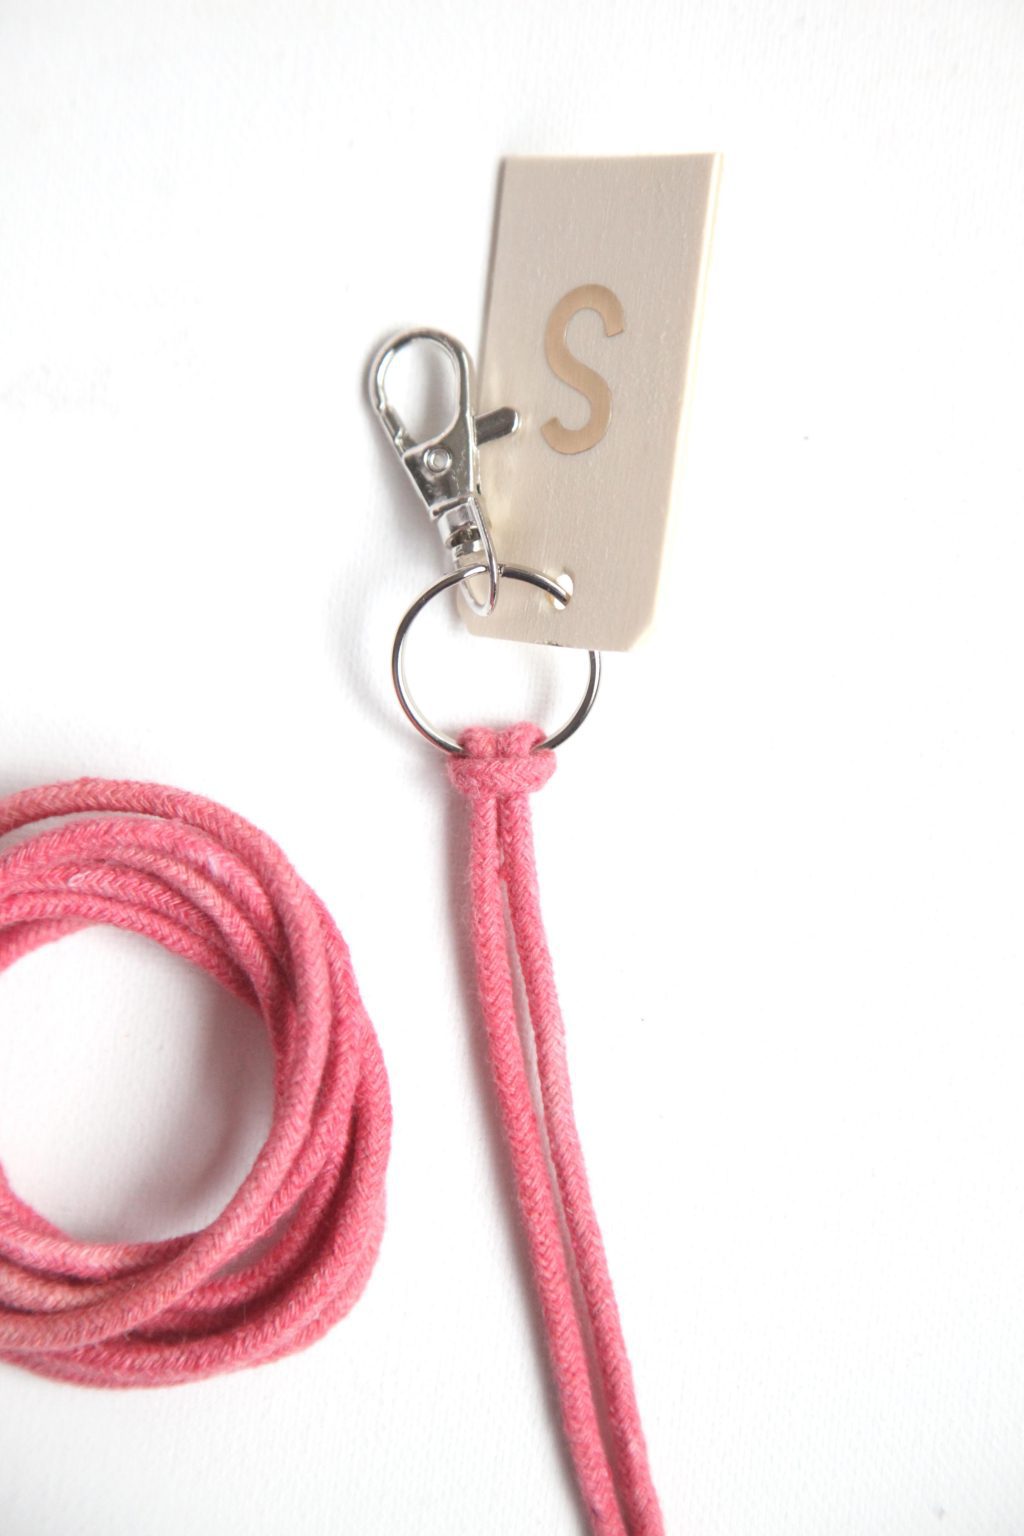
Repeat the larks head knot with the second piece of cord.
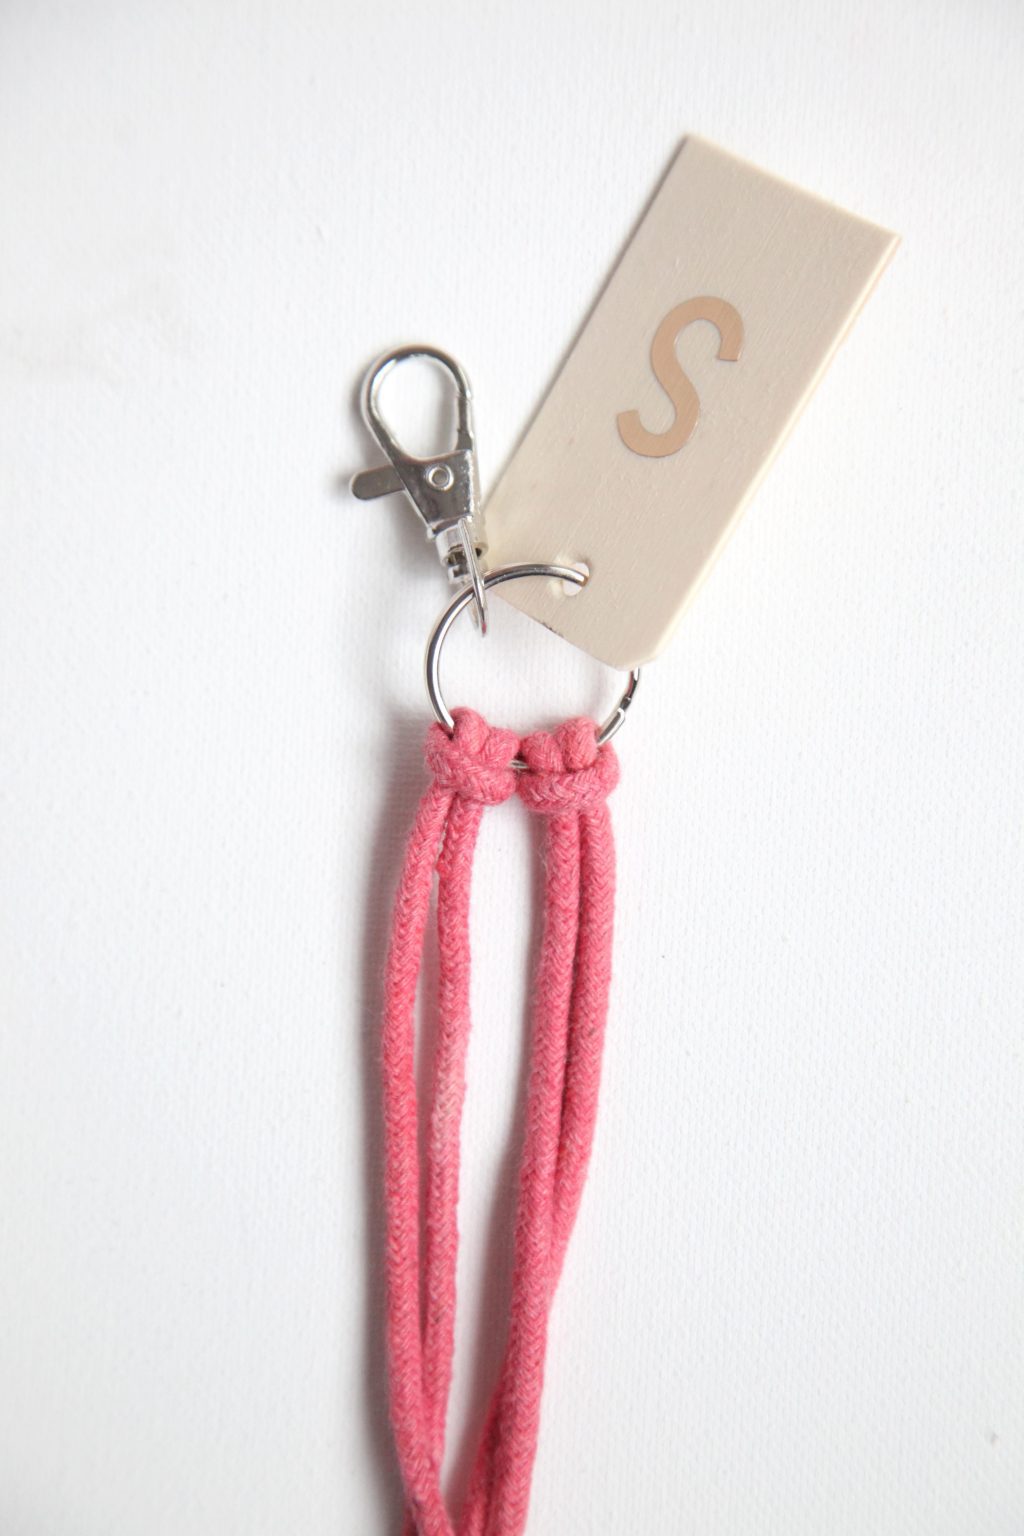
Start with your first spiral knot. As spiral knot is made by taking the outer left cord and crossing it over the two middle cords, then taking the outer right cord and placing it over the end of the left cord and UNDER the two middle cords and loop it through the hole on the left side. Pull it tight.
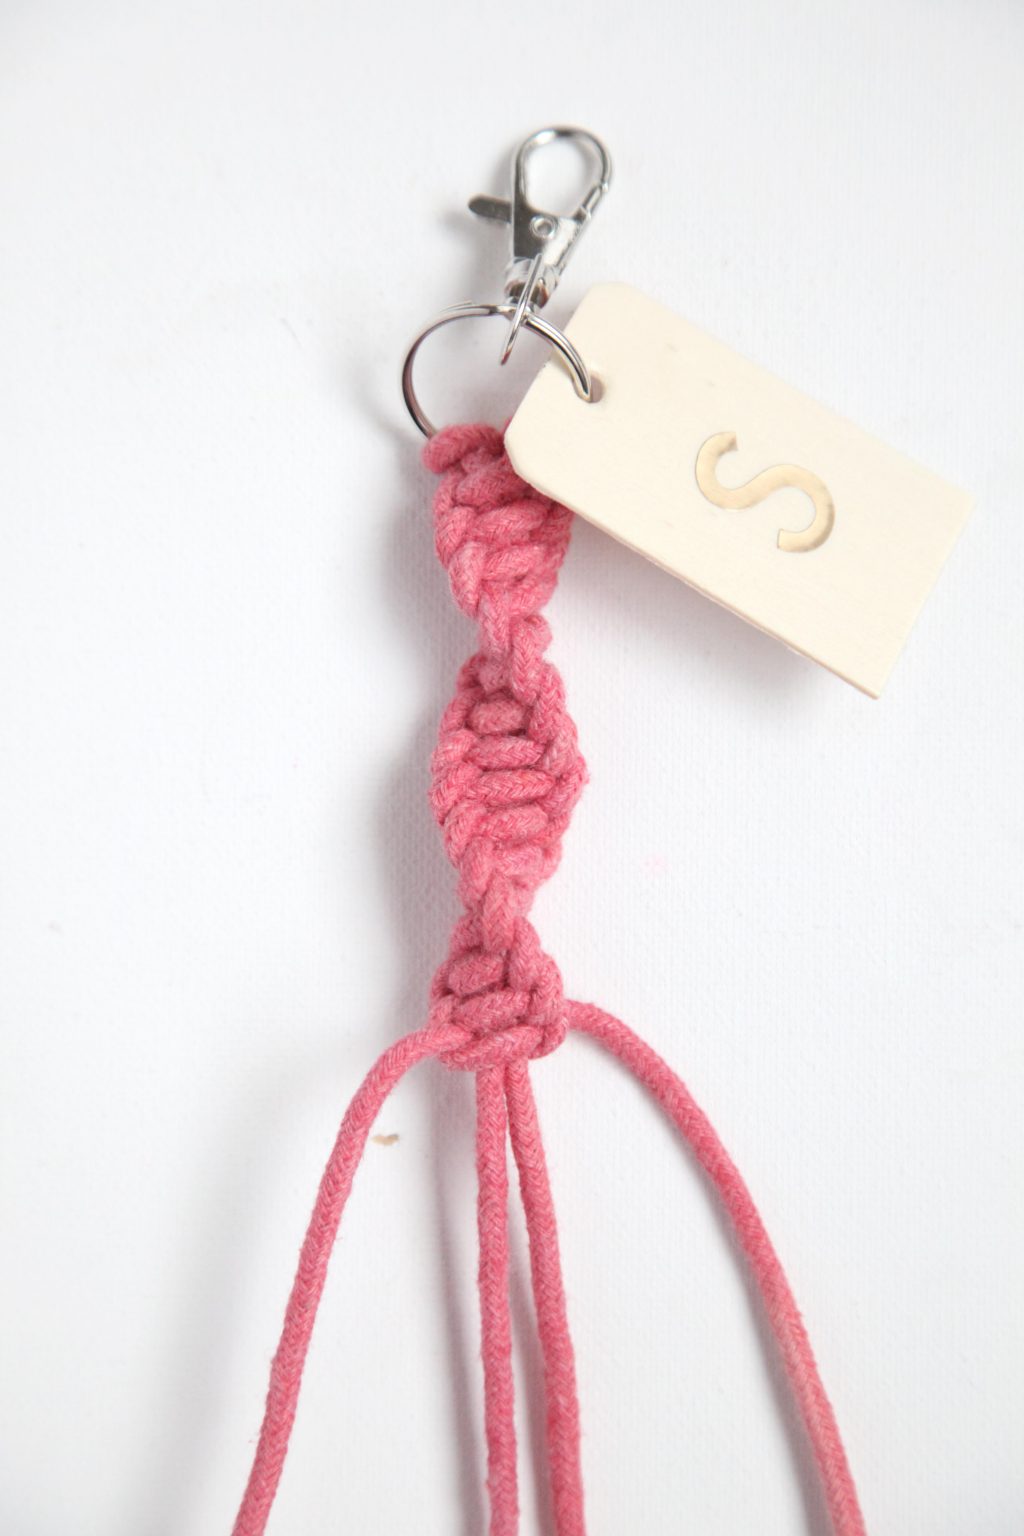
Continue with your spiral knots, making sure you always put the left cord on top first. This will make the knots spiral.
Step 4: Finish the keychain
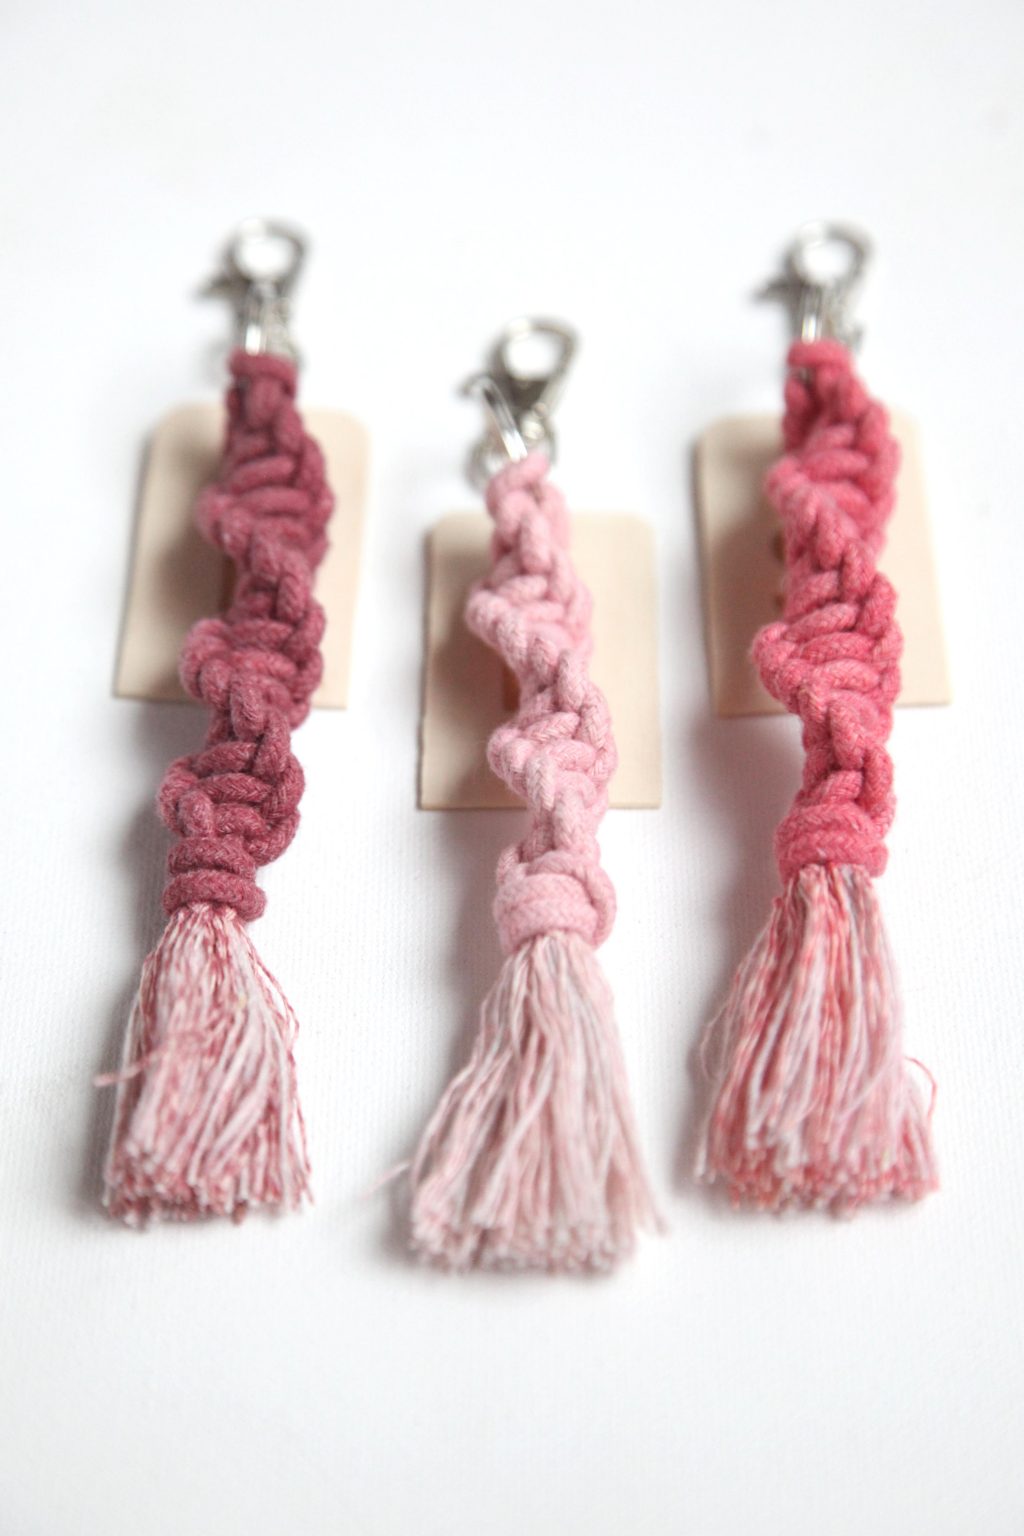
Once you’re happy with the length of your spiral, finish it by tying all four cords together in a knot. Then trim the end so about two inches remains.
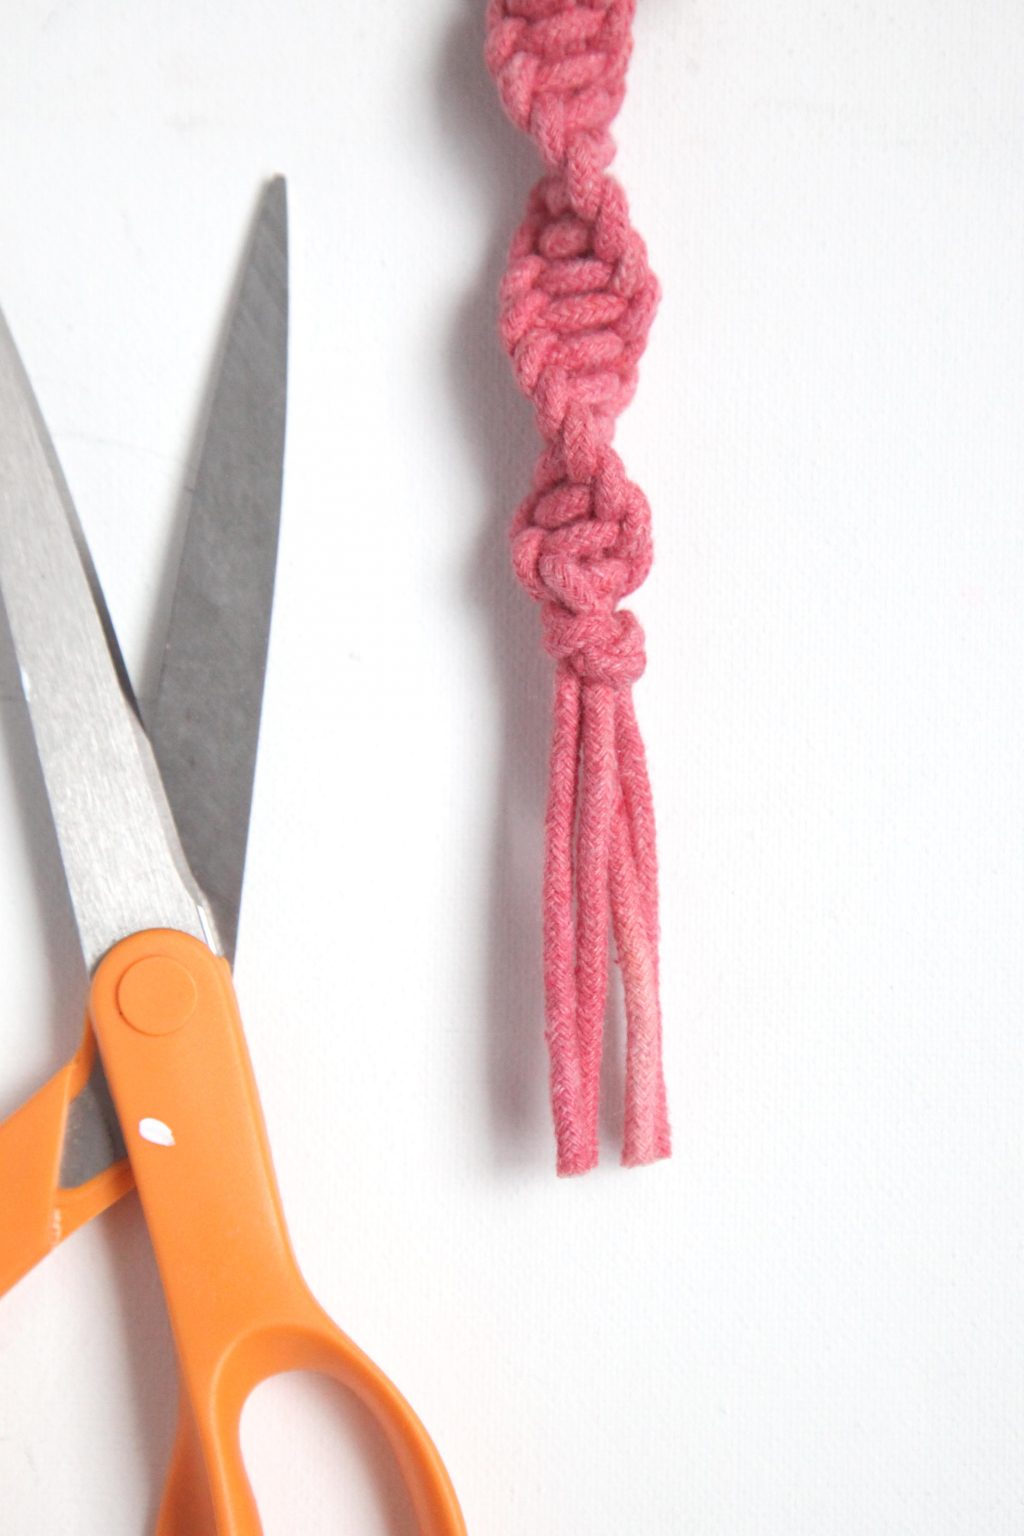
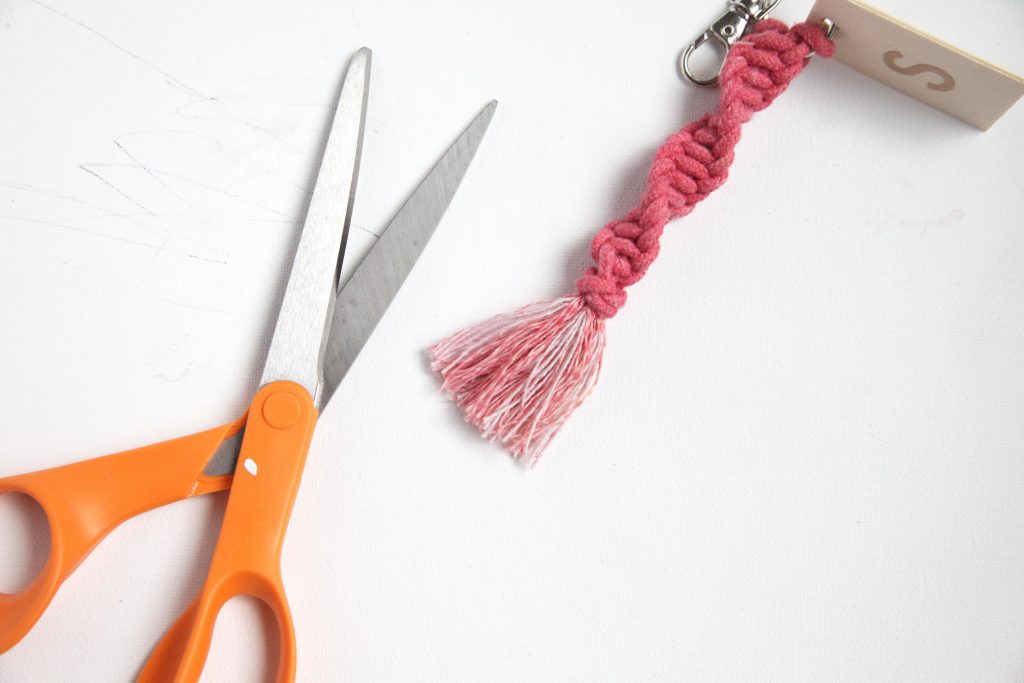
Use a comb or brush to fray the end of the cord. This is the most time-consuming part of the project, but is super easy. Just keep combing and combing to make a tassel.
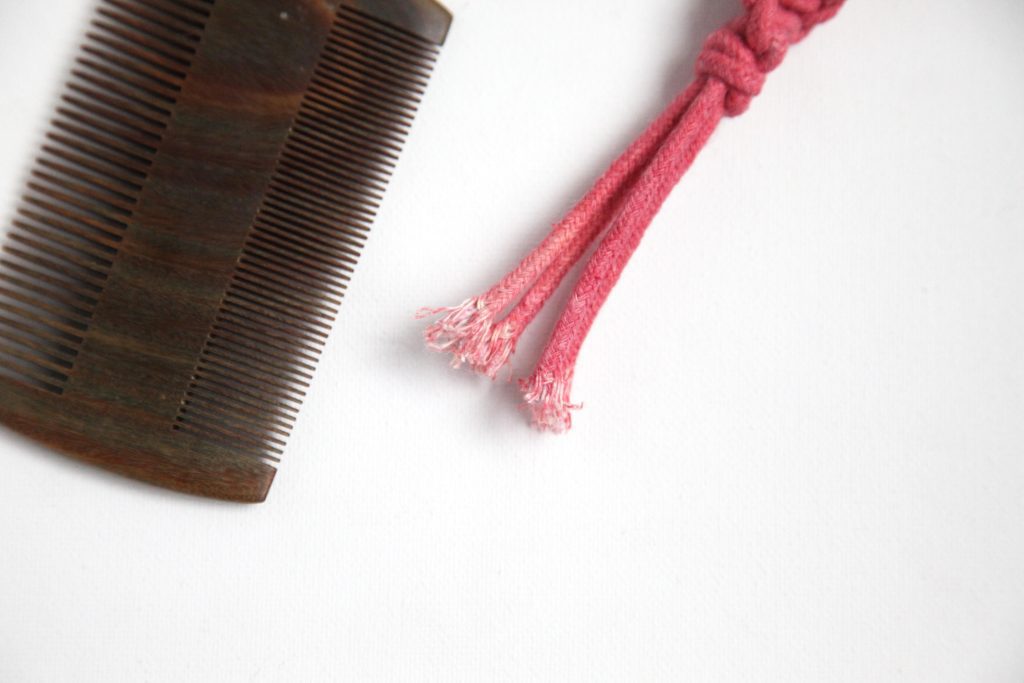
Once you have unraveled all the cording below the knot, cut the tassel in a straight line.
Now you’re done! I know there are a lot of steps here, but the whole keychain comes together in about 30 minutes, I promise! And what a cute gift your gals can carry with them!

DIY Macrame Keychain
It’s the perfect time to try out a simple macrame craft, and our personalized DIY Macrame Keychain Tutorial walks you through the perfect beginner project!
Materials
- 4mm Macrame cord
- Clasp key chains
- Rit dye (rose pink, fuschia, wine)
- Wood tags
- Vinyl or paint
Instructions
- Cut six pieces of cord three feet long. Mix the dye according to the instructions, and add two pieces of cord to each color. Let it sit for an hour (or until you like how it looks), and then rinse until the water runs clear. Let the cord dry completely.
- Add a monogram to the wood tag by cutting and applying vinyl letters or using a stencil and paint.
- Trim down (scissors work just fine) and sand the top of the wood tag to make it easier to get on the split ring of the key chain.
- Put the tag on the key chain. Attach the first piece of macrame cord to the split ring with a larks head knot. You can do this knot by folding the cord in half, wrapping the folded end of the cord around the ring, and pulling the ends of the cord through the loop of the folded end. Pull to tighten.
- Repeat the larks head knot with the second piece of cord.
- Start with your first spiral knot. As spiral knot is made by taking the outer left cord and crossing it over the two middle cords, then taking the outer right cord and placing it over the end of the left cord and UNDER the two middle cords and loop it through the hole on the left side. Pull it tight.
- Continue with your spiral knots, making sure you always put the left cord on top first. This will make the knots spiral.
- Once you’re happy with the length of your spiral, finish it by tying all four cords together in a knot. Then trim the end so about two inches remains.
- Use a comb or brush to fray the end of the cord. This is the most time-consuming part of the project, but is super easy. Just keep combing and combing to make a tassel.
- Once you have unraveled all the cording below the knot, cut the tassel in a straight line.
Notes
- Each keychain will use about 6 feet of cord.
Pin this Macrame Keychain Tutorial for later!

Be sure to join our email list to stay up-to-date on all things Pretty Life Girls!
Happy crafting!
xo, Sam
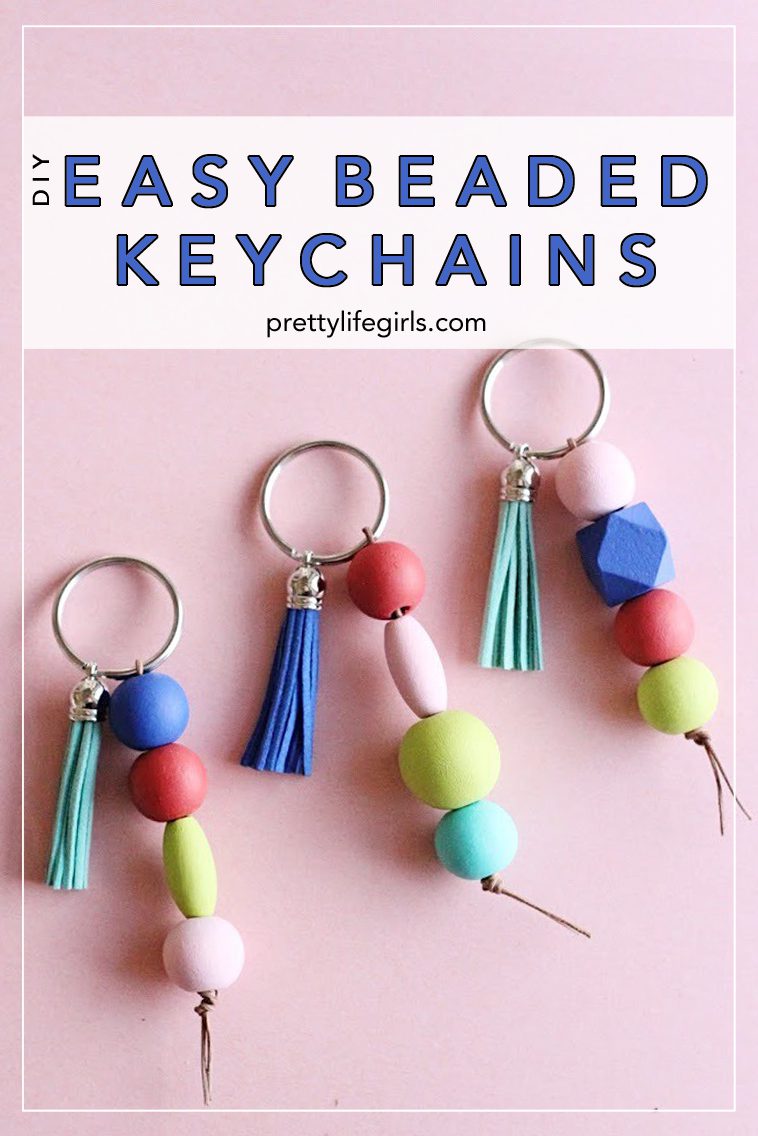
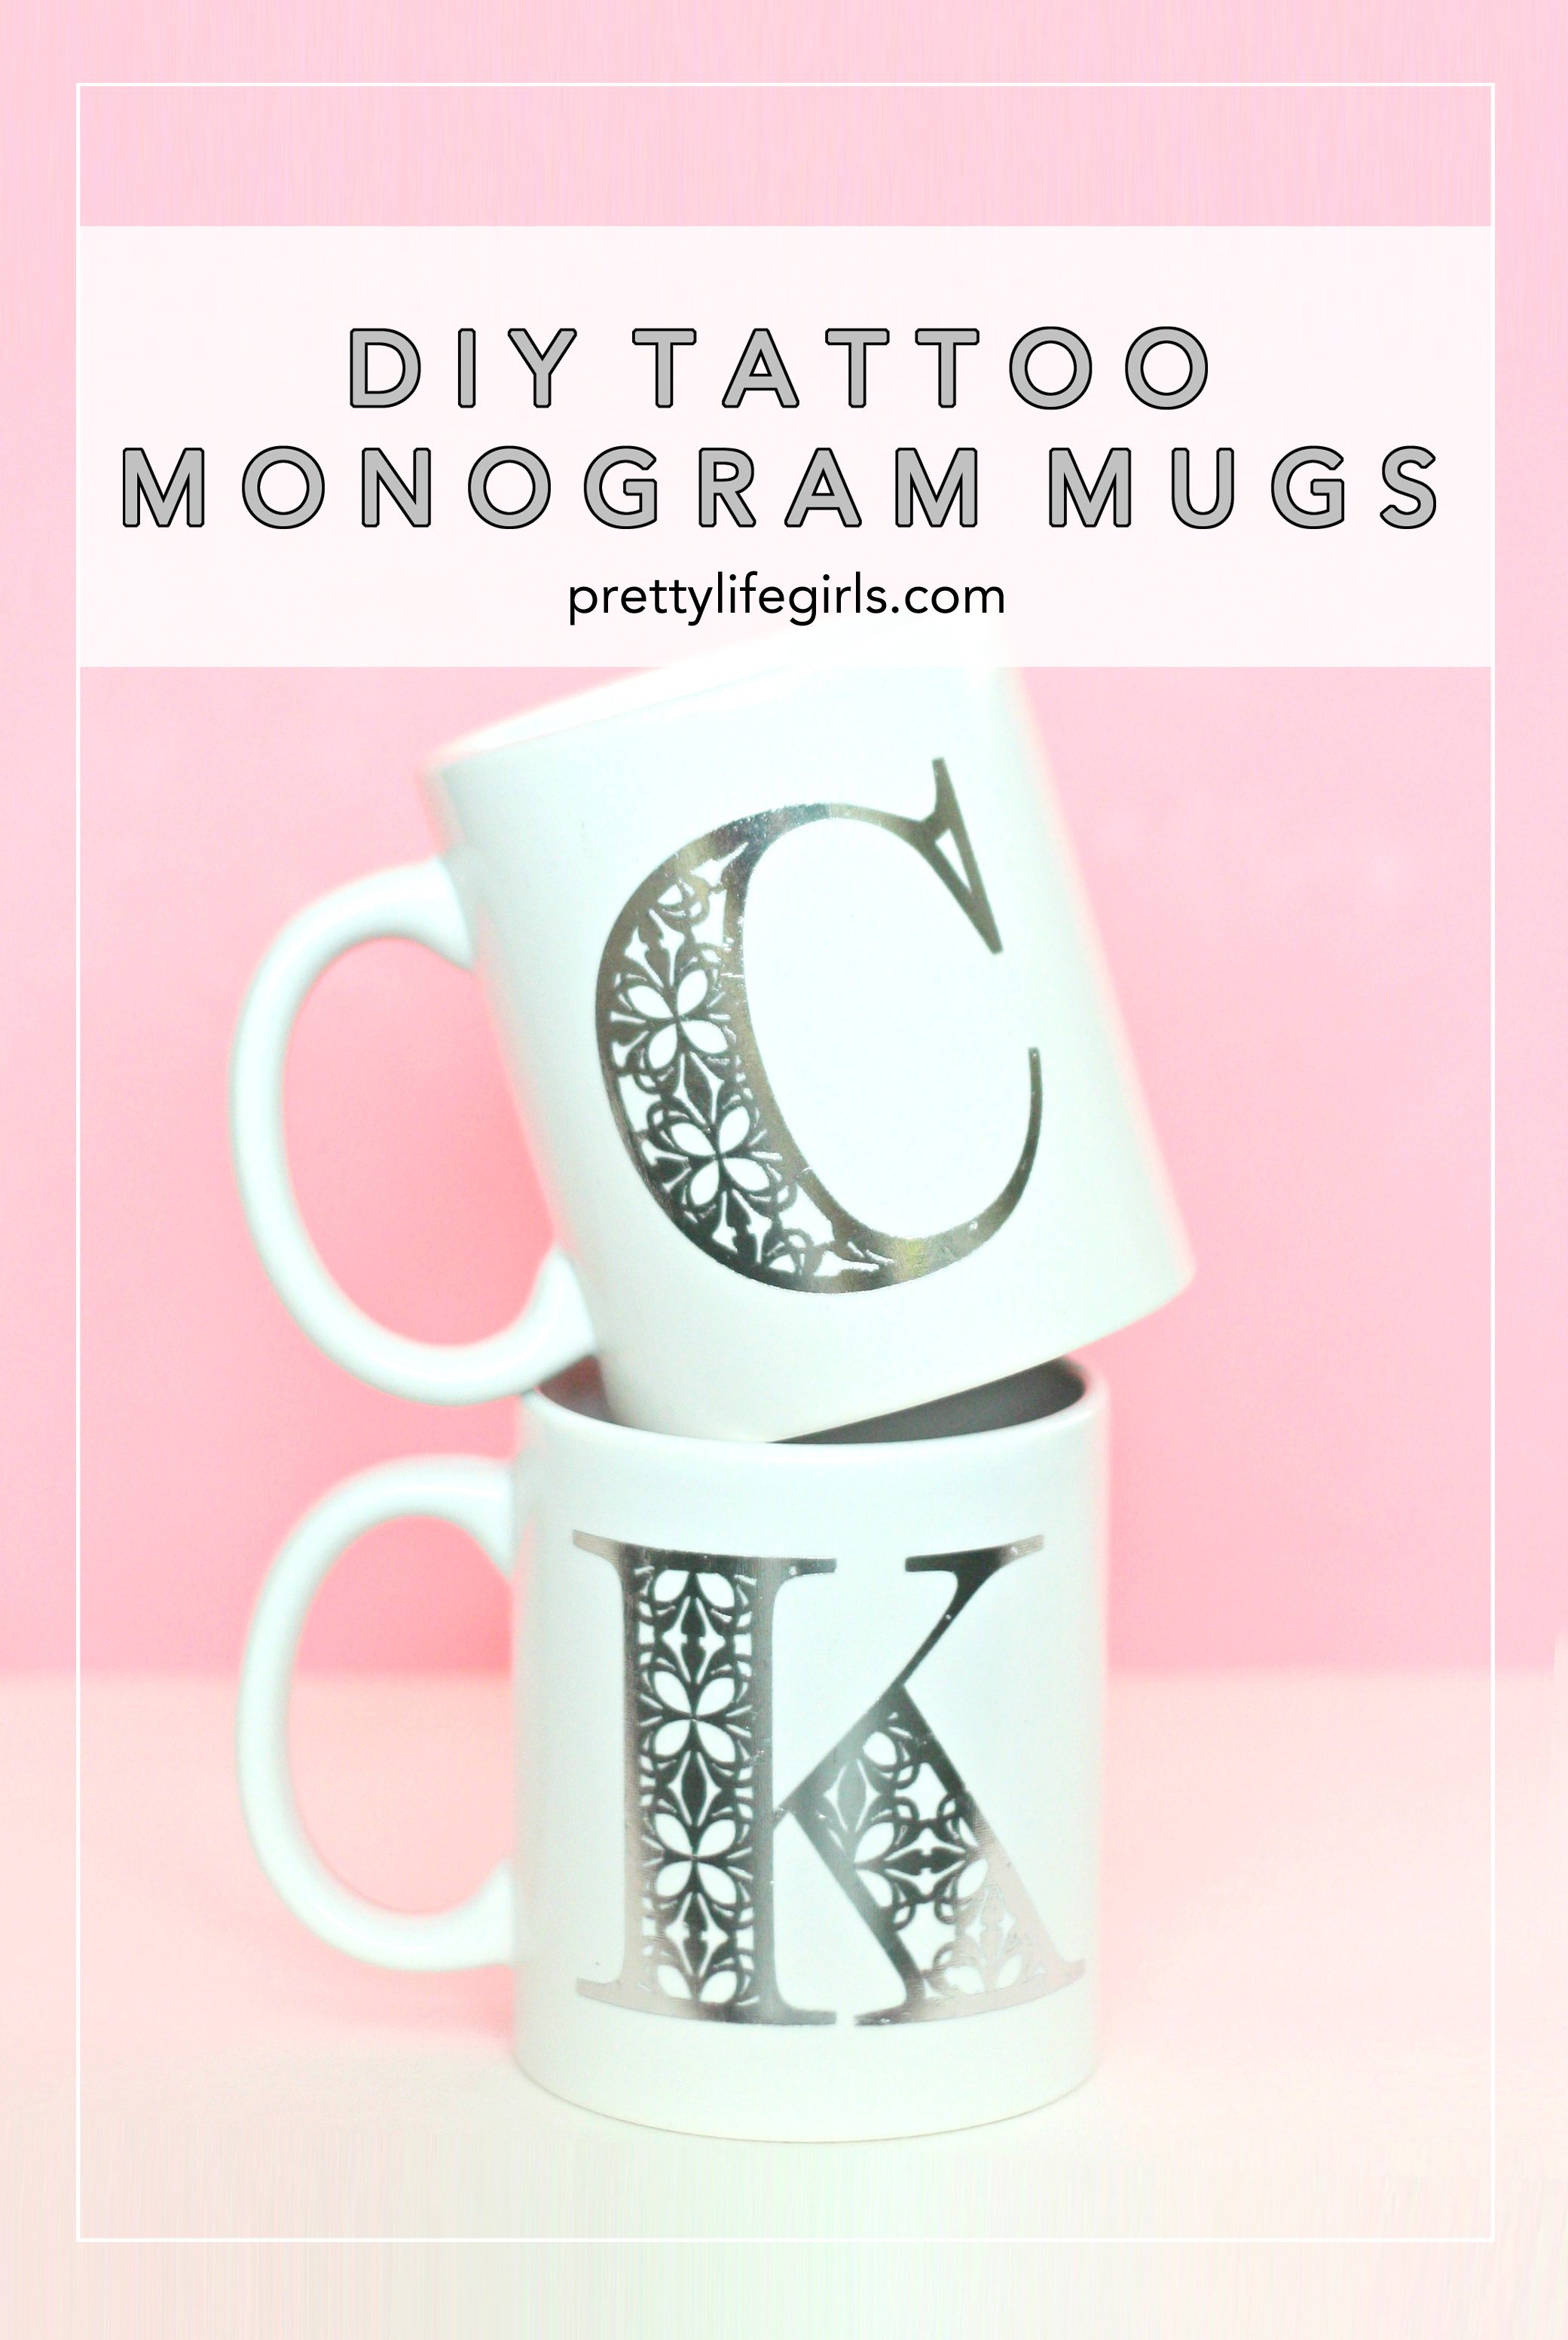
We think you’ll love these project tutorials!

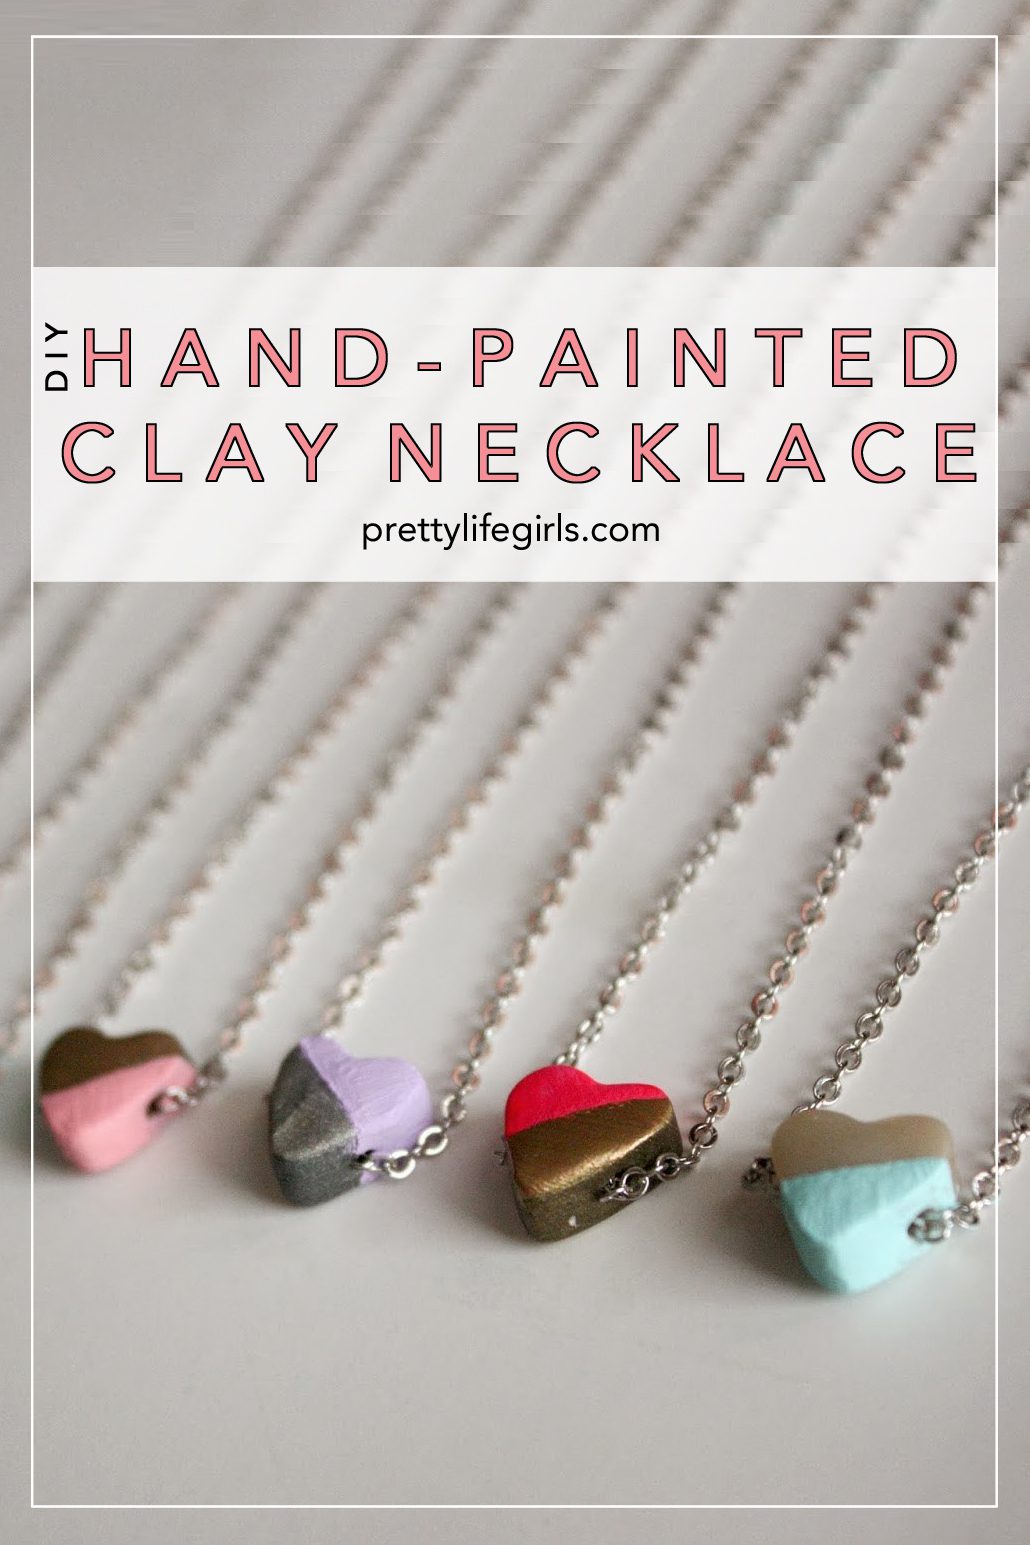 DIY Hand-Painted Clay Heart Necklaces

