This post was originally published August 2021 and updated as of September 2022.
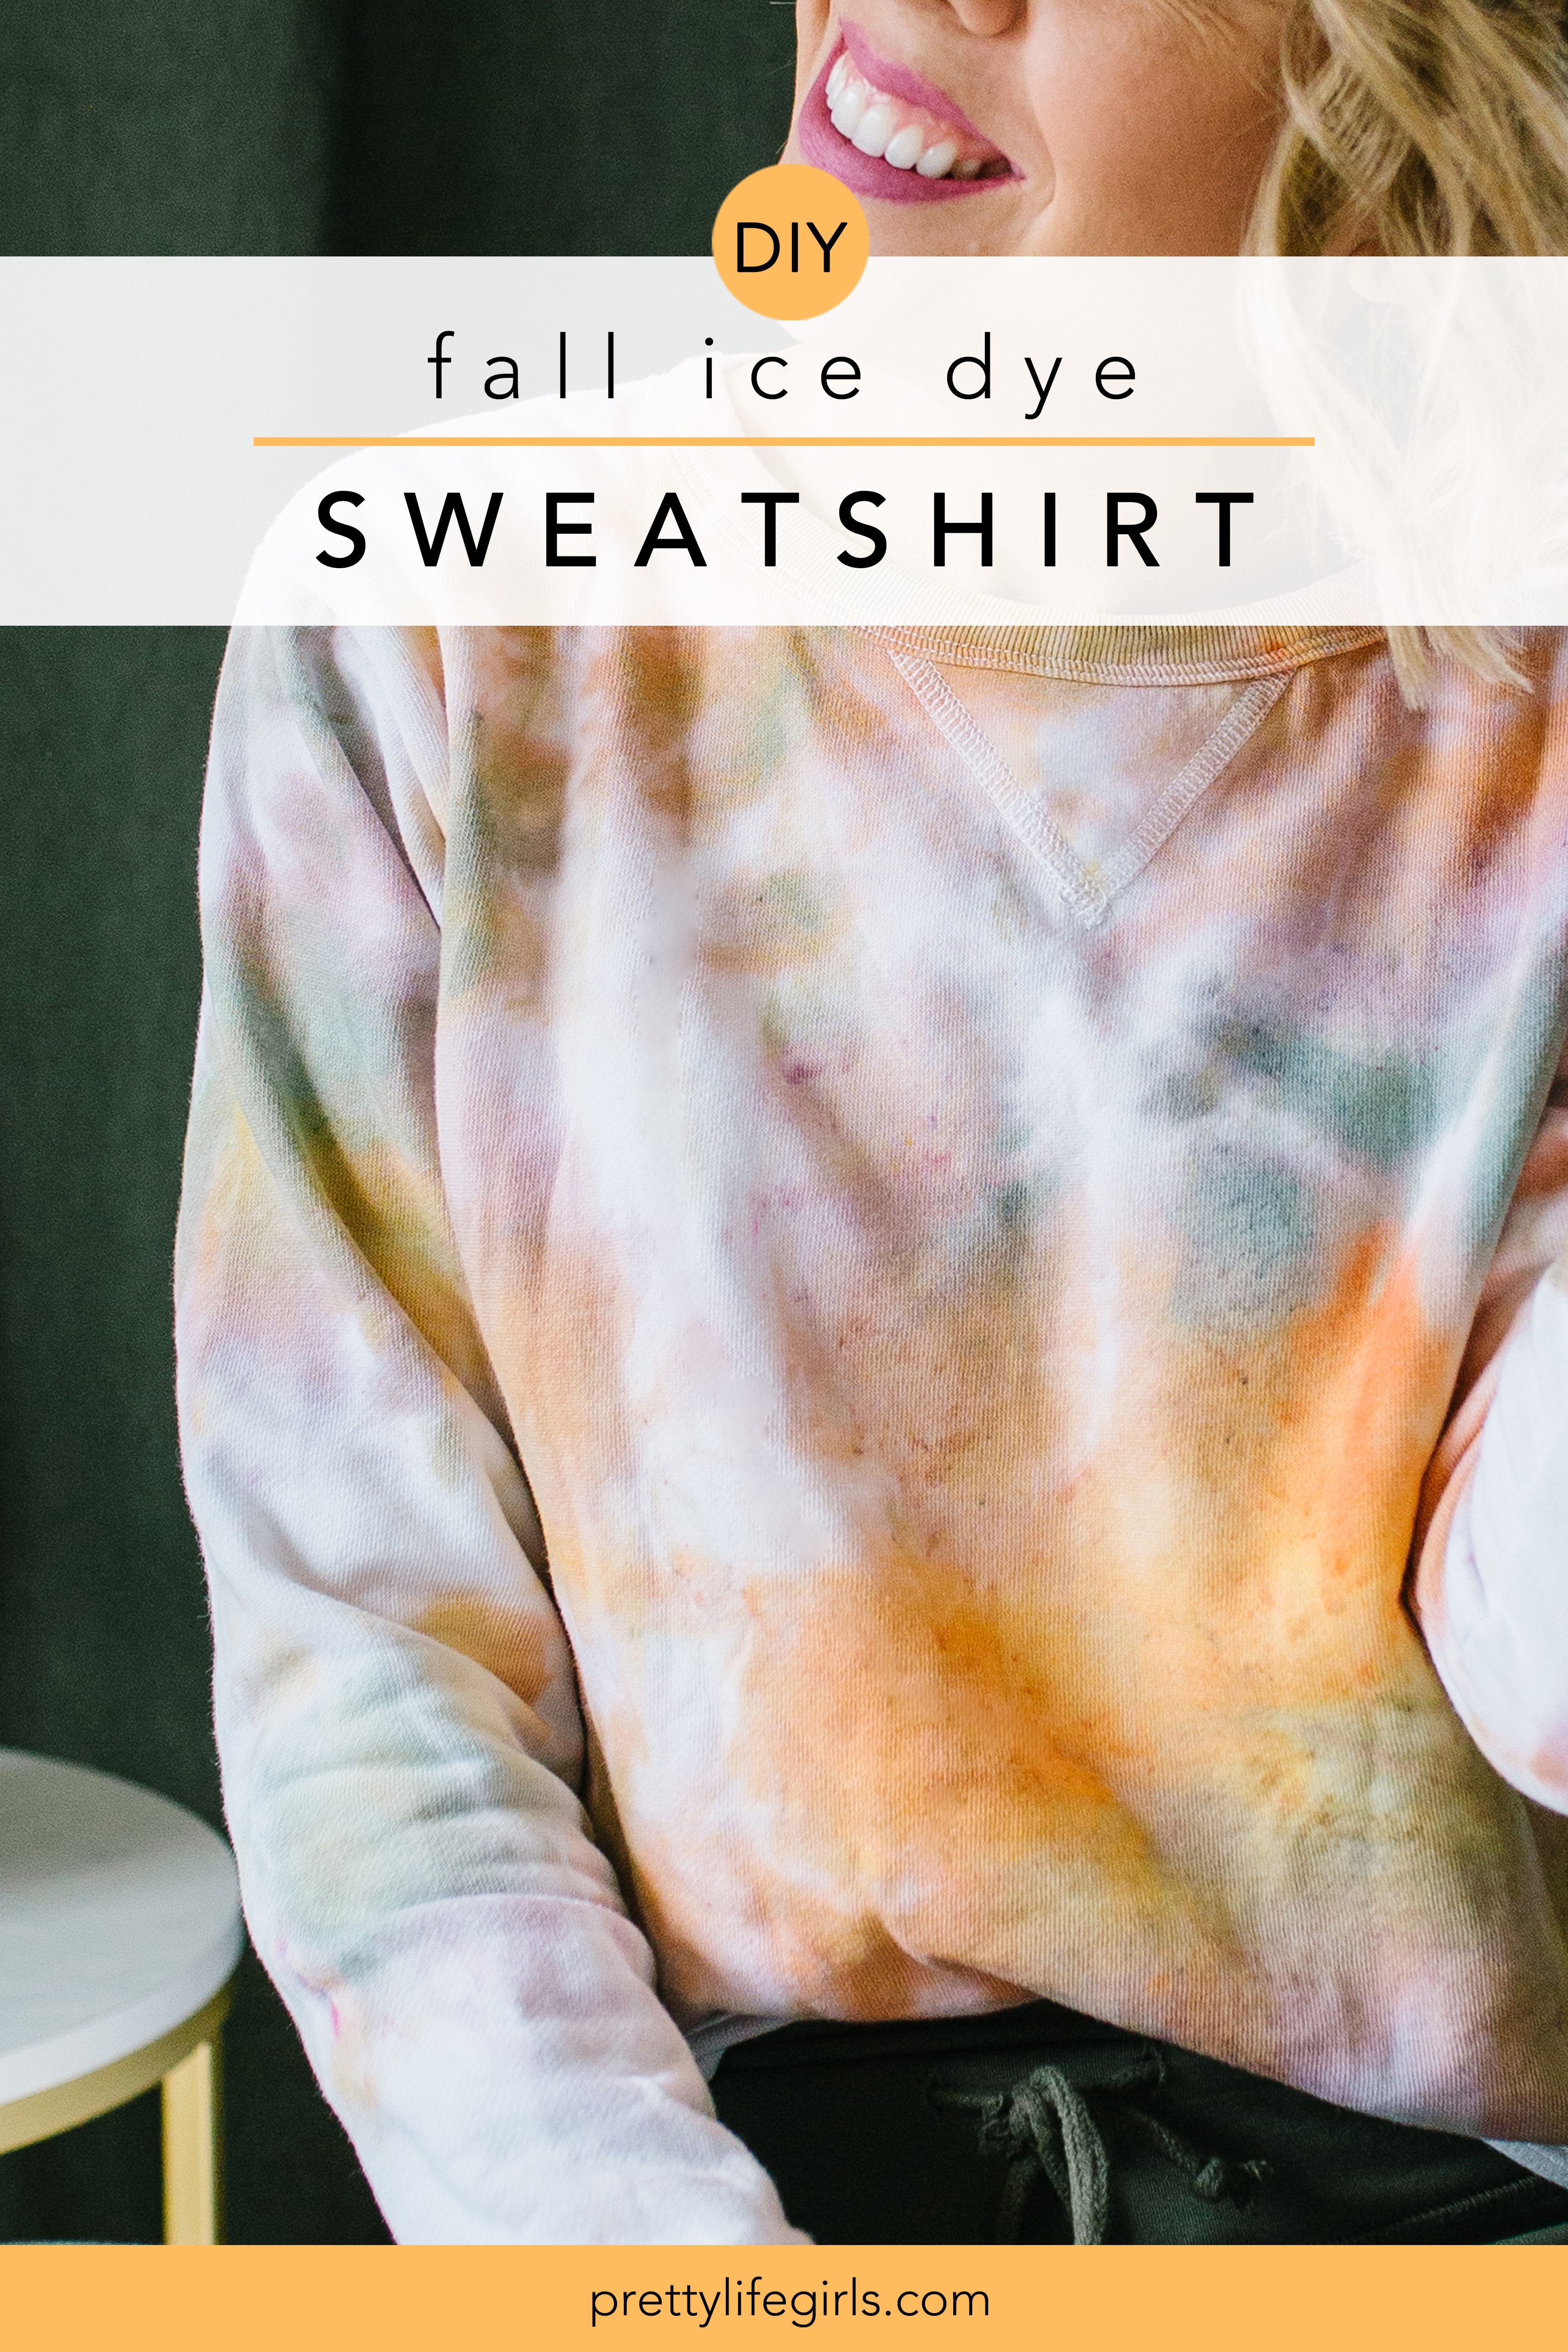
This DIY Ice Dye Sweatshirt uses muted fall colors, making it perfect to wear in the colder temperatures! Learn how we made it below!


DIY Ice Dye Sweatshirt
Is it OK to wear tie-dye in the fall?
Tie dye isn’t just for summer anymore, and as we start inching our way toward the cooler temperatures of fall it’s time to start making some tie dye that matches the season! So, today we are showing you how to make a fall tie dye sweatshirt with muted colors instead of the typical candy-colored dyes.
We are going to make it using the ice dye method because the results are typically result in a organic-looking result than other tie dye methods which is a perfect match for the color palette. So, get your ice and your dye and let’s do this!
Before we get to the tutorial, it’s important to note that replicating tie dye projects is really tricky! To us, the unpredictability is part of the fun, but if you’re looking to get the exact design pictured, that can require some trial and error. We hope you enjoy the process and the unique result you create!
Supplies needed to make a Fall Tie Dye Sweatshirt
White Cotton Sweatshirt
Powdered tie dye in your desired colors (I used the Wine, Salmon, Butterscotch, and Sage in this kit)
Ice
Wire tray or rack
Dye-safe container
Gloves
Plastic Wrap


How to make a Fall Tie Dye Sweatshirt
Step 1: Place your wire rack or tray over your container. This will keep your sweatshirt over your container so that the water can drip down and your sweatshirt will not sit in dye. (If you want to see how we set up for ice dye you can watch our video on making an ice dye apron, here! You can also visit this post with images showing how we made a different ice dye sweatshirt.)
Note: Because the linked sweatshirt is a cotton/poly blend, the colors will be more muted than a 100% cotton sweatshirt, which is what we wanted in this case.
Step 2: Wet your sweatshirt completely. Then, bunch up the sweatshirt on the wire rack or try, making sure that none of the fabric hangs over the container.
Tip: A flat bunch works better than a balled-up bunch because there will be fewer layers for the dye to seep through.
Step 3: Cover the sweatshirt in ice.
Step 4: Sprinkle the dye over the ice, covering it completely with dye.
Note: If you use the kit we linked, know that I did not use all of the contents of the bottles. I just sprinkled where I wanted with the colors I wanted. With some colors it was more and with some it was less. We have found that blues/green overtake other colors, so we’d recommend erring on the side of caution with those hues!
Step 5: Let the dye melt completely. (You can sit the container in the sun to speed up the process, if desired!)
Step 6: Once the dye has melted completely, put on gloves and wrap the sweatshirt in plastic wrap or place in a ziplock bag. Let set overnight.
Step 7: Once set, rinse sweatshirt until the water runs clear. Wash the sweatshirt by itself in the washer and hang to dry.




That’s it! Aren’t the colors gorgeous? You can never predict a result with ice dye and I’m always pleasantly surprised. Time to get cozy!


Happy making!
-Liz




Hello! Love this look! Where are you finding 100% cotton sweatshirts? The link takes you to a 50/50 blend.
Hello! The 100% is a mistake – we used the 50/50! I will update the post!