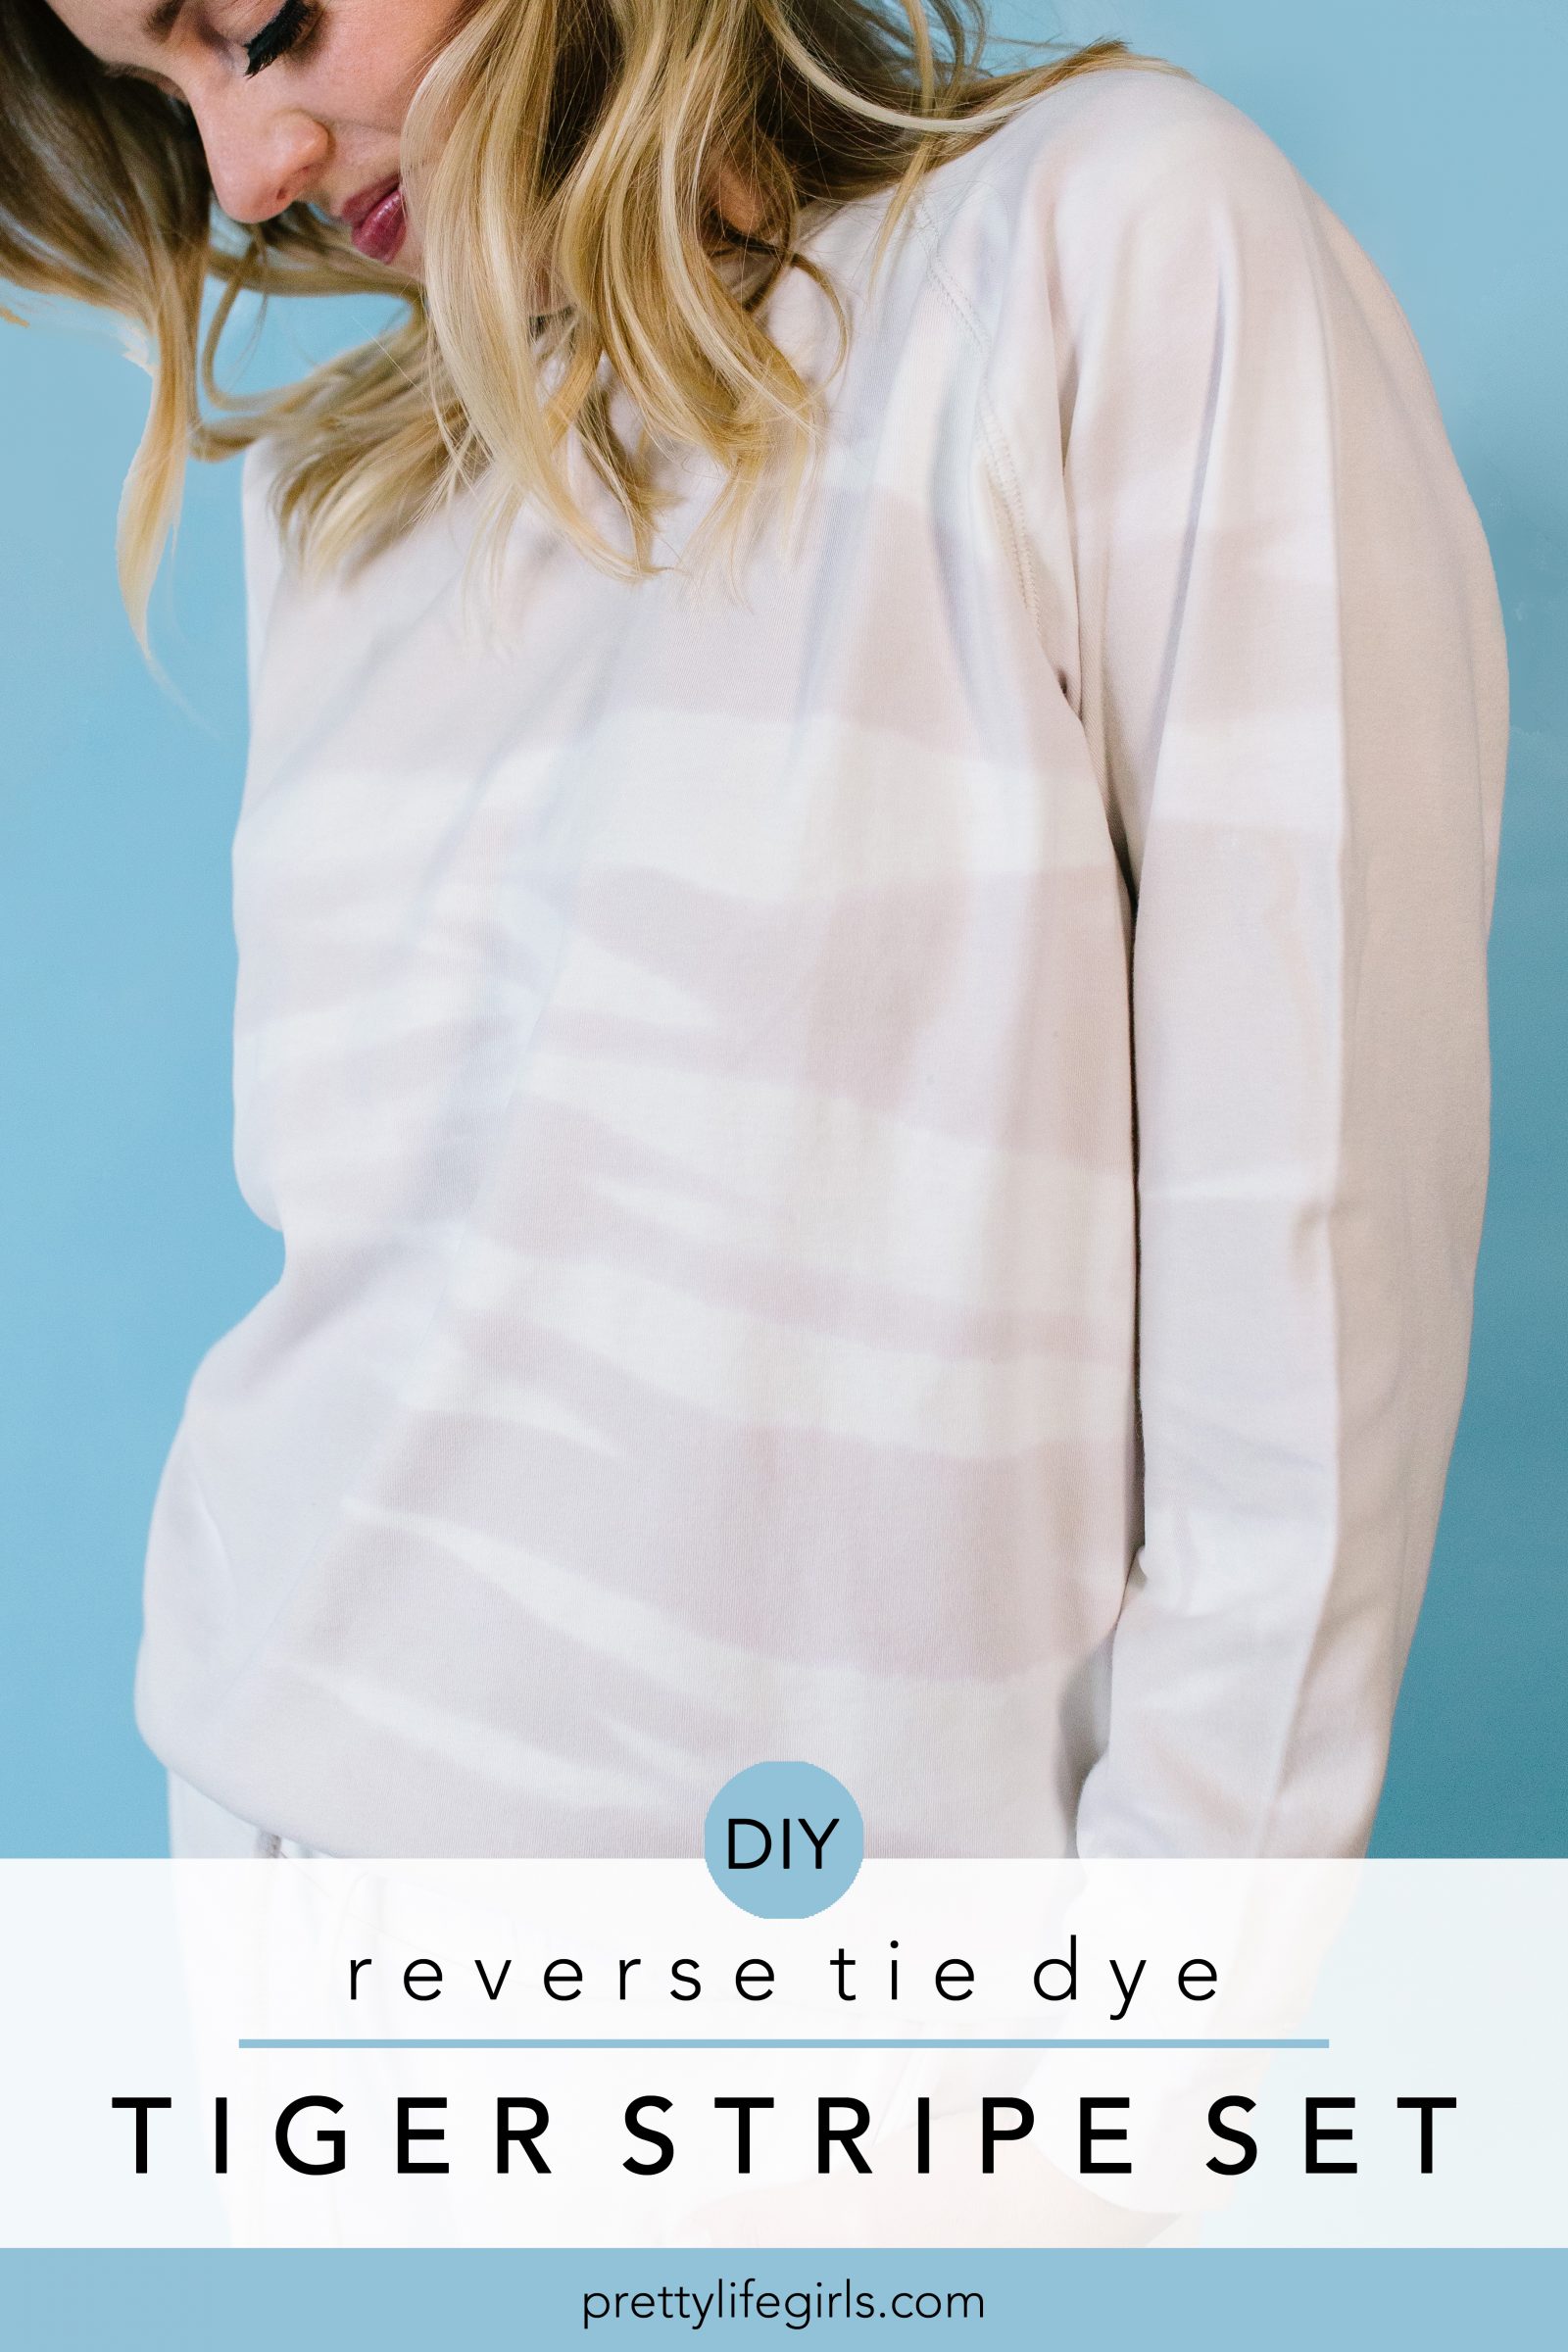
For this Tie Dye Tiger Stripes project, we use bleach to reverse dye a beige sweat suit, bringing out more subtle variations in the fabric and creating a stripe effect. You might not even believe we achieved these results using a tie dye method, but it’s true!

When we set out to write our tie dye book, one of the goals was to make projects that were a bit removed from the variety you might make at summer camp and modernize them just a bit. And while all of the projects are still full of color and splotches and twists, they are stylish and on trend! These aren’t the tie dye projects you would see worn at Woodstock, although we kind of love those, too.
However, even with these standards, we know there are still people who are adverse to tie dye because it is too bold, and if you happen to fit into that category, we aren’t giving up. In fact, we think you’re gonna love this project! While the description of this one might seem wild since it has “tiger stripes” in the middle, it’s actually quite tame!


For more tie dye inspiration, check out our book, DIY Guide to Tie Dye Style: The Basics and WAY Beyond, where you will find 20 original tie dye projects along with all of our tips for choosing dye, gathering tools, binding your projects and working with all kinds of tie dye methods! You can see also read this post for helpful tips for reverse dyeing certain fabrics and achieving different patterns!
Supplies needed to make Tie Dye Tiger Stripes Loungewear
Blank sweatsuit
Bleach
Mist bottle


How to make Tie Dye Tiger Stripes Loungewear
Watch the video or read the steps below:
Step 1: On a bleach safe surface, scrunch the suit from bottom to top.
Step 2: Add bleach to a mist bottle, then spray the scrunched suit lightly.
Step 3: Let the suit sit in the sun for a few minutes to lighten.
Step 4: Once it has reached the desired shade, submerge the suit in cold water to stop the bleaching process.
Step 5: Wash and dry sweatshirts separately at least for the first wash.


Happy making!
Liz & Sam
Looking for more tie dye inspiration? We have you covered!


