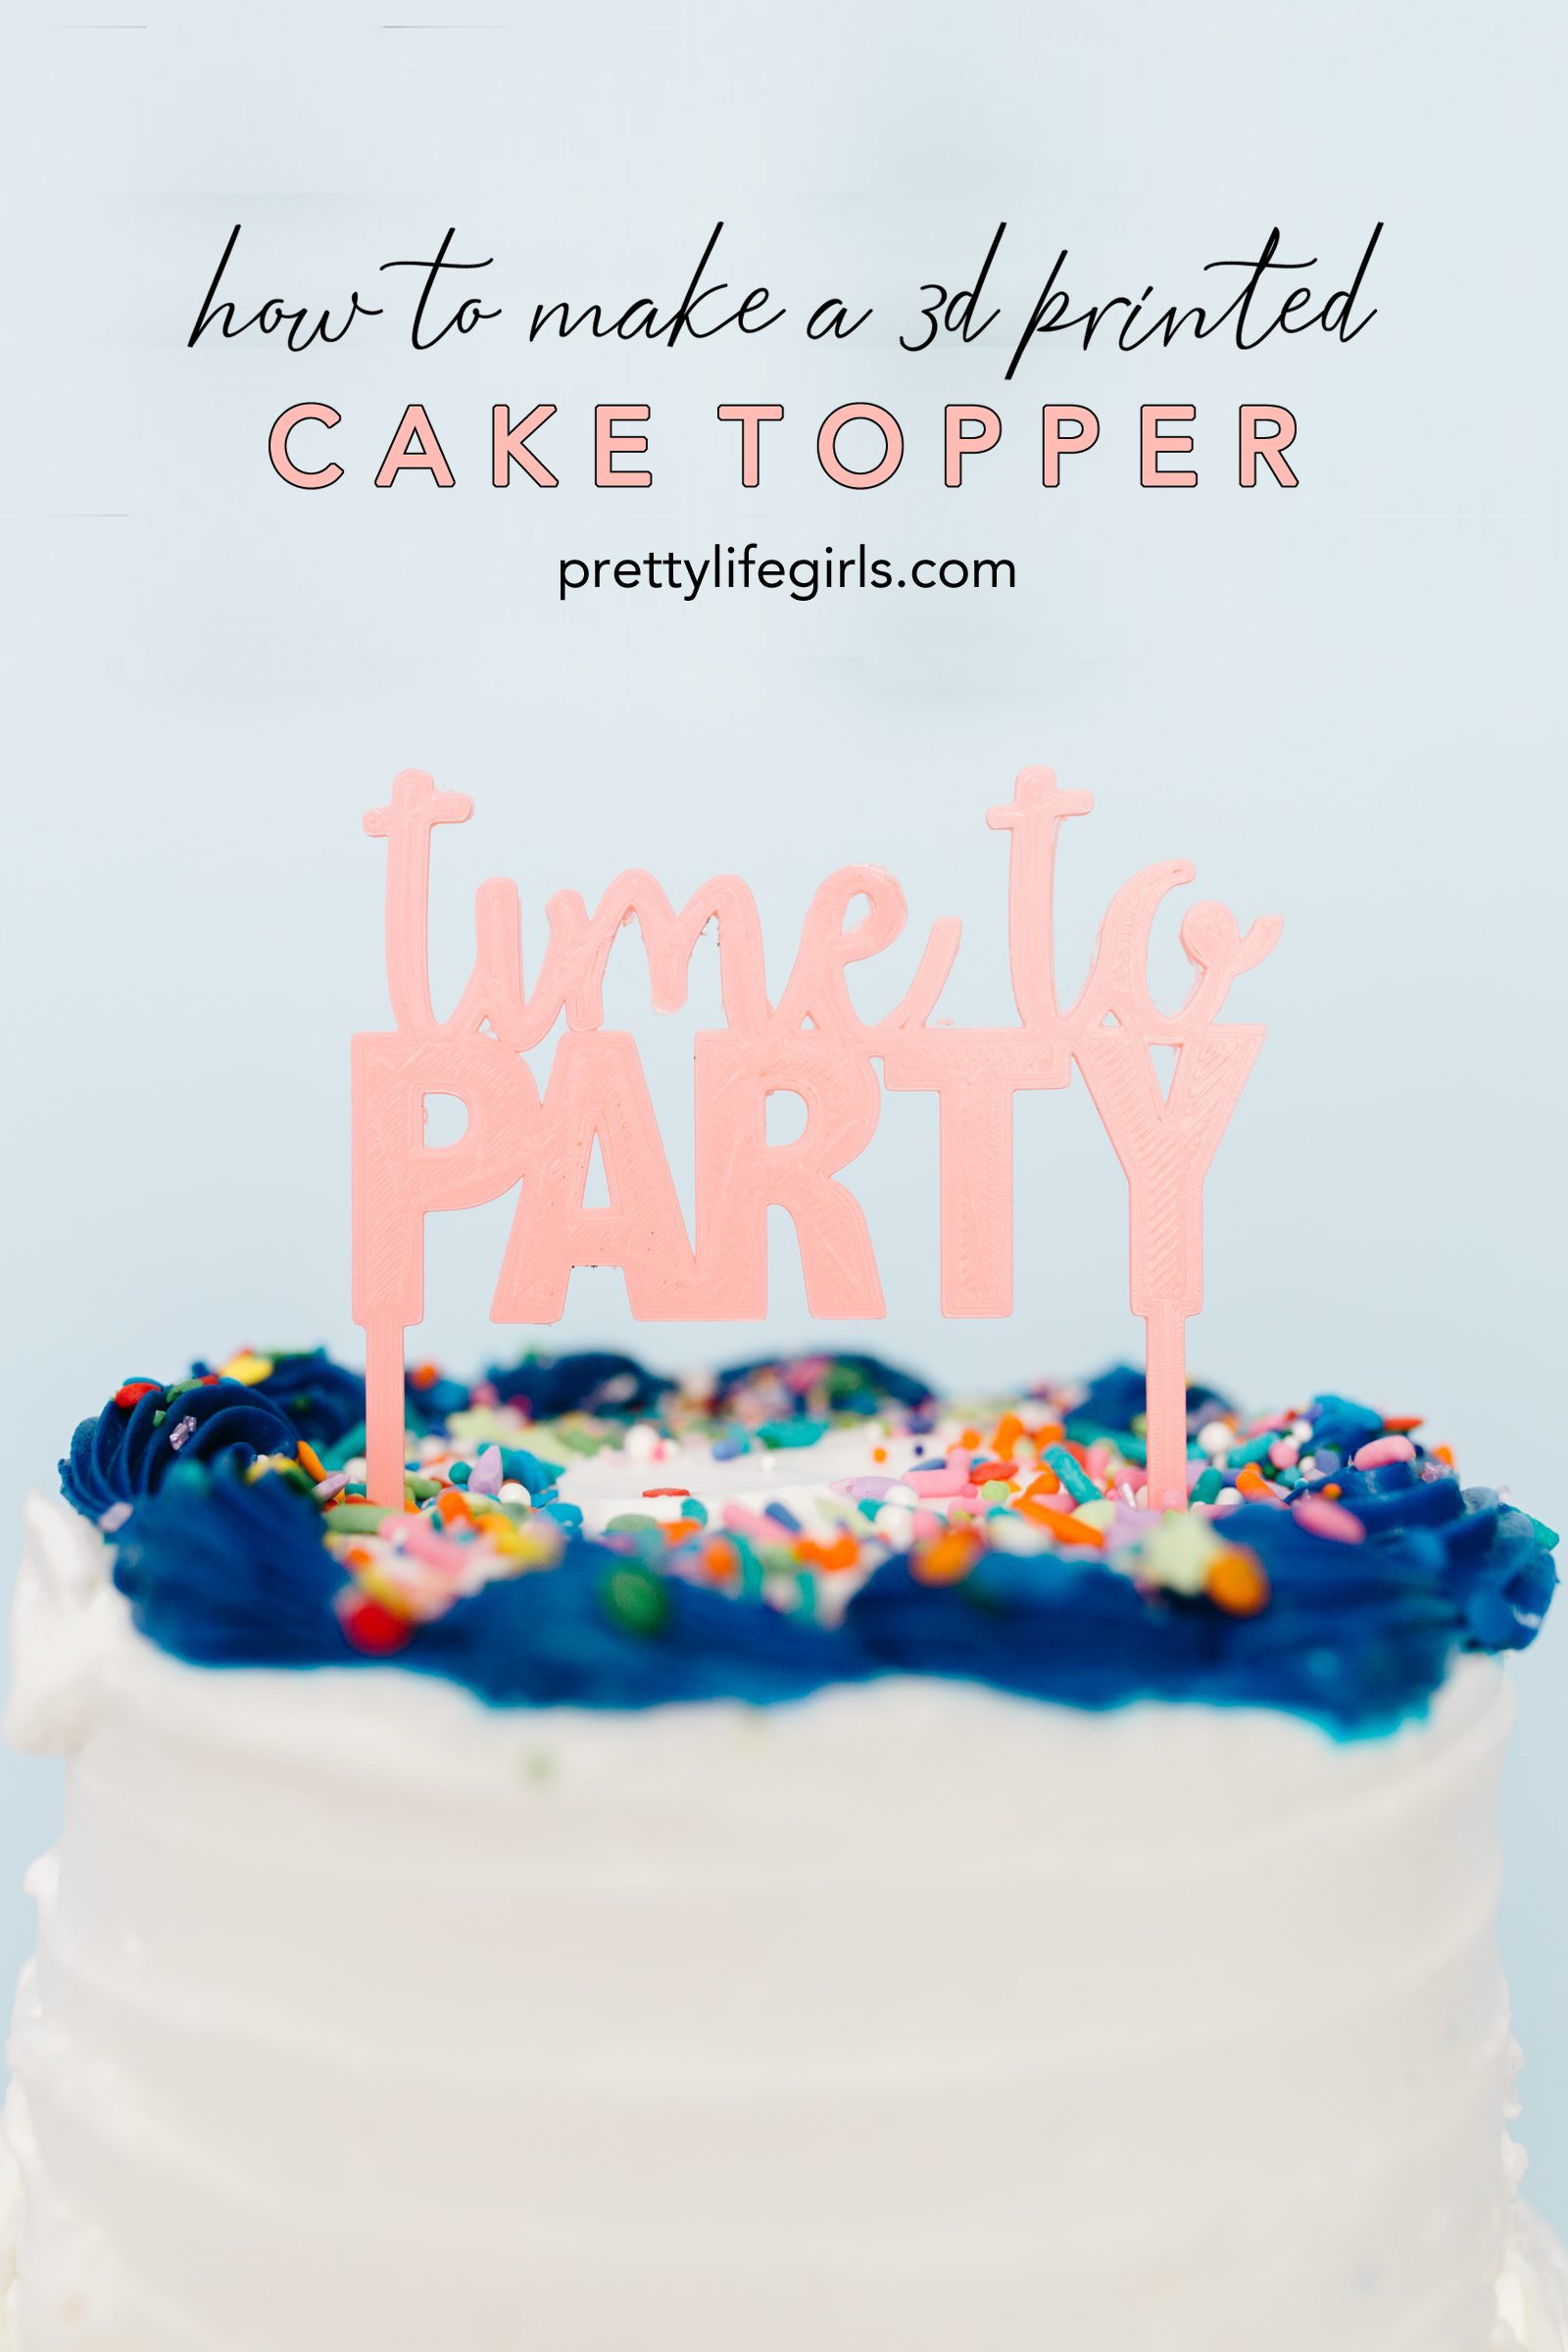
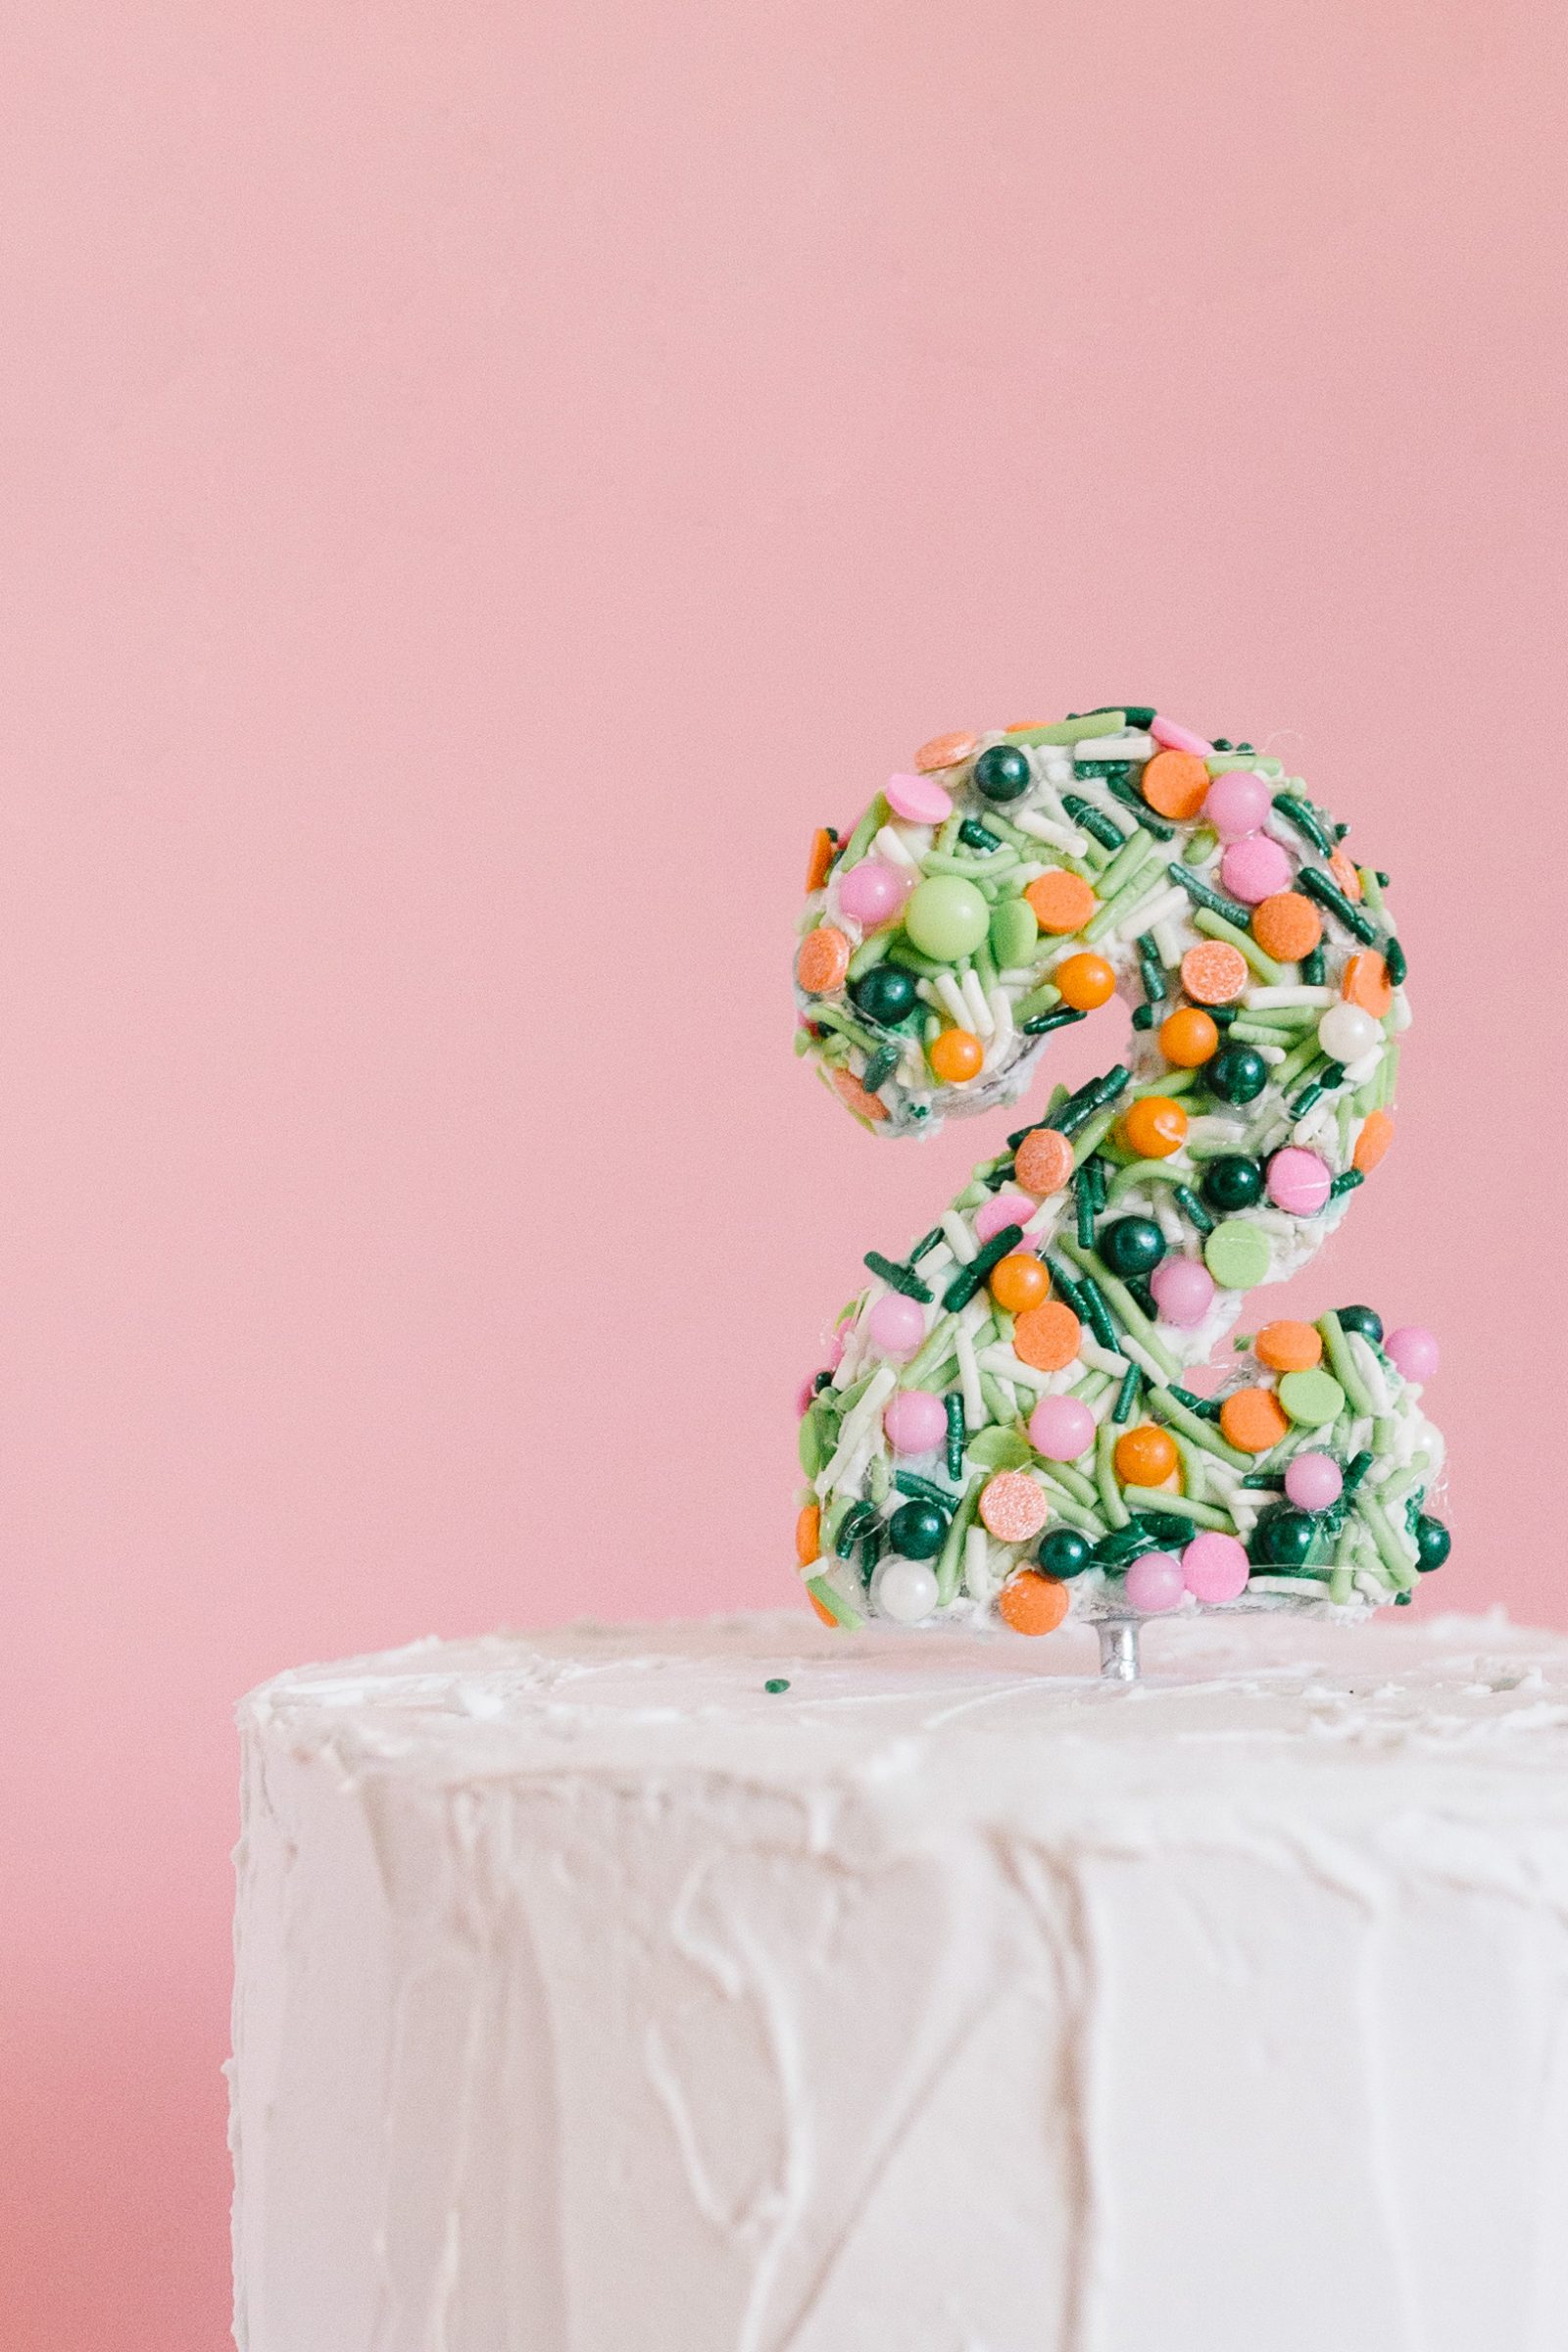
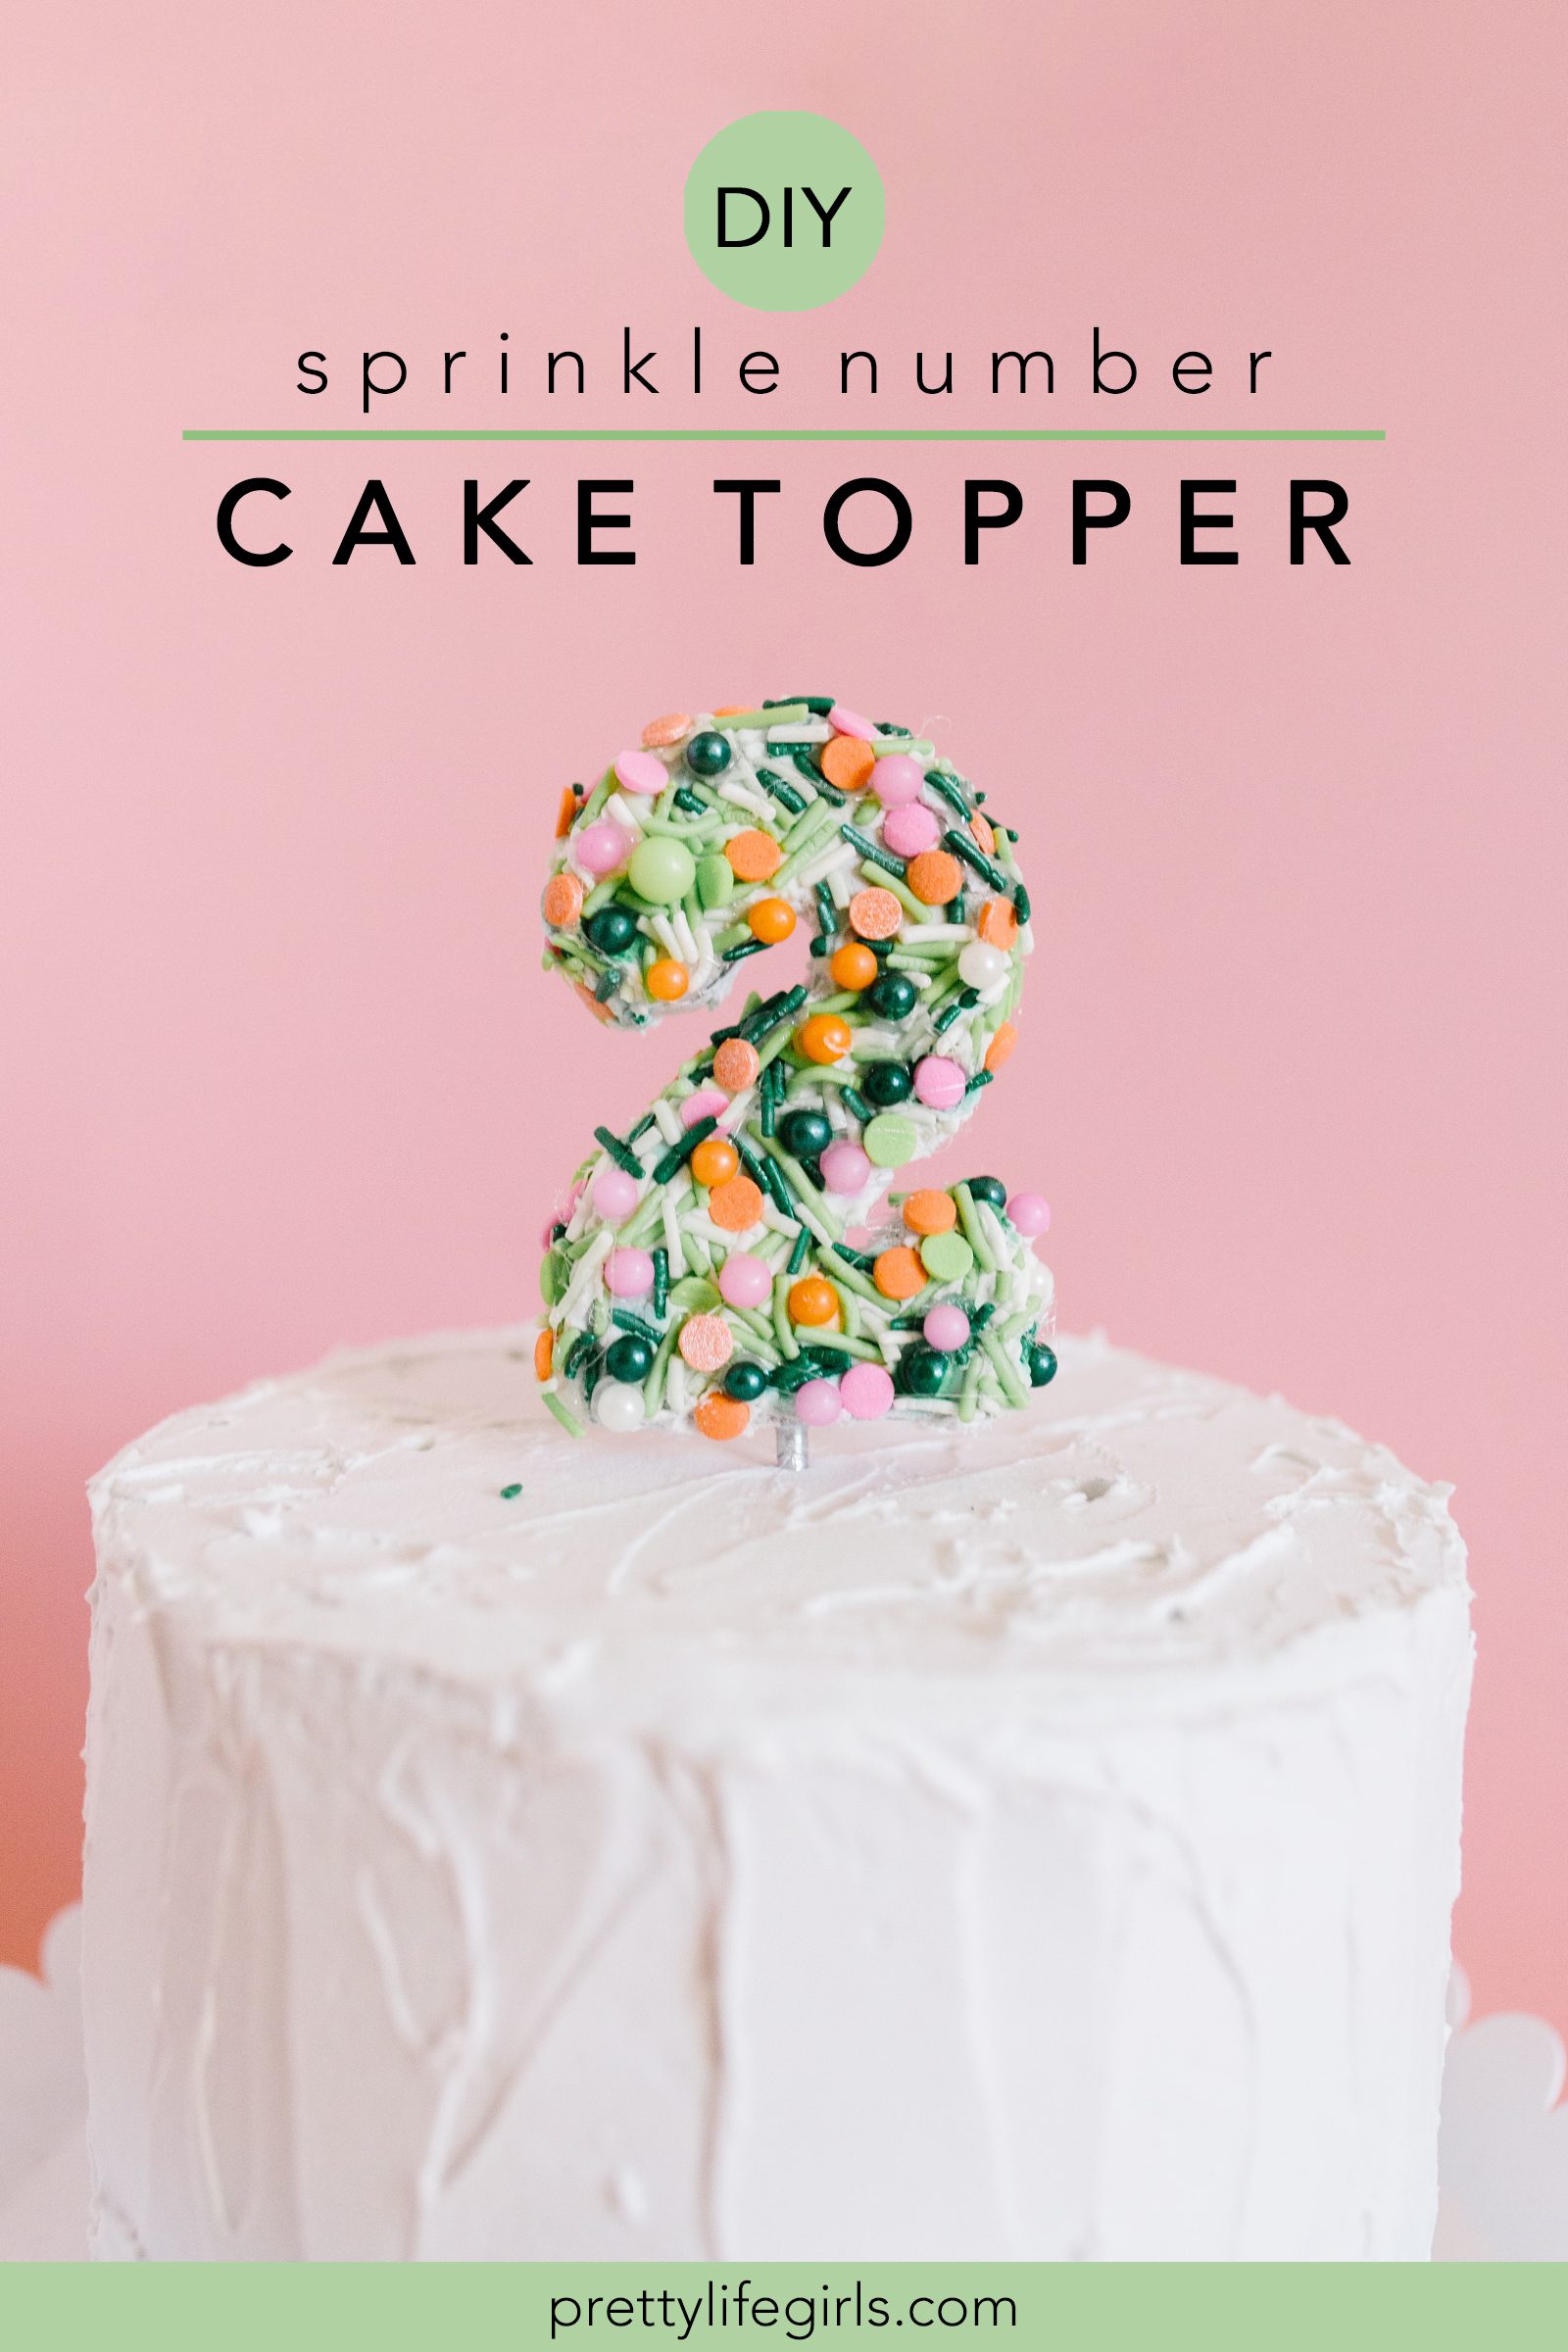
Today we’re sharing a tutorial today for making this fun sprinkle number cake topper, perfect for taking a numbered candle from the dollar store and giving it a glow up! To do this, we use royal frosting as glue to hold the sprinkles on and make it food safe. So easy with the most festive results! Keep scrolling to see how to make it!
The sprinkles of today are not what they used to be. Have you noticed? Yes, there were always colorful jimmies, and sugar sprinkles in an array of vibrant colors, but WOW are those a bore compared to the sprinkles of today. Sprinkles are now customized and come in every shape imaginable for any themed celebration you can think of! Plus, they are oversized, graphic, and come all mixed up together in unusual combinations and gorgeous blends. I love it because it suits my personality — a little chaotic but full of color and fun (LOL). This number cake topper is the perfect project for celebrating the current trend of over-the-top sprinkles! Now, on to the tutorial!
Supplies needed to make a Number Cake Topper
Number candle
Scissors
Royal icing
Knife
Sprinkles
Piping bag + tip for touch-ups, if desired
How to make a Number Cake Topper
- Make your royal icing. (I have loved this recipe for the last few years when we have made gingerbread houses and it works great for this project, too!)
- Using scissors snip off the candle wick.
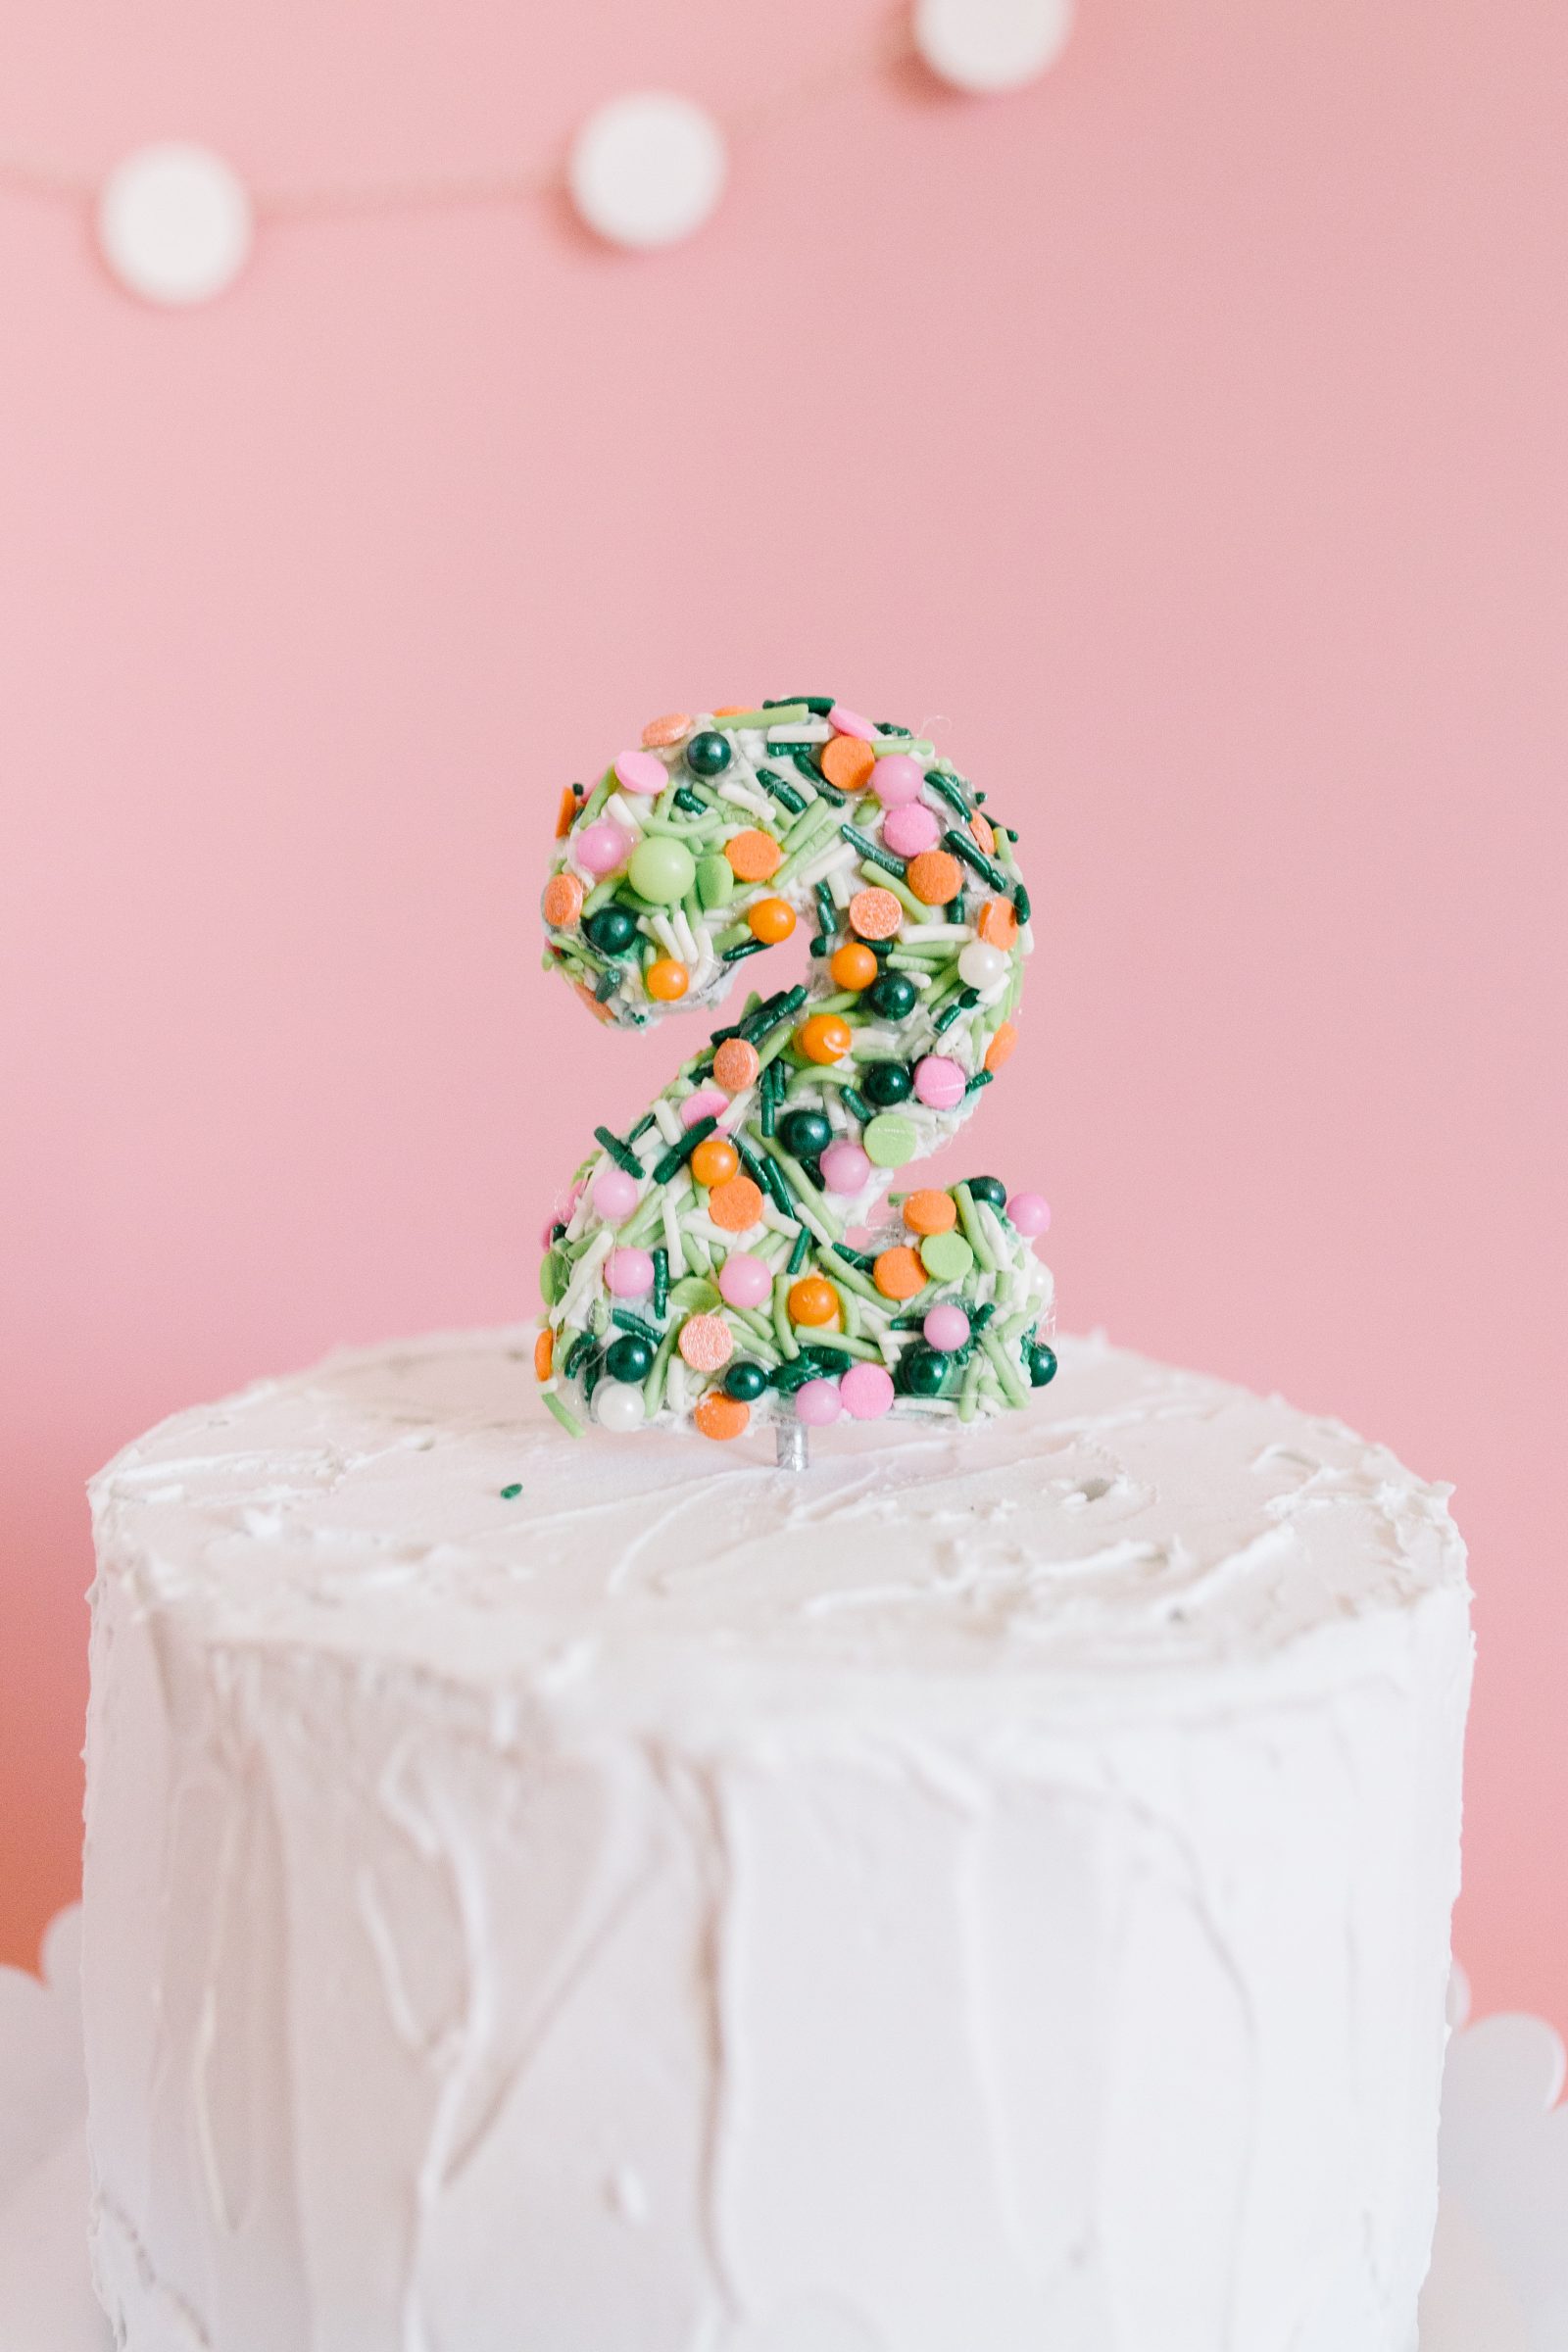
- Using a knife, spread the icing over the number, smoothing around the edges as you go. You’ll want it to be relatively thick to cover any of the design that might be on your candle, plus it will help to hold the sprinkles better.
- Apply the sprinkles. I liked doing this a section at a time, picking up a small amount of sprinkles and pressing them into the frosting. (Tip: If there are small areas where you need more icing, you can apply a dot of frosting using a piping bag and individually apply sprinkles as needed.)
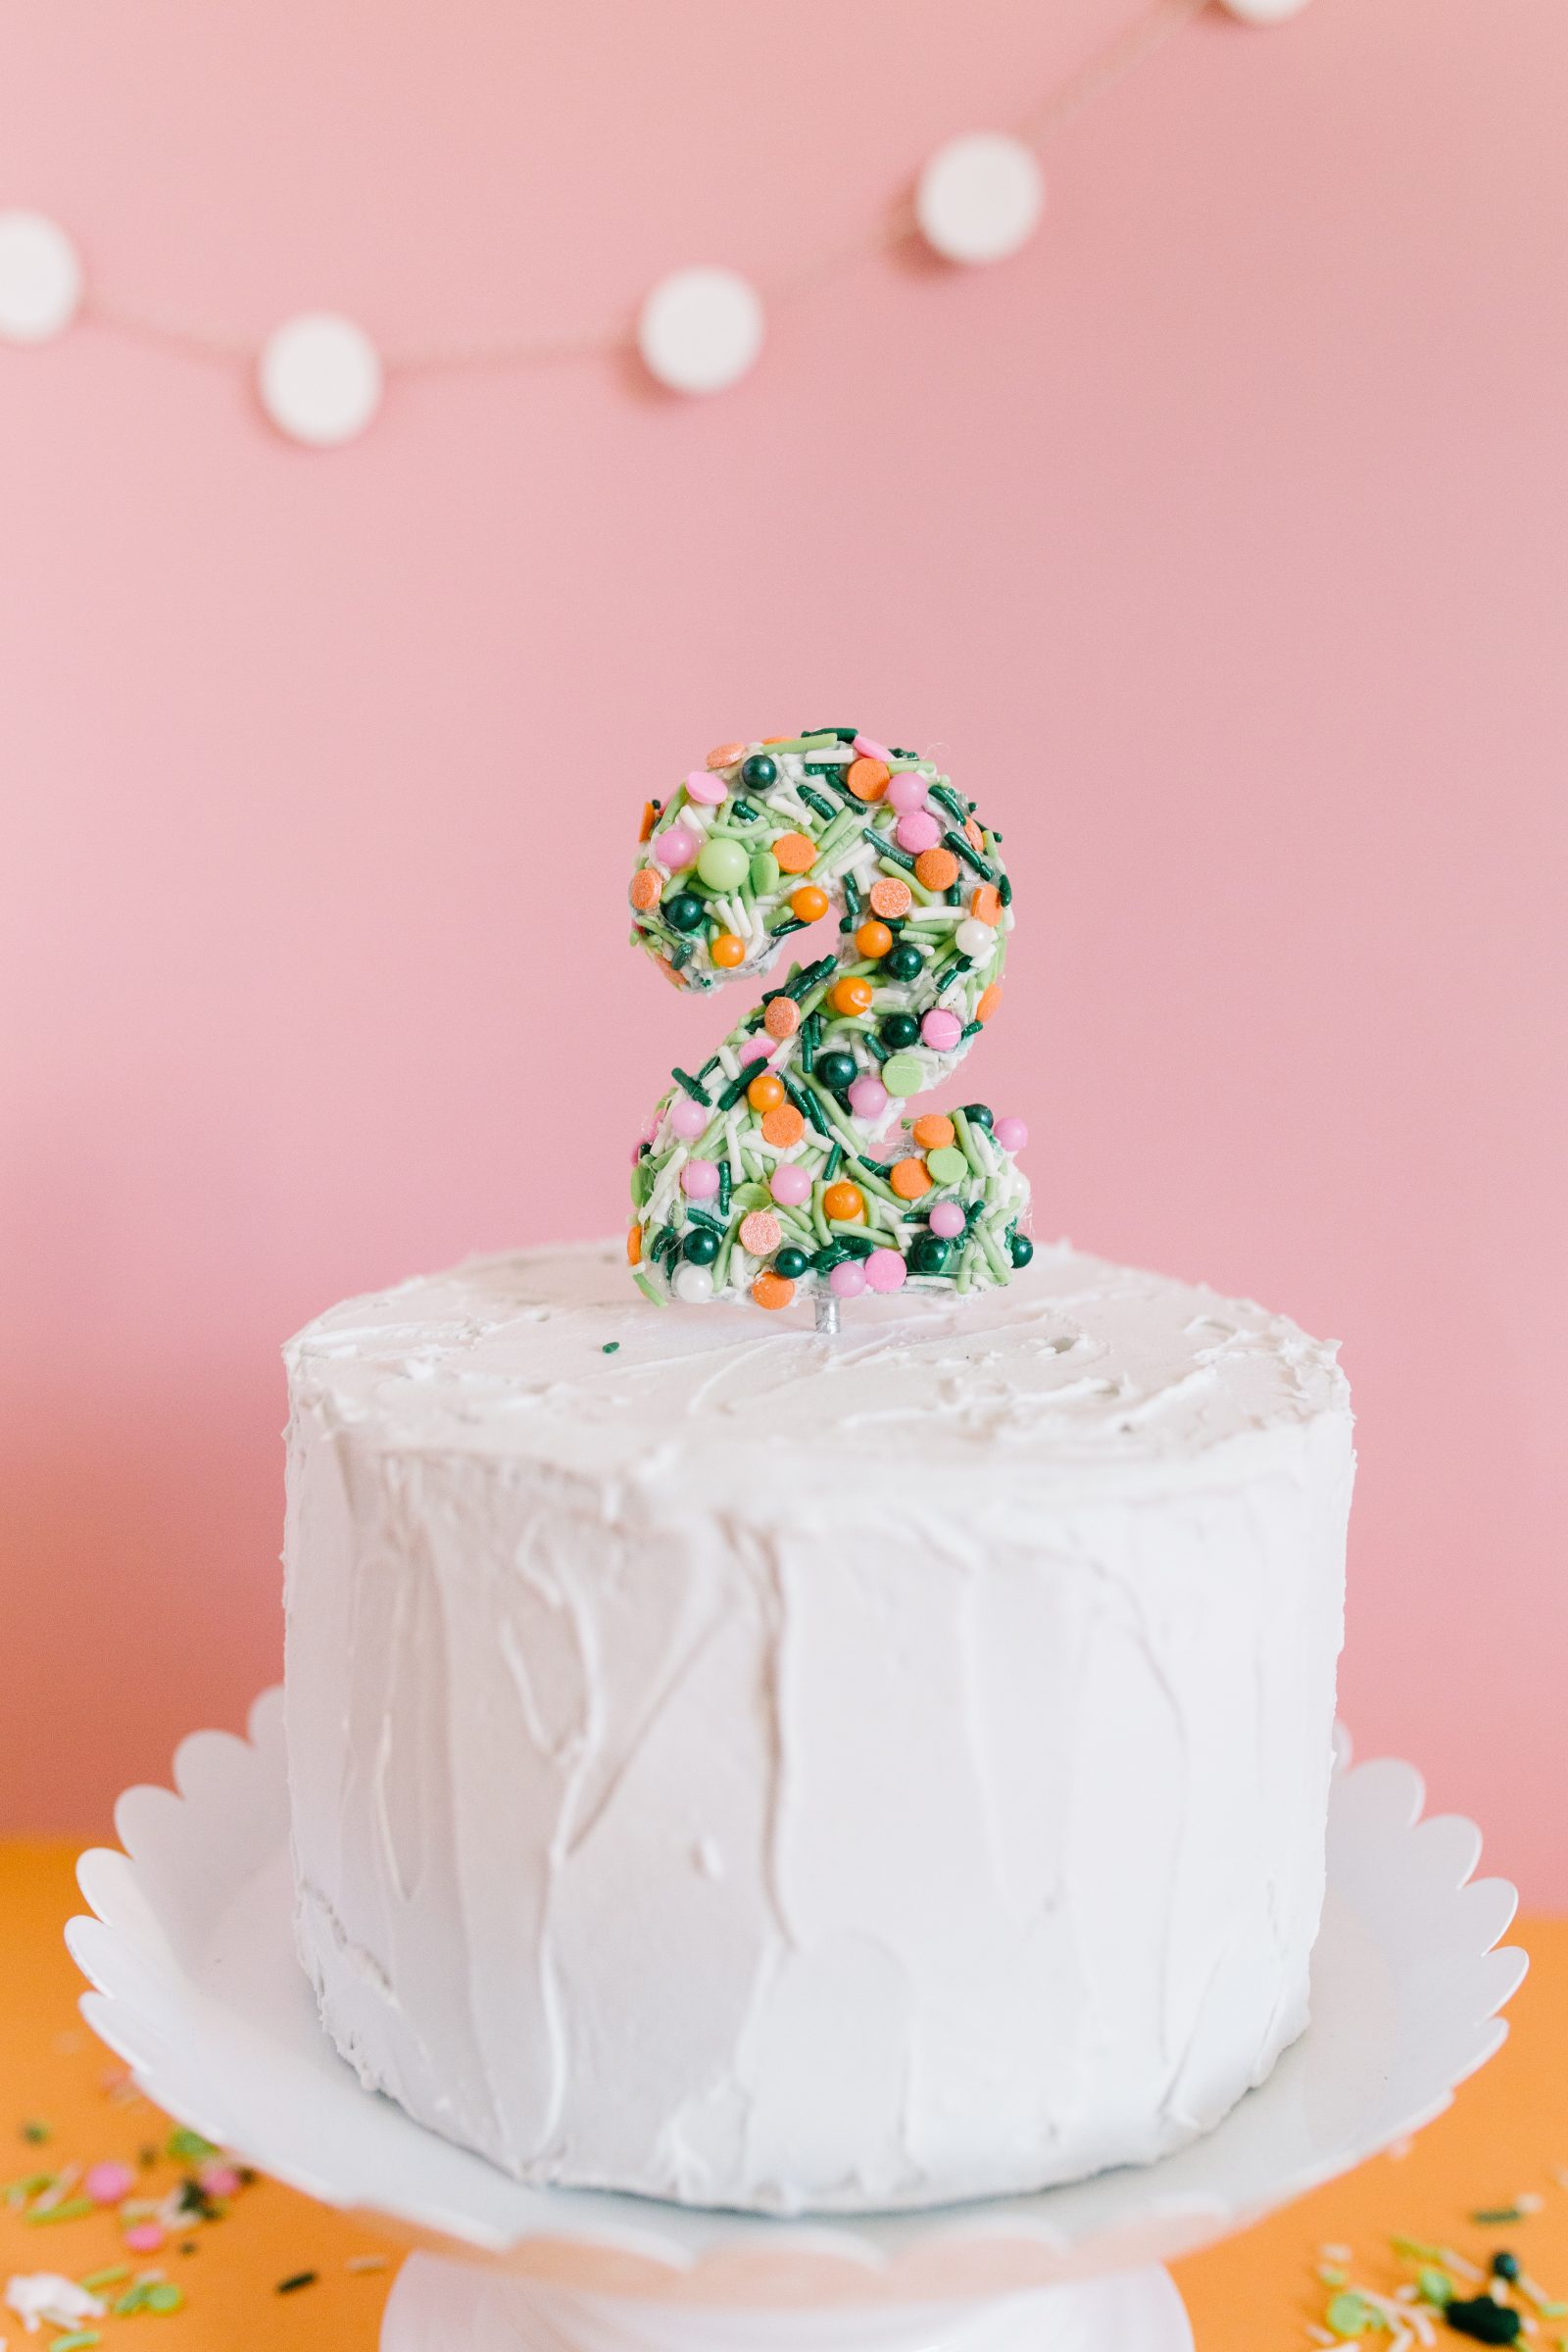
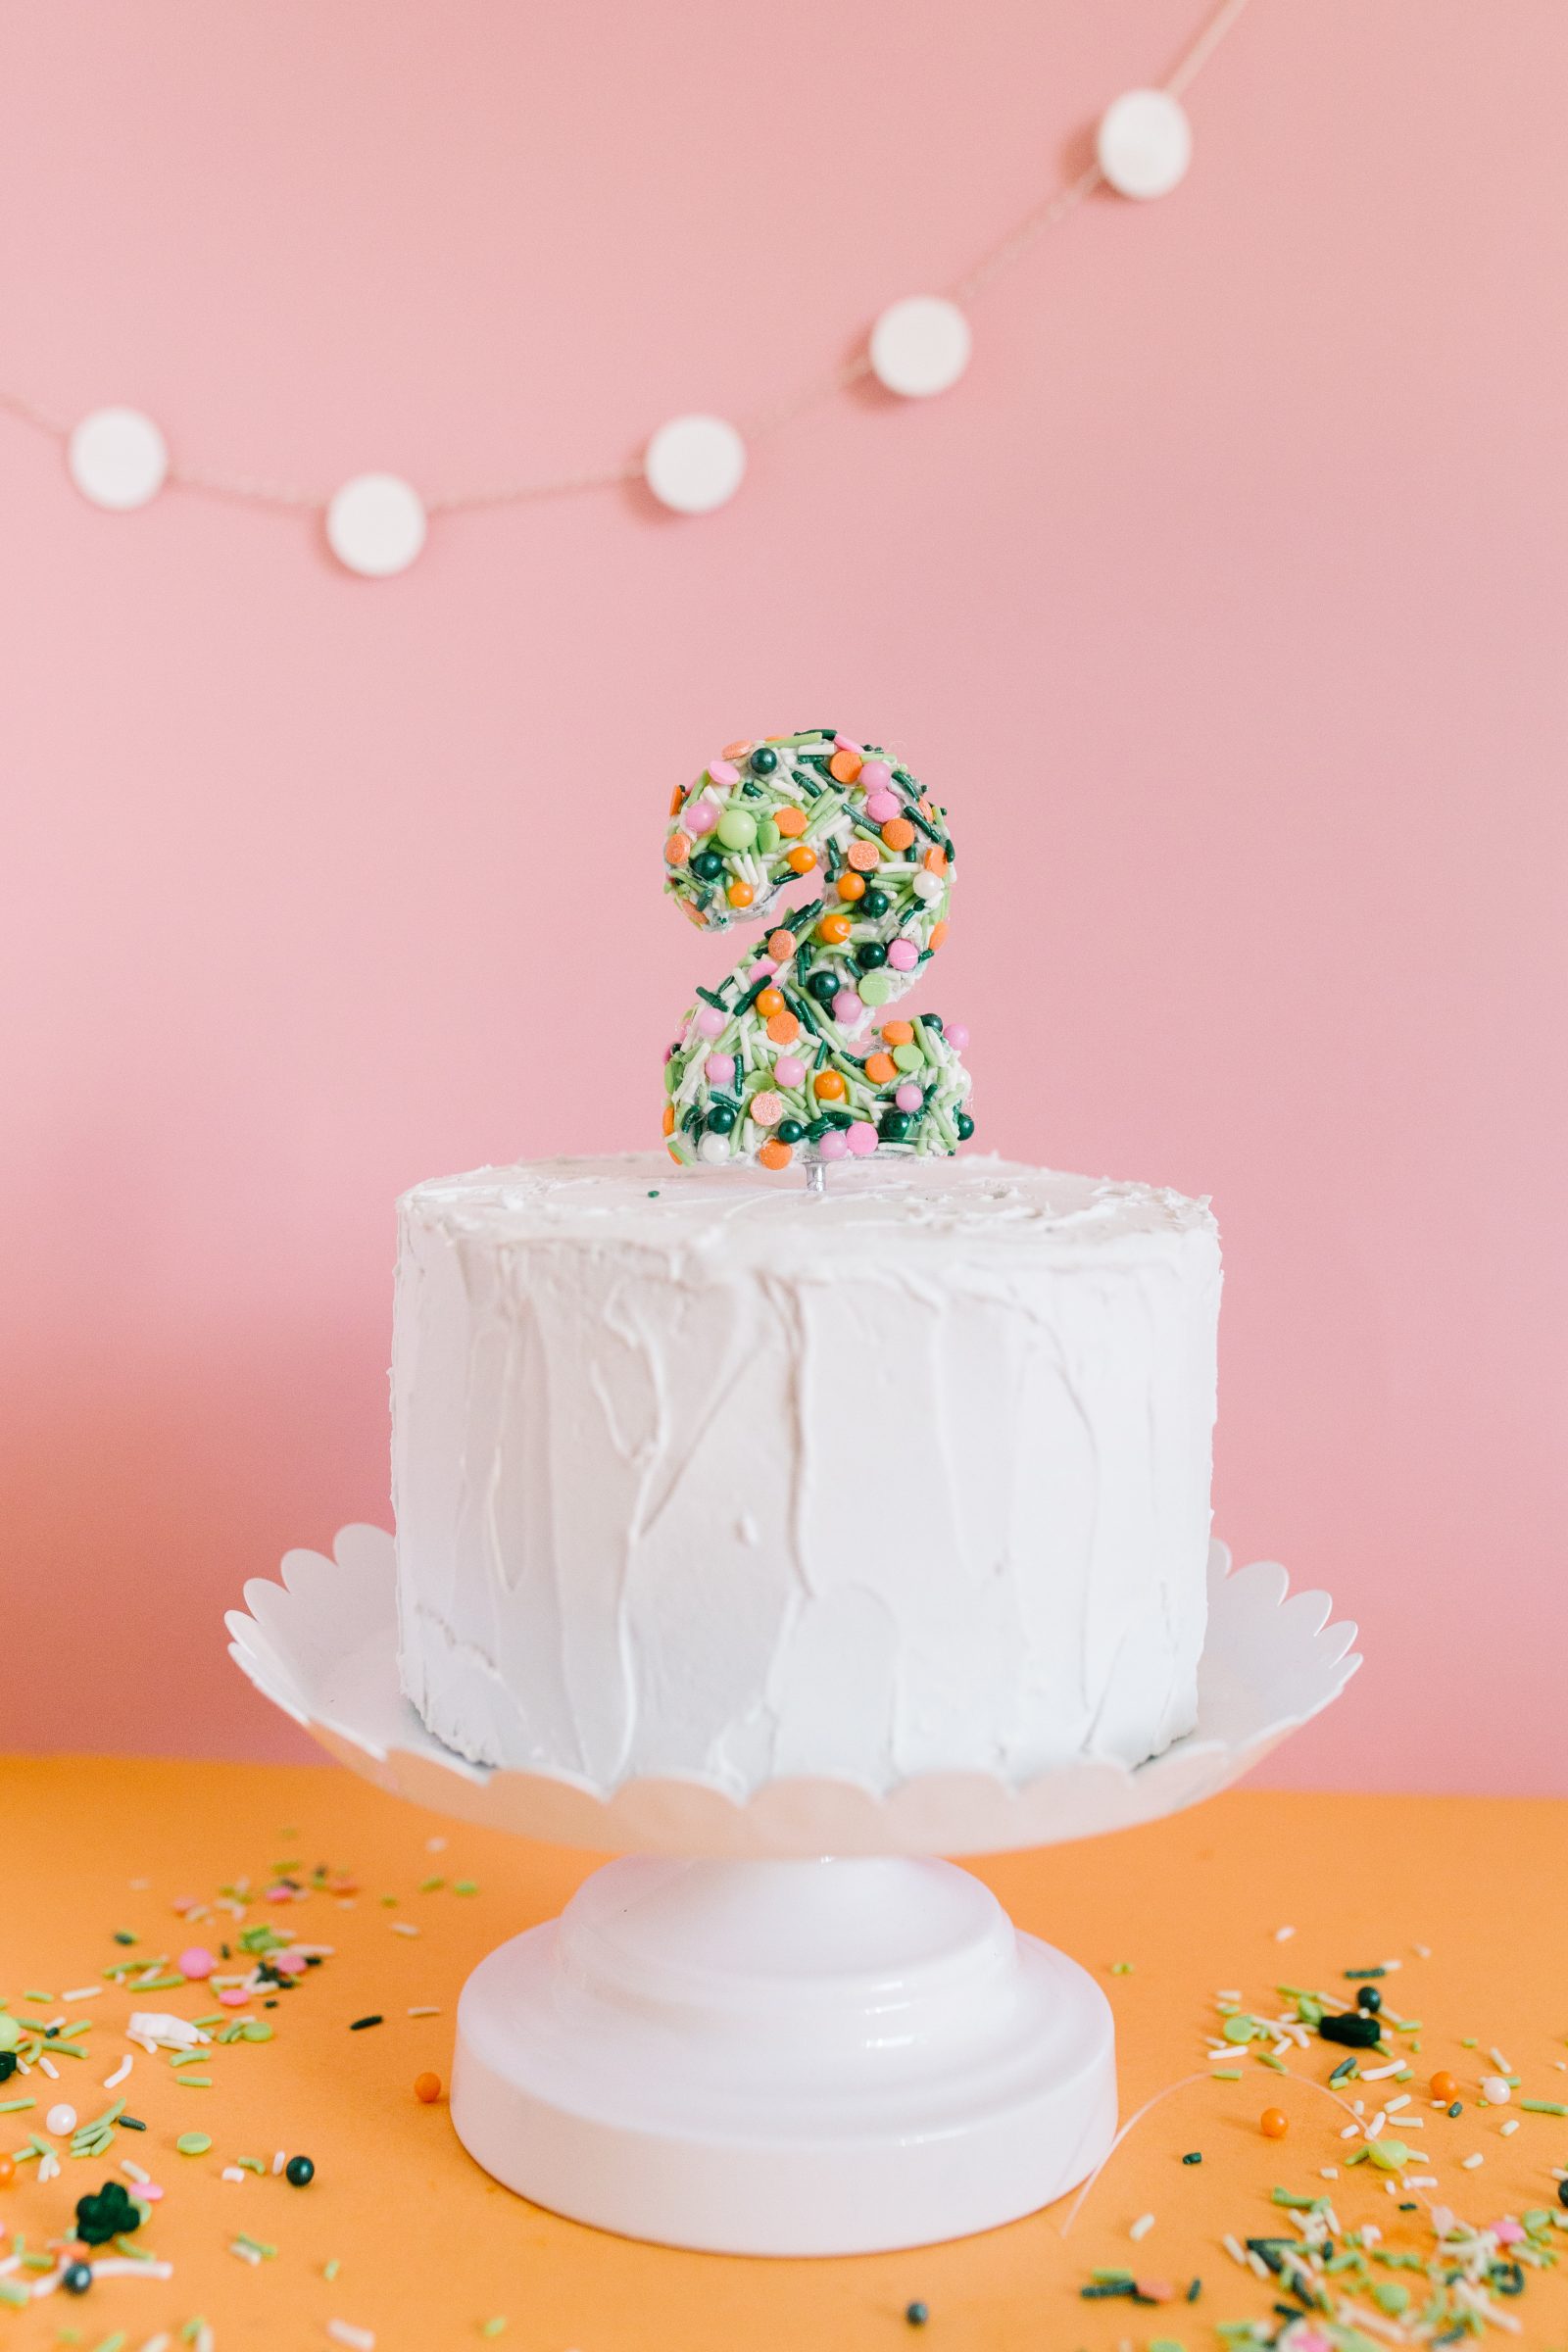
- Once you are happy with the coverage, let the number dry completely and apply to your cake!
That’s it! This is such a fun way to transform a cheap candle, and to match your party theme to your topper!
Happy Making!
ox. Liz