If you follow us on Instagram then you might have seen that we wrote a book and it JUST came out! We were lucky enough to be a part of creating projects, making projects and writing The Making It Guide to Crafting in collaboration with the creators of the hit NBC TV show Making It! We are so proud of the book and love all of the unique crafts you’ll find in its pages, which are a mix of our own original ideas and some taken directly from the show. It is colorful, full of heart and packed with maker magic, and we hope you’ll feel inspired to make something the second you open its cover!
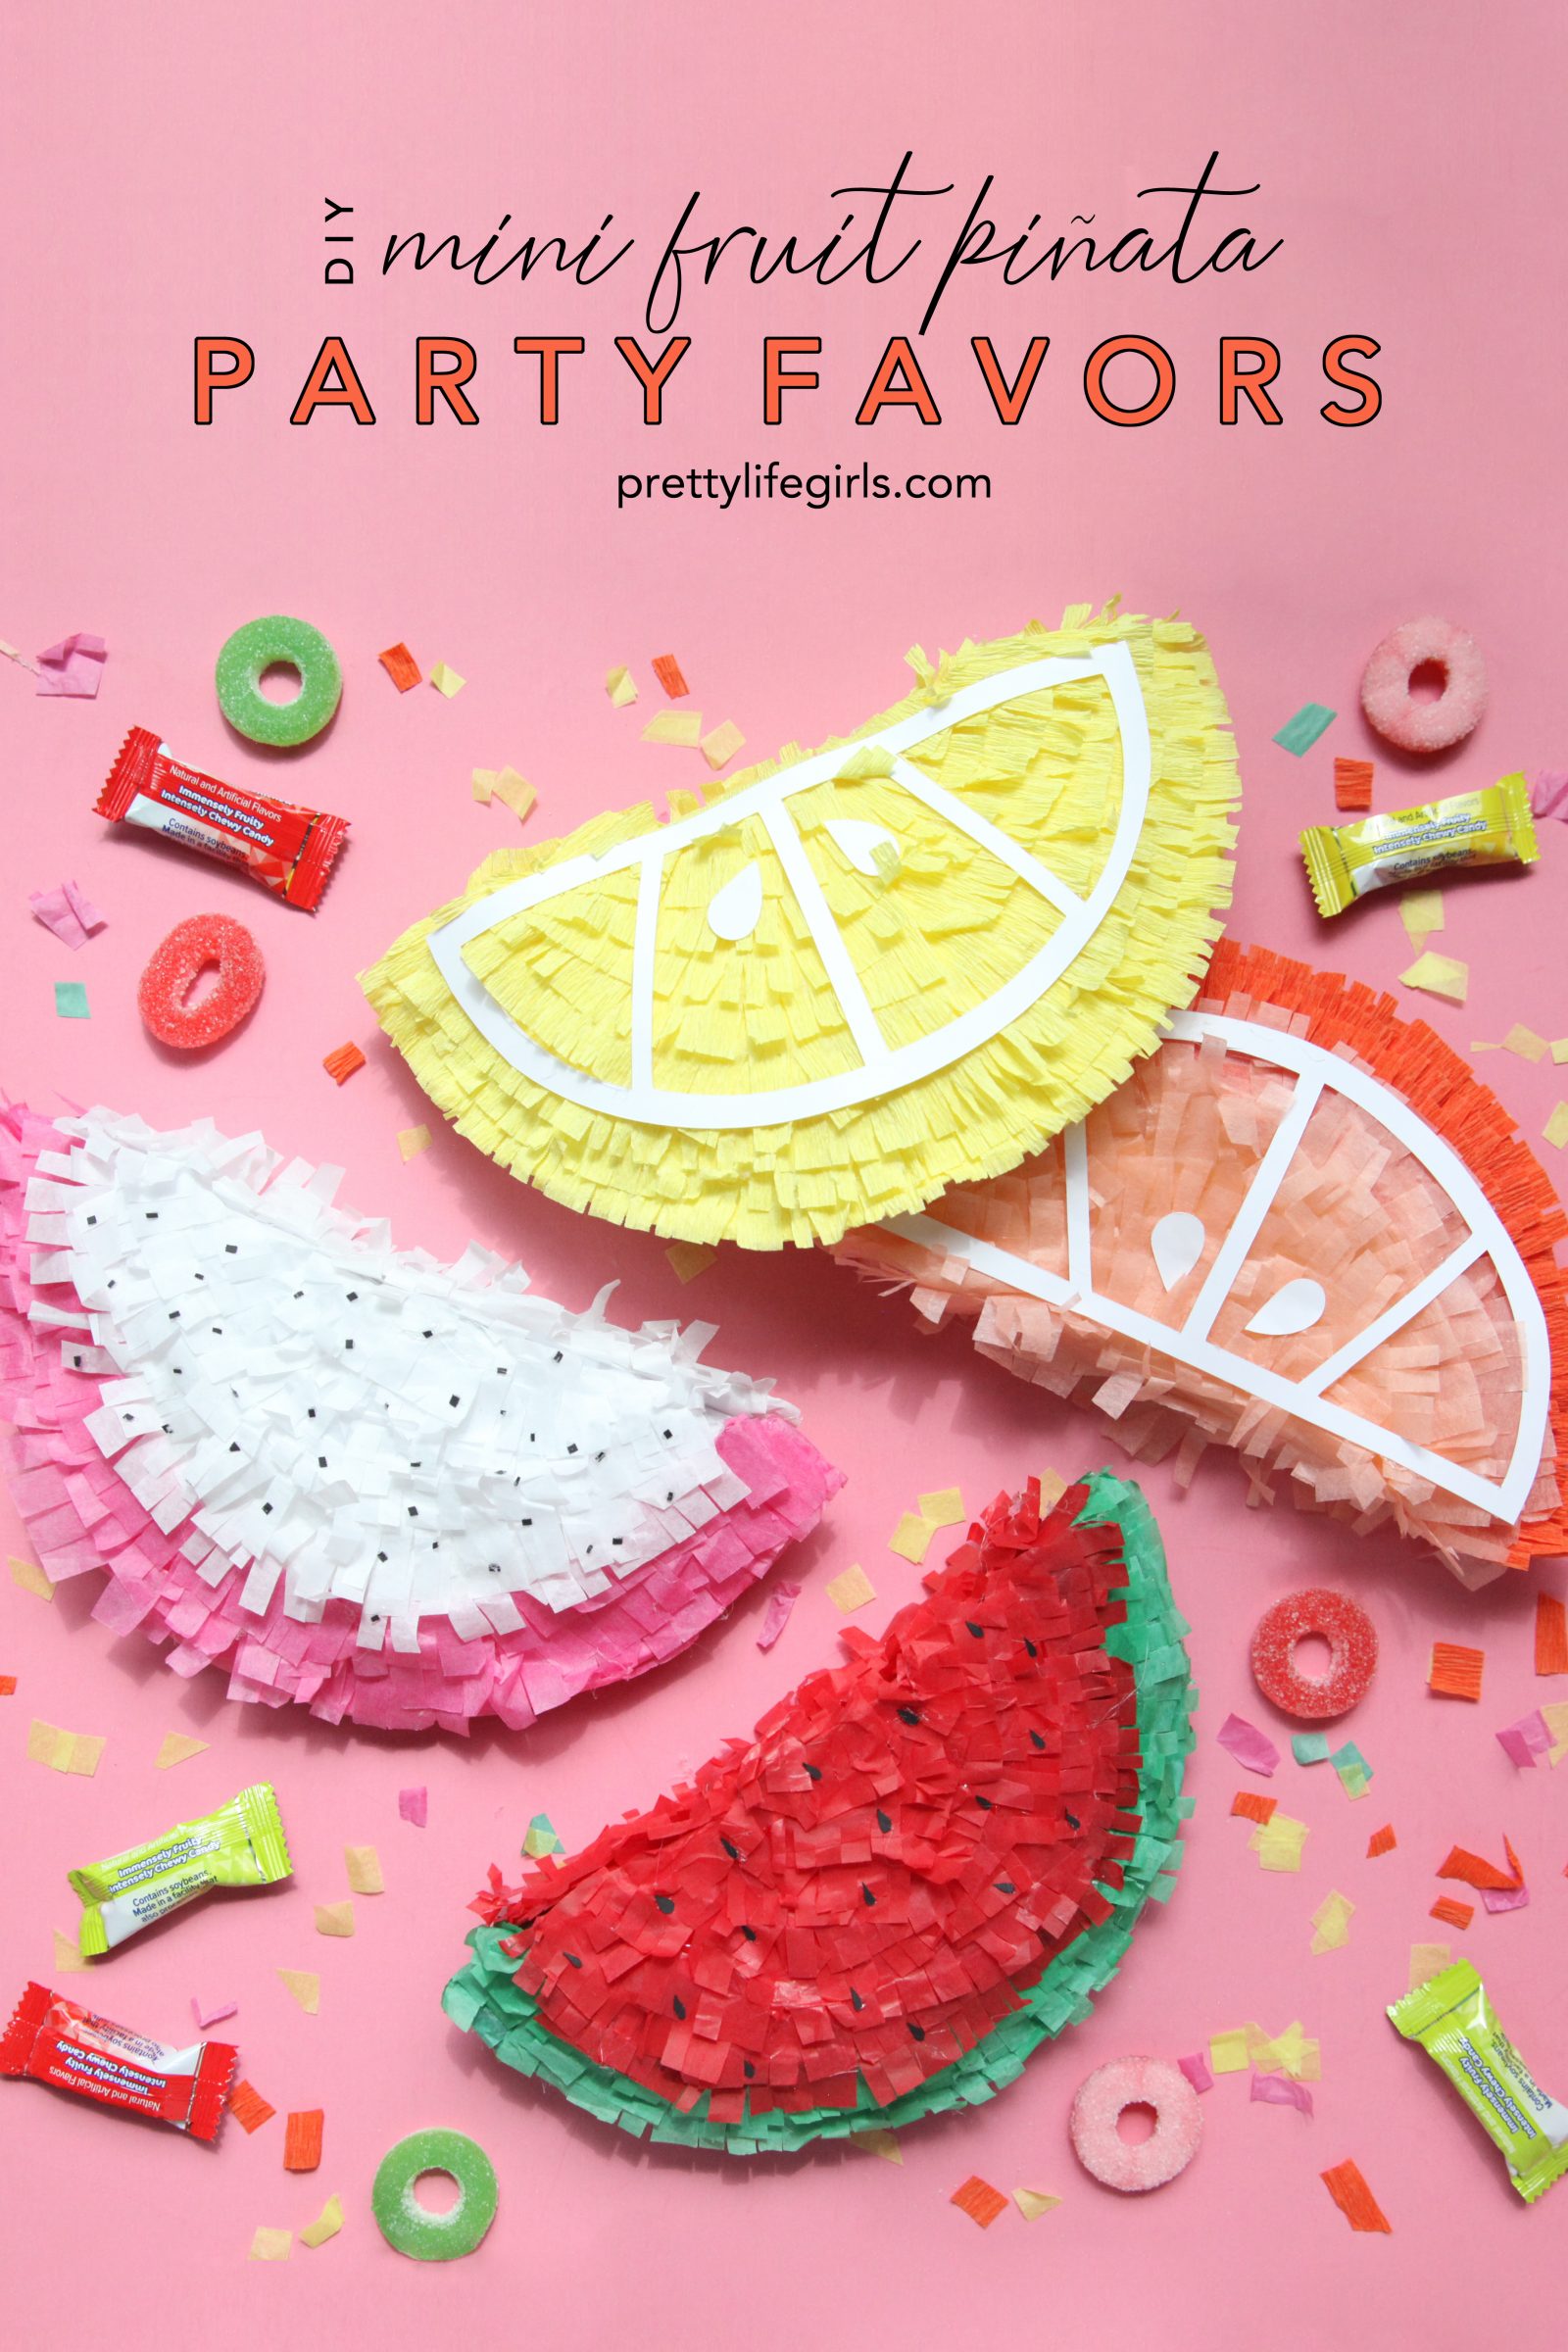
To celebrate the release of the book, we are sharing a favorite project you’ll find inside, Mini Piñata Party Favors! These cuties are made out of paper plates (no papier-mâché required) and are so fun to fill with candy, messages, or other treats as a festive favor or invitation! We made ours to look like little fruit slices, but you can get creative with other designs to match your theme. Here is how to make mini piñatas:
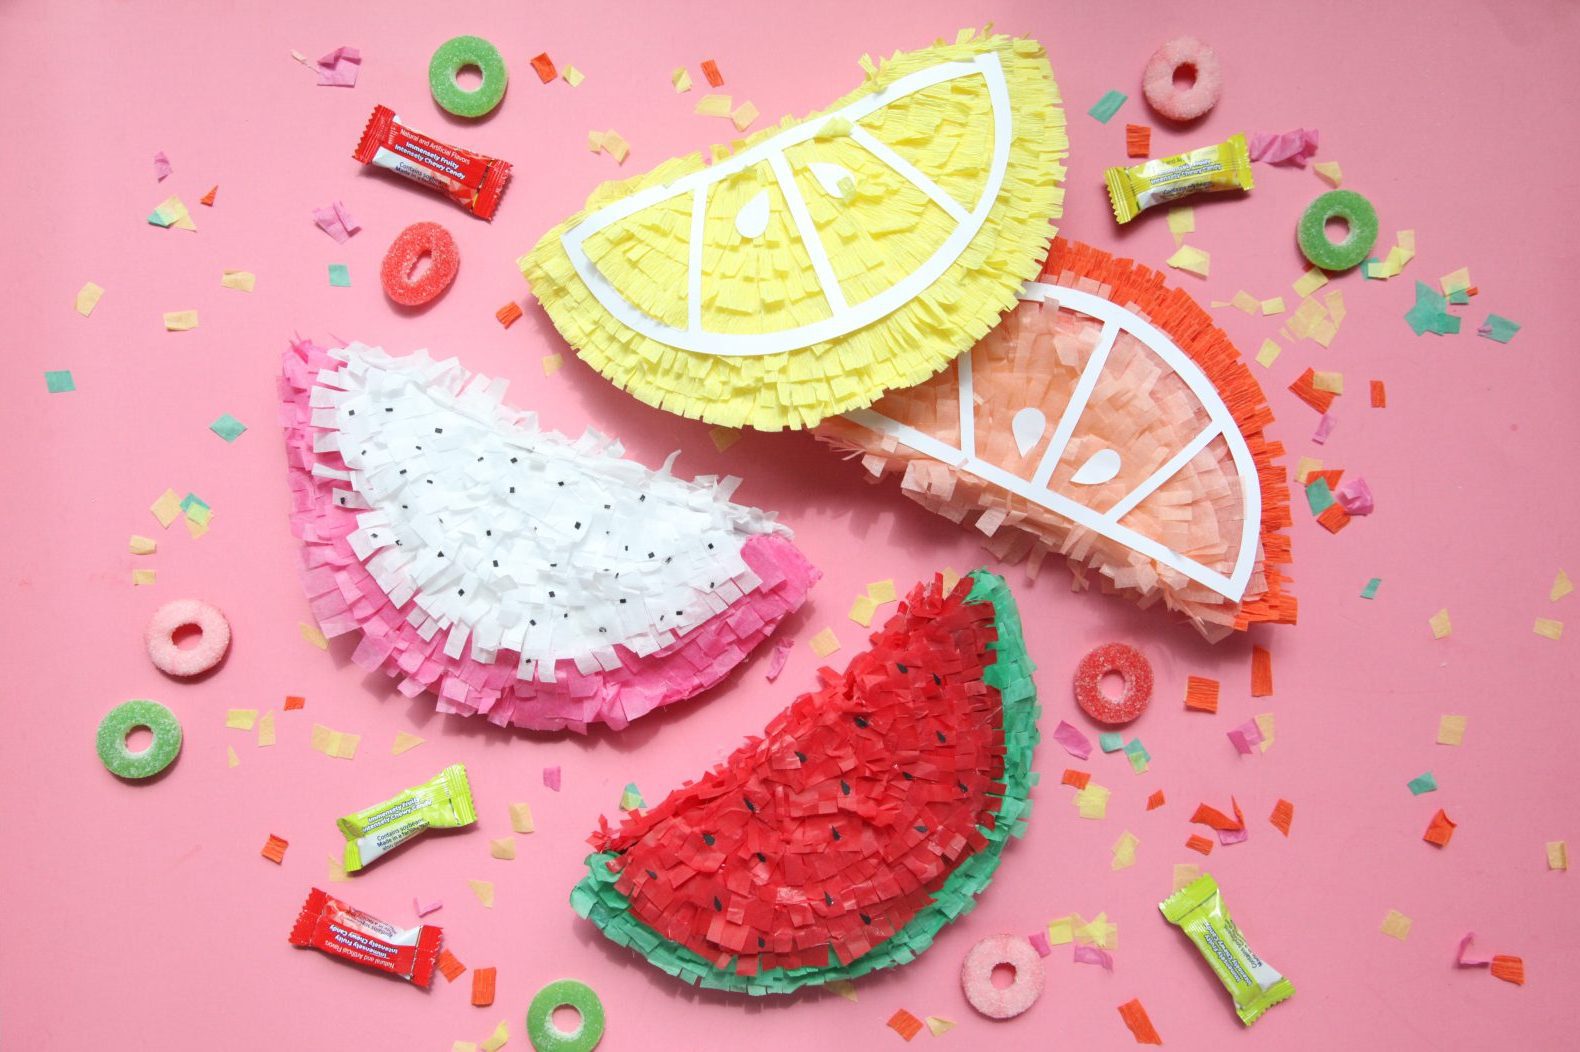

Supplies needed to make Mini Piñatas
Paper plates (ours were 9-inch plates)
Tissue paper and/or crepe paper
Hot glue gun + glue sticks
Cardstock for details
Scissors
Treats for stuffing


How to make Mini Piñatas
Watch the video tutorial here, or follow the steps below.
Step 2: Place a line of hot glue on the rounded edge of one of the paper plates and press it against the same matching side of the other half of the plate to connect. This should create a half circle with a pocket in the middle.
Step 3: Fill the pocket of the piñata with confetti, candy, and/or an invitation/message.
Step 4: Glue a sheet of crepe paper over the pocket to close it using hot glue. Use scissors to remove excess paper.
Step 5: Cut the crepe paper into 1-inch strips, then cut ¼-inch-deep lines snips into the strips , lengthwise, to create fringe.
Step 6: Starting at the curved end of the piñata and working toward the top, glue the fringe strips onto the plate, changing colors after the rind or peel of the fruit is completed.
Step 7: Continue until the paper plate is completely covered with fringe.
Step 8: Once the piñata is fully covered, use scissors or a craft cutter to cut out additional details for the fruit out of the card stock (i.e., seeds, slices, etc.).
Step 9: Apply additional details to the piñatas using hot glue.


That’s it! Aren’t they the perfect touch to any party? I love them so much, and I love the fact that we can still have piñatas at our party without getting any black eyes from swinging baseball bats.



For more happy inspo, click here to buy our book, The Making It Guide to Crafting!
Happy making!
ox. Sam & Liz


