


This Rainbow Baseball Cap tutorial was originally created for Consumer Crafts.
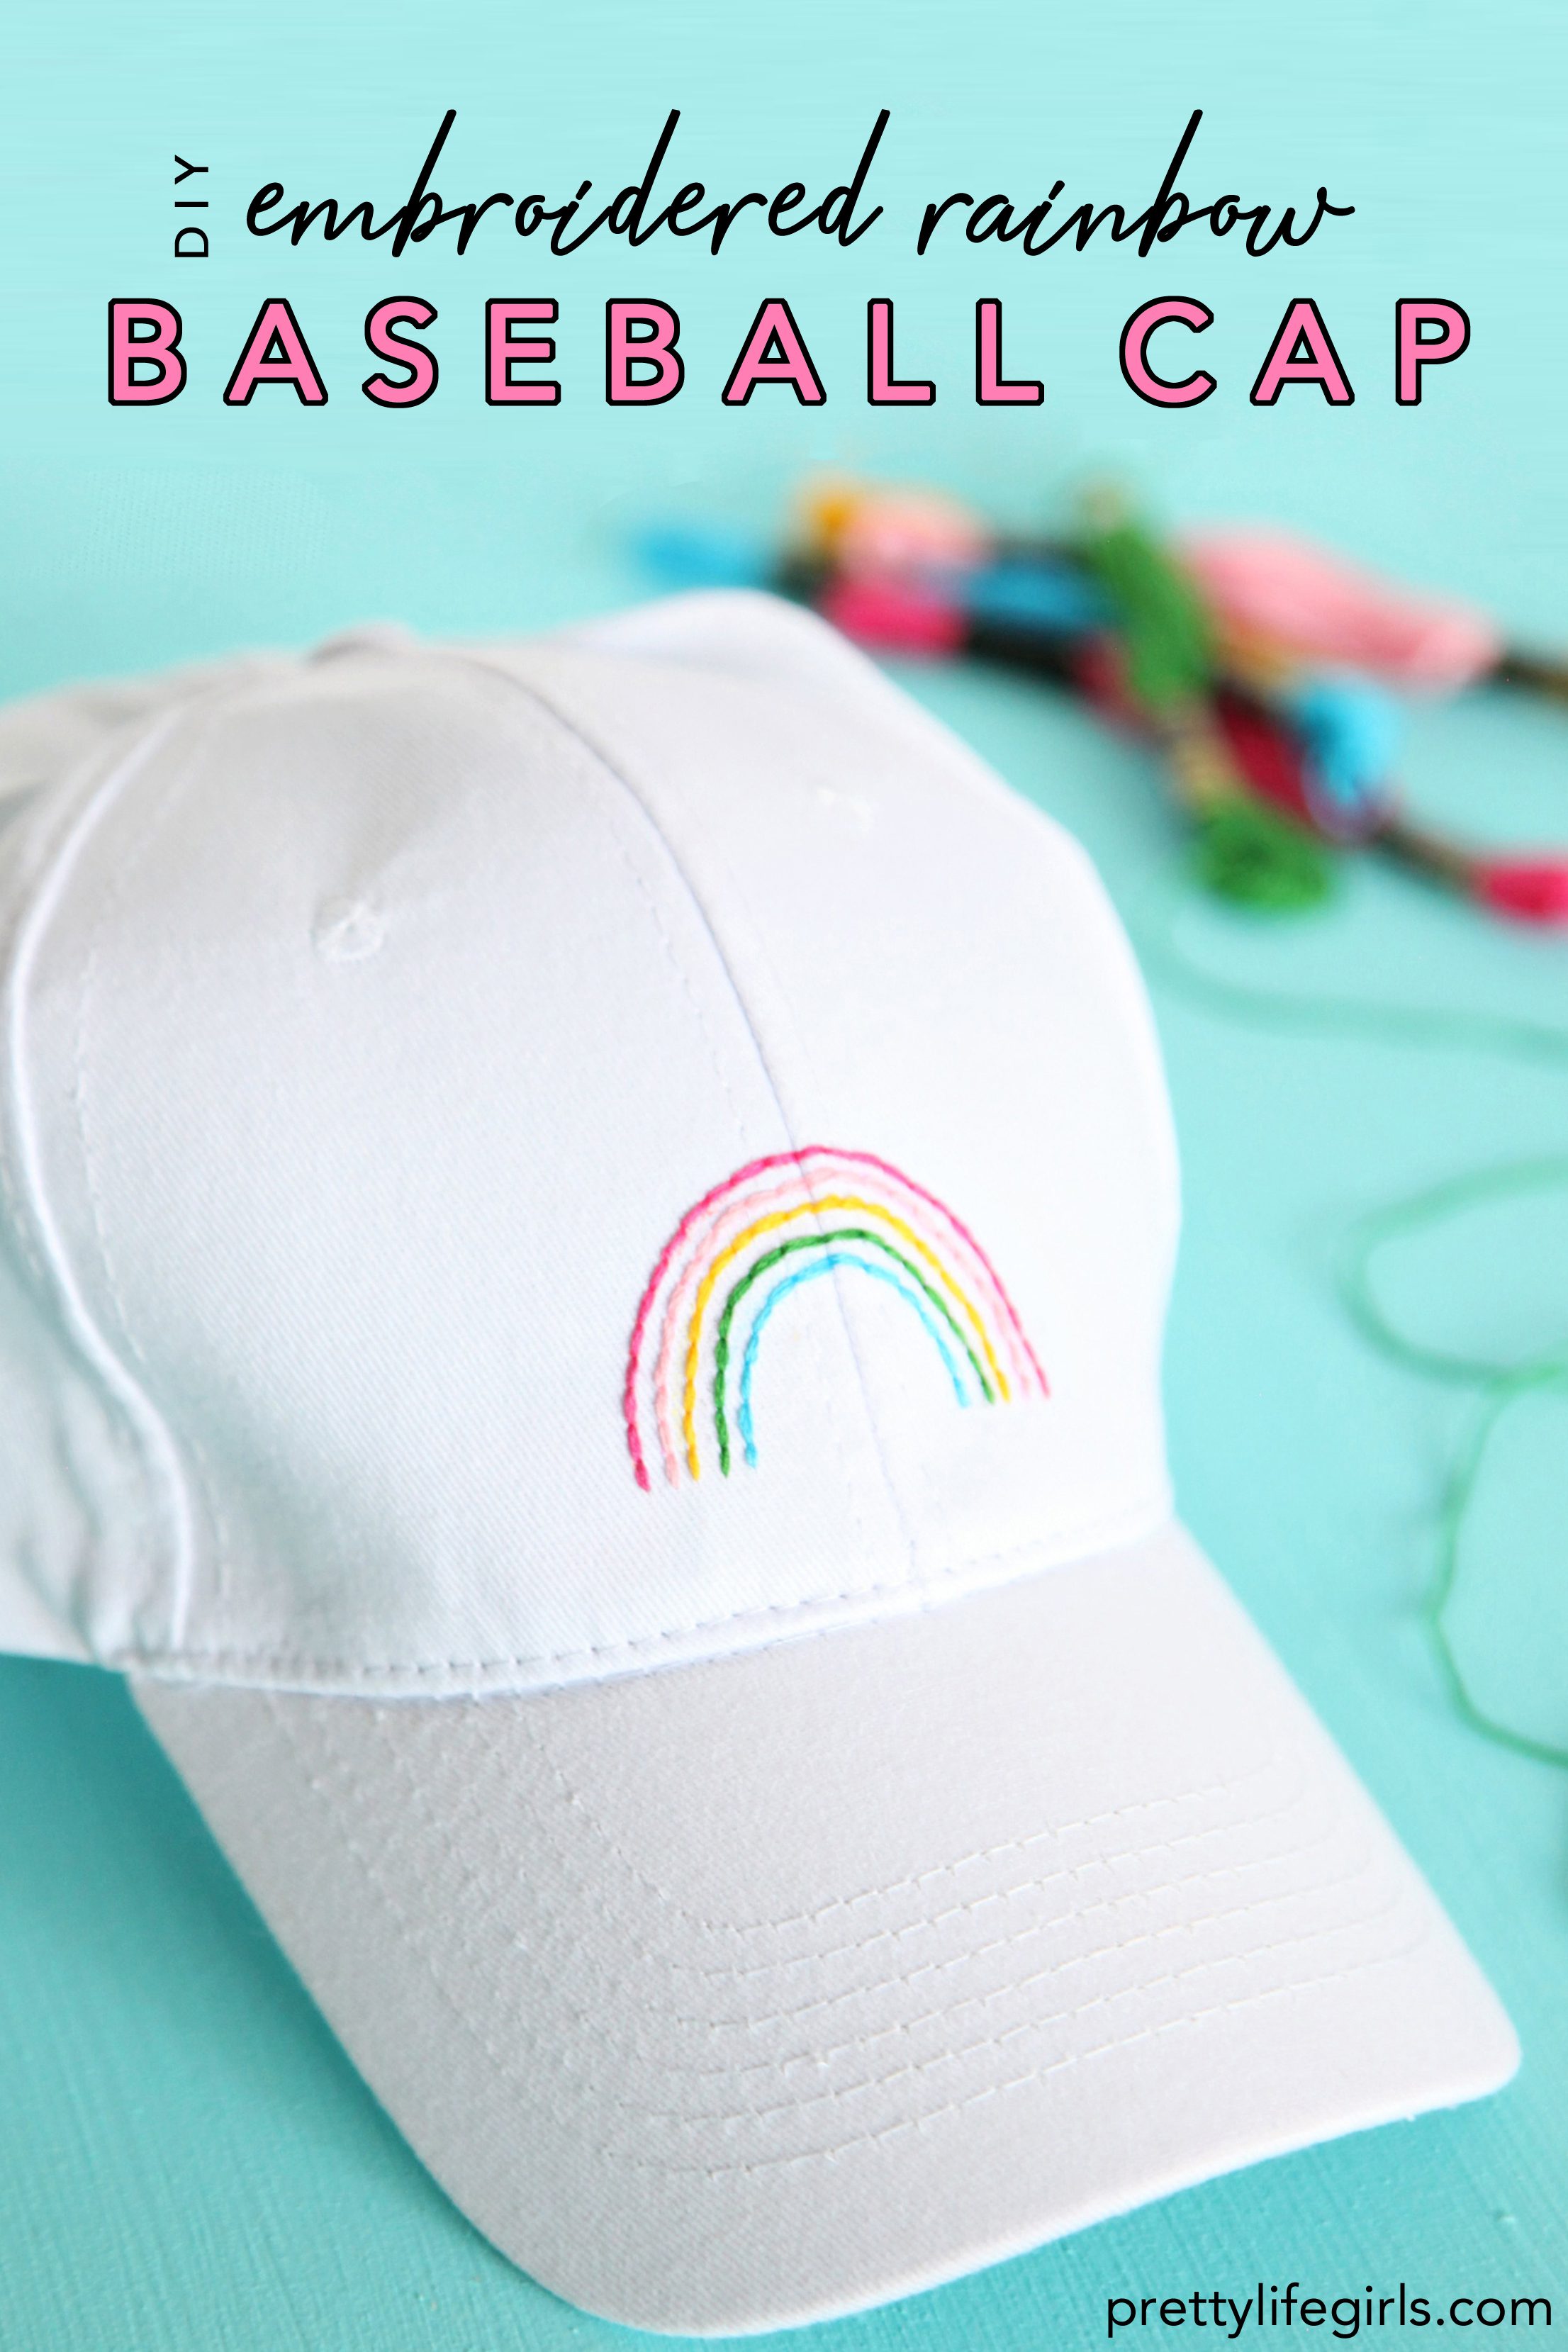
Every summer, I become less and less tolerant of sun in my eyes or on my face. My eyes are more sensitive, my skin is aging, and I find myself reaching for hats almost every day. I usually end up throwing on a sporty baseball cap, even though I’m not a sports fan, so I thought it was time to update my hat collection with something cuter! Enter: this DIY Embroidered Rainbow Baseball Cap! This project comes together so quickly and easily, and I can’t believe how cute it is! All you need to know is how to back stitch, and you can whip one up for yourself in no time! Keep scrolling and reading for the full tutorial!
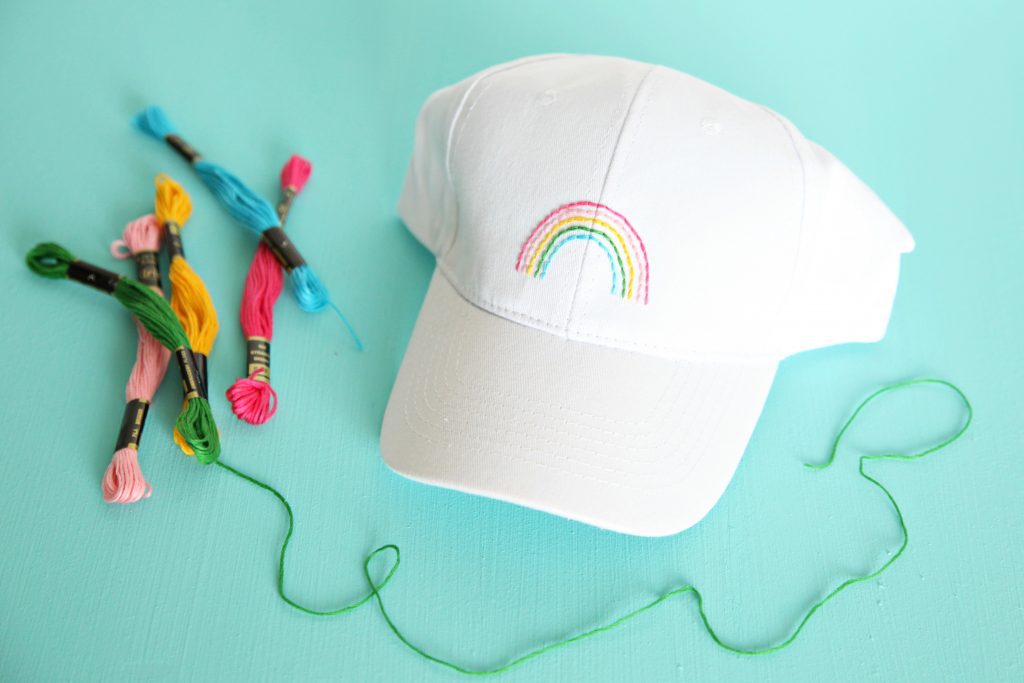
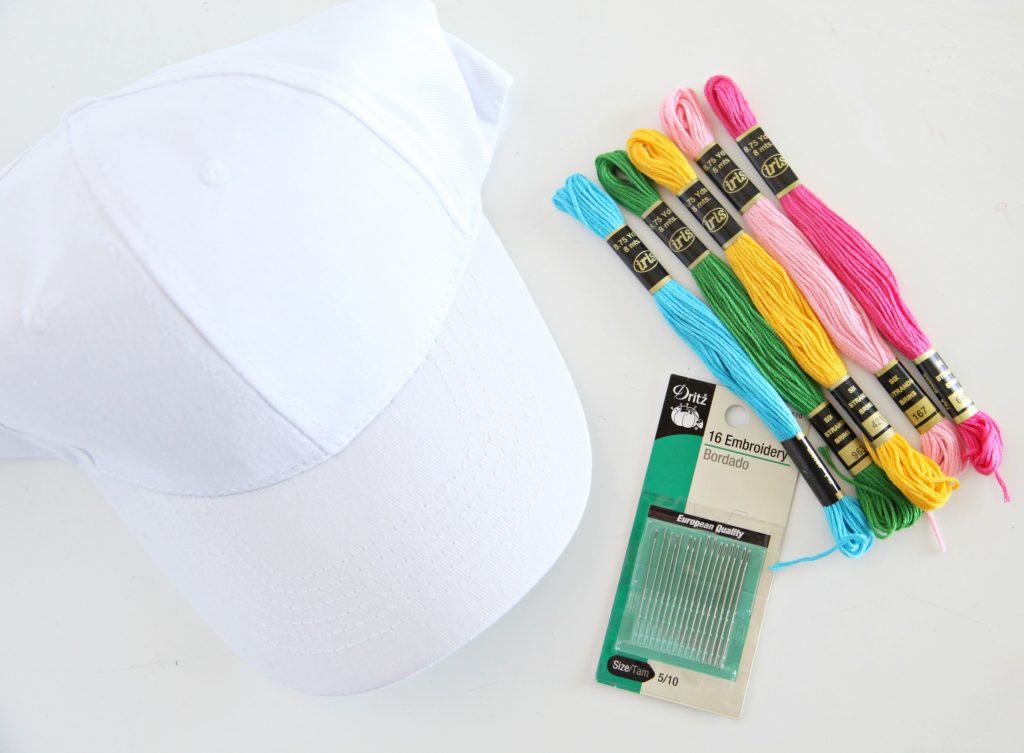
Supplies needed to make your own DIY Embroidered Rainbow Baseball Cap:
Blank baseball cap
Embroidery floss
Embroidery needle
Scissors
Step 1: Draw a rainbow design on the hat using crayons or colored pencils. I used something round to trace the shape, but you could also use a stencil or just free hand it.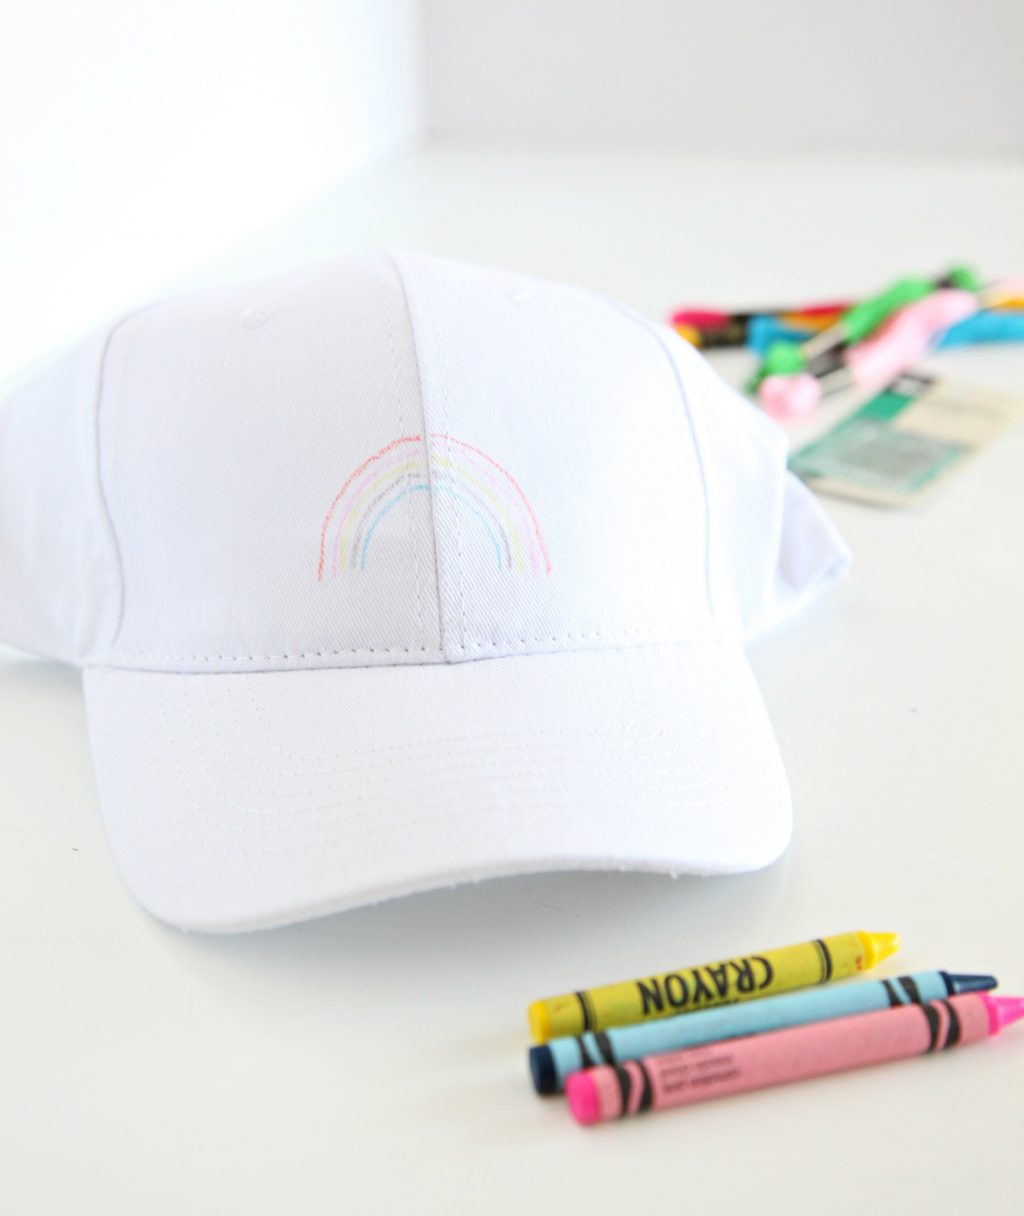
Step 2: Separate three strands of floss in the colors of your choice. I used hot pink, light pink, gold, green, and turquoise. Thread the needle with your first color and back stitch over your drawing. 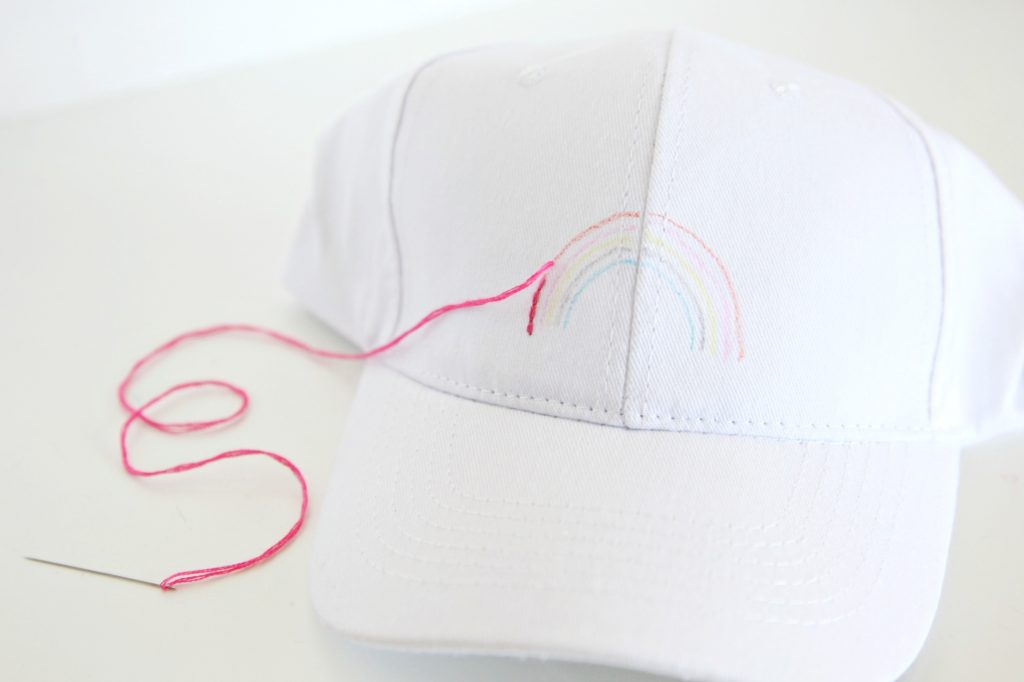
Step 3: Repeat the back stitches with each color, tying off the ends on the inside of the hat. 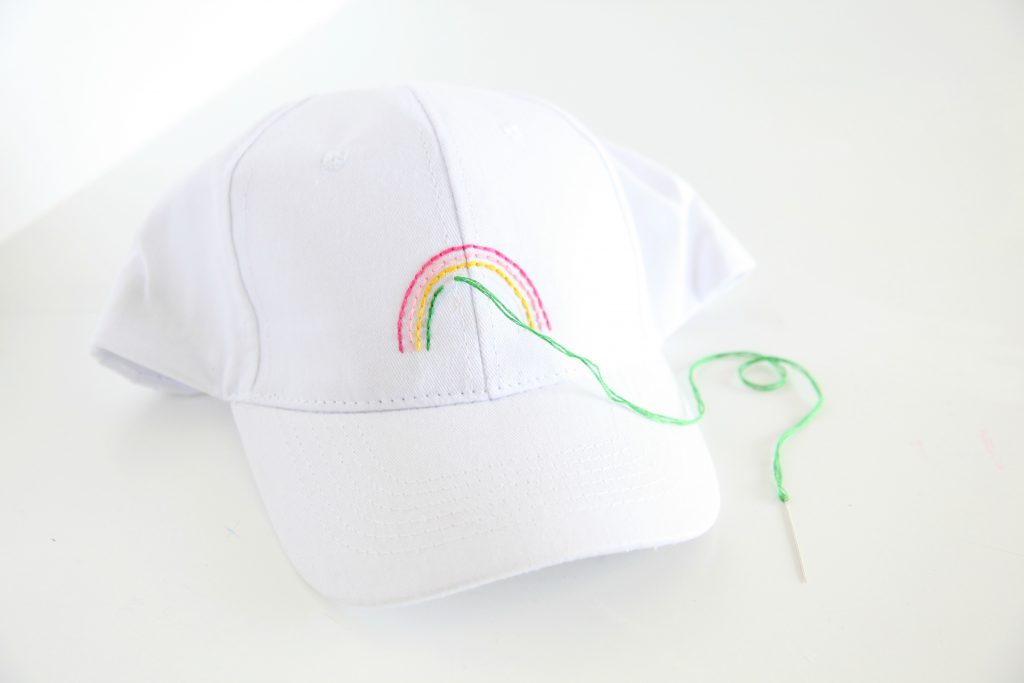
And that’s it! This simple project only takes about 30 minutes from start to finish, and it is so cute! No fancy skills are required, and you can even customize it with your choice of rainbow colors or different stitches! Sun protection never looked so cute.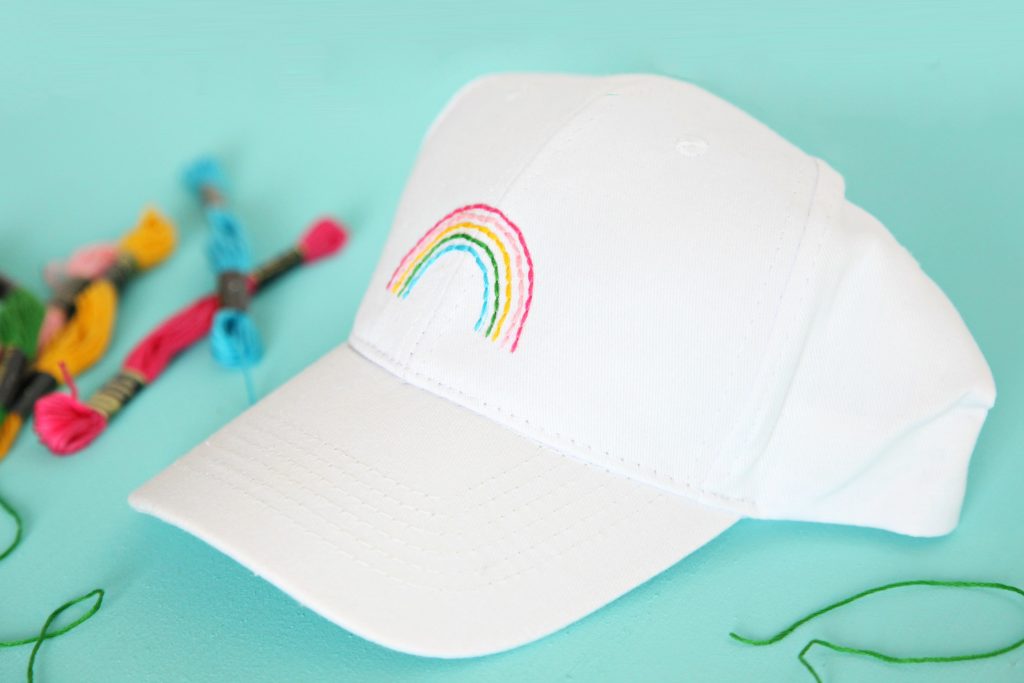
Happy crafting!
xo, Sam
Check out some of our other favorite embroidery projects!


