


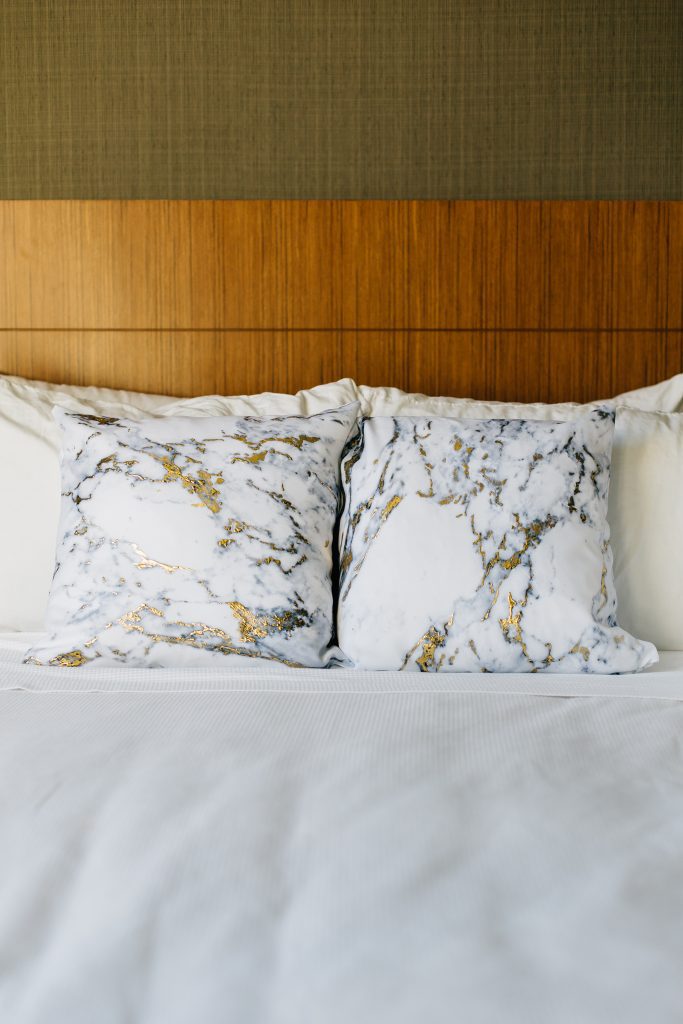
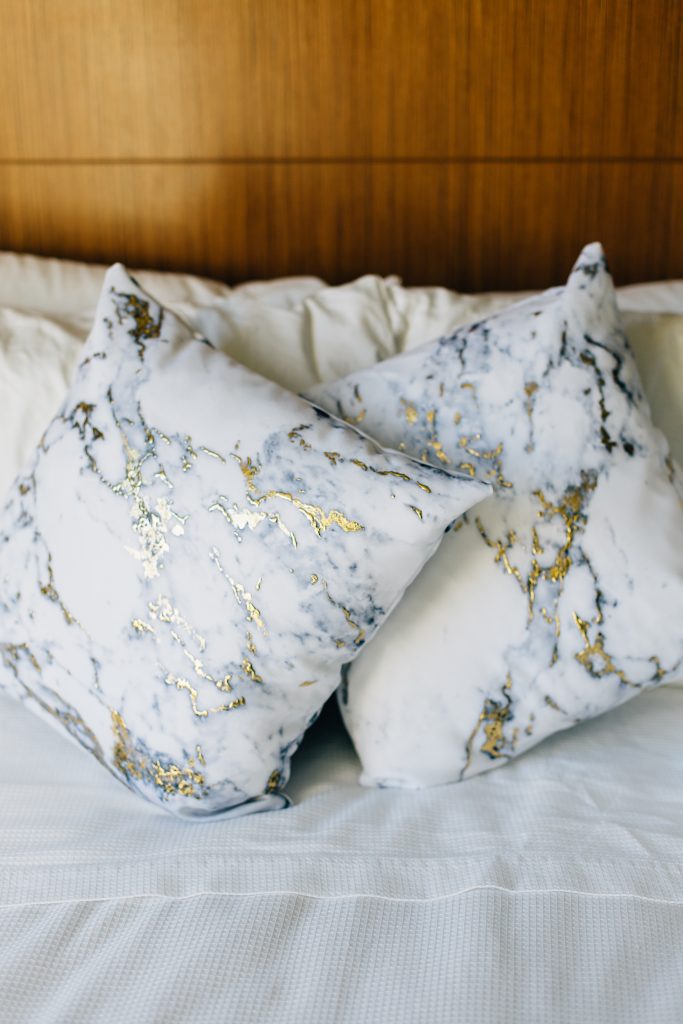
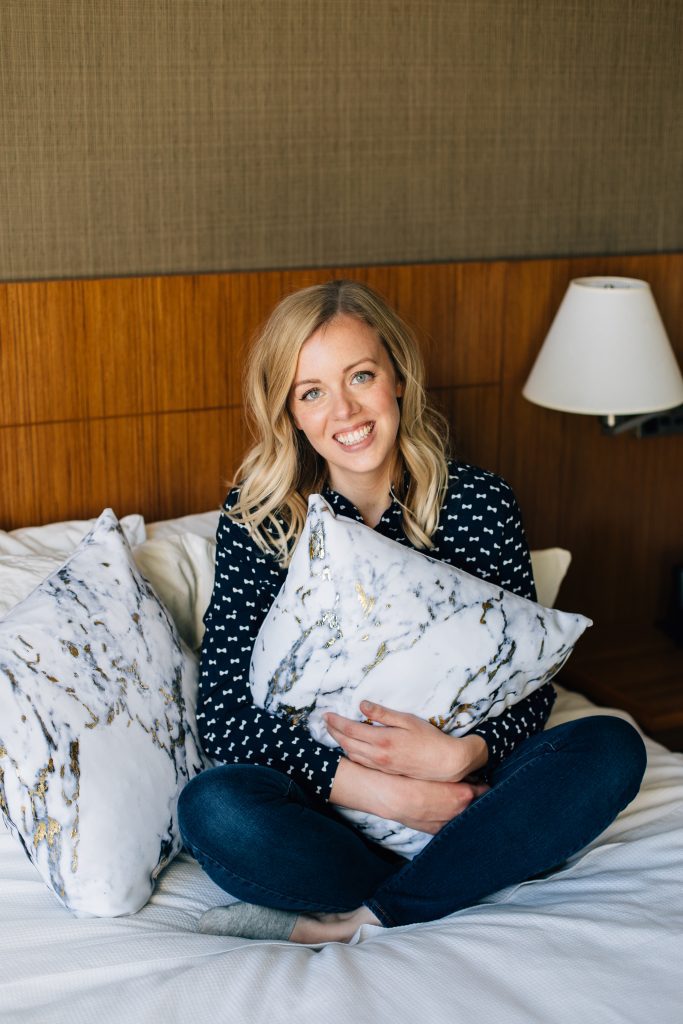
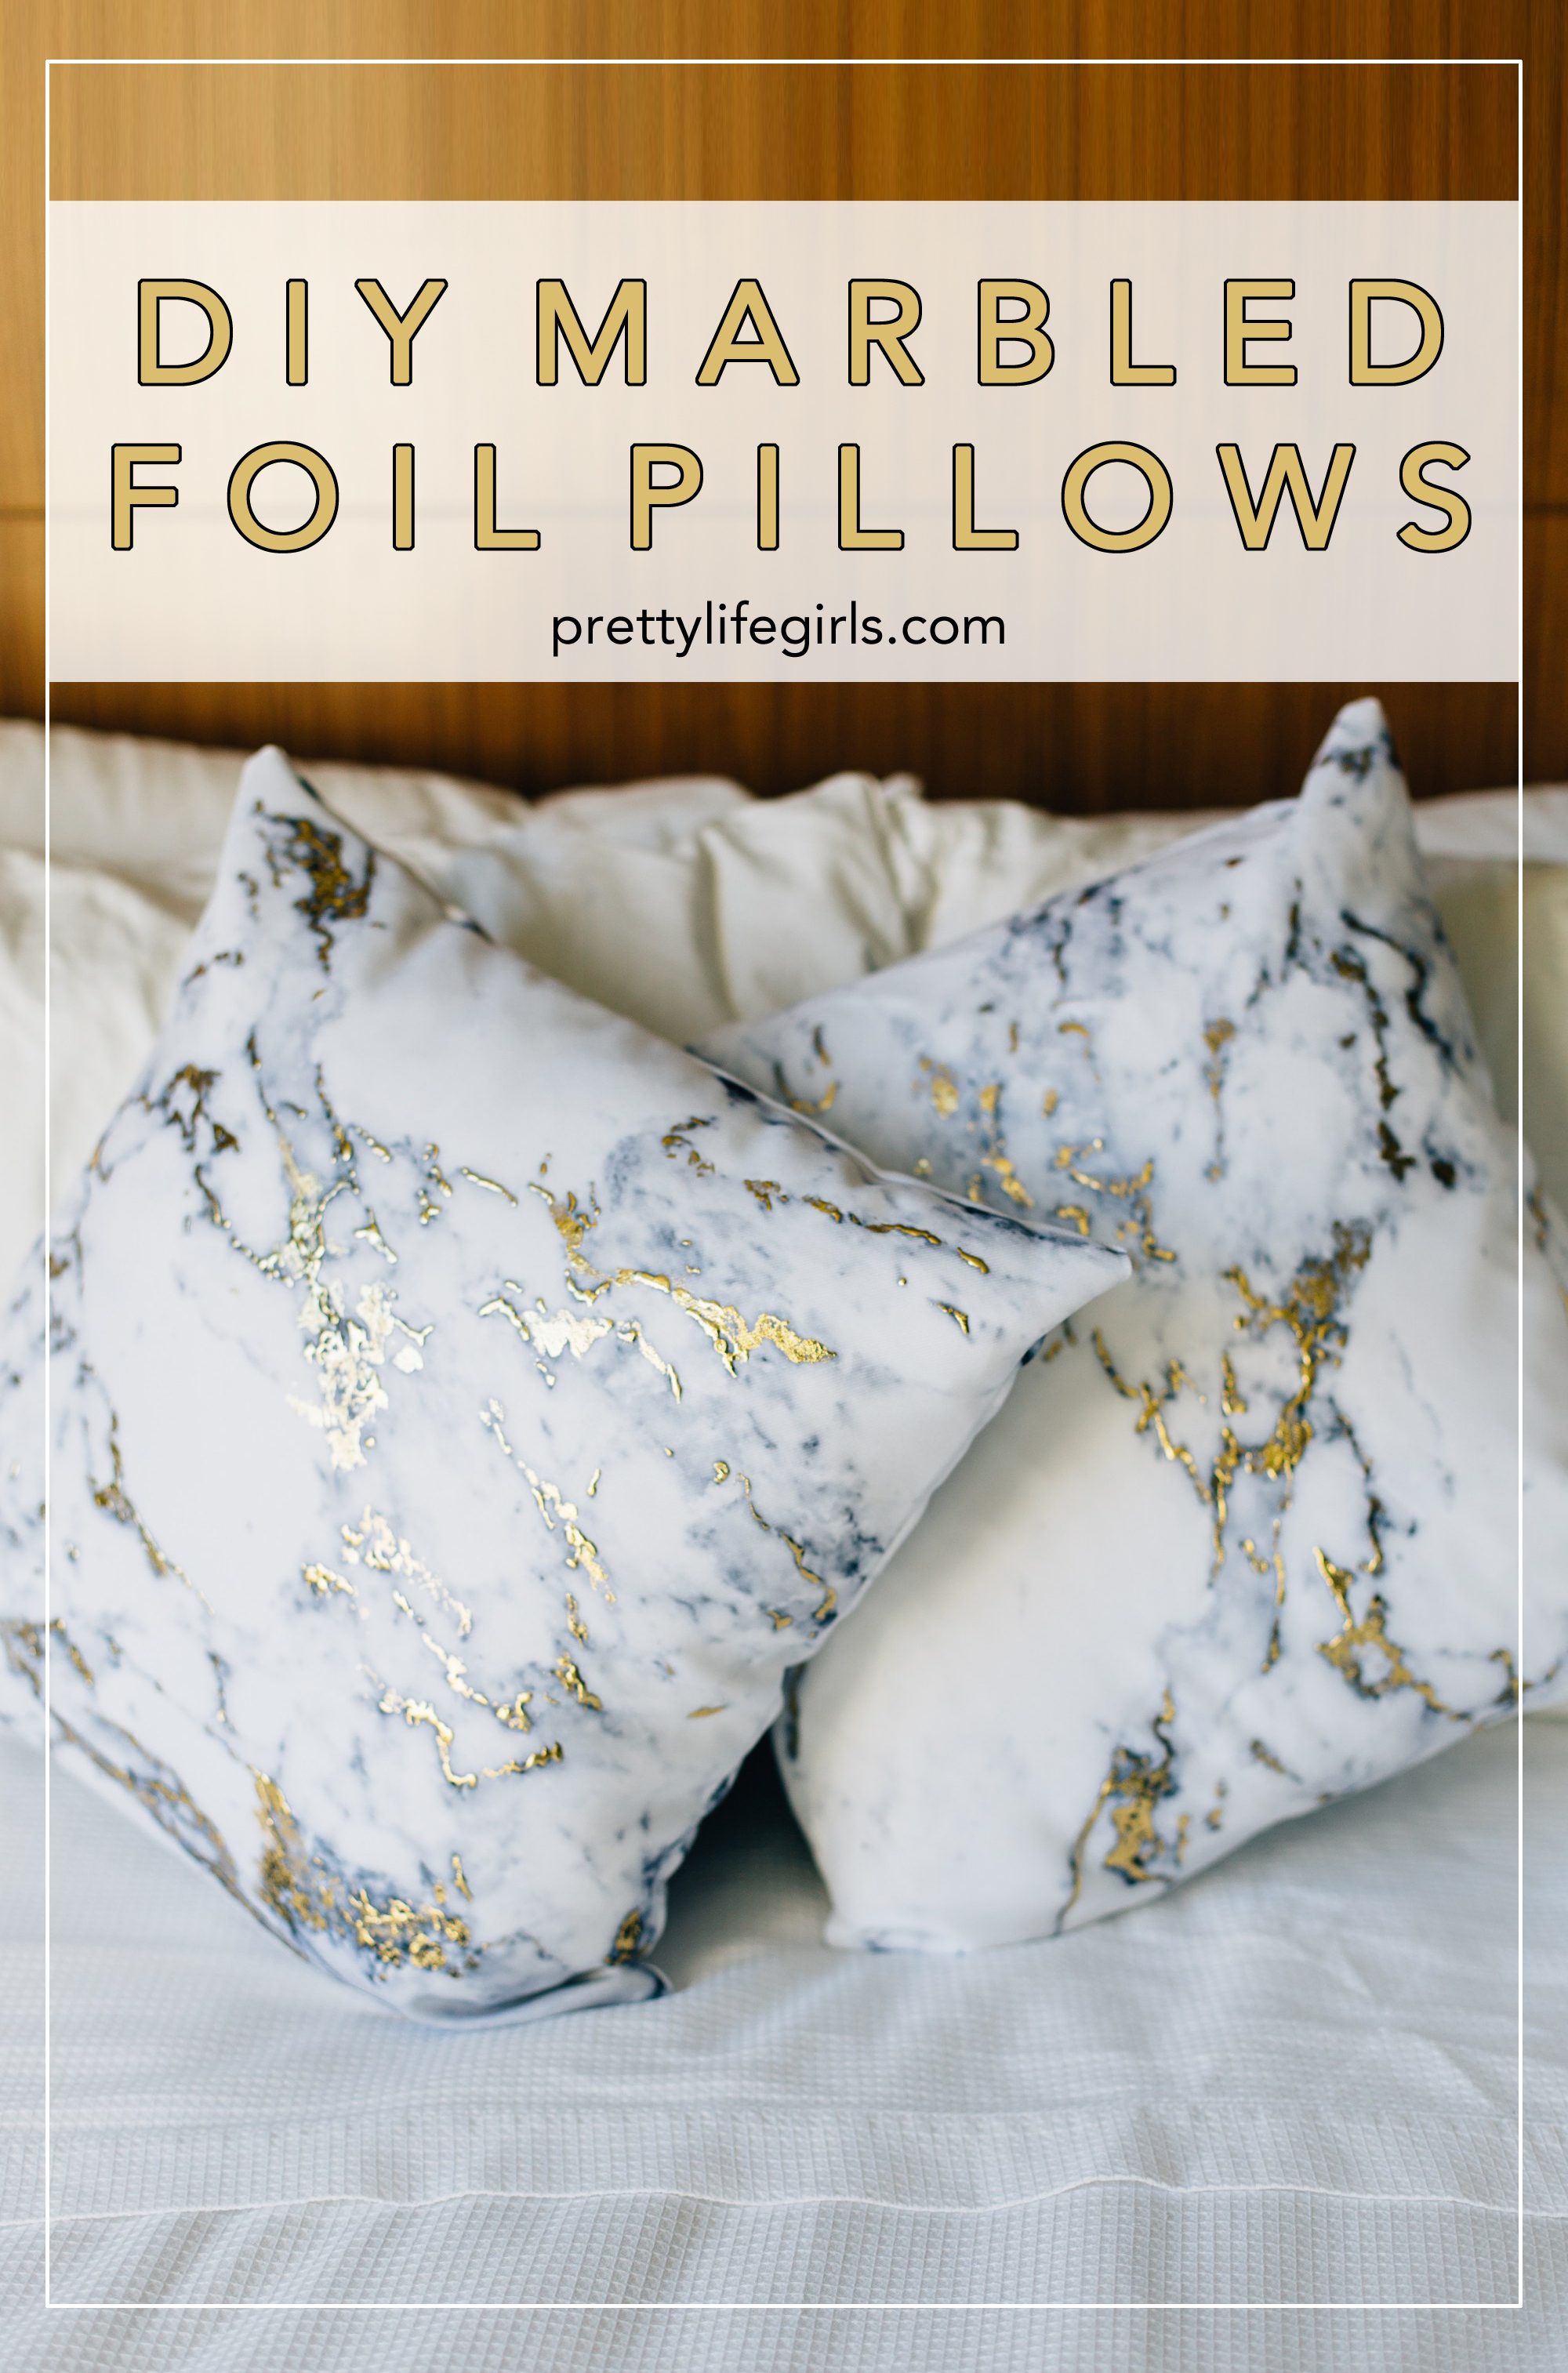
Every few months I get the urge to add a few new pieces to my house to freshen things up. Pillows are always an easy and fun way to change the feel of a room, but sometimes it can be hard to find just the right style. I have been LOVING the marble trend that is popular right now, but couldn’t find exactly what I wanted, so in true PLG fashion, I decided to make my own! I love how unique and textured these DIY Marbled Foil Pillows turned out, and I couldn’t have made them without the help of our friends at Snapfish!
You’ve probably heard of Snapfish for photobooks and other prints, but did you know you can get other home decor items as well? Since you can personalize everything you make with Snapfish, it was the perfect place for me to get perfect pillows with a design that matches my home and tastes at a super affordable price.
Here is how I made my pillows:
Supplies
Marble image (I used this one)
Gold foil
Foil adhesive
Paint brush
Step 1: Design your pillows with the marble image and order them, using the simple Snapfish website.

Step 2: Once you receive your pillows, remove the cover.
Step 3: Apply the adhesive to the cover according to your preference. I traced the dark parts of the marble with the glue and used a paint brush to spread it around on certain spots. Let dry for 1-2 hours until clear and slightly tacky.

Step 4: Lay the foil (gold side up) on the glue. Rub with your finger over the glue.
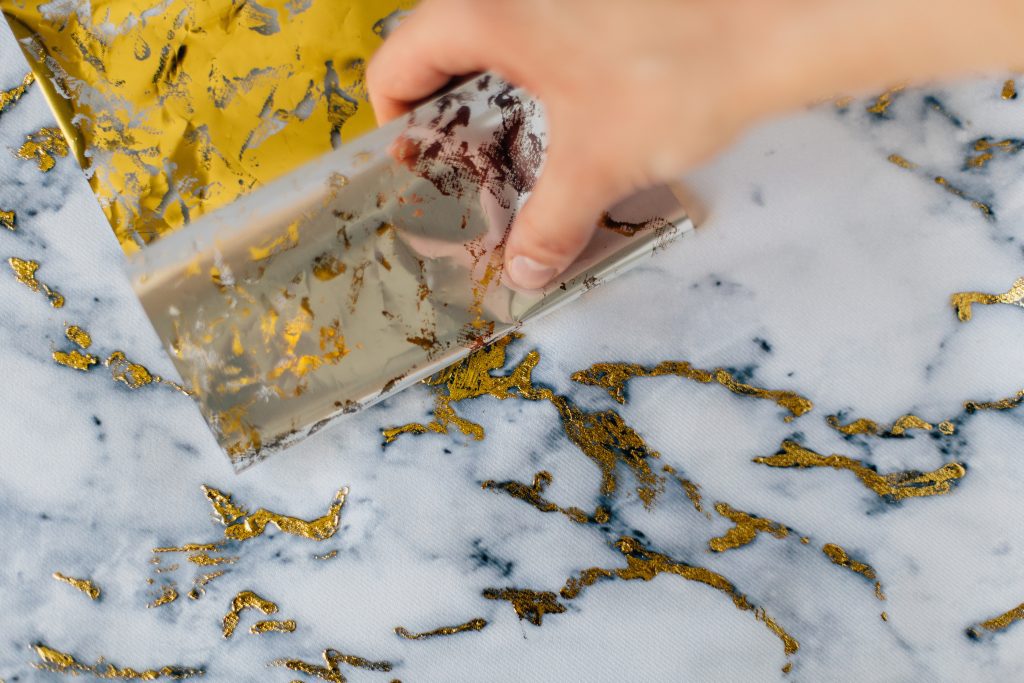
Step 5: Peel the foil back. Repeat until you have foiled all the areas where you added glue.
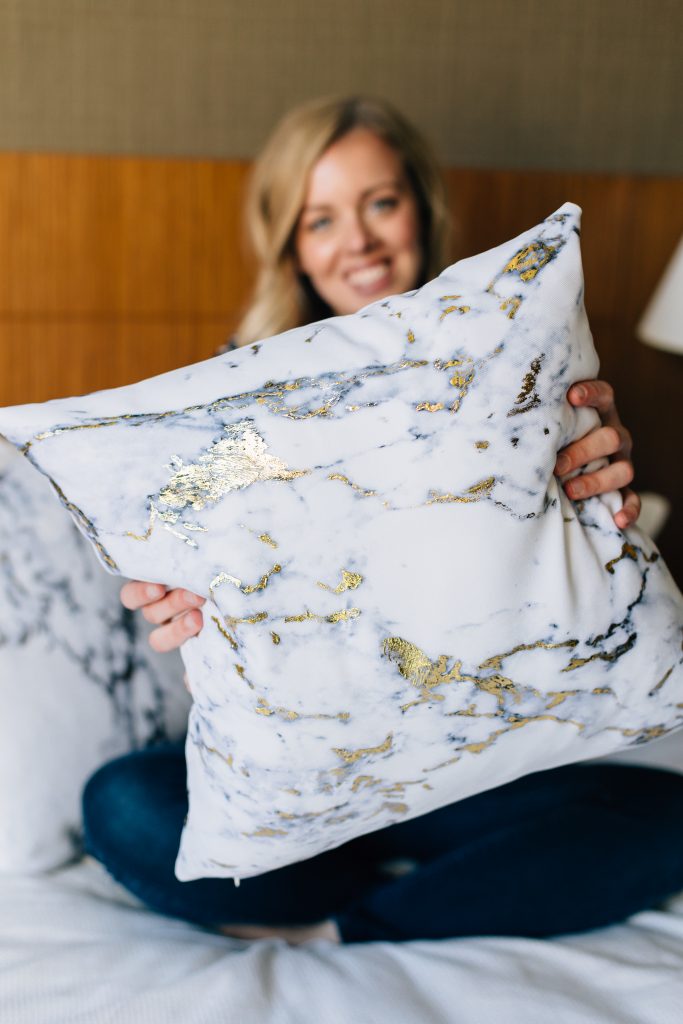
Step 6: Put the pillow back in the cover, and enjoy your beautiful, one-of-a-kind pillows!
This was such a fun project, and I loved teaming up with Snapfish. Use code PLGHOME50 to get 50% off sitewide at Snapfish and make some beautiful home decor of your own!
xo, Sam


I love snapfish. Love how you added your own touch to the pillows.
http://www.amysfashionblog.com/blog-home/
You two are DIY wizards! These pillows are AMAZING!