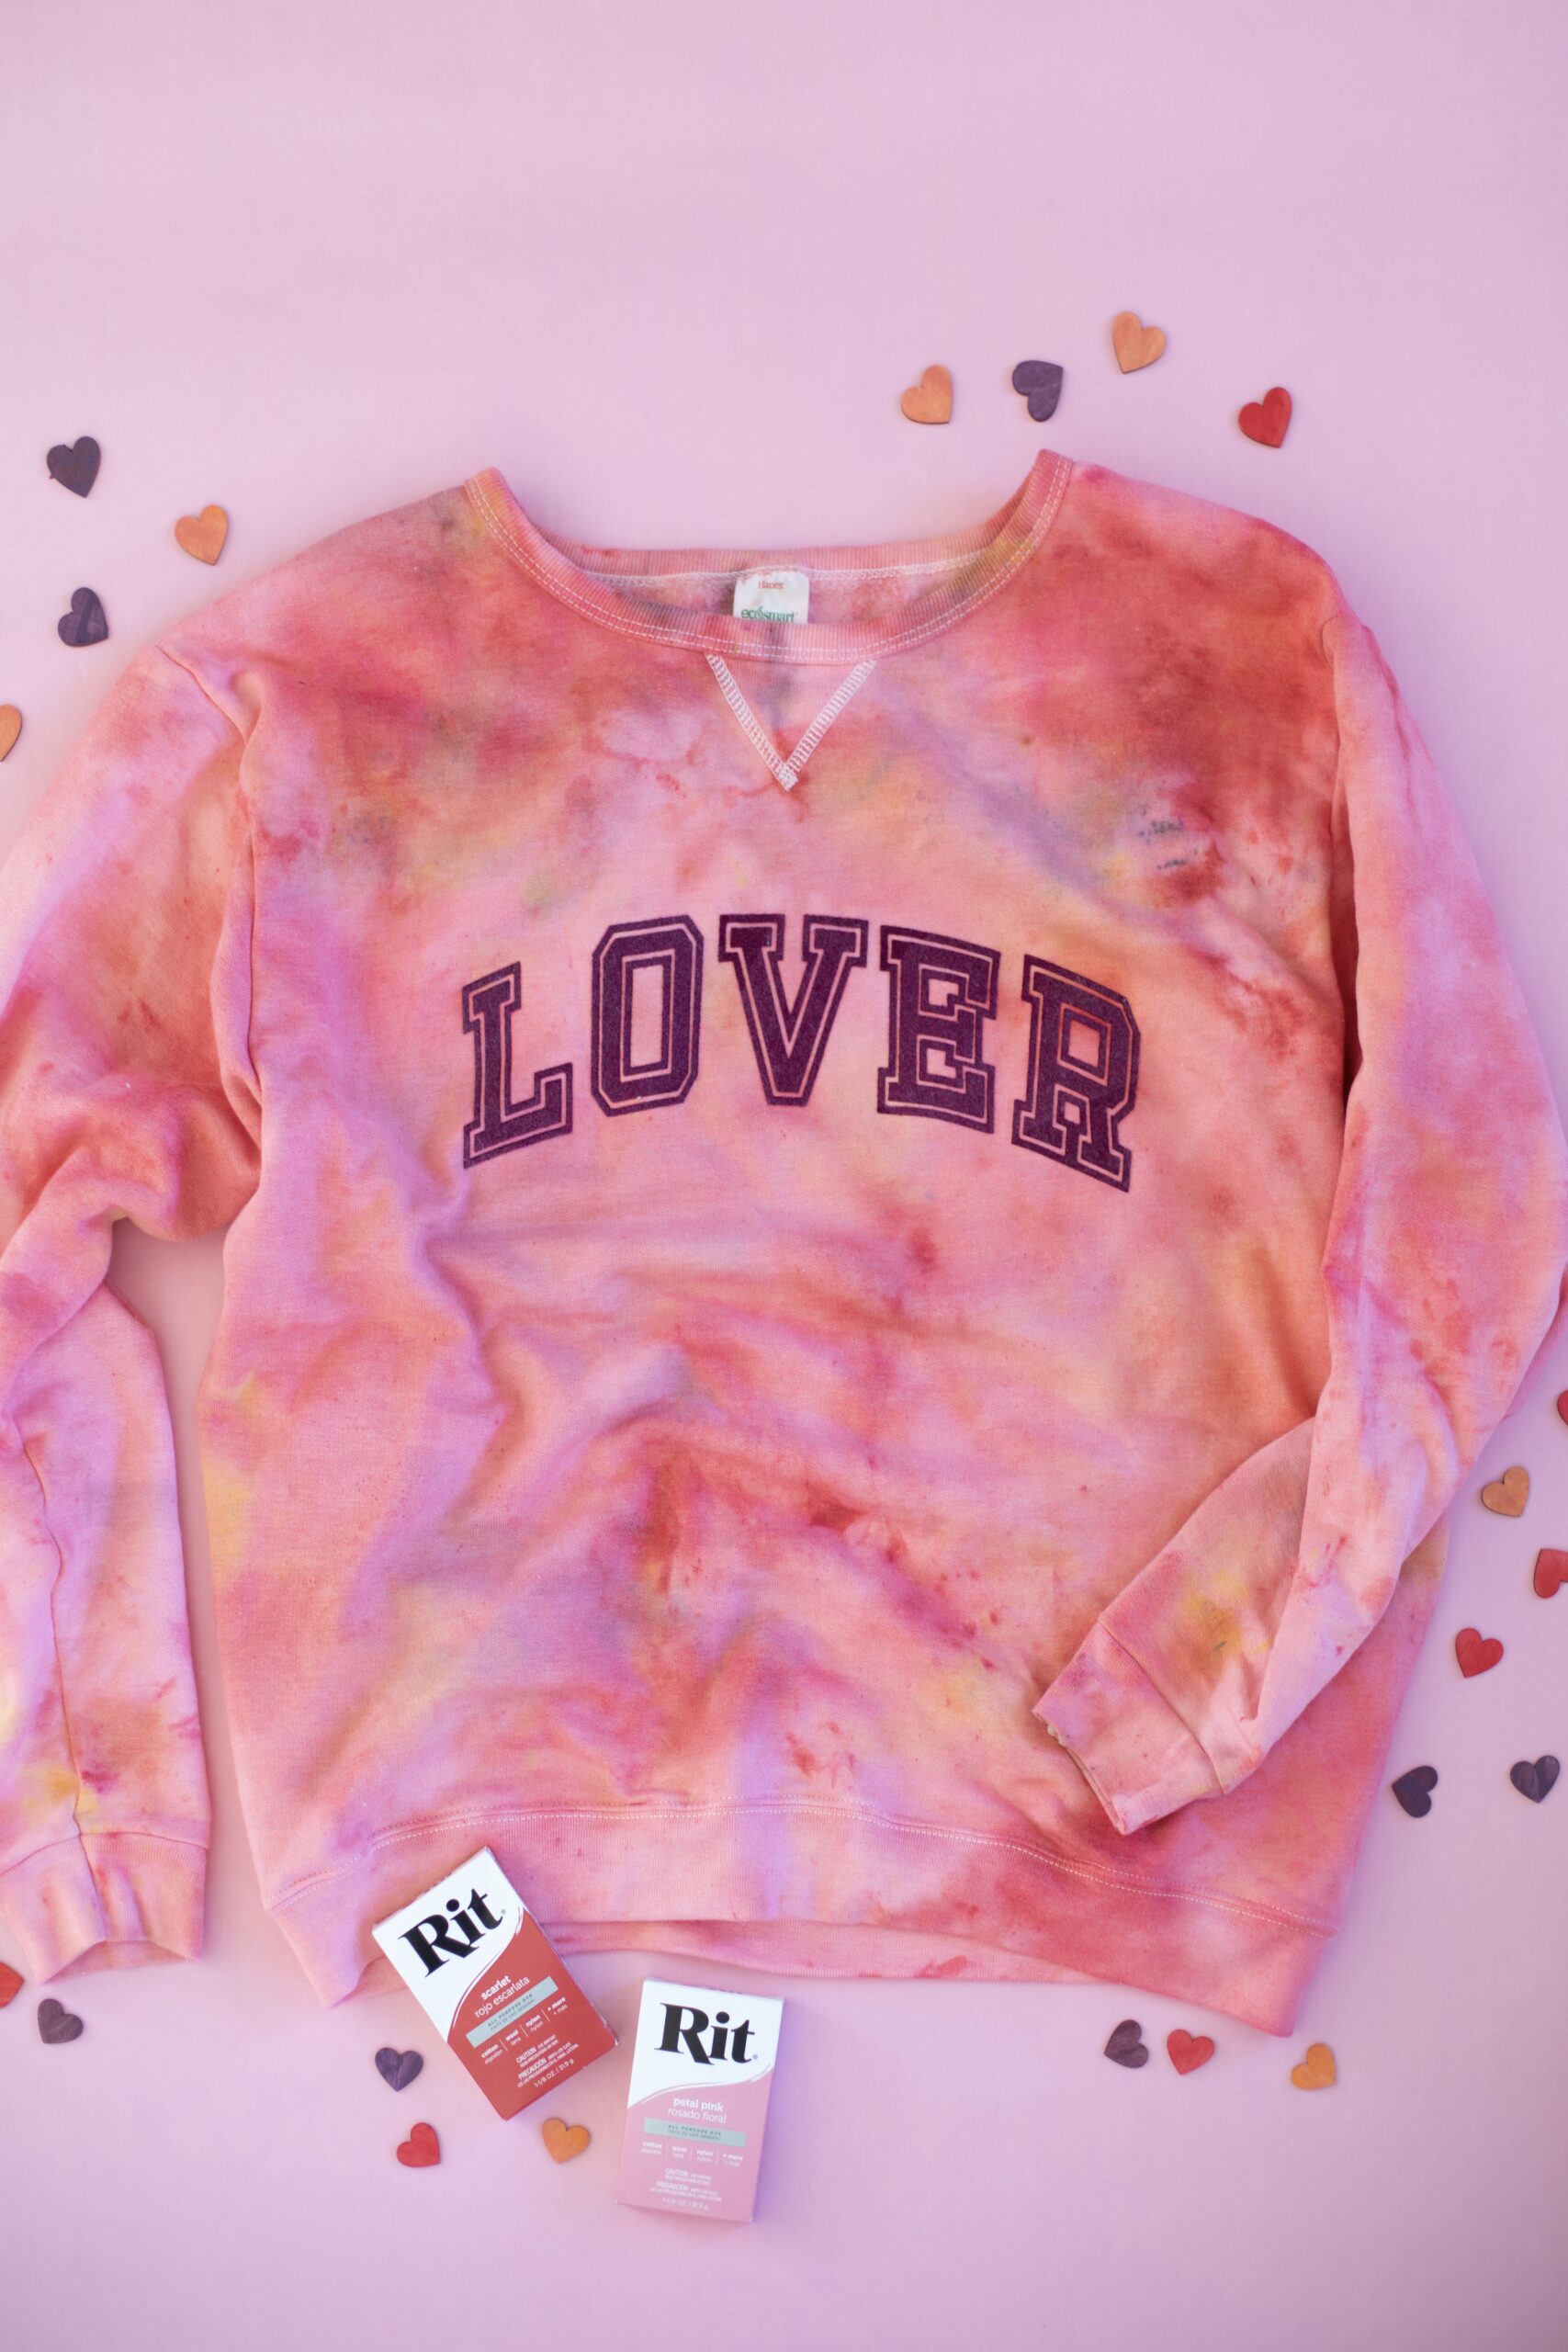
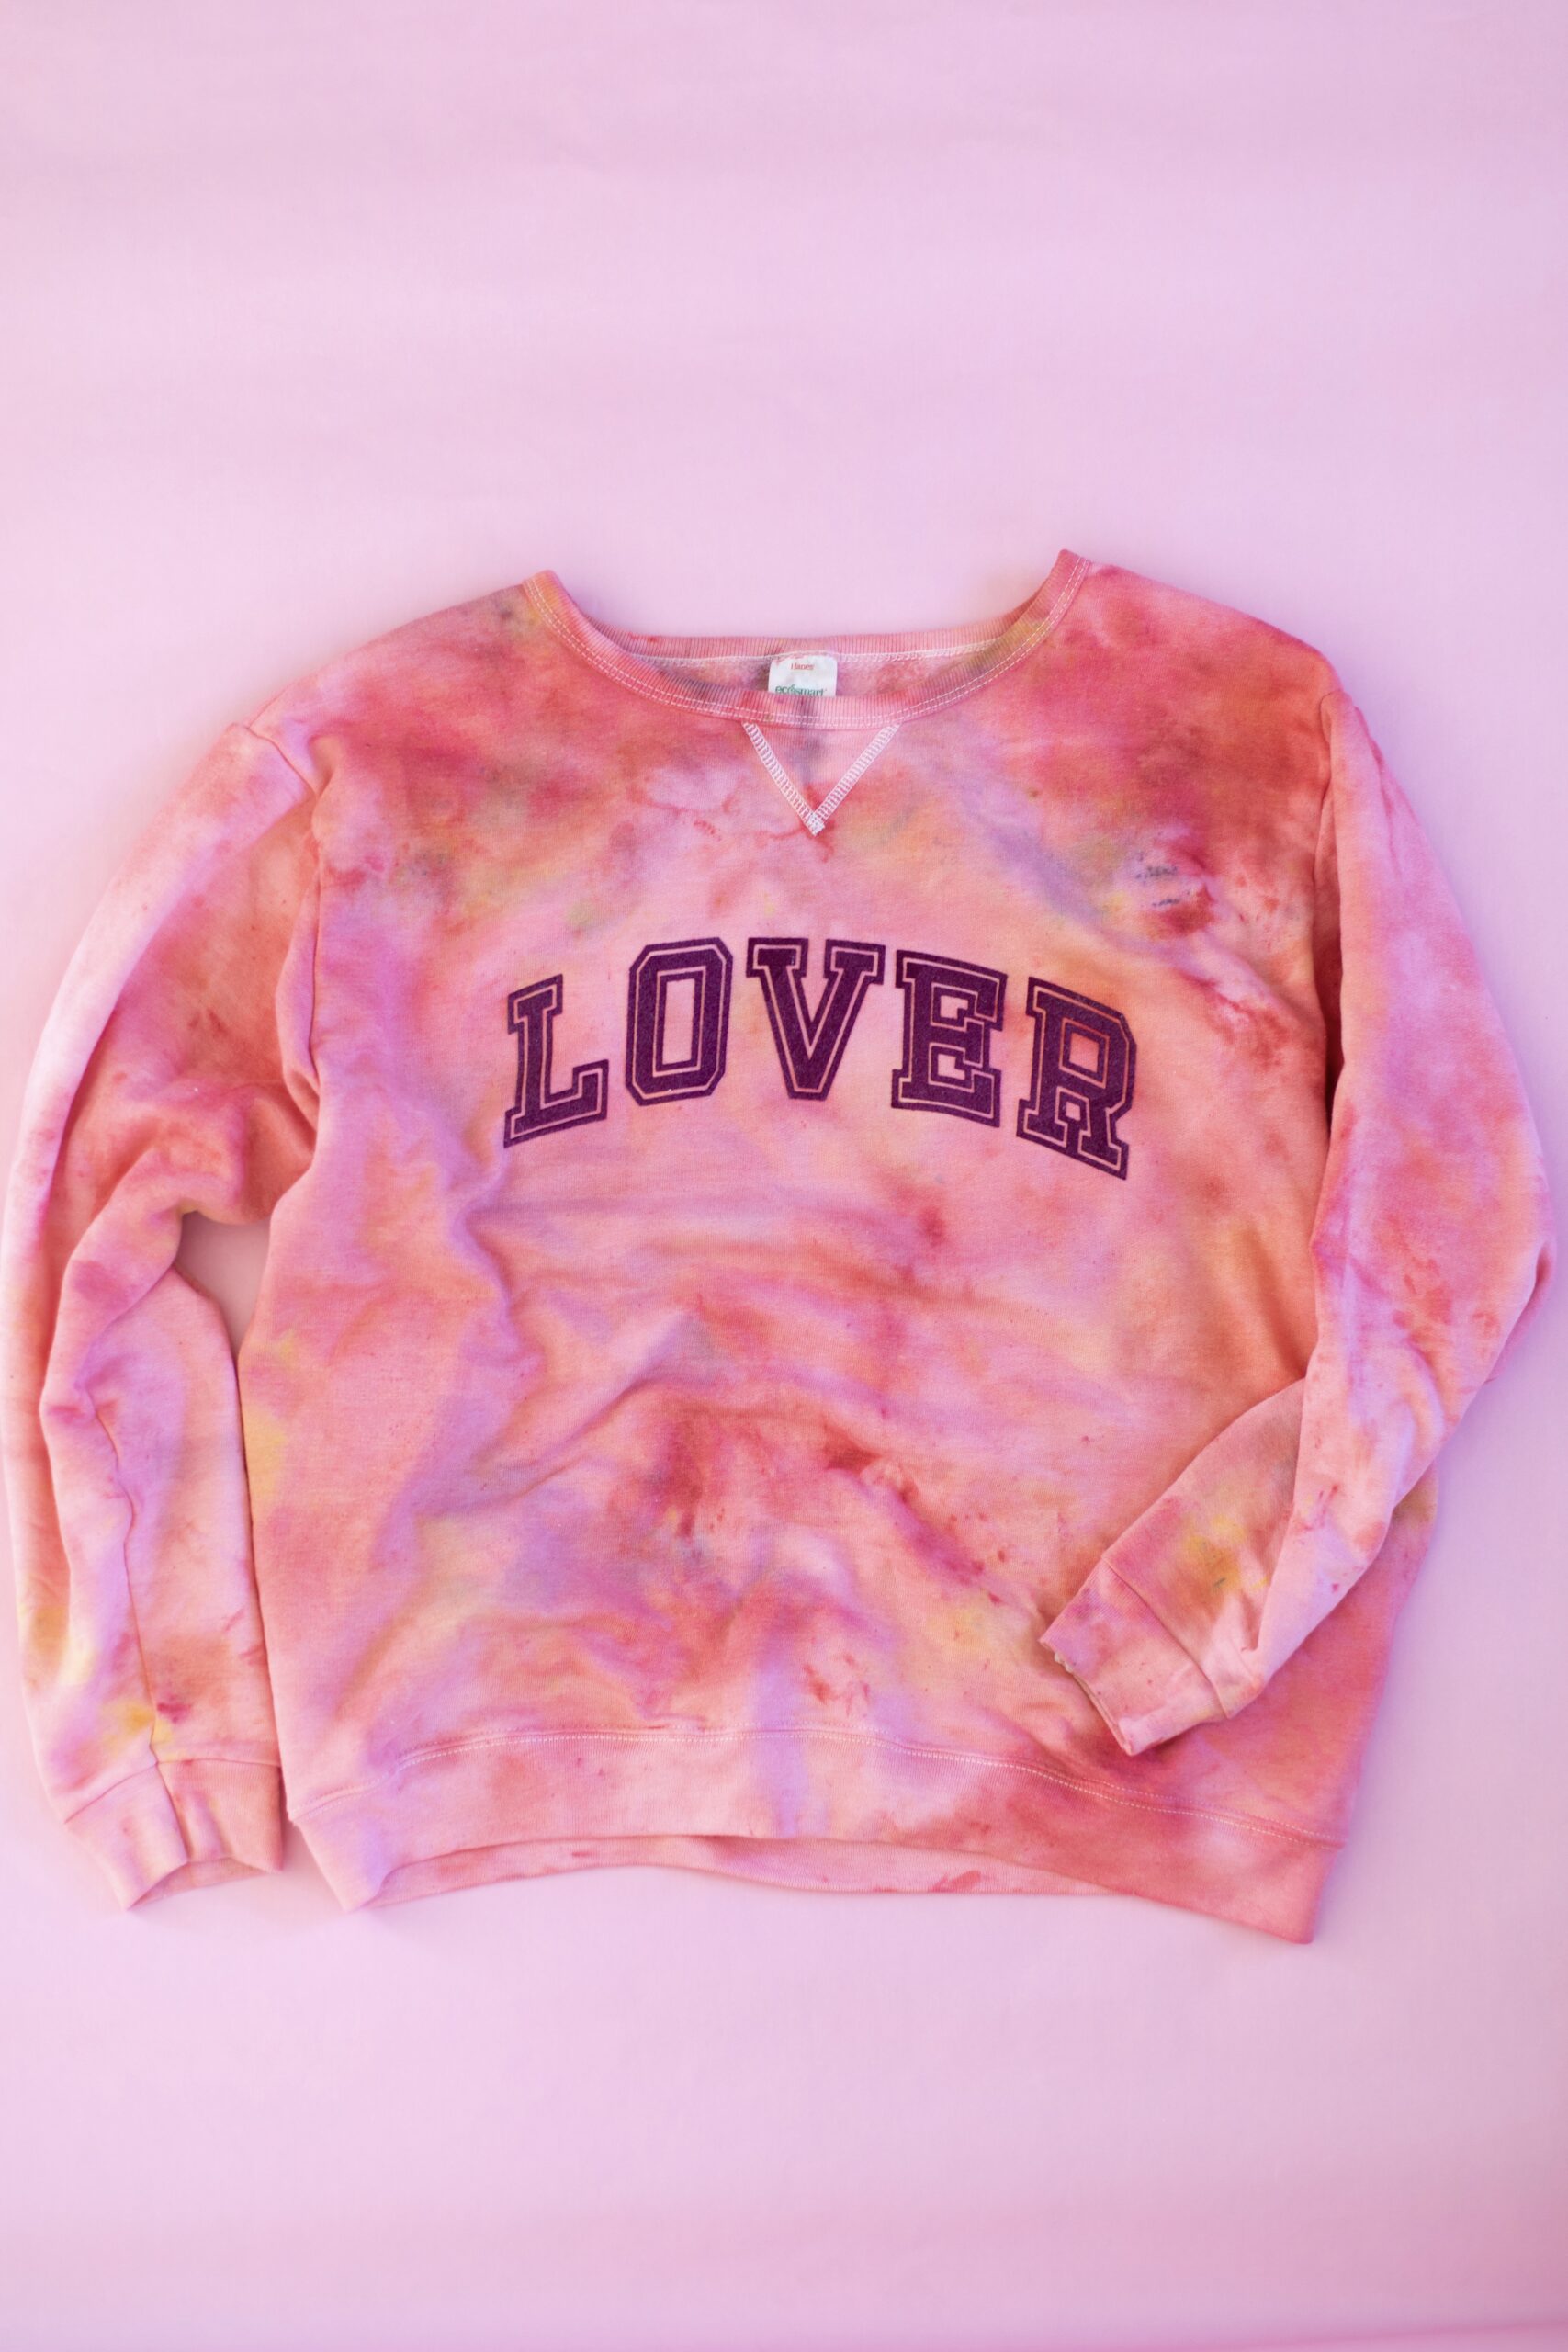
Learn how to snow dye with this colorful and graphic Valentine sweatshirt! Whether you’re a lover of Valentine’s Day, a lover of tie dye, or just a lover of life, this project will have you feeling the love!


How to Snow Dye
Ice dye is one of our favorite tie dye methods because of the organic and vibrant results that come when slowly melting ice combines with powder dye. And if you happen to live in a snowy locale you can opt for snow instead of ice! You’re going to be amazed by the swirly, unexpected colors that will appear making your results one of a kind!


SUPPLIES NEEDED TO MAKE A DIY GRAPHIC SNOW DYE SWEATSHIRT
Powder RIT Dye in red, pink and yellow
White cotton sweatshirt (ours was a 50/50 blend)
Snow
Wire tray or rack
Dye-safe container
Gloves
Plastic Wrap
Craft Cutter
Heat Transfer Vinyl
Lover SVG Design
Iron or Heat Press
How to Tie Dye with Snow
@prettylifegirls Hello, Lover! Let’s make this snow dye sweatshirt together for Valentine’s Day! #tiedye #icedye #snowdye #tiedyetutorial #valentinesday ♬ Happy Days – Lux-Inspira
Step 1: Place the rack over your container. The purpose of this setup is to keep the sweatshirt elevated over where the water will drip down. You don’t want your sweatshirt to sit in dye.
Step 2: Wet your sweatshirt completely. Then, bunch up the sweatshirt on the rack, making sure that none of the fabric hangs over the container.
Step 3: Cover the sweatshirt in 3-5 inches of snow.
Step 4: Sprinkle the dye over the snow, covering it completely with dye.
Step 5: Let the snow melt completely. (You can sit the container in the sun to speed up the process, if desired!)
Step 6: Once the snow has melted completely, put on gloves and wrap the sweatshirt in plastic wrap. Let set overnight.
Step 7: Once set, rinse sweatshirt until the water runs clear. Wash the sweatshirt by itself in the washer and hang to dry.
Step 9: Cut the Lover design out of vinyl using your craft cutter (If you have never done this before, visit our tutorial here.) and weed the excess.
Step 10: Place the design on your shirt where desired (backing-side up) and iron the design to the shirt using a hot, dry iron, working in 30 second increments until it has adhered completely. Then, remove the backing from the design.


That’s it! Can you handle how cute? The results with this kind of dyeing just can’t be topped. In fact, we love it so much that every time we share a snow or ice dye tutorial we feel the need to give the disclaimer that trying this method my ensnare you in a snow/ice dye addiction–once you get a taste of it it’s hard to stop!


Happy Making!
ox. Liz and Sam


