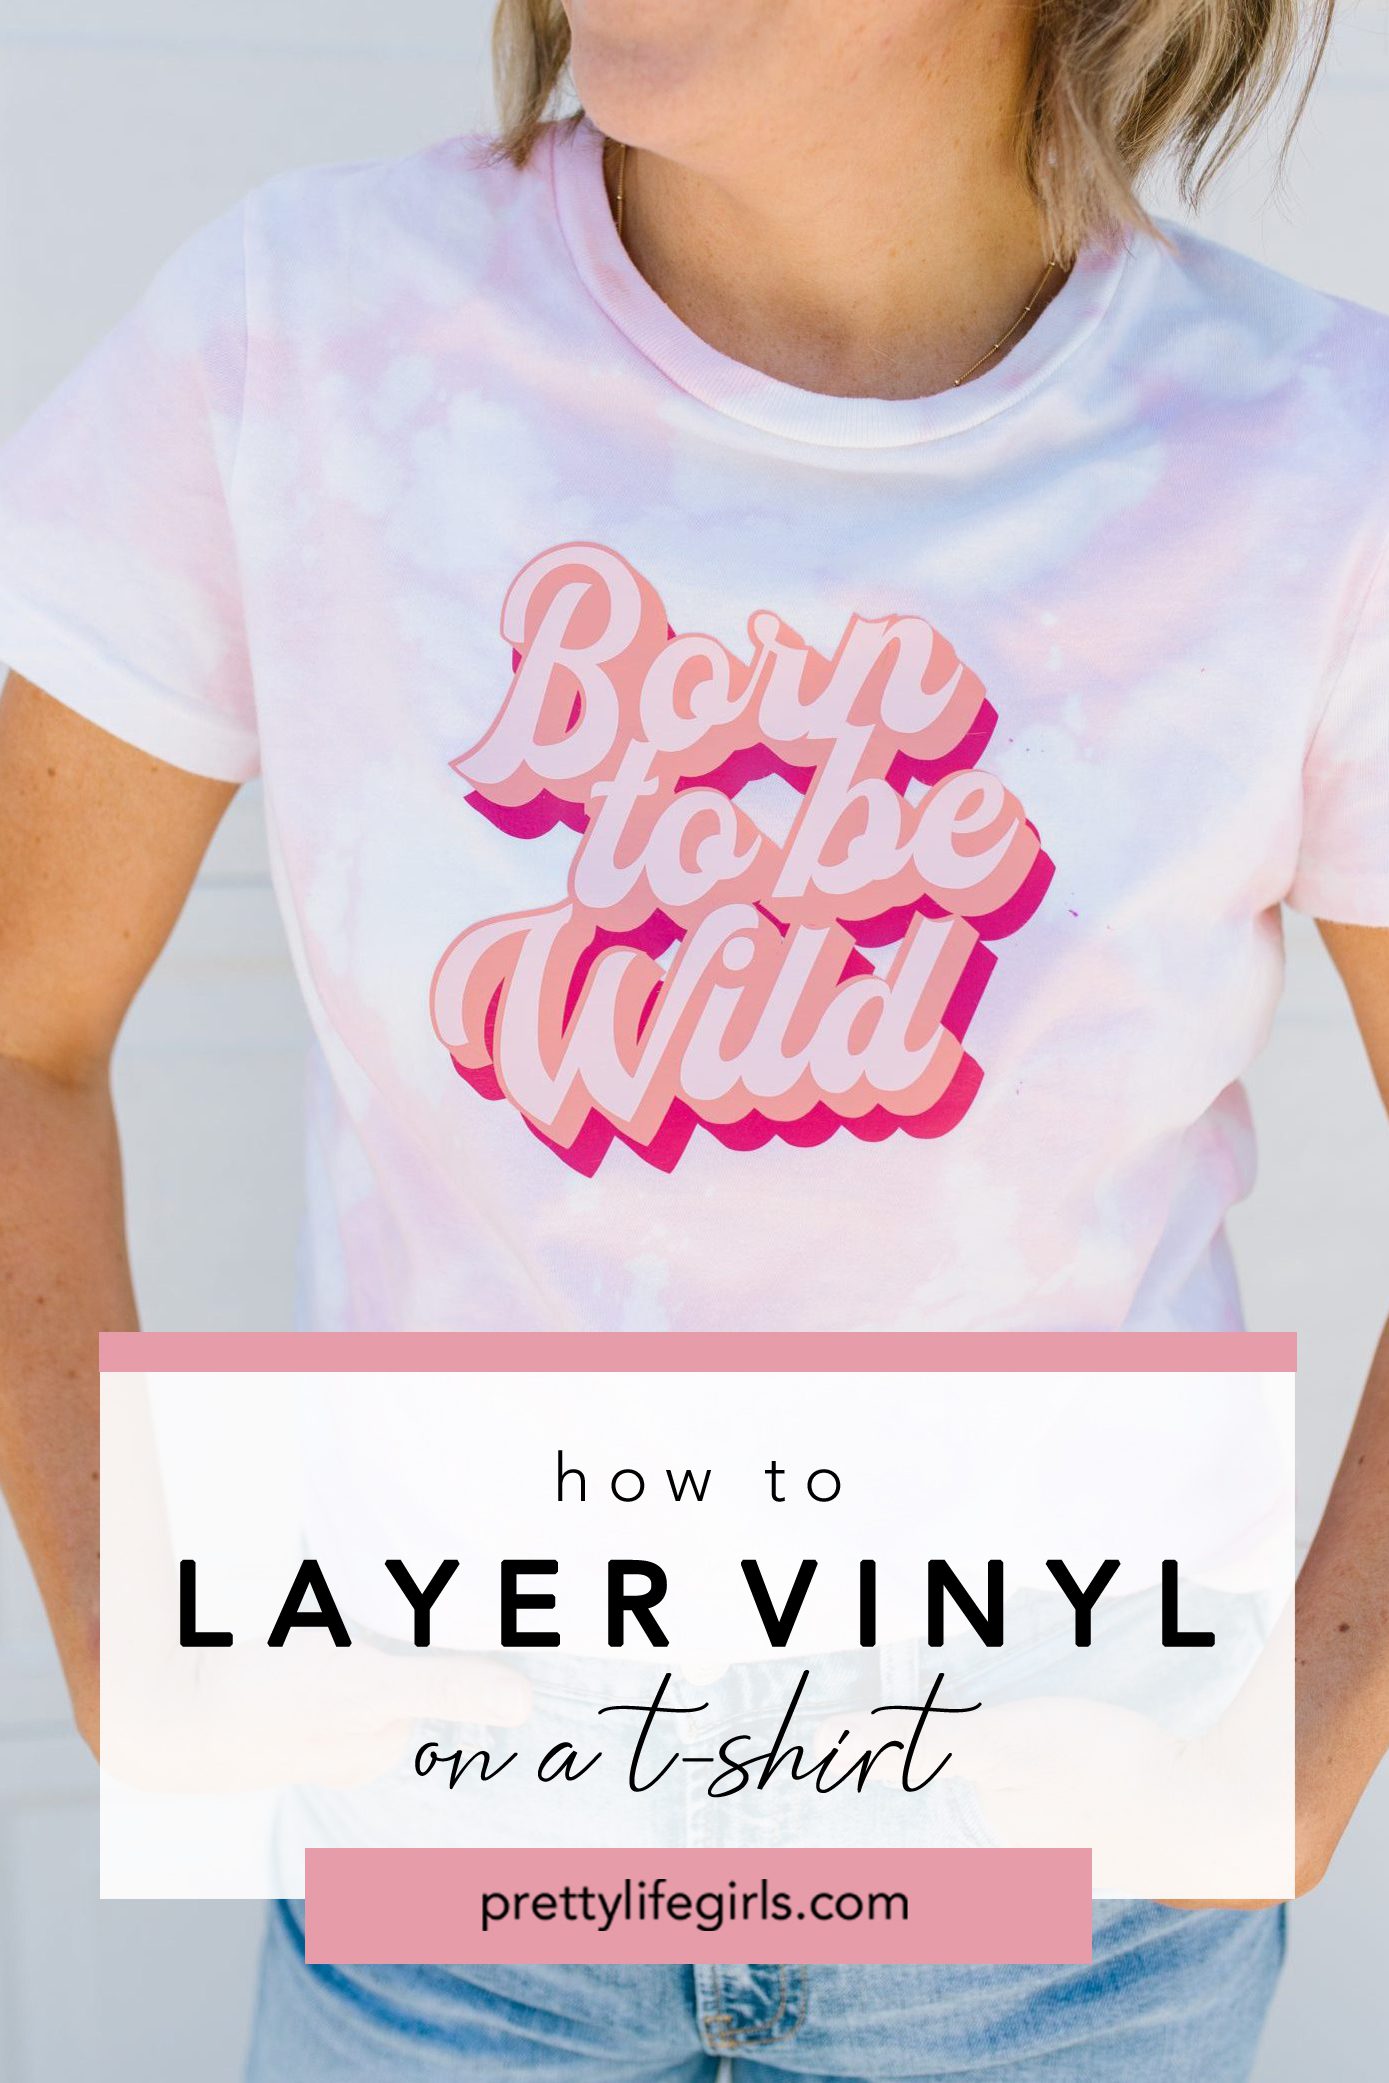
Every summer, graphic tees come roaring back as a major trend, and today we are going to show you a few tips to make a DIY graphic tee look like you bought it from a cool boutique! First we’ll show share how to pastel tie dye a plain tee (which is the current rage in fashion), and then we’ll talk about how to layer heat transfer vinyl!
If you’ve never layered your heat transfer vinyl, you’re going to love the way that adding layers gives your projects added dimension and interest and it’s so easy to do. Let us show you how!

Supplies Needed to Layer Heat Transfer Vinyl on a Graphic Tee
Silhouette CAMEO 4 (get your own for only $299 using code PLG at this link during Silhouette’s Christmas in July sale!)
“Born to be Wild” Design from the Silhouette Design Store
Heat Transfer Vinyl in 3 Colors
Pink Tie Dye
Rubber Bands
Squeeze Bottle
Iron
How to Layer Heat Transfer Vinyl on a Graphic Tee
Watch the video tutorial here, or follow the steps below.
Tye Dye Your Shirt
Step 1. Since this top is going to have a graphic element over the top, we wanted to make the dye really subtle and not overwhelm the shirt. To do this, you’ll want to water down your tie dye significantly and test it with a spare piece of fabric before dipping your shirt to ensure that you have the right shade. We also recommend putting the dye in a squeeze bottle so you can control where the dye goes and the top isn’t completely saturated with dye, allowing lots of white to still peek through. Once your tie dye is at the desired shade, pour into a squeeze bottle and set aside.
Step 2. Twist your tee in several places and secure with rubber bands.
Step 3. Place your shirt in the sink and squeeze the dye all over the shirt. Let the dye set until you have reached your desired shade (we left ours for less than a minute), remove the rubber bands, and rinse. Then, wash and dry the shirt.
Add the Heat Transfer Vinyl Design
Step 1. Download your design from the Silhouette Design Store and load into Silhouette Studio.
Step 2. Cut your designs by color. If you’ve never cut by color in Silhouette Studio, click Send. Then, in the Action By: bar, click Fill. You’ll see each of your colors in the list. Double check the Material and Action for each color. You’ll also want to add a pause after each color so you can switch out the vinyl color. Load your first color into your machine and start cutting! The machine will pause after it finishes each color and allow you to unload your material. After you have switched the color and loaded it into the machine, click Resume in Studio. Repeat with each color.
Step 3. Lay the first layer of the cut shirt design on the shirt, plastic backing side up. Using a hot and dry iron, iron the design onto the shirt for 20-30 seconds. Peel back a corner of the backing to determine if it has adhered, and if any vinyl comes up, lay the backing back down and continue to press the vinyl in 20-30 second intervals until no vinyl comes up. Once it has completely adhered to the shirt remove the plastic backing.
Step 4. Repeat step 3 with the next layer of vinyl, making sure to carefully position the next layer over the first layer to ensure that your design will come out correctly. Once the next layer is adhered, remove the plastic backing and repeat the process again with the last layer.
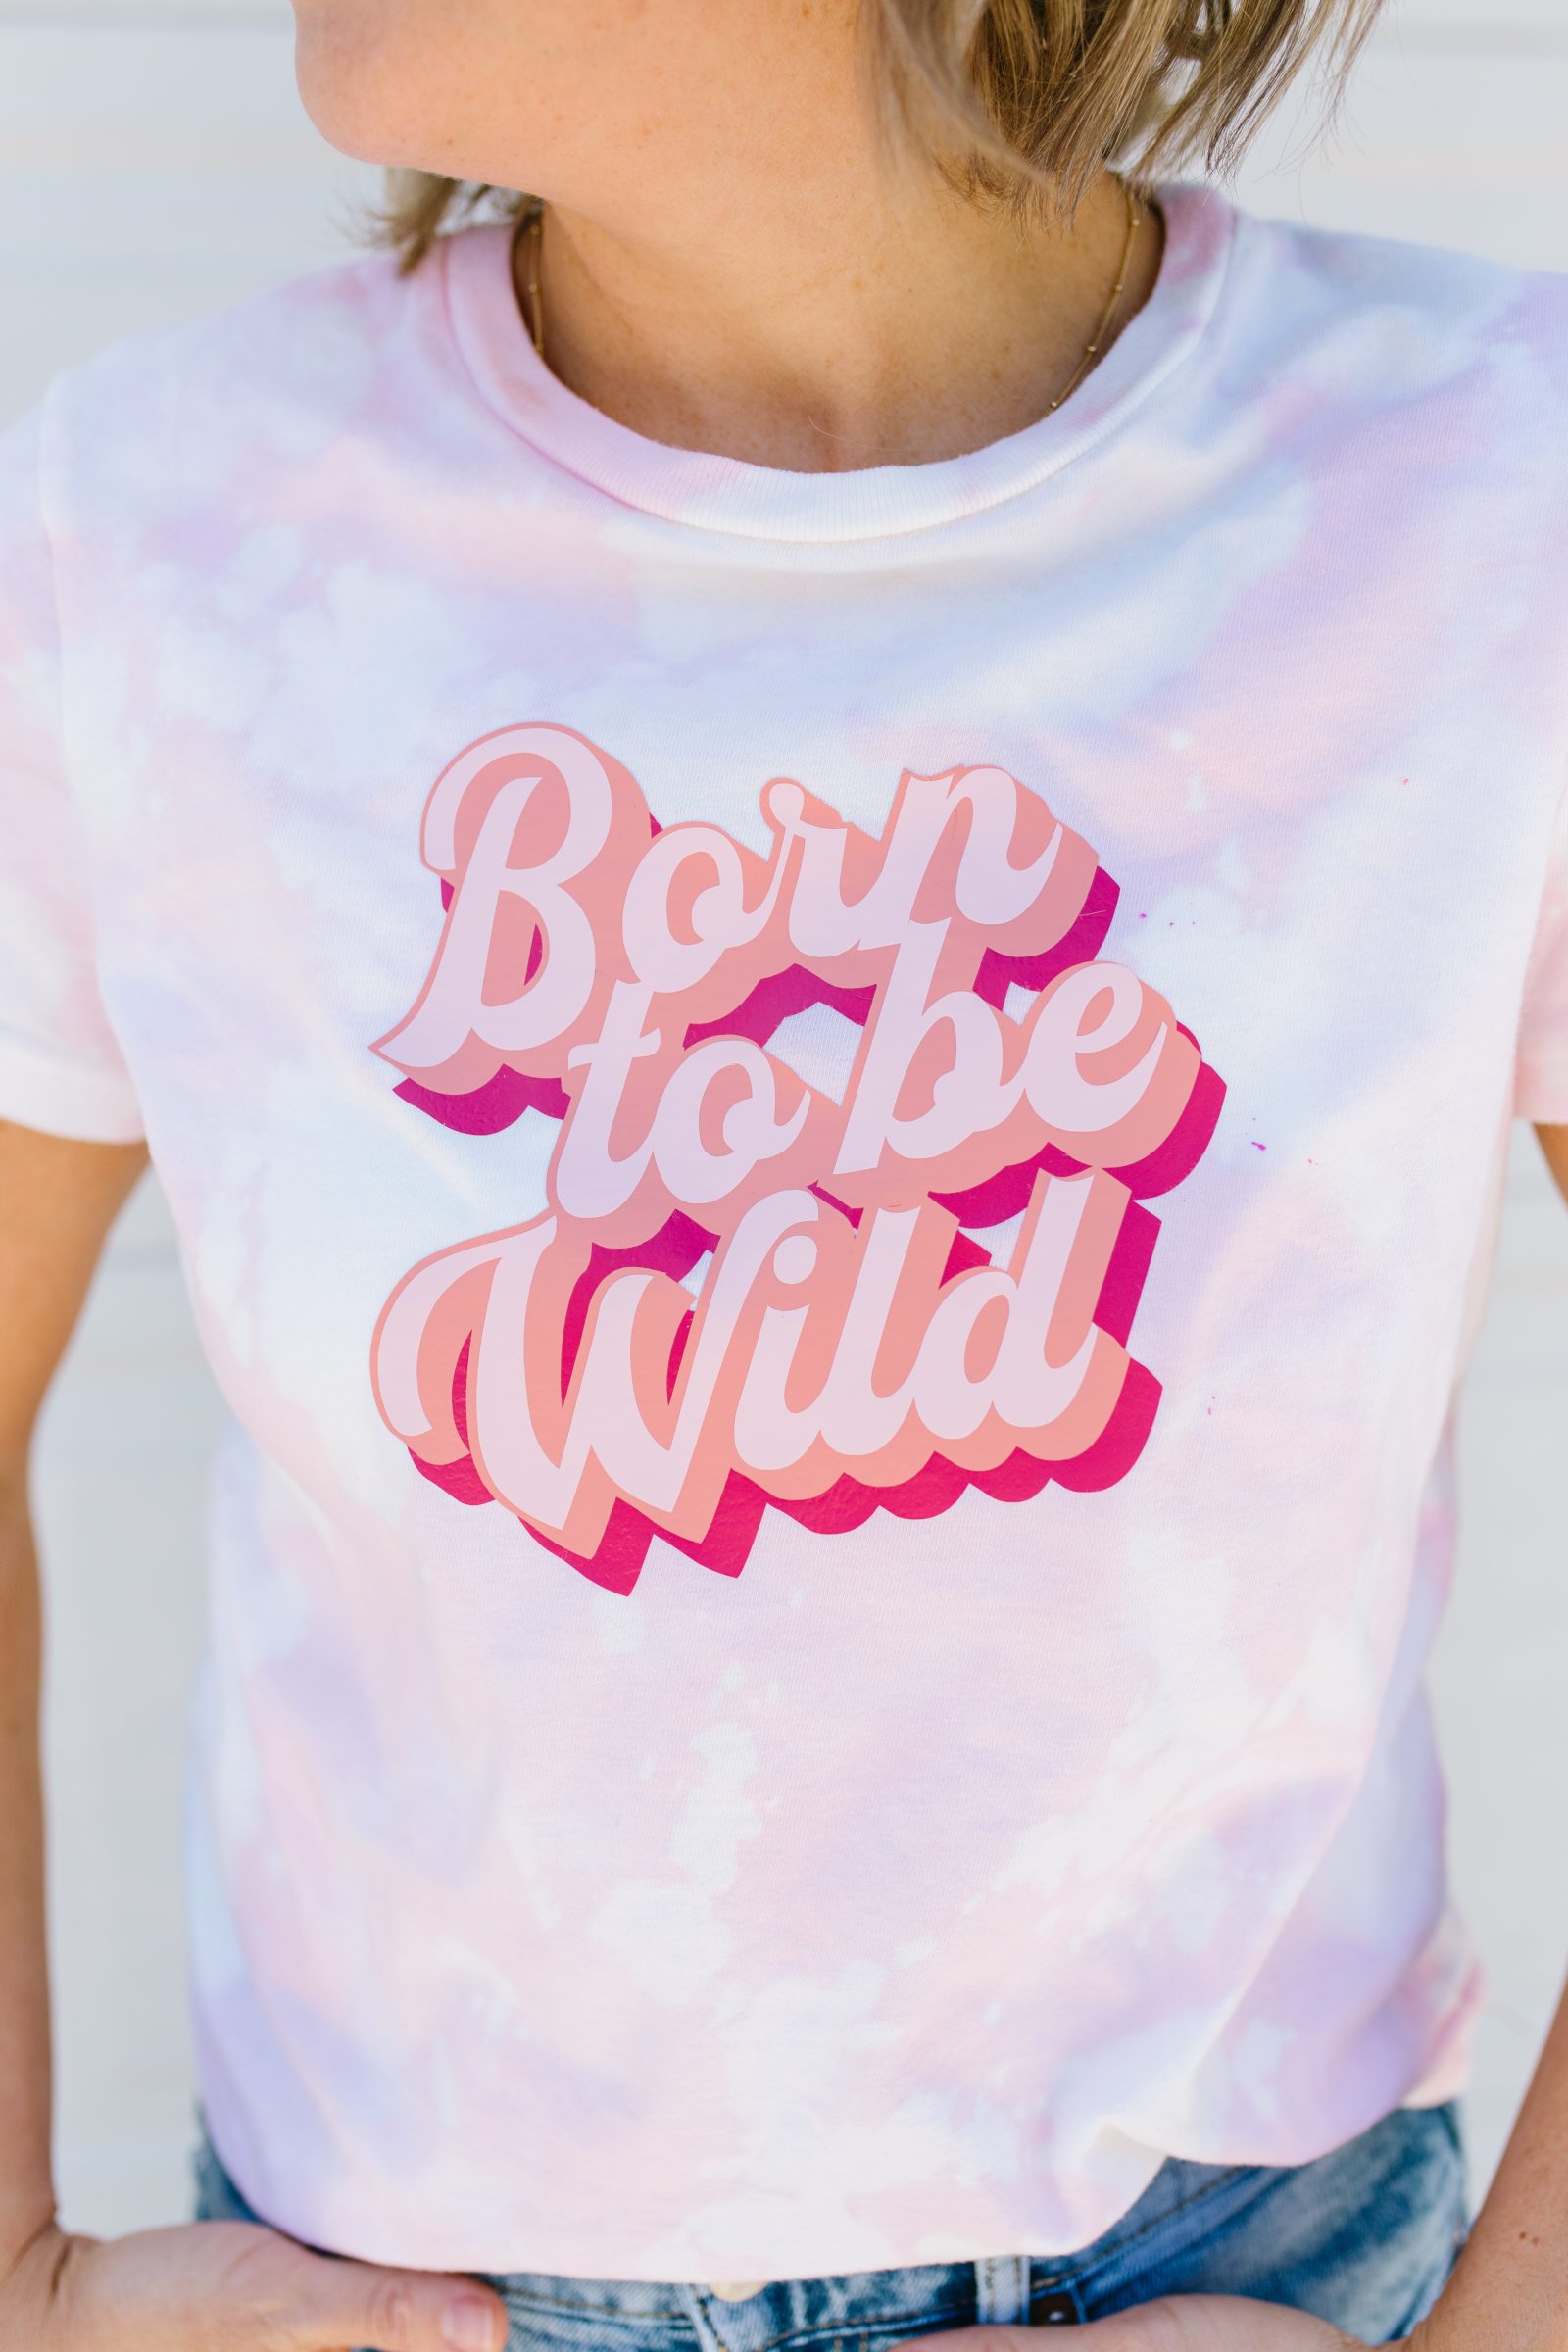


That’s it! You’ve made a perfectly trendy shirt that no one will ever guess is a DIY project! So, what do you think? Are you ready to try out this method for yourself?
Happy making!
ox. Liz