The biggest talking point among adults in charge of children right now HAS to be school. What are you doing with your kids? What is your school doing? Are you gonna e-learn? Are you gonna homeschool? Is it a hybrid model? Do they have to wear masks or a face shield or both or nothing? What happens if the teacher catches the virus? What happens at recess? Masks! Distance! Quarantine! E-Learning! Hybrid! Homeschool! And on. And ON. And ONNNNN.
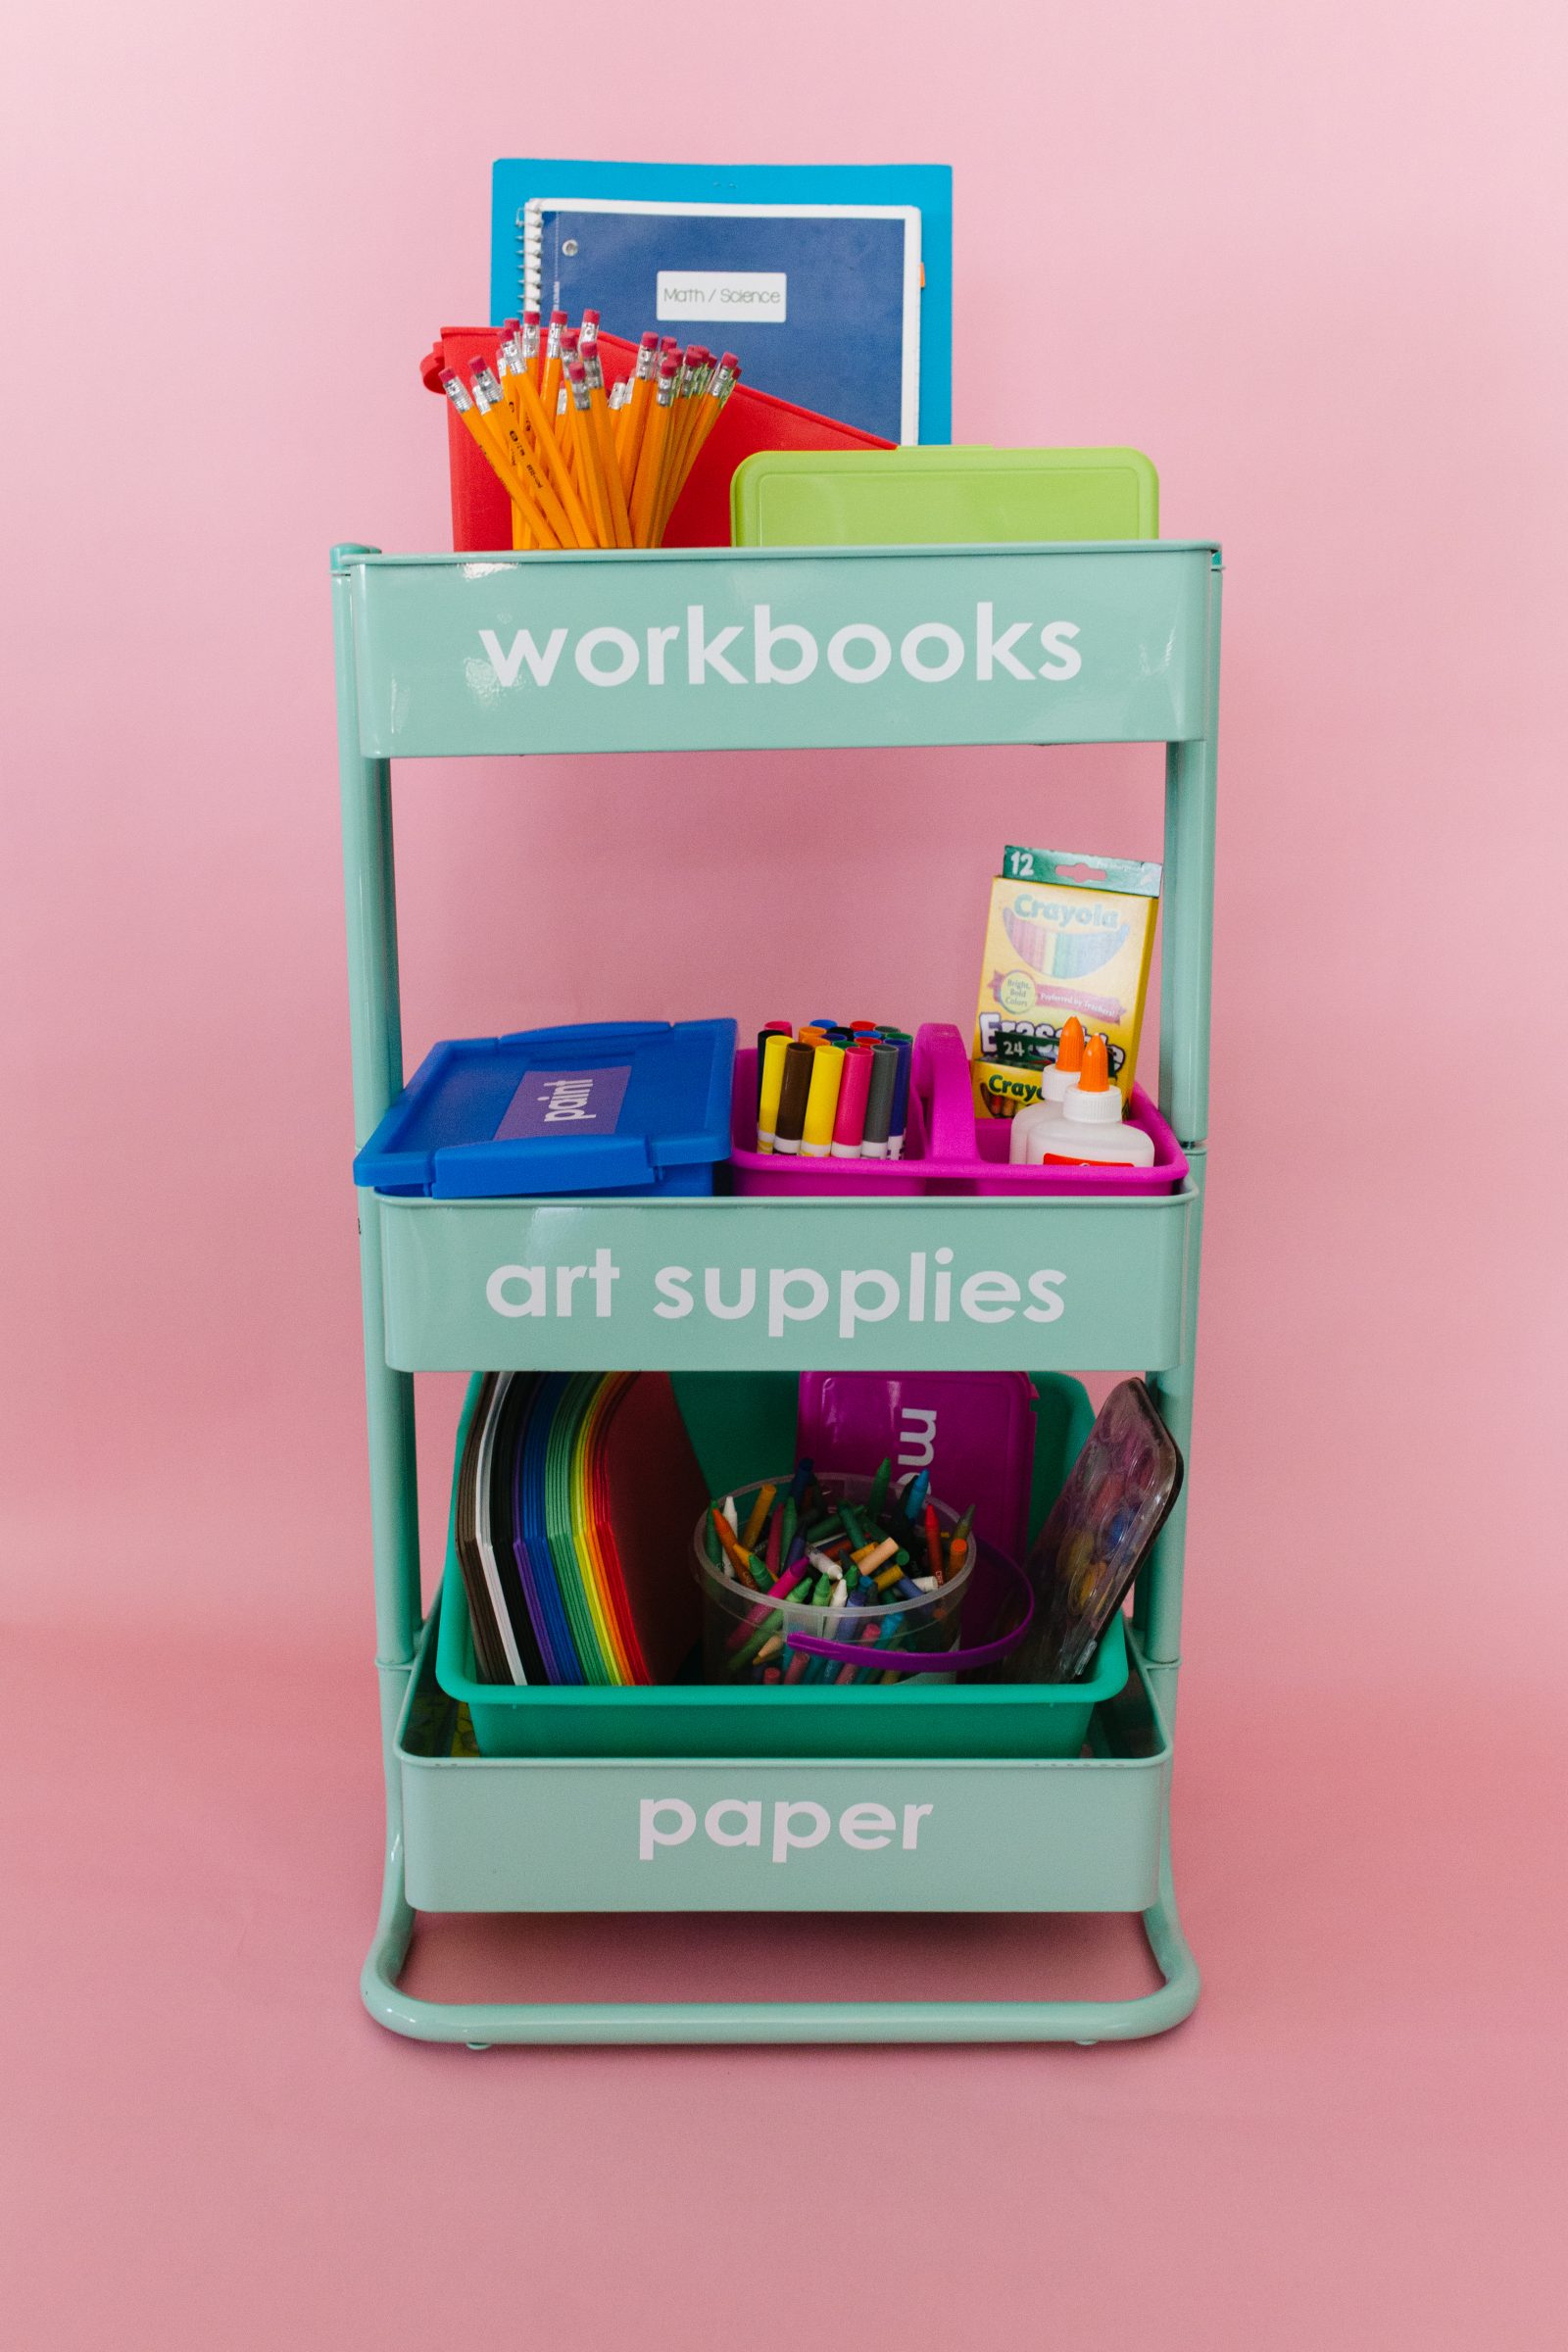
Yep, it’s definitely a wild time to be a parent/guardian/teacher/person who knows any parents/guardians/teachers because it feels so crazy and all-consuming. Here at the PLG Liz has kids in school every day with a shortened schedule (until someone inevitably catches something and the whole thing shuts down) and Sam is doing homeschool/e-learning with her kiddo. As a result, we’ve had to come up with solutions to make school work at home without a designated classroom, since we aren’t your typical homeschoolers. We don’t have a classroom with shelves or storage for school stuff, so we’ve had to get organized, and we turned to our trusty metal cart from Michaels to help get us together. These things are such a catch-all in both of our homes and have been used as night stands, craft storage, kitchen storage and more, and now we have converted one to a homeschool-on-wheels to keep things organized and give everything a place. Here’s how we made our DIY slim rolling cart:

Supplies Needed to Make a DIY Slim Rolling Cart for Homeschooling
Rolling Cart (We love this one. The wheels detach and it comes in so many colors!)
Adhesive Vinyl + Silhouette Machine (or letter stickers, labels, etc.)
Storage Containers
School Supplies


How to Make a DIY Slim Rolling Cart for Homeschooling
Label Everything
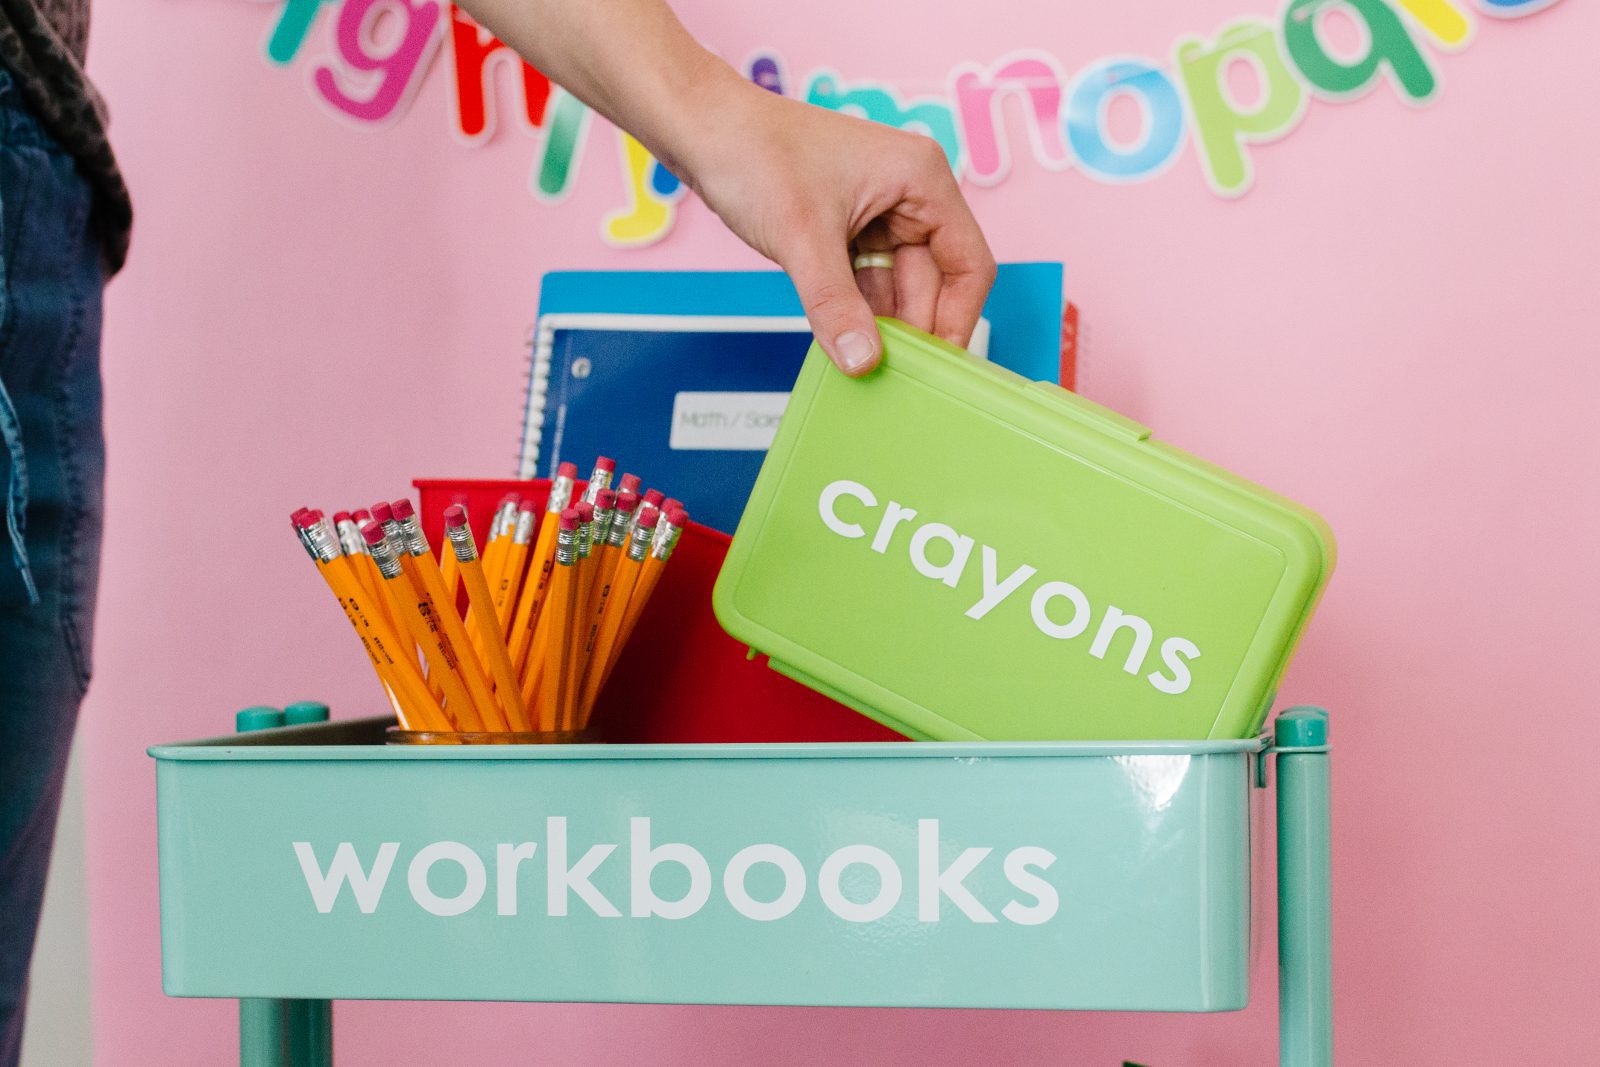
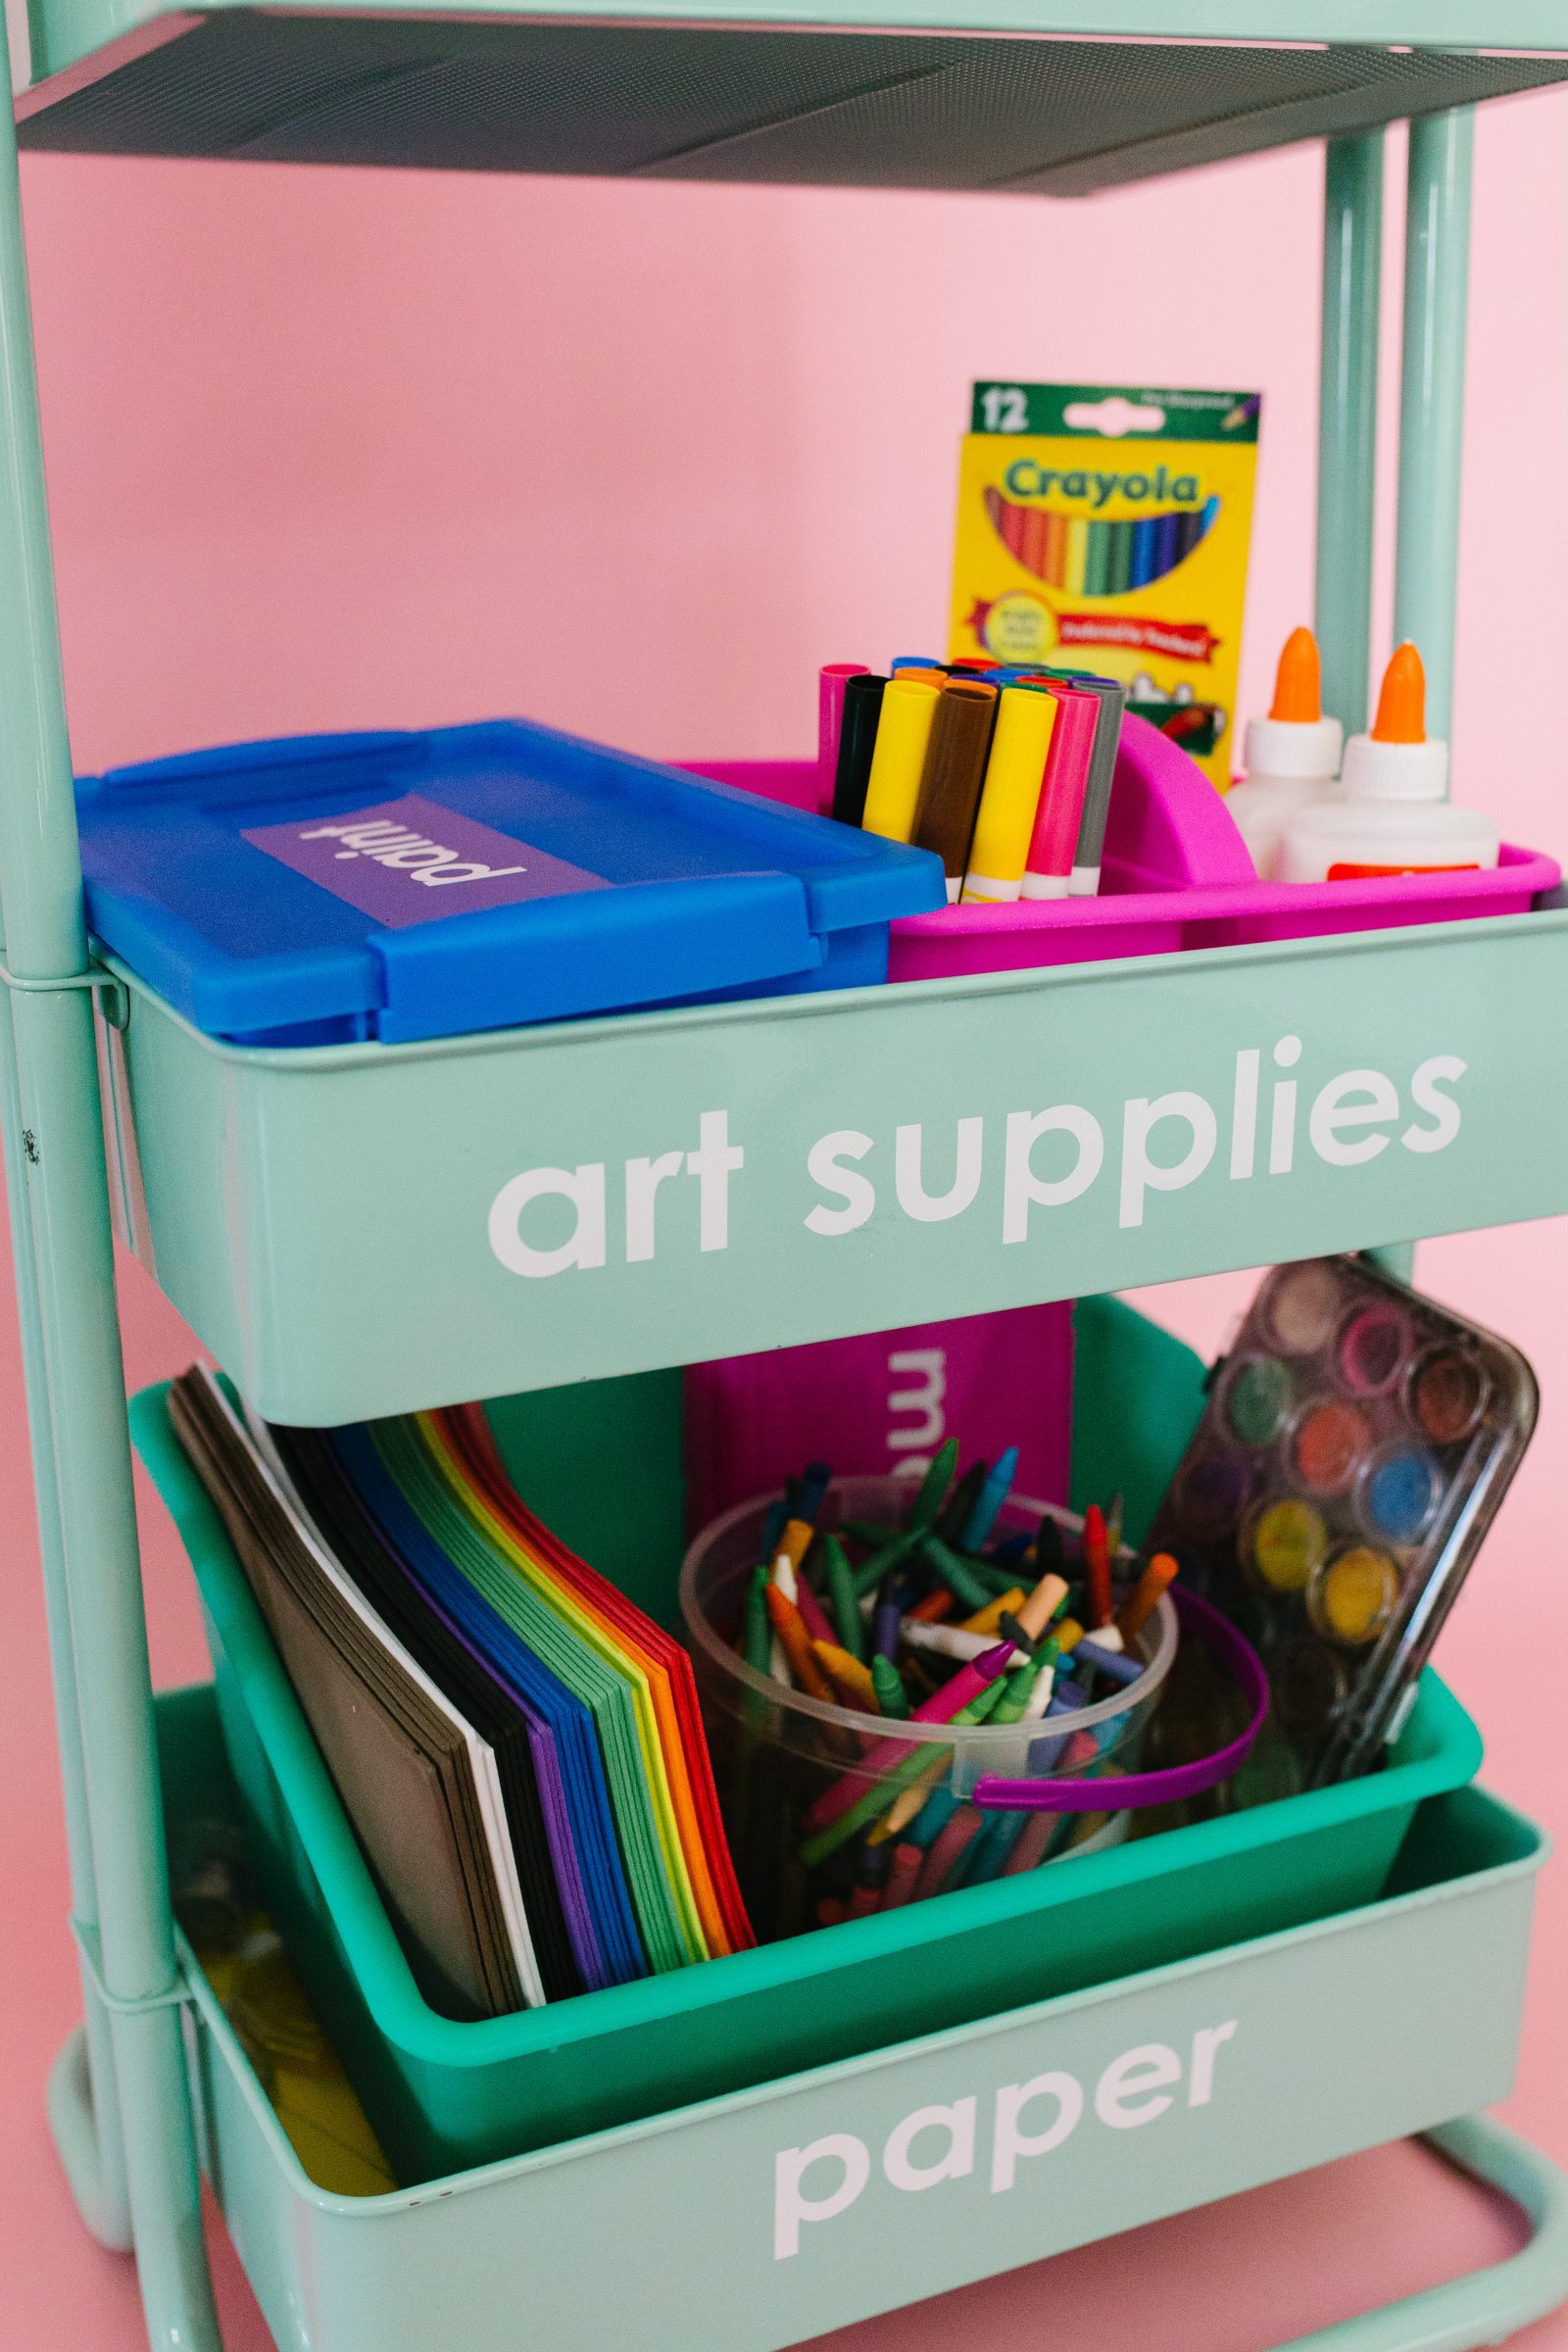
Start by labeling everything! Not only does it look adorable but there is no second guessing about where things should go. Label pencil boxes, file holders, tupperwares, etc., so you know exactly where things should go. Then, label the outside of the cart, too! You can label it with a detailed list of what should go on each level of the cart, or keep it more broad. We cut all of our labels with a Silhouette Cameo 4 and some adhesive vinyl, but we love the idea of using letter stickers or labels and writing them by hand. Whatever works best for what you have will do!

Fill Labeled Containers
Once you have everything labeled, fill your containers with school supplies and arrange them in their place on the cart. We love this cart because you can put it in one place and leave it there for good, or attach its wheels and work at the kitchen table one day or on the deck the next. It’s a great solution that takes your “classroom” with you wherever you feel is best to get work done on whatever day.


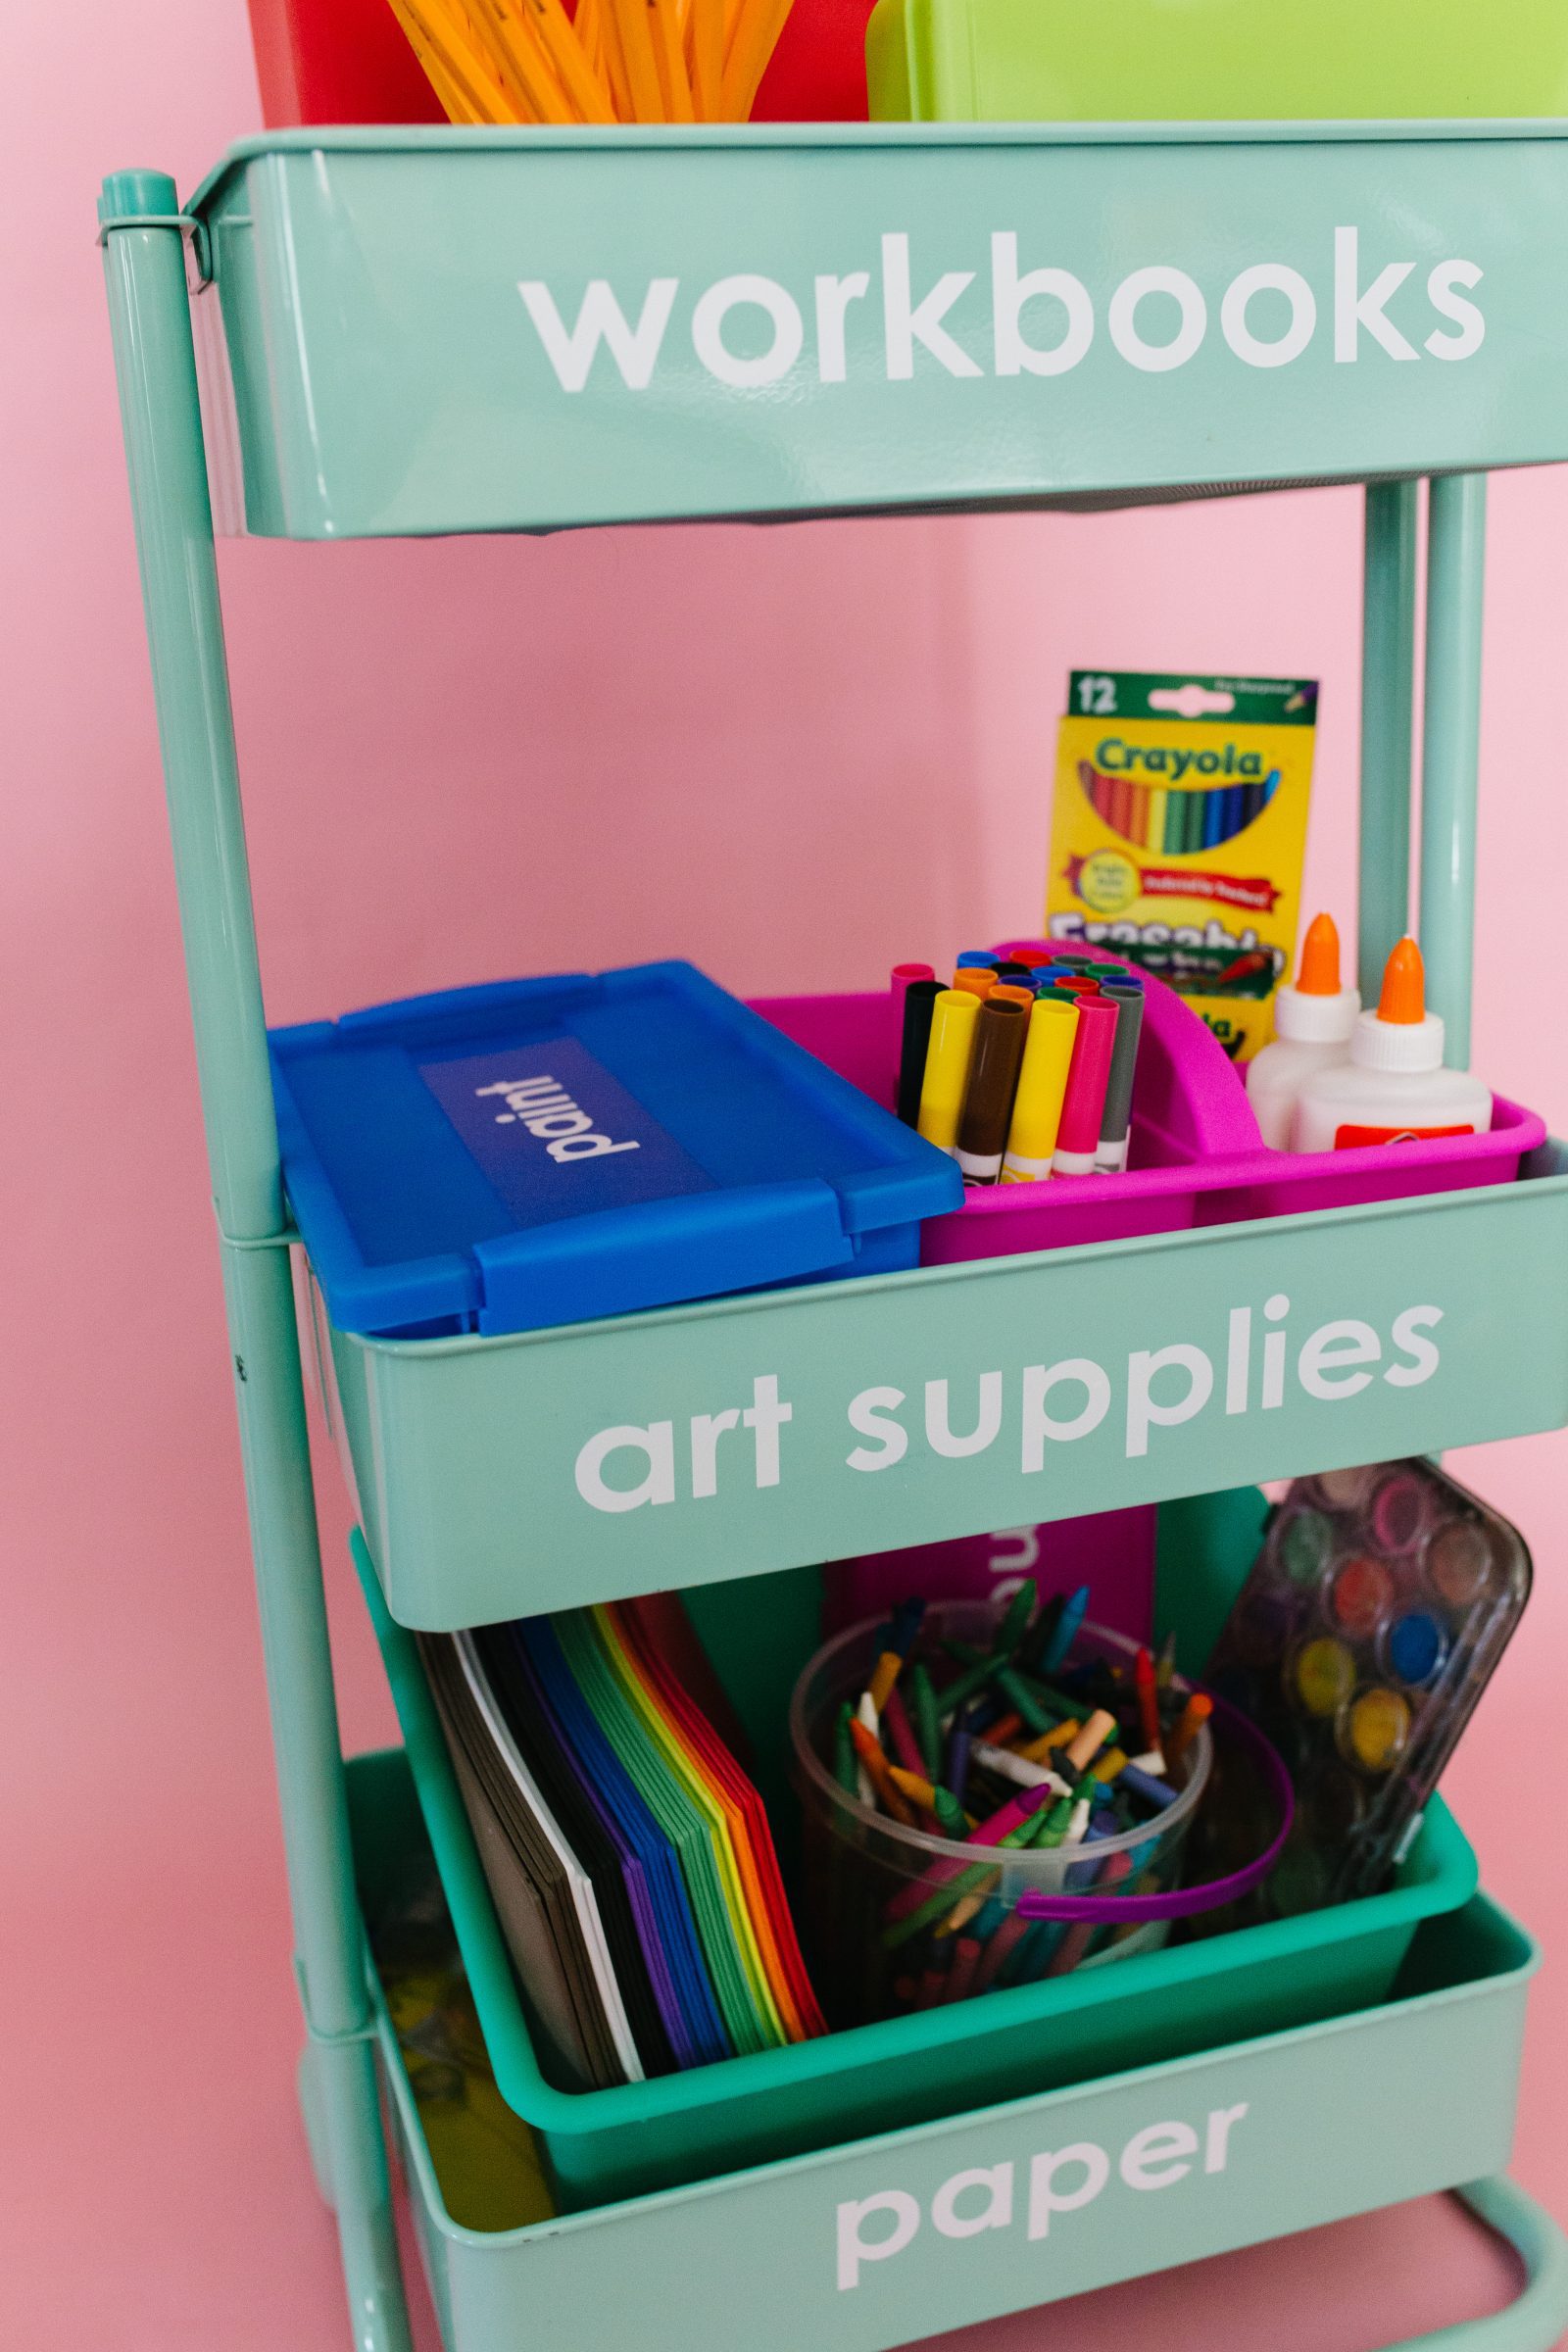

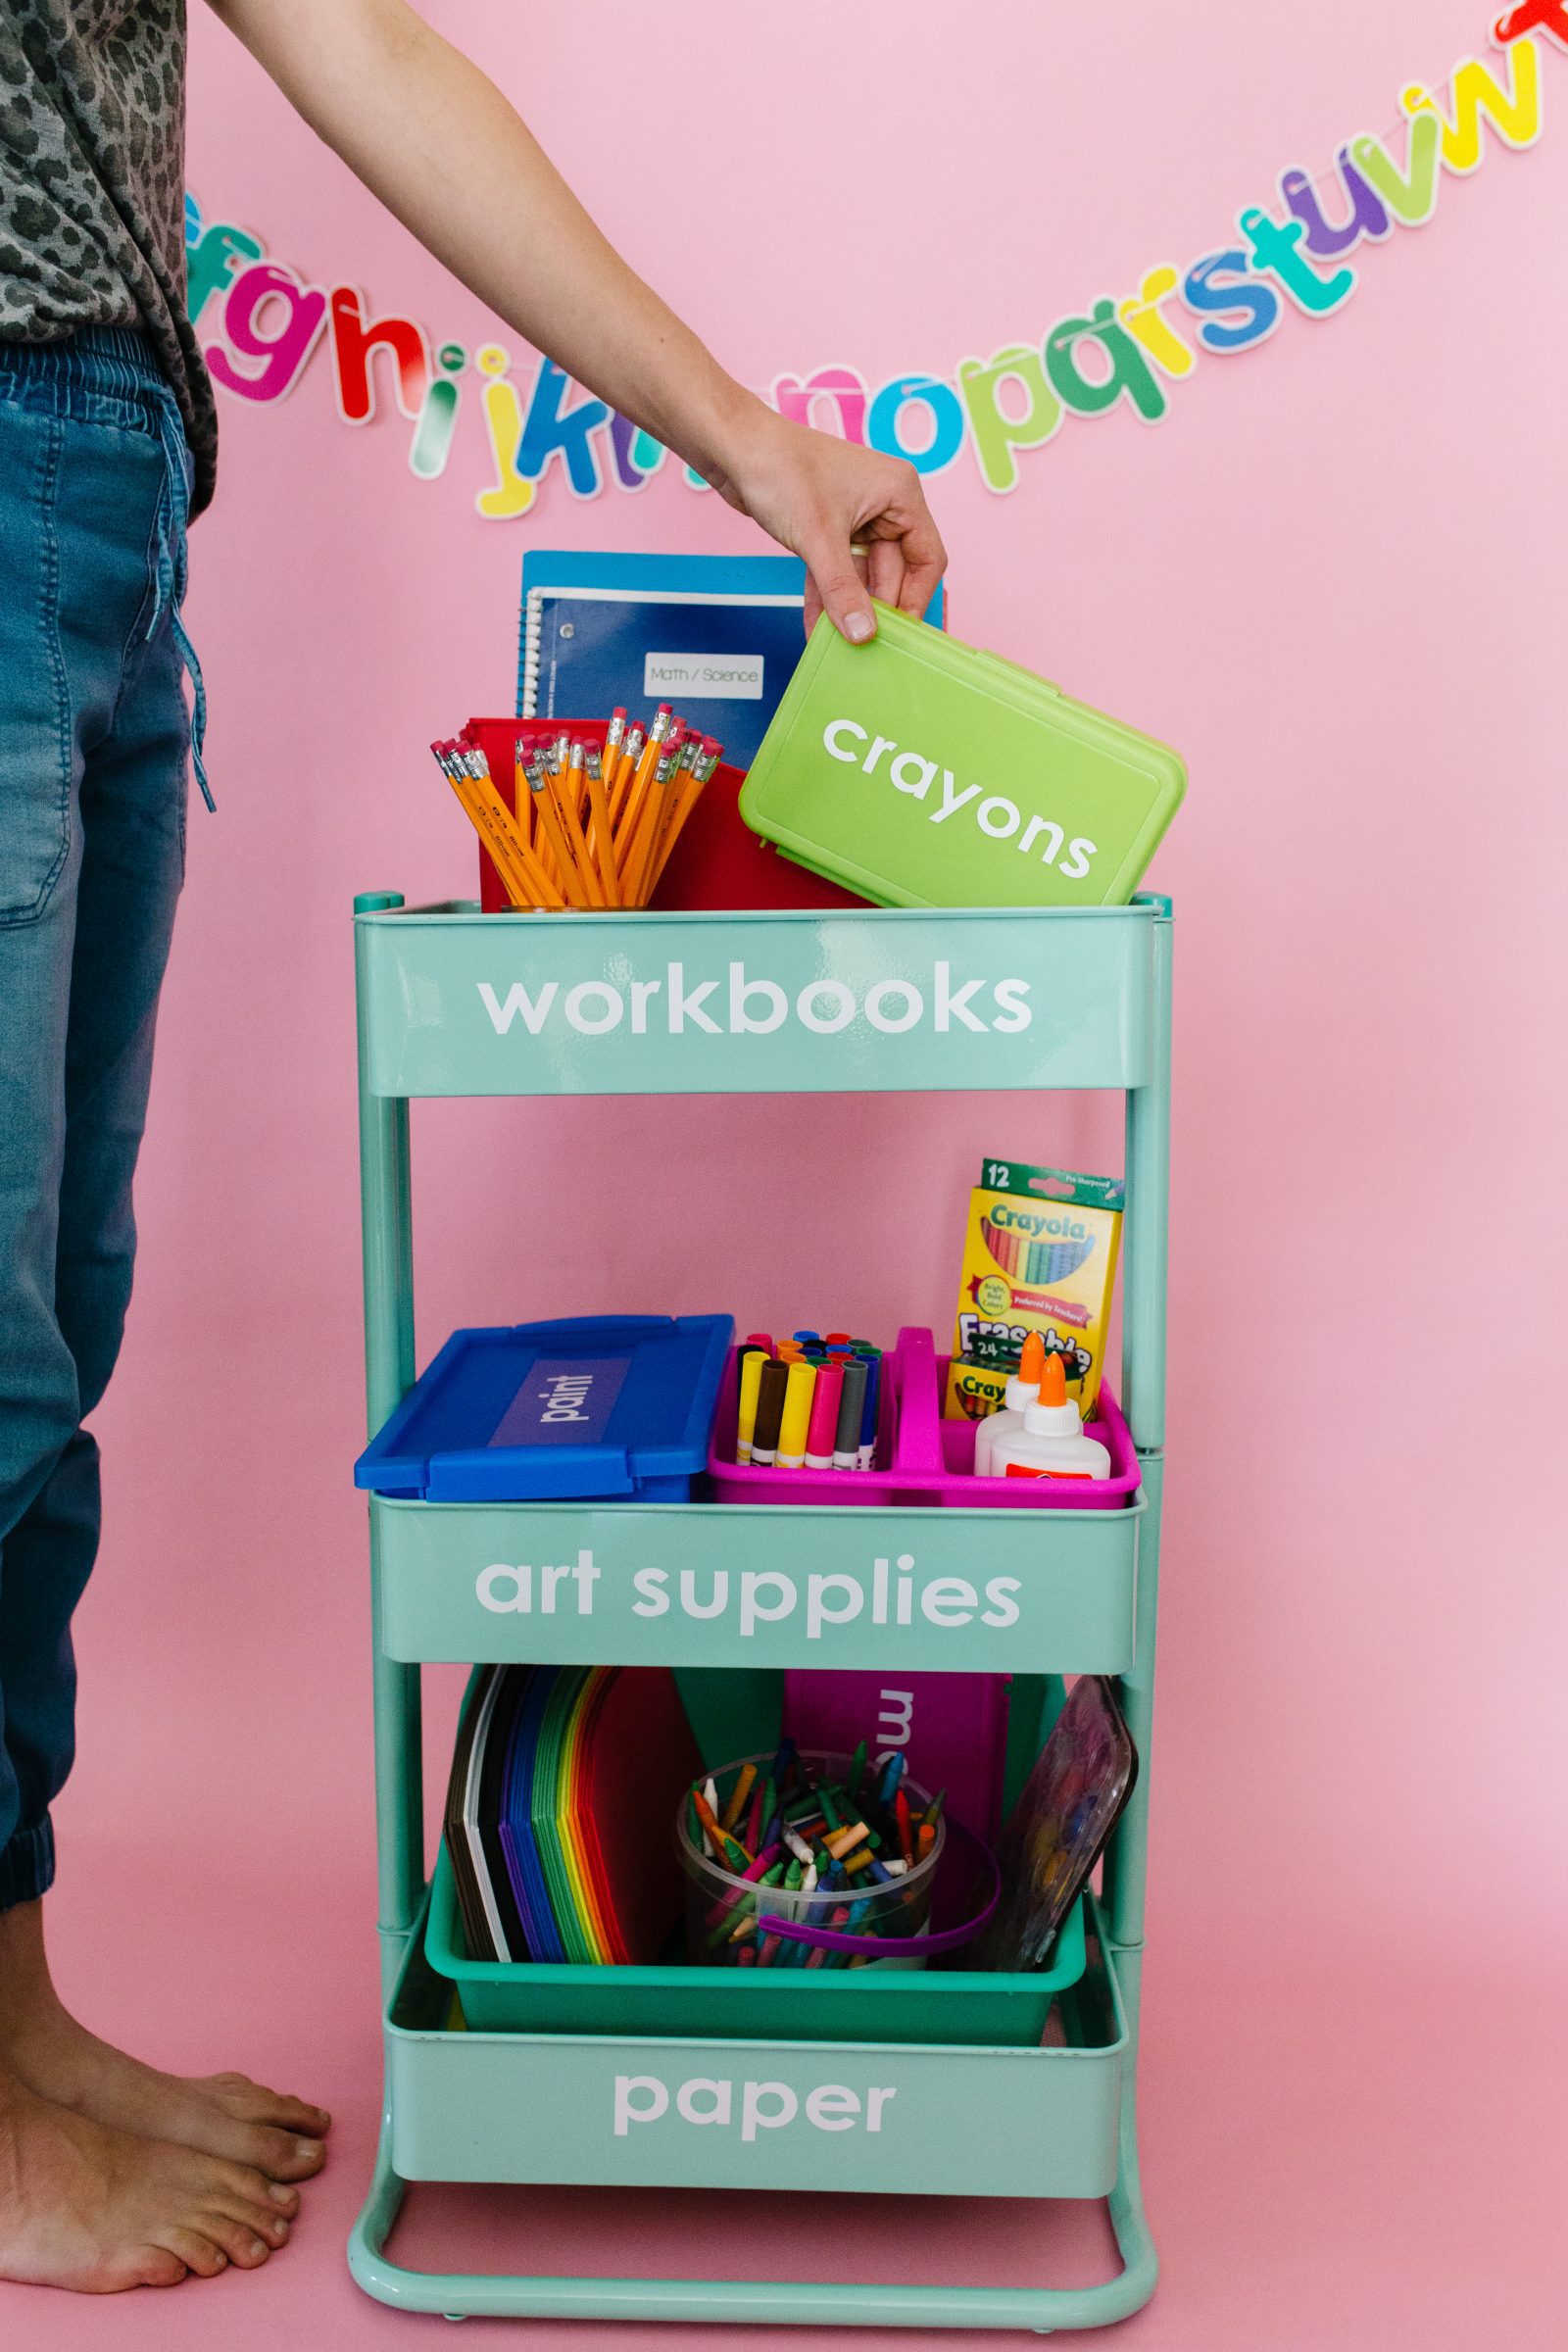


That’s it! One super simple solution for making homeschool or e-learning work in any space! Now, we want to know what is happening in your “classroom.” How are you making it fun and making it work? We’d love to hear!
ox. Liz and Sam


