These Tie Dye Shoes are sponsored by Tulip. All opinions are ours alone.
If you have read any of our many tie dye posts, you’ll be quick to recognize that our general feeling around the craft is OBSESSION. Like, it’s not quite unhealthy, but it’s borderline. Heaven help any white fabric that makes its way into our orbit because that sucker does not stand a chance against our tie dye wiles.
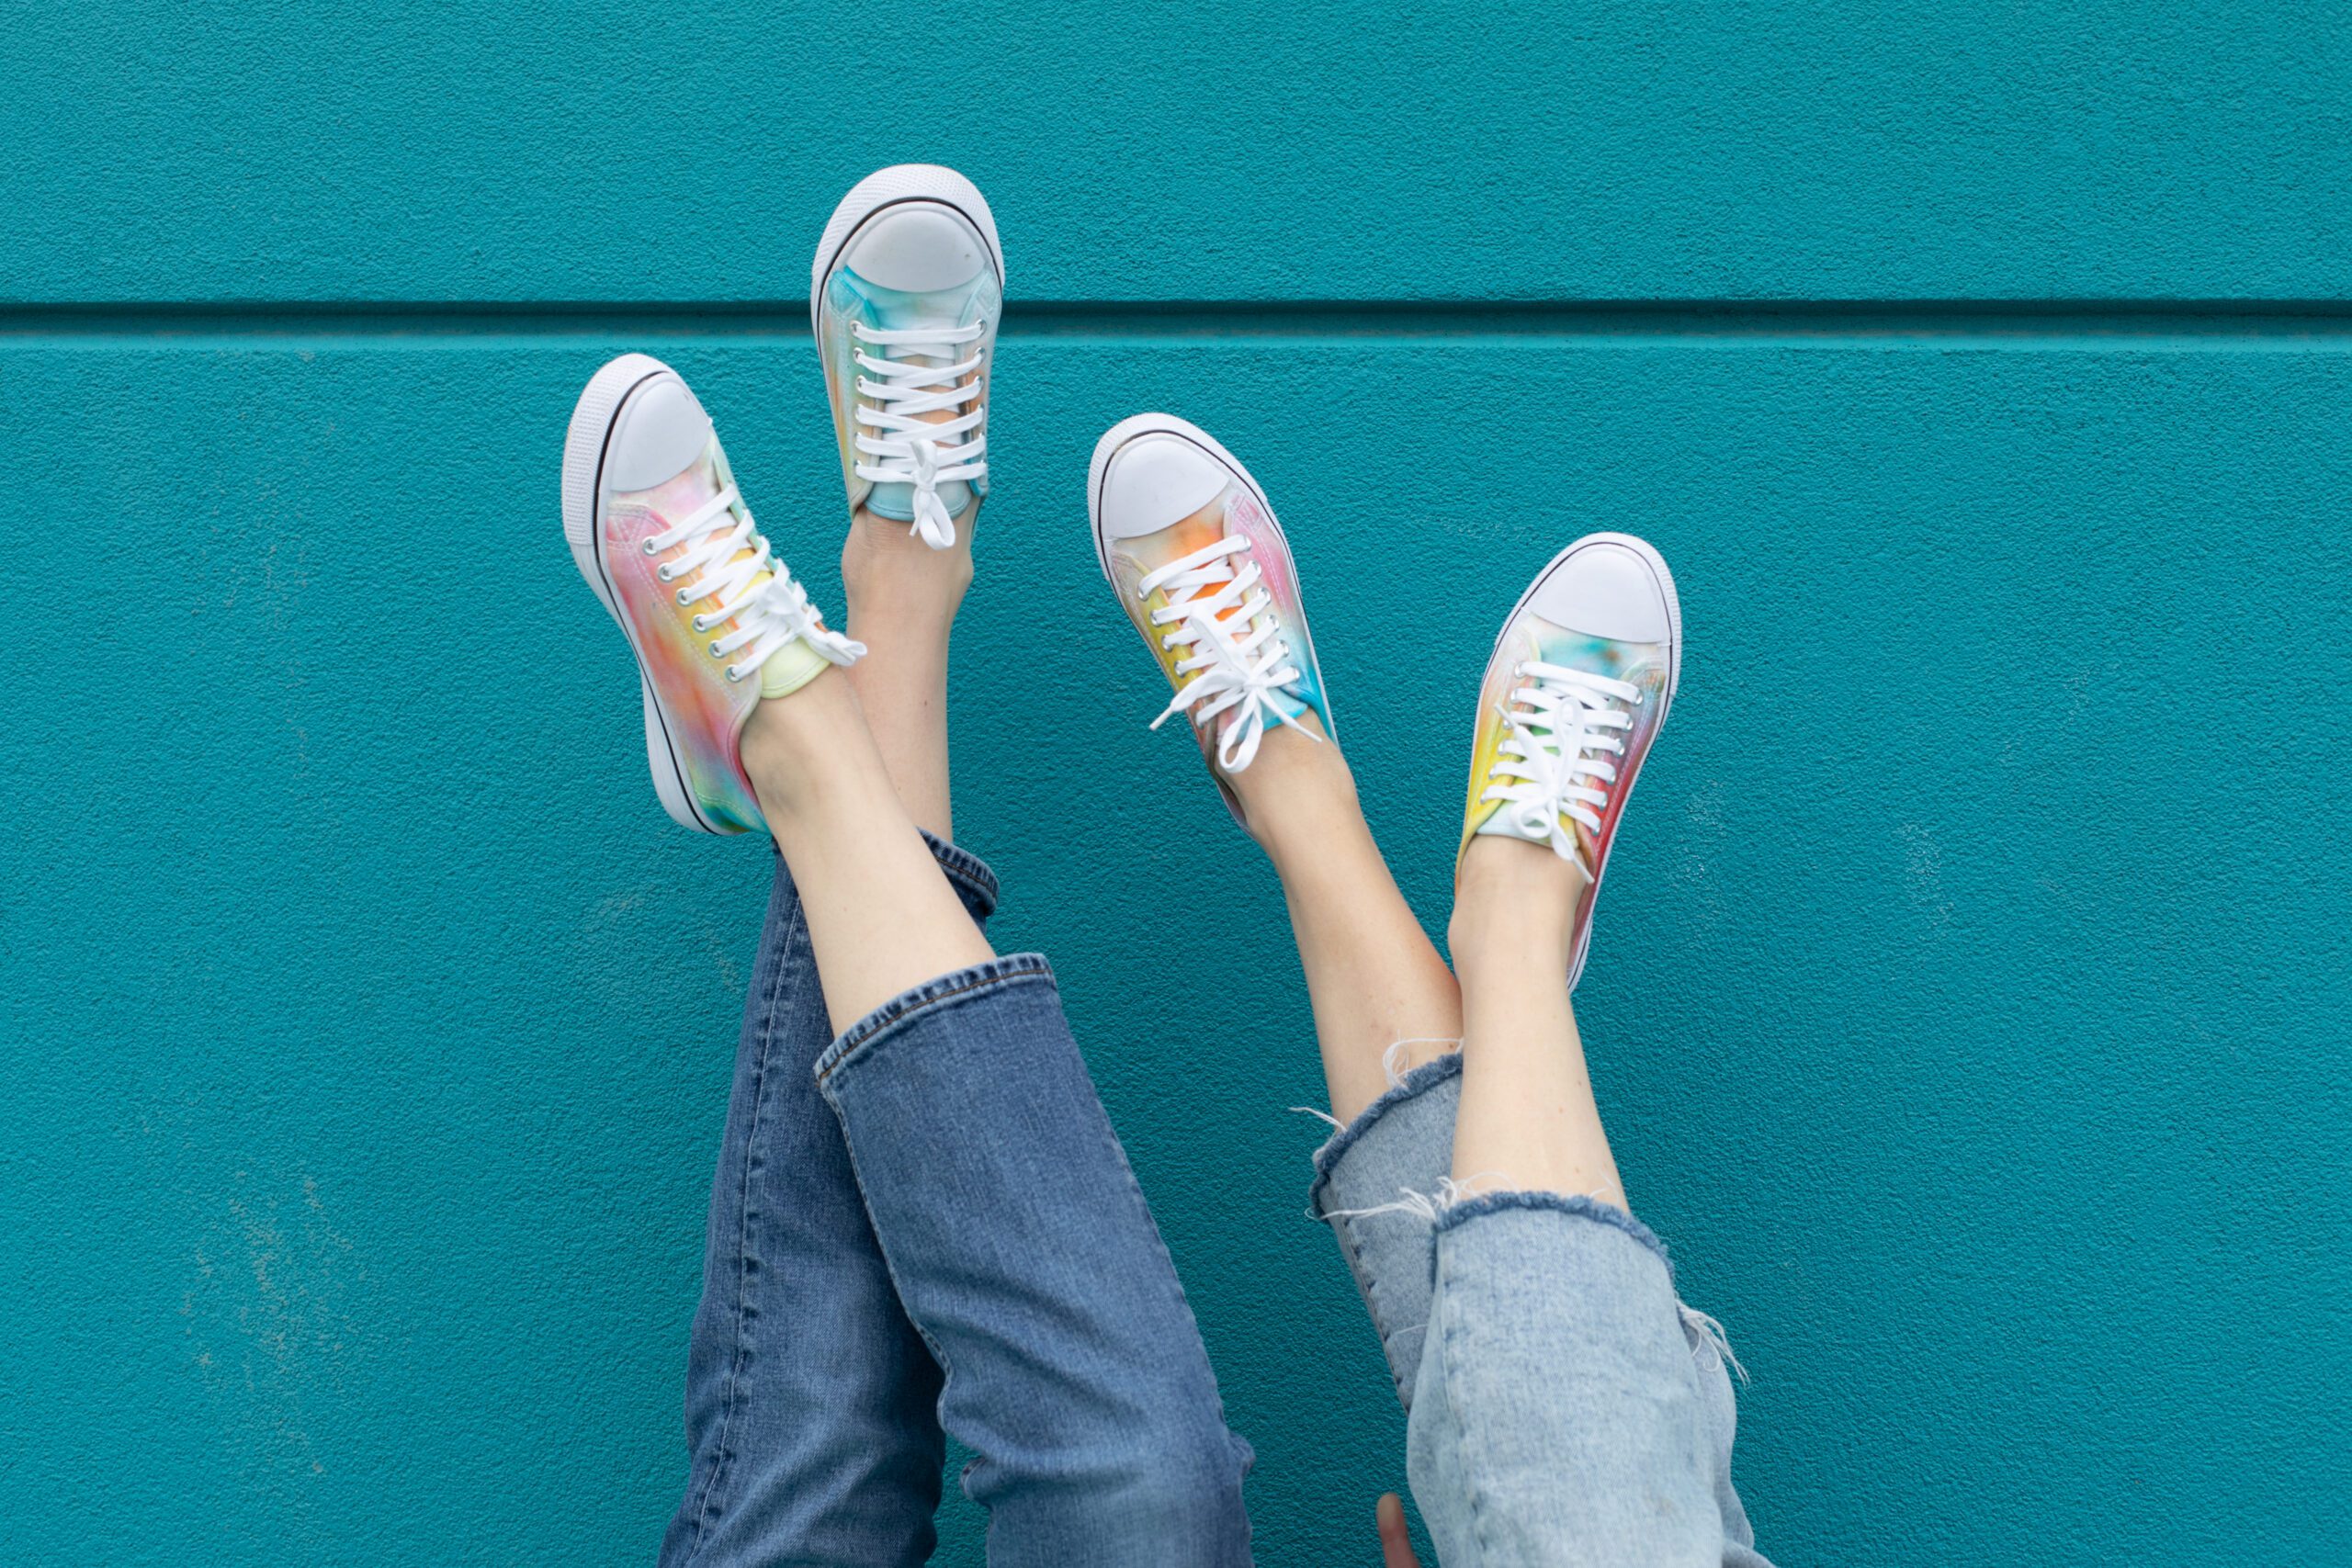
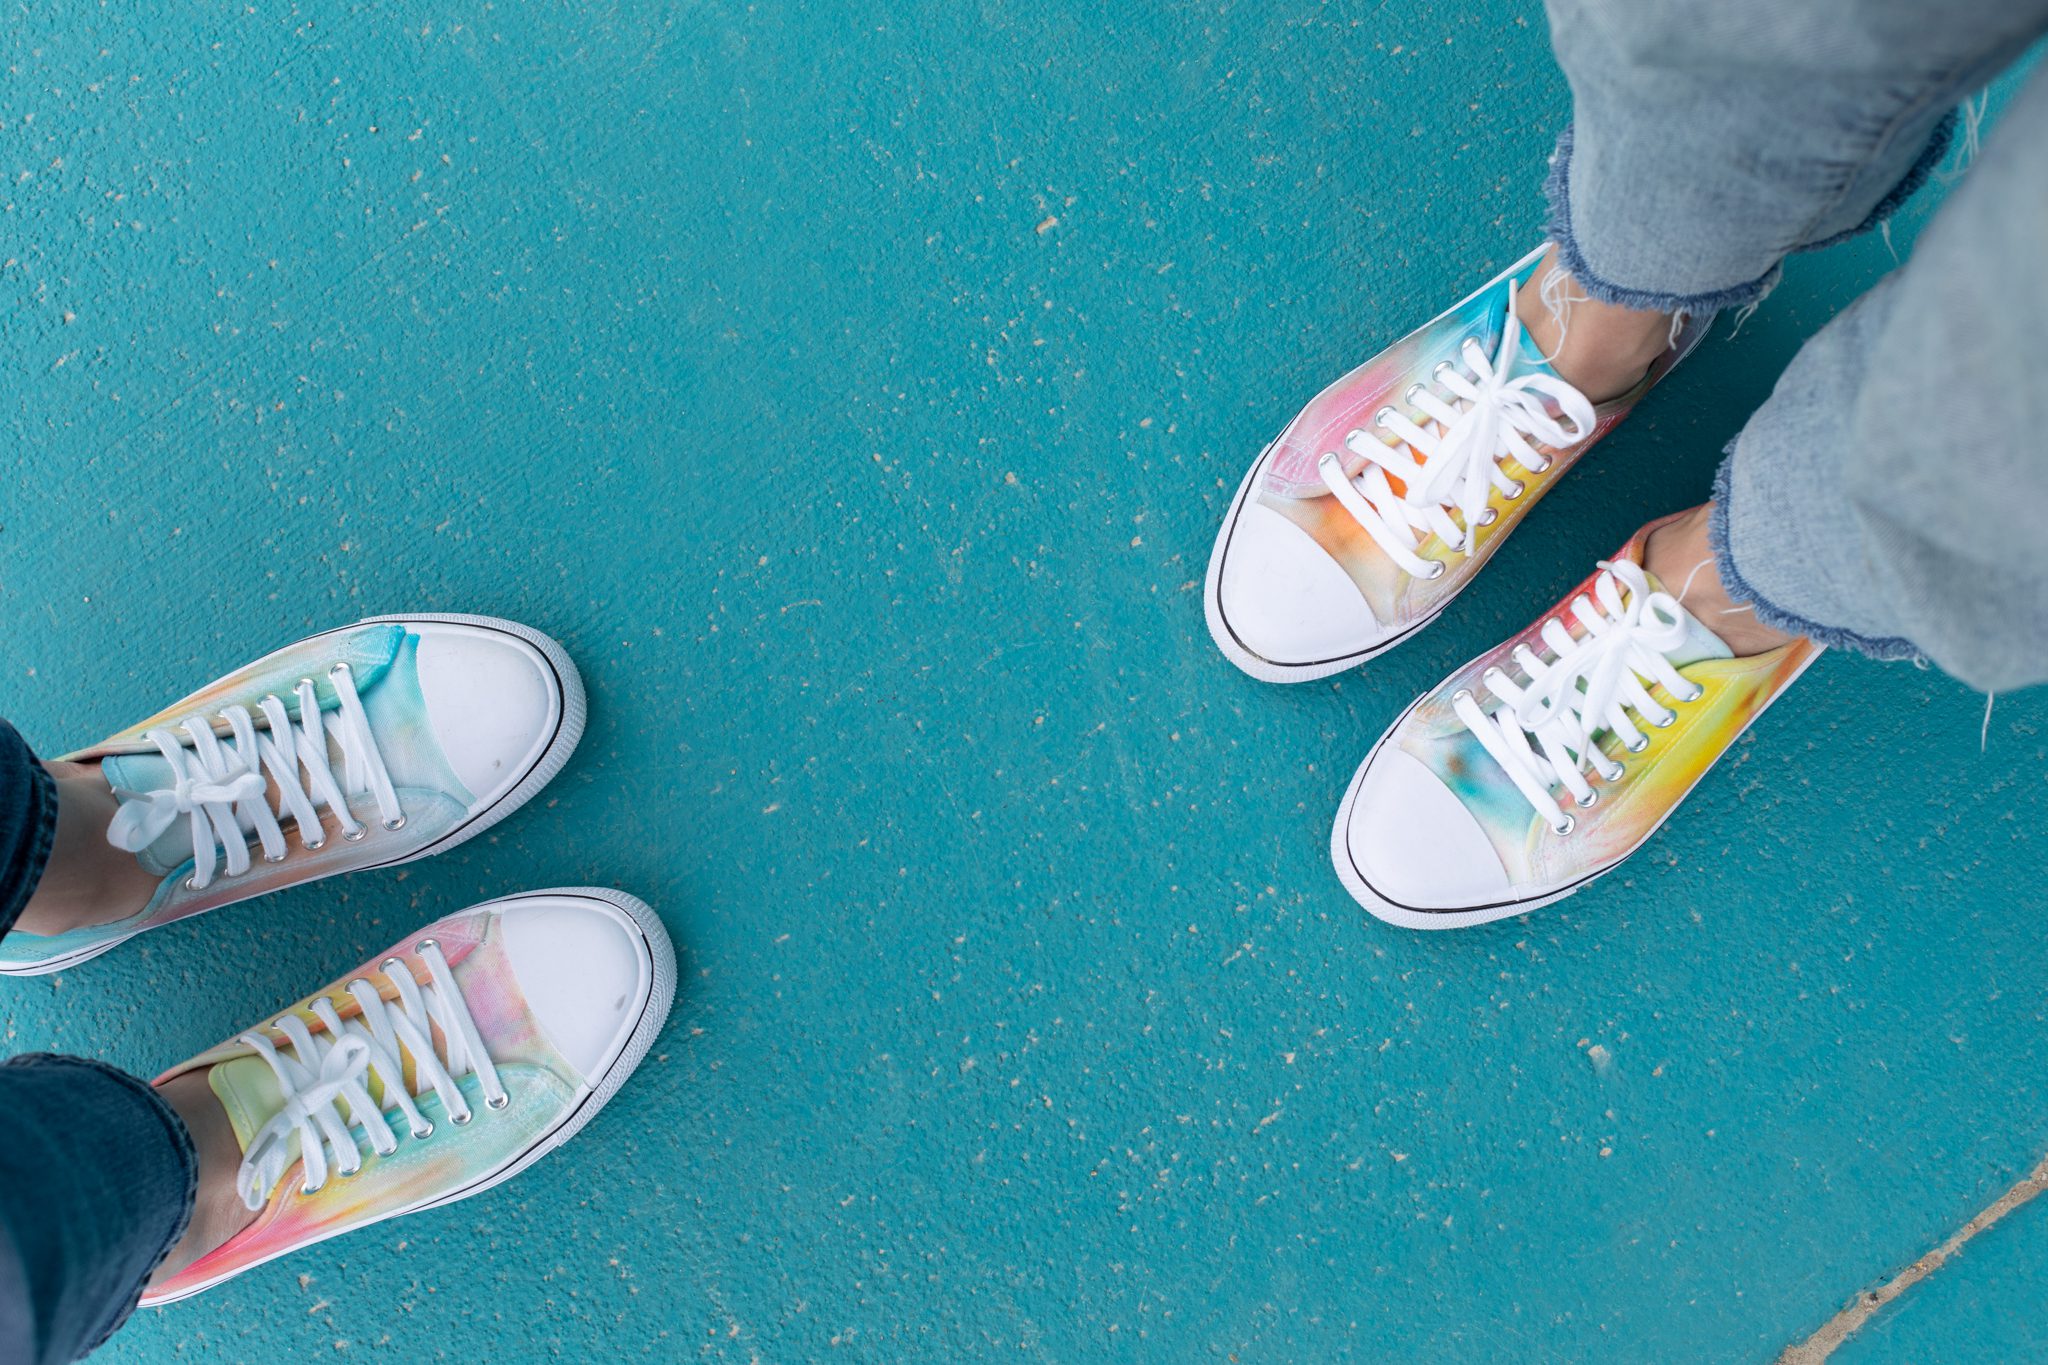
It’s true. We love it! And we especially love when we come across an exciting method for application, and that’s why today’s project has us vibrating at another tie dye level. We are going to show you how to make tie dye shoes using Tulip’s Mystery Dye Poppers and canvas shoes from Joann!

If you have never used Tulip Mystery Dye Poppers you are going to flip over this totally new, fresh, and FUN way to tie dye. Here’s how it works: The kit comes with white capsules full of dye and a mallet to smash them open, but the capsules are only labeled with a number, so there’s no way to know what colors are inside! To apply the dye, you’ll put the capsules in your fabric, then in a ziplock bag, and smash the capsules with the mallet which makes them pop open and cover your material with surprise shades of dye! It’s one part tie dye, one part smash therapy, and the results are the most fun you’ve ever had tie dyeing.
Supplies needed to make DIY Tie Dye Shoes with Mystery Dye Poppers
Shoes
Mystery Dye Poppers Kit
Gloves (recommended)
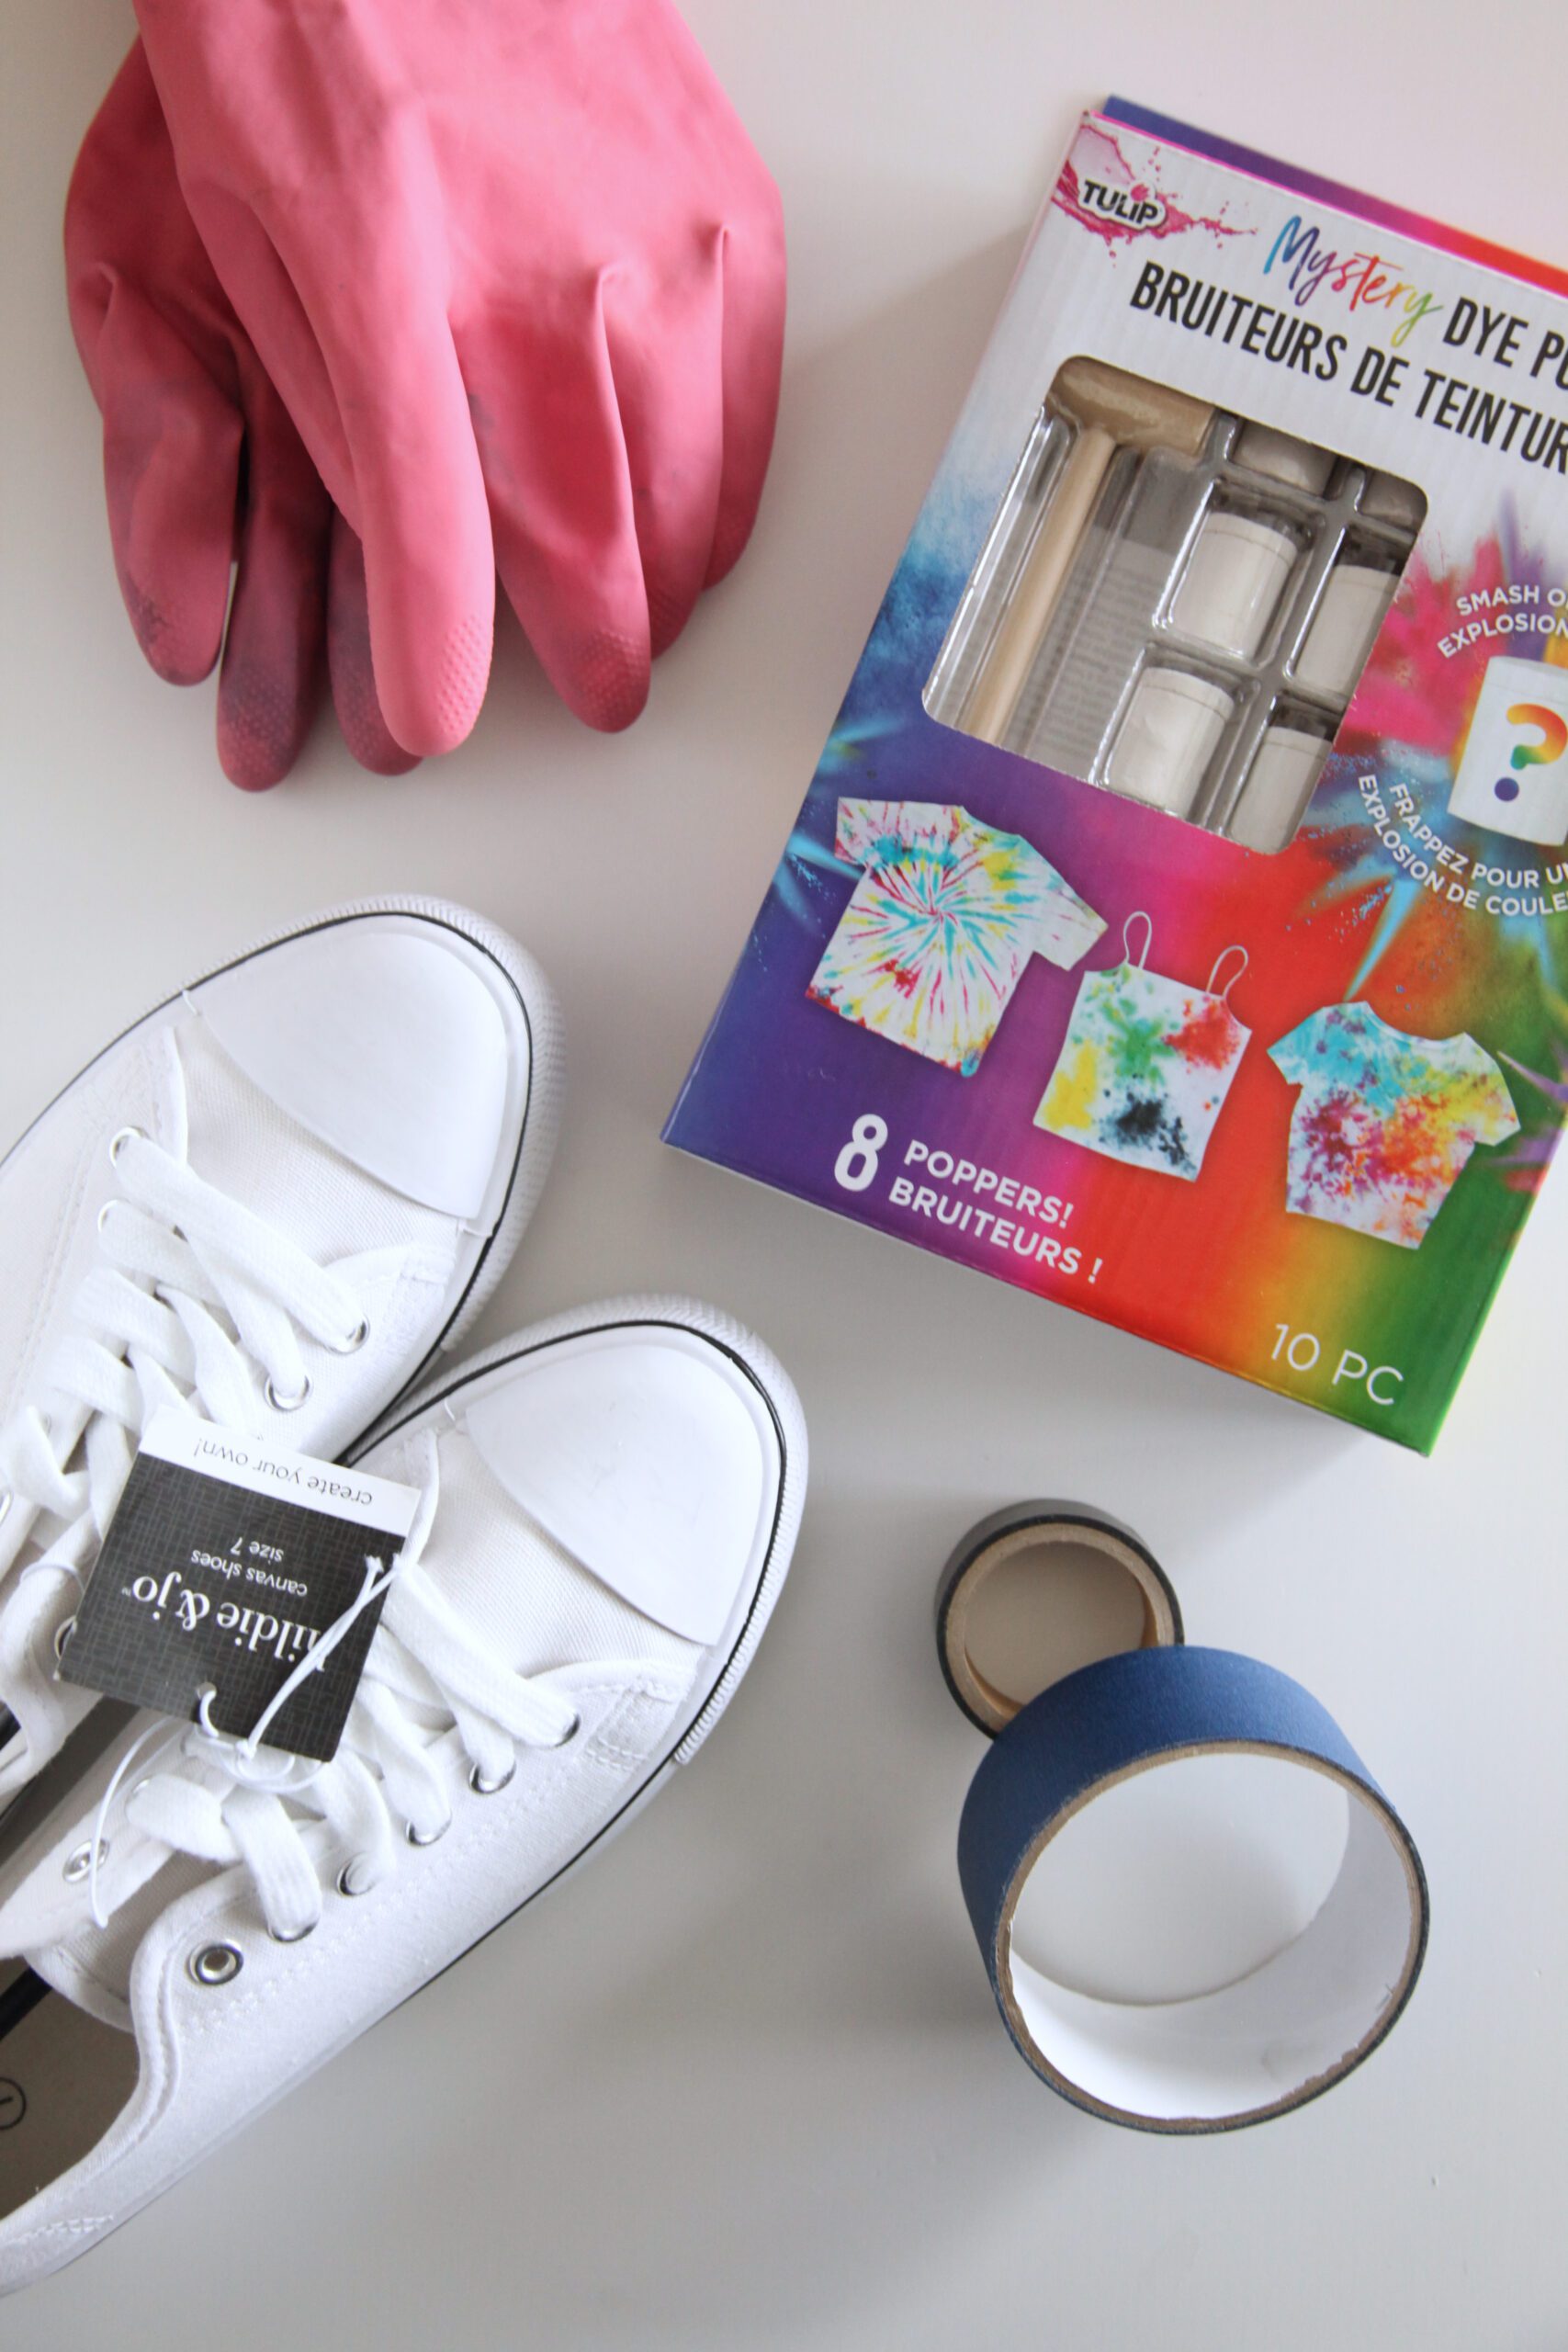

How to make DIY Tie Dye Shoes with Mystery Dye Poppers
Step 1: Remove the shoelaces from your shoes and tape any areas you don’t want dyed (i.e. soles, rubber toes).
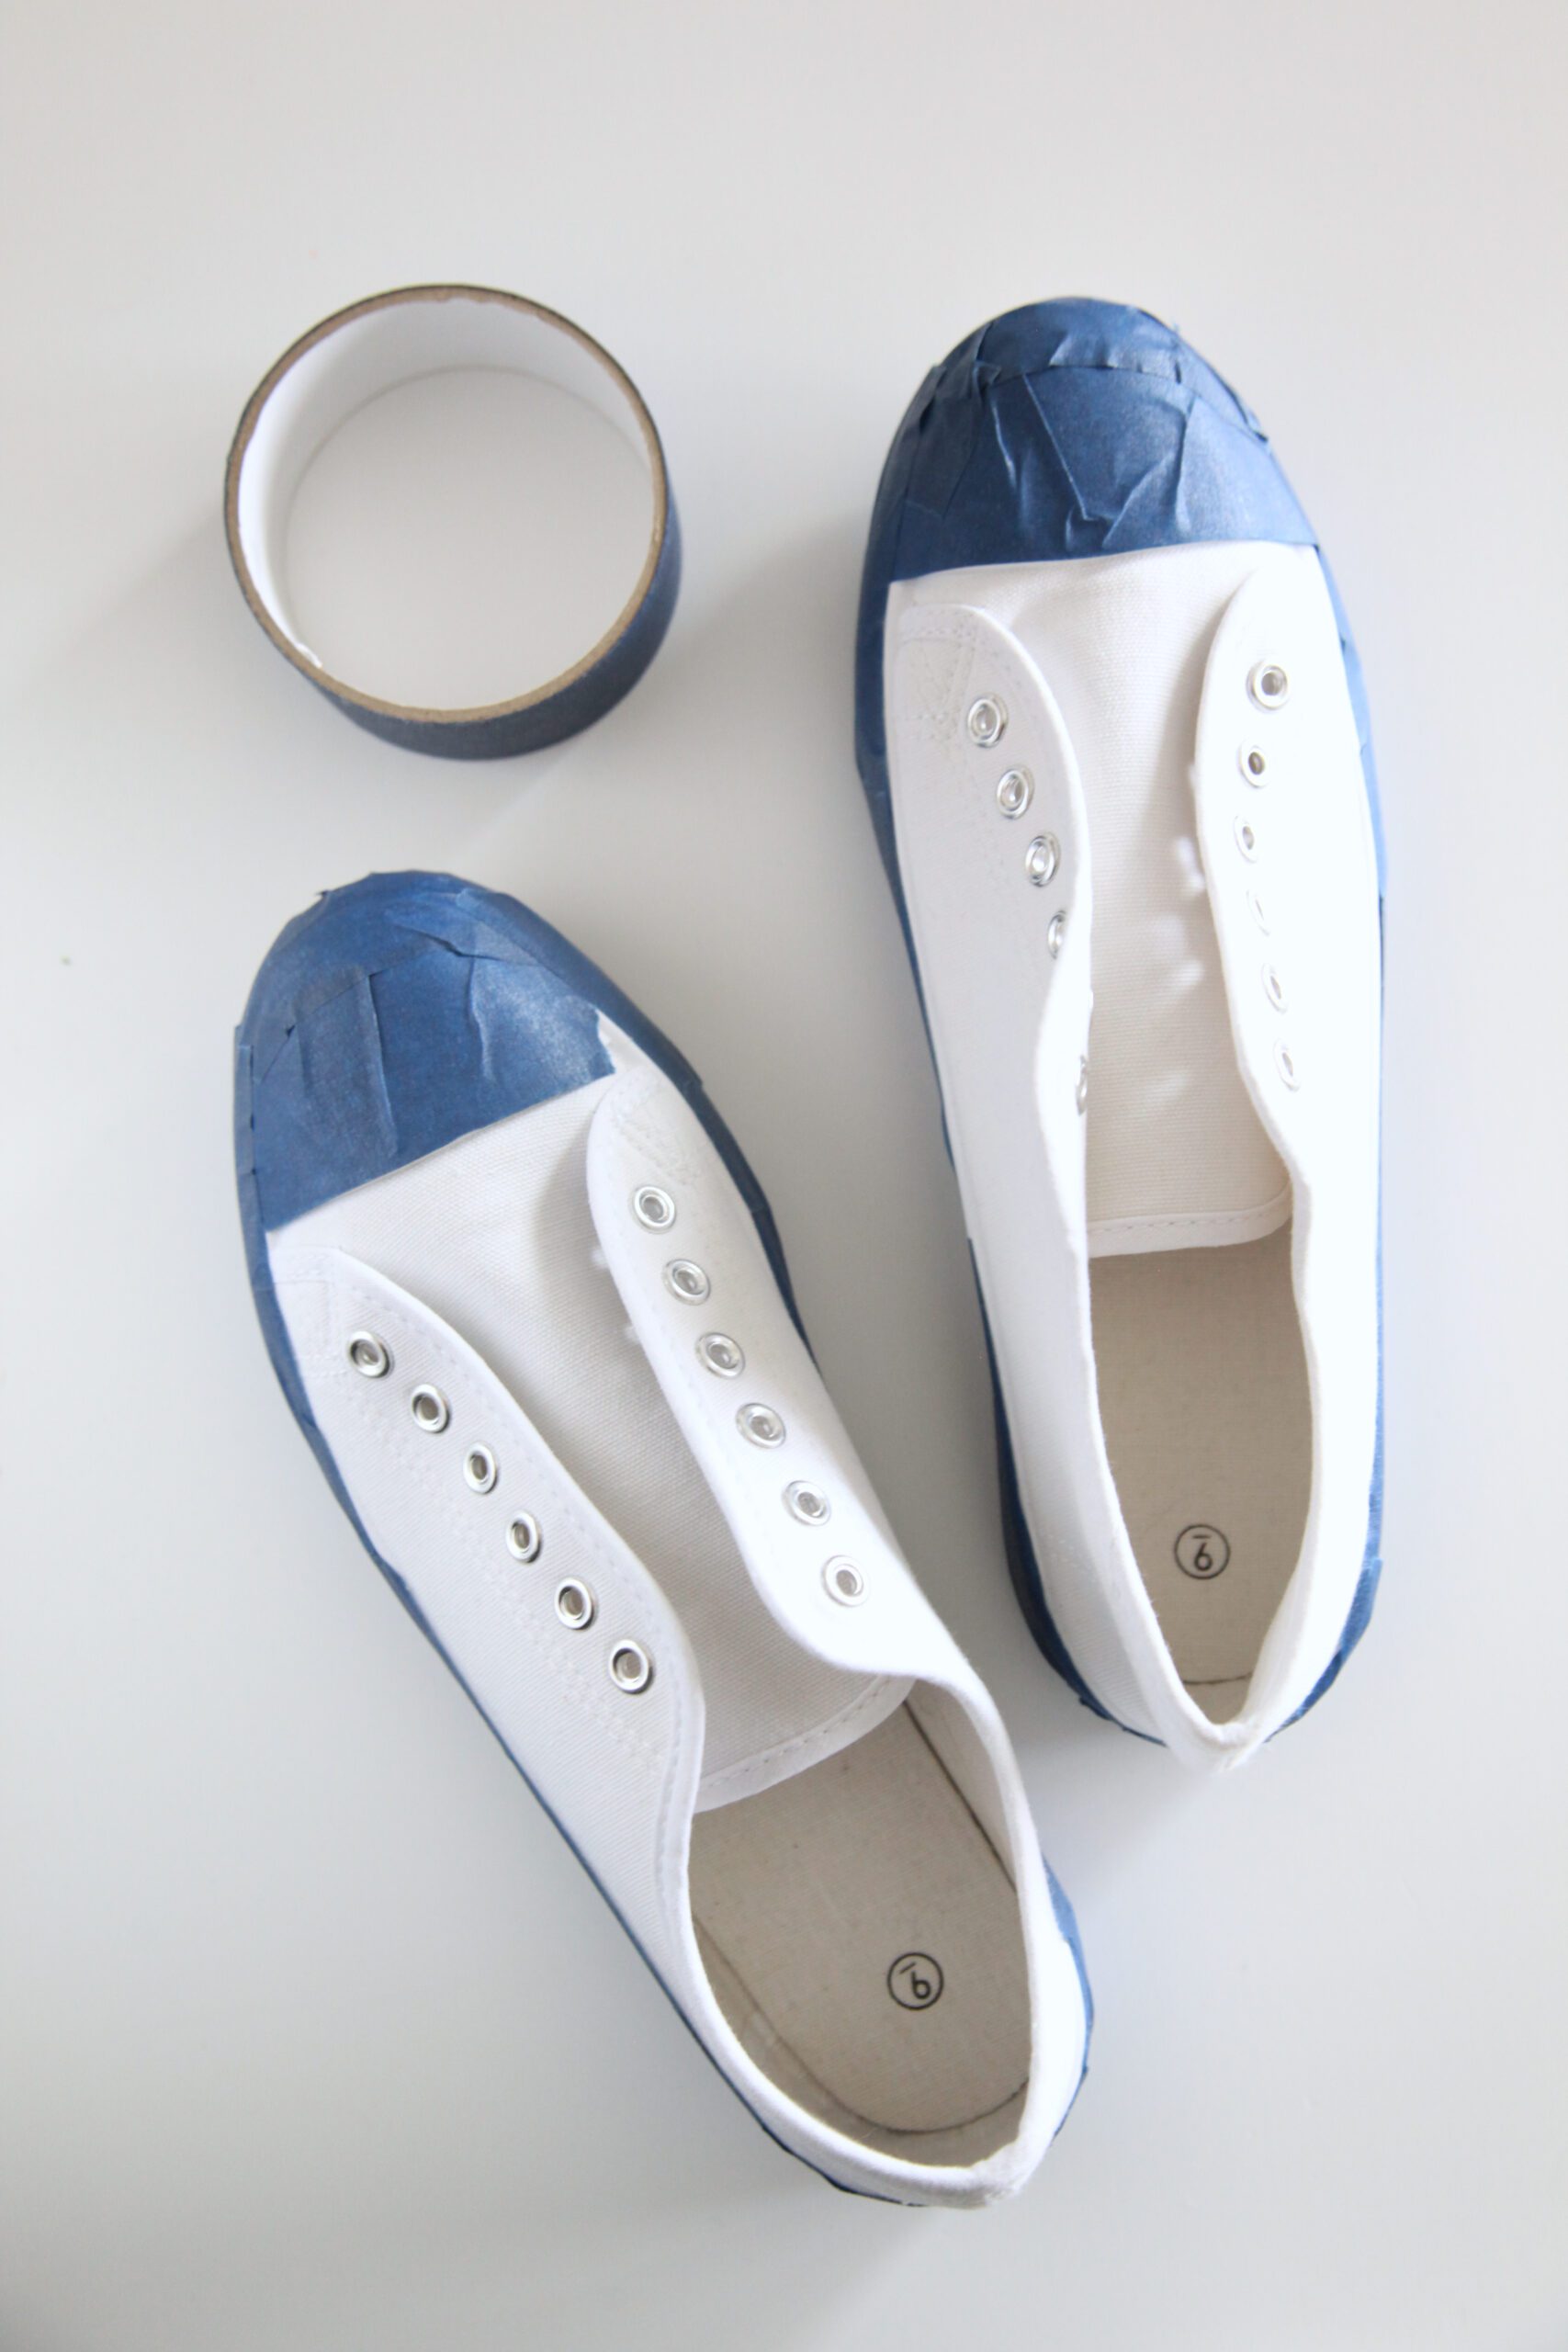

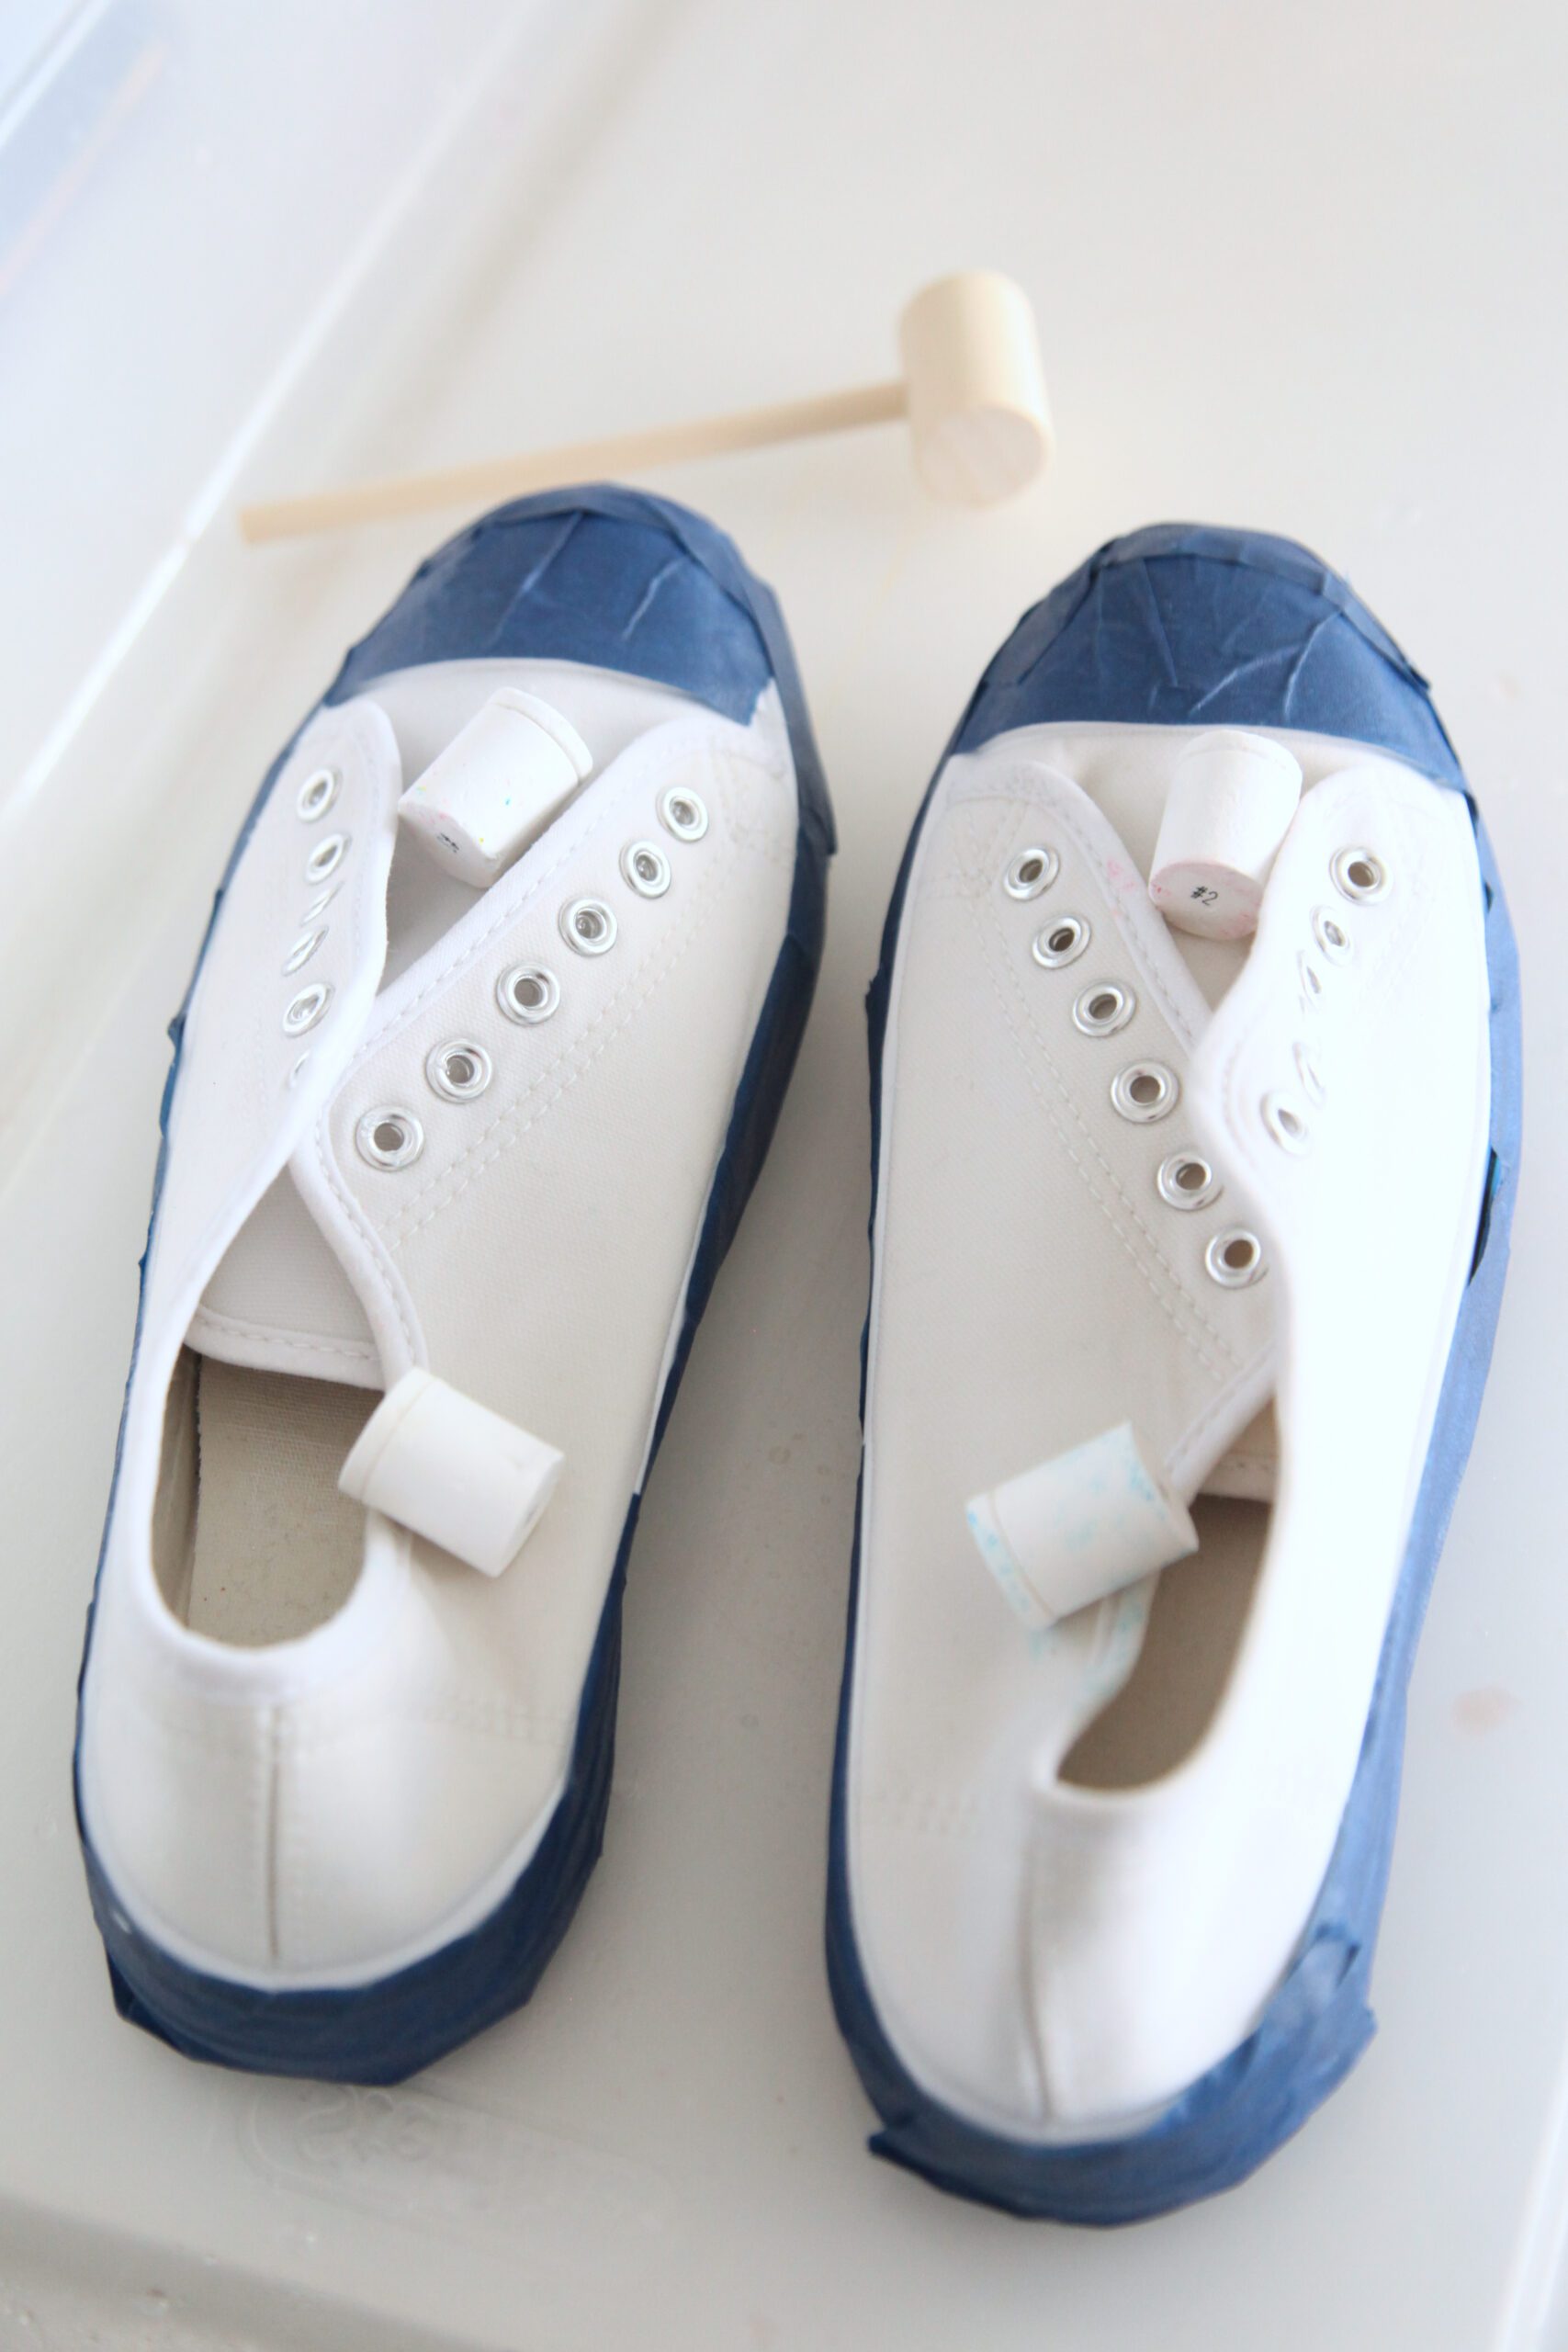
Step 2: Carefully wet your shoes. A spray bottle works great for this. Place your shoes in a large bag or container, then place the poppers on the shoes in the spots where you’d like color to appear. (But also don’t try to control it too much, or you might be sad with the result!)
If you aren’t a mystery lover and would rather know which colors you are working with (we can relate), refer to the instructions sheet in the Mystery Dye Poppers box where you can find a list of colors that correspond with the numbers printed on each popper.
Note: The more you wet your shoes, the more the dye will spread. If you keep them more dry, you will get more of a splattery/speckly design.

Step 3: Hit the poppers with the provided mallet until they open and reveal the powder dye inside. With gloved hands, pinch some of the powder dye and sprinkle it on other areas, as needed.
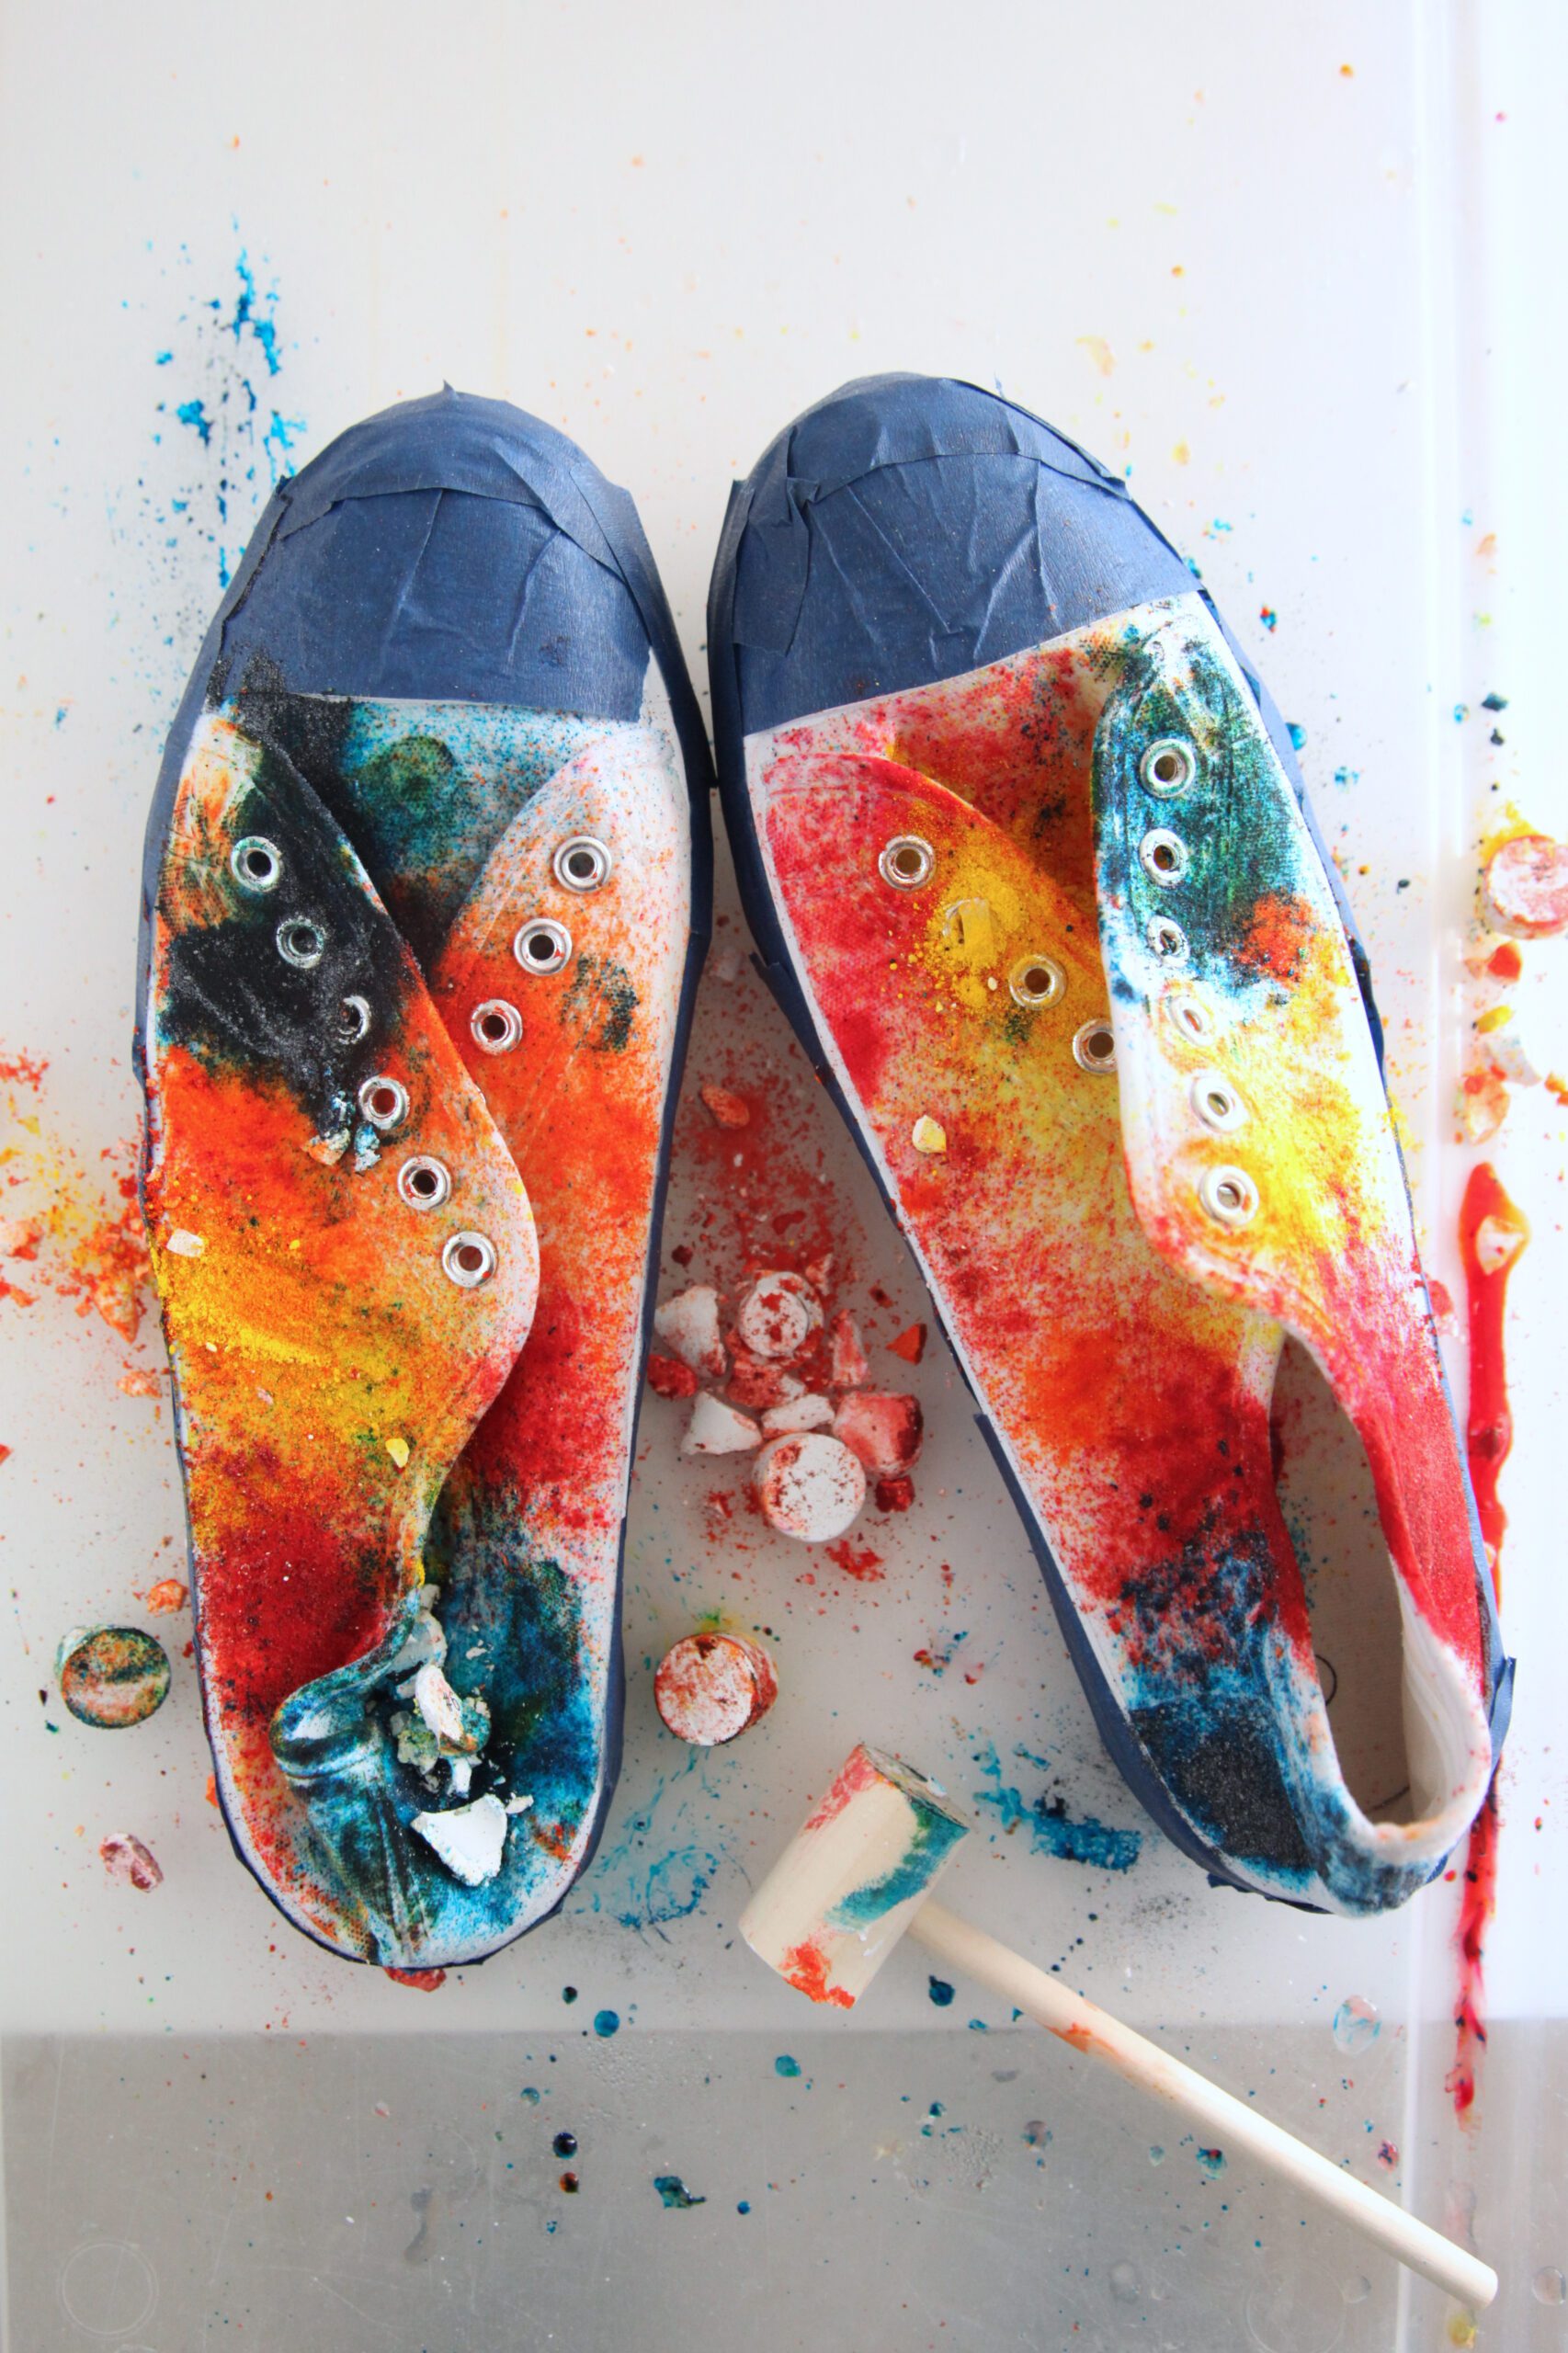

Step 4: Once you’ve added as much dye as you’d like, let the dye set. The set time will vary depending on your desired outcome. I only left the dye on our shoes for about 15 minutes before rinsing, and we got lighter colors that spread into each other and created more of an ombre rainbow effect. If you want bolder colors and more defined designs, leave the dye on longer. The instructions recommend 4+ hours.


Step 5: When you’re ready, rinse the shoes thoroughly until the water runs clear. Your tape will probably fall off during rinsing, so you can remove it at this point. Let the shoes dry, then put the shoelaces back on.




-Liz & Sam
Looking for more Tie Dye inspiration? Check out these projects!
