This Tie Dye Bucket Hat tutorial is sponsored by Tulip. All opinions are ours alone.
Bucket hats are making a major comeback as of late and are inherently summery (given their origins of being worn by seaside fishermen) and are great for blocking the sun while making a fashion statement. And since we like to tie dye EVERYTHING, we decided to make a tie dye bucket hat! You can find the one we used at Joann, along with tons of other surfaces that are perfect for tie dye. We used our tried and true, Tulip One-Step Tie Dye to create a design using a sherbet-inspired color palette on our hat and then added a heat transfer vinyl design to give it even more personality. Keep scrolling for the tutorial!


Now that spring is here, it feels like tie dye season is upon us! I mean, yes, we certainly tie dyed through the winter and have closets full tie dye creations for cold weather, but something about the sun shining and summer on the horizon makes it feel like we are entering the time of year that gives us the ideal conditions for tie dye transcendence. So, if you put your bottles and gloves and rubber bands away for the winter, get them out, dust them off, and get ready the most colorful tie dye season yet! Let’s make this DIY Tie Dye Bucket Hat!
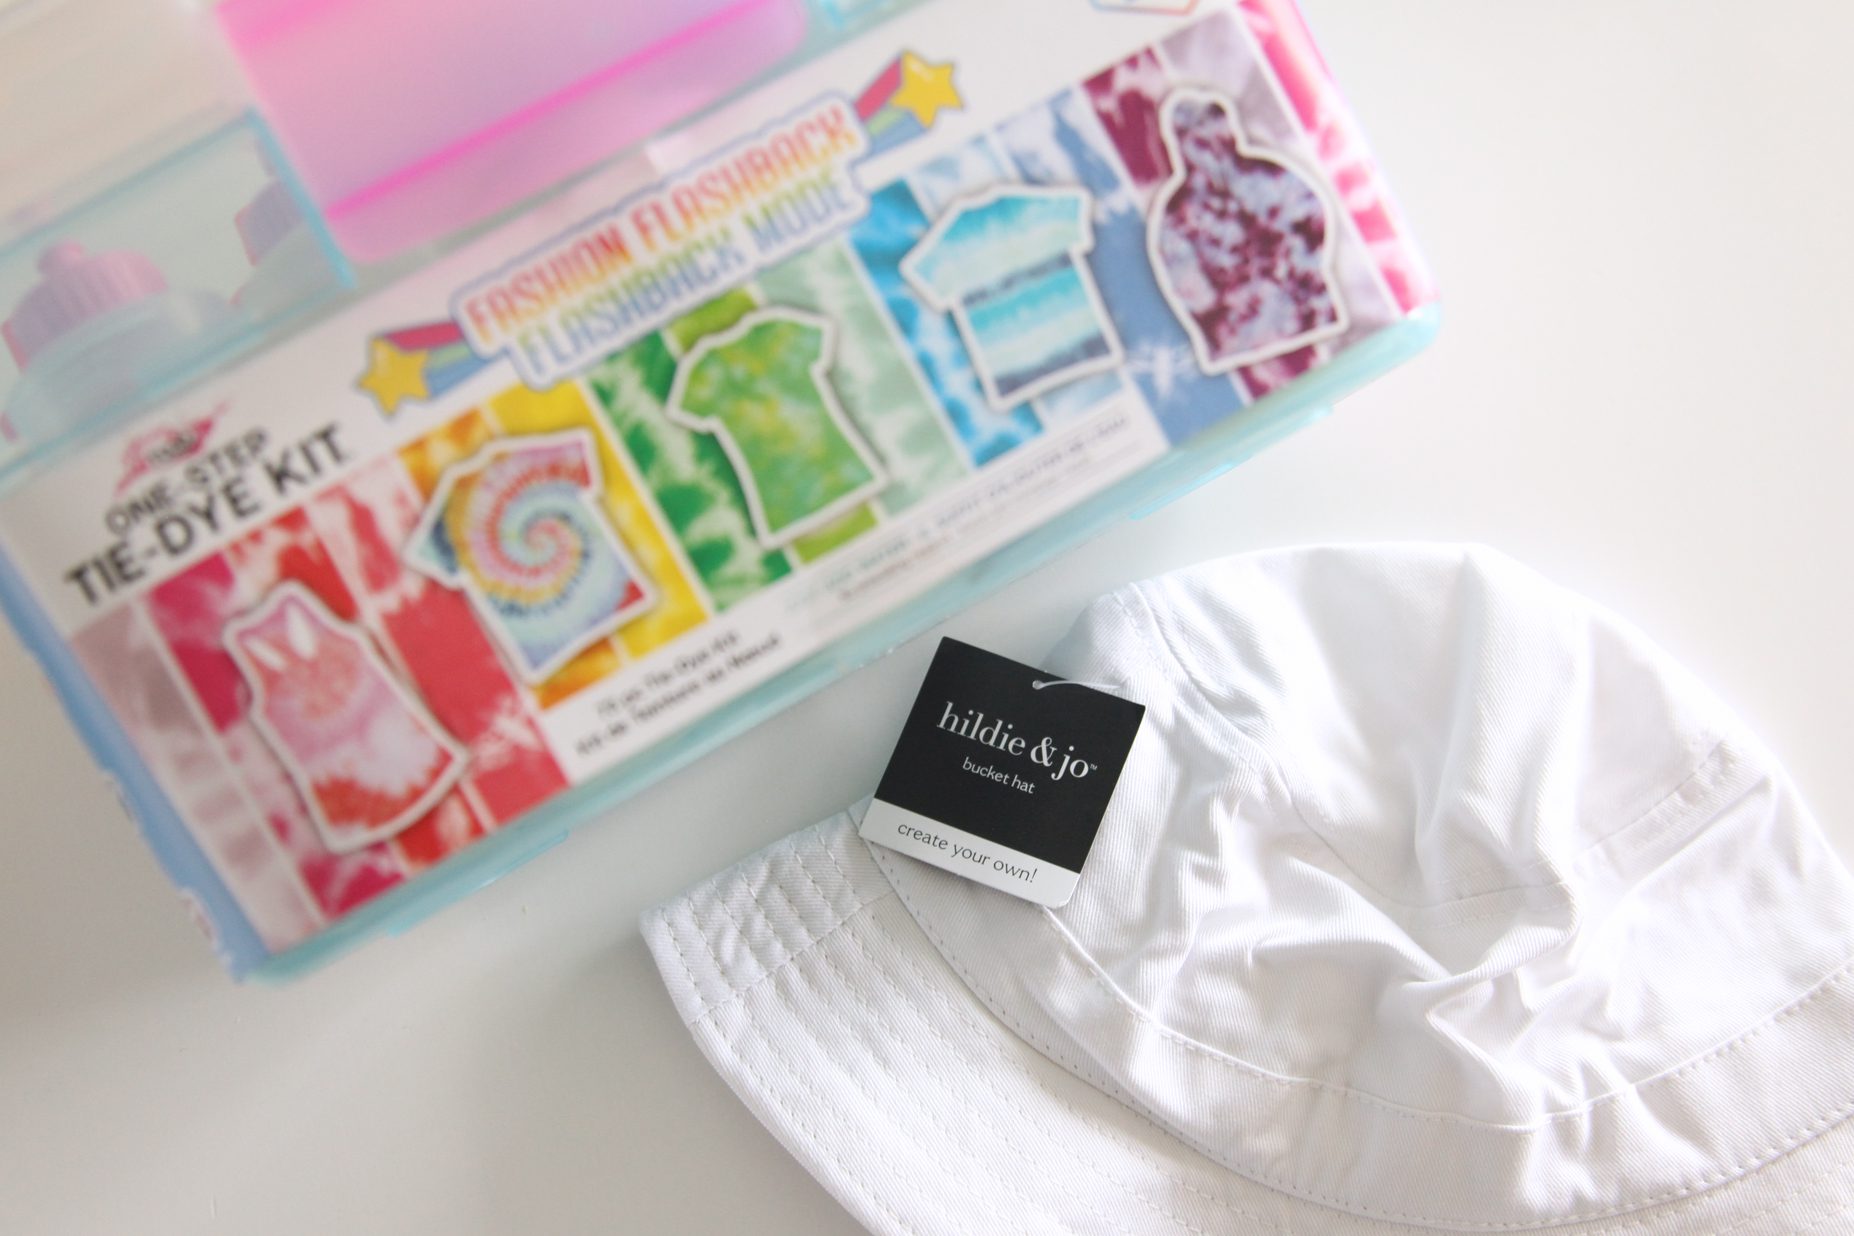
Supplies needed to make a Tie Dye Bucket Hat
Blank cotton bucket hat
Tie Dye

How to make a Tie Dye Bucket Hat
Step 1: Wet the bucket hat and wring out until damp.
Step 2: Scrunch the hat and bind with rubber bands.
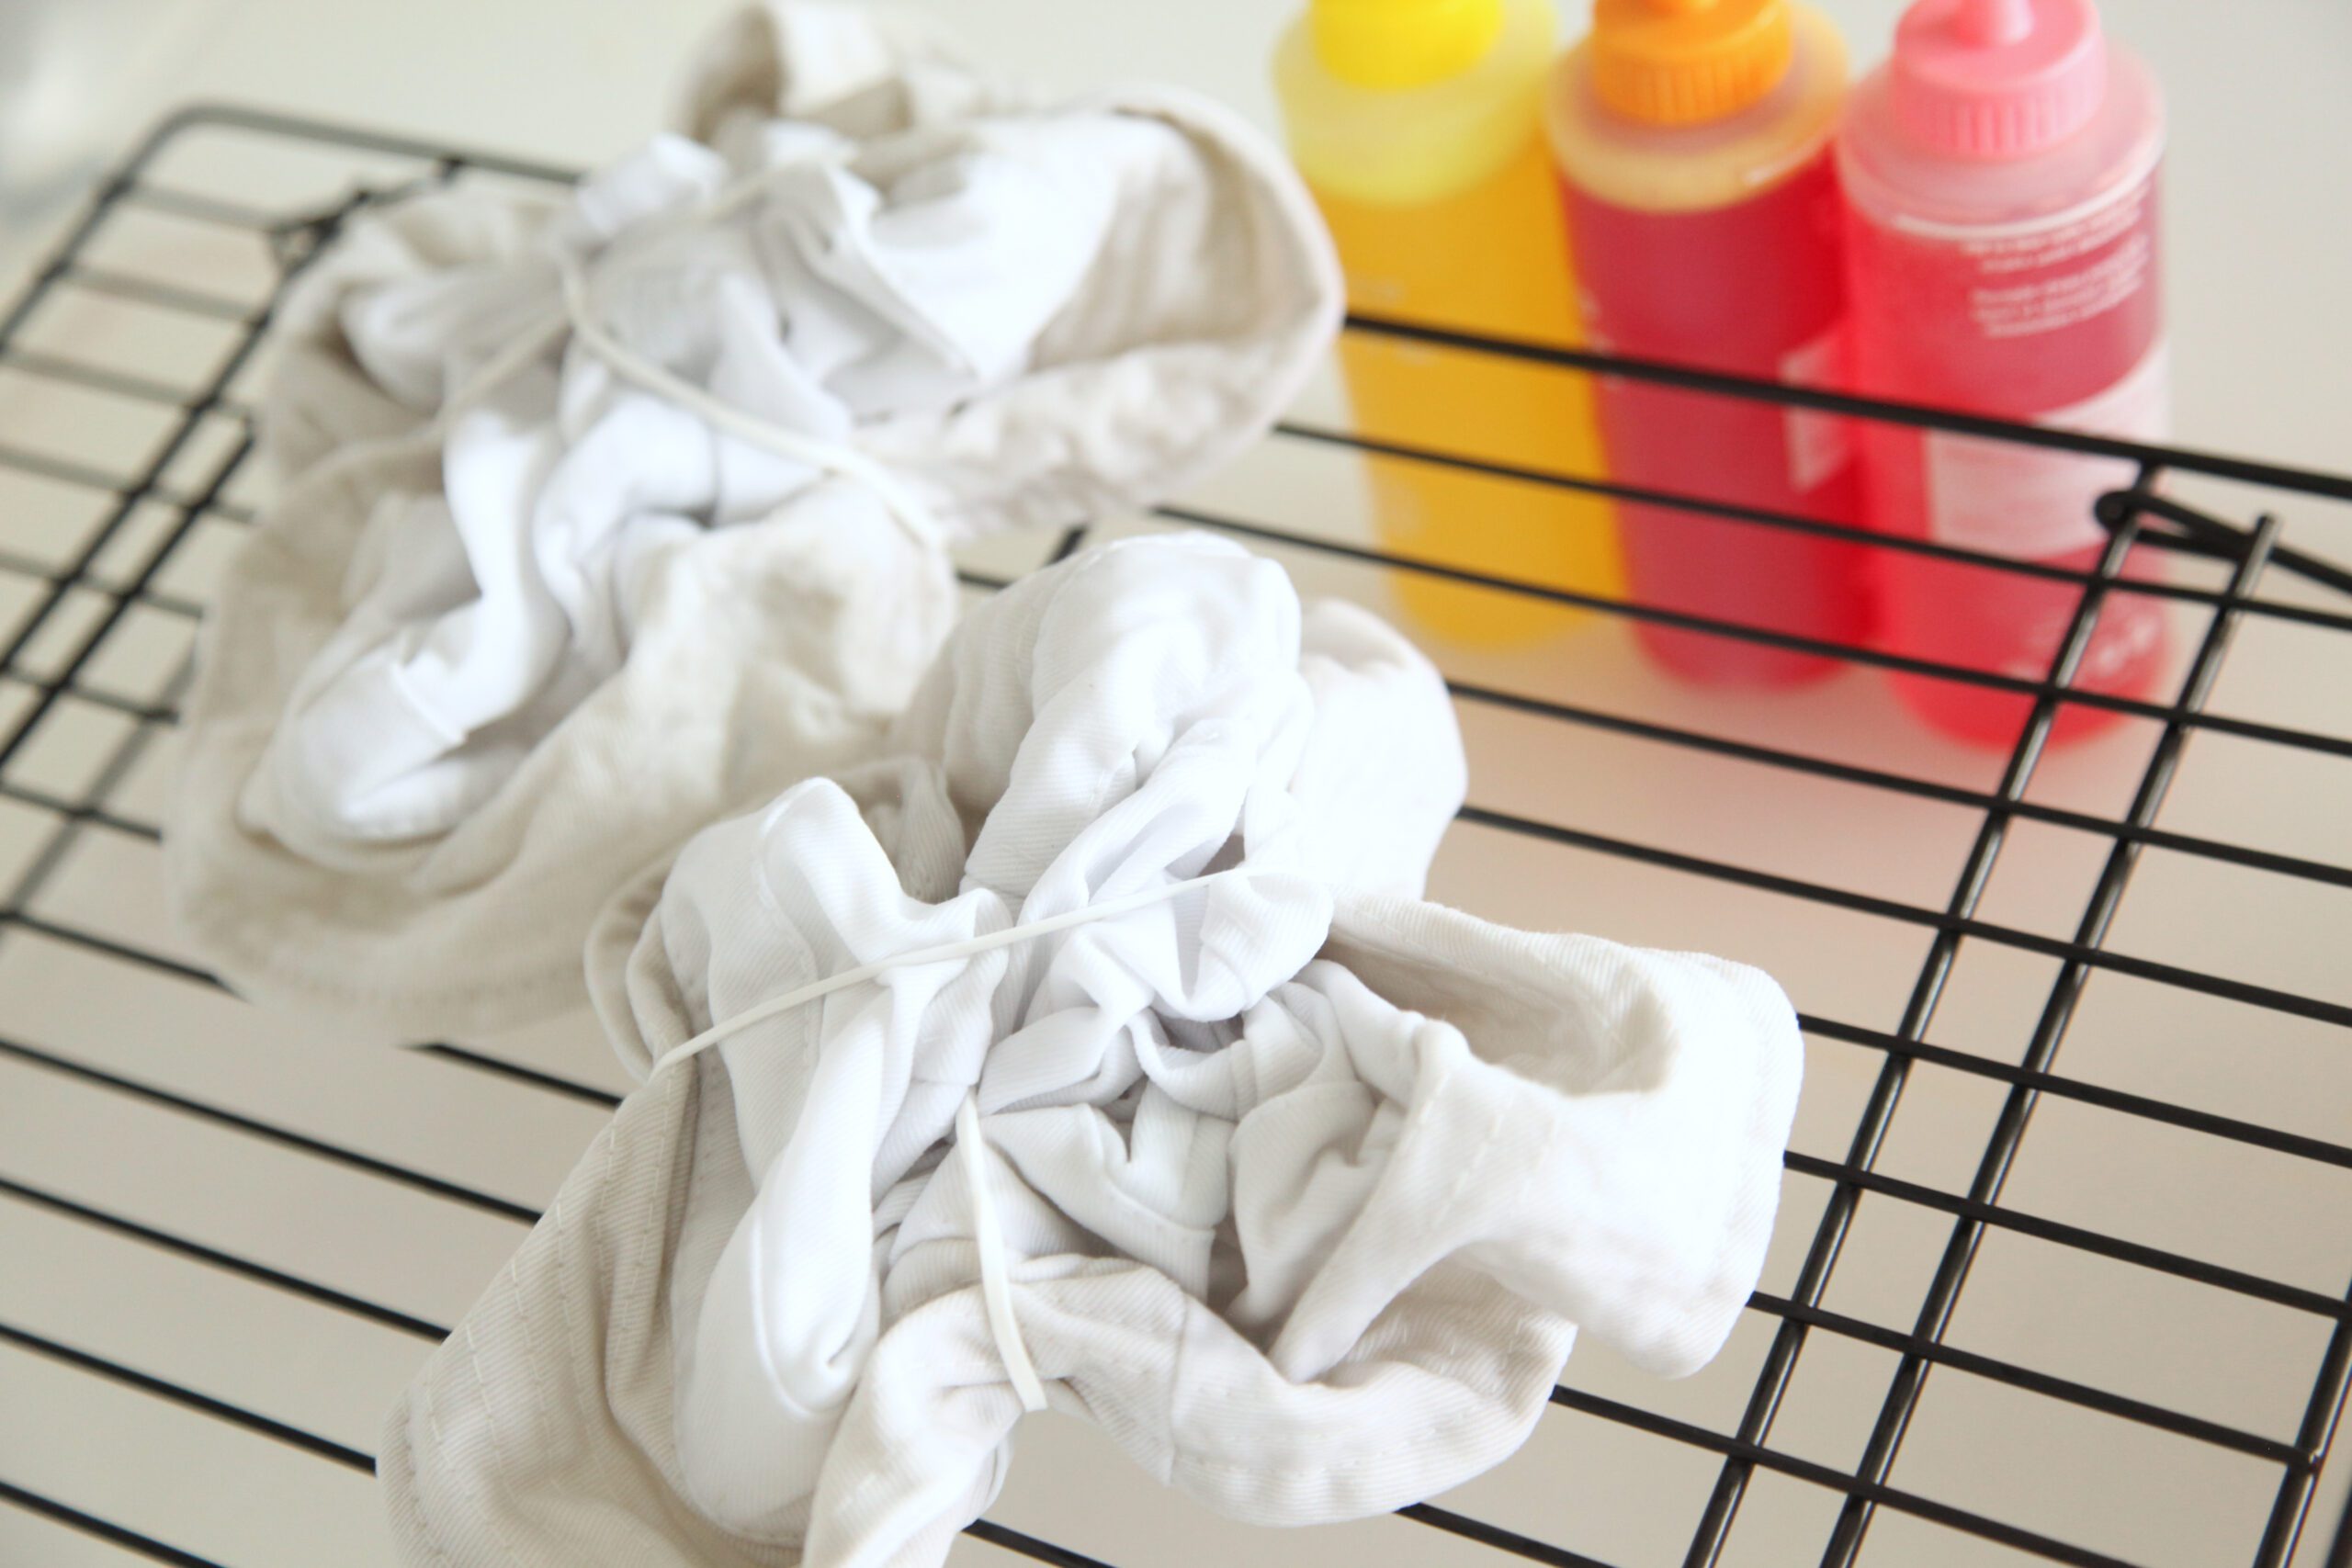

Step 4: Apply the dye to the hat by squirting random spots of color.
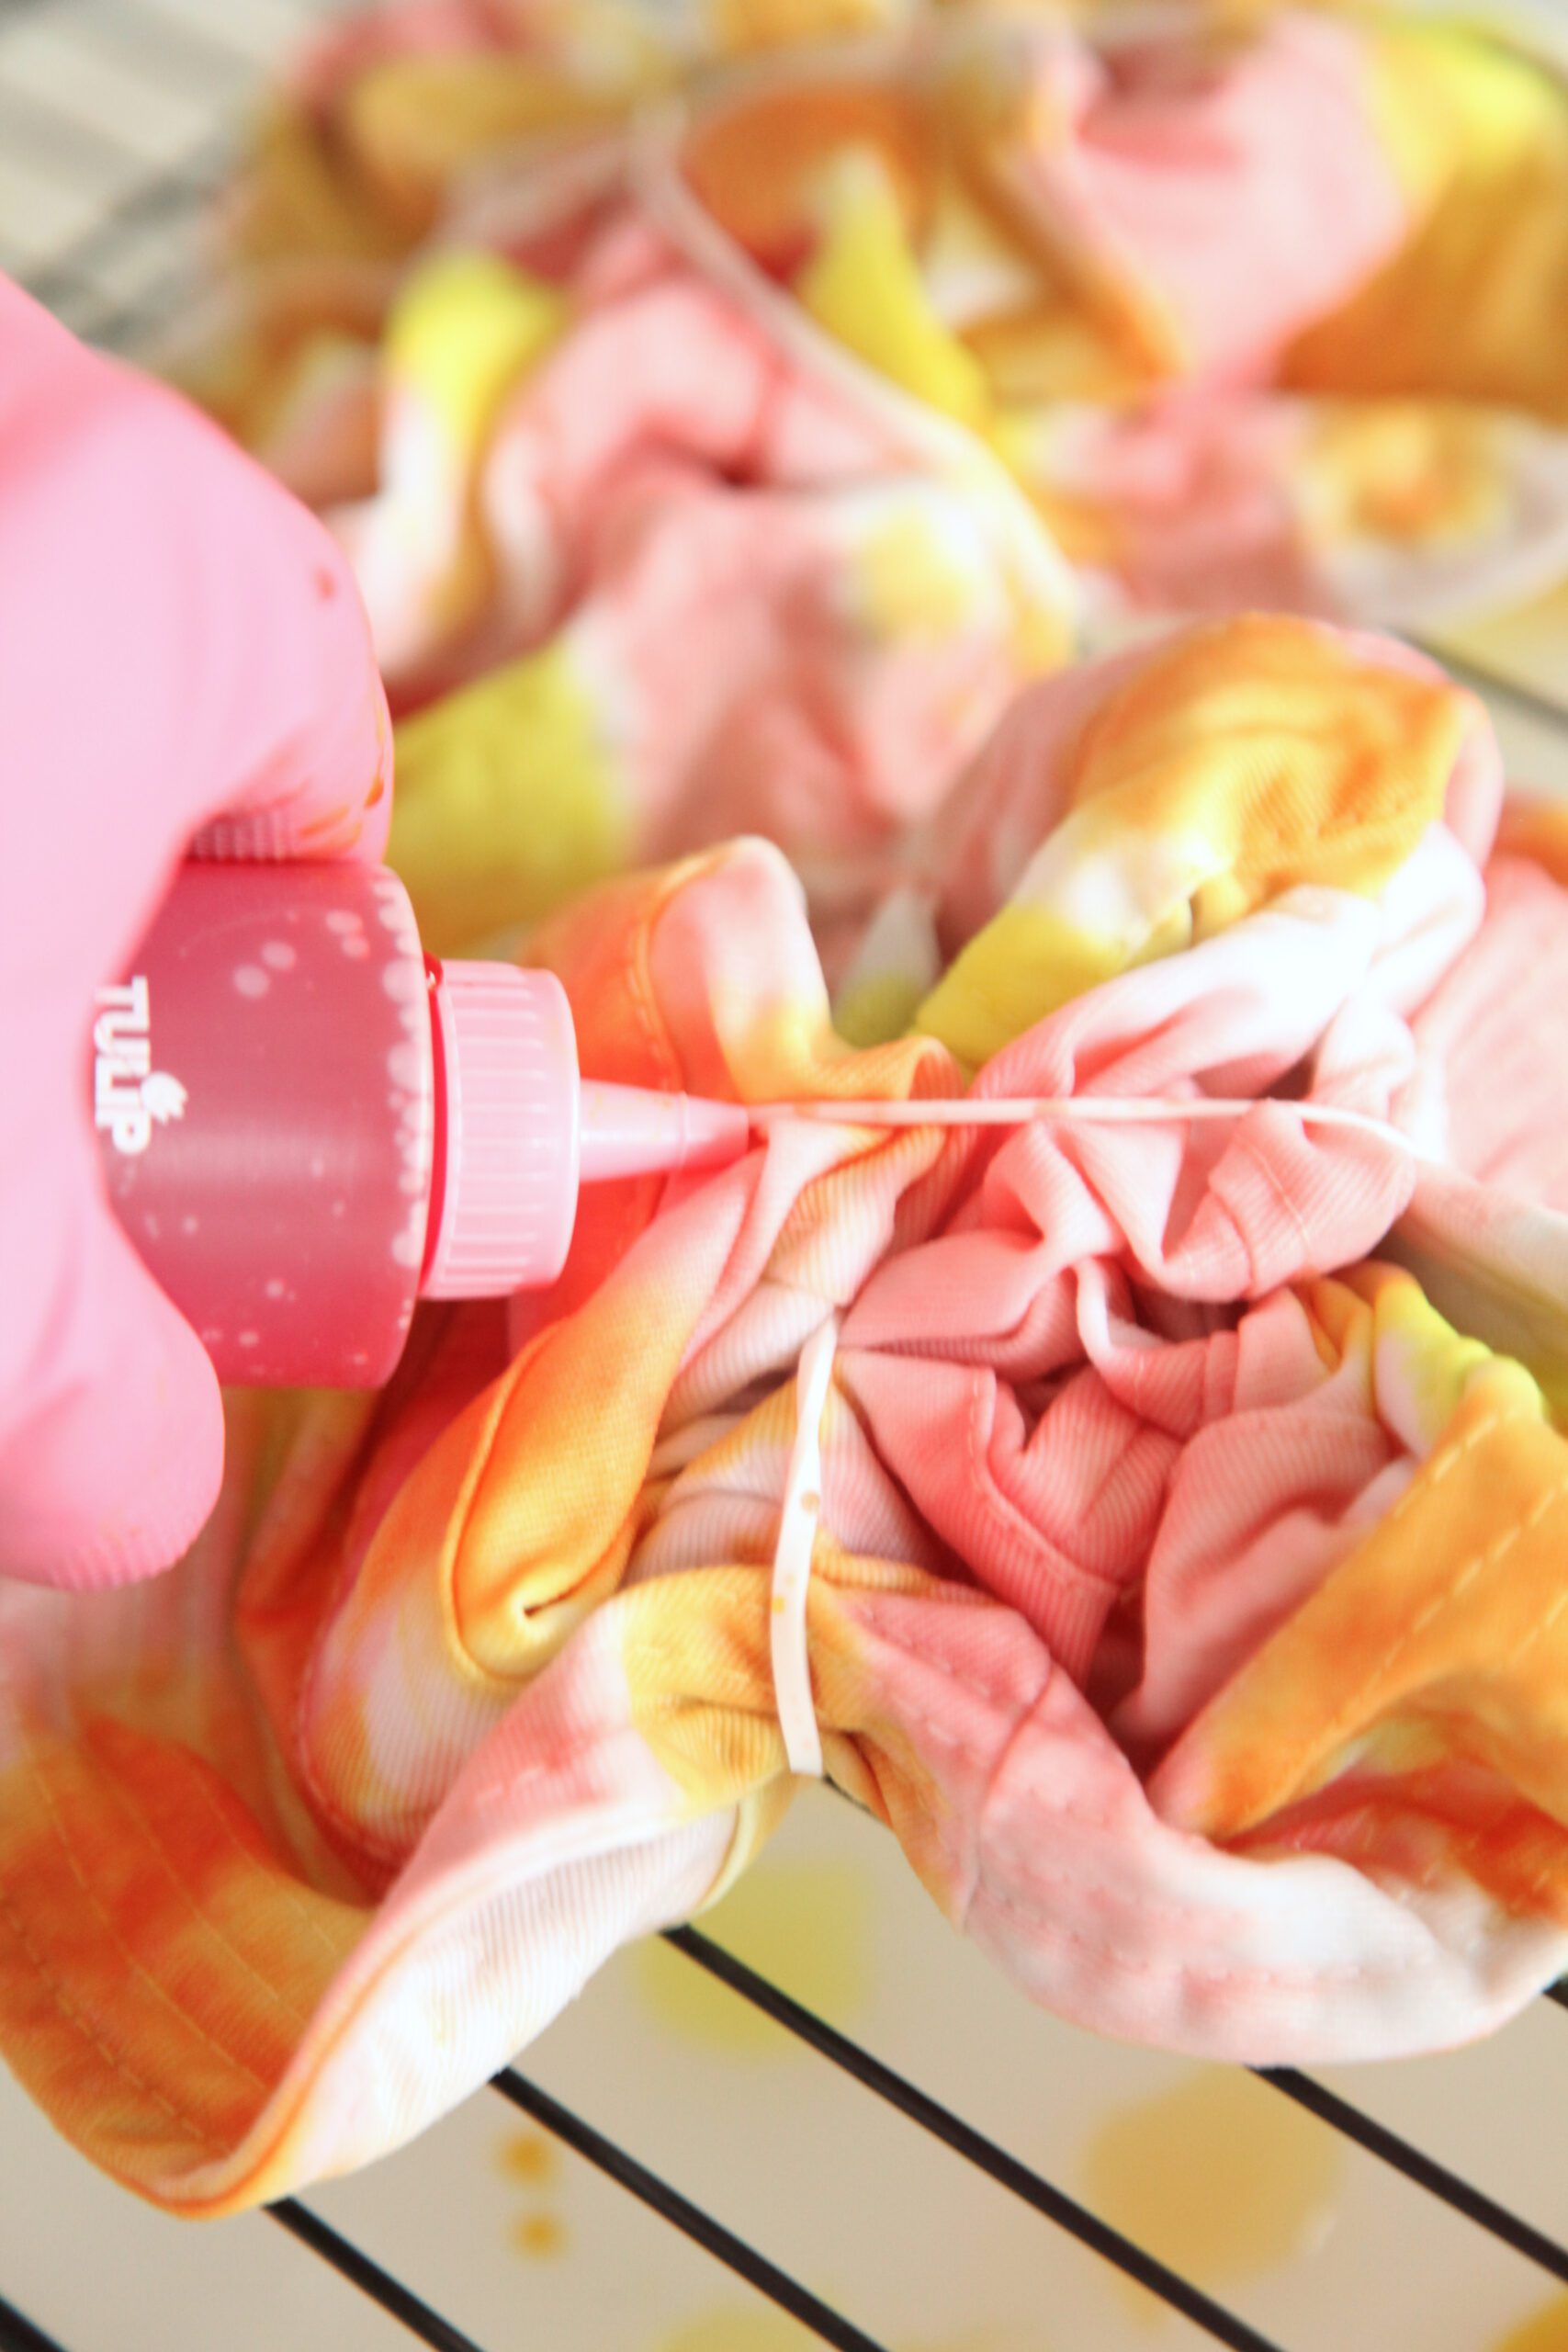

Step 5: Let the dye set for 8-24 hours (or according to package directions).
Step 6: Remove the rubber bands, and rinse the hat with cold water until the water runs clear. Wash the hats in the laundry by themselves and hang dry.





Happy making!


