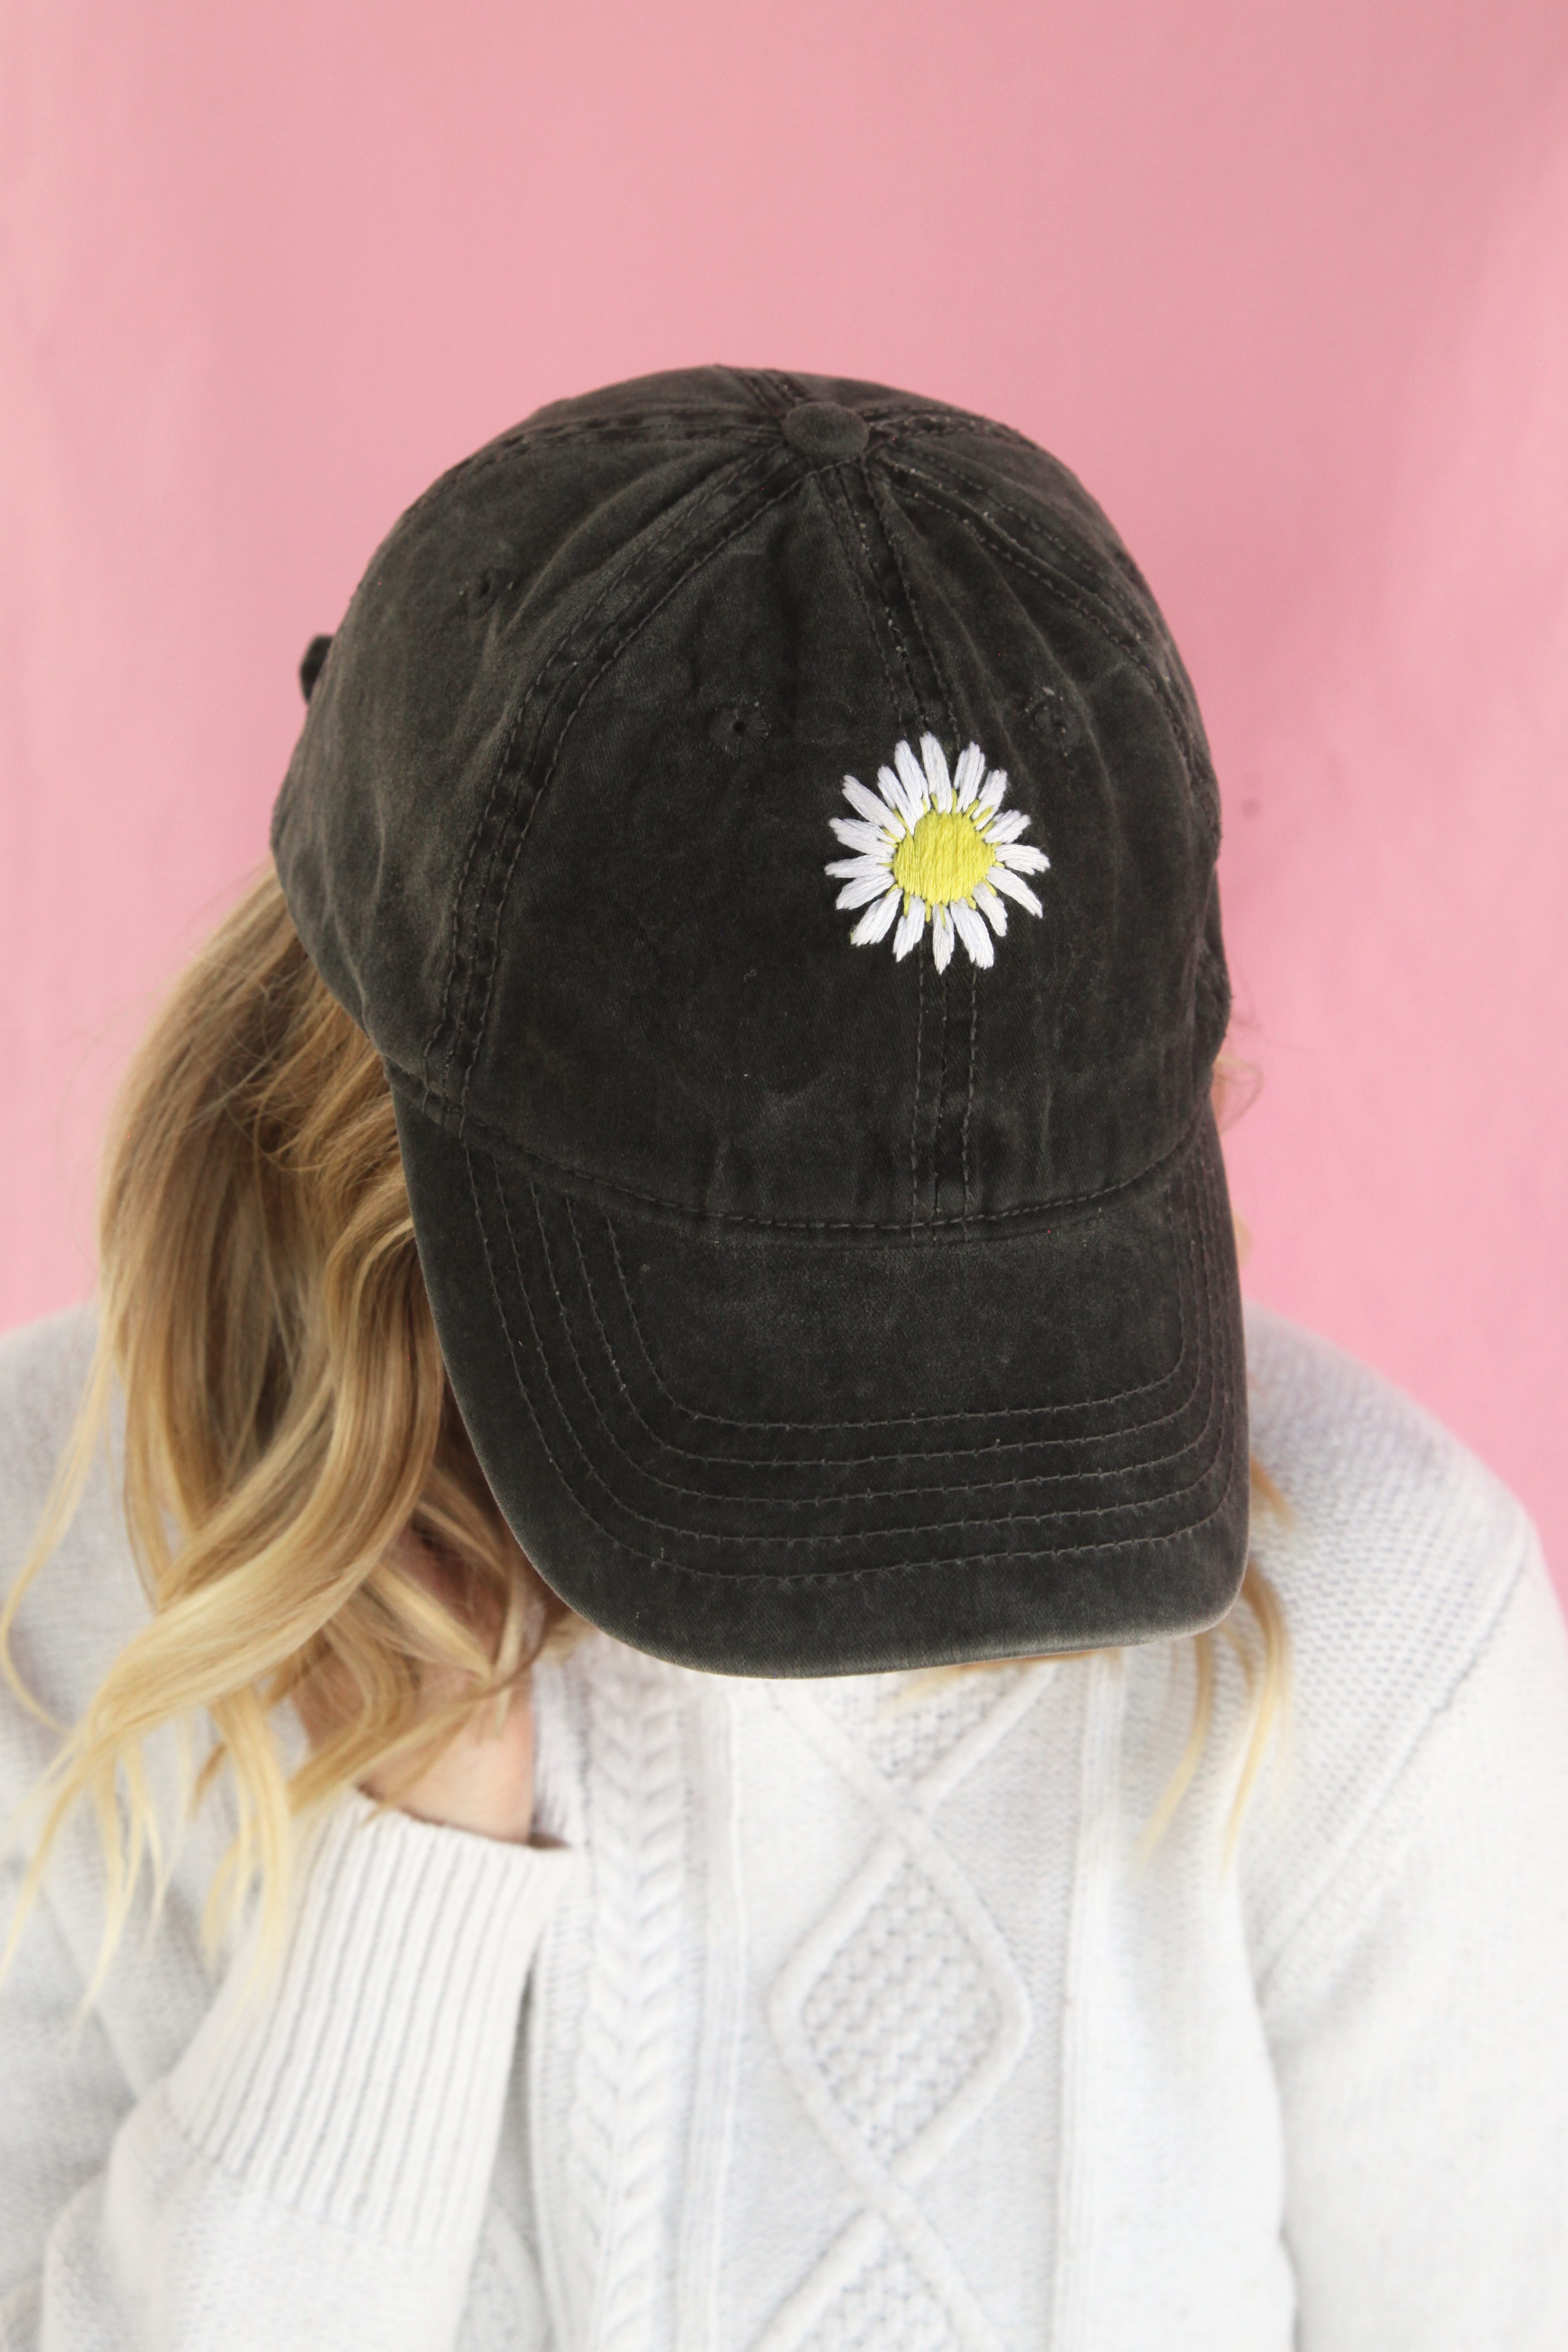
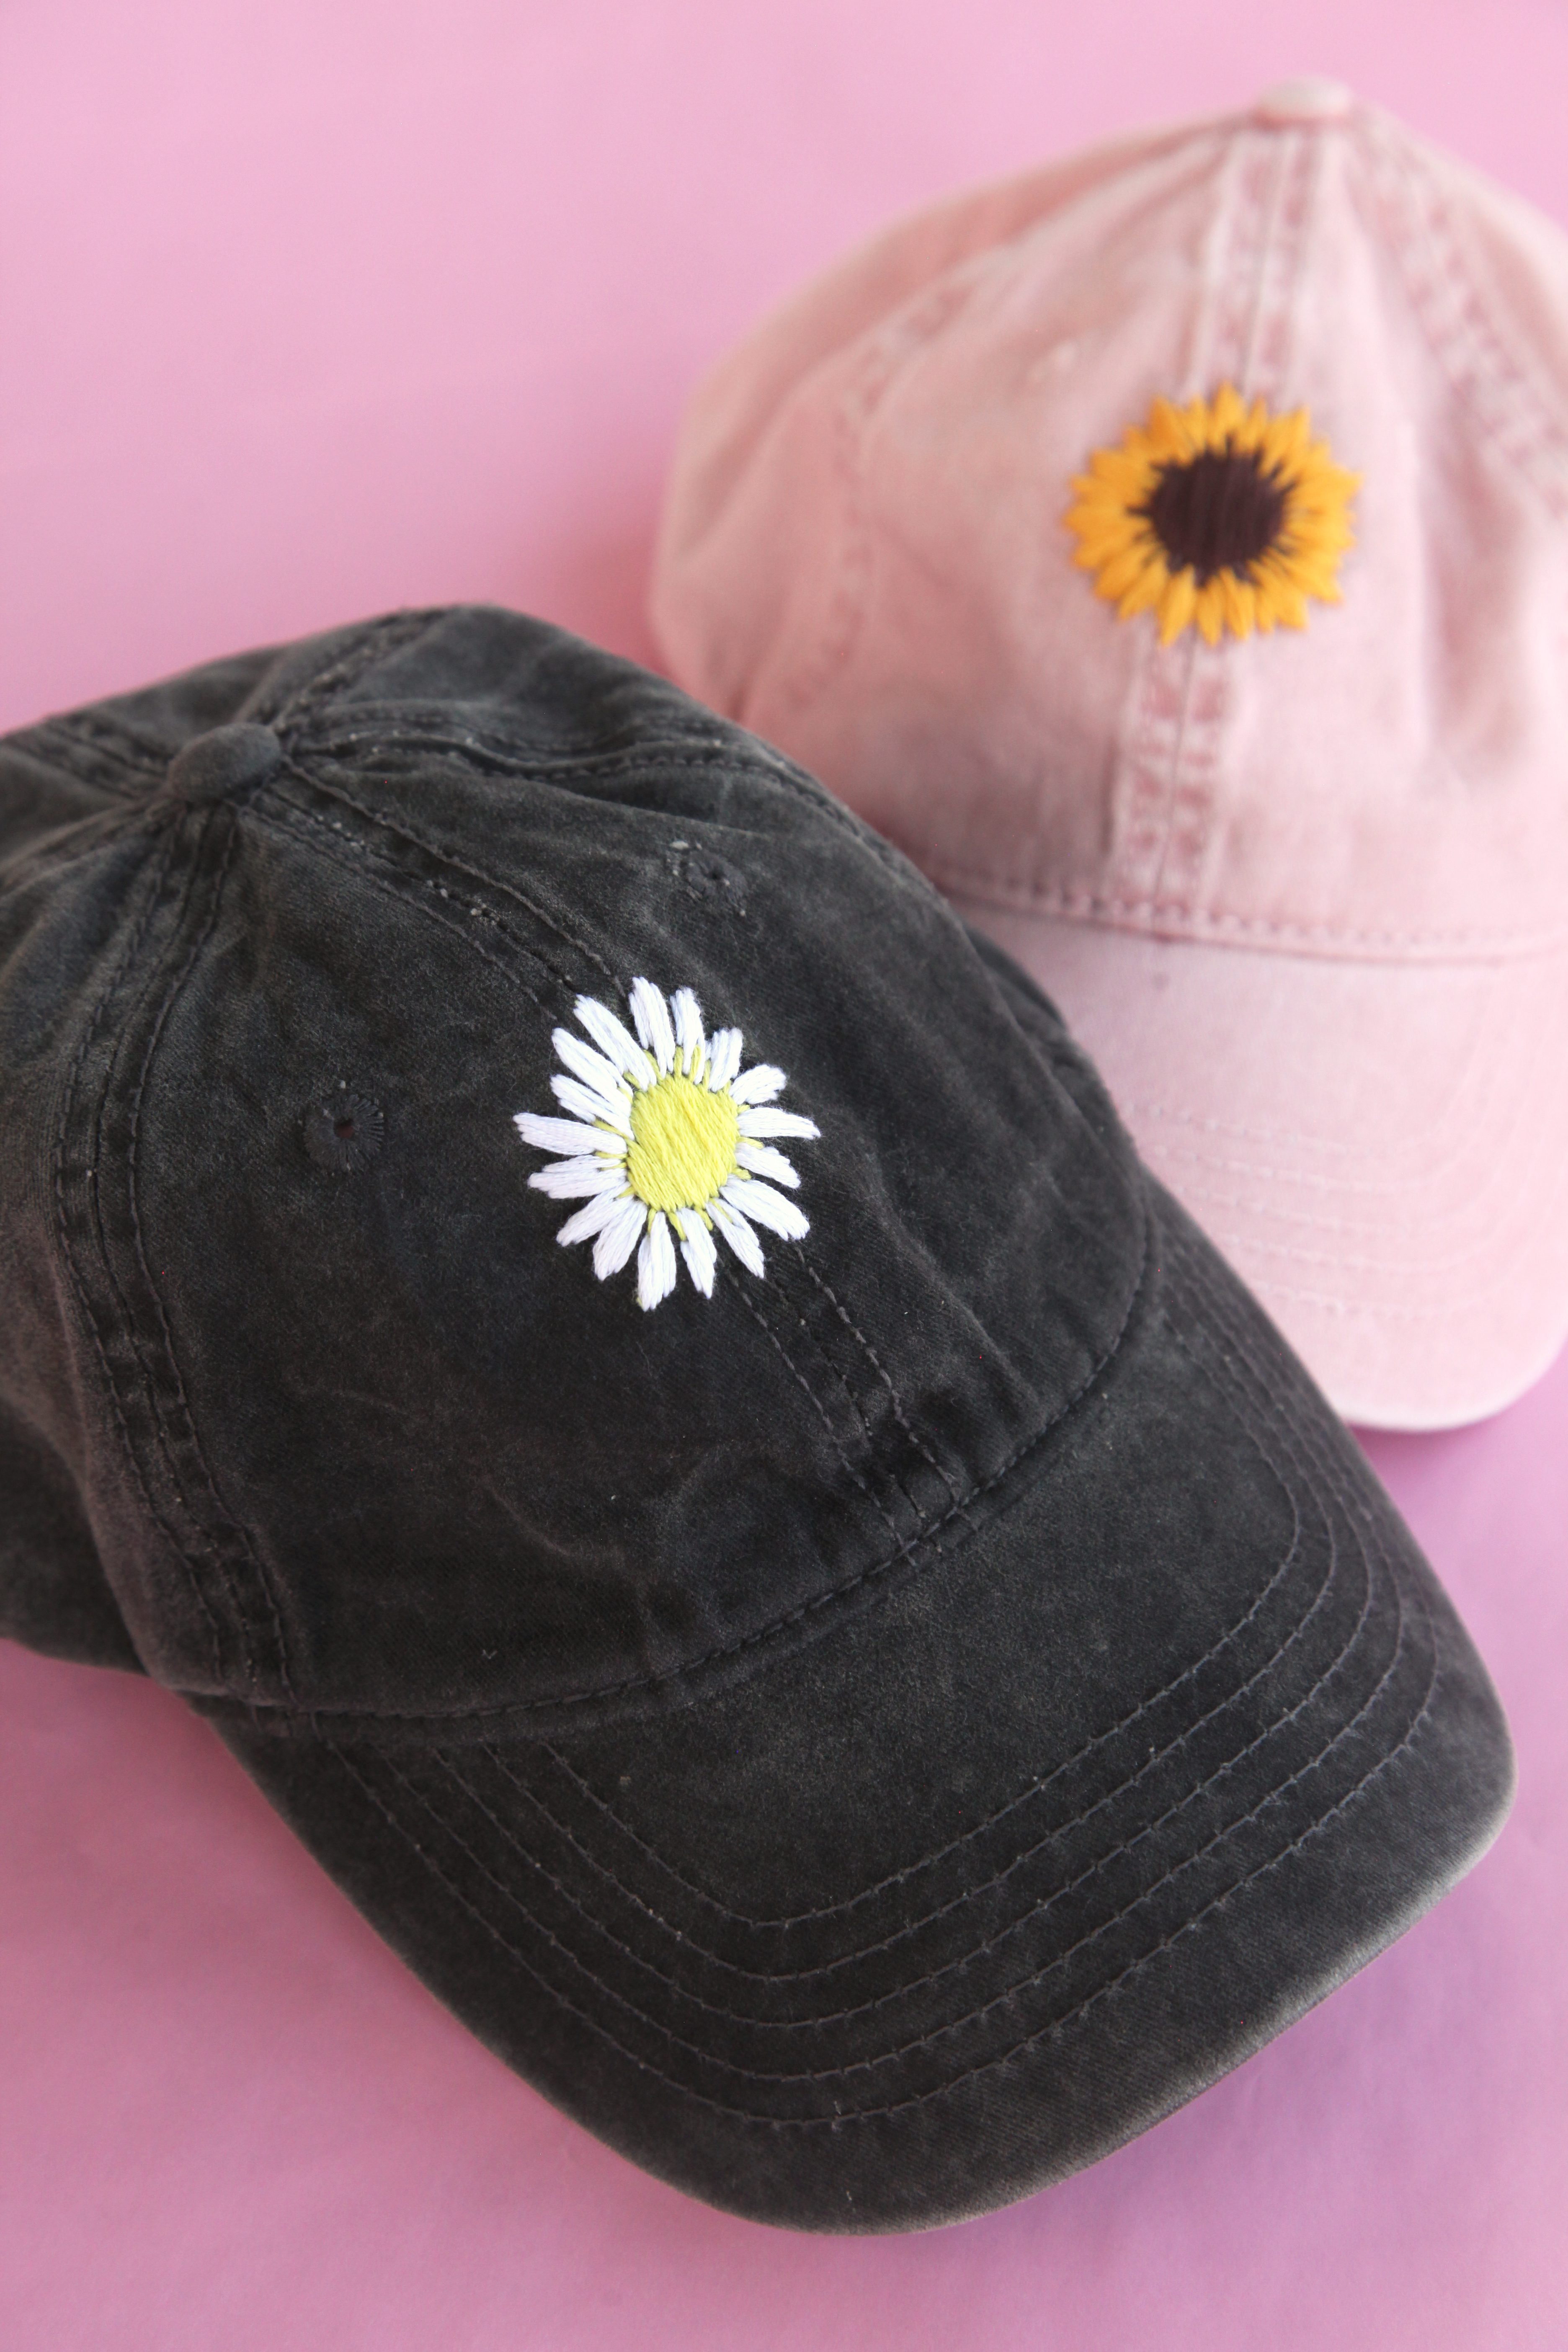
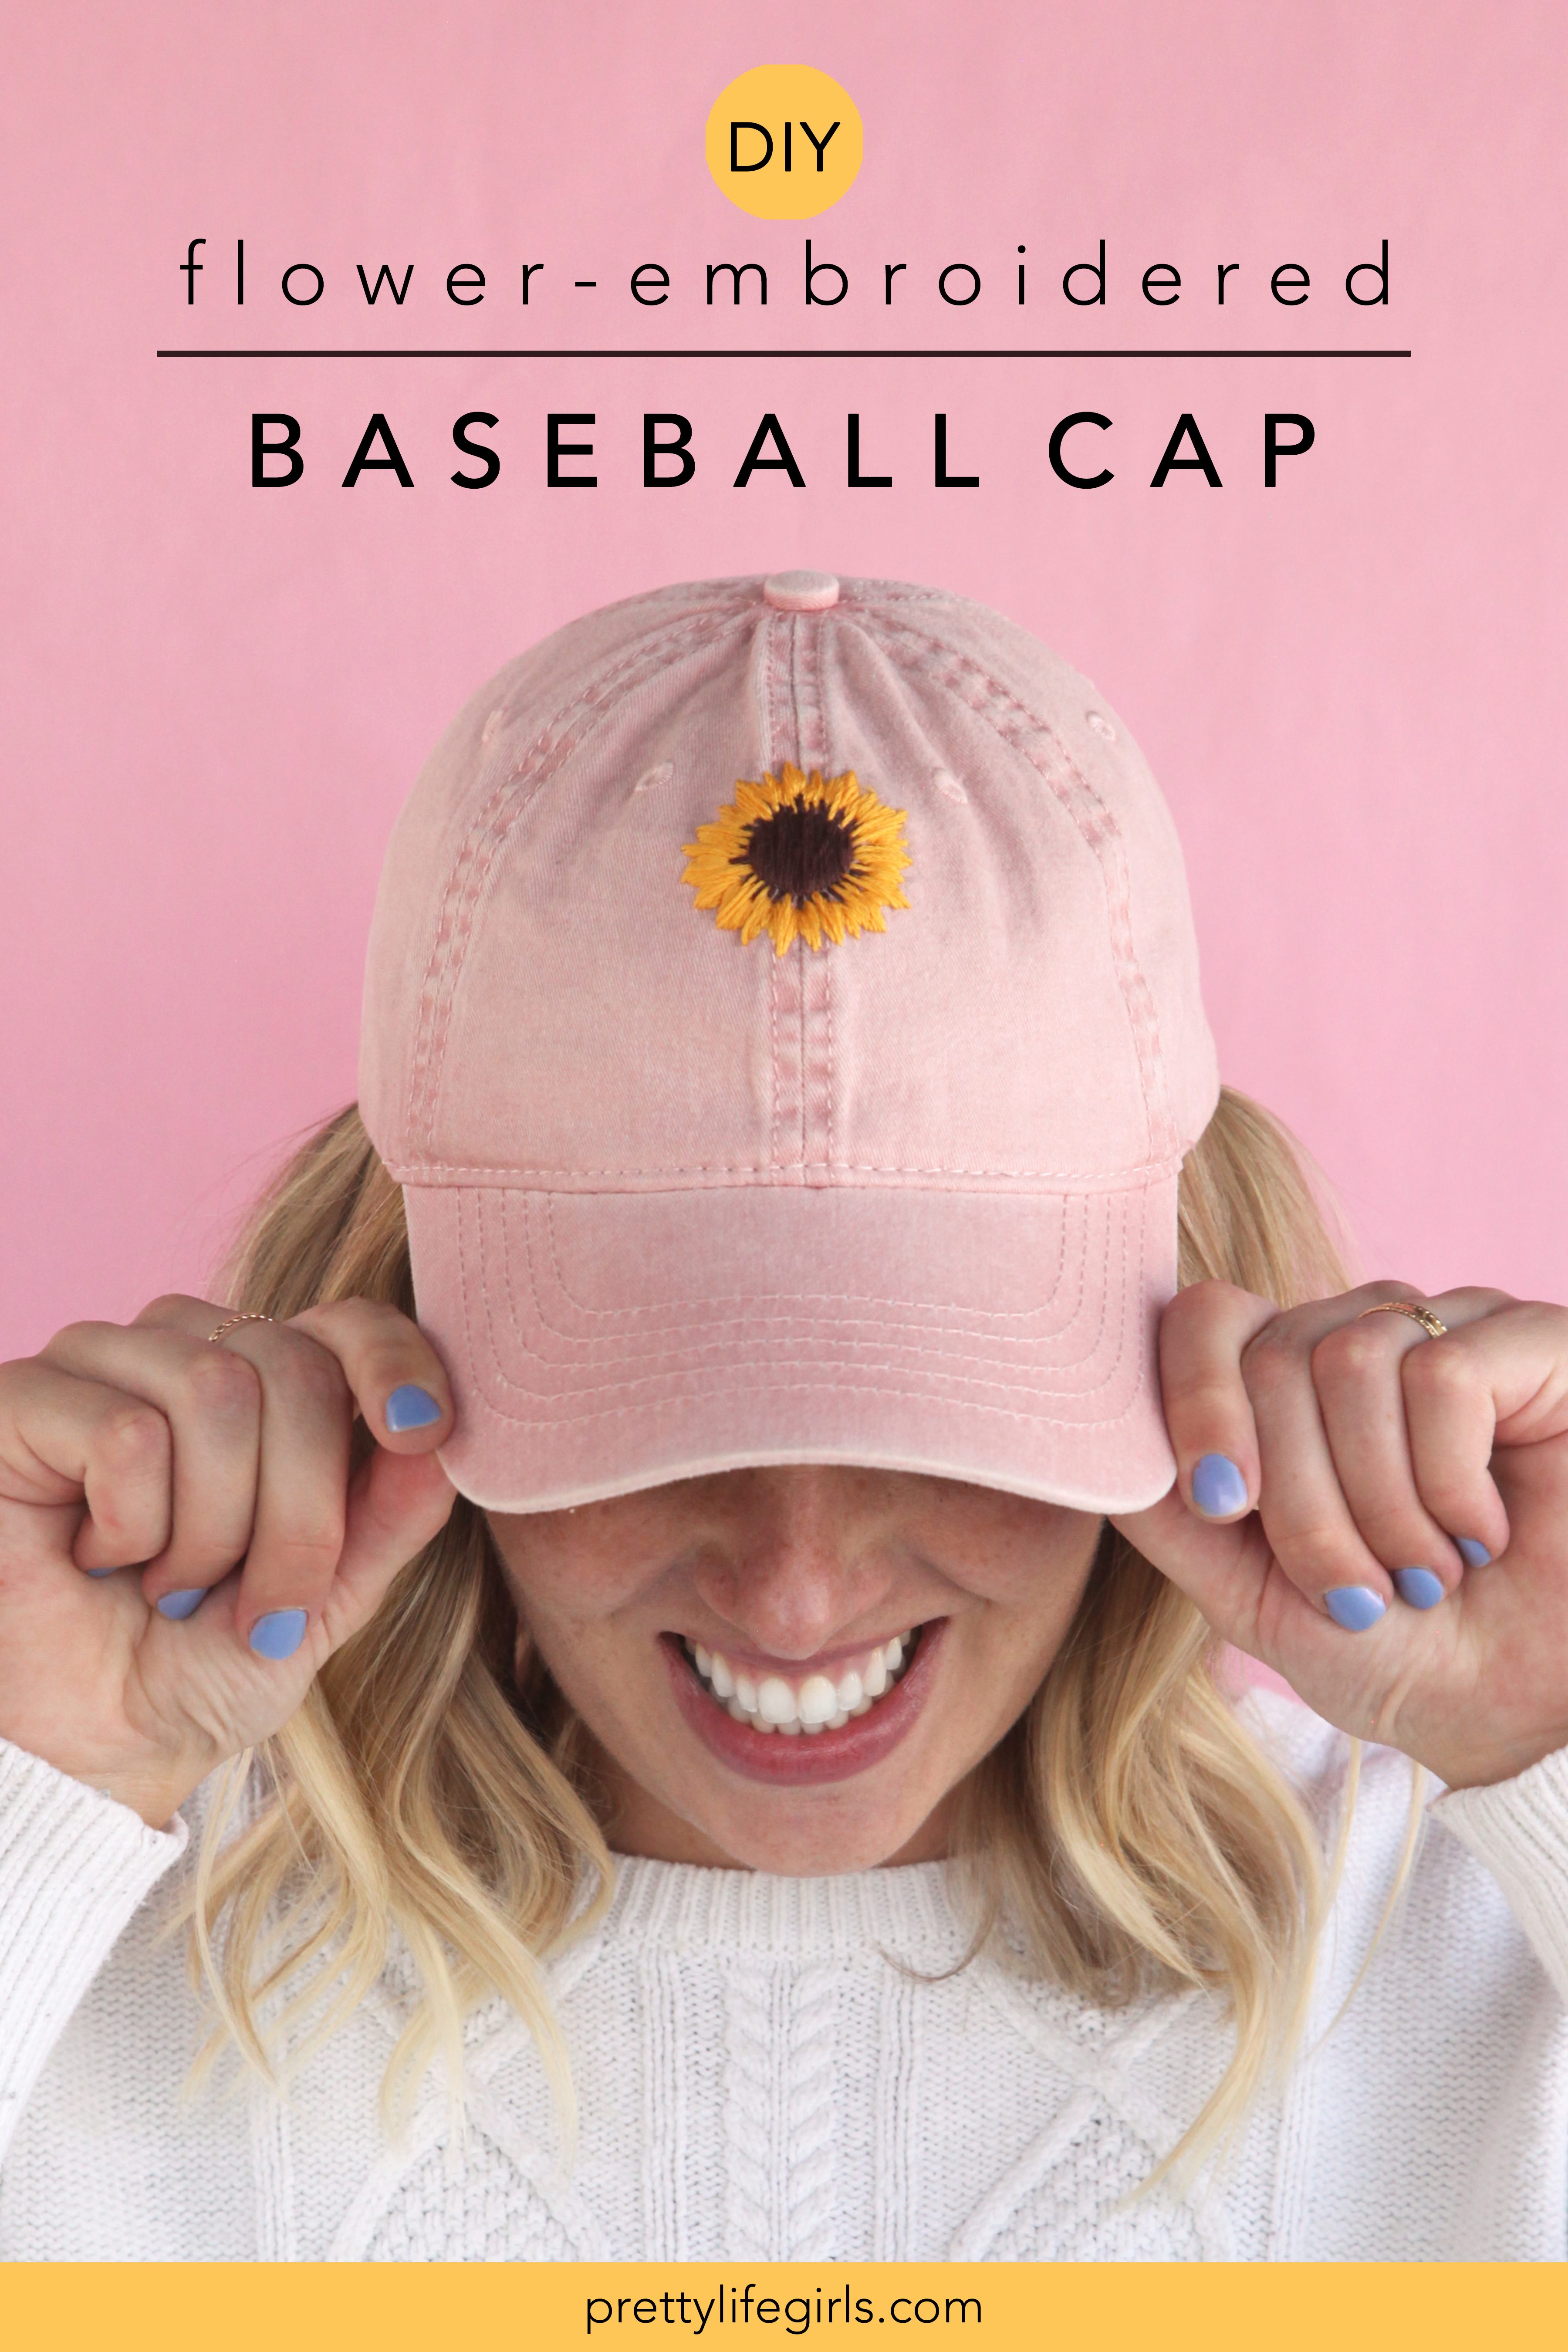
Today we are showing you how to embroider a baseball cap with the coolest flowers of the 90s — sunflowers and daisies! Bad hair days don’t stand a chance with these cuties!
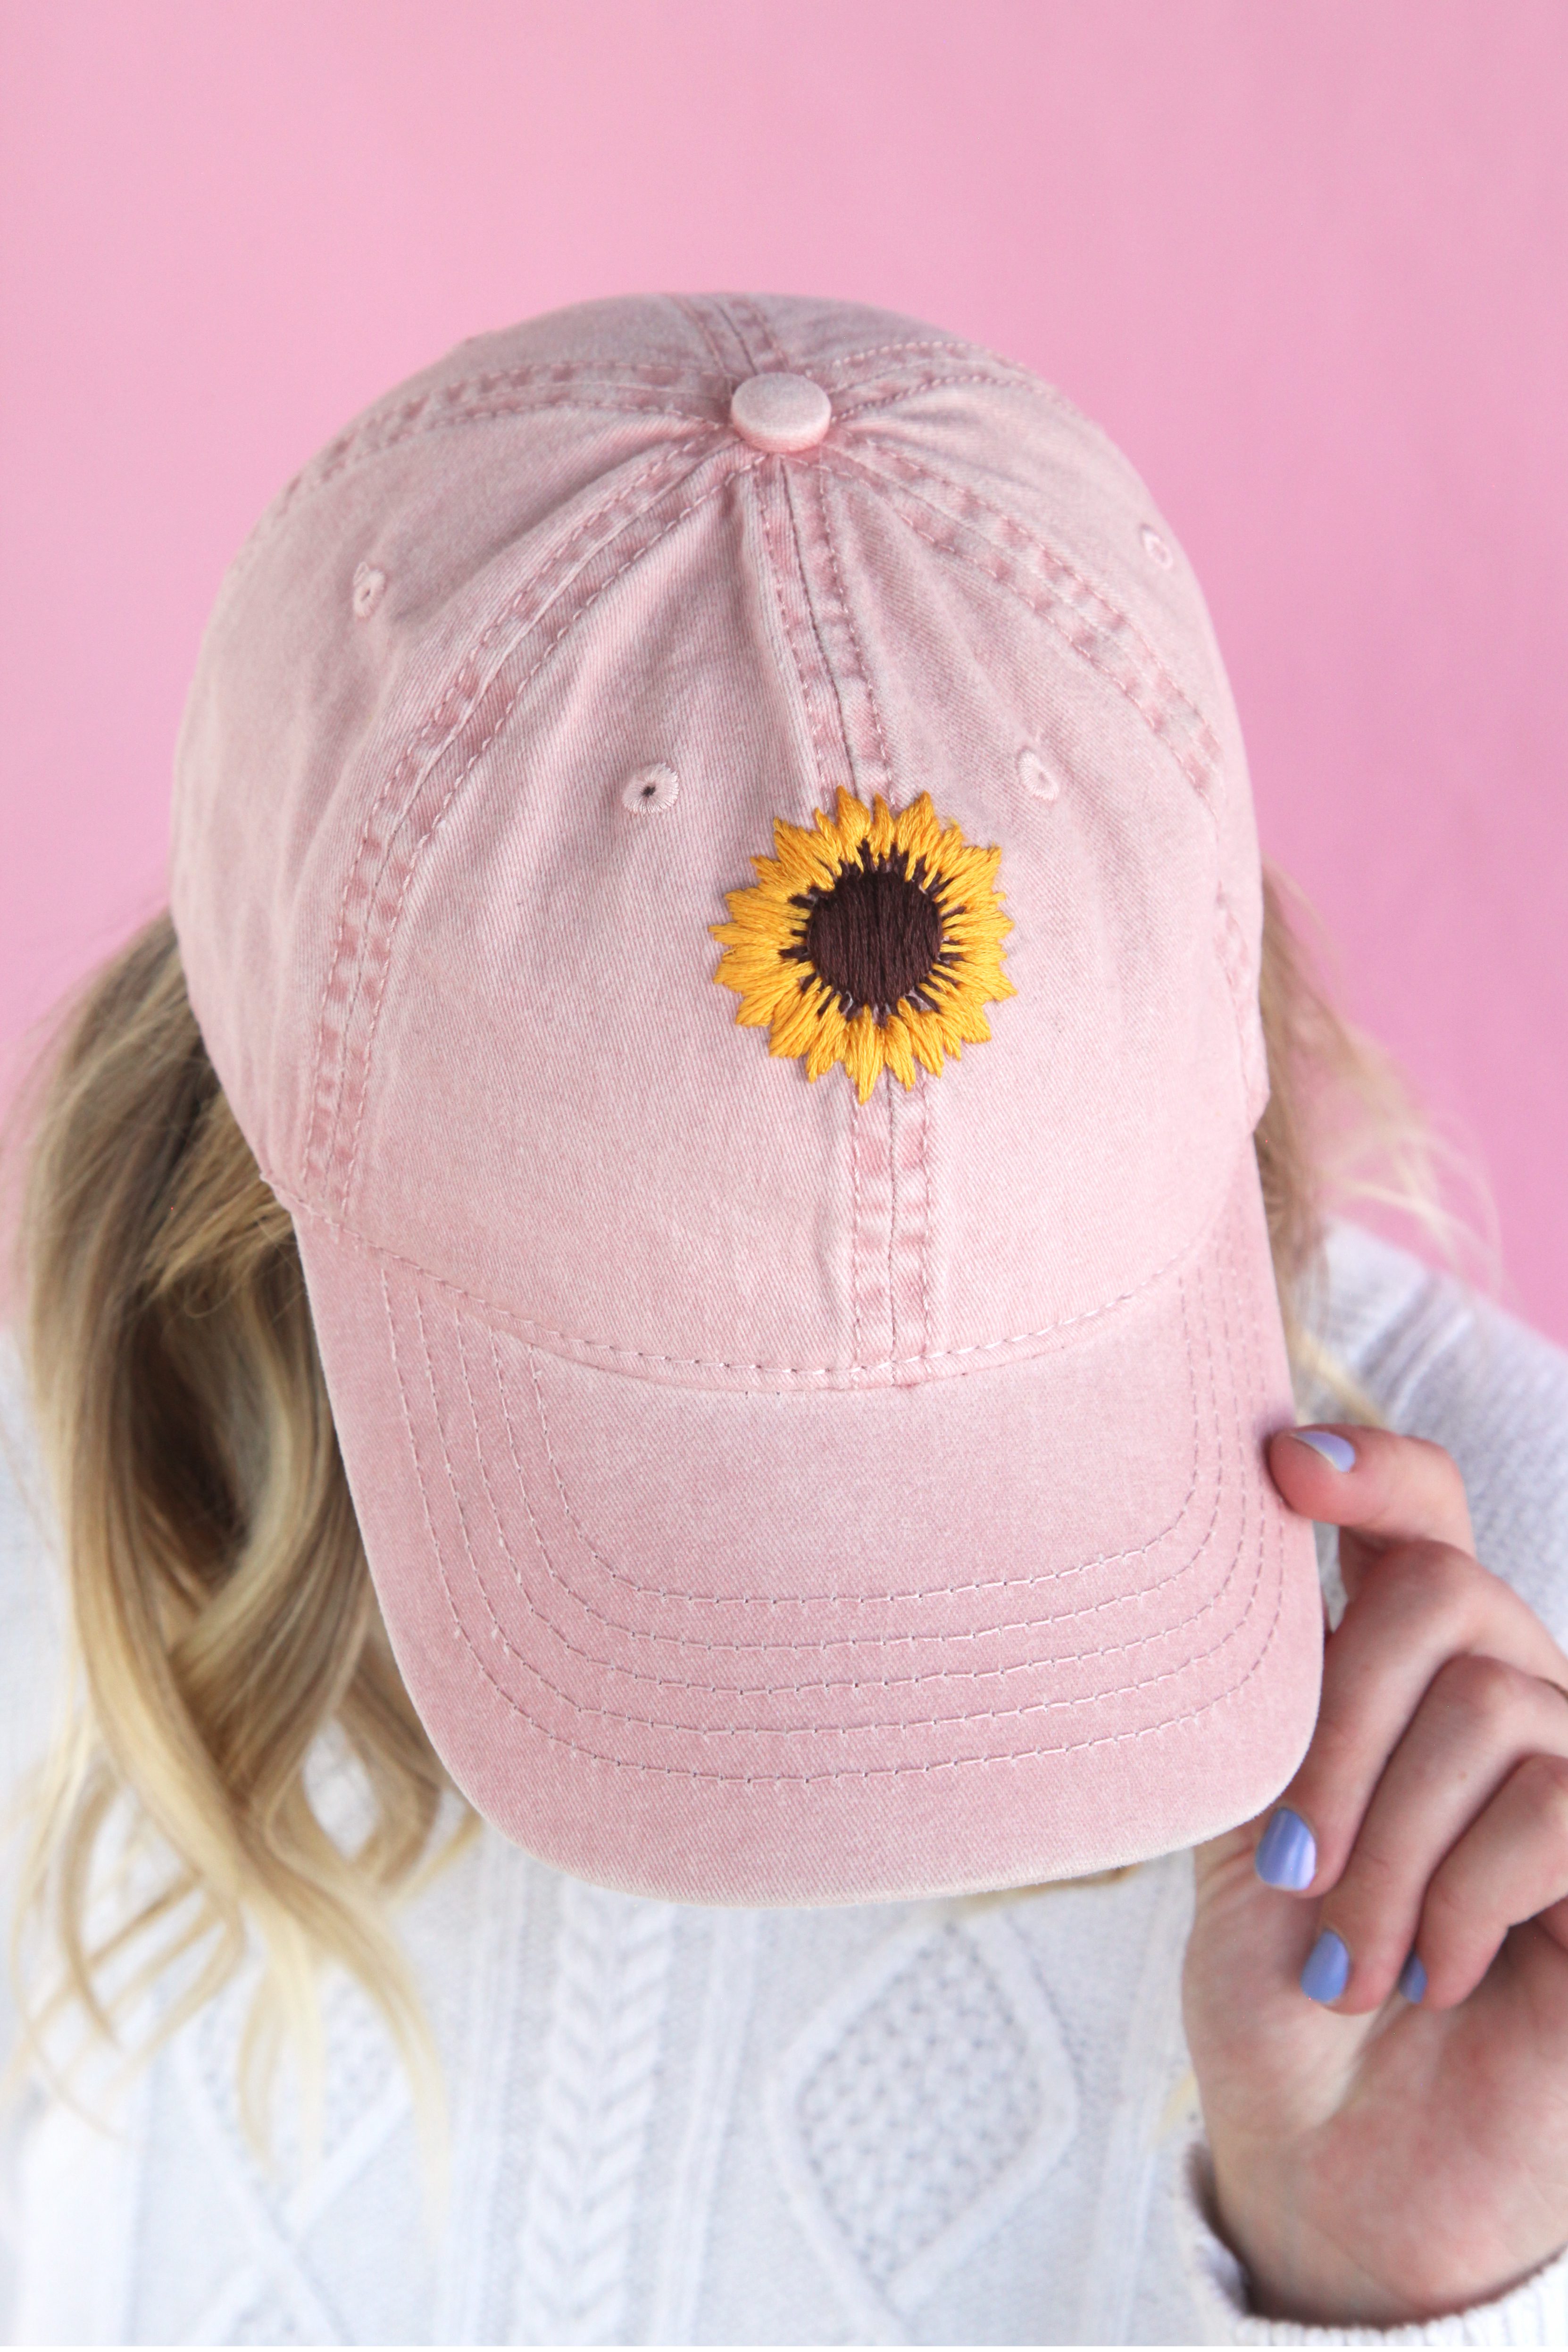
When I was in grade school in the nineties, I had a sunflower vest that was my most prized possession. I felt like a million dollars every time I wore that thing because sunflower prints were IT. So, as a result of my affection for said vest and sunflower print in general, you can imagine the rush of emotion I felt walking through Target the other day and seeing sunflowers every. where. They are BACK, baby, along with a whole bunch of other fashion trends from the nineties. (No, I haven’t seen the print in vest form yet but I am holding out). So we are going to be embroidering baseball caps with sunflowers and daisies, in a modern homage to 90s fashion! Here is what you need:
Supplies needed to embroider a baseball cap
Baseball cap
Embroidery floss
Needle
Pencil, crayon, or embroidery marker
Scissors
Mini embroidery hoop
How to embroider a baseball cap
Watch the video (and be sure you subscribe to our YouTube channel), or read the steps below!
Step 1: Remove the interior ring from your embroidery hoop and place it inside the hat. Place the outer hoop on the outside of the hat and attach the hoops together around the area of the hat where you would like to embroider.
Step 2: Using a pencil, crayon, or embroidery marker, draw a simple sketch of your desired flower within the hoop.
Step 3: Thread your needle with the color of the middle of the flower and begin stitching the circular center of the flower using a satin stitch. I like to work from one end to the other, but with a satin stitch many people prefer beginning at the center and working their way out. Be use to keep your floss straight and your stitches close together.
Step 4: Once you have completed your satin stitches on the center, I like to go around the edge of the center and create some short stitches poking out of the center to add dimension to the flower. (They should almost look like little spikes coming out of the center.)
Step 5: Once you have completed the center, tie off your floss inside the hat and snip any excess.
Step 6: Switch out your floss for your petal color and begin stitching your petals the same way you stitched the center, using a satin stitch.
Step 5: Once you have completed all of your petals, tie off your floss inside the hat and snip any excess.
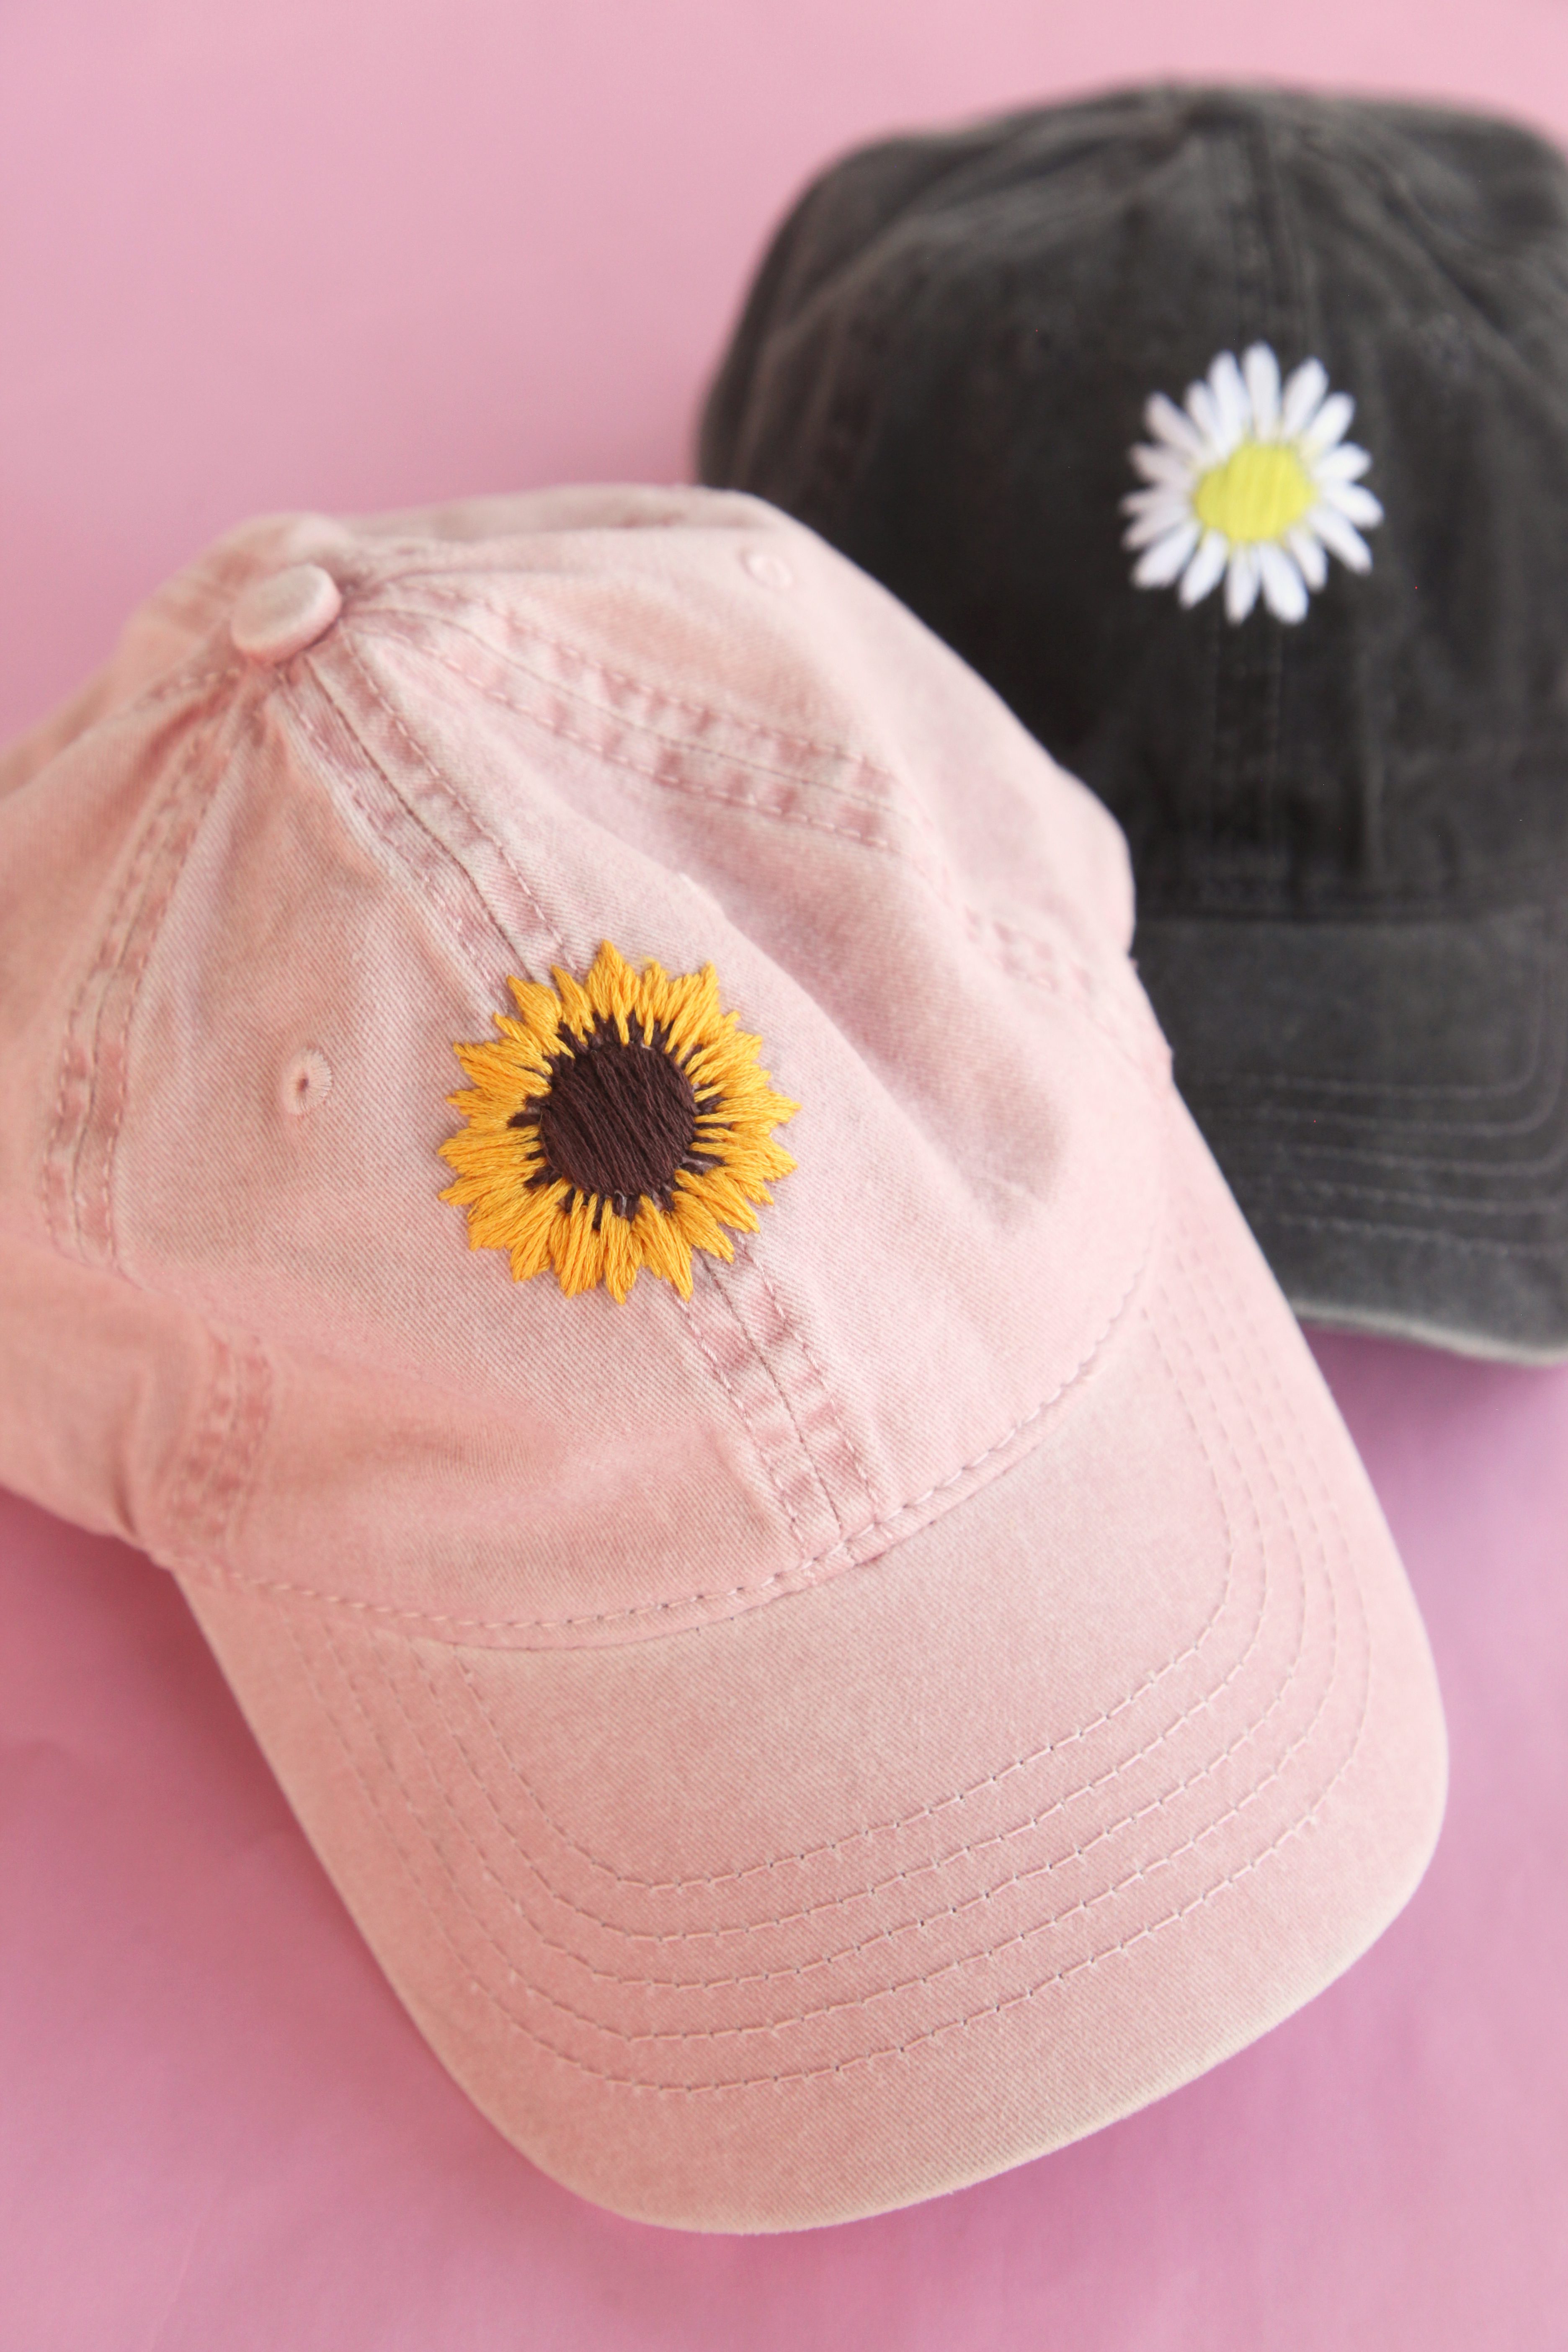
You did it! The 90’s kid in you will be thrilled over this one and you’re gonna be looking so cute the next time you just can’t manage a hair wash.
Happy making!
-Liz
Check out these other simple embroidery projects!
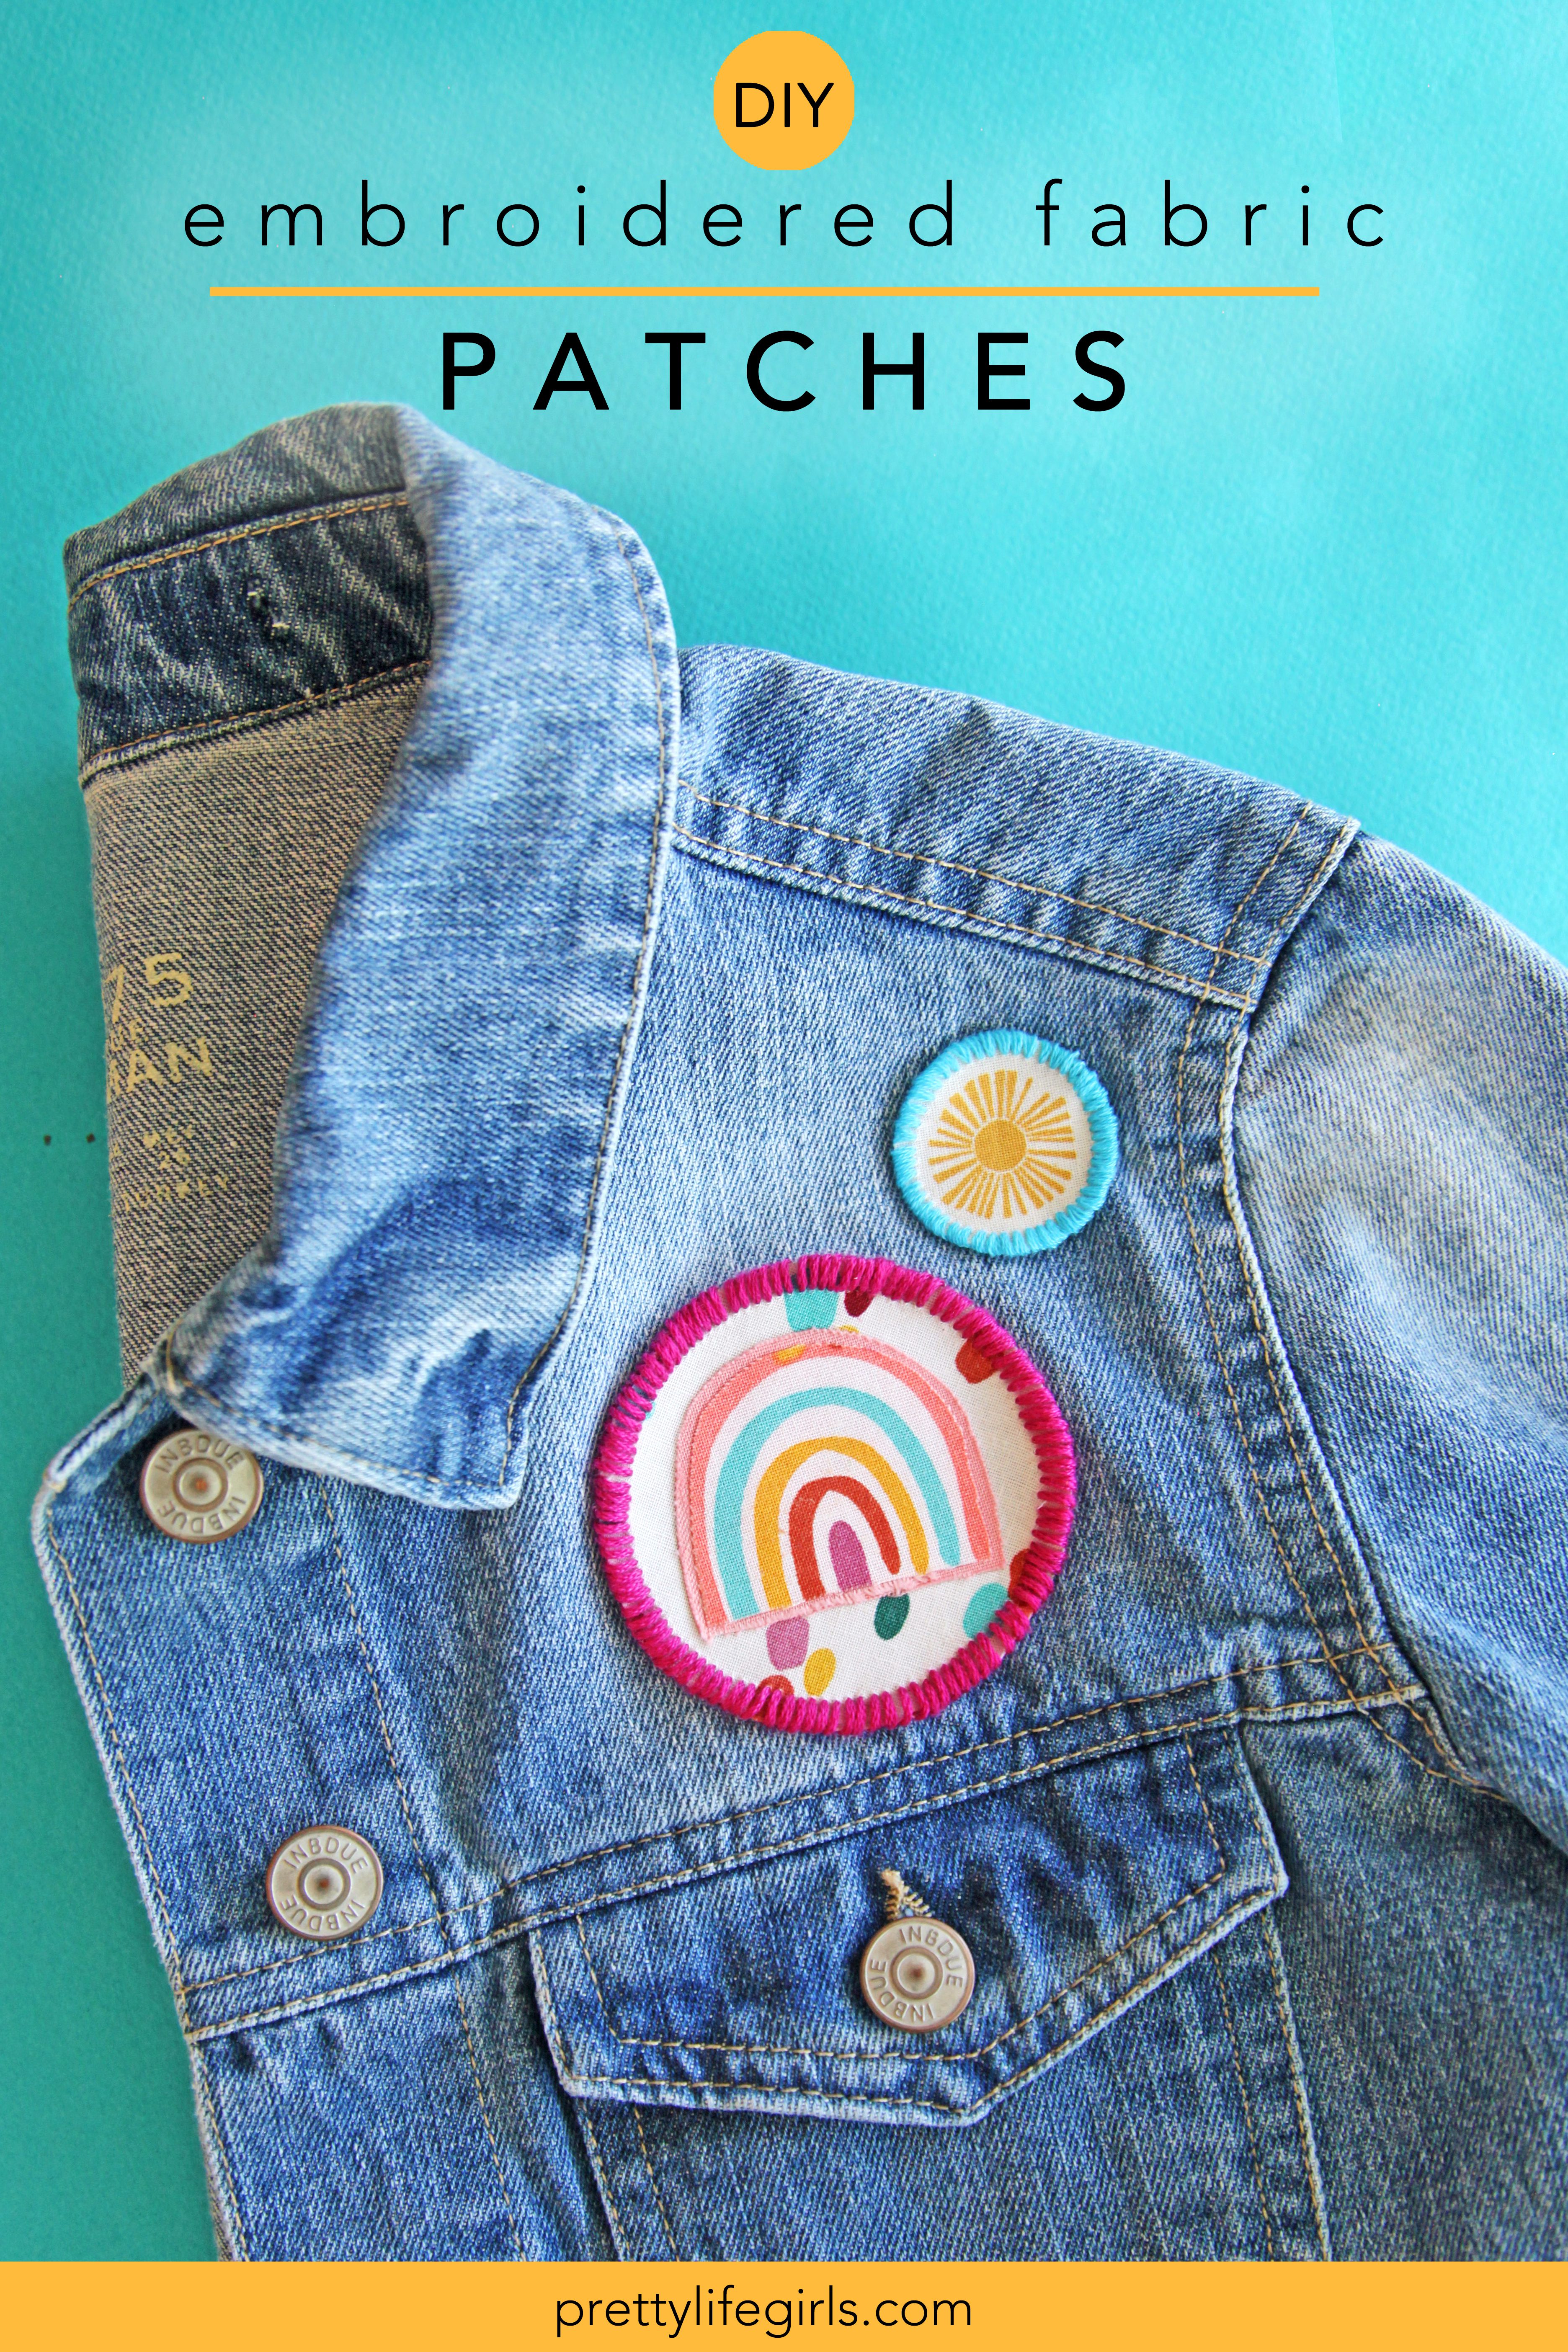
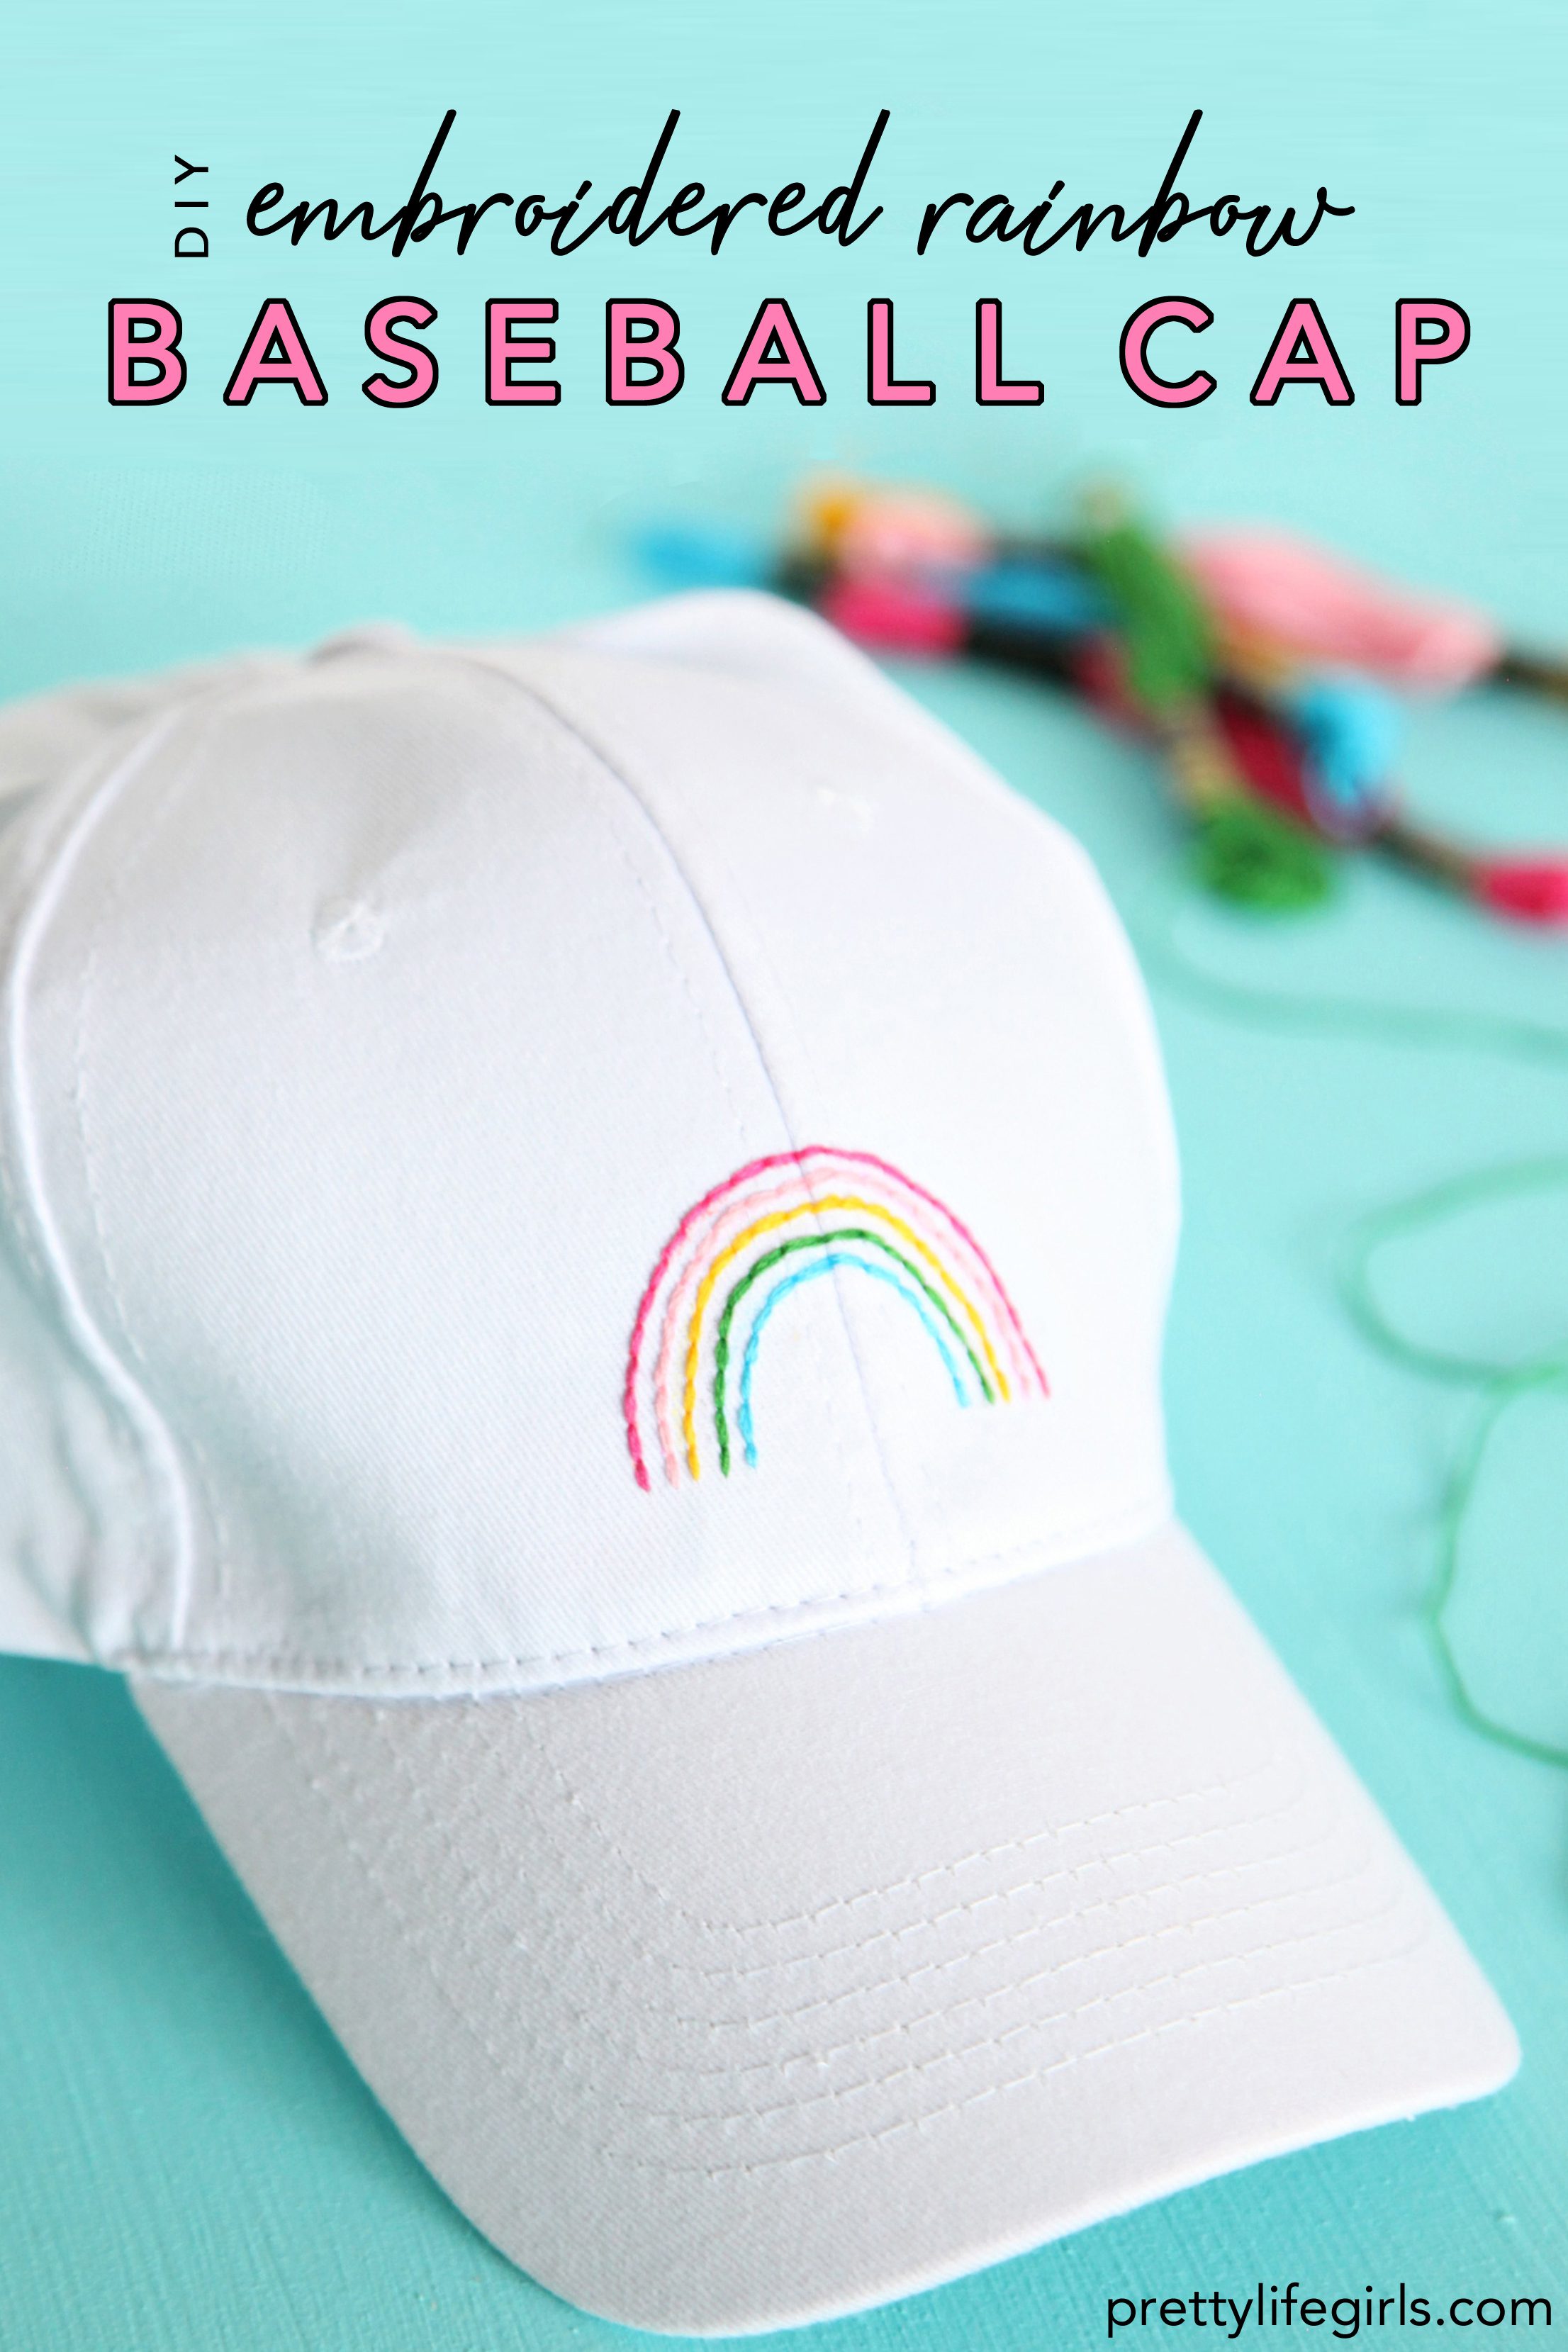 How to Make your Own Embroidered Rainbow Baseball Cap