What summer parties are on your calendar right now? Birthdays? Wedding/baby showers? Neighborhood block parties? Whatever you are celebrating, we’ve got a super fun, super on-trend piece of party decor that will make your table the place to be at your next summer soiree — it’s a DIY tie dye tablecloth!
If you have gotten your hands on a copy of our tie dye book, you know that we love applying tie dye to places that are outside of our closets and party decor is one of them! (In fact, you can find a full tie dye party complete with tie dye place mats, decor and even a tie dye cake topper in our book!) This project is the perfect way to take a tablecloth from bland to bright and since it’s tie dye, you can choose the dye colors to fit your color scheme! Here is what you need to make it happen:
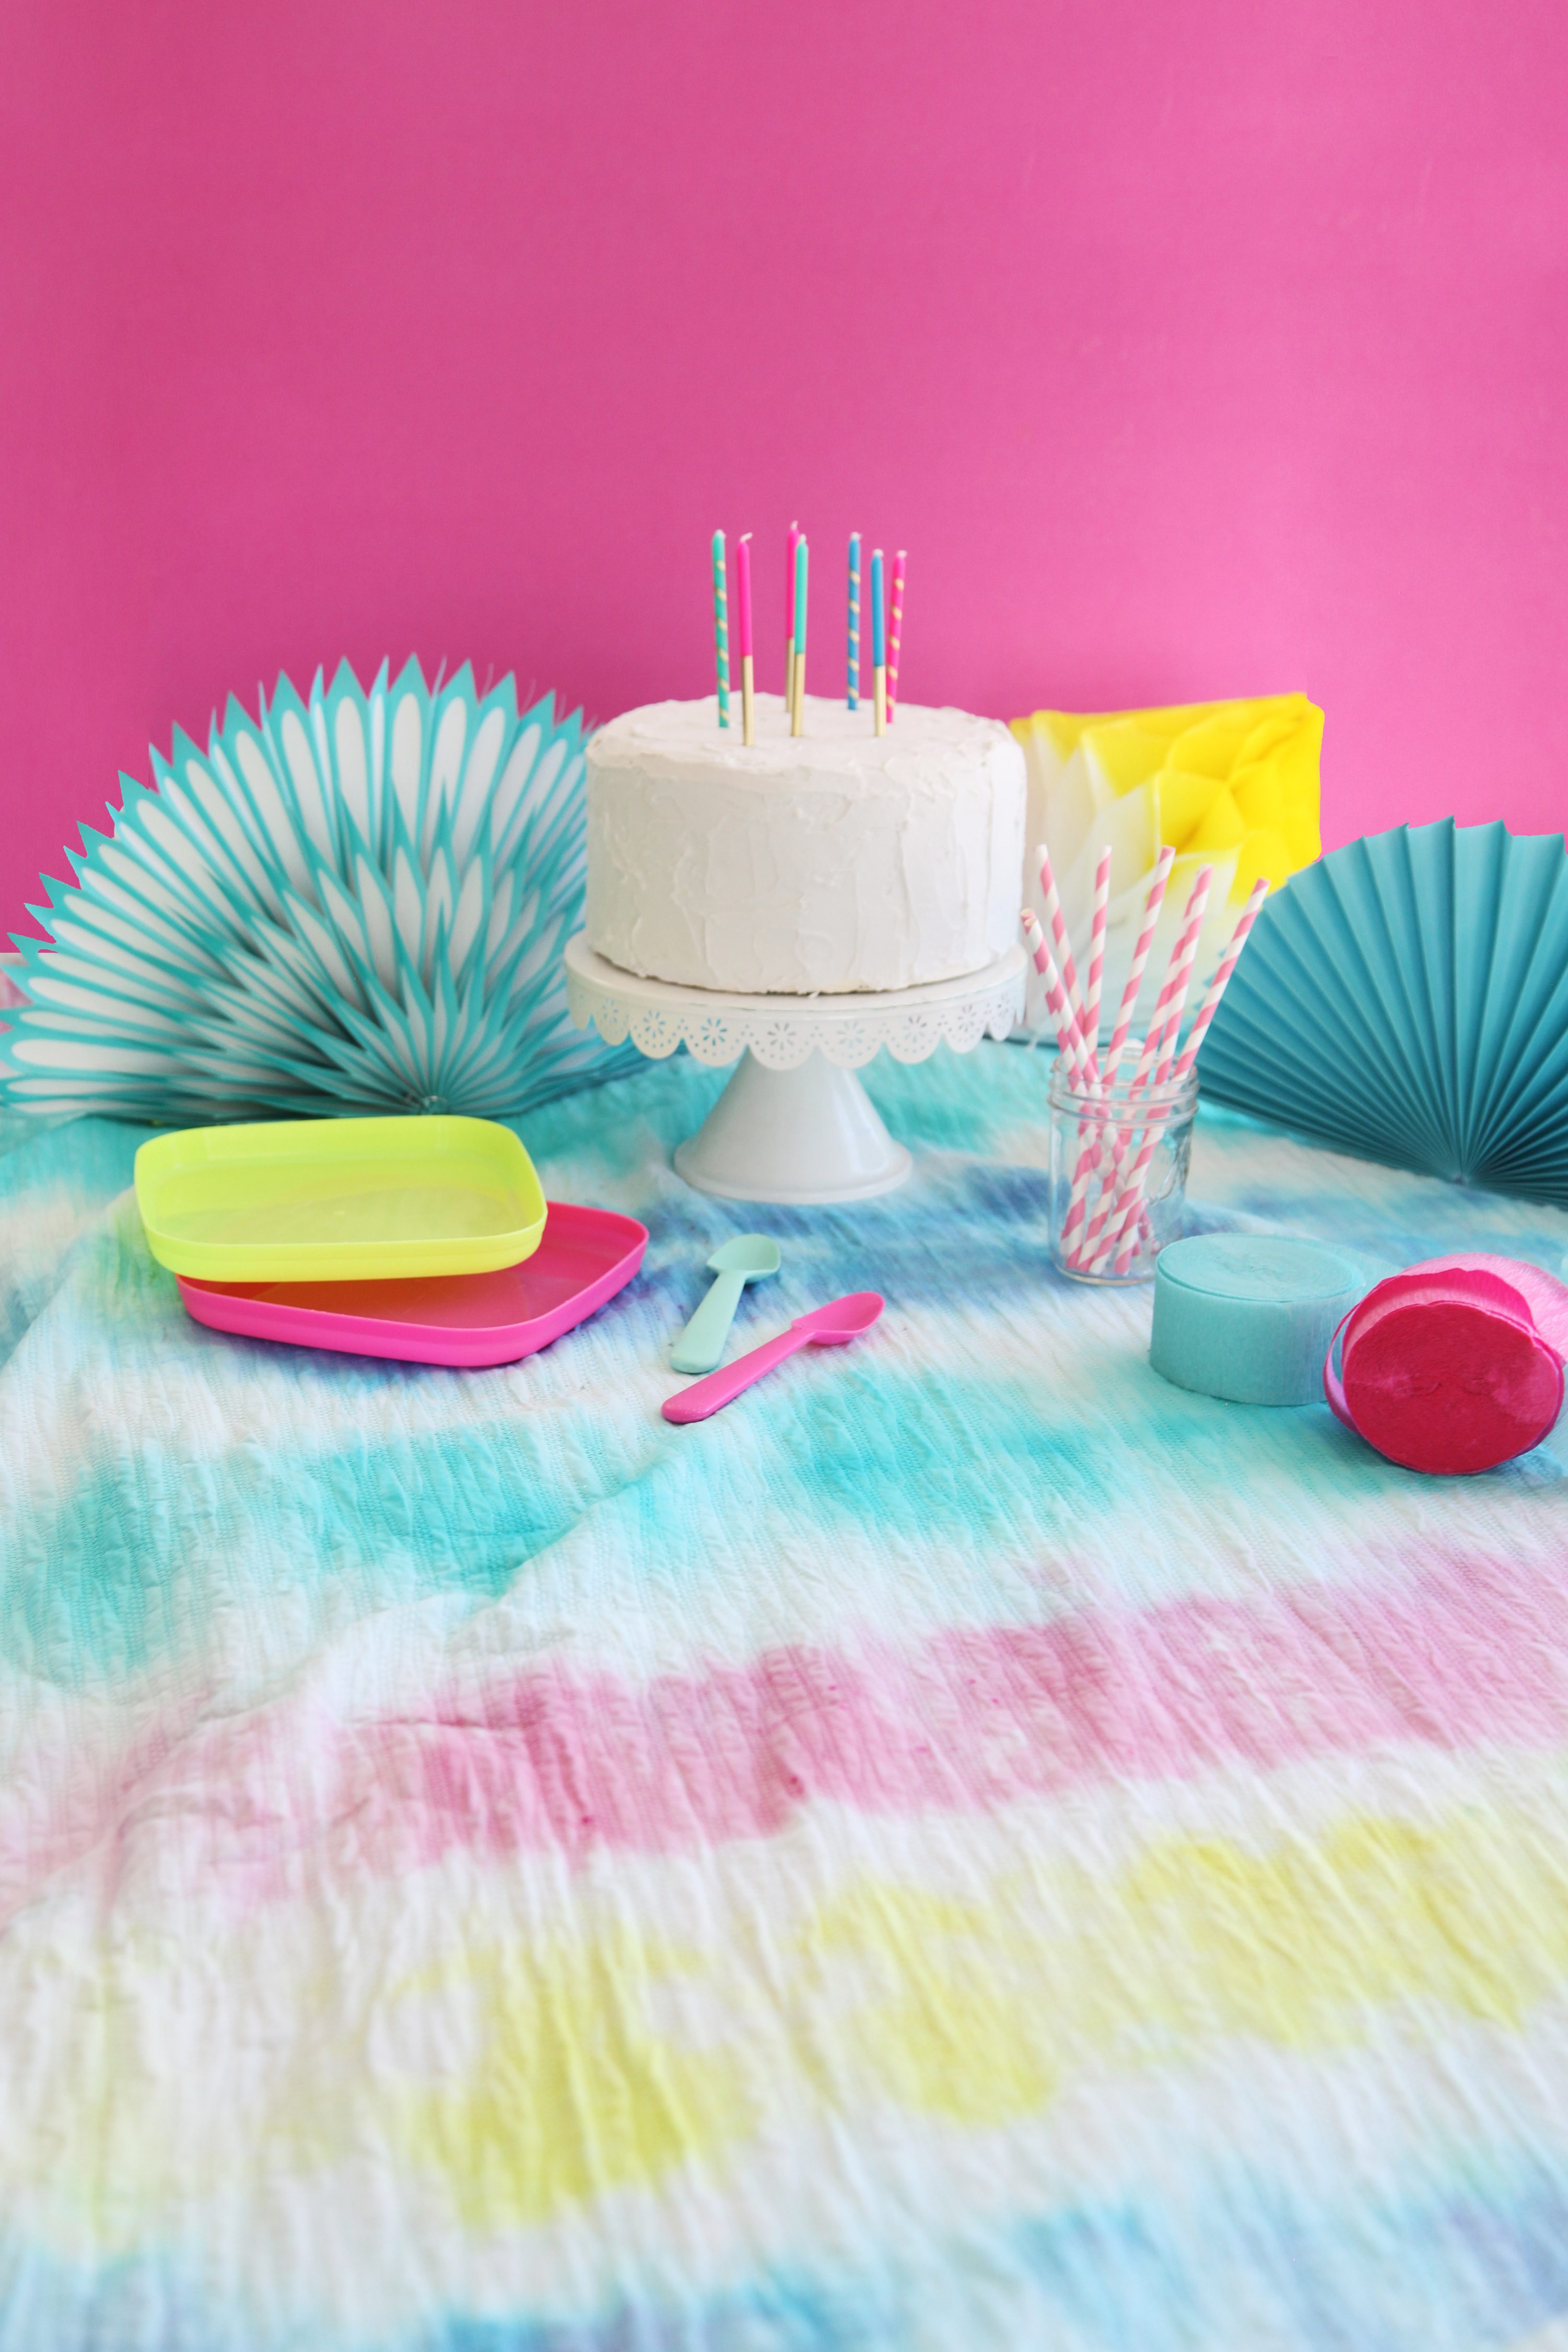

Supplies needed to make a DIY Tie Dye Tablecloth
100% Cotton tablecloth
Tulip One-Step Tie Dye Kit, Stripes (this kit comes with squirt bottles, rubber bands and gloves along with the dye, so if you go with different dye colors, you’ll need those supplies)
Container for dyeing or stainless steel sink
Cooling rack (to keep the tablecloth elevated above any dripping dye)
Plastic wrap
How to make a DIY Tie Dye Tablecloth
Watch the video (and be sure you subscribe to our YouTube channel), or read the steps below!
Step 1: Prepare your working surface by placing the cooling racks inside of your container or sink and prepare your tie dye in the squirt bottles according to your package directions.
Step 2: Wet the tablecloth completely and wring out any excess.
Step 3: Bind the tablecloth in sections using the stripe binding technique (if you have never done this technique before, find our tutorial here), binding the tablecloth tightly with rubber bands every 6 inches or so.
Step 4: Place the bound tablecloth on your cooling racks and put on gloves. Begin to apply the first dye color to the first bound section by squirting it with dye. (Tip: To ensure that the white lines between the colors come through, apply dye with about an inch buffer between the dye and the rubber bands.) Coat the section in dye until it is completely saturated.
Step 5: Carefully take the next dye color and apply it to the next section. Repeat this process until each of your bound sections is saturated with your desired dye colors.
Step 6: Once the dye is applied, wrap each section individually in plastic wrap to set. (We wrapped ours individually so that the colors didn’t touch or muddle.)
Step 7: Let dye set in plastic wrap for 8-24 hours or according to your dye package directions.
Step 8: Once set, remove the rubber bands and rinse the tablecloth in cold water until the water runs clear, then wash and dry the tablecloth alone, or according to dye package directions.
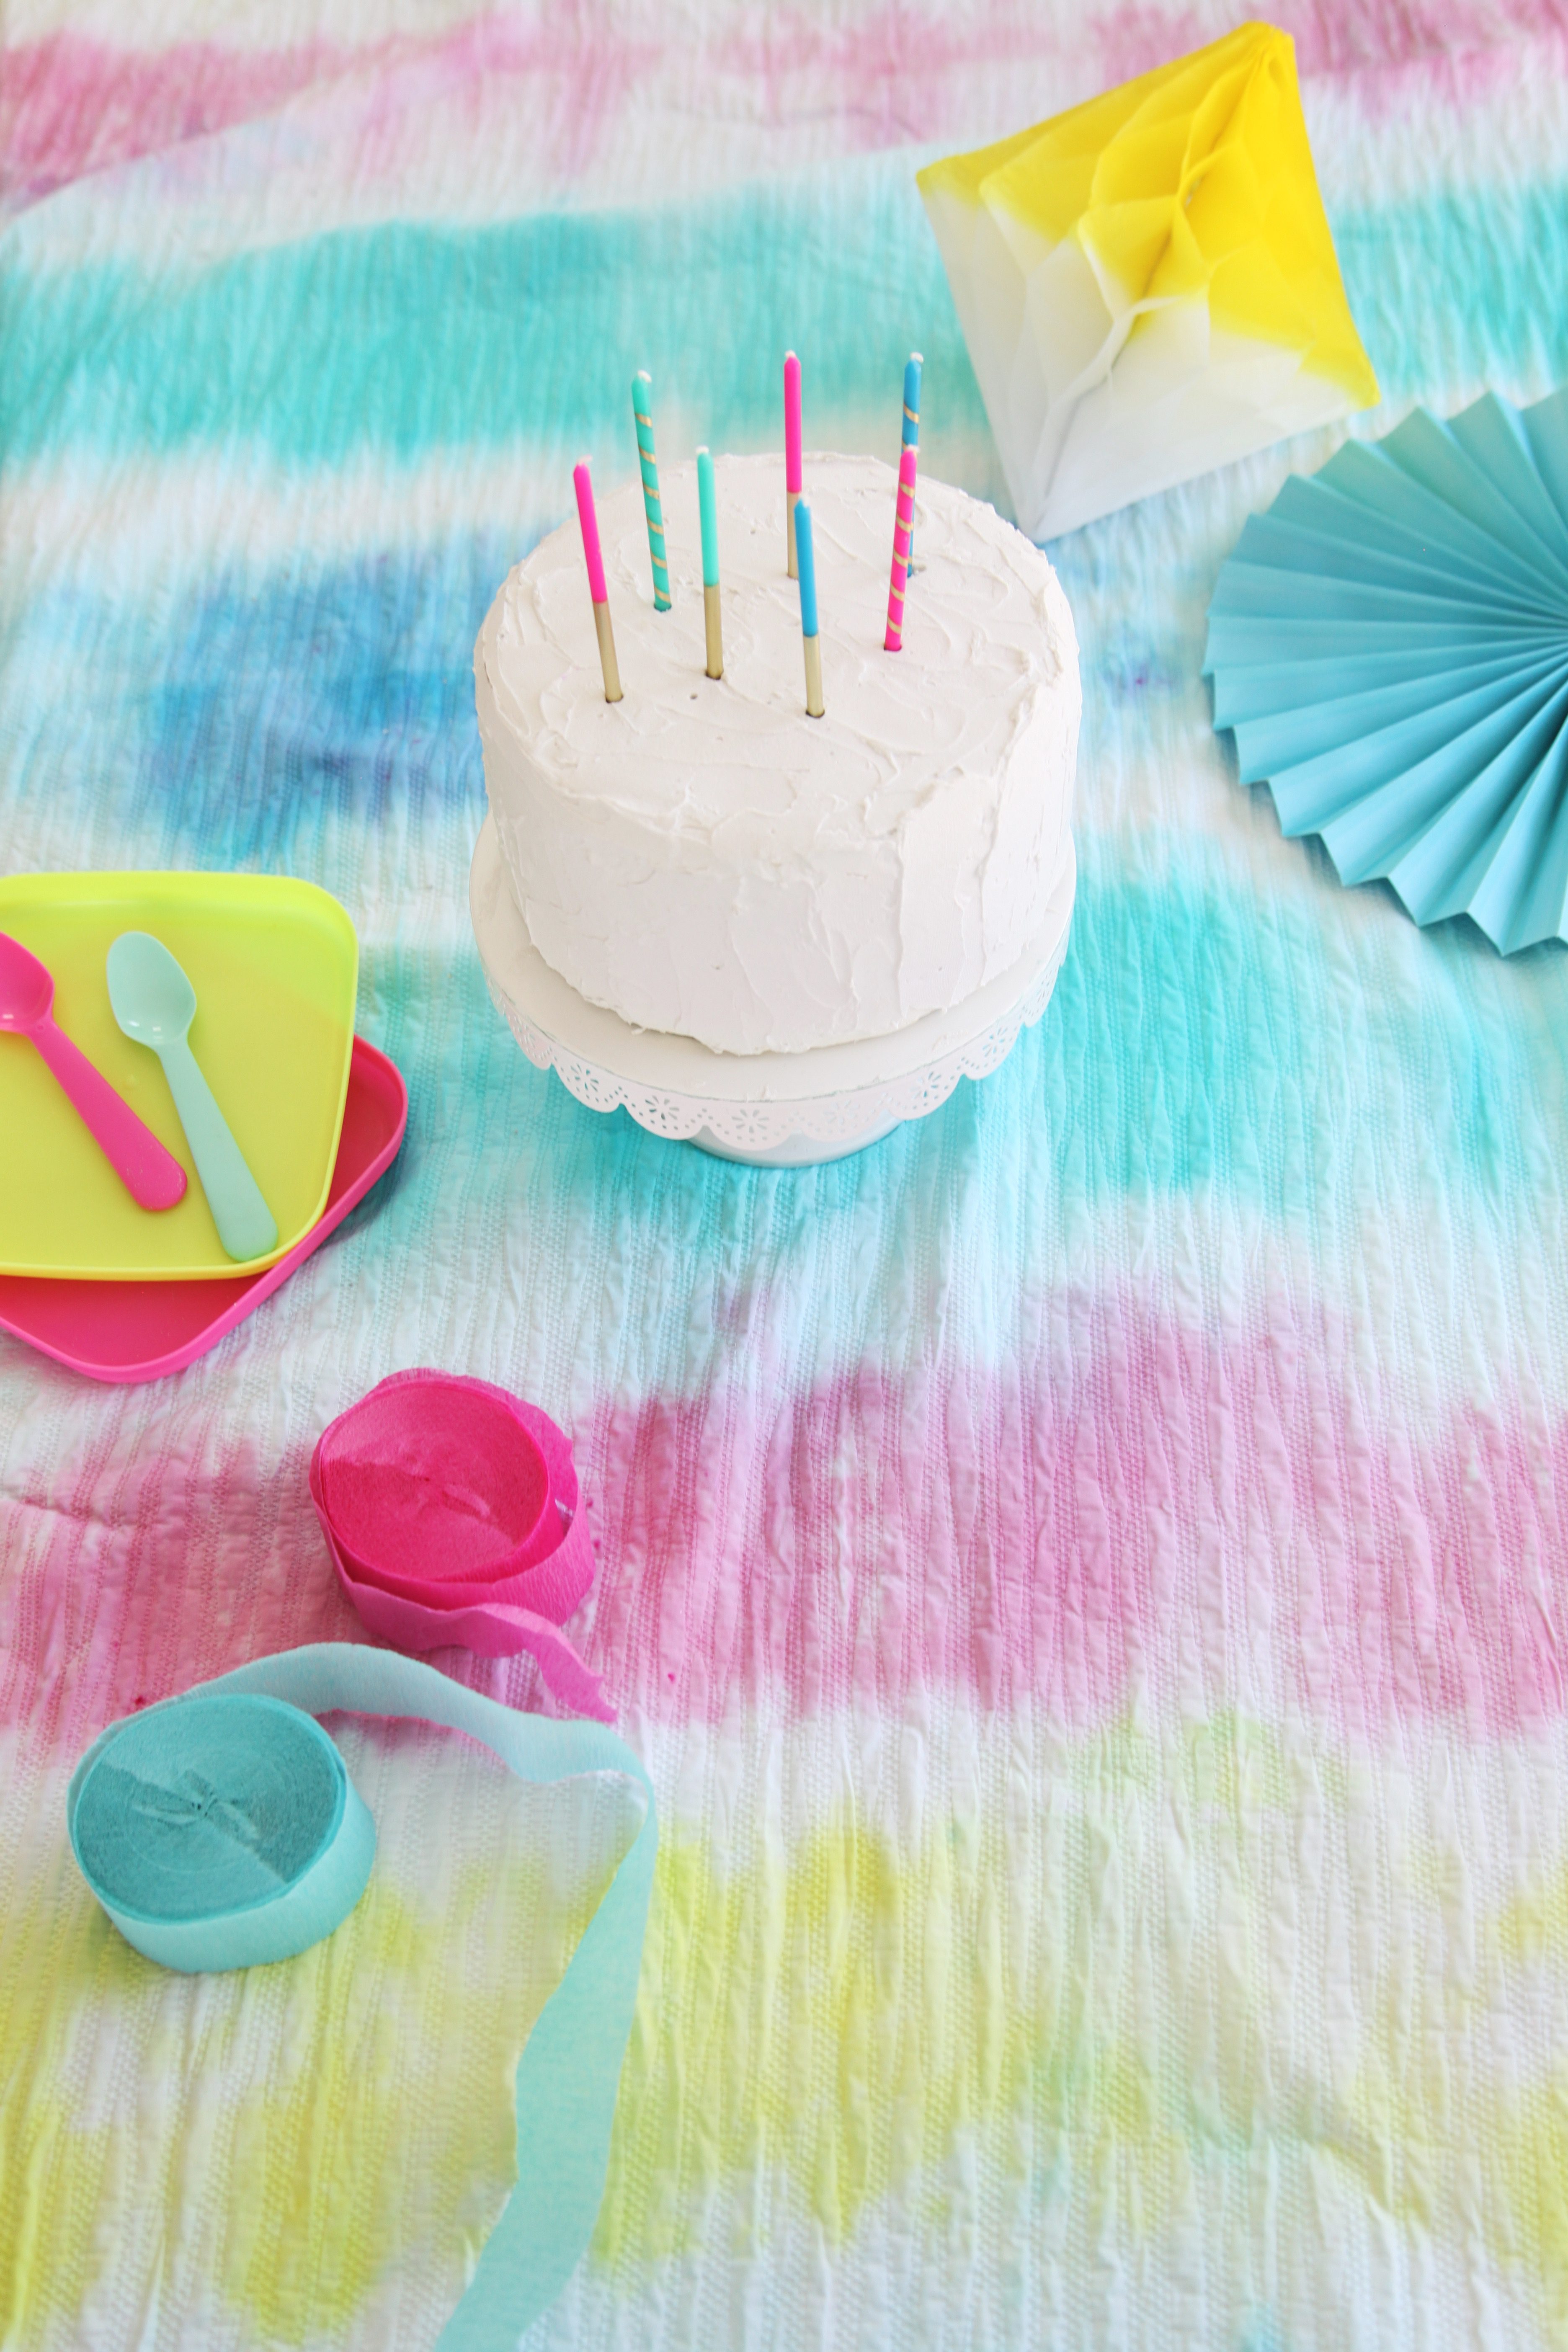

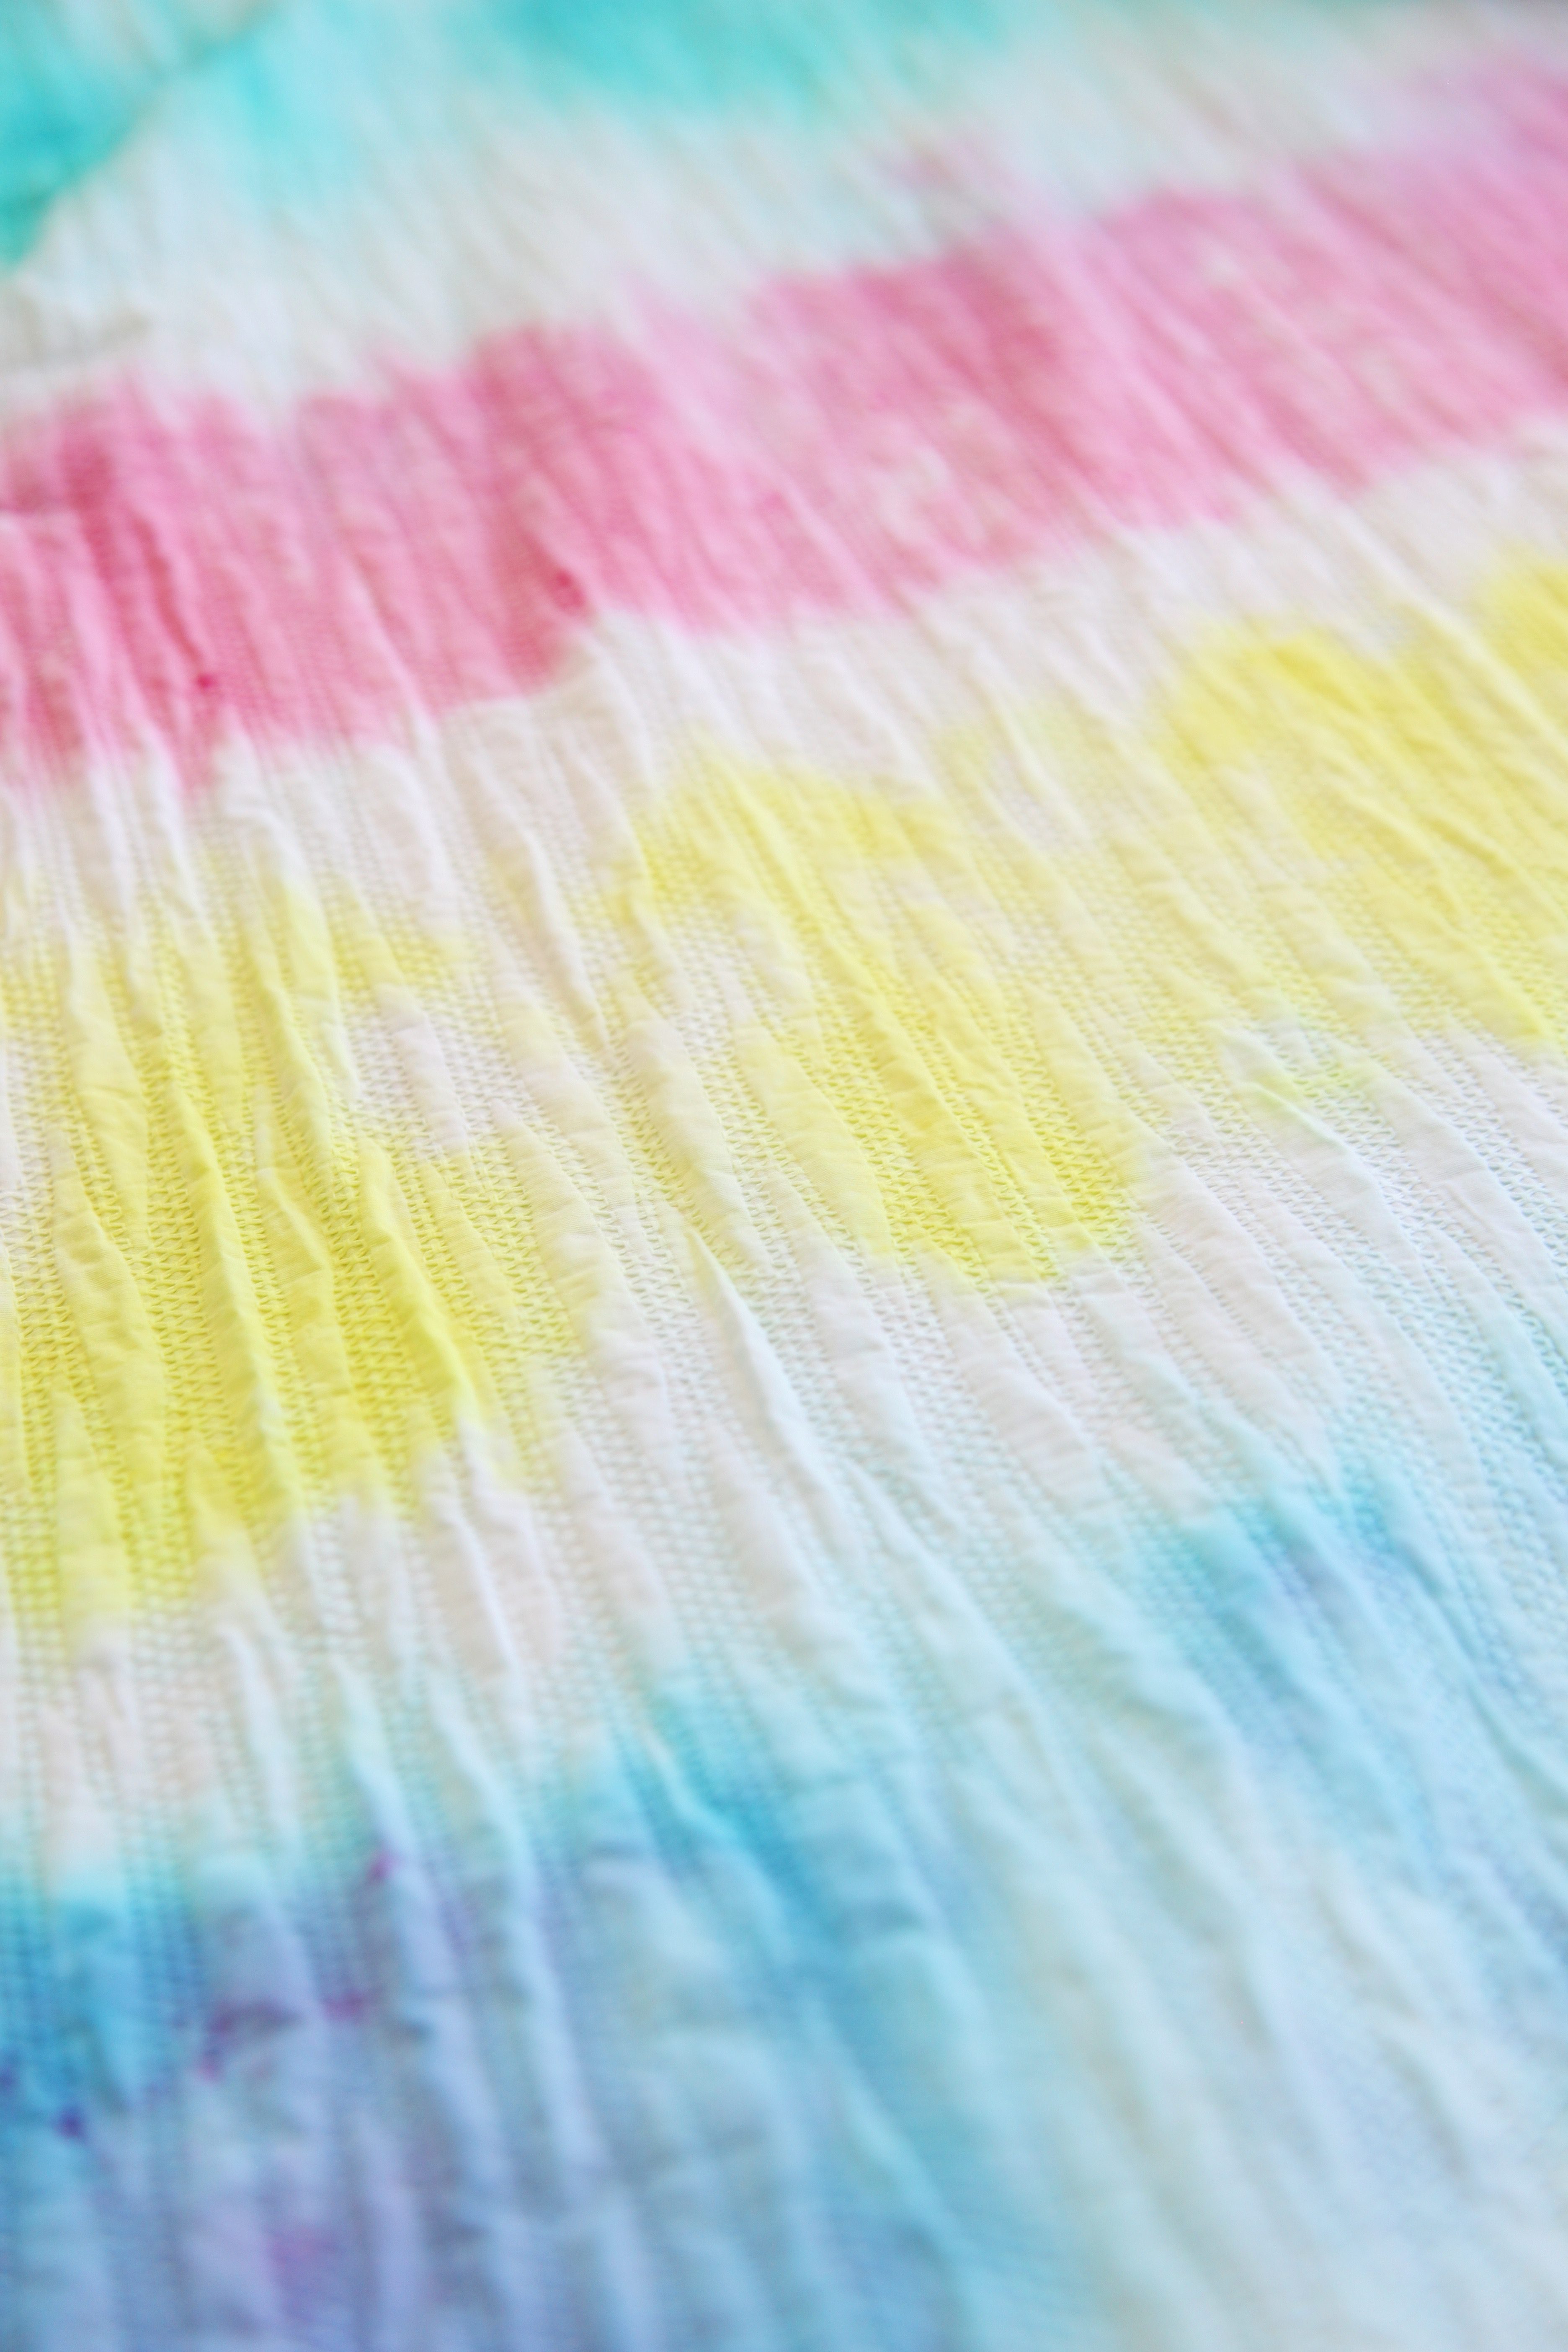

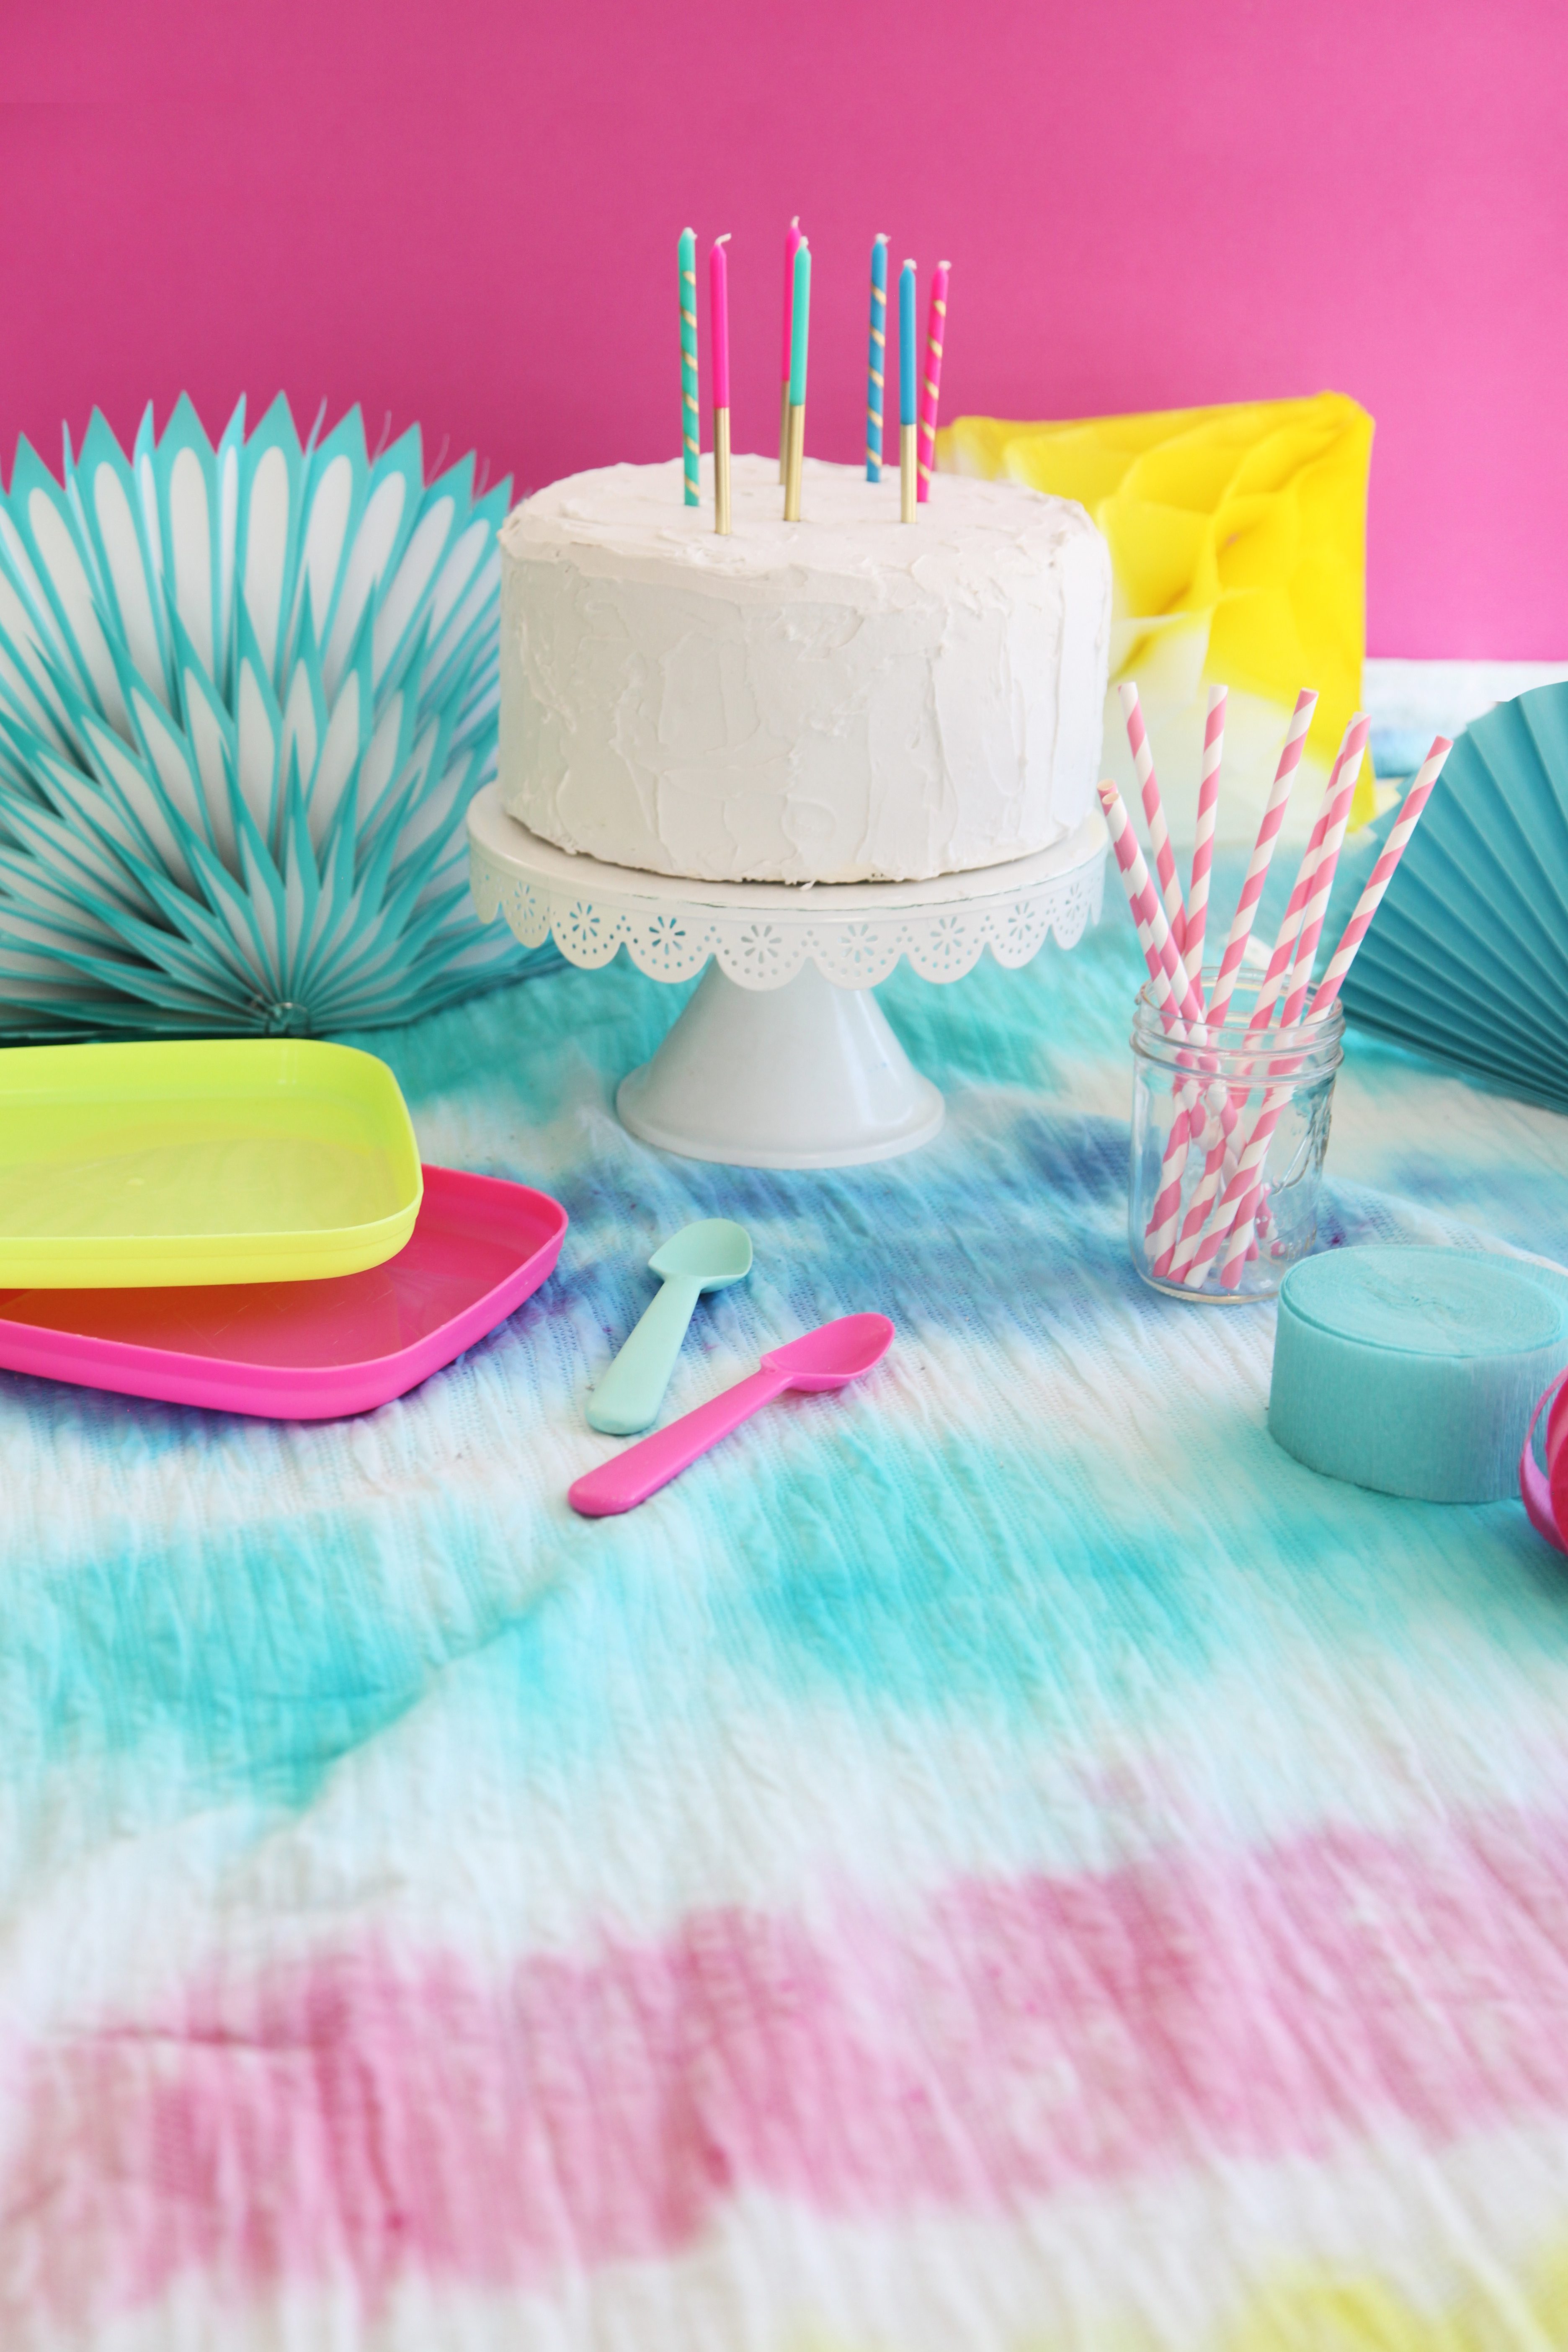
That’s it! We had a blast making this one and are so inspired to make more for other party color schemes or even for our kitchen tables! The color possibilities are endless!

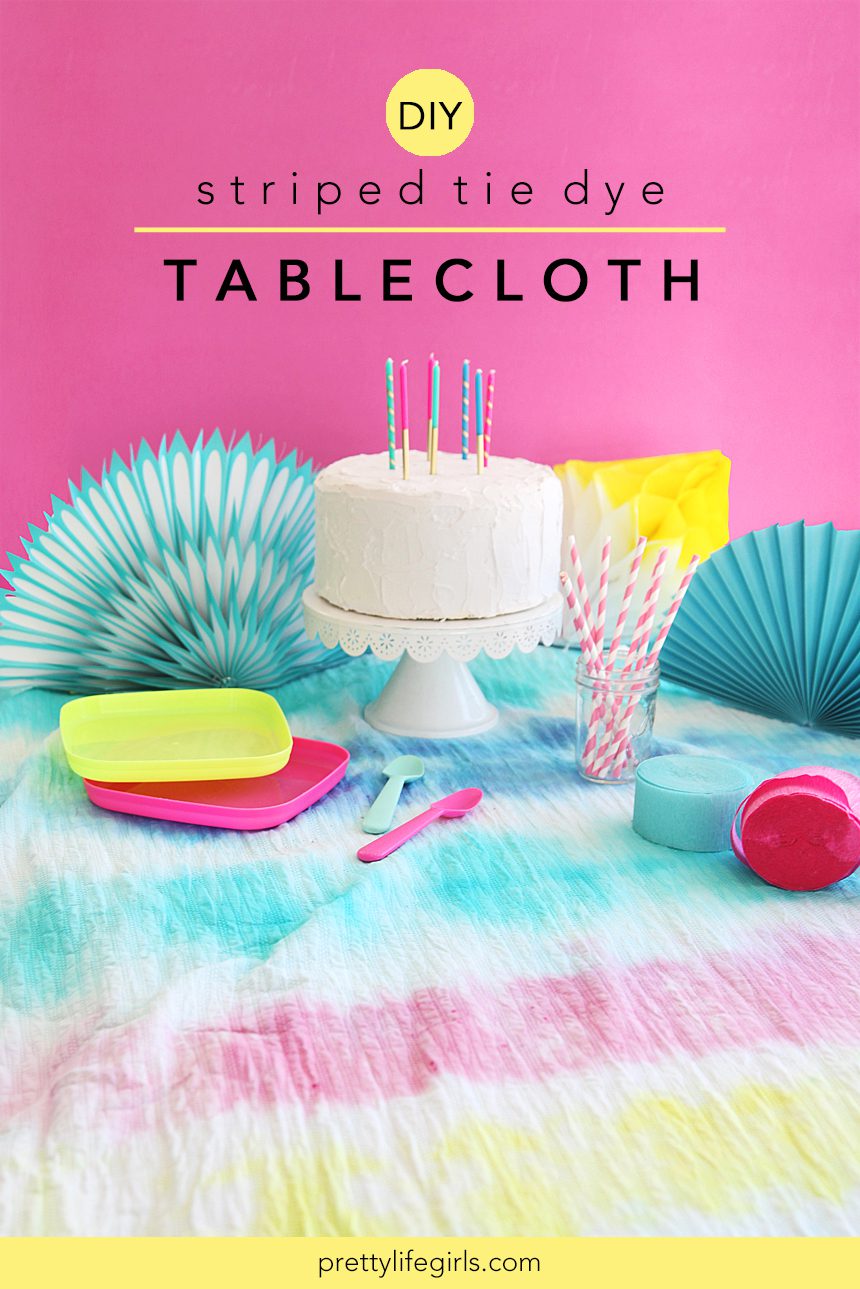

Happy making!
ox. Liz and Sam
Be sure to check out these other tie dye projects!
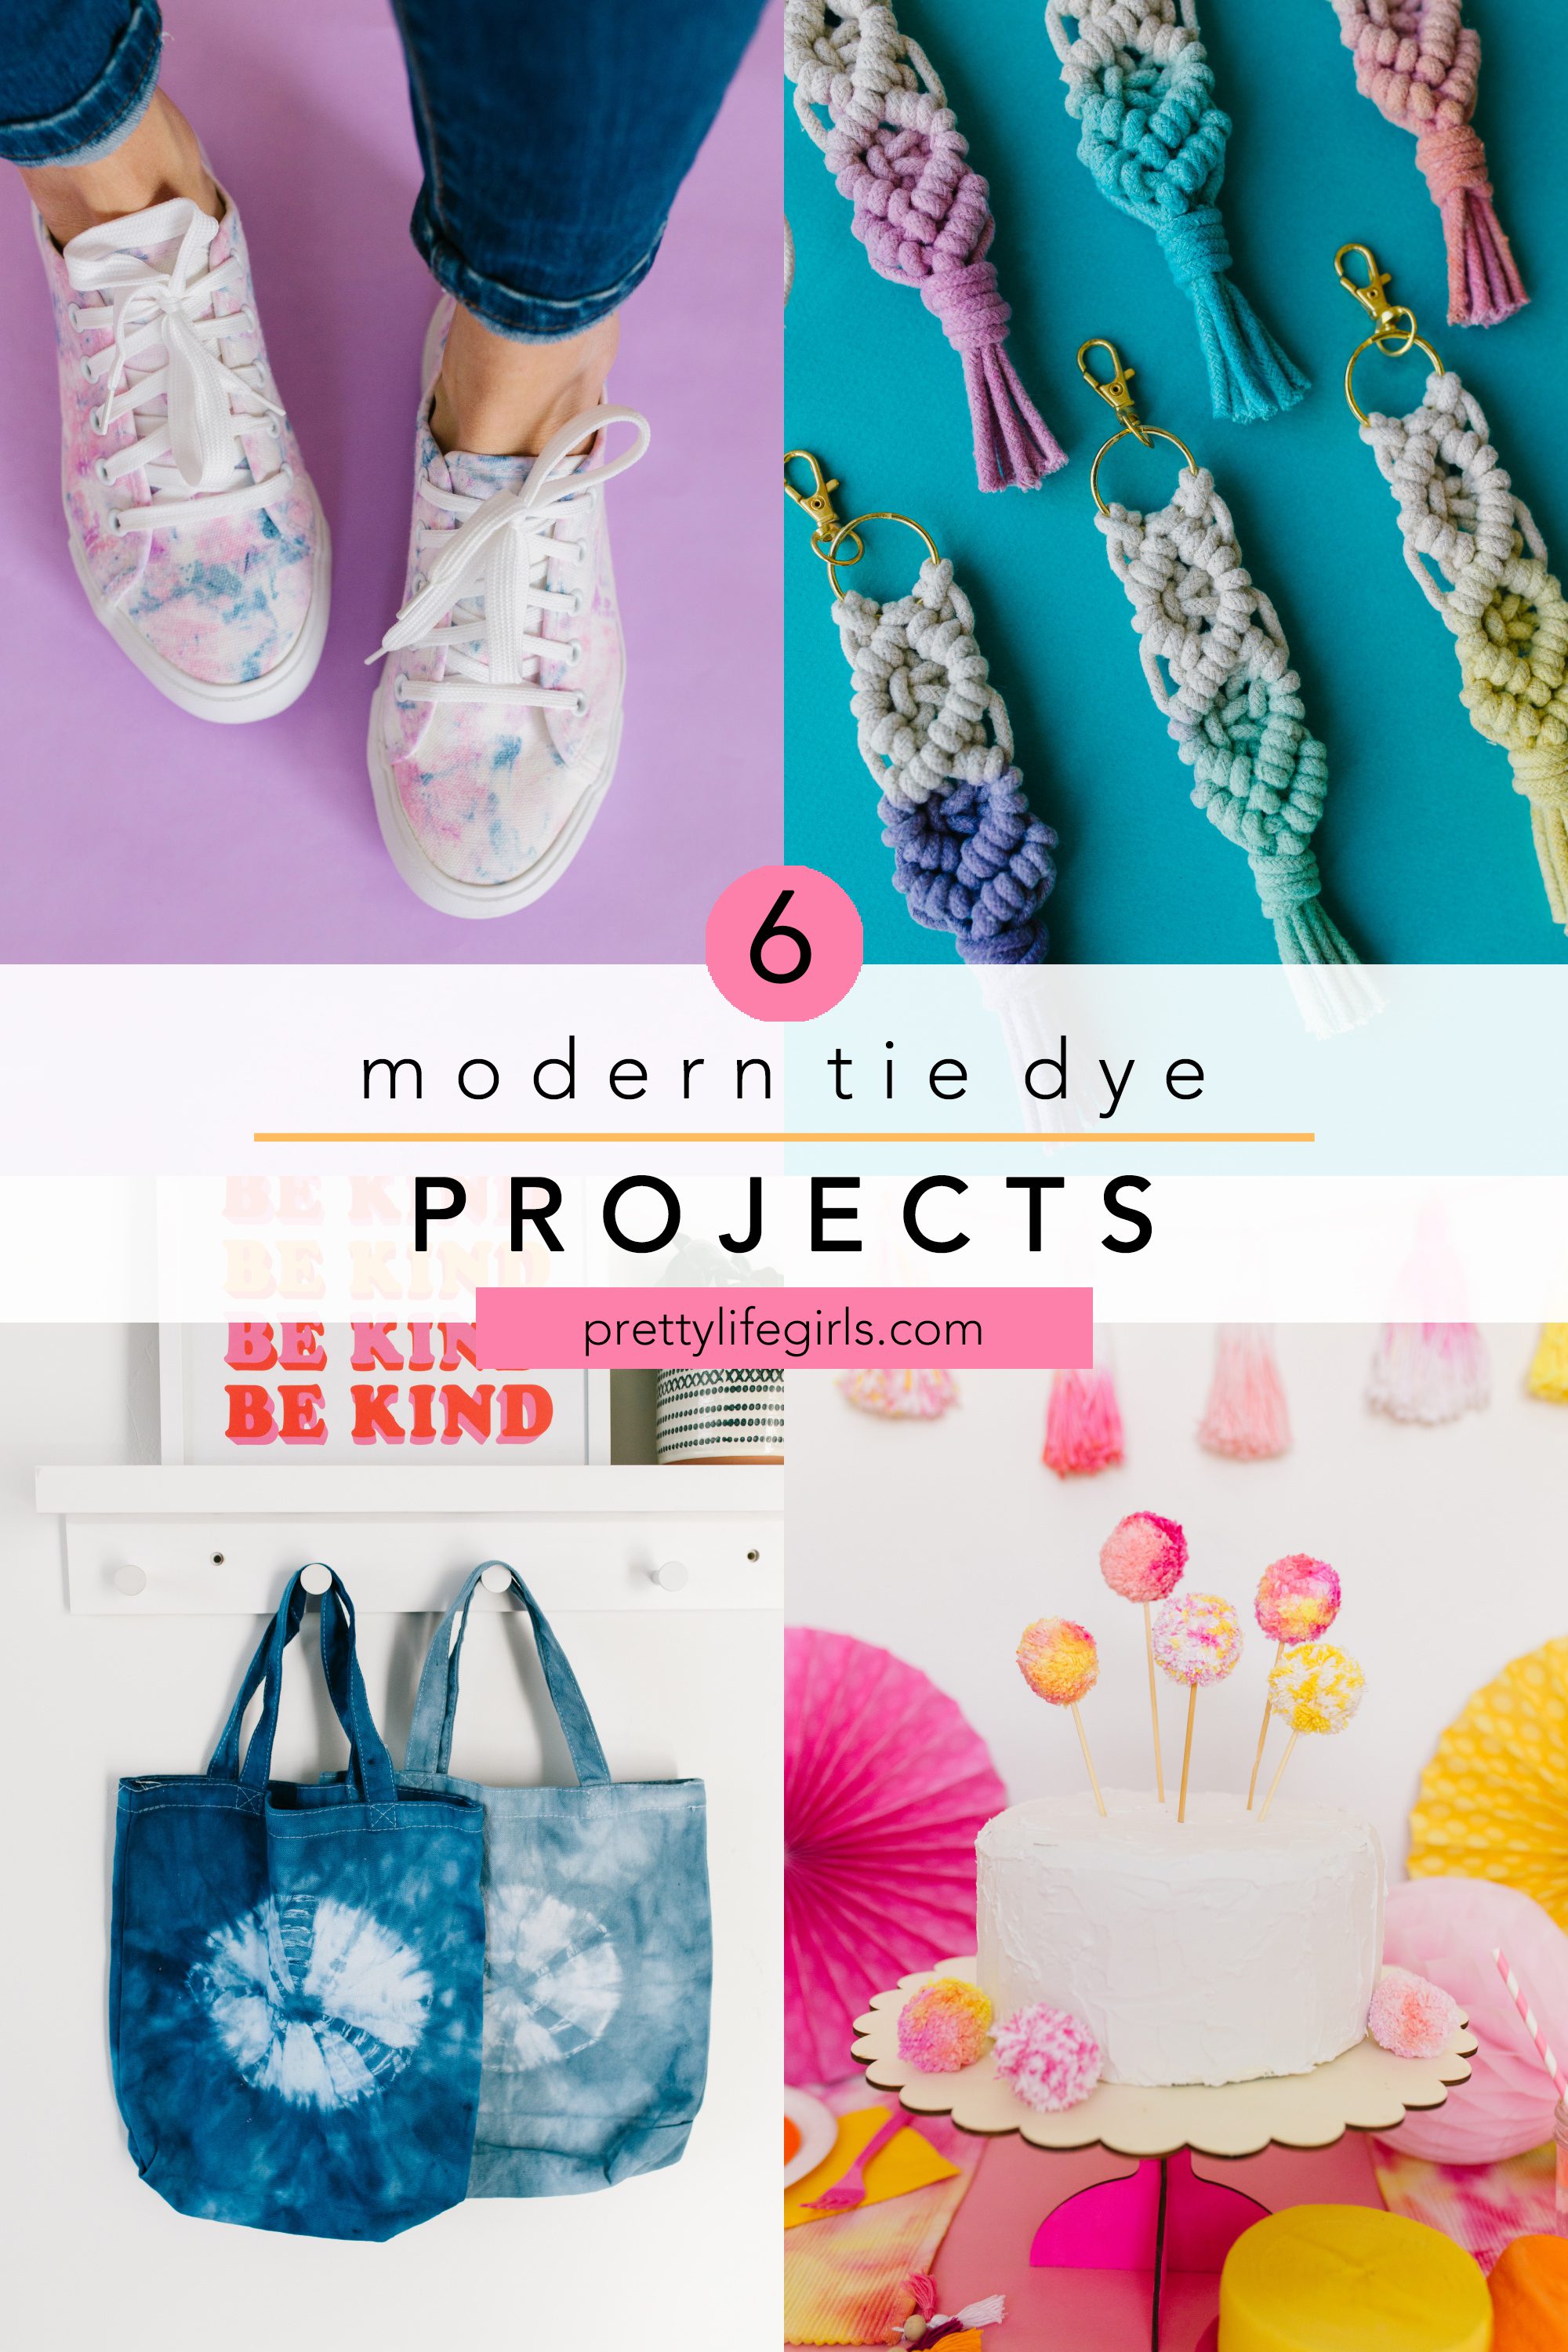
6 Modern Easy Tie Dye Projects You Should Try
DIY Blue Shibori-Inspired Pillows for Any Room


