We’ve talked a lot lately about the popularity of tie dye, and while the trend couldn’t be hotter at the moment, there is a method of application that has been a constant staple for makers for generations and that’s Shibori! Shibori is a Japanese manual resist dyeing technique which involves binding the fabric in very close sections, resulting in a number of different patterns on fabric. We are so inspired by this method because of the different designs it can produce and because the results feel more organic and timeless than tie dye, making it fun to incorporate the prints in all different areas of your life from fashion to home decor.
As a result of our affection for Shibori, we wanted to show you a simple way to try your hand at the technique and give your couch or bed a trendy update in the process — we’re making DIY blue Shibori-inspired pillows for any room! Here is what you need:


Supplies needed to make your own blue Shibori pillows
Canvas Pillow Form, pre-washed
Rubber Bands
Indigo Fabric Dye
Bucket
Square wooden coasters (one pair for each pillow cover)
Iron
Scissors
Roving yarn
Embroidery floss
Needle


How to make your own blue Shibori pillows
1. Prepare the dye in a bucket according to package directions.
2. Fold one of the pillow covers like an accordion, lengthwise, to create a long, skinny rectangle with one of the short sides facing you.
3. Next, fold like an accordion again, bringing the bottom-right corner of the pillow cover over to meet the long side of the rectangle, creating a triangle shape. Then, continue to fold the canvas into triangles, accordion style, until have have a single small triangle.
4. Sandwich the folded triangle of fabric between the wooden coasters and wrap the packet securely with three to five rubber bands. Repeat steps 1–4 to make more covers.
5. Dye the pillow covers:
-To achieve a triangle dye pattern: Fully submerge the triangle bundle in the prepared bucket of dye and allow the fabric to soak according to package directions, or until you have achieved your optimal shade.
-To achieve a line pattern: While wearing gloves, partially submerge one-half of the triangle bundle in the dye, keeping the opposite side dry. Soak the submerged side according to package directions, or until you have achieved your optimal shade.
6. Remove the bundle from the dye bath and rinse until the water runs clear.
7. Remove the rubber bands and coasters, unfold the triangles of fabric, and let the pillow covers dry completely. Once dry, remove the wrinkles with a warm iron.
8. To add tassels, cut two 8-inch pieces of roving yarn and fold them in half.
9. Cut a 4-inch piece of embroidery floss and wrap the floss twice around the folded end of the roving, about 1 inch from the end. Tie in a knot to secure the tassel and cut off excess floss with scissors.
10. Thread a needle with another 4-inch piece of floss. Thread the needle with floss through the loop on the folded end of the roving tassel and then thread through a corner of the pillowcase.
11. Remove the needle and tie the floss in a tight knot to secure the tassel to the pillow corner of the pillow; using scissors to remove trim off any excess floss.
12. Repeat the process, making and attaching tassels to all desired corners of the pillows.


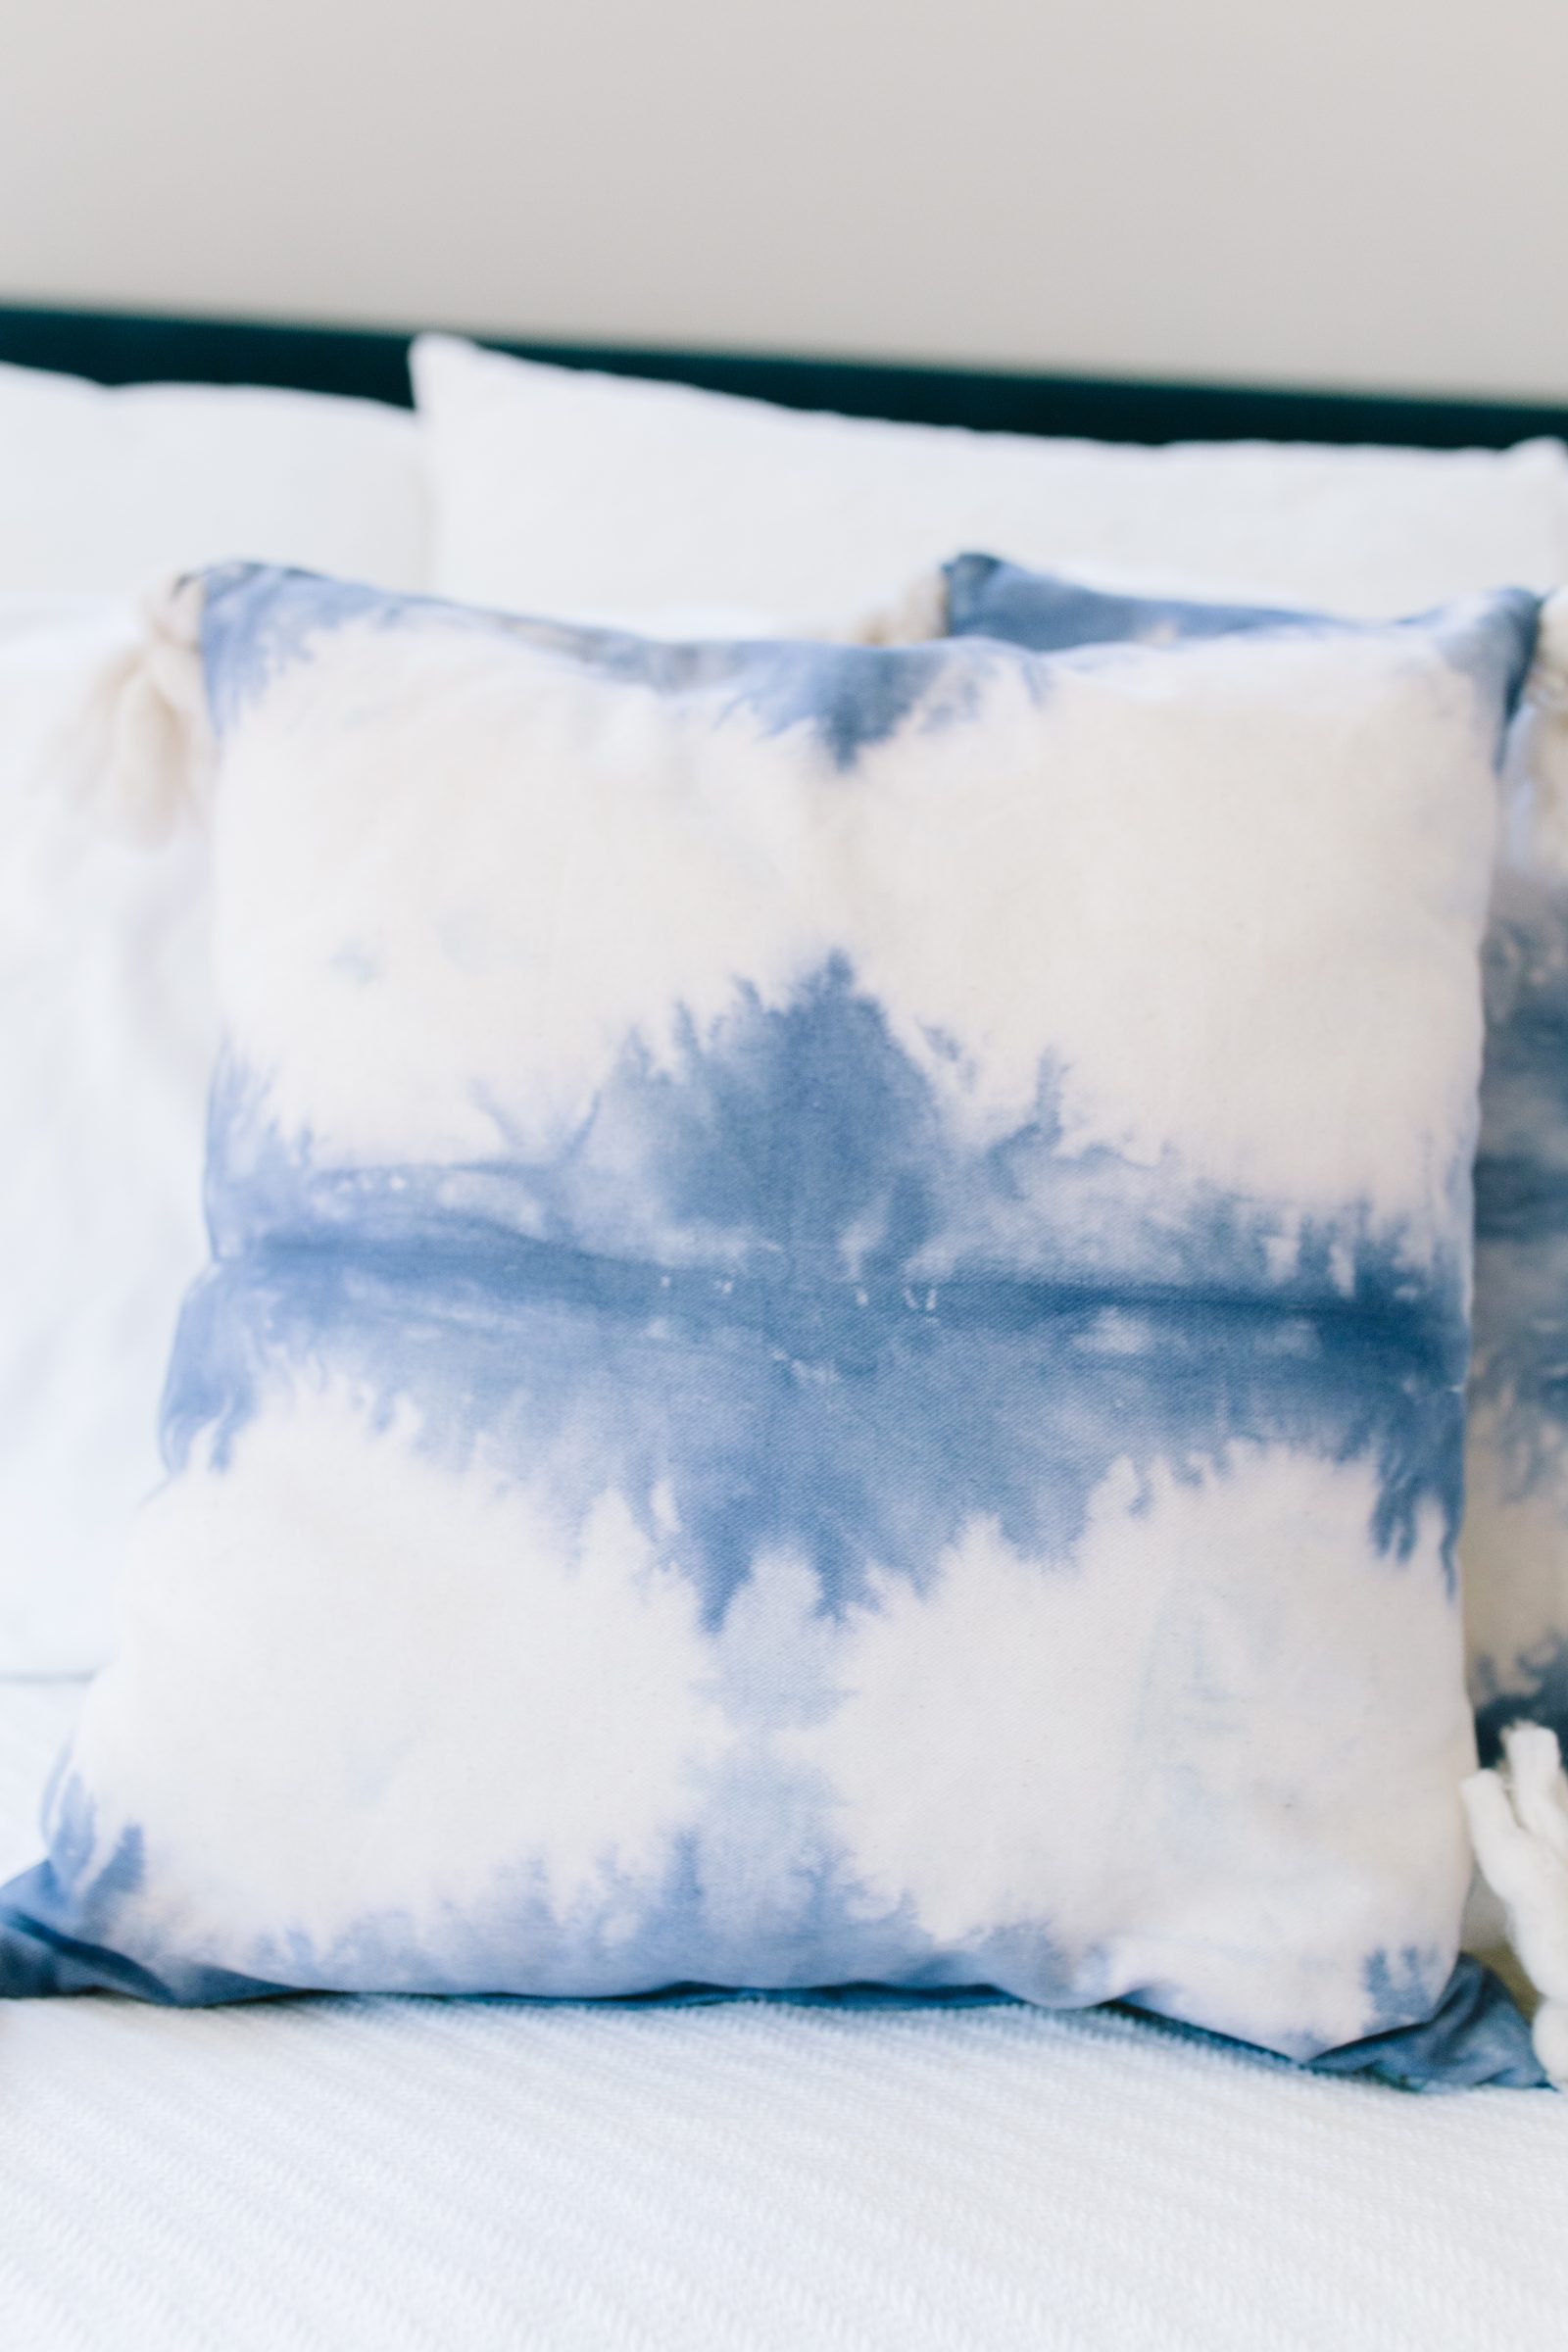

Aren’t they lovely? There are so many possibilities for making once you get the basics of shibori dyeing down. We know you are going to be obsessed once you try it!




xo, Liz


