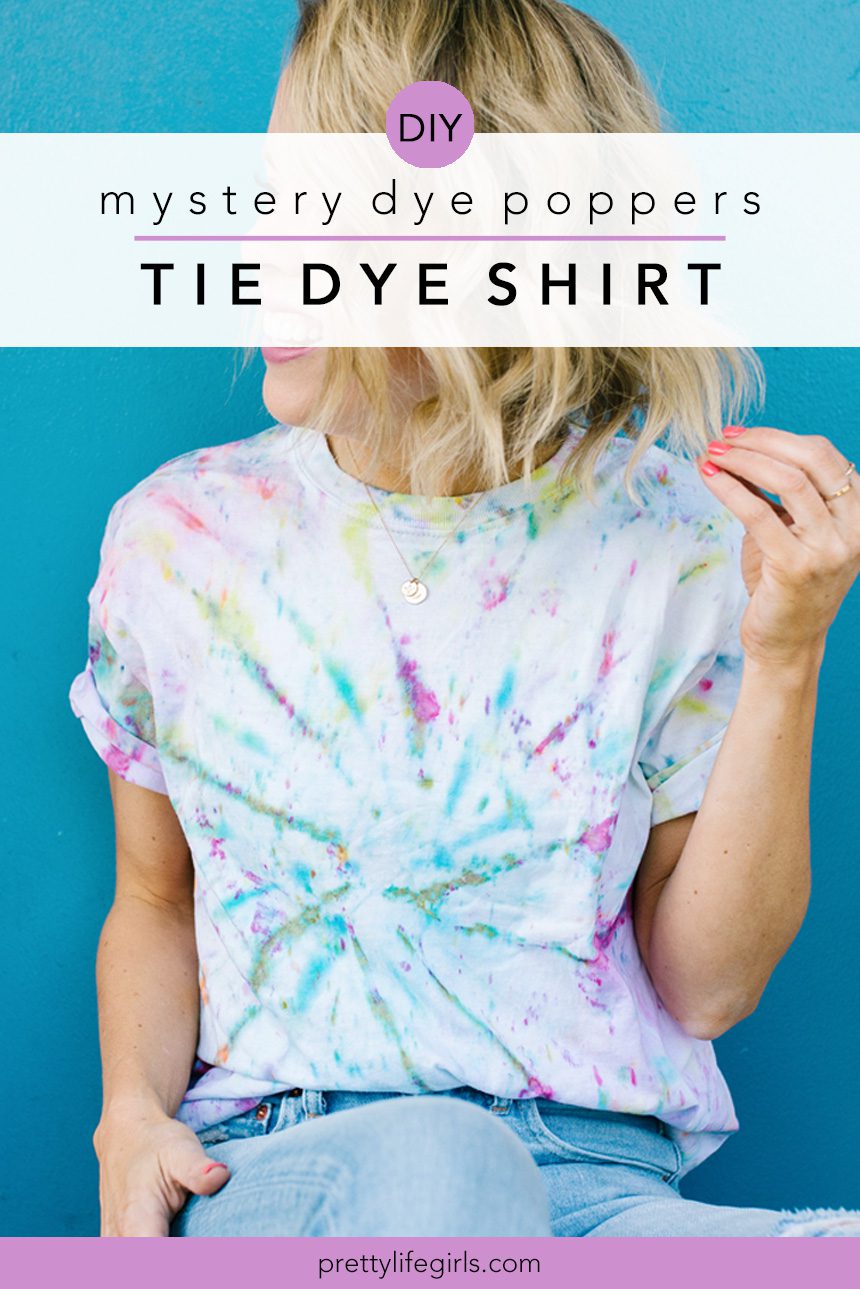
You’d think that after writing the book on tie dye we wouldn’t be surprised by any new methods, but when we were introduced to Tulip’s new Mystery Dye Poppers our minds were blown! This method is totally new, totally fresh and maybe the most fun way to tie dye out there. Here’s how it works: The kit comes with white capsules full of dye and a mallet to smash them open, but the capsules aren’t labeled so there’s no way to know what colors are inside! To apply the dye, you’ll put the capsules in your fabric, then in a ziplock bag, and smash the capsules with the mallet which makes them pop open and cover the shirt with surprise shades of dye!
You can bind you fabric before applying the capsules or just shove it in the bag, and the results will be totally unique and unexpected! We especially love this method for dyeing with kids since it’s so contained and less messy than typical dyes. Here is what you’ll need to do it:

Supplies Needed for Mystery Dye Poppers Tie Dye:
Mystery Dye Poppers Kit
Cotton t-shirt
Rubber bands (if you are binding your shirt)
Gallon ziplock bag
Spray bottle with water (if desired)
Gloves
Plastic wrap
How to use Mystery Dye Poppers
Watch the video (and be sure you subscribe to our YouTube channel), or read the steps below!
Step 2: Bind the shirt in your desired method. (Ours was a spiral.) You can watch our video on some of our favorite binding techniques here.
Step 3: Place your desired number of capsules in the folds of the shirt and slide it into the ziplock bag and seal tightly.
Step 4: Using the mallet from the kit, smash the capsules until they burst open.
Step 5: If you’d like to make the dye spread more, open the bag and carefully spray the dyed areas with a spray bottle.
Step 6: Carefully remove the shirt from the bag over a garbage can and shake off any excess dye and broken capsule pieces into the garbage.
Step 7: Wrap the shirt in plastic wrap or return it to the ziplock bag and let set for at least 6 hours.
Step 8: Once the dye has set, remove the shirt from the plastic wrap and rinse until the water runs clear. Then, wash and dry alone.

What do you think? Would you try this method? We’d totally recommend it! It’s like nothing we’ve ever tried before!

To see us make this spiral Mystery Dye Poppers shirt, watch our Michaels class here:

Happy Making!
ox. Liz
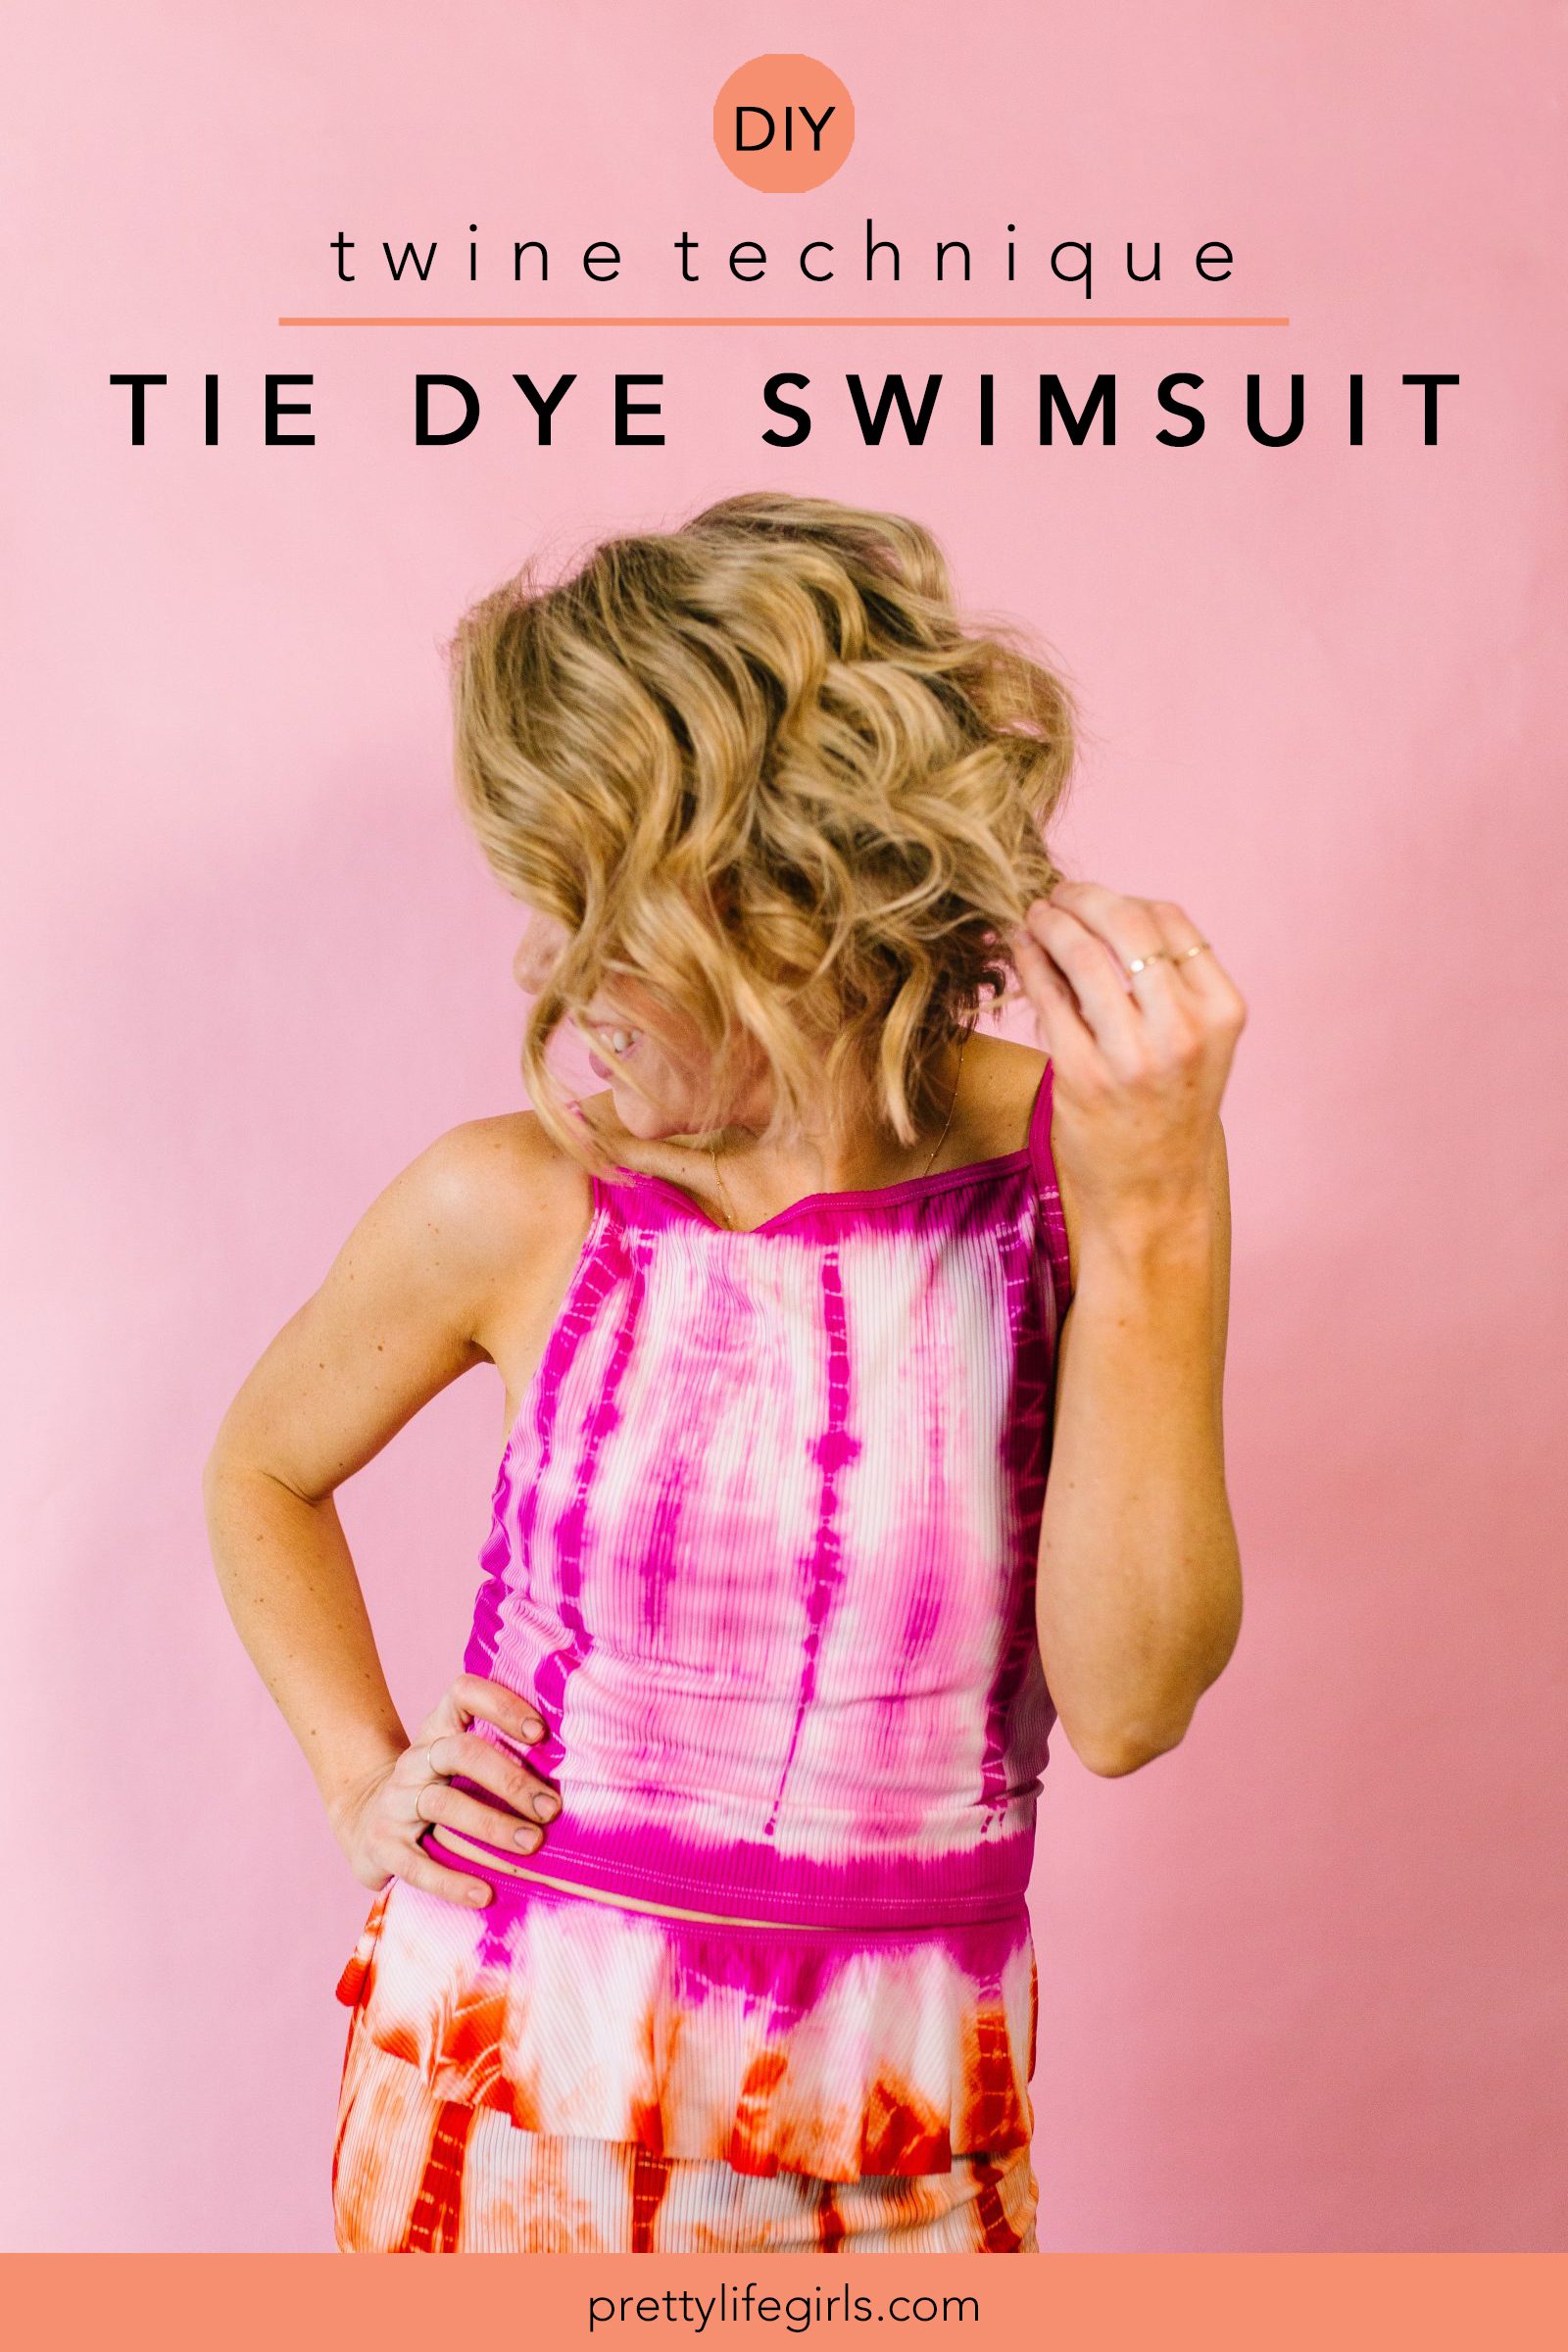
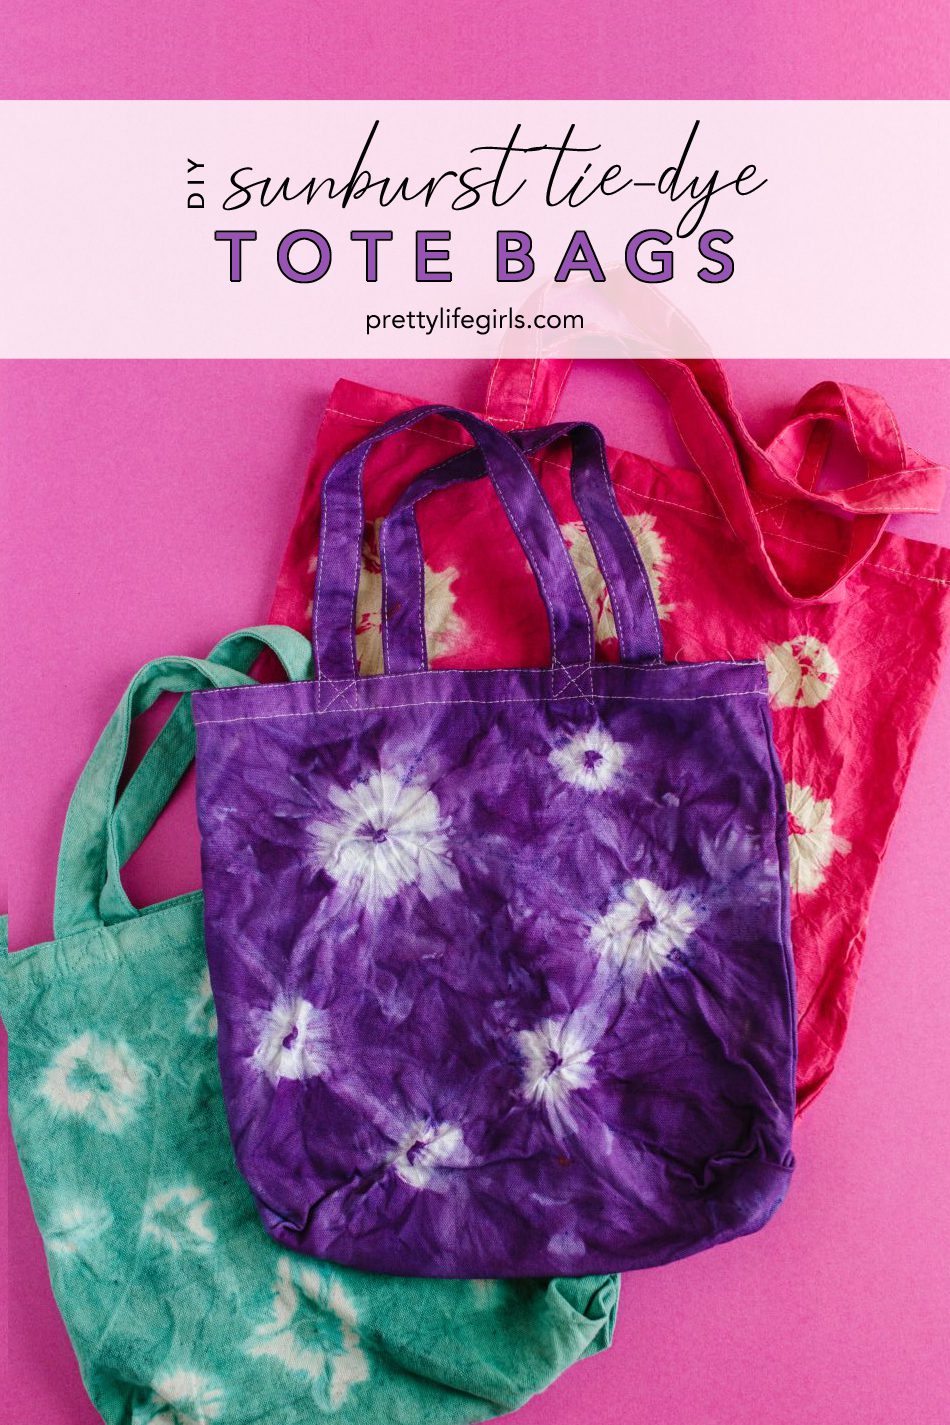
Be sure to try out these other unique tie dye techniques!
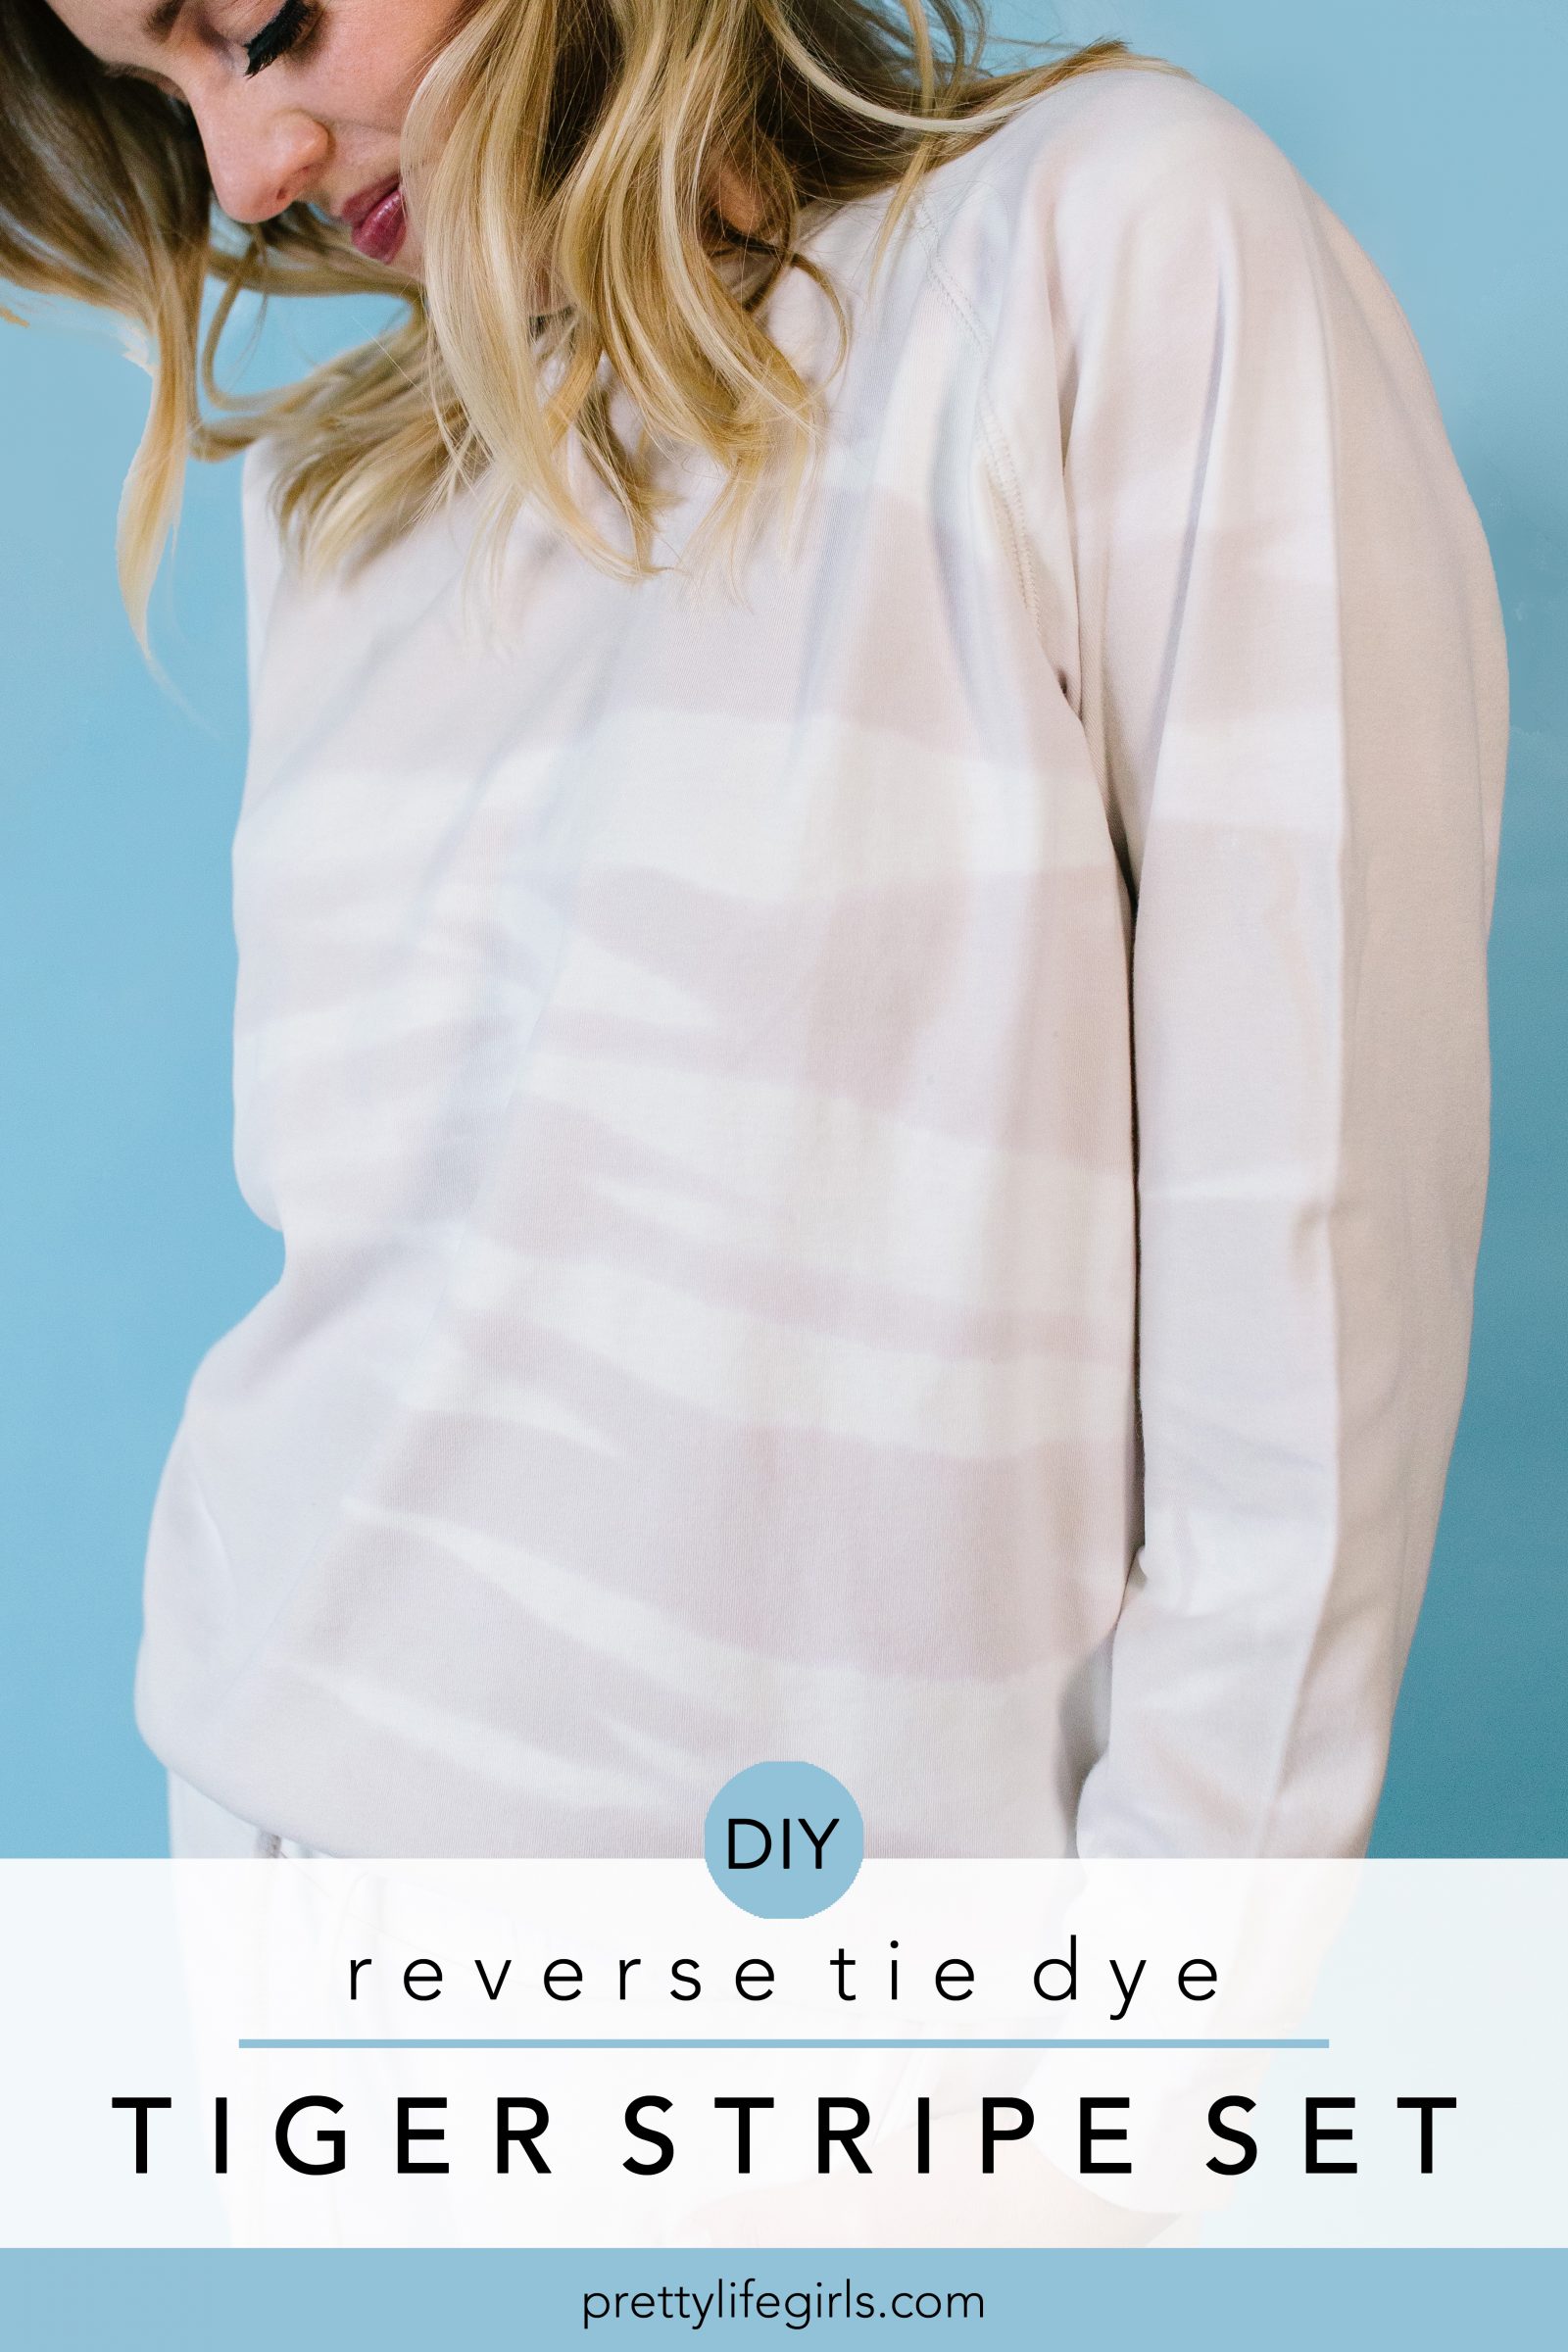 DIY Reverse Tie Dye Tiger Stripe Set
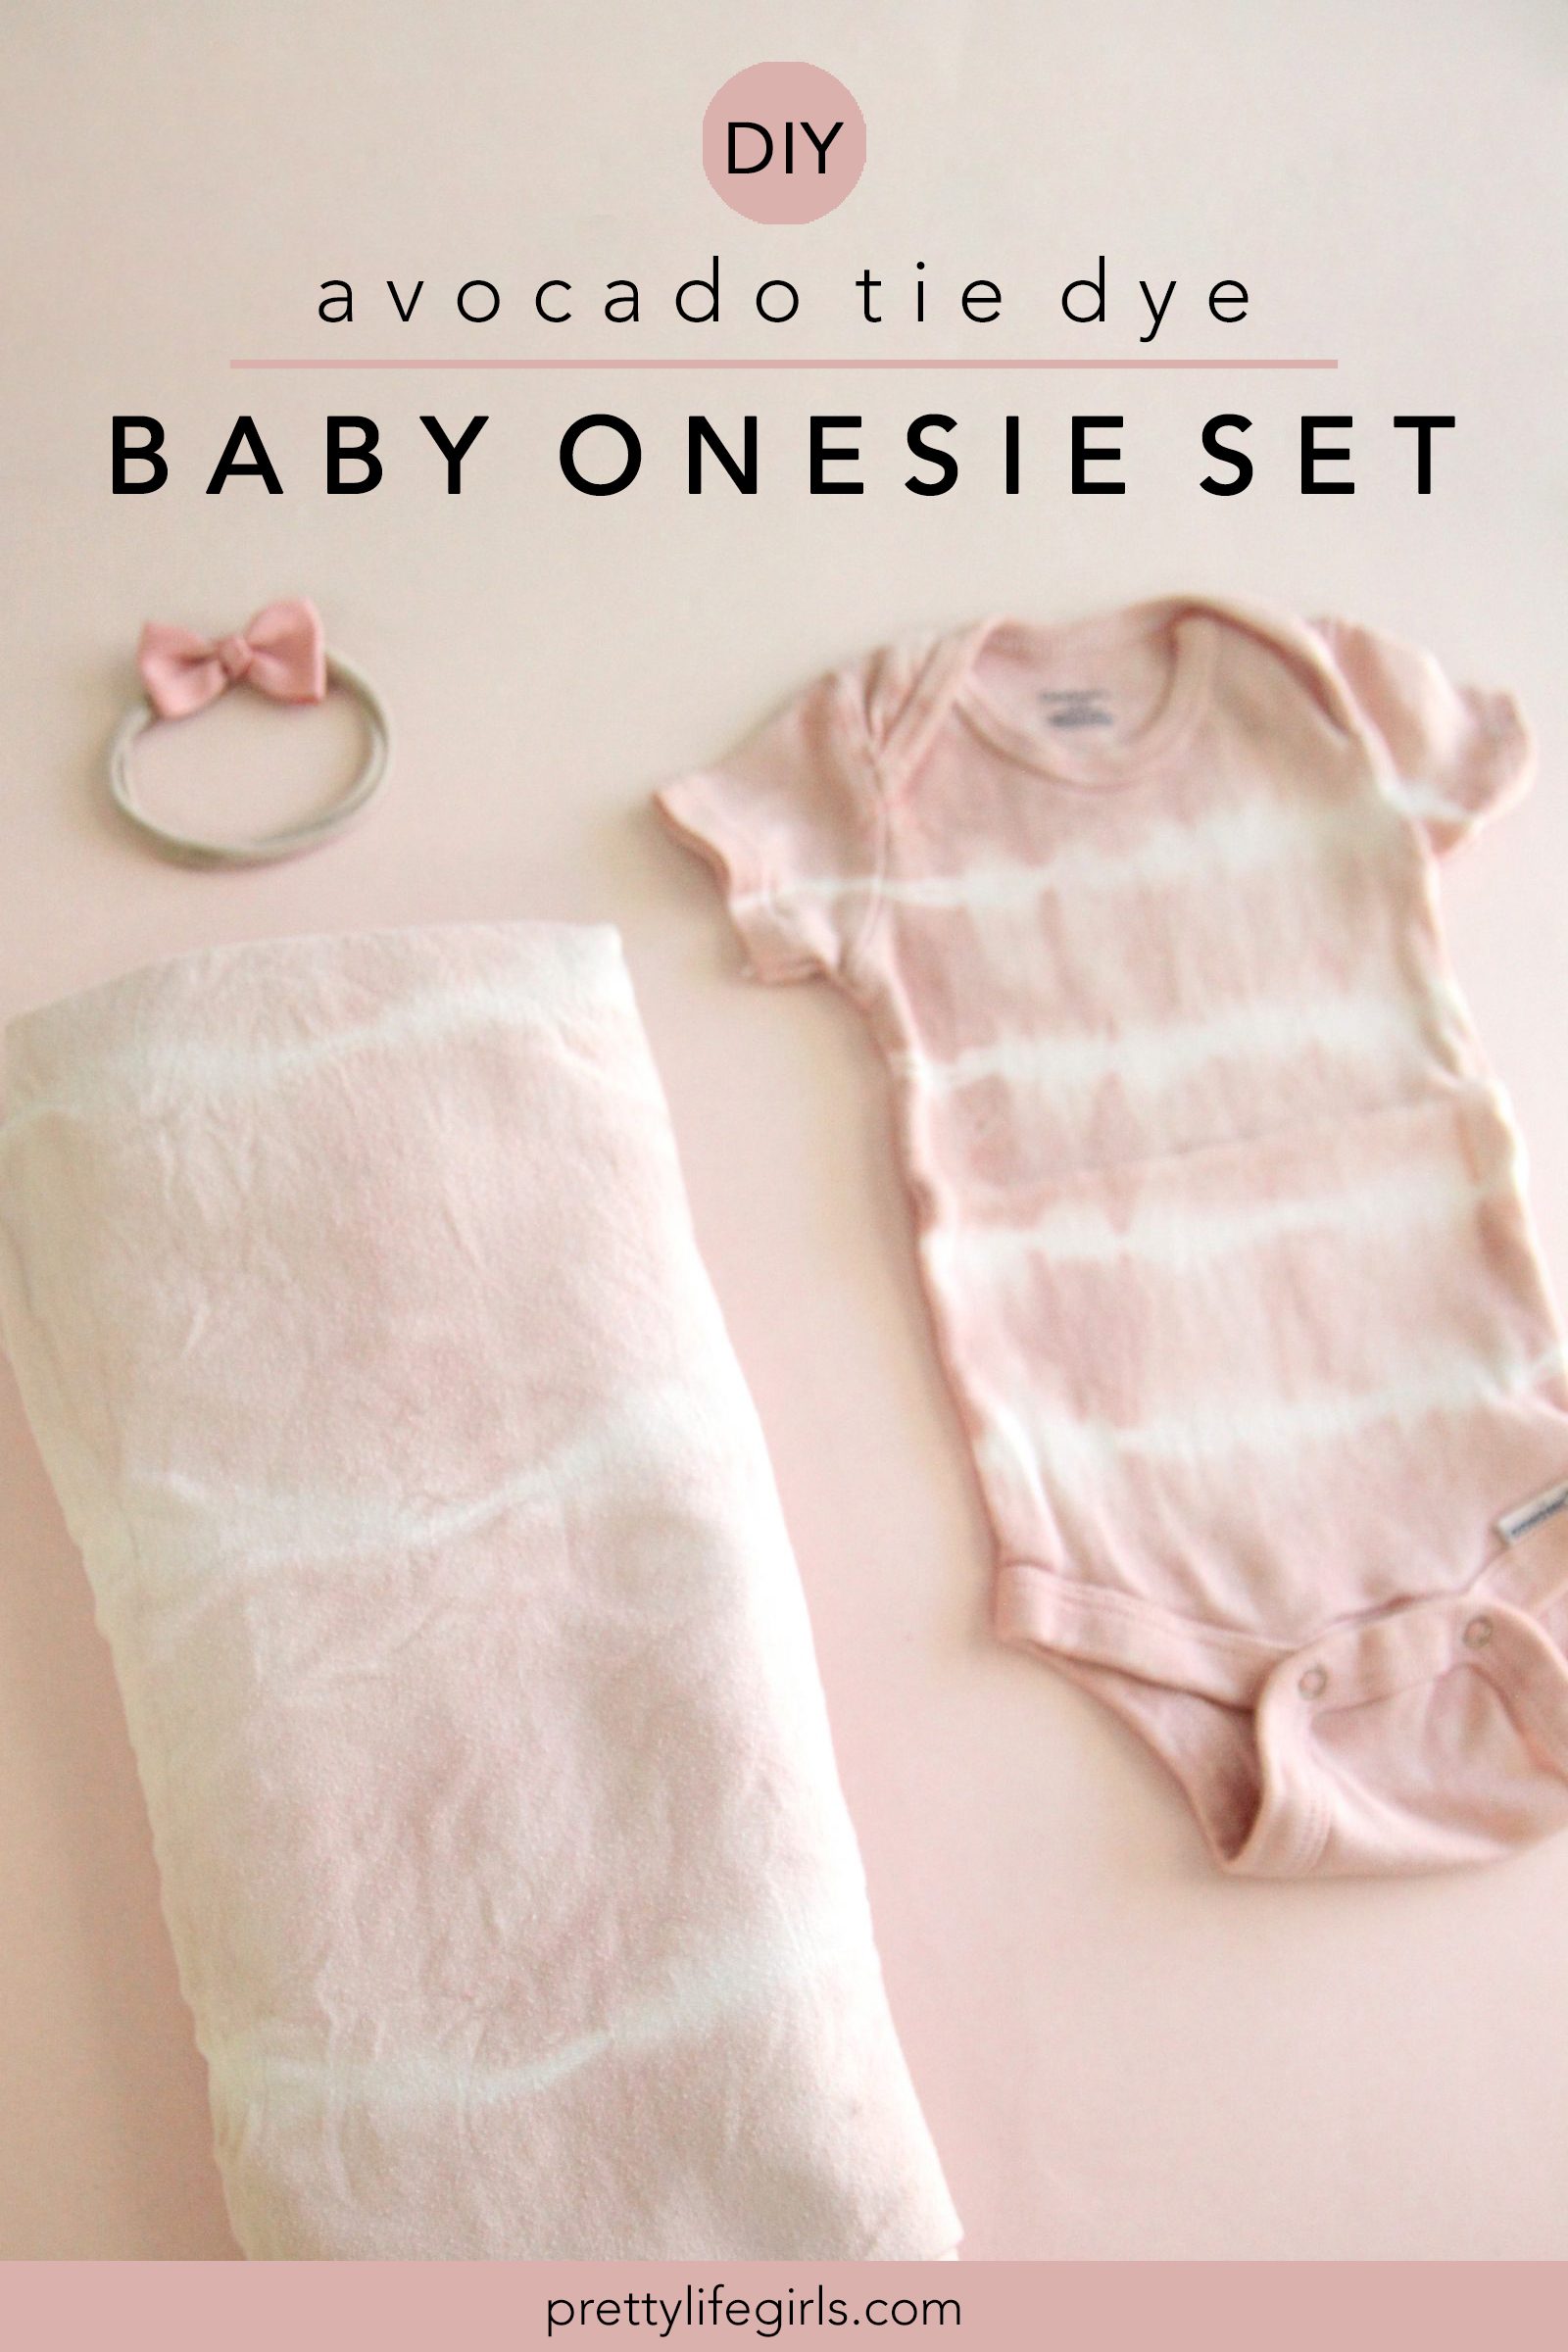 DIY Avocado Dyed Tie Dye Onesie Set