This post was originally published June 2021 and updated as of April 2023.
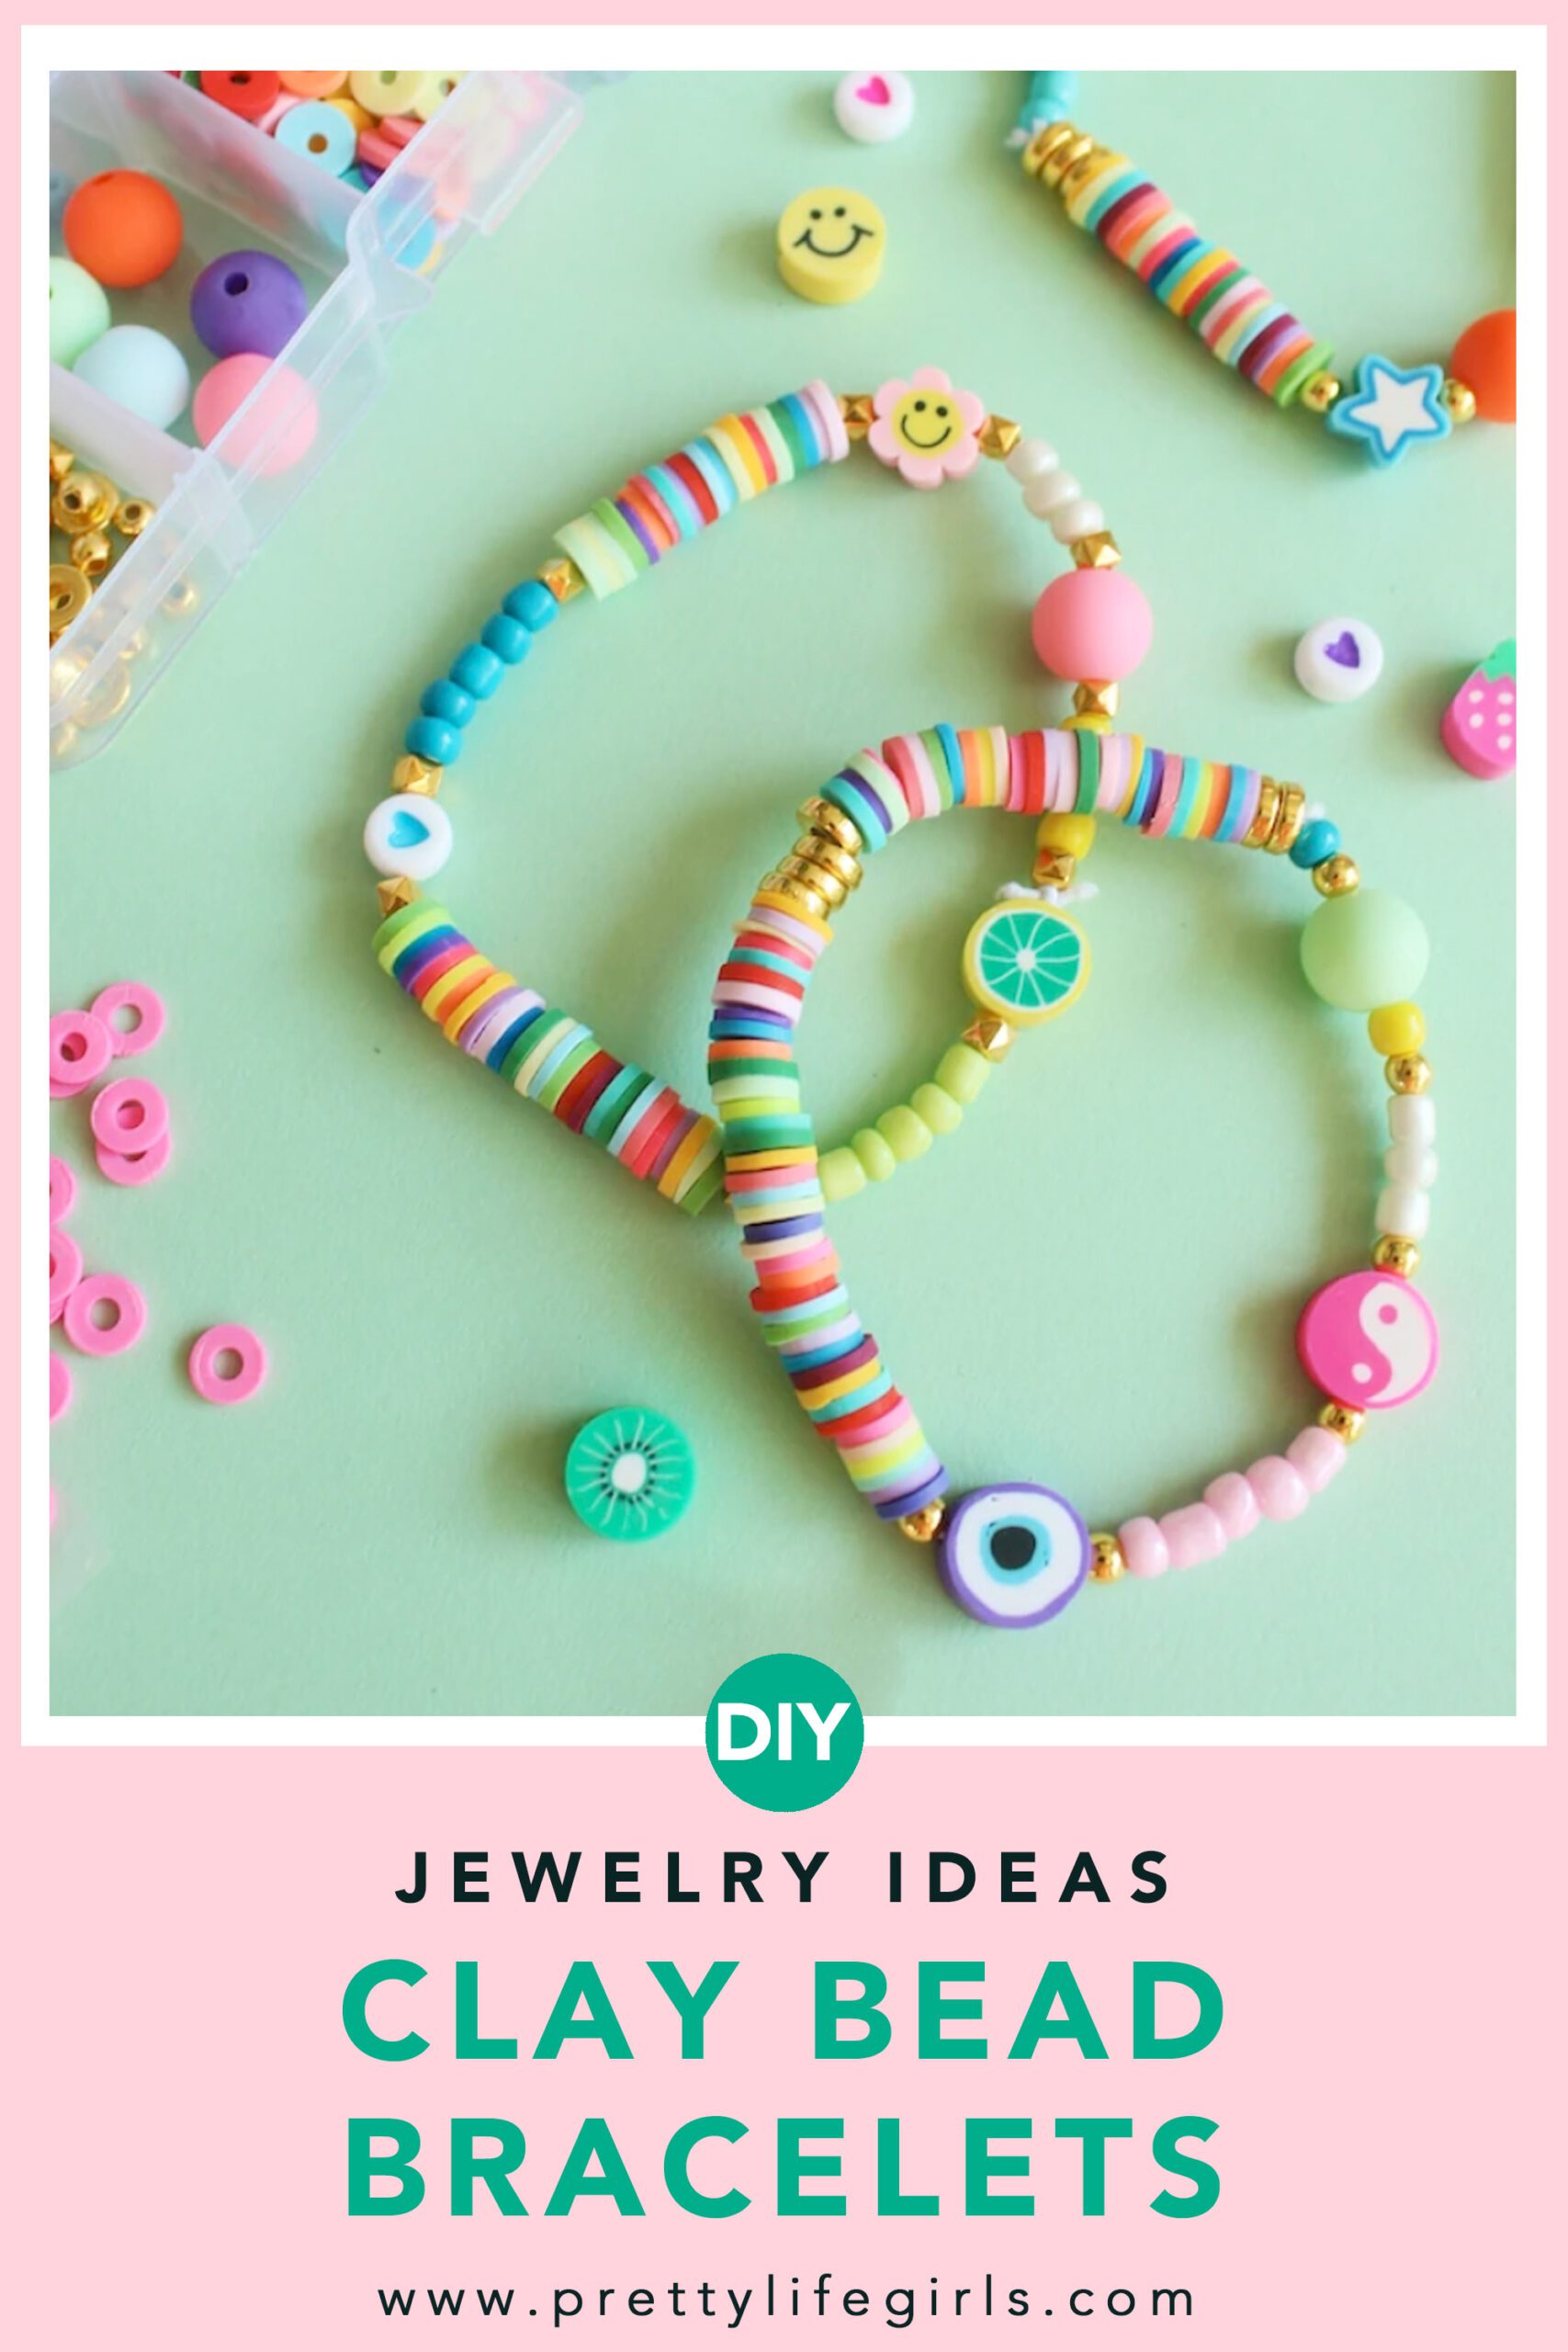
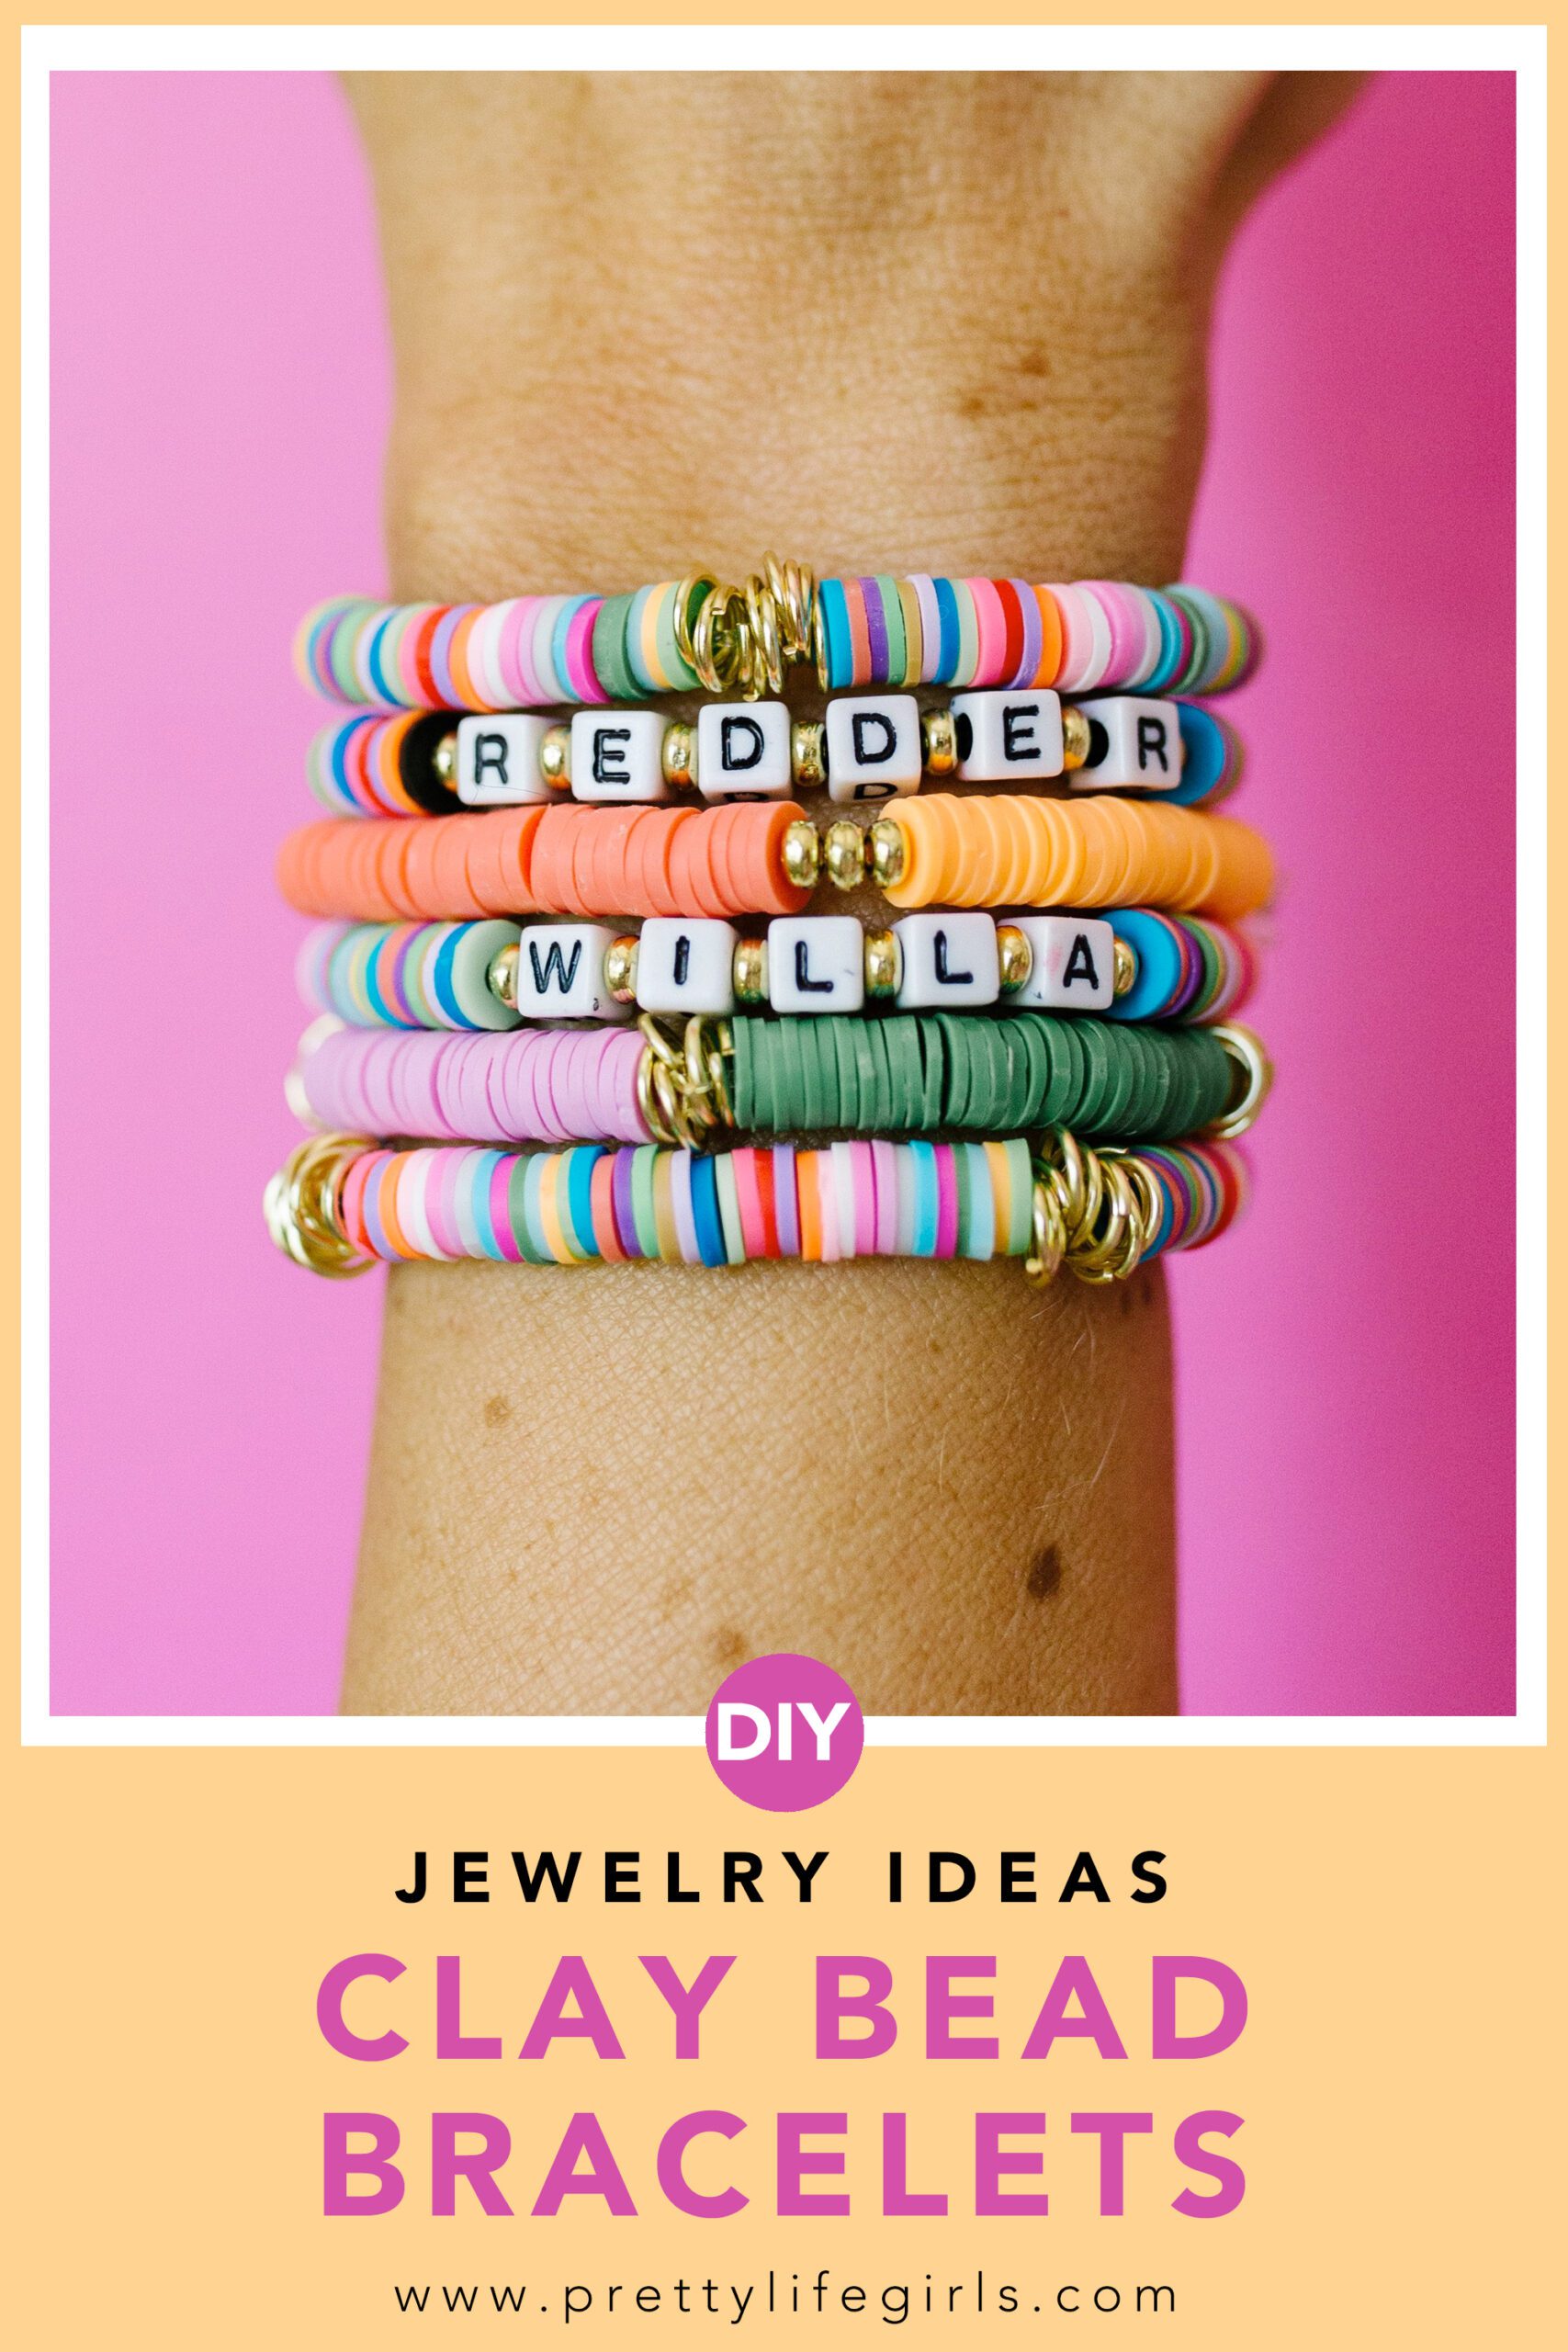
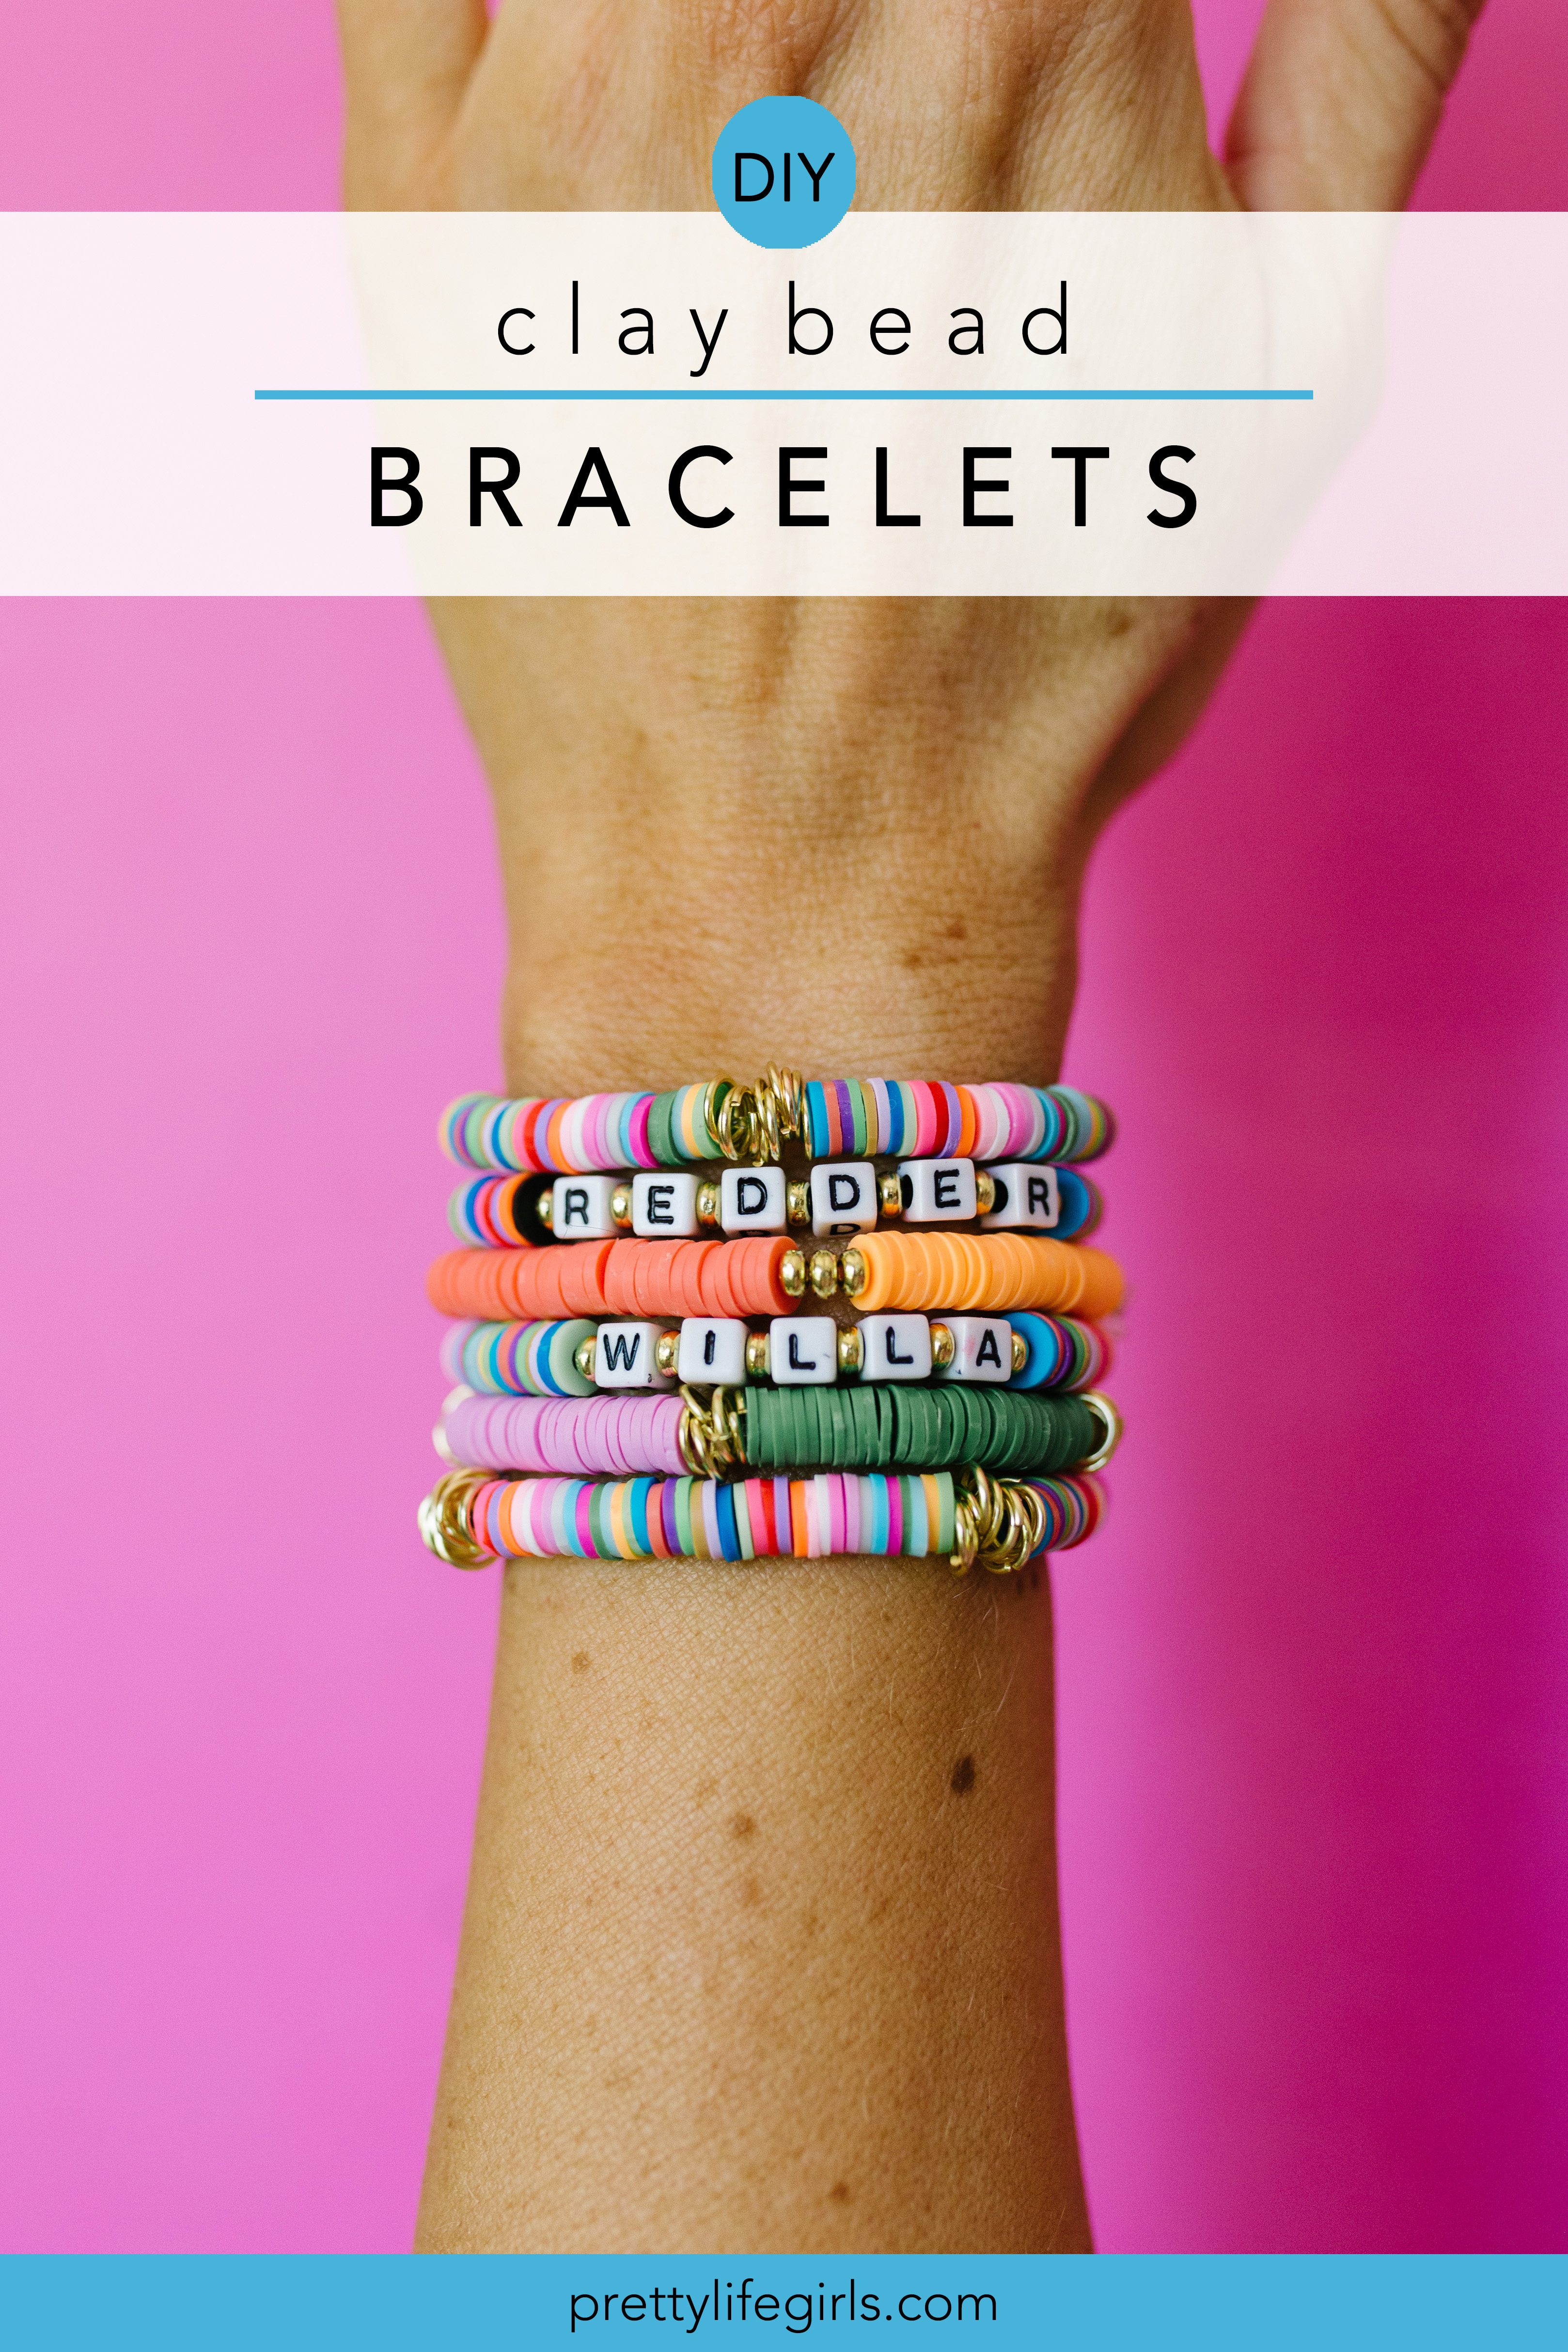
These DIY clay bead bracelets are so fun for grown ups and kids alike and they are perfect for stringing alone or paired with letter beads, gold accents and more!
How do you make a clay bead bracelet?
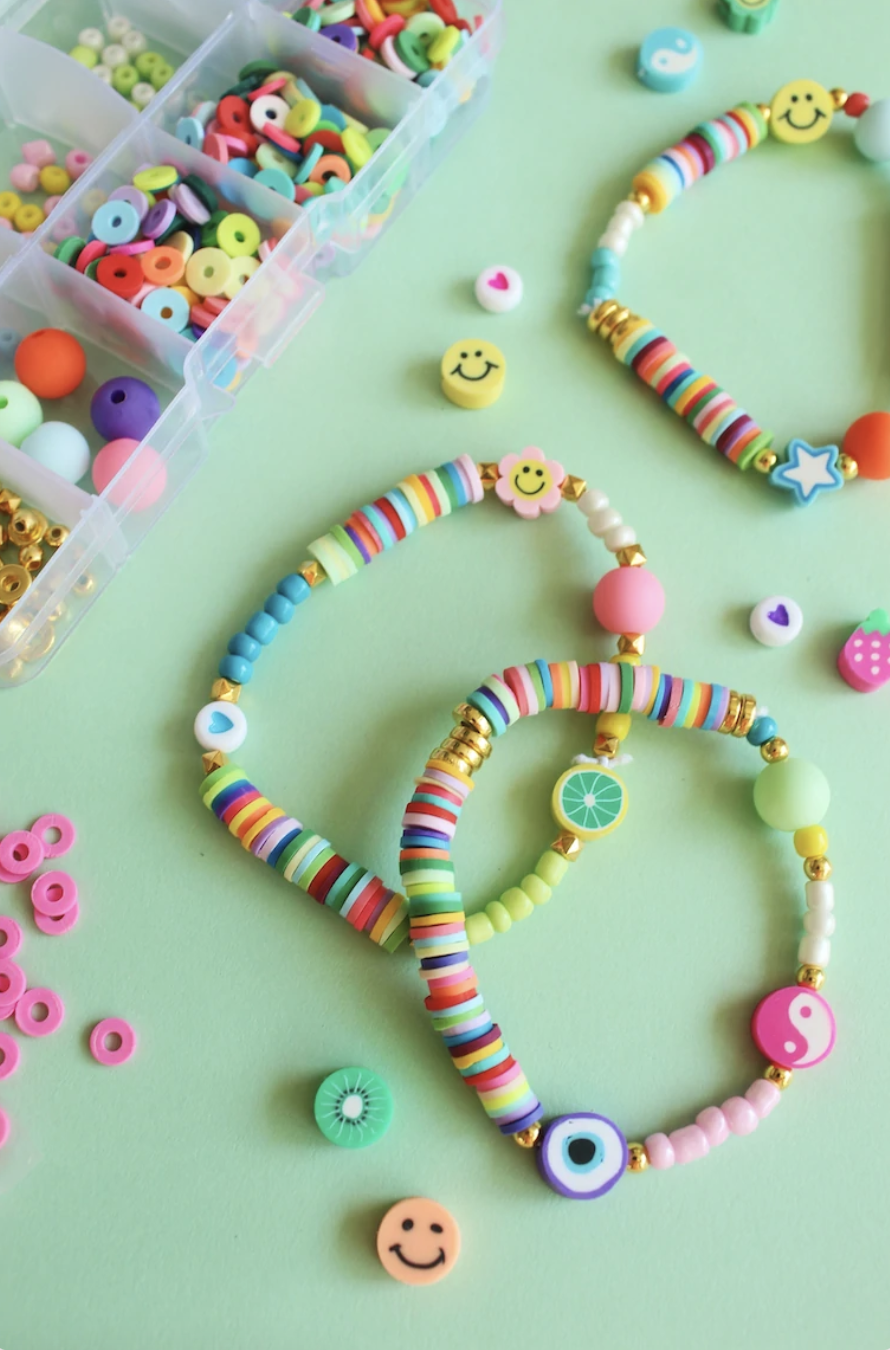
Bracelet-making has always been a favorite craft of ours. Whether it’s a woven friendship bracelet or a beaded stack, we love making arm candy that is personal and meaningful. So, you can imagine our excitement about clay disc beads, which are the perfect combo of chic and fun!
Clay Bead Bracelet Kit
Our favorite bracelets we’ve made have a mix of other beads (wood, glass, seed, gold, letter, etc) with clay beads, so we started to sell our own kits that include everything you need—and a variety of beads—to make a beautiful set of bracelets.
You can also find clay beads kits on Amazon (affiliate link).
What you will need to make Clay Bead Bracelets
Other beads (gold beads, letter beads, etc)
Bead stopper (optional)
Bead tray (optional)
Crimp bead covers (optional)
How to make DIY Clay Bead Bracelets
Watch the video (and be sure you subscribe to our YouTube channel), or read the steps and tips below!
Steps for Clay Bead Bracelets
Step 1: Cut a piece of string to fit around your wrist, plus several extra inches for tying.*
Step 2: Carefully stretch the length of your cord. This prevents it from stretching out over time.
Step 3: Put a bead stopper on one end of the cord** to keep beads from falling off.
Step 4: Thread your selection of beads on the elastic, checking the fit by wrapping the bracelet around your wrist periodically.
Step 5: Once you are done threading, remove the bead stopper and tie a square knot. Secure the knot with a small dot of jewelry glue.***
Step 6: Trim the excess elastic.
Tips for making beaded bracelets
*To make your bracelet extra strong, use double the length of cord needed, and fold it in half.
**A clamp or piece of tape work great for securing the end of your cord for beading.
***Learn other ways to finish a bracelet here.
How many clay beads make a bracelet?
For one adult bracelet, you will need 100-140 clay beads. Since we like to mix clay beads with other beads, we don’t usually use that many.
What string do you use for clay bead bracelets?
We recommend using clear elastic cord like Stretch Magic. It’s the easiest to thread through the small holes and it stretches nicely so you don’t have to add any clasps or closure pieces. Be sure to look for a thread that will fit through the holes in your beads.
How do you tie a clay bead bracelet?
Once you have applied all your beads and knotted the elastic cord, place a dot of glue on the knot. This will prevent the thread from slipping which can be so frustrating! You can learn 6 ways to finish a bracelet in this post!
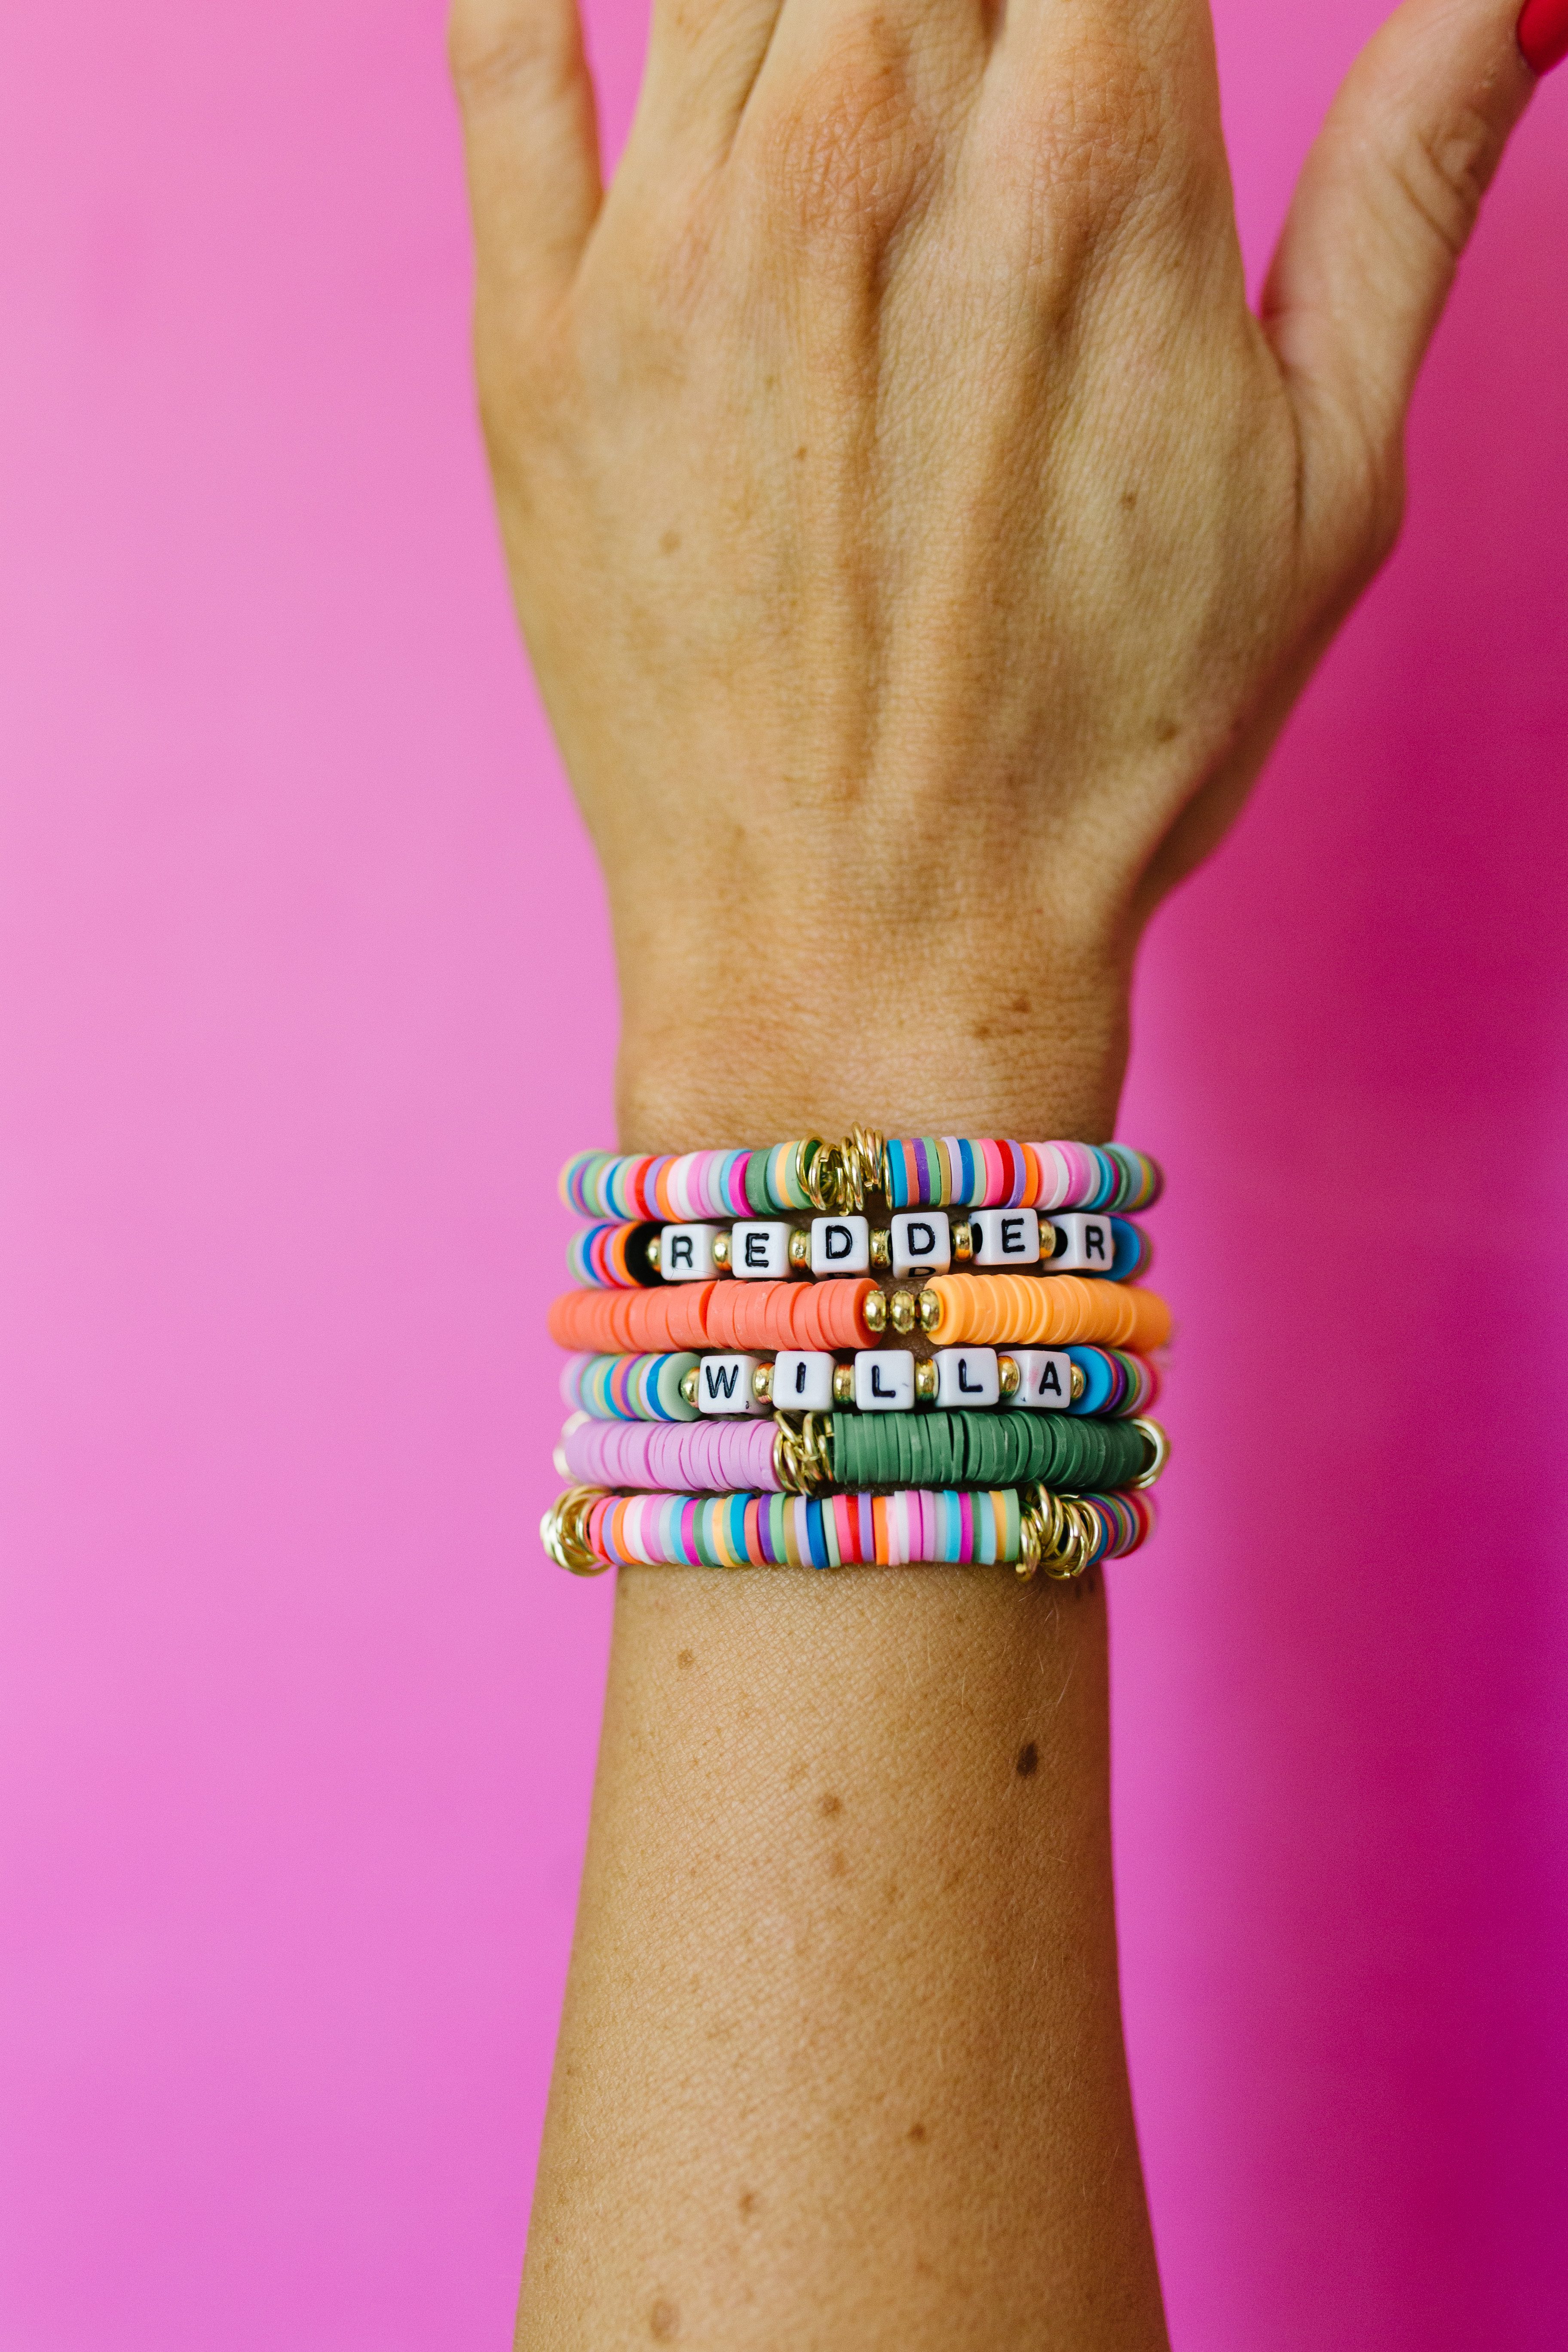
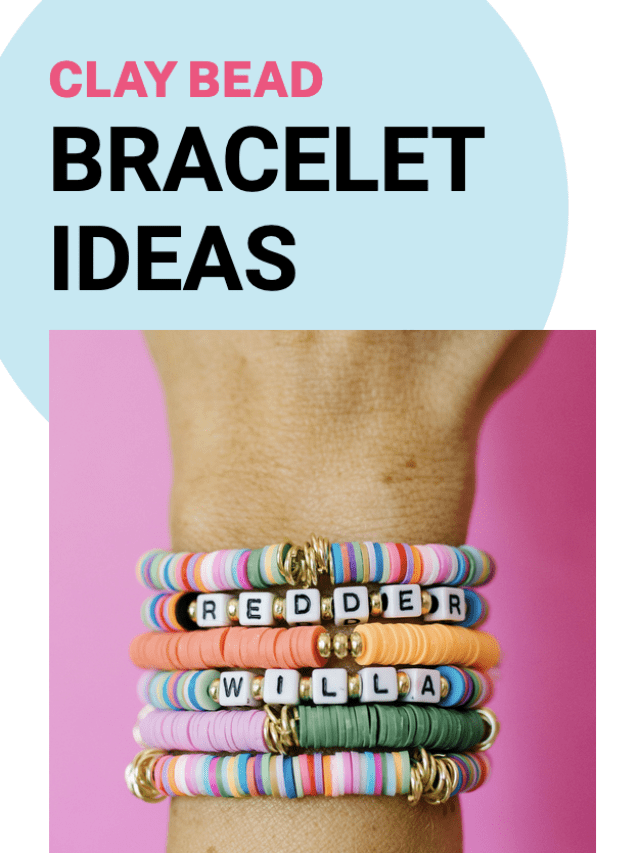
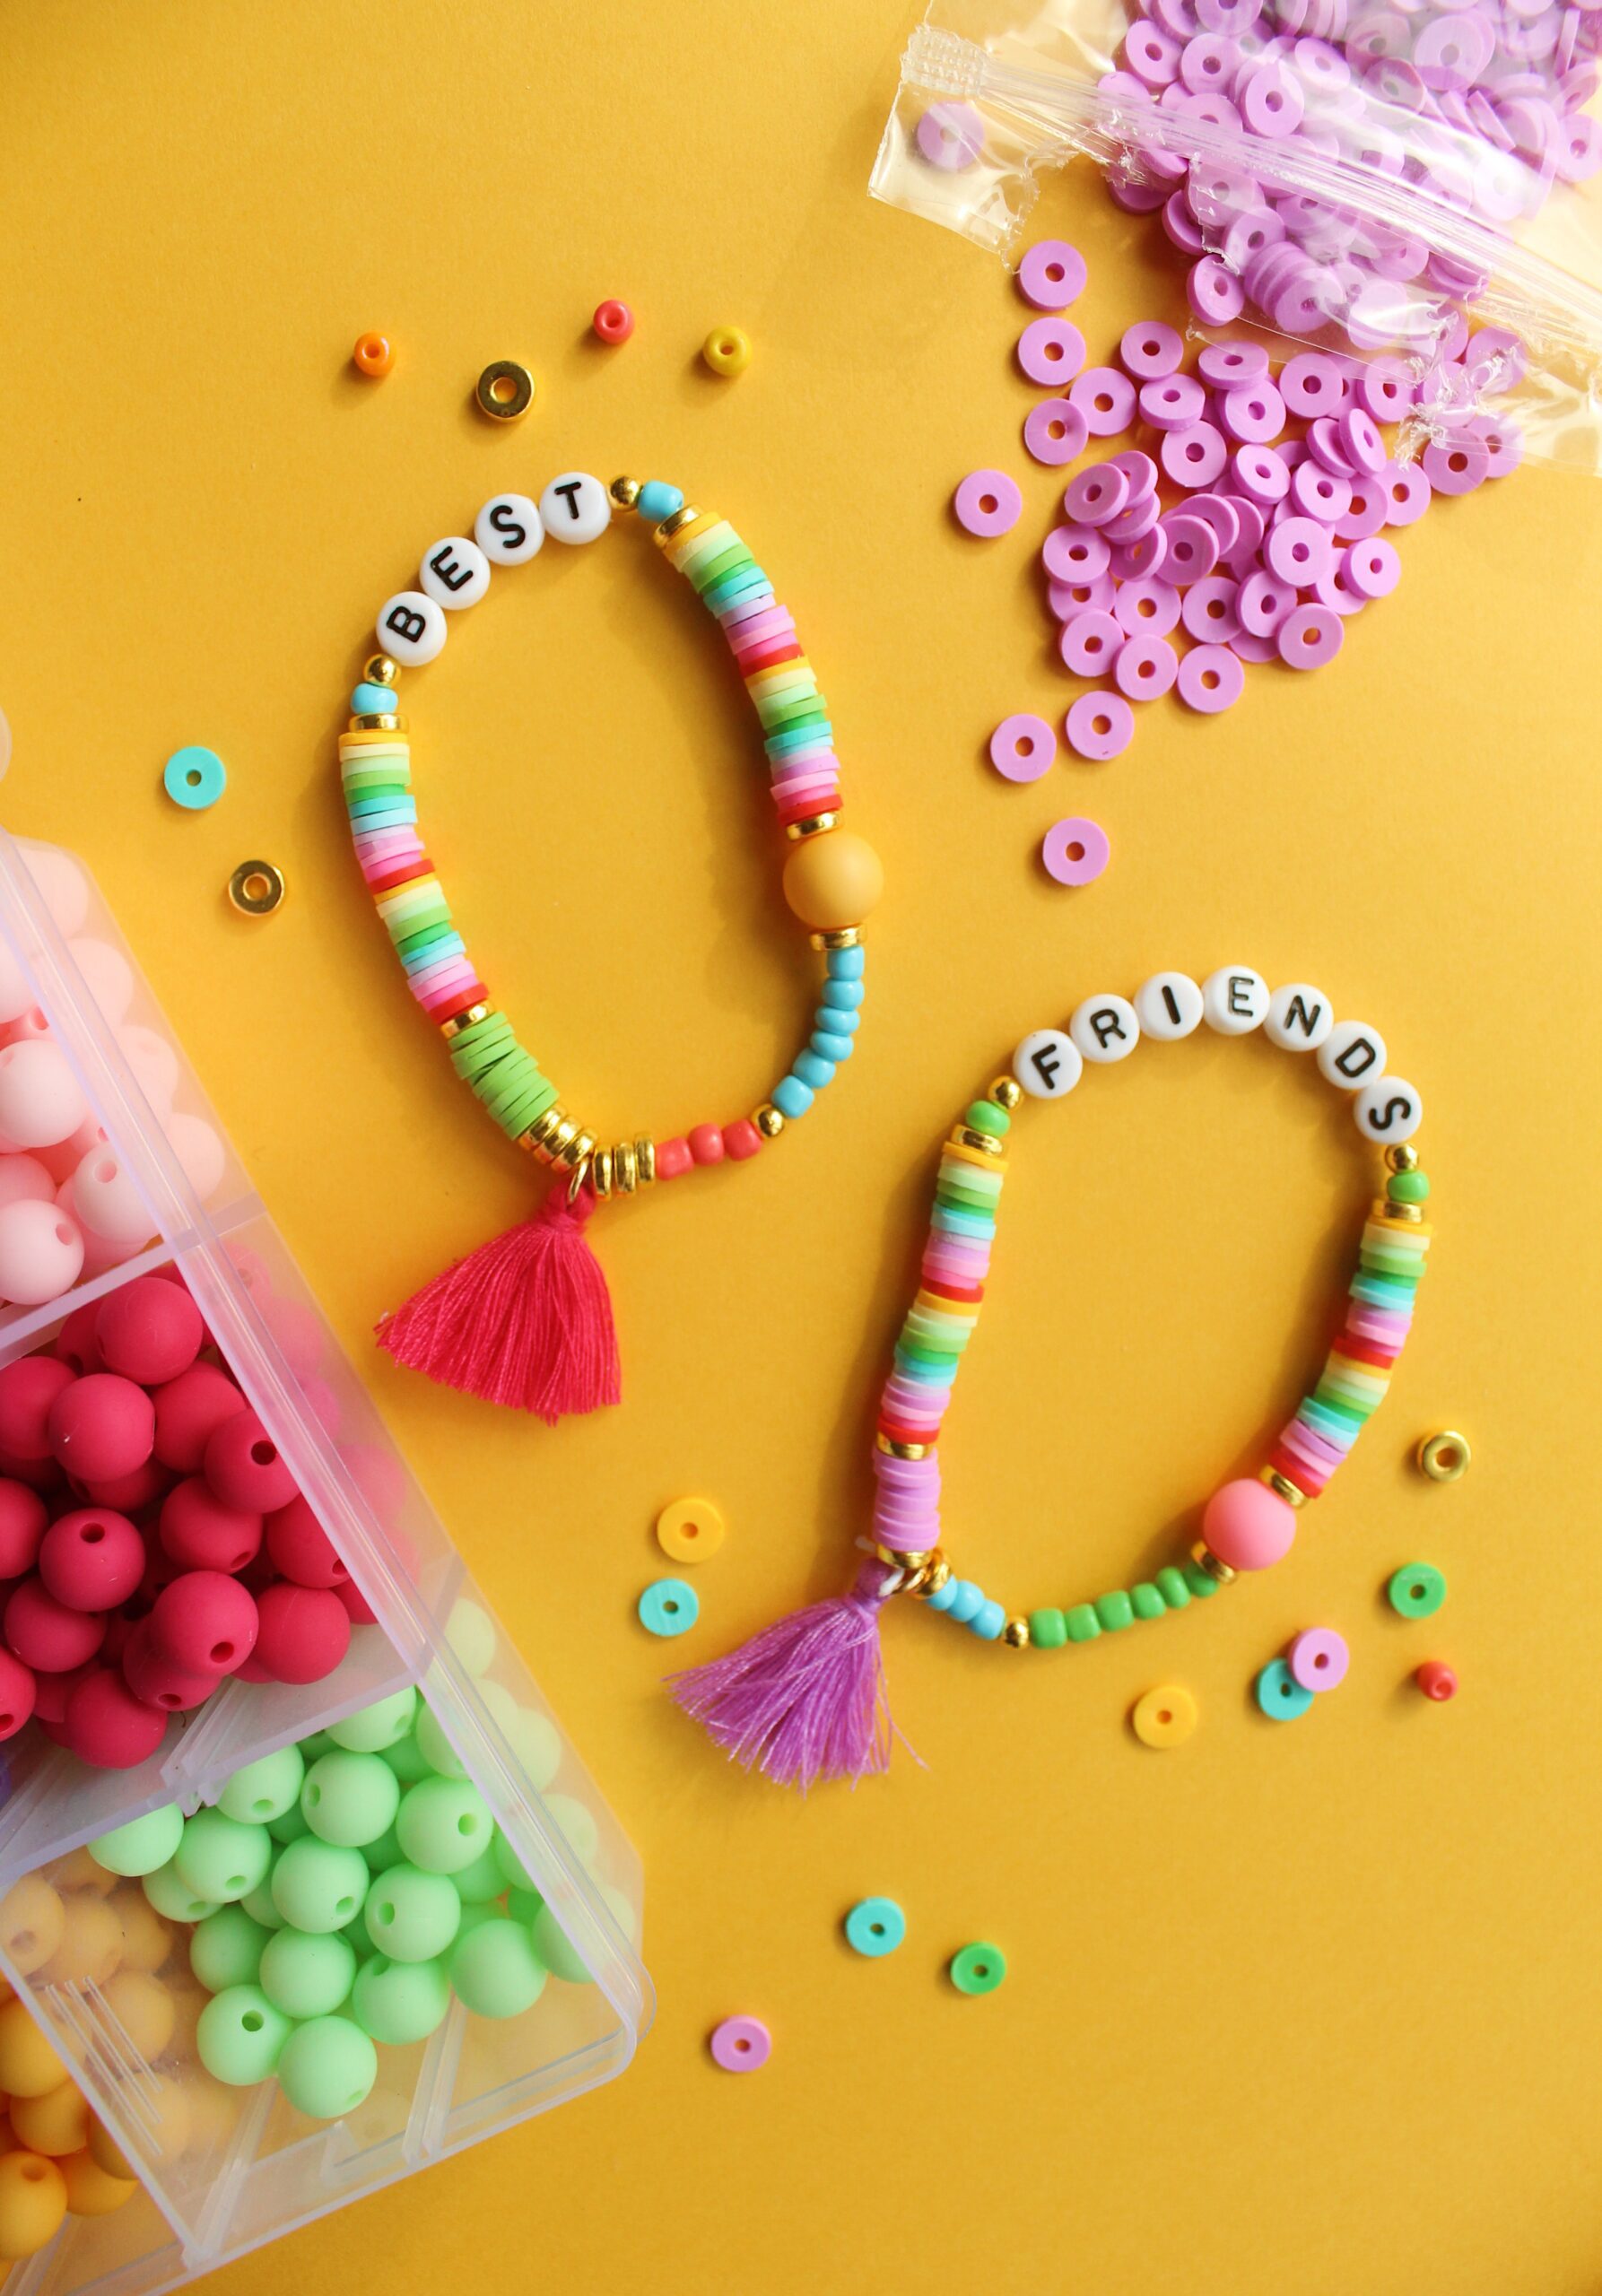
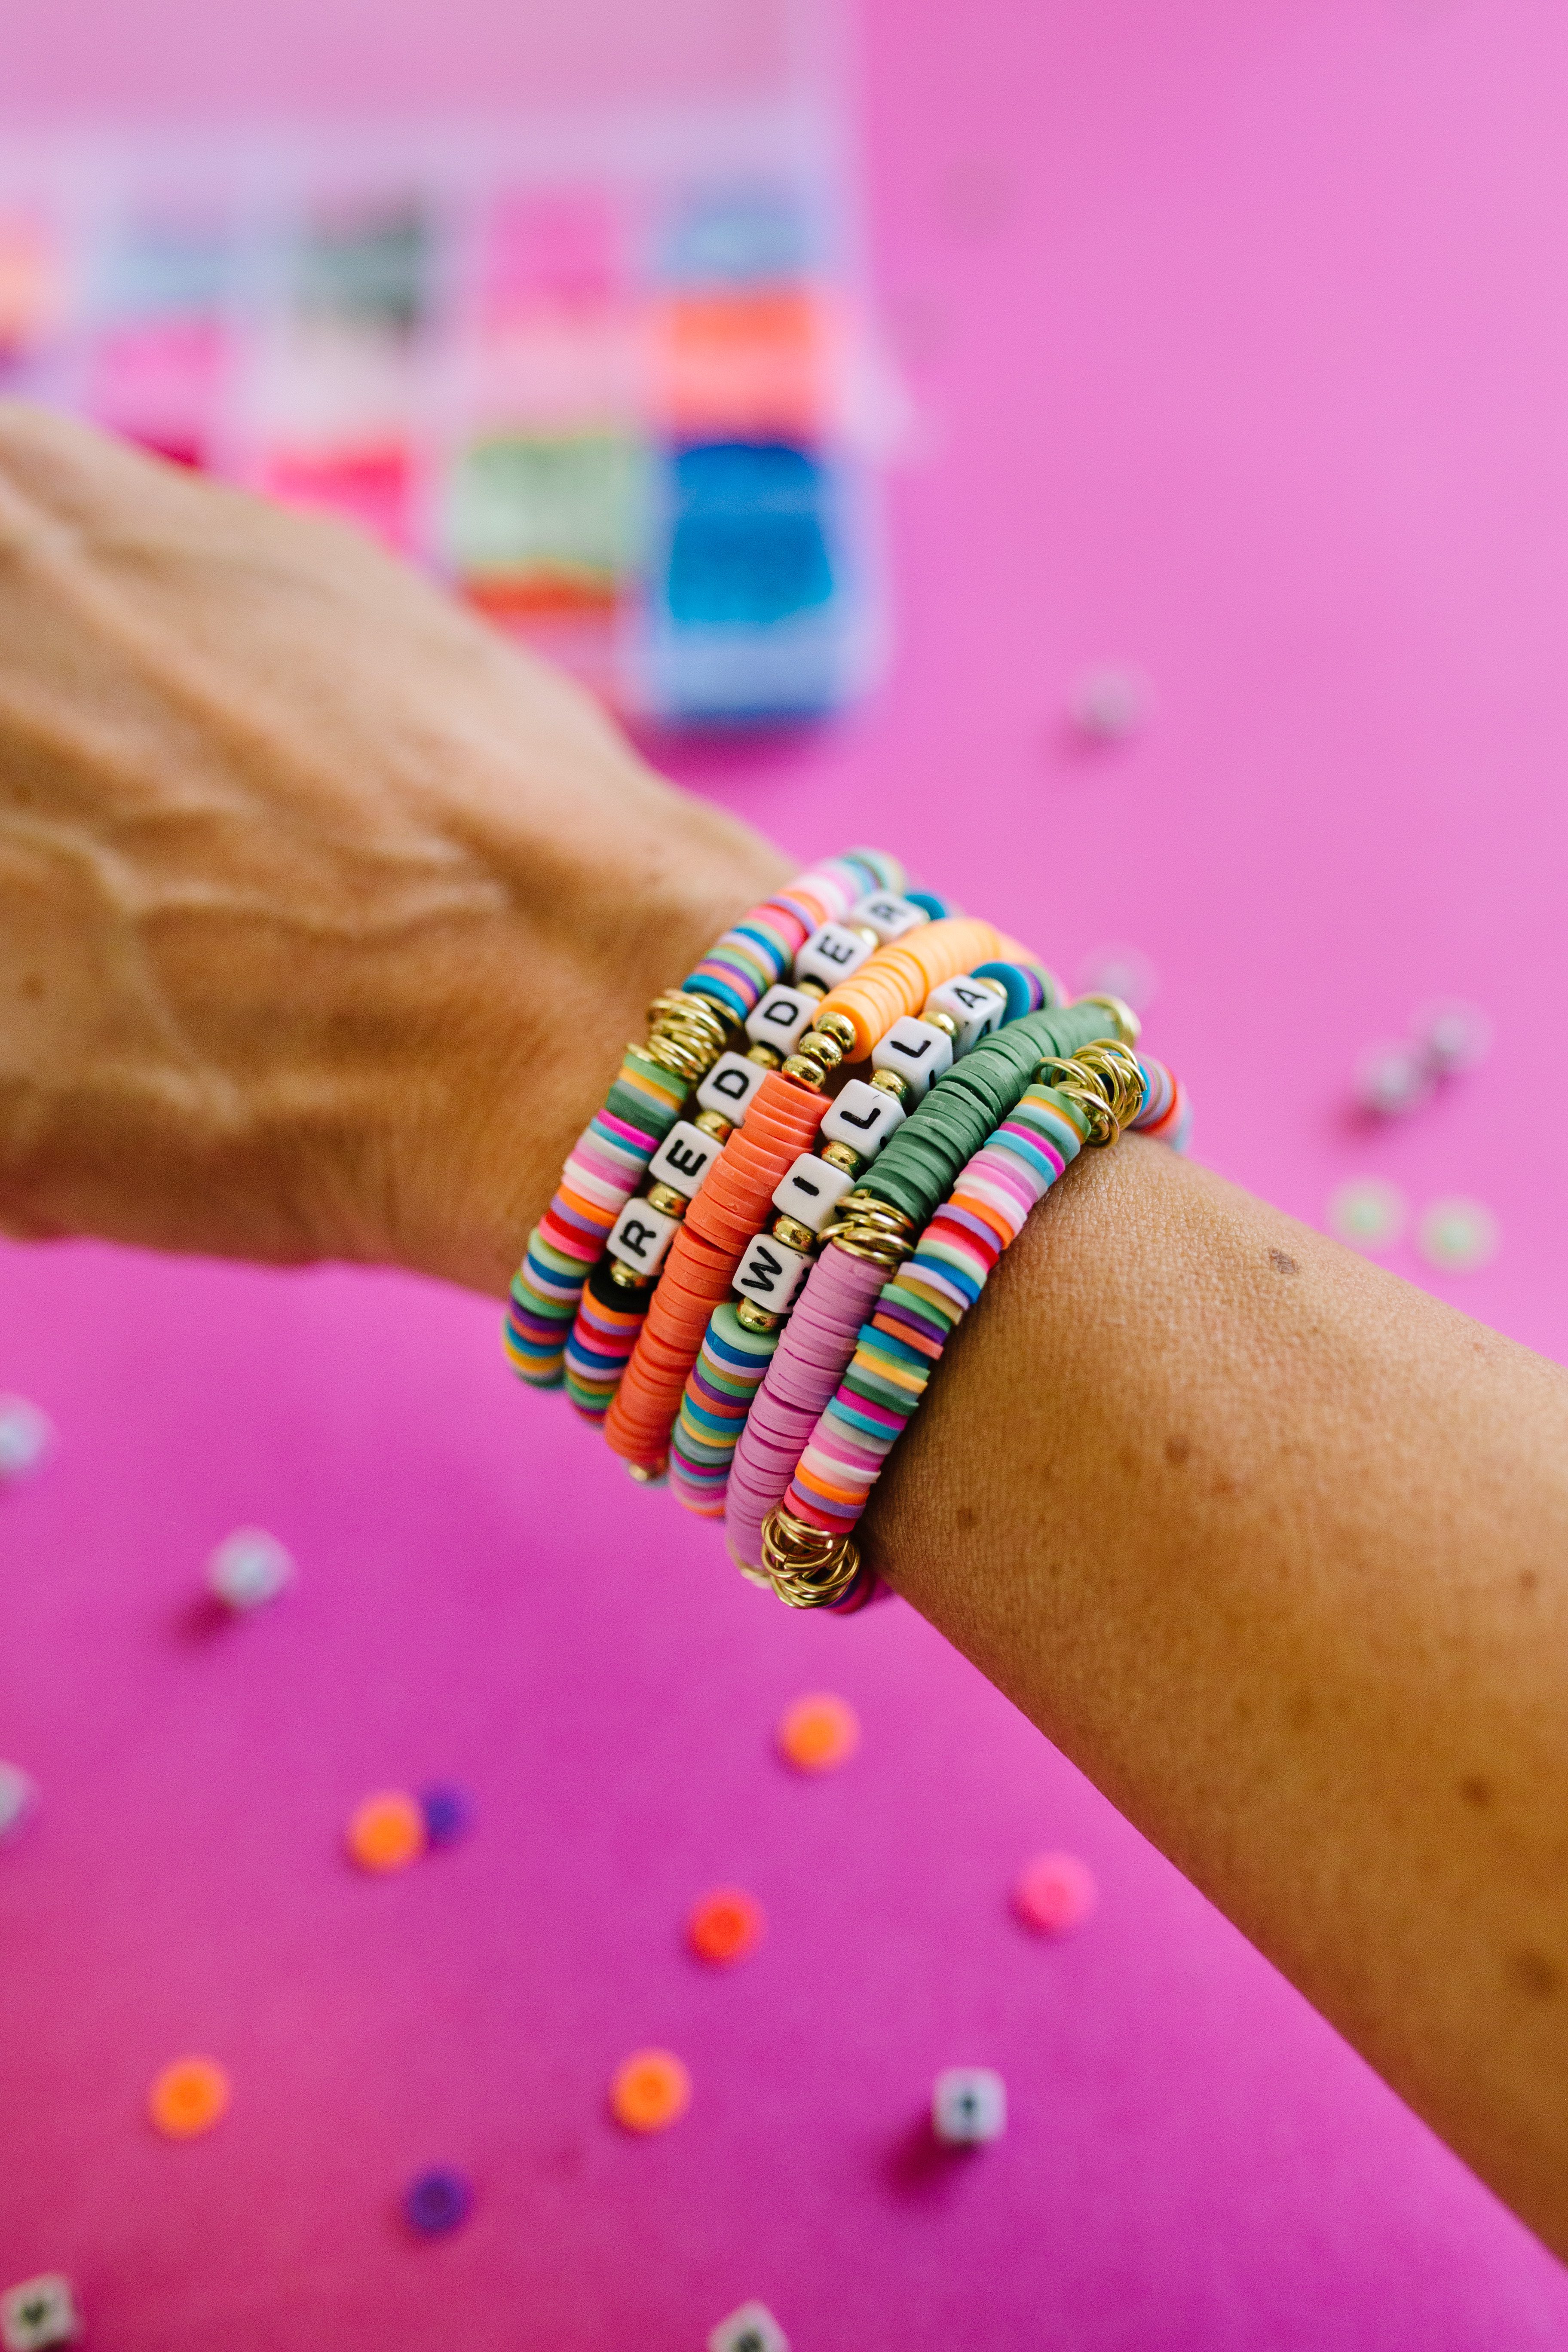
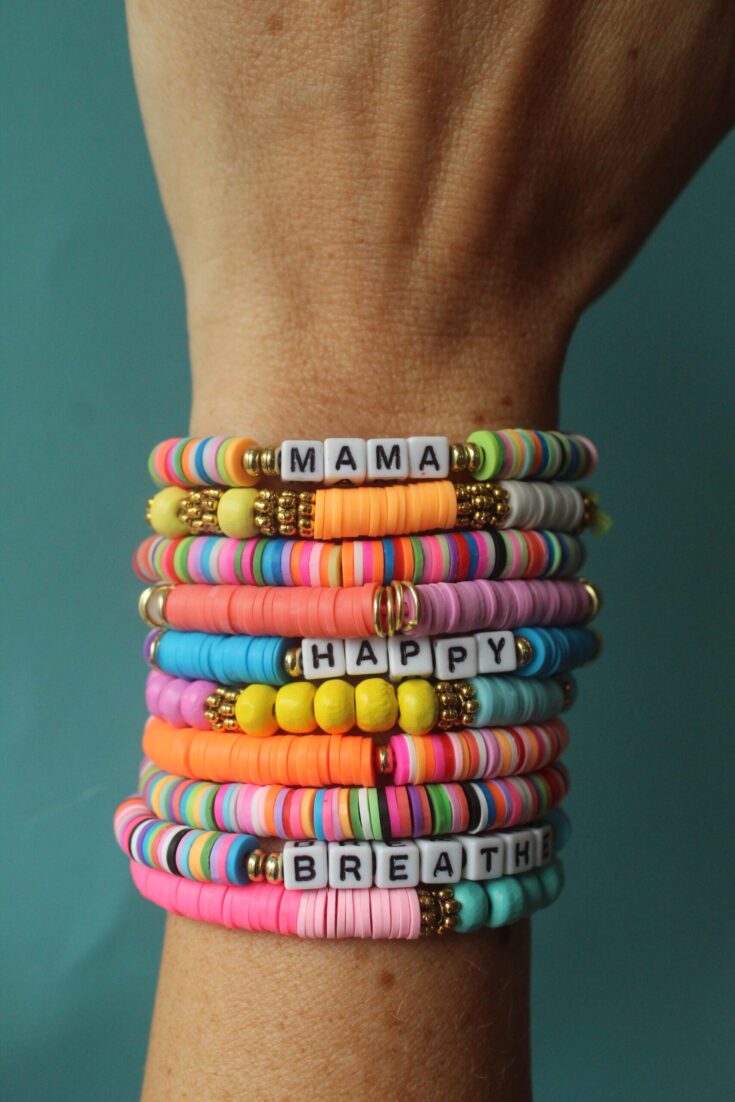
Have fun making a variety of patterns with your beads. You can do this by doing some larger sections of colors, change colors with each bead, add gold beads in certain places and personalize them with lettered beads! We liked thinking about what color combinations would look best worn in a stack and went from there!

DIY Clay Bead Bracelets
These DIY clay bead bracelets are so fun for grown ups and kids alike and they are perfect for stringing alone or paired with letter beads, gold accents and more!
Materials
- Elastic cord
- Clay beads
- Jewelry glue
- Other beads (gold beads, letter beads, etc)
- Bead stopper (optional)
- Bead tray (optional)
- Crimp bead covers (optional)
Instructions
- Cut a piece of string to fit around your wrist, plus several extra inches for tying.*
- Carefully stretch the length of your cord. This prevents it from stretching out over time.
- Put a bead stopper on one end of the cord** to keep beads from falling off.
- Thread your selection of beads on the elastic, checking the fit by wrapping the bracelet around your wrist periodically.
- Once you are done threading, remove the bead stopper and tie a square knot. Secure the knot with a small dot of jewelry glue.***
- Trim the excess elastic.
Notes
*To make your bracelet extra strong, use double the length of cord needed, and fold it in half.
**A clamp or piece of tape work great for securing the end of your cord for beading.
***Learn other ways to finish a bracelet here.
Recommended Products
As an Amazon Associate and member of other affiliate programs, I earn from qualifying purchases.
-
 QUEFE 14420pcs Clay Beads for Bracelet Making Kit, 56 Colors Spacer Heishi Beads Flat Round Polymer Clay Beads with Pendant Charms Kits and Elastic Strings
 -
800 Pieces Crimp Bead Covers Half Round Open Crimp Beads Covers for DIY Jewelry Makings(Multicolor,3.0mm)
-
GS Supplies G-S Hypo Cement, Transparent
-
Stretch Magic Bead & Jewelry Cord - Strong & Stretchy, Easy to Knot - Clear Color - 1mm diameter - 25-meter (82 ft) spool - Elastic String for making beaded jewelry


That’s it! You’re all set to give your wrists the accessory update they deserve. And be sure to visit the PLG shop to find your perfect bracelet kit!
Happy making!
ox. Liz and Sam
Save this Clay Bead Bracelet post for later!