This post was originally published in June 2021 and updated as of May 2023.
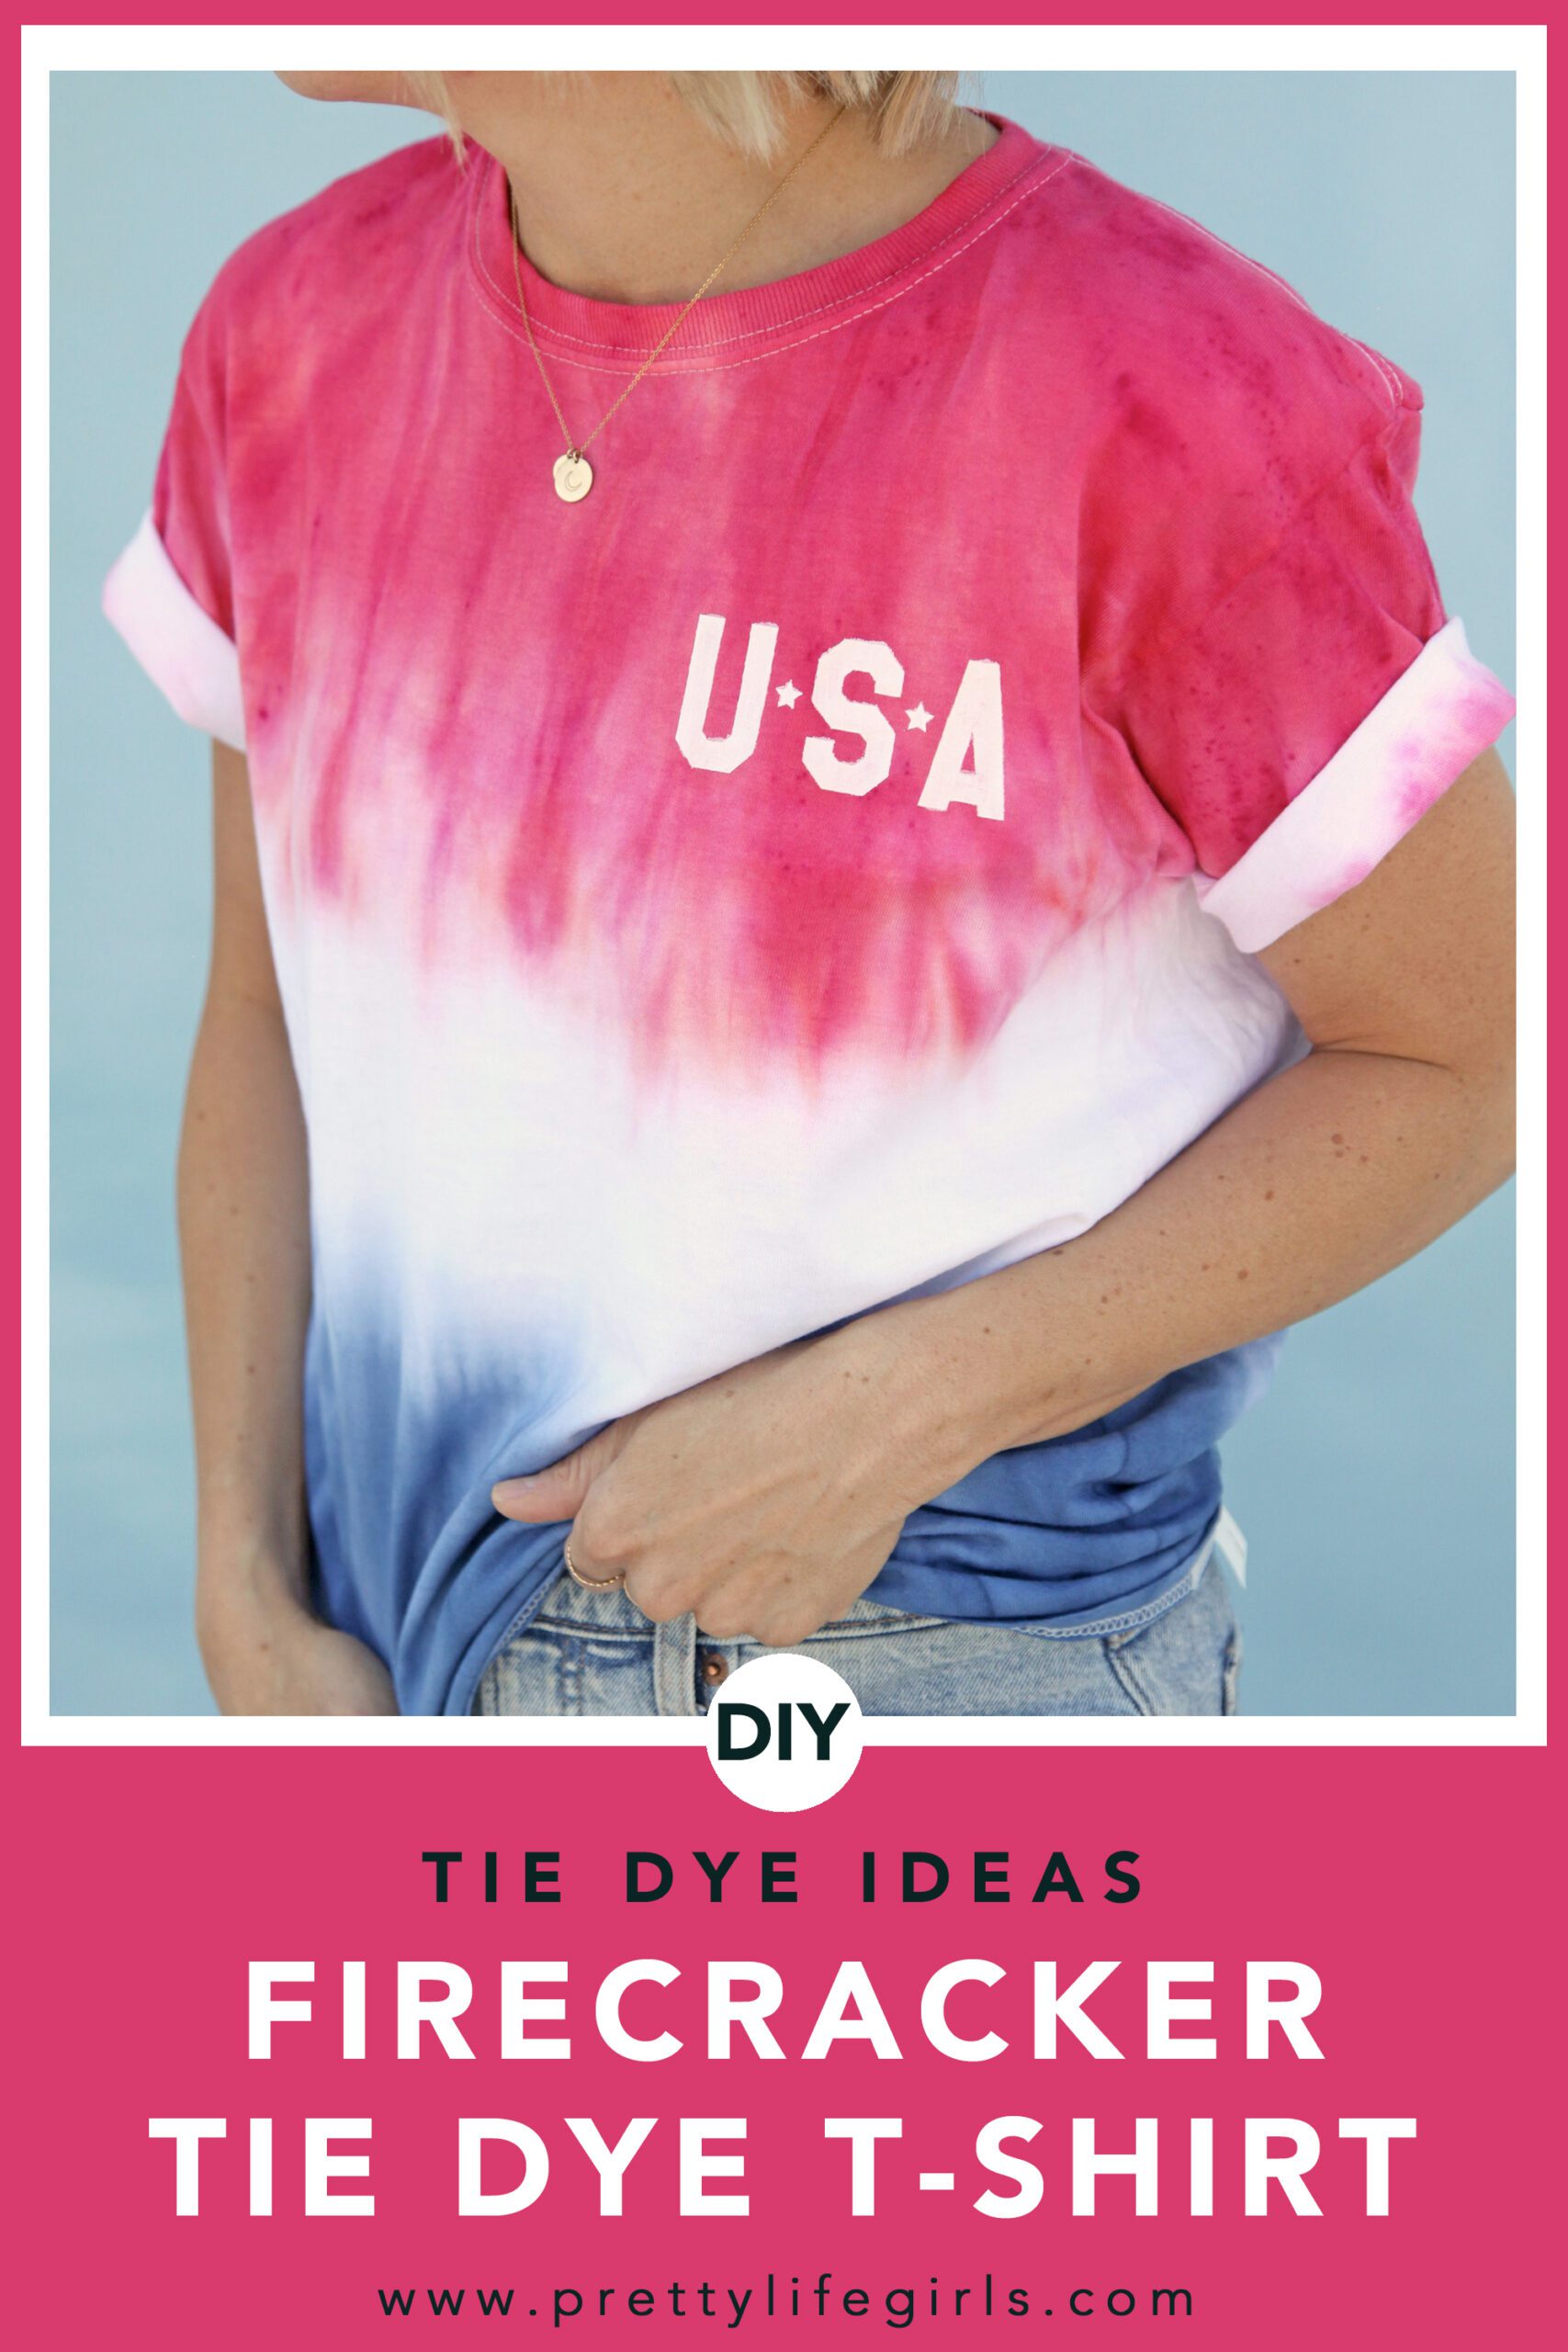
Learn how to make a firecracker tie dye t-shirt, perfect for the most patriotic day of the year, with this easy tie dye tutorial! We’ll share all our tips and tricks and walk you through the whole process, step-by-step.
How to Firecracker Tie Dye a T-Shirt
The Fourth of July is right around the corner! Do you have your red white and blue firecracker popsicles ready? Do you have your matching USA shirt for your family?
Well, what if we combined the two of those beloved traditions to create a firecracker tie dye tee, perfect for the most patriotic day of the year?
This Firecracker Tie Dye technique is one of our favorites, but if you’re looking for some other ideas, check out our starry tie dye shirts or spiral 4th of July tie dye shirts!
How do you tie-dye a firecracker?
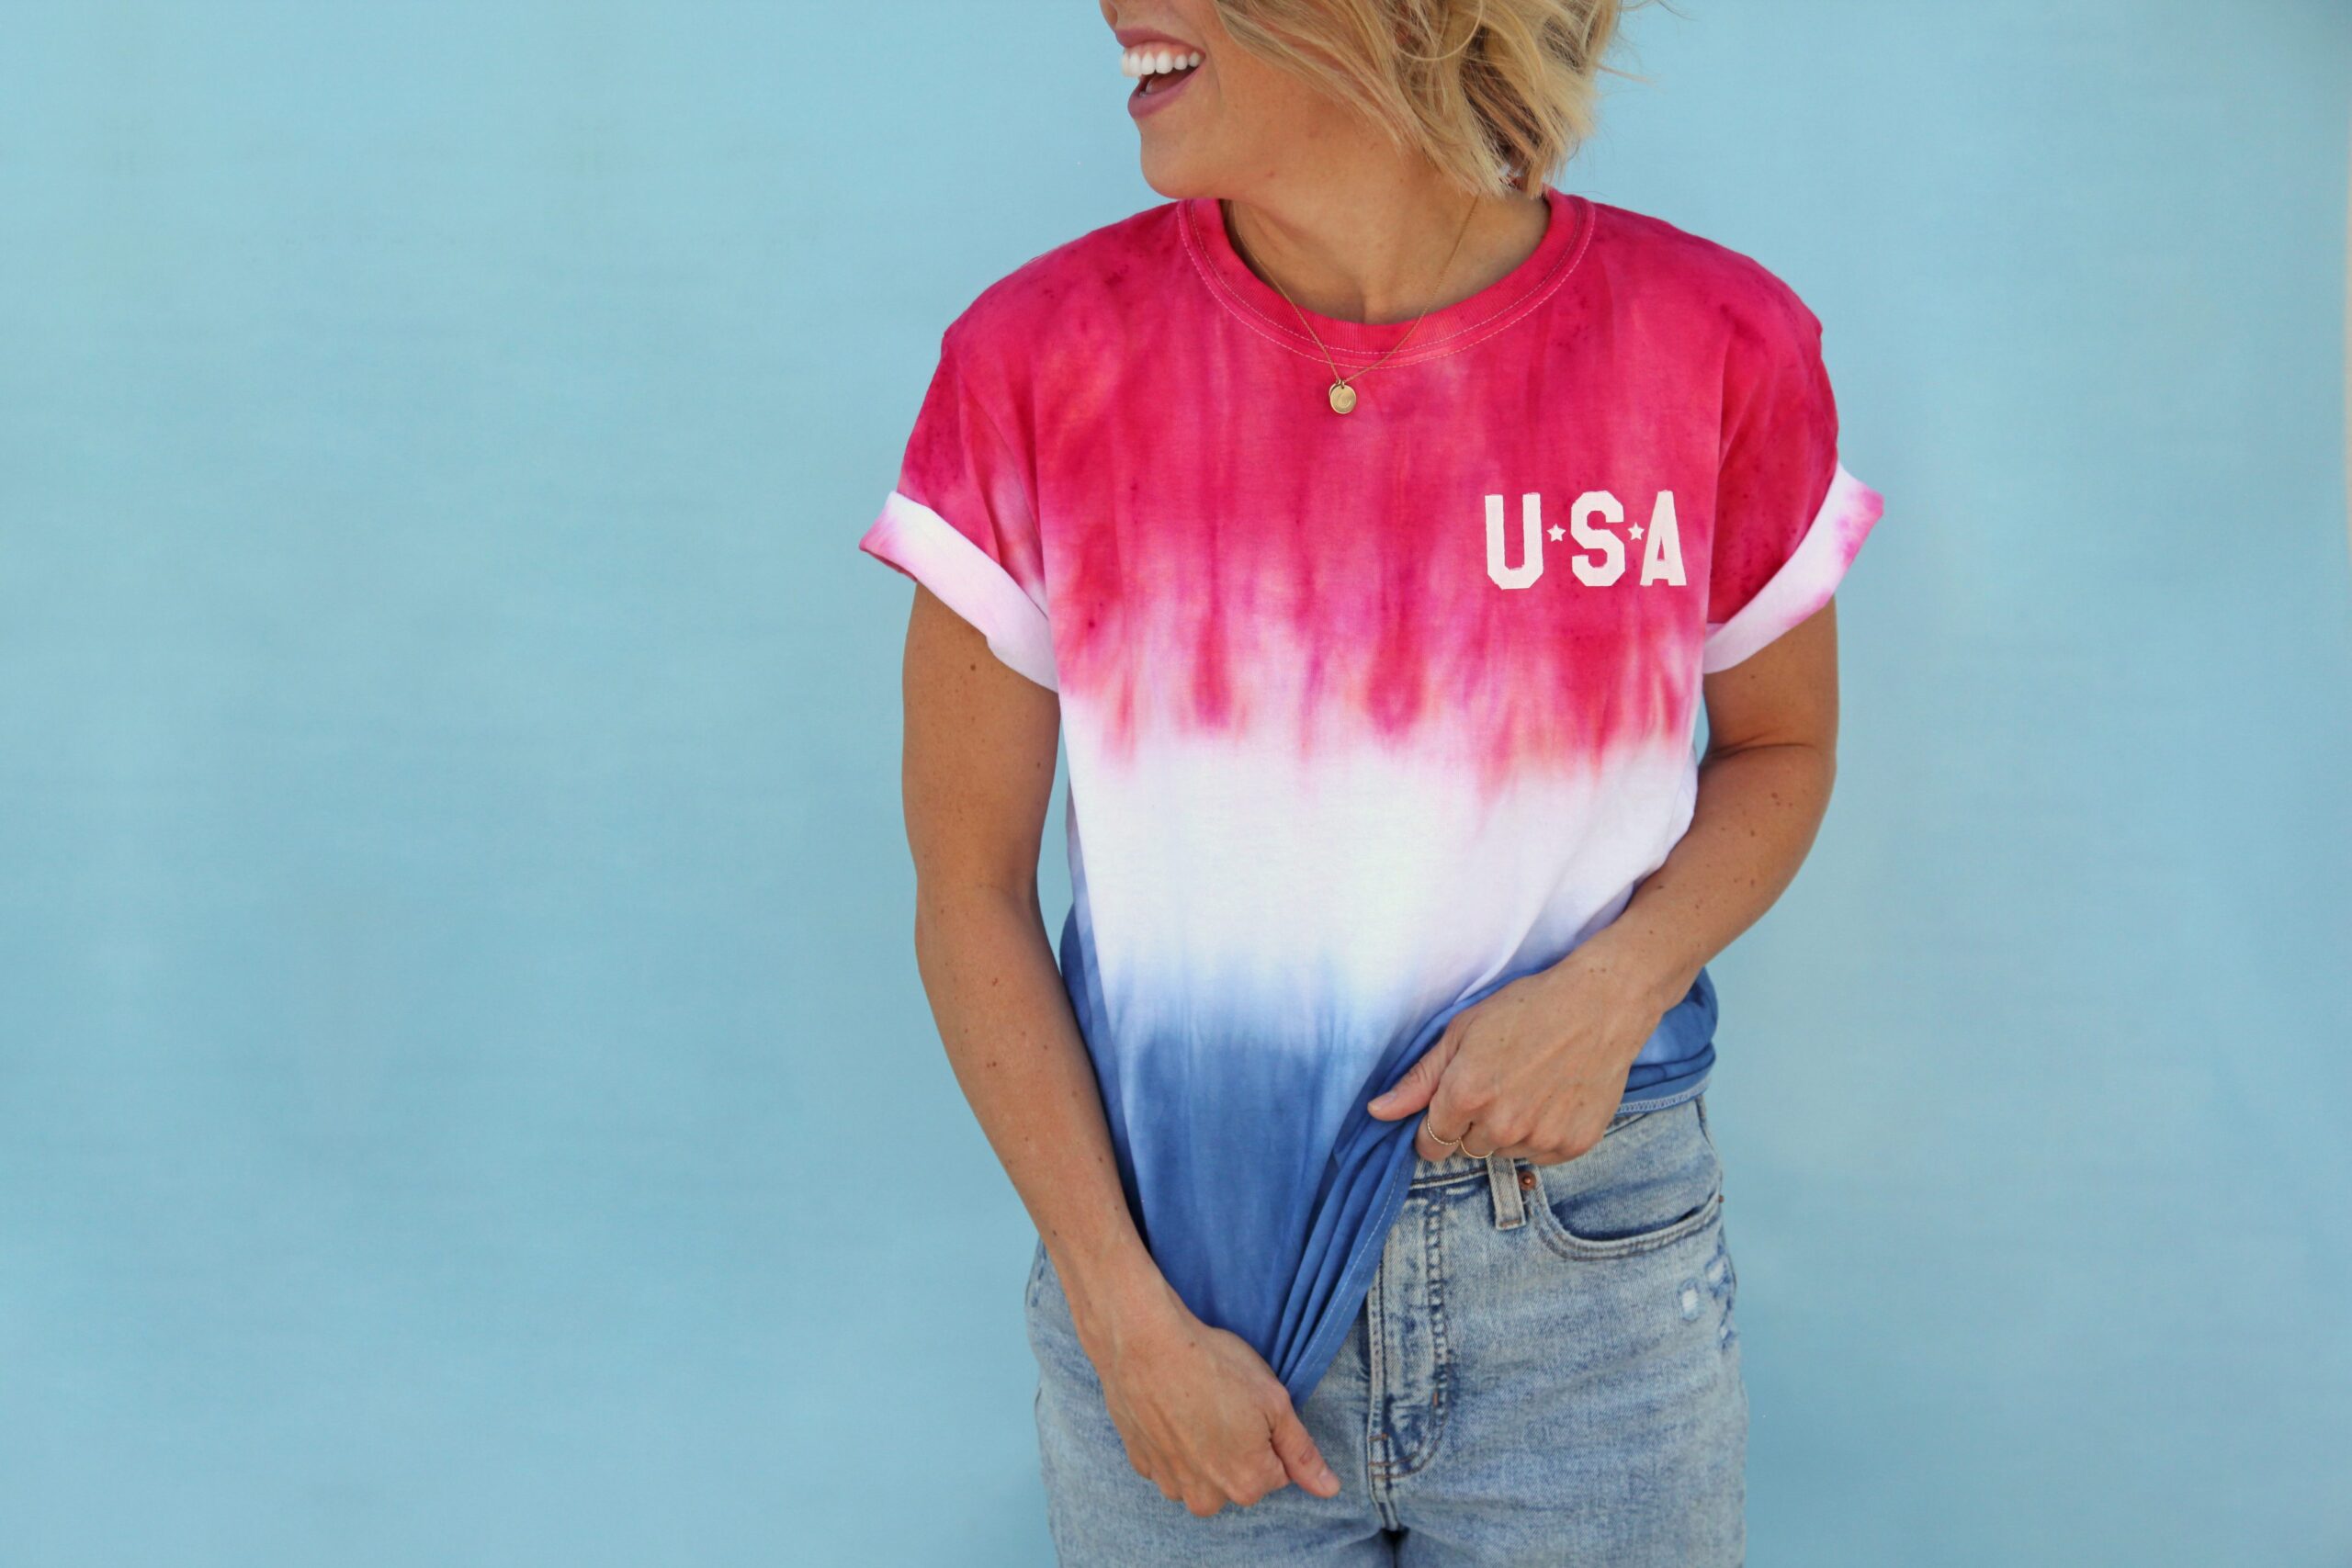
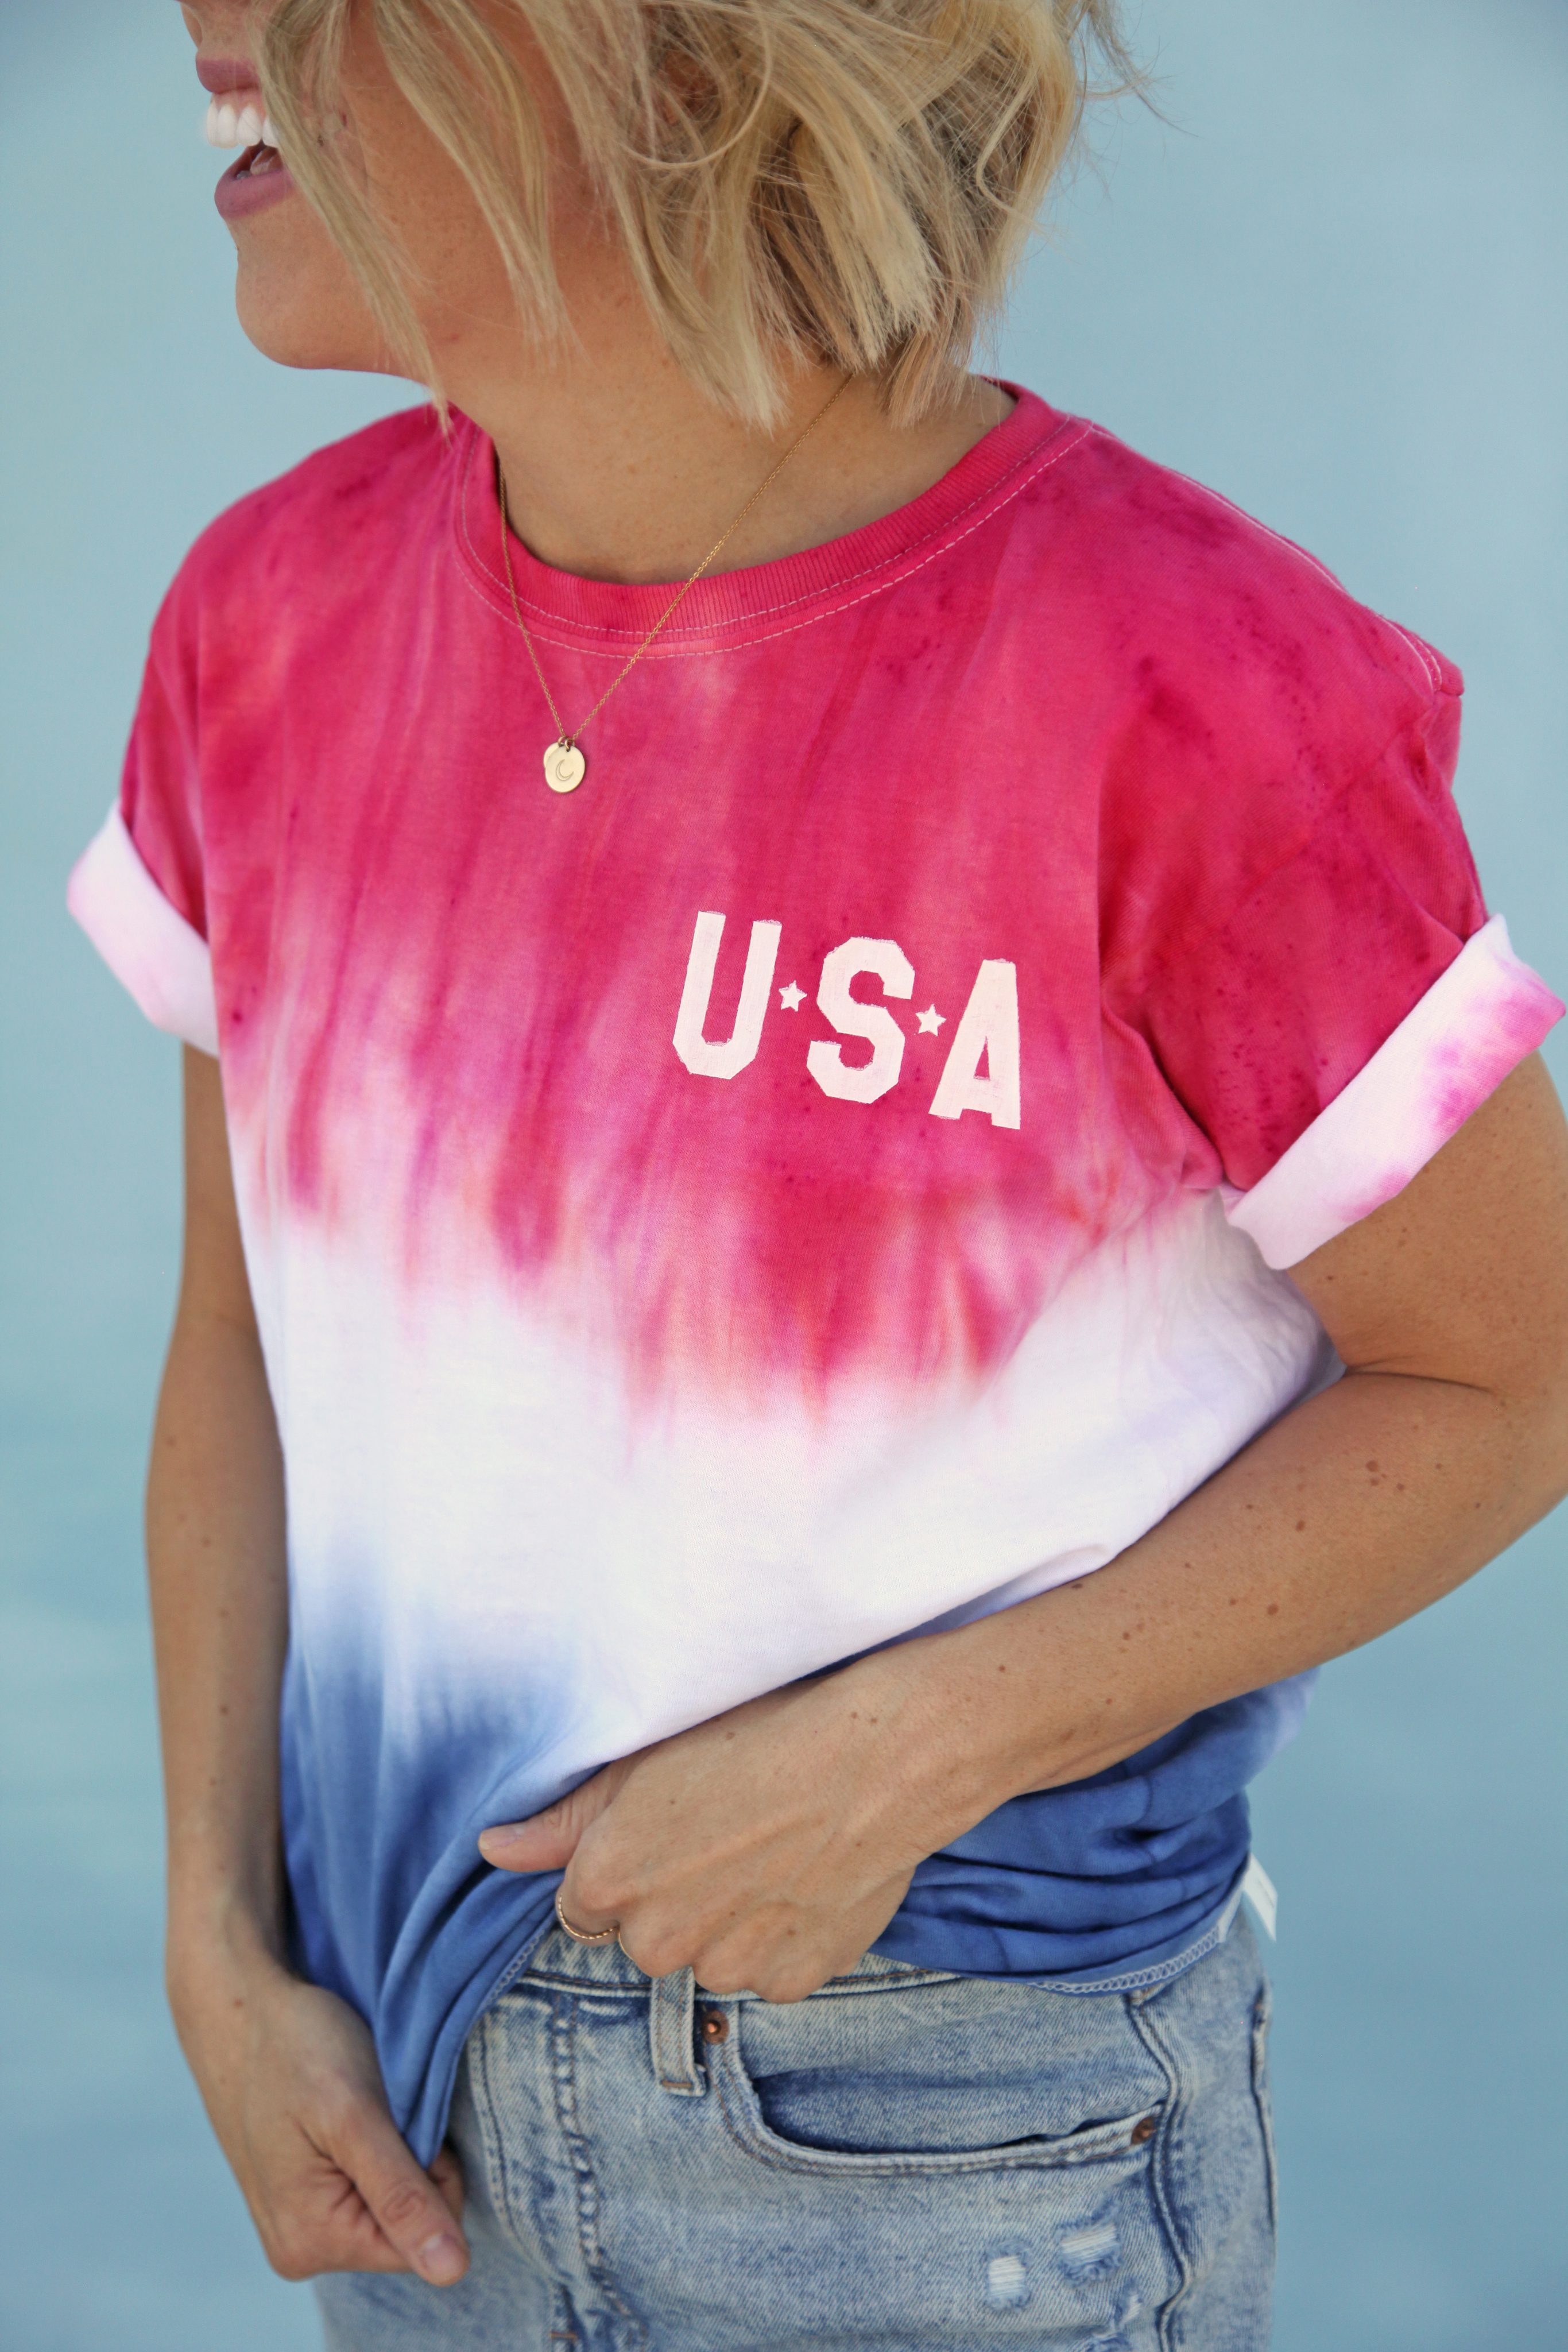
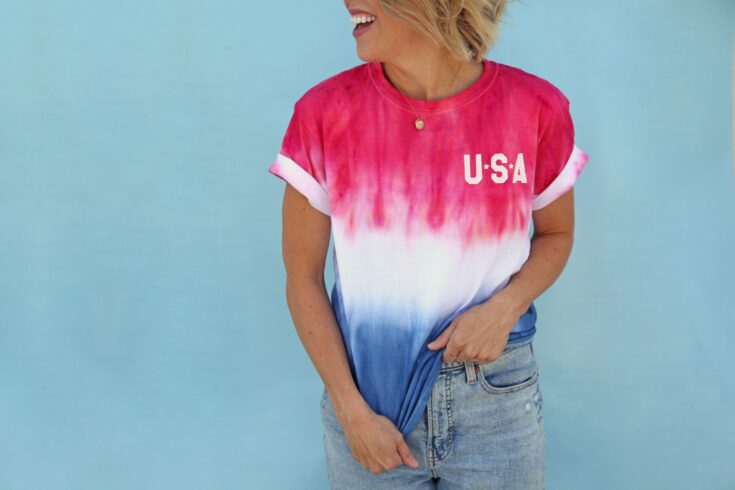
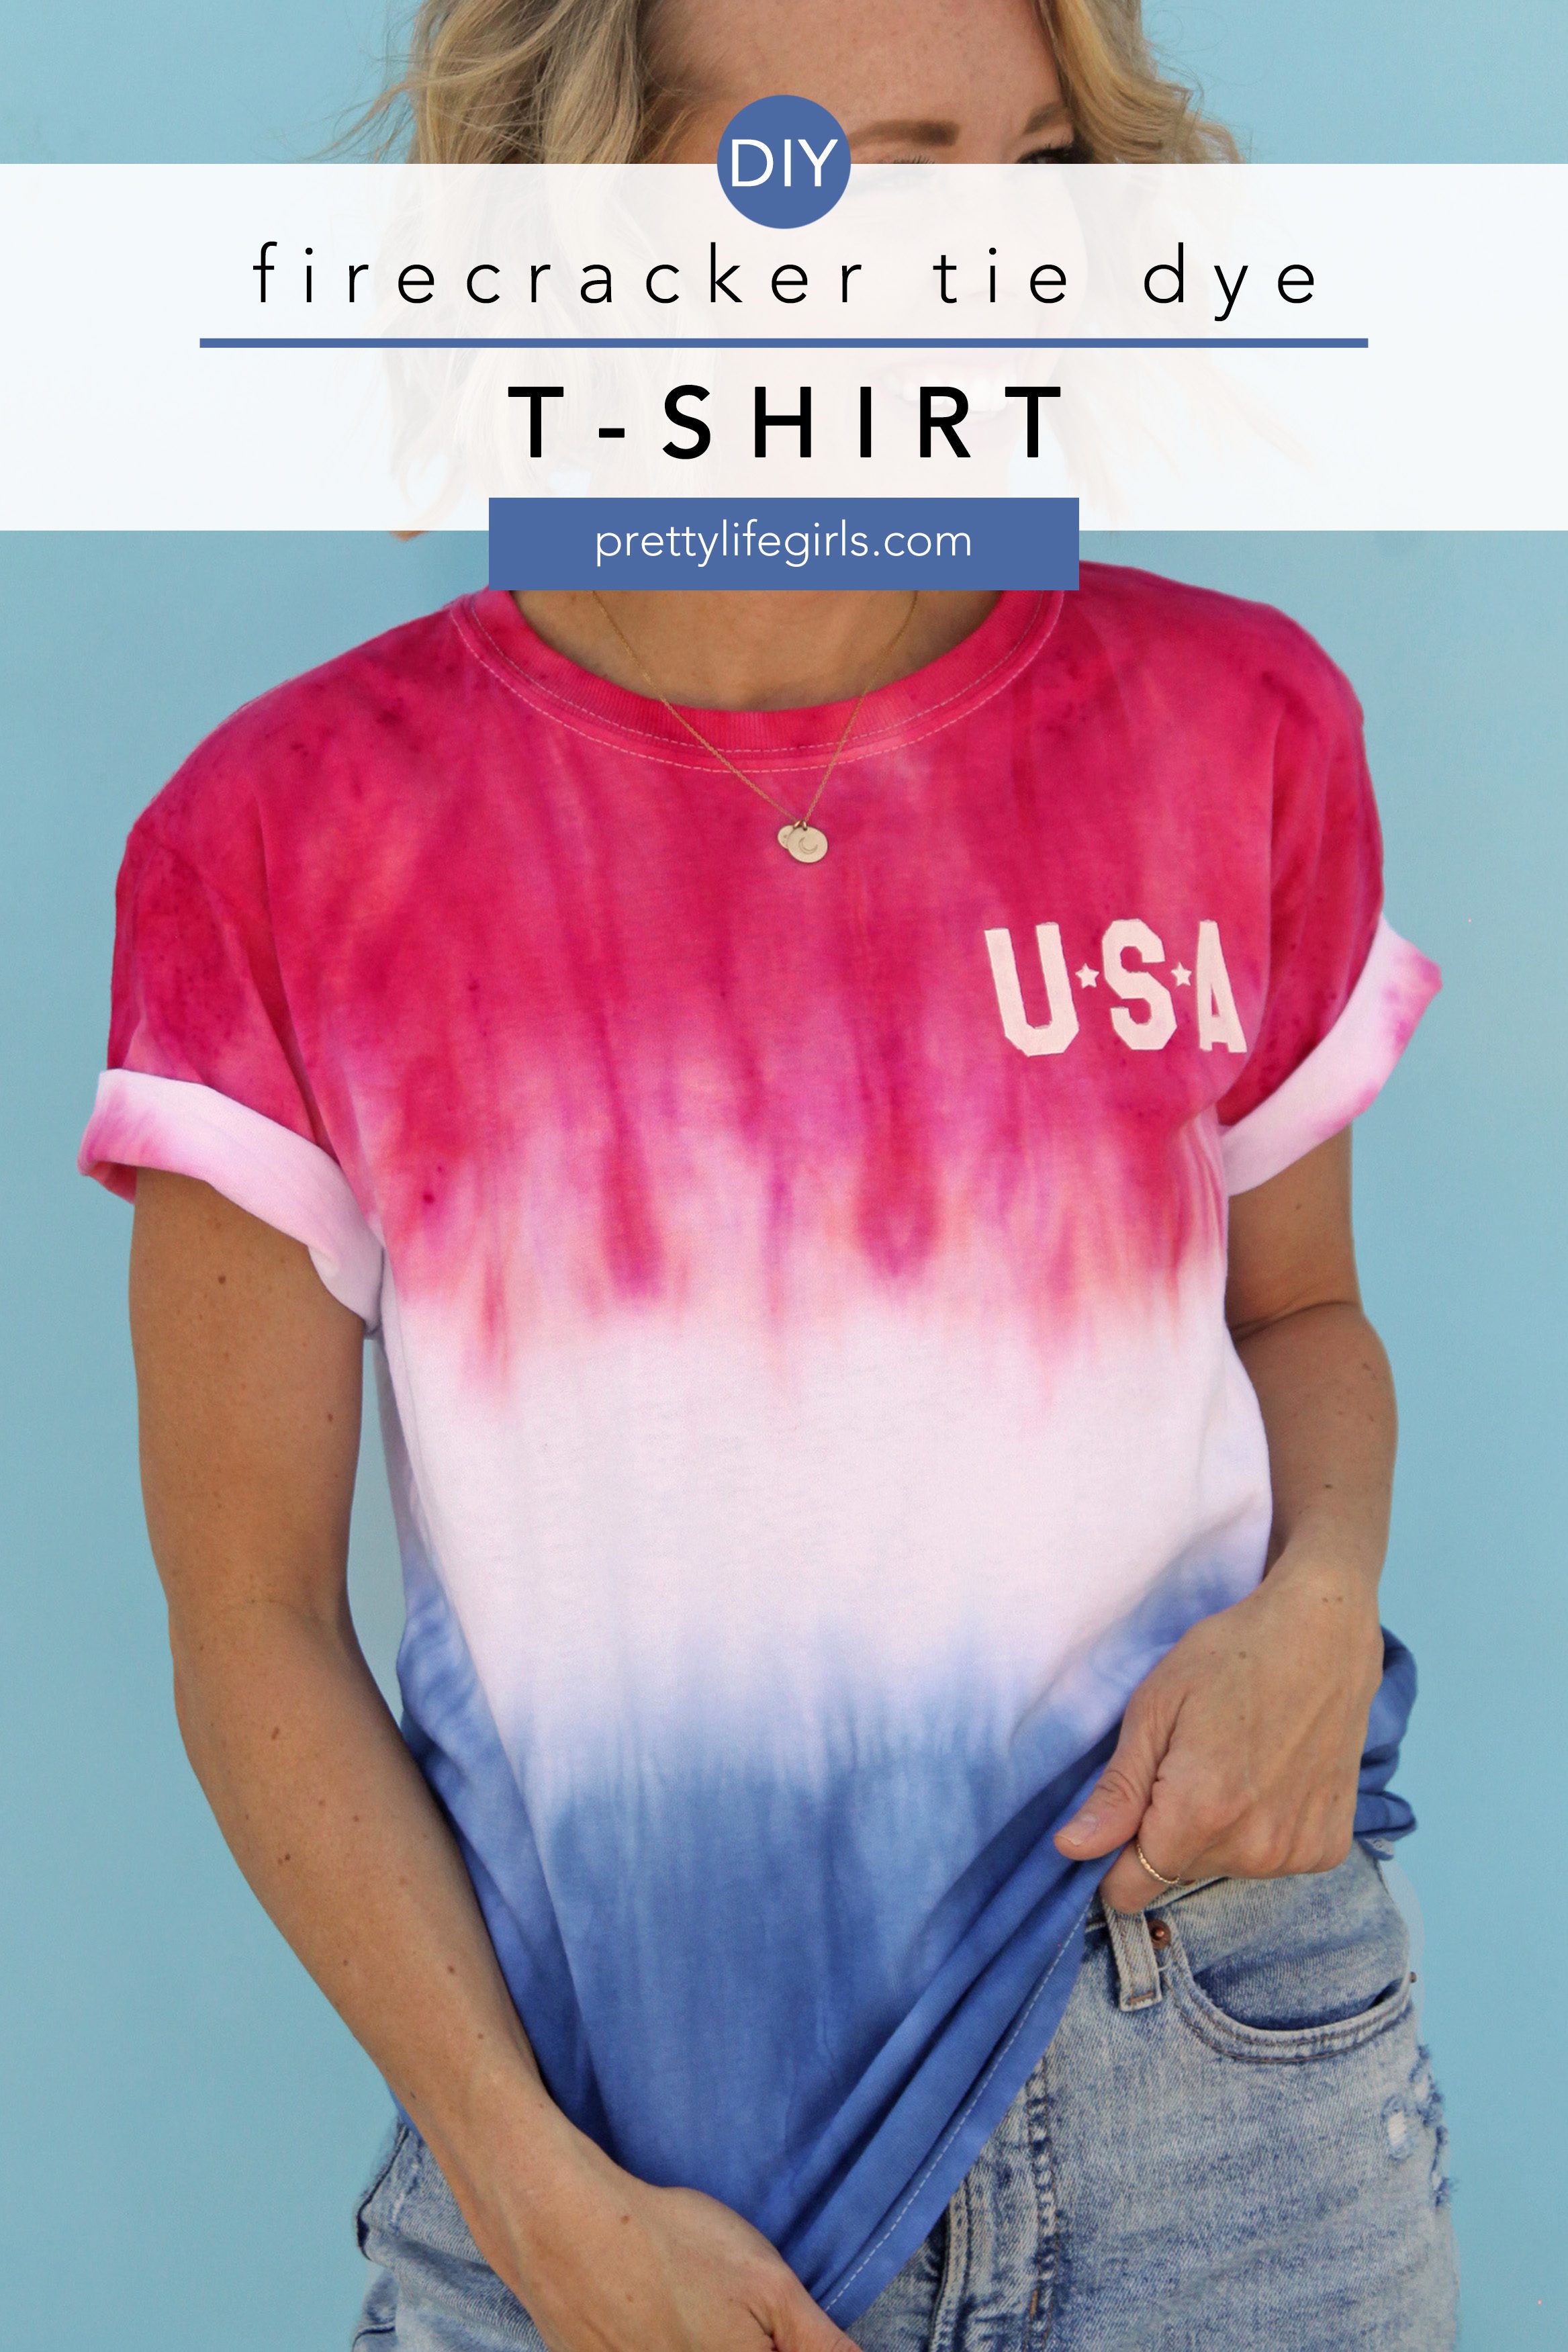
We made this firecracker tie dye t-shirt with a cotton t-shirt and some red and blue tie dye. The trick is to be as careful as possible during your tie dye application so that your dye doesn’t seep too much to the middle and ruin your white stripe.
Then, once the dye is set and dry, we used fabric paint and a stencil to add even more USA pride.
Supplies needed to make a Firecracker Tie Dye Shirt
- 100% cotton t-shirt
- Tie dye in red and blue
- 2 Rubber bands
- Plastic wrap
- Gallon zip lock bag
- Stencil
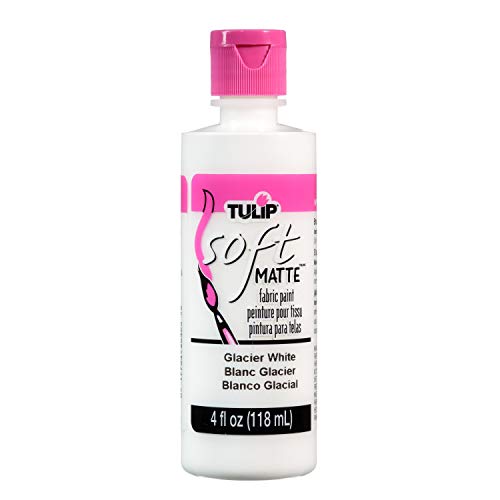
- White fabric paint
- Paint brush

How to make a Firecracker Tie Dye Shirt
Watch our class with Tulip for Michaels, or read the steps below to learn how to make a firecracker tie dye shirt!
Step 1: Bind your shirt with rubber bands
Scrunch a damp t-shirt into a tube shape, then bind it with a rubber band about 1/3 of the way from the top. Repeat by binding it with a rubber band on the bottom third.
Step 2: Prepare your dye and workspace
Prepare your dye according to package directions. Place a raised rack in the sink or over a dye-safe container.
Step 3: Apply the dye
Carefully saturate the top third of the shirt with red dye. Let the excess dye drip for a few minutes. Then wrap the red portion in plastic wrap to prevent colors spreading to other areas of the shirt.
Rinse any residual red dye off your rack, then saturate the bottom third of the shirt with blue dye. Again, let the excess dye drip for a few minutes. Then wrap the blue portion in plastic wrap.
Step 4: Set the dye
Place the shirt in a ziplock bag with the white section at the top, and prop the bag up so gravity can help keep the colors from spreading too much into the white. Let the dye set. We recommend letting it set for 24 hours to get a rich red.
Step 5: Rinse the dye and wash the shirt
Rinse the shirt with cold water until it runs clear. Wash by hand or in the washing machine (we recommend washing it alone), and dry.
Step 6: Add the USA graphic
Place your stencil in the desired location, then apply a thin coat of fabric paint. Let dry, then repeat with additional coats until you’ve achieved the desired opacity. Let dry completely.

How to Firecracker Tie Dye a T-Shirt
Learn how to make a firecracker tie dye t-shirt, perfect for the most patriotic day of the year, with this easy tie dye tutorial! We’ll share all our tips and tricks and walk you through the whole process, step-by-step.
Materials
- 100% cotton t-shirt
- Tie dye in red and blue
- 2 Rubber bands
- Plastic wrap
- Gallon zip lock bag
- Stencil
- White fabric paint
- Paint brush
Instructions
- Scrunch a damp t-shirt into a tube shape, then bind it with a rubber band about 1/3 of the way from the top. Repeat by binding it with a rubber band on the bottom third.
- Prepare your dye according to package directions. Place a raised rack in the sink or over a dye-safe container.
- Carefully saturate the top third of the shirt with red dye. Let the excess dye drip for a few minutes. Then wrap the red portion in plastic wrap to prevent colors spreading to other areas of the shirt.
- Rinse any residual red dye off your rack, then saturate the bottom third of the shirt with blue dye. Again, let the excess dye drip for a few minutes. Then wrap the blue portion in plastic wrap.
- Place the shirt in a ziplock bag with the white section at the top, and prop the bag up so gravity can help keep the colors from spreading too much into the white. Let the dye set. We recommend letting it set for 24 hours to get a rich red.
- Rinse the shirt with cold water until it runs clear. Wash by hand or in the washing machine (we recommend washing it alone), and dry.
- Place your stencil in the desired location, then apply a thin coat of fabric paint. Let dry, then repeat with additional coats until you’ve achieved the desired opacity. Let dry completely.
Recommended Products
As an Amazon Associate and member of other affiliate programs, I earn from qualifying purchases.


Save this post for later!

Learn more about tie dye in our book DIY Guide to Tie Dye Style: The Basics and WAY Beyond!
Happy making!
ox. Sam and Liz
We think you’ll love these projects!

Coconut Cream & Berry Popsicles
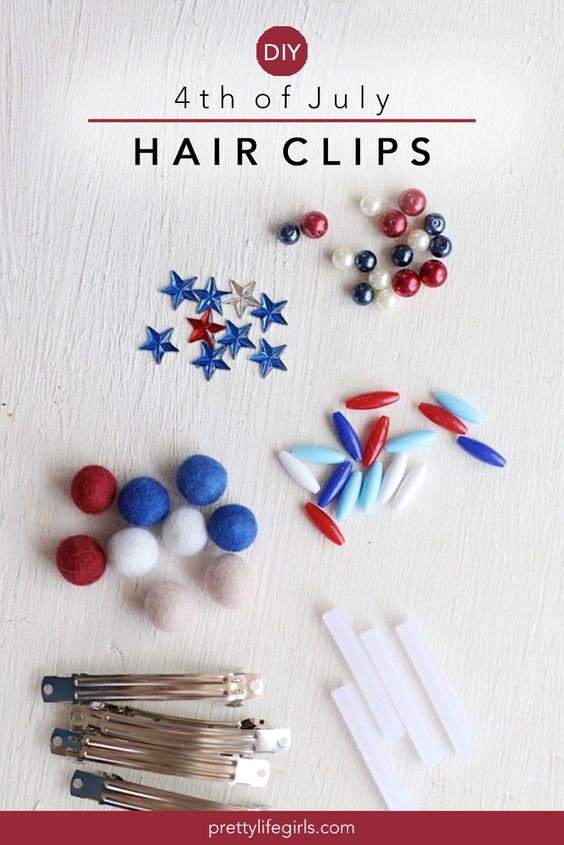
DIY 4th of July Hair Barrettes

Unique Tie Dye Techniques: Mystery Dye Poppers