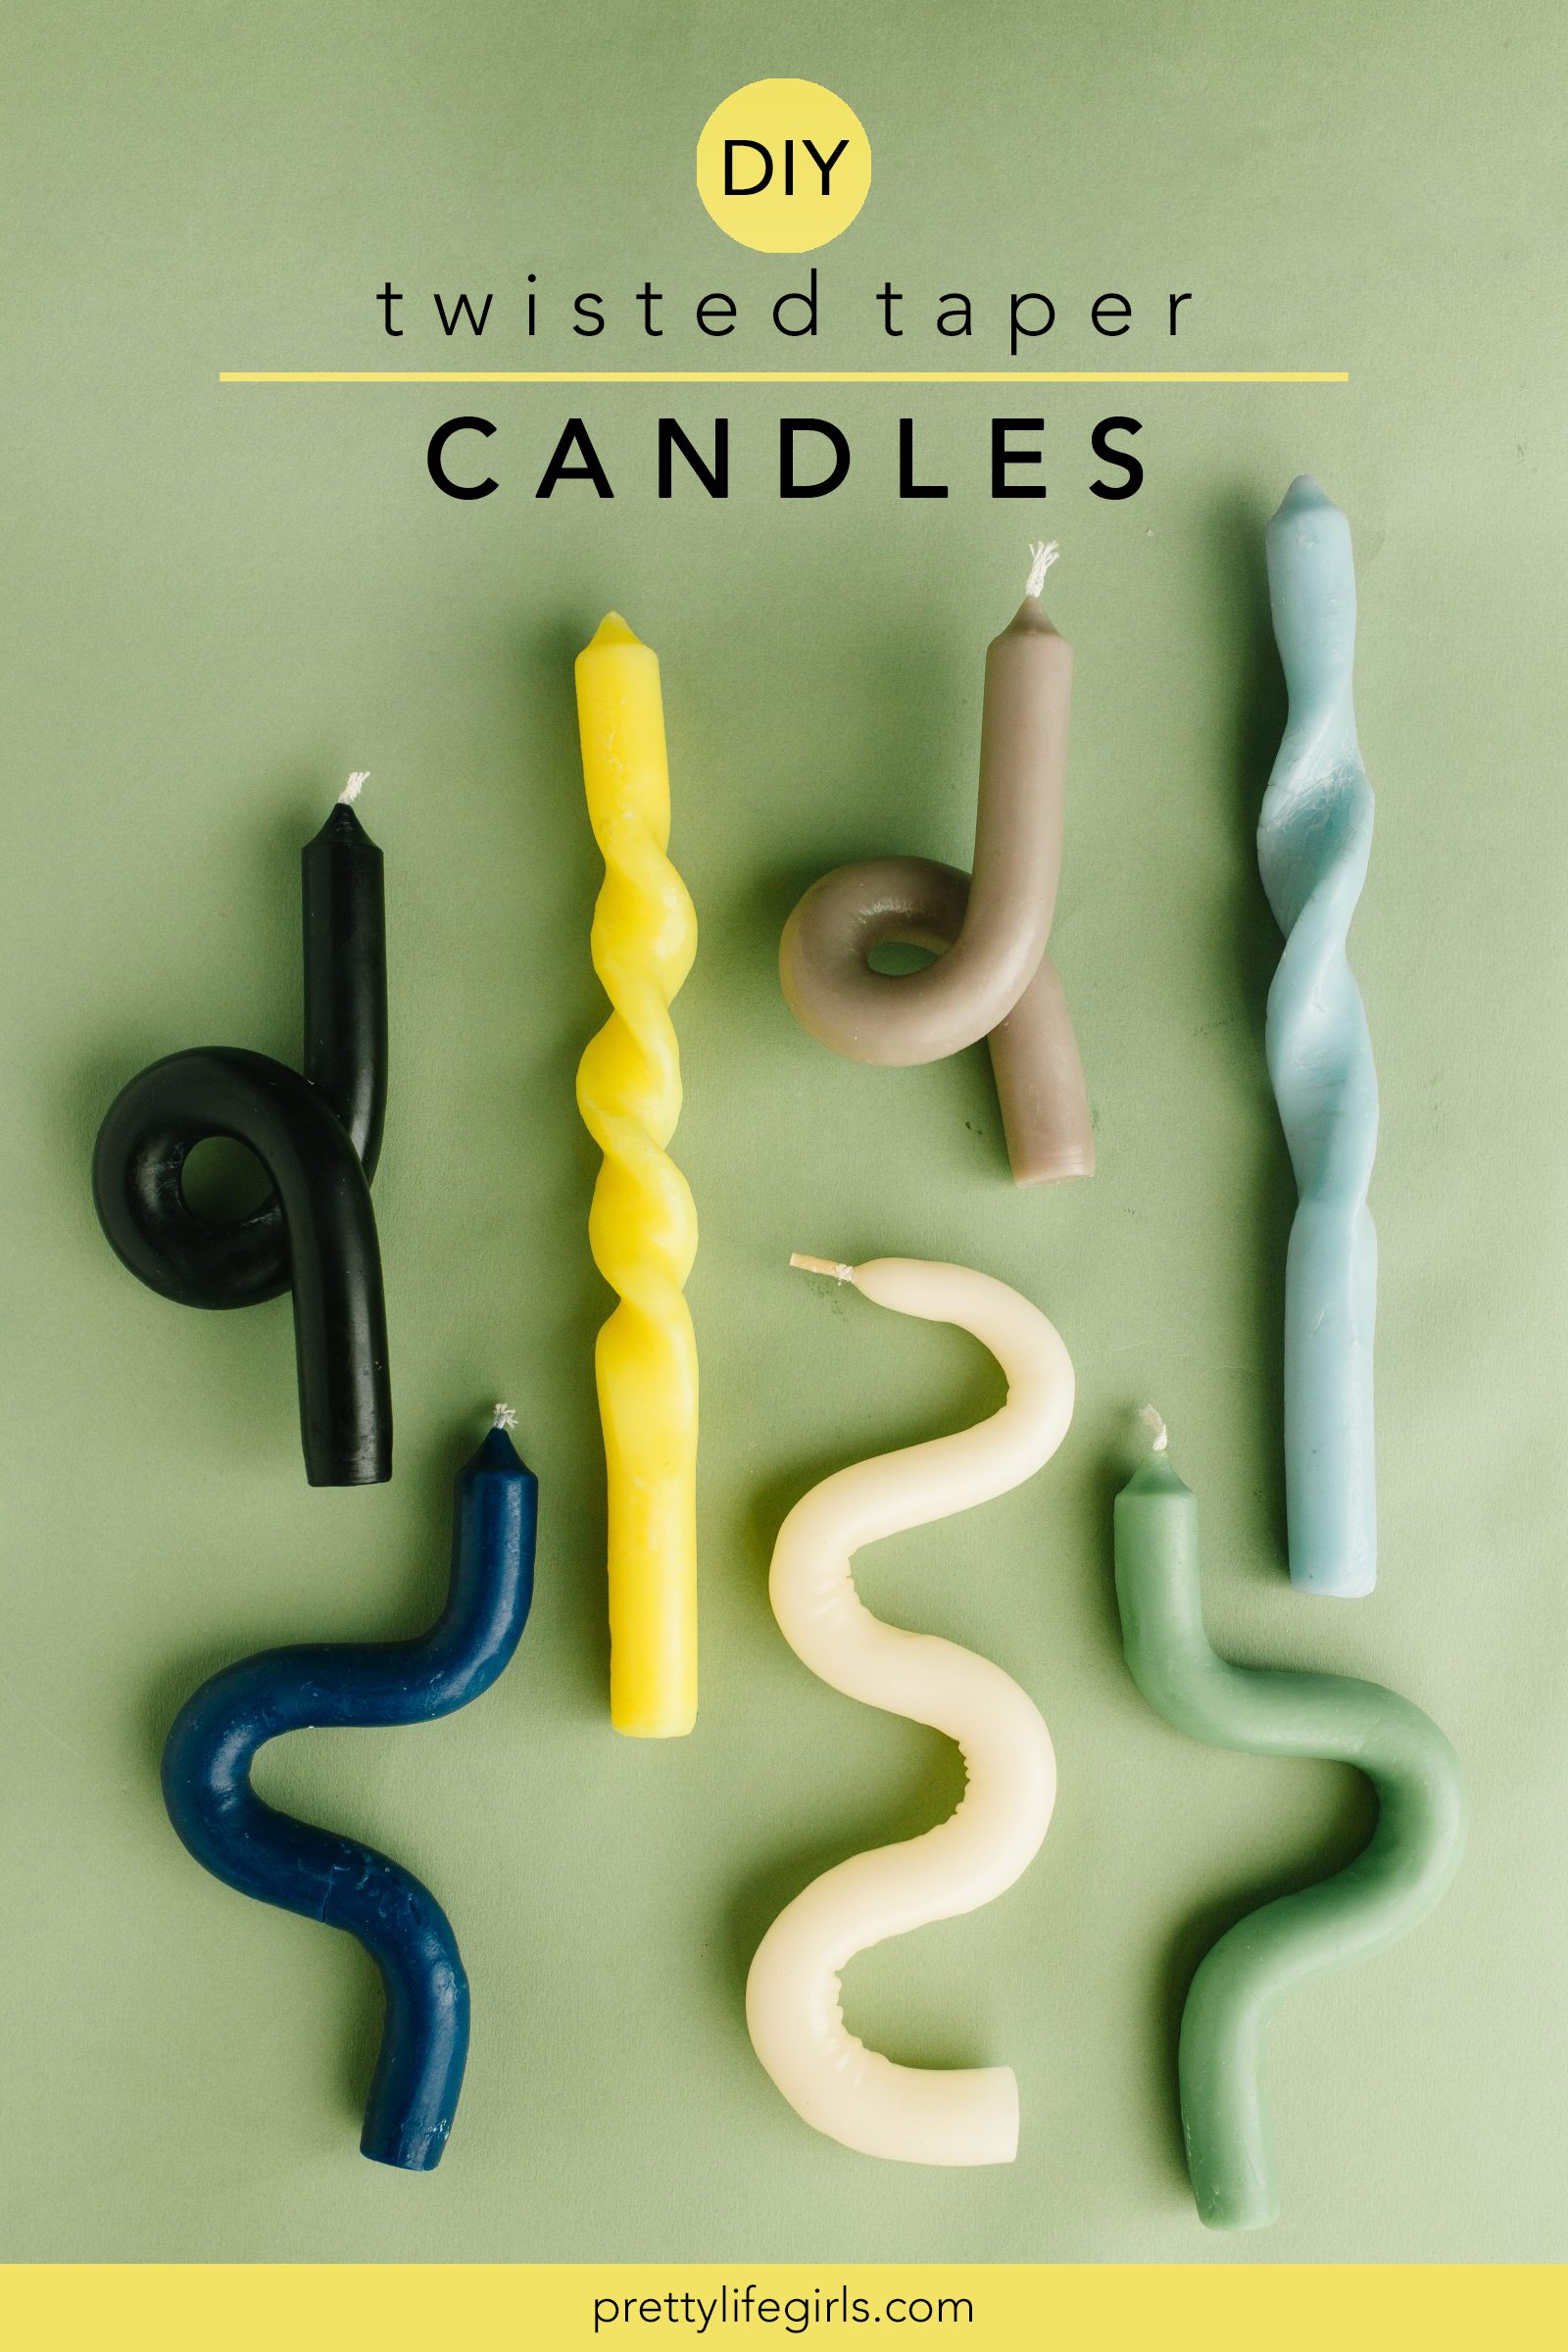
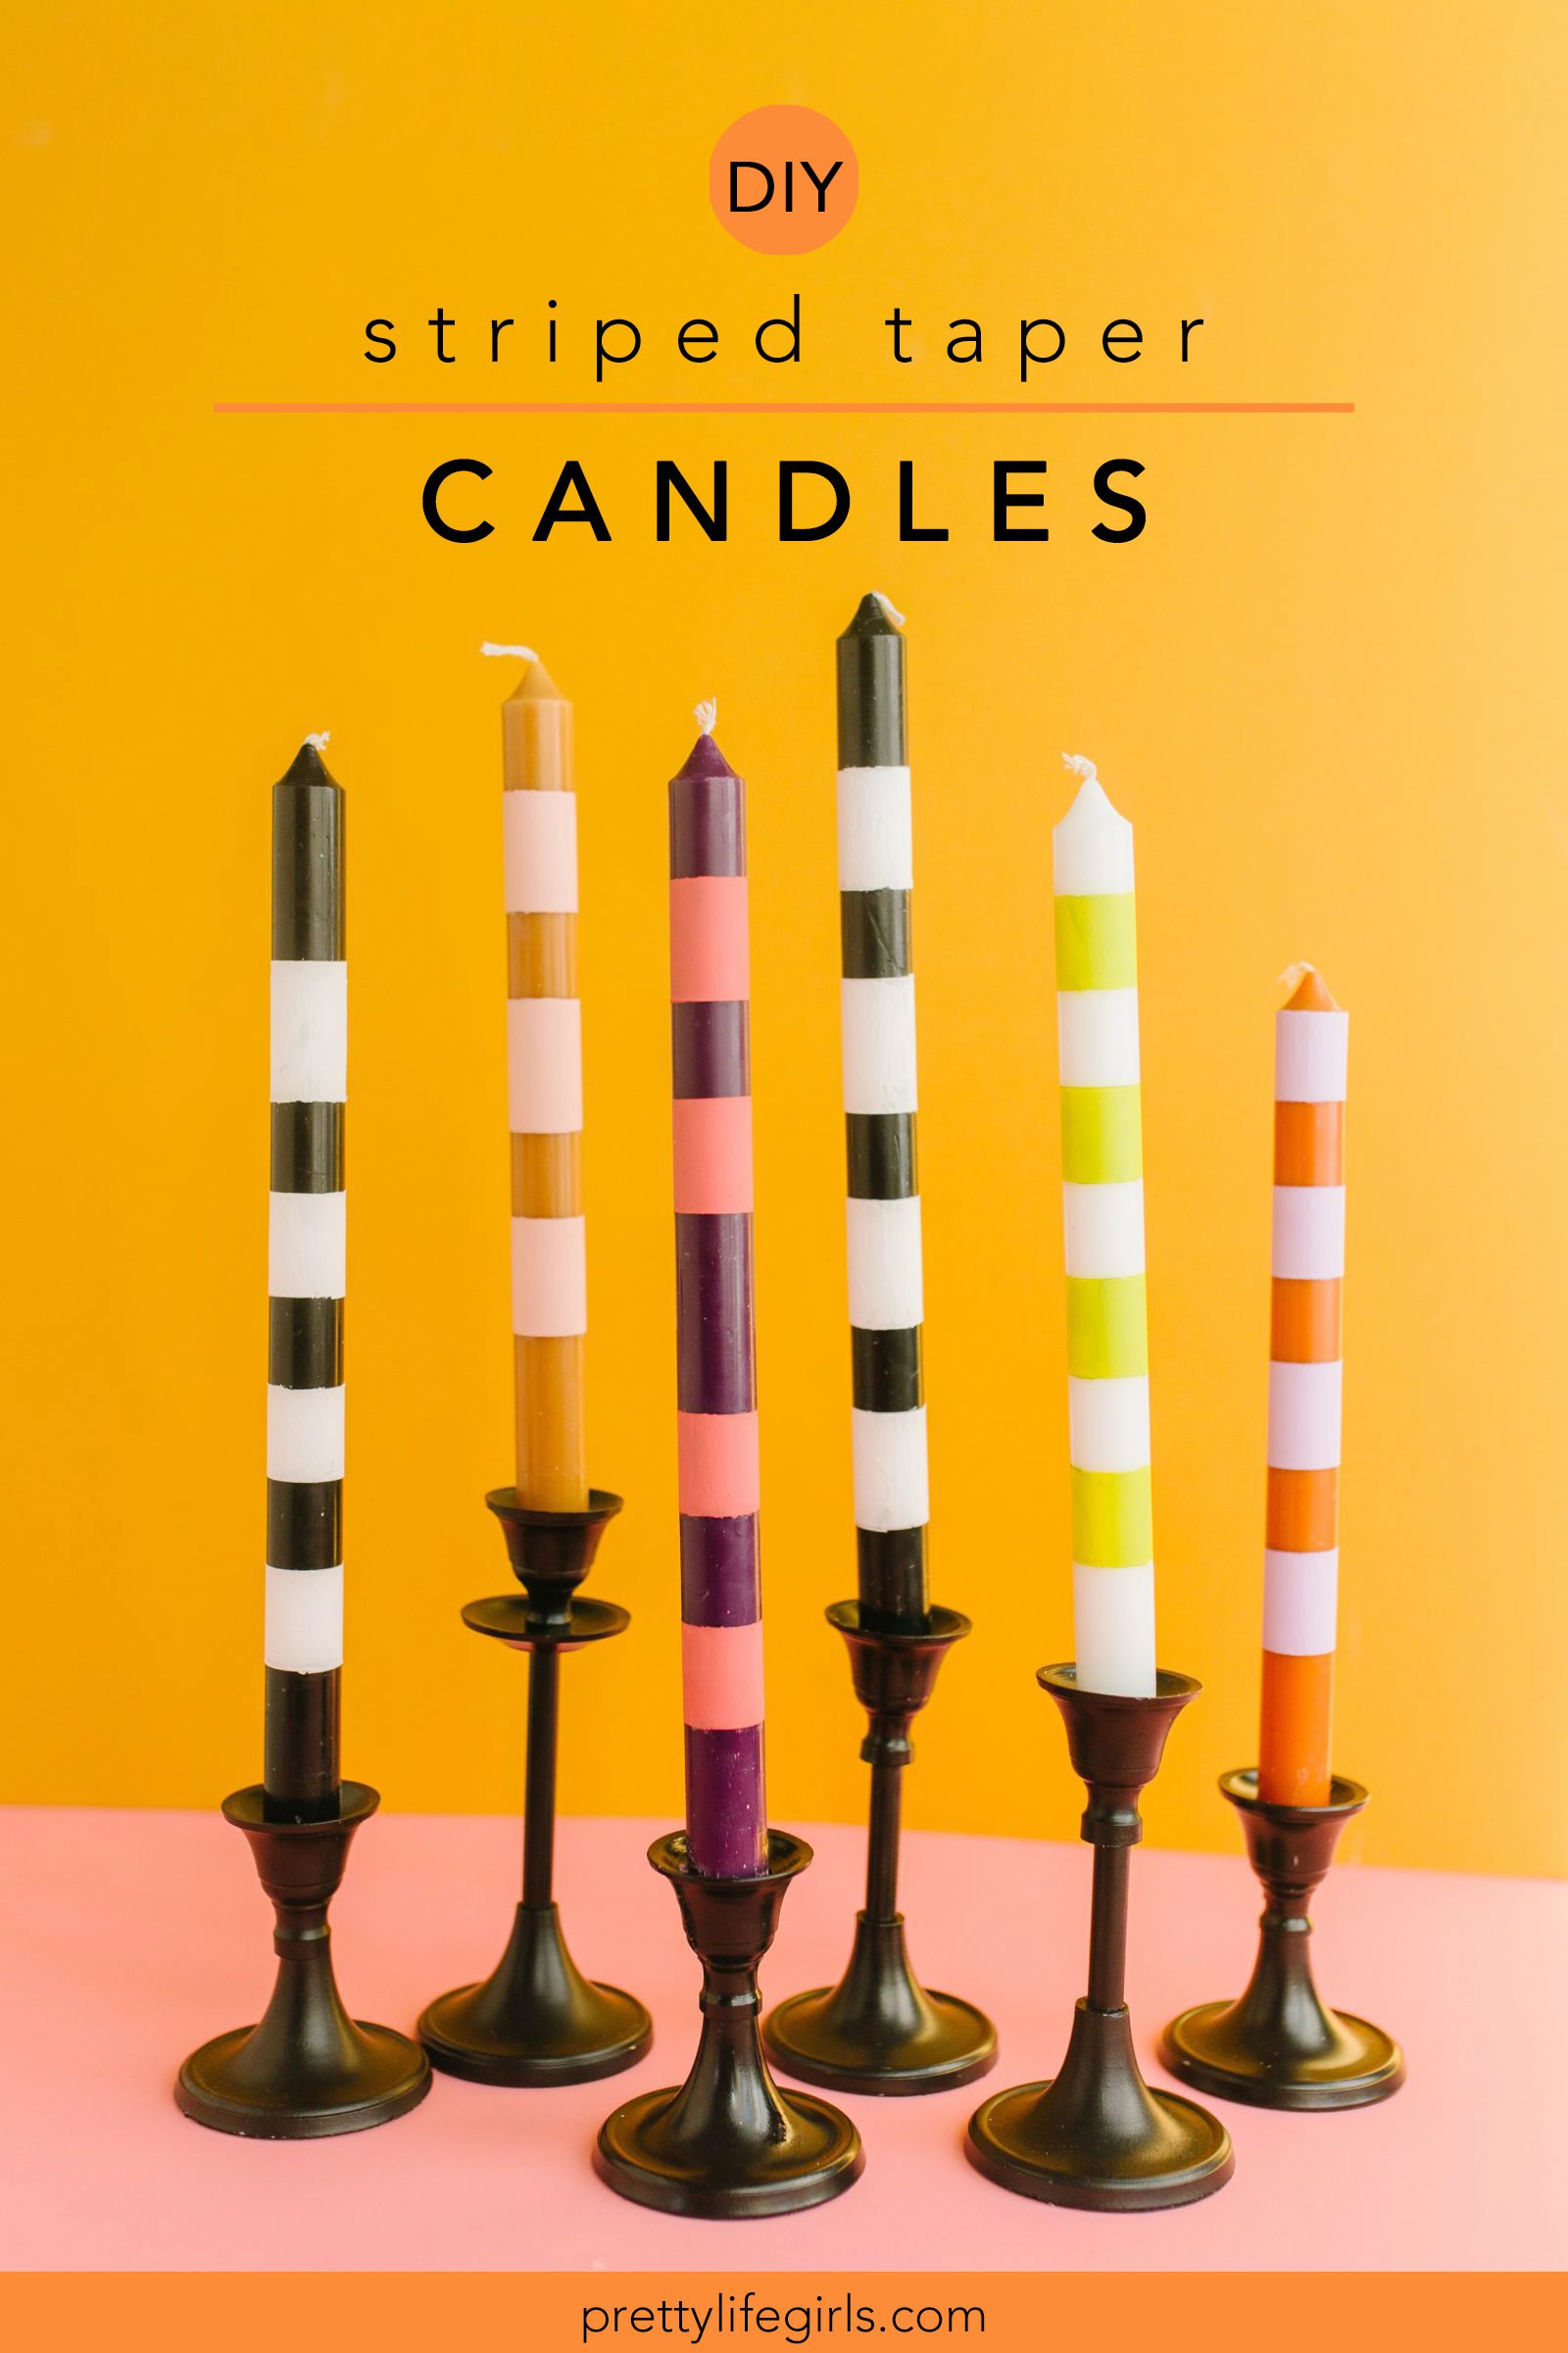
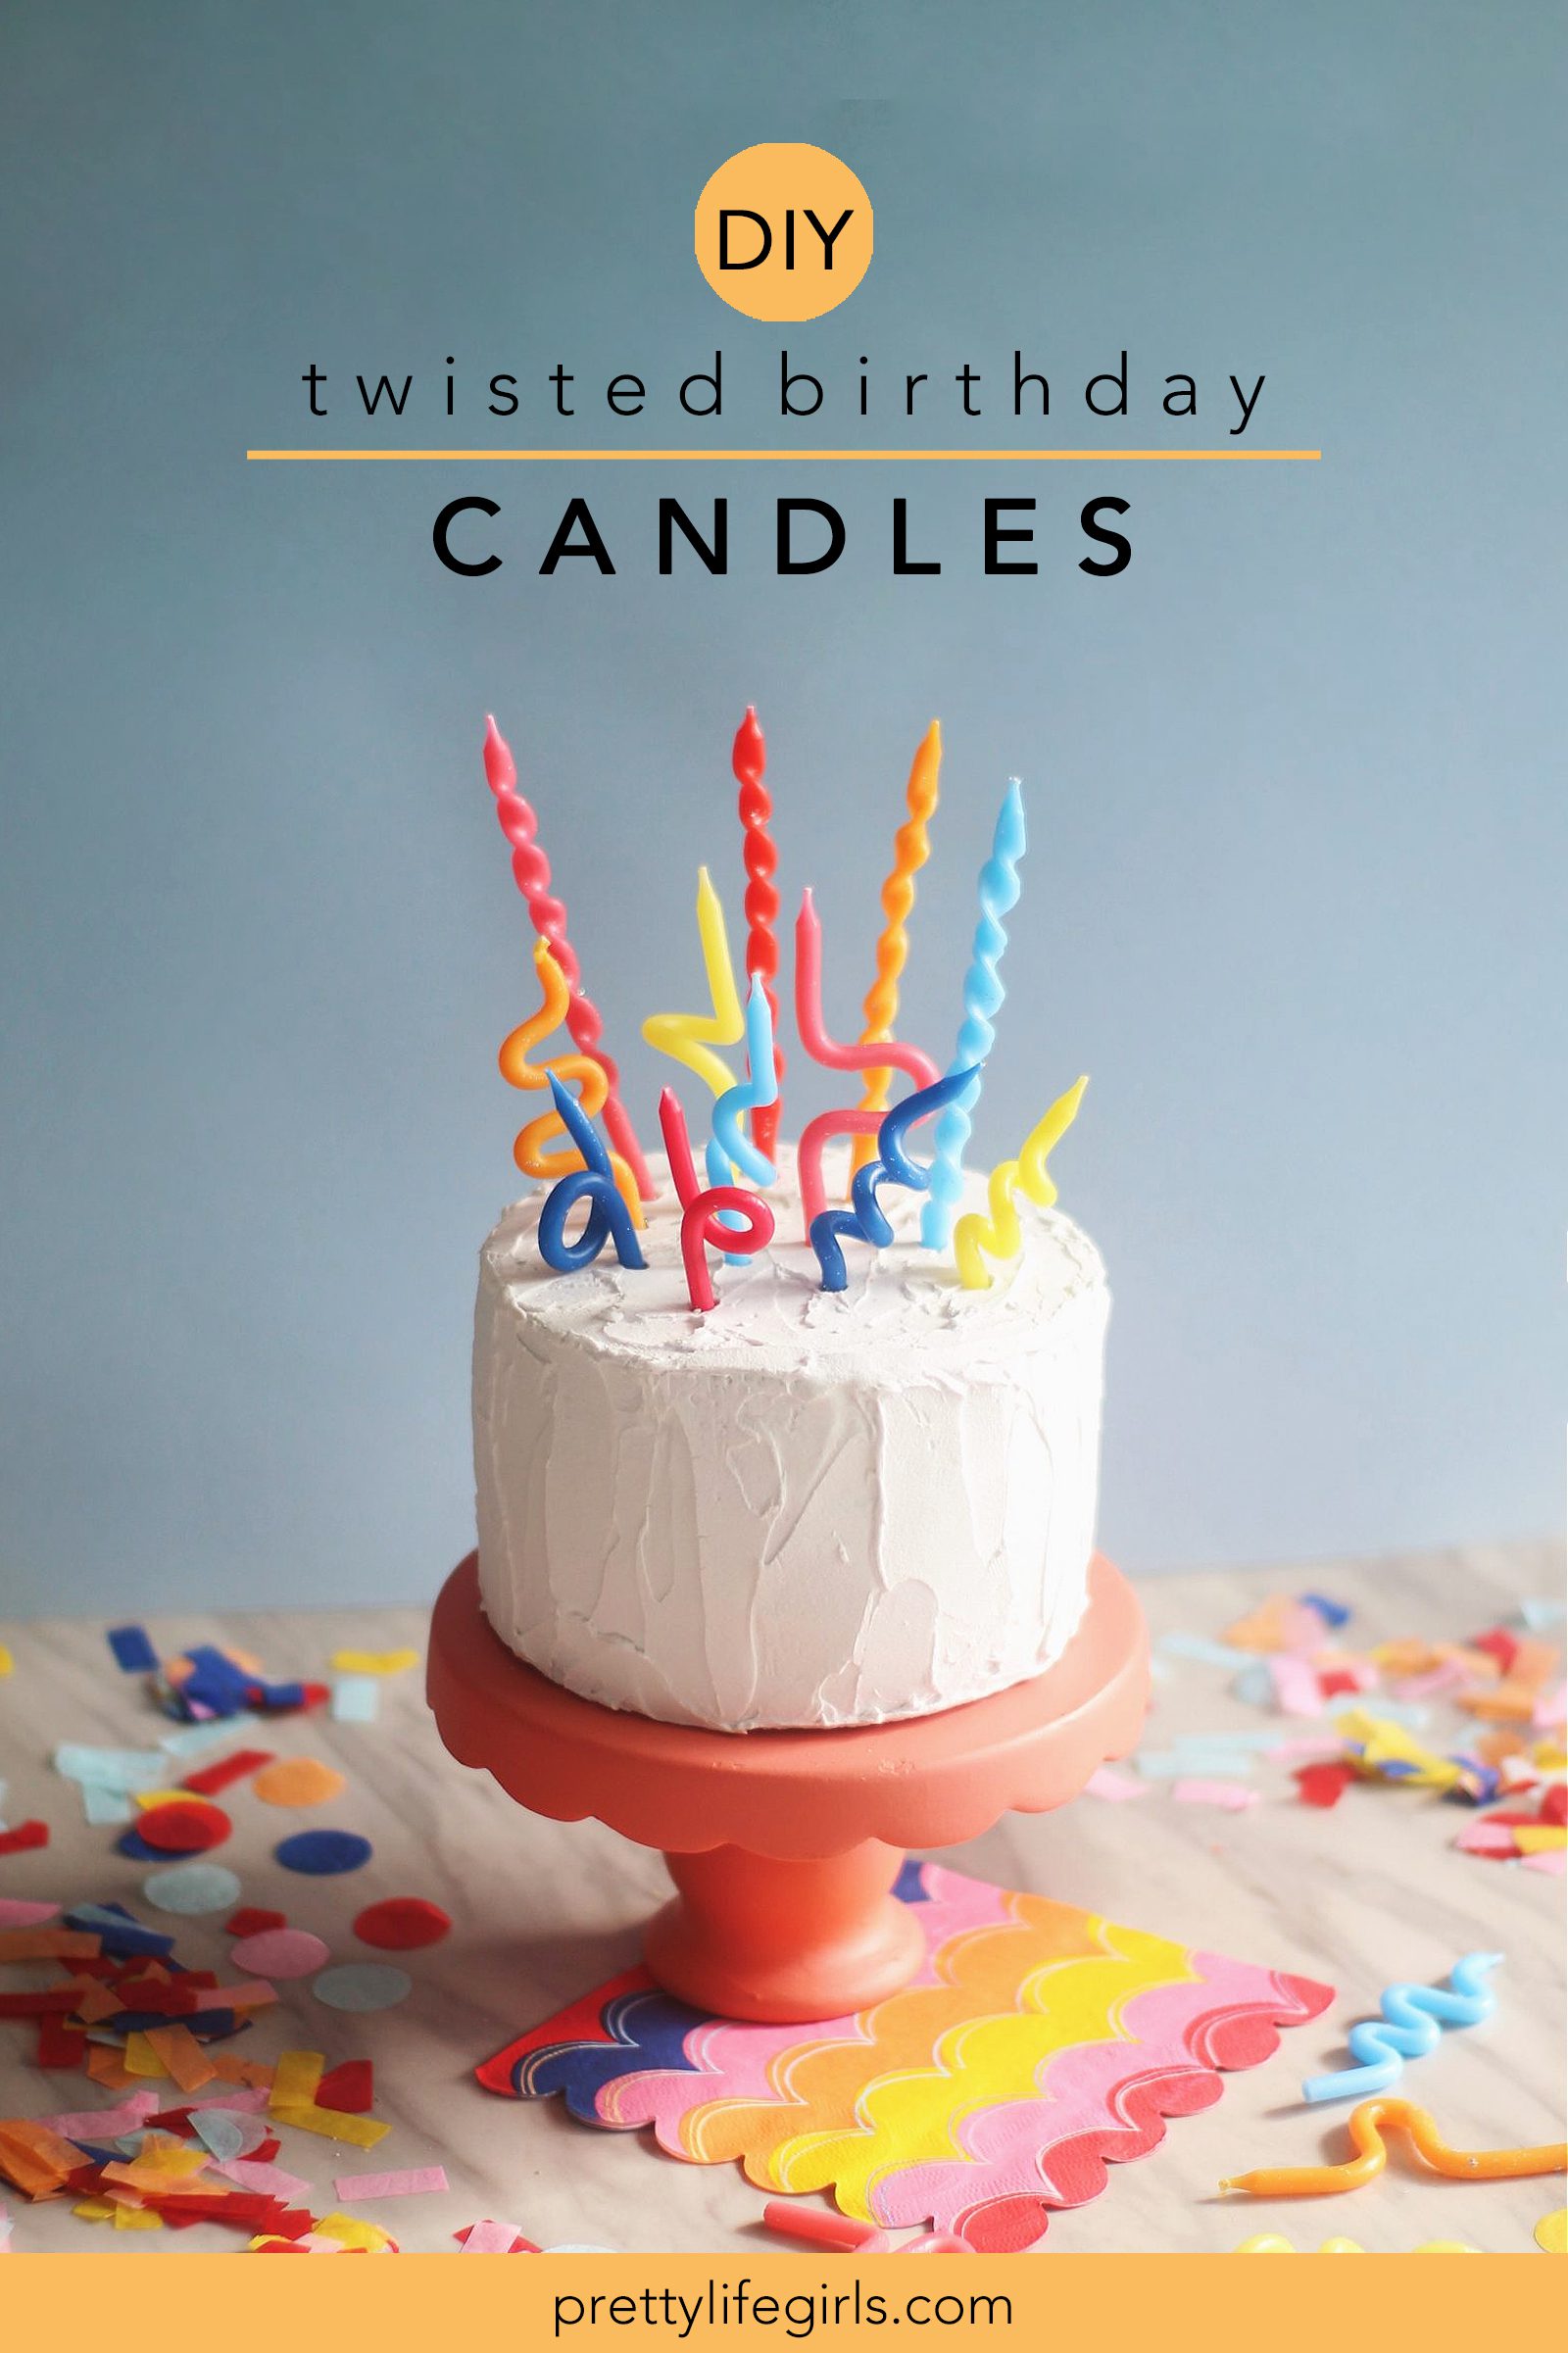
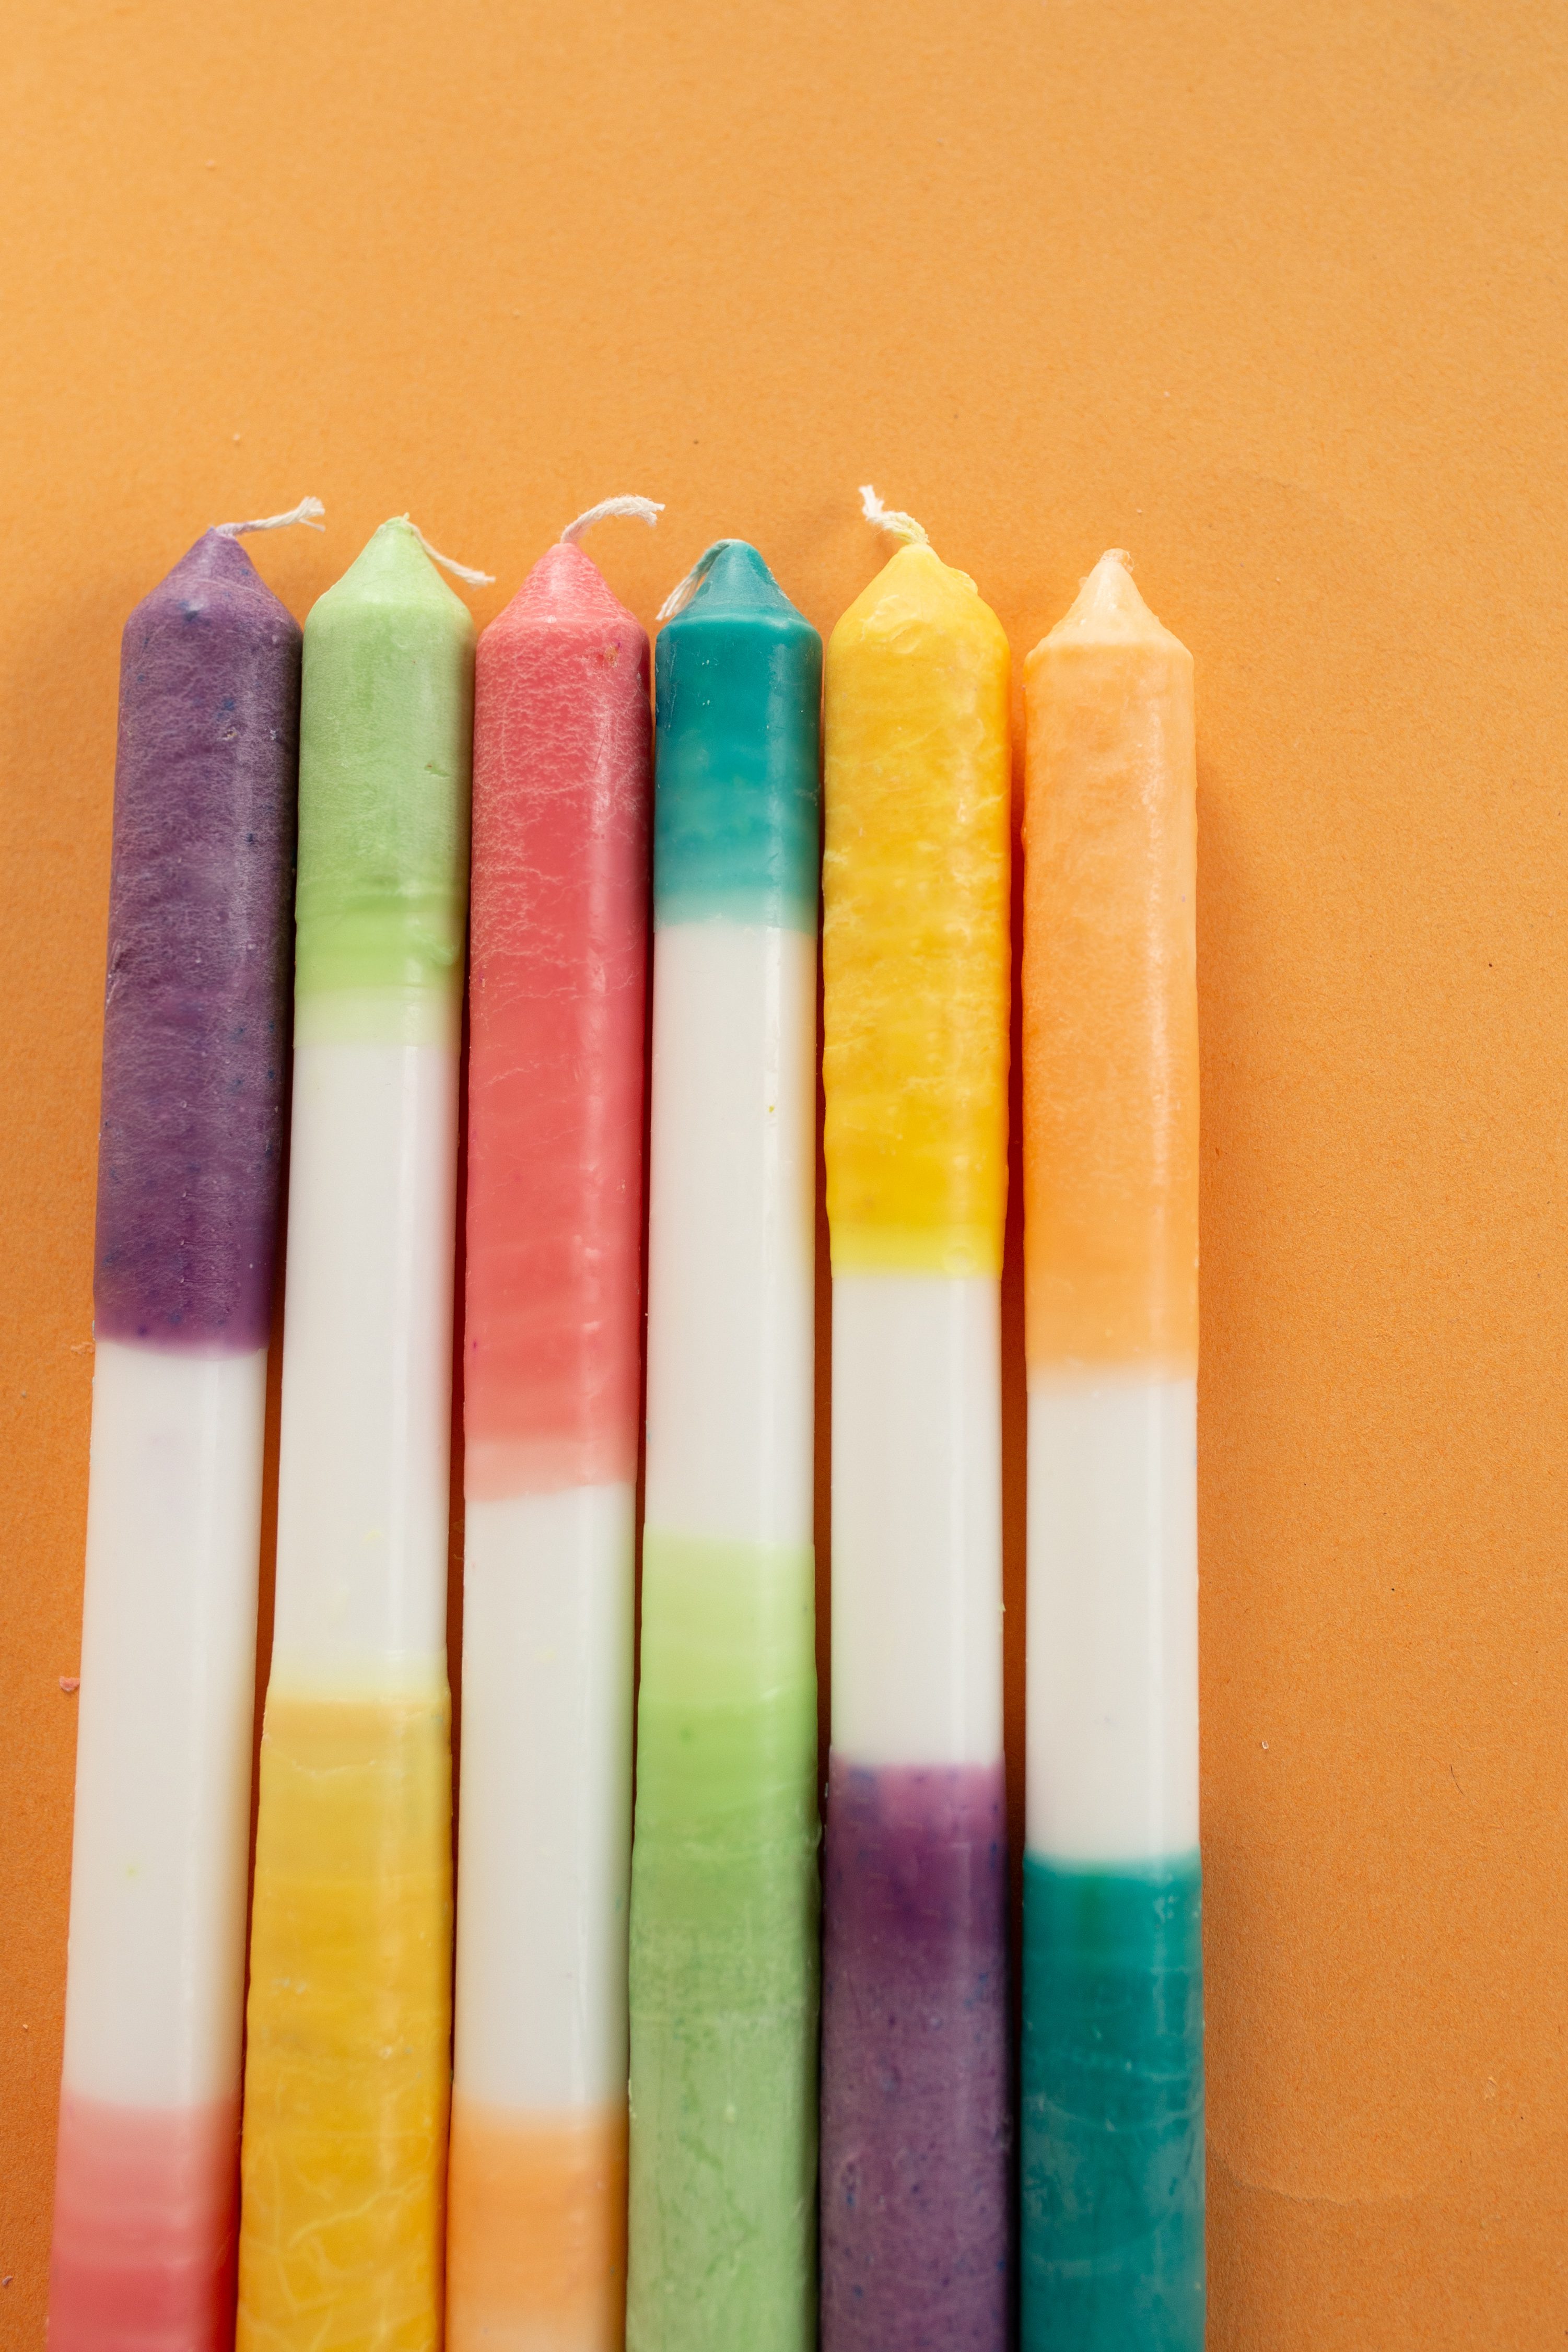
Earlier in the year we were on a major graphic candle kick. We poured them, painted them, bent them, twisted them and today we are back at it — we’re dipping them! The idea for these DIY Dip Dye Candles came about because we had a bunch of left over wax from the other candle projects we made and wanted to find a way to use it up. So, I scoured Pinterest and found a bunch of pretty dipped color blocked candles. To make them, you start with white taper candles, then dip them in colored wax! You can do this by making your own colored wax from flakes and candle dye, or you can melt down colored taper candles.
We love the idea of making these candles to fit a decor theme for a holiday or party or for matching the colors in your home. I mean, the 4th of July is just days a way and a set in red, white and blue would make the perfect centerpiece! We’ll show you how to do it and then you can choose the color scheme of your dreams. Here is what you need:
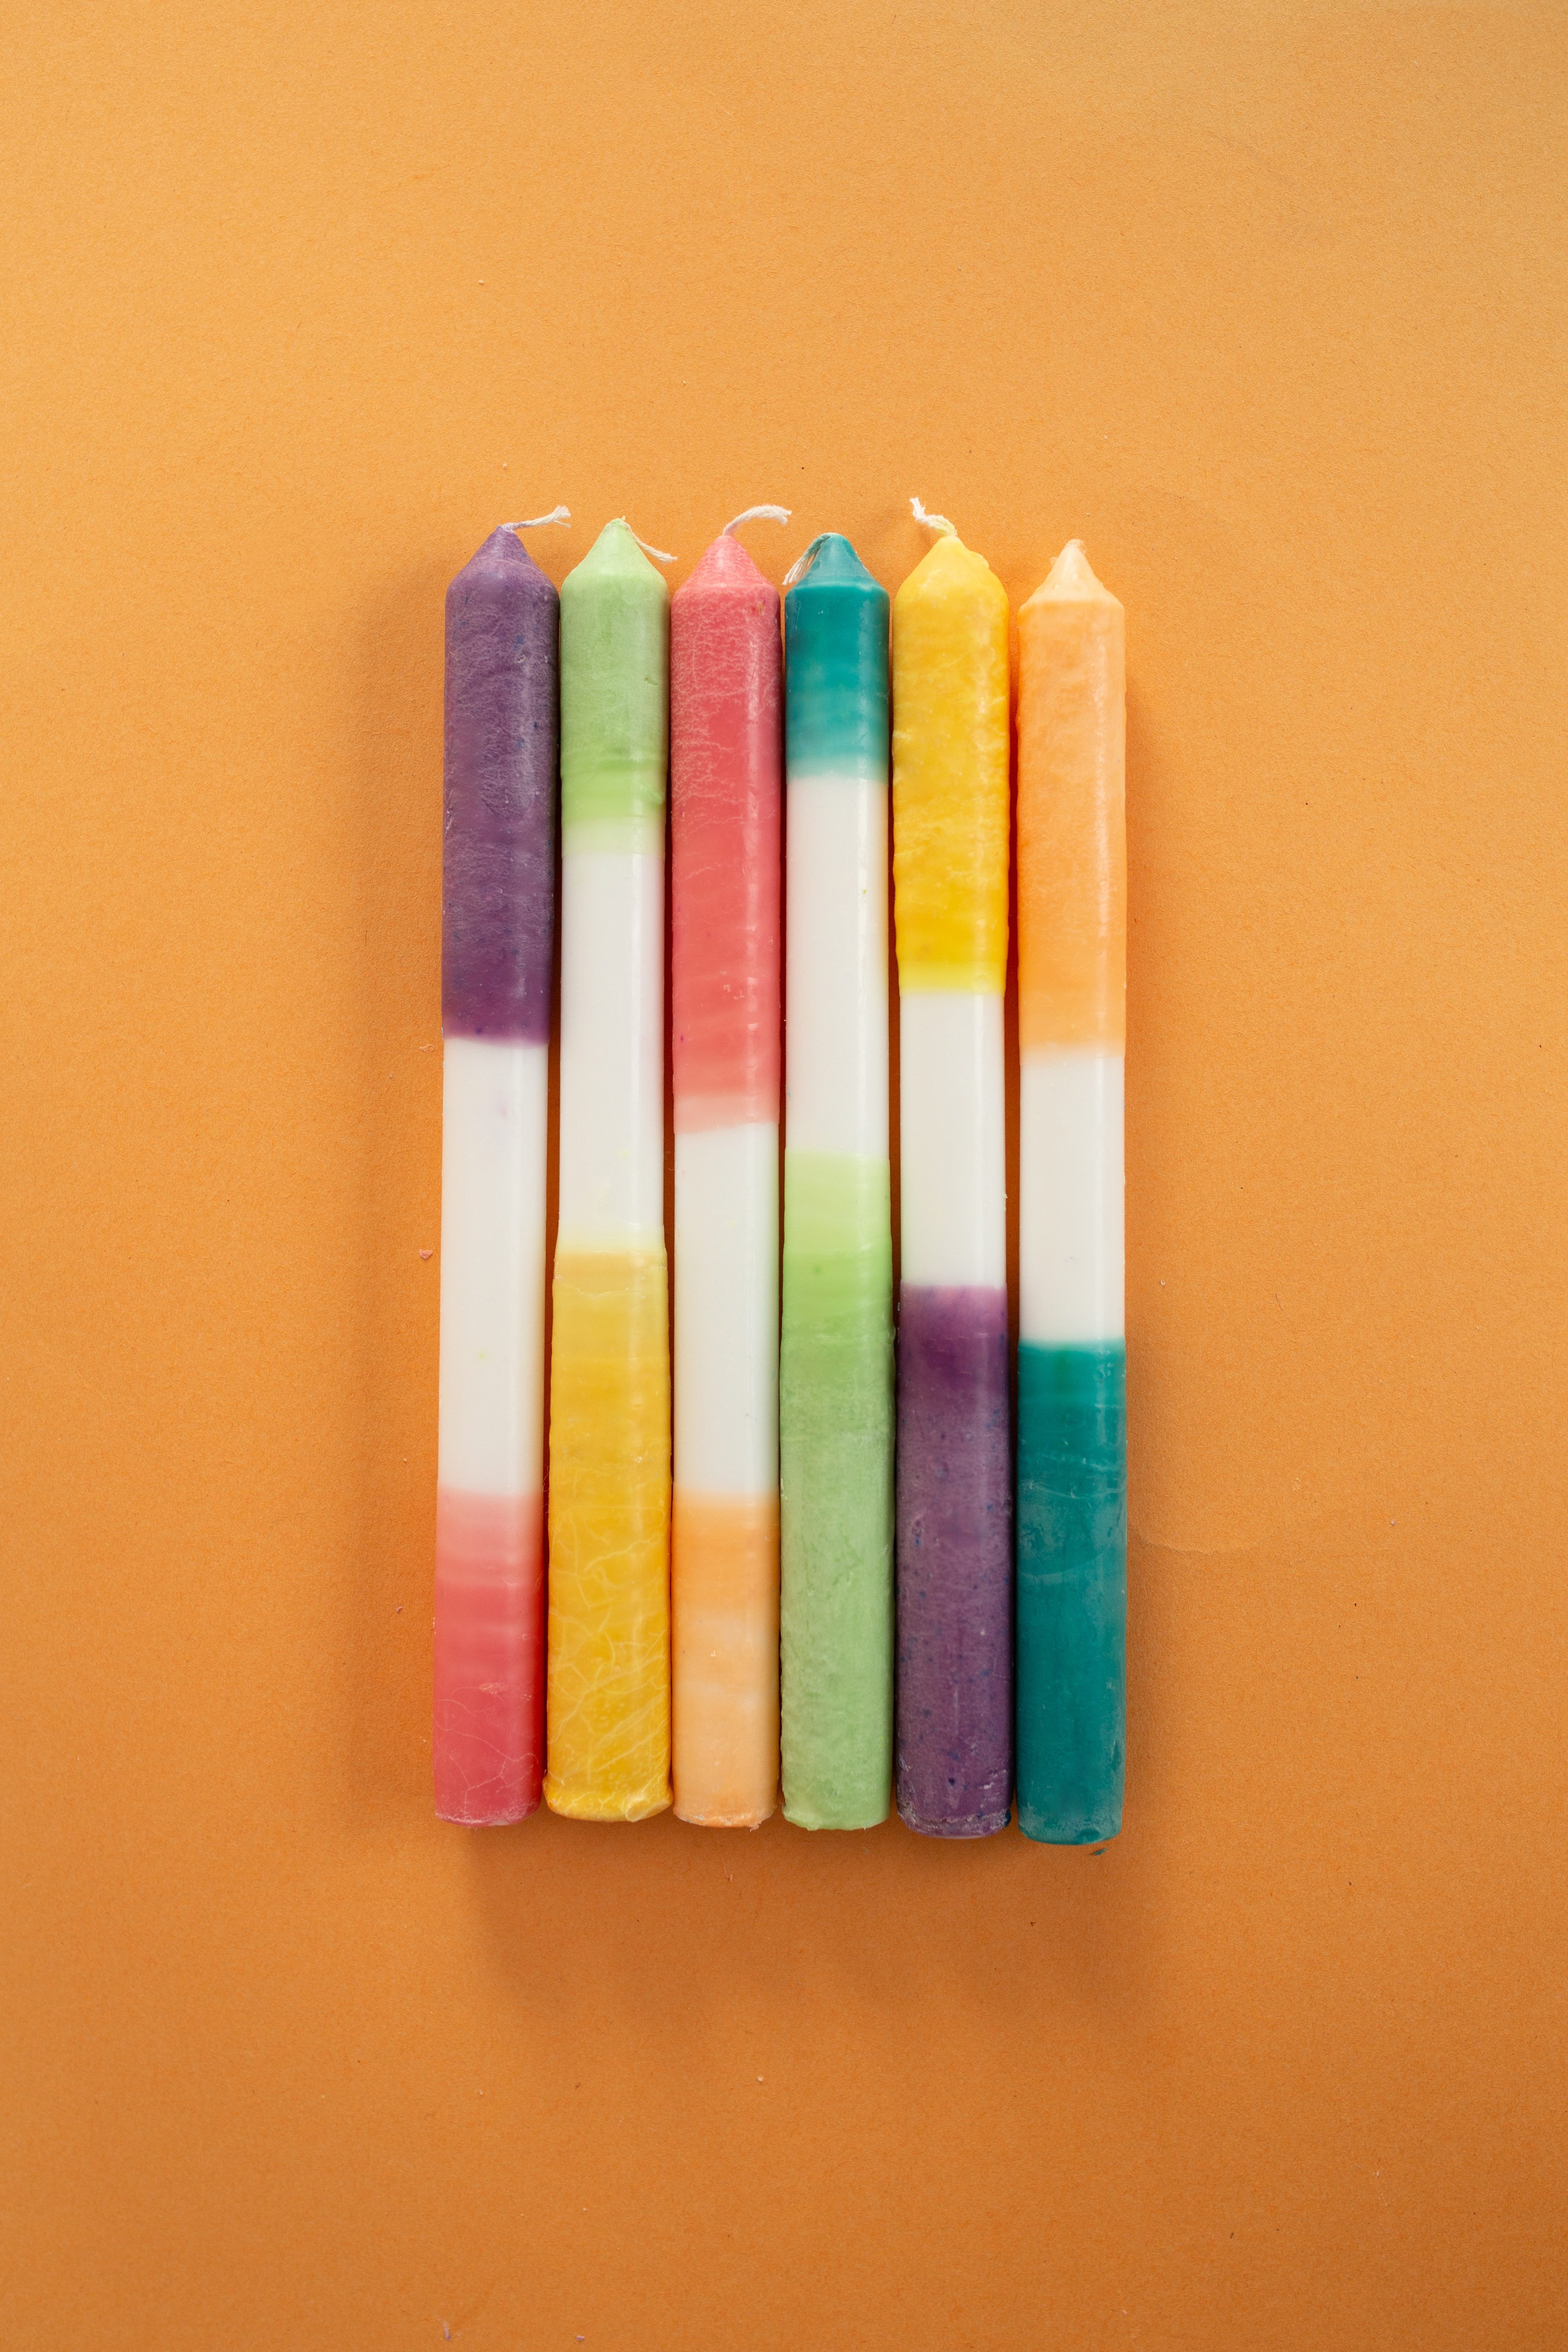

Supplies needed to make DIY Dip Dye Candles
White taper candles
Candle flakes
Candle dye
Disposable Foam Cups
Candle Melting Pot
Large Wooden Craft Sticks
Painter’s Tape
How to make DIY Dip Dye Candles
Step 1. Prepare the candles for dipping by wrapping the wicks in painter’s tape. Set aside.
Step 2. Melt the wax in the melting pot on the stove according to package directions.
Step 3. Break up the candle dye pieces into smaller bits to make it easier to melt and place each desired color in its own disposable foam cup.
Step 4. Once the wax in the pot is completely liquid, pour a couple of inches of the wax into each of the cups where the dye is prepared.
Step 5. Using a large wooden craft stick, stir the wax in each cup until the candle dye has dissolved completely.
Step 6. Once the dye has dissolved, dip one end of the white taper candles in the first desired color. If you pull the candle out of the wax and the color is not as vibrant as you’d like, re-dip until you have reached your desired shade.
Step 7. Once you are happy with the dipped color, hold the candle over the wax until it is no longer dripping, then put it in a candle stick to let dry, or set against something that will keep it upright.
Step 8. Repeat steps 6 and 7 with all of your desired colors, dipping on each end of each candle.
Step 9. Once all of the candles are dipped and set, remove painter’s tape and display.
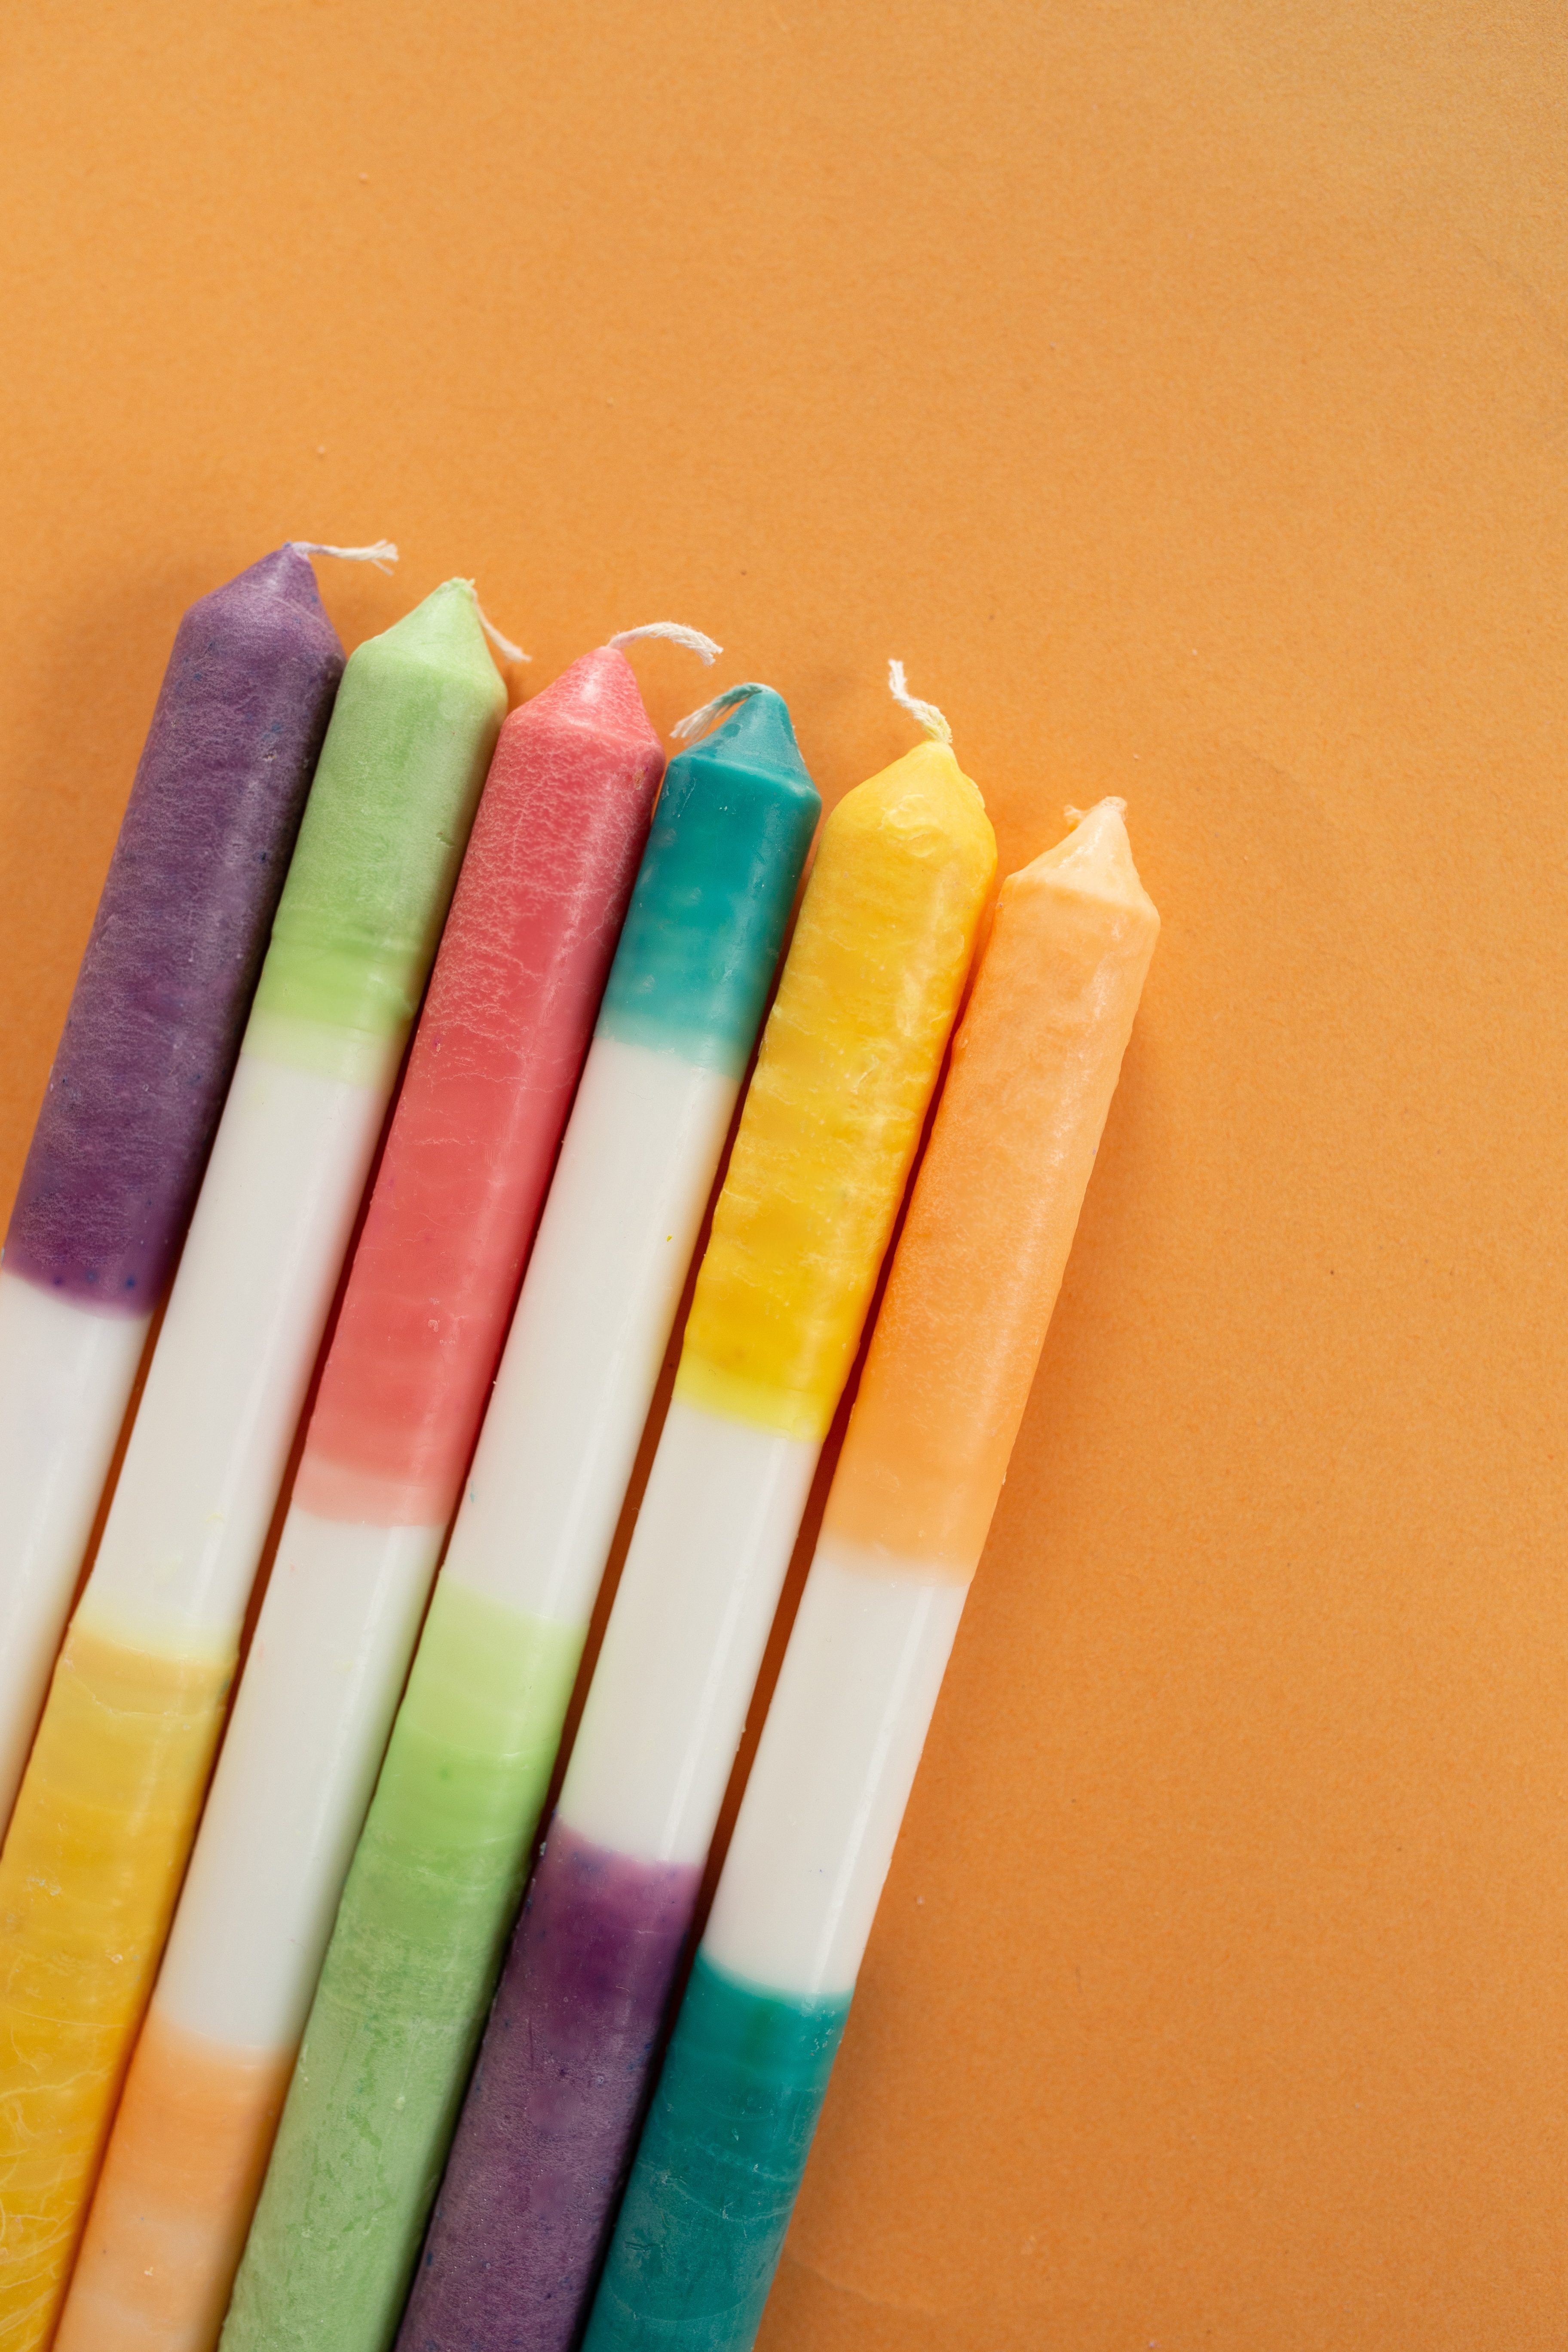

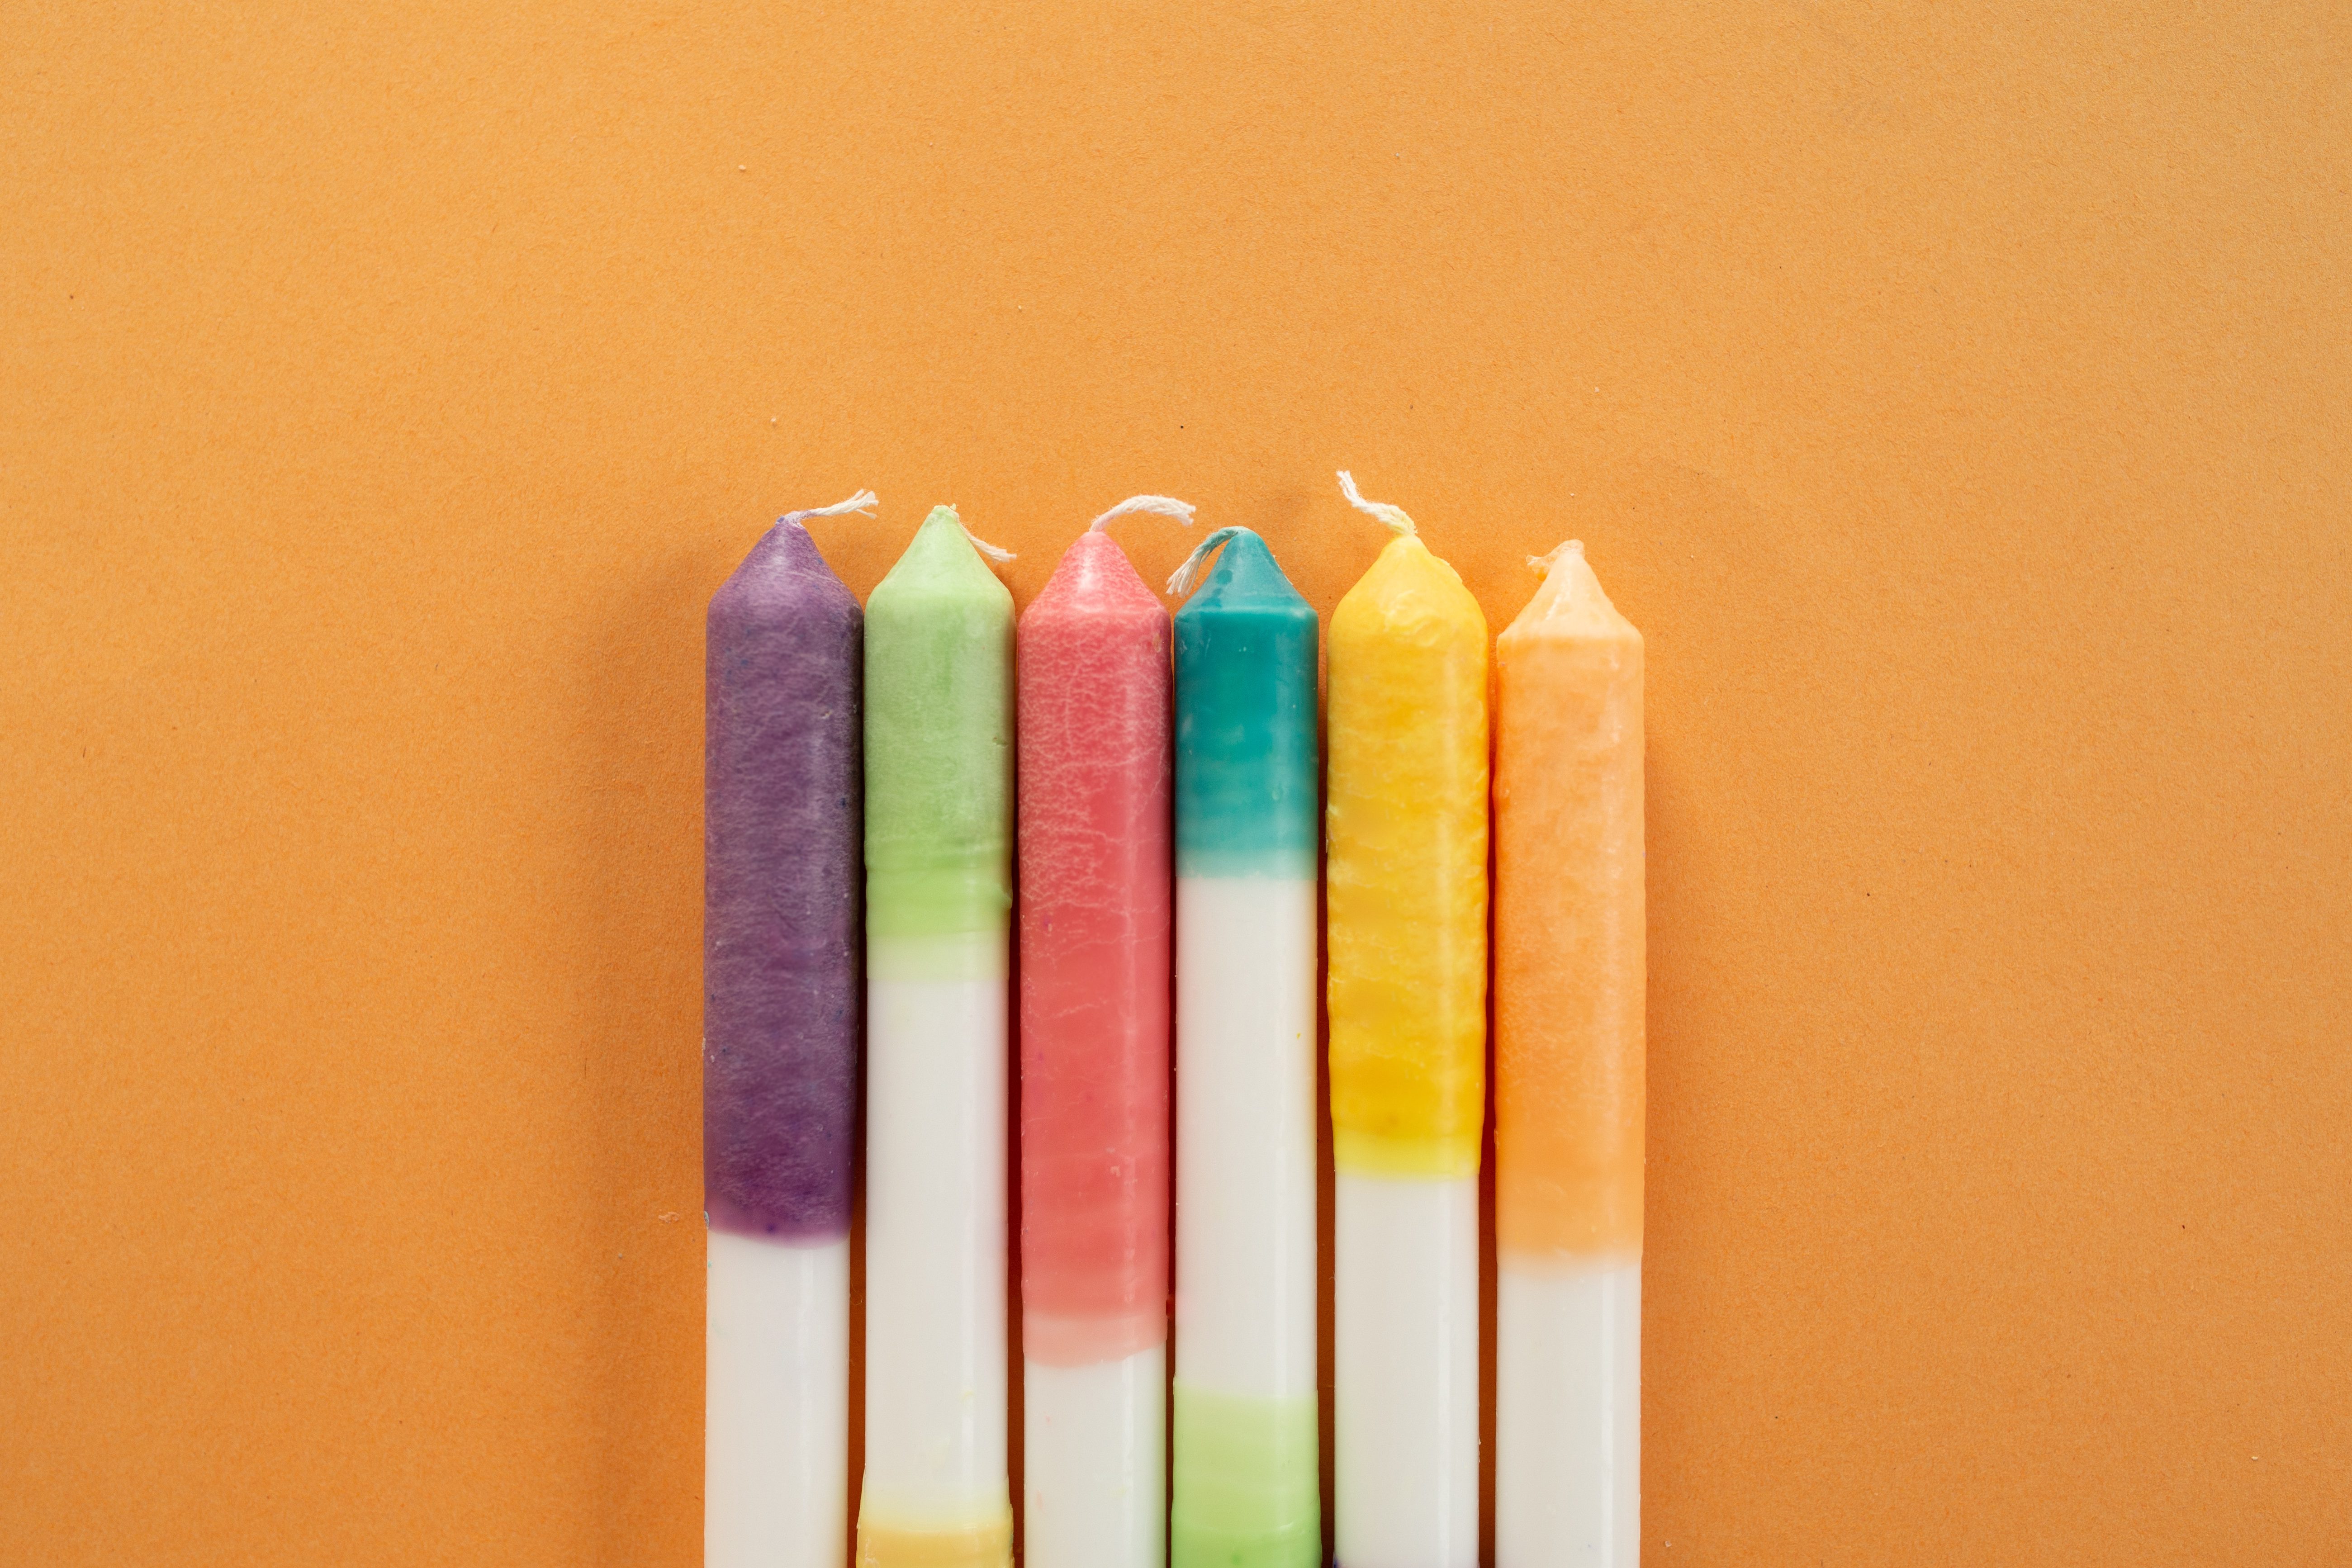

That’s it! Can’t you just imagine these beauties brightening up your bookcase or the table at a birthday party? We love them so much. And if you are already a candle maker (or have tried your hand at it a time or two), you probably have everything you need on hand!

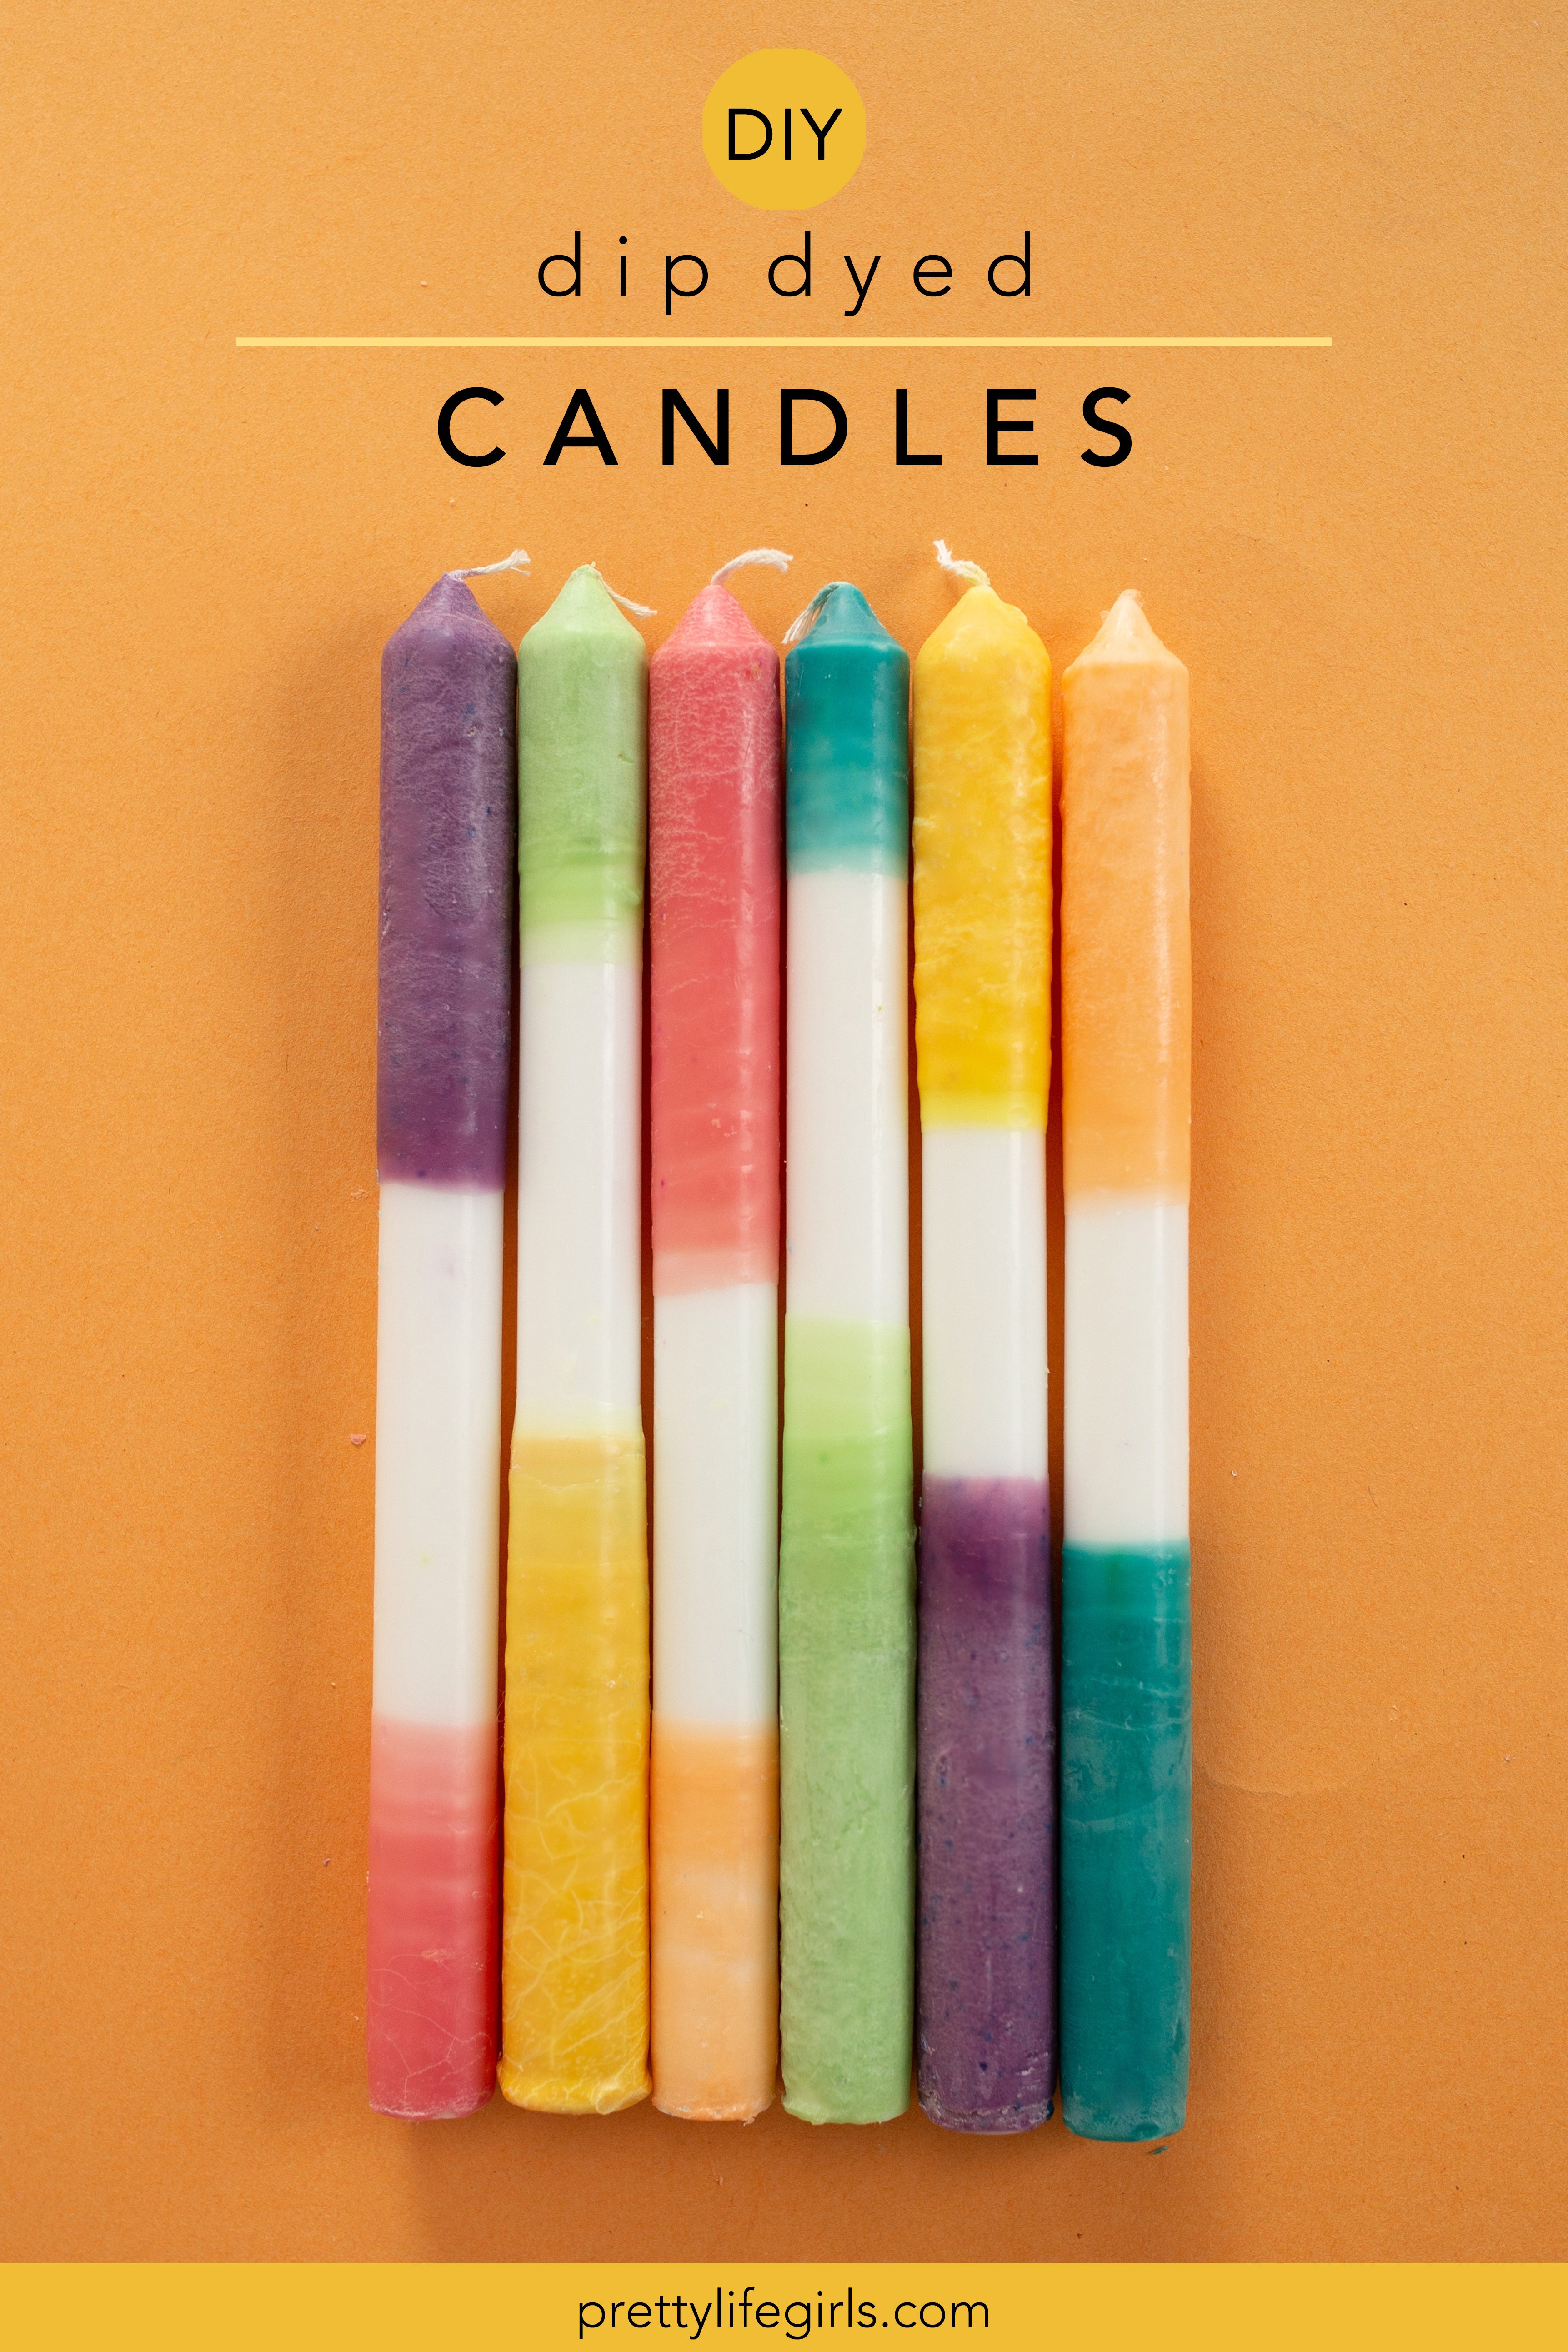

Happy making!
ox. Liz


