


This Silhouette Cameo Pro project is sponsored by Silhouette. All opinions are ours alone.
This post may contain affiliate links, which help us support this site.
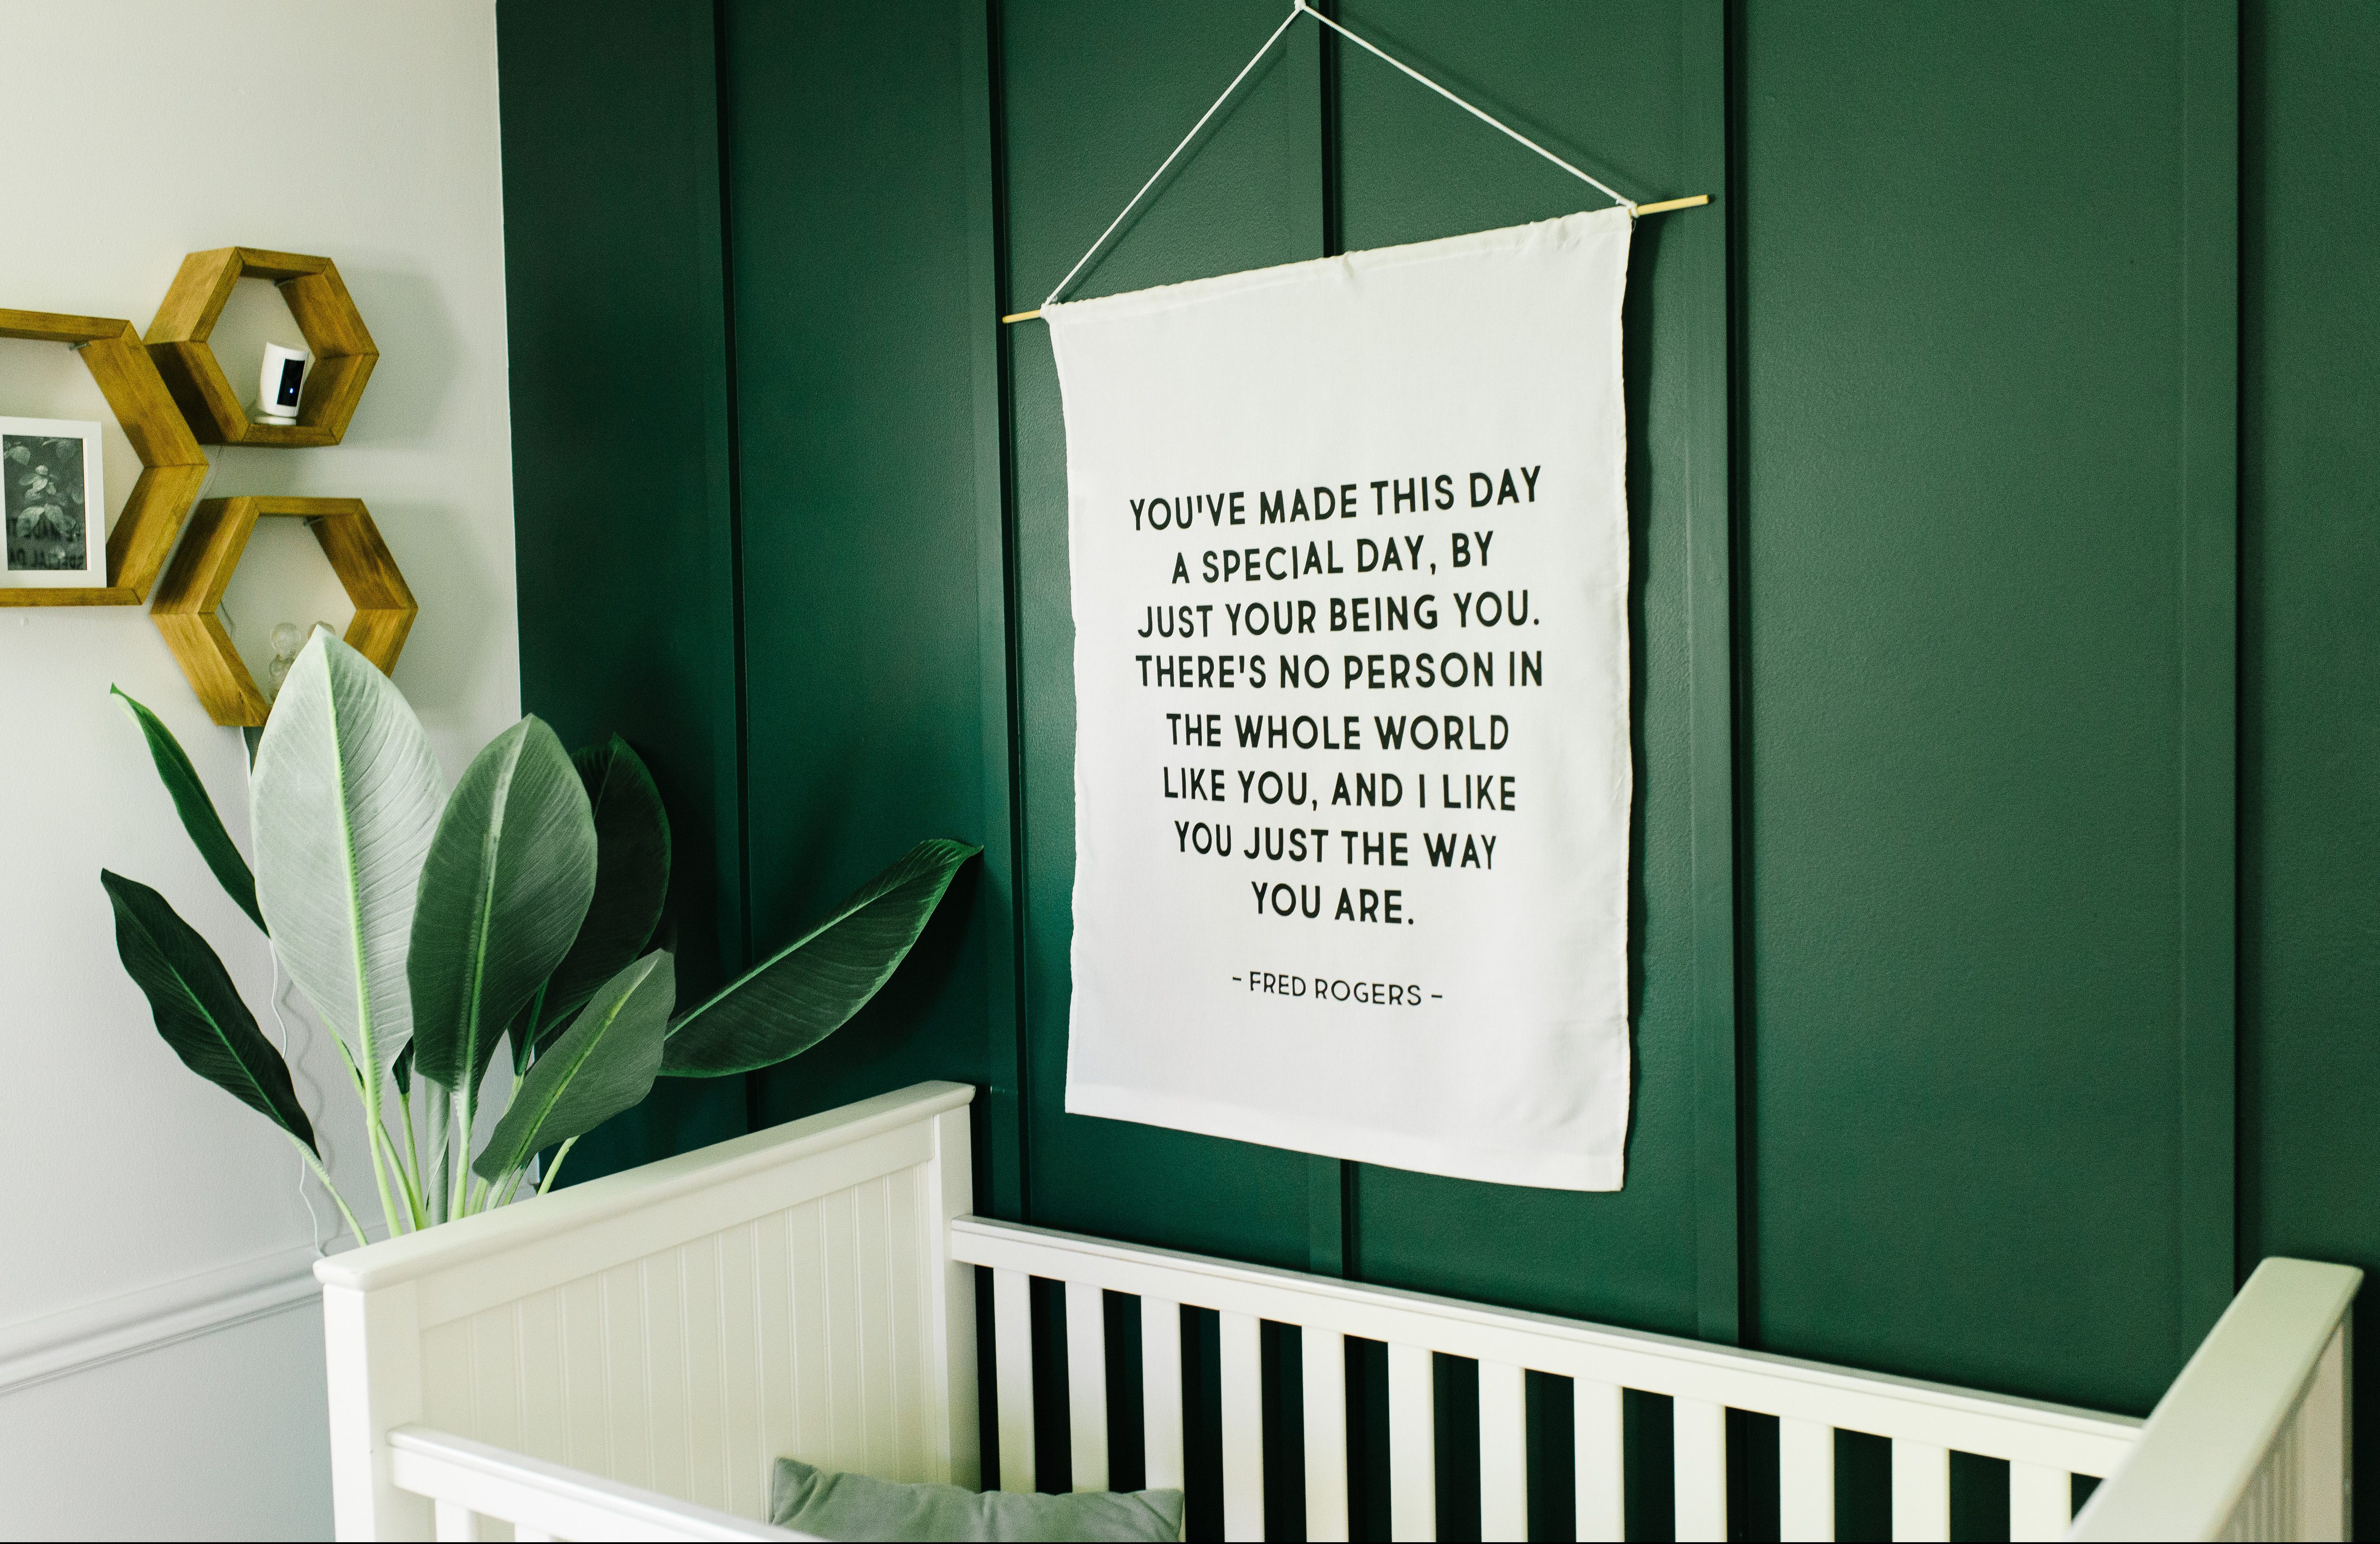
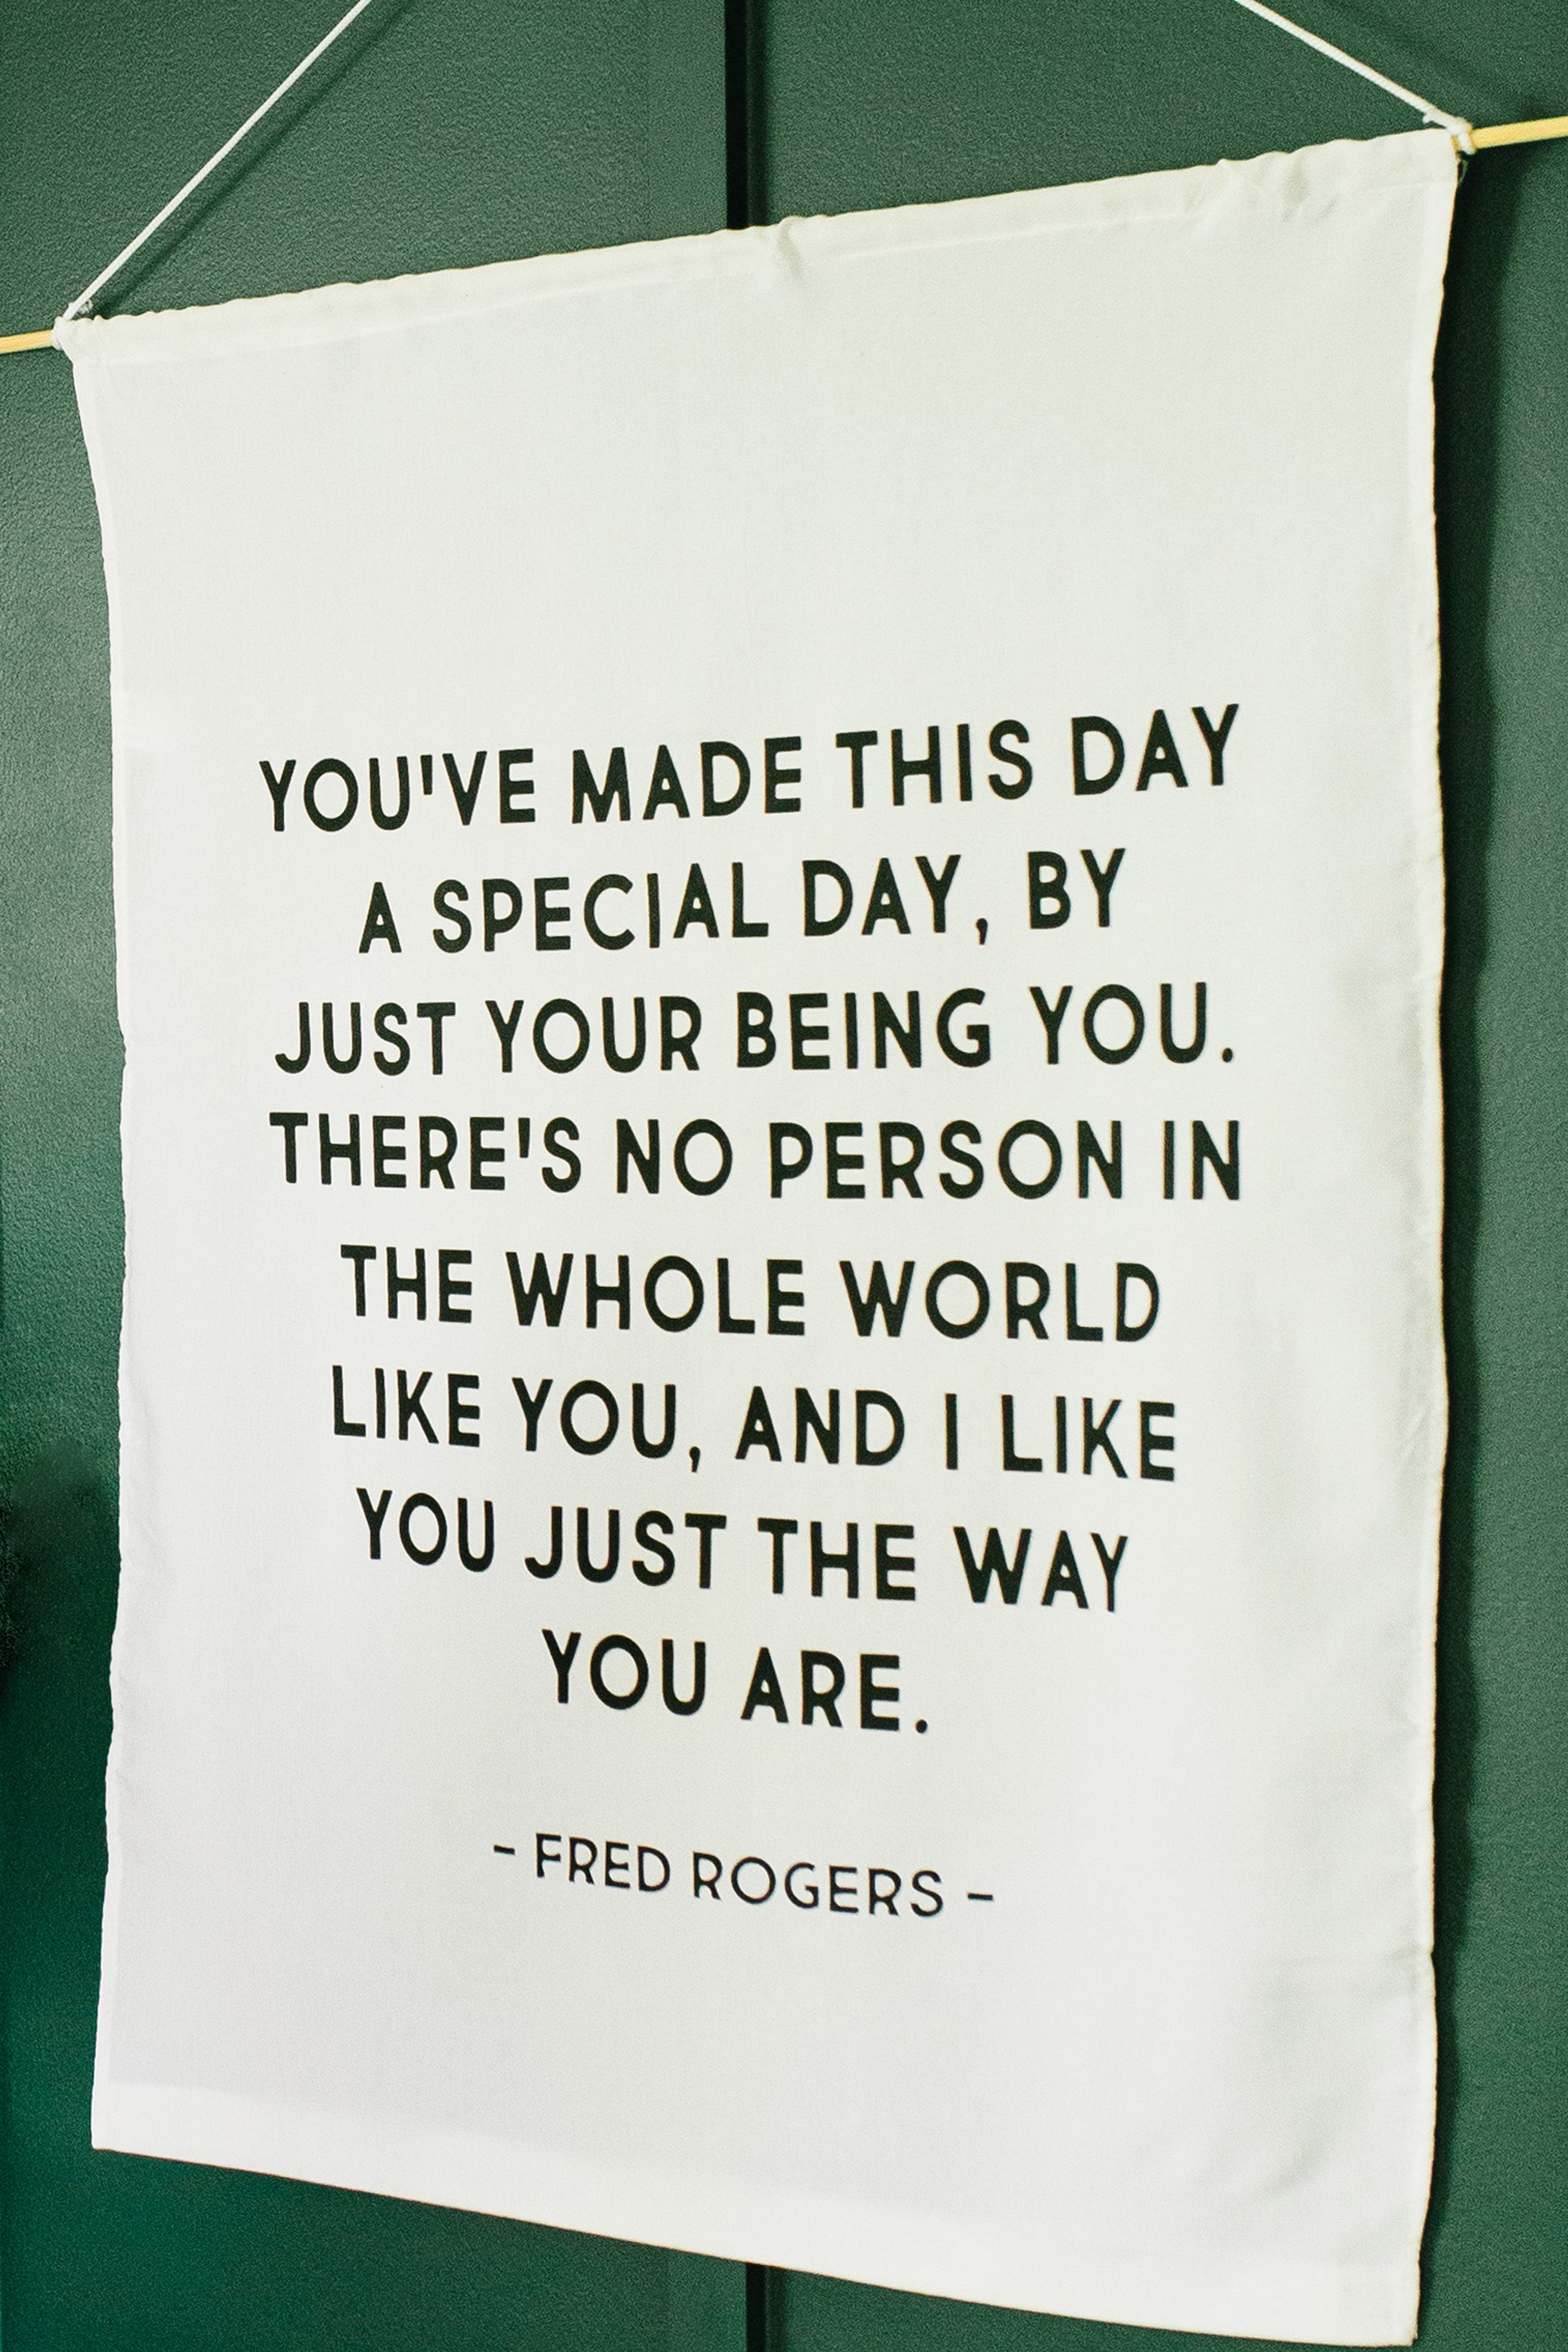
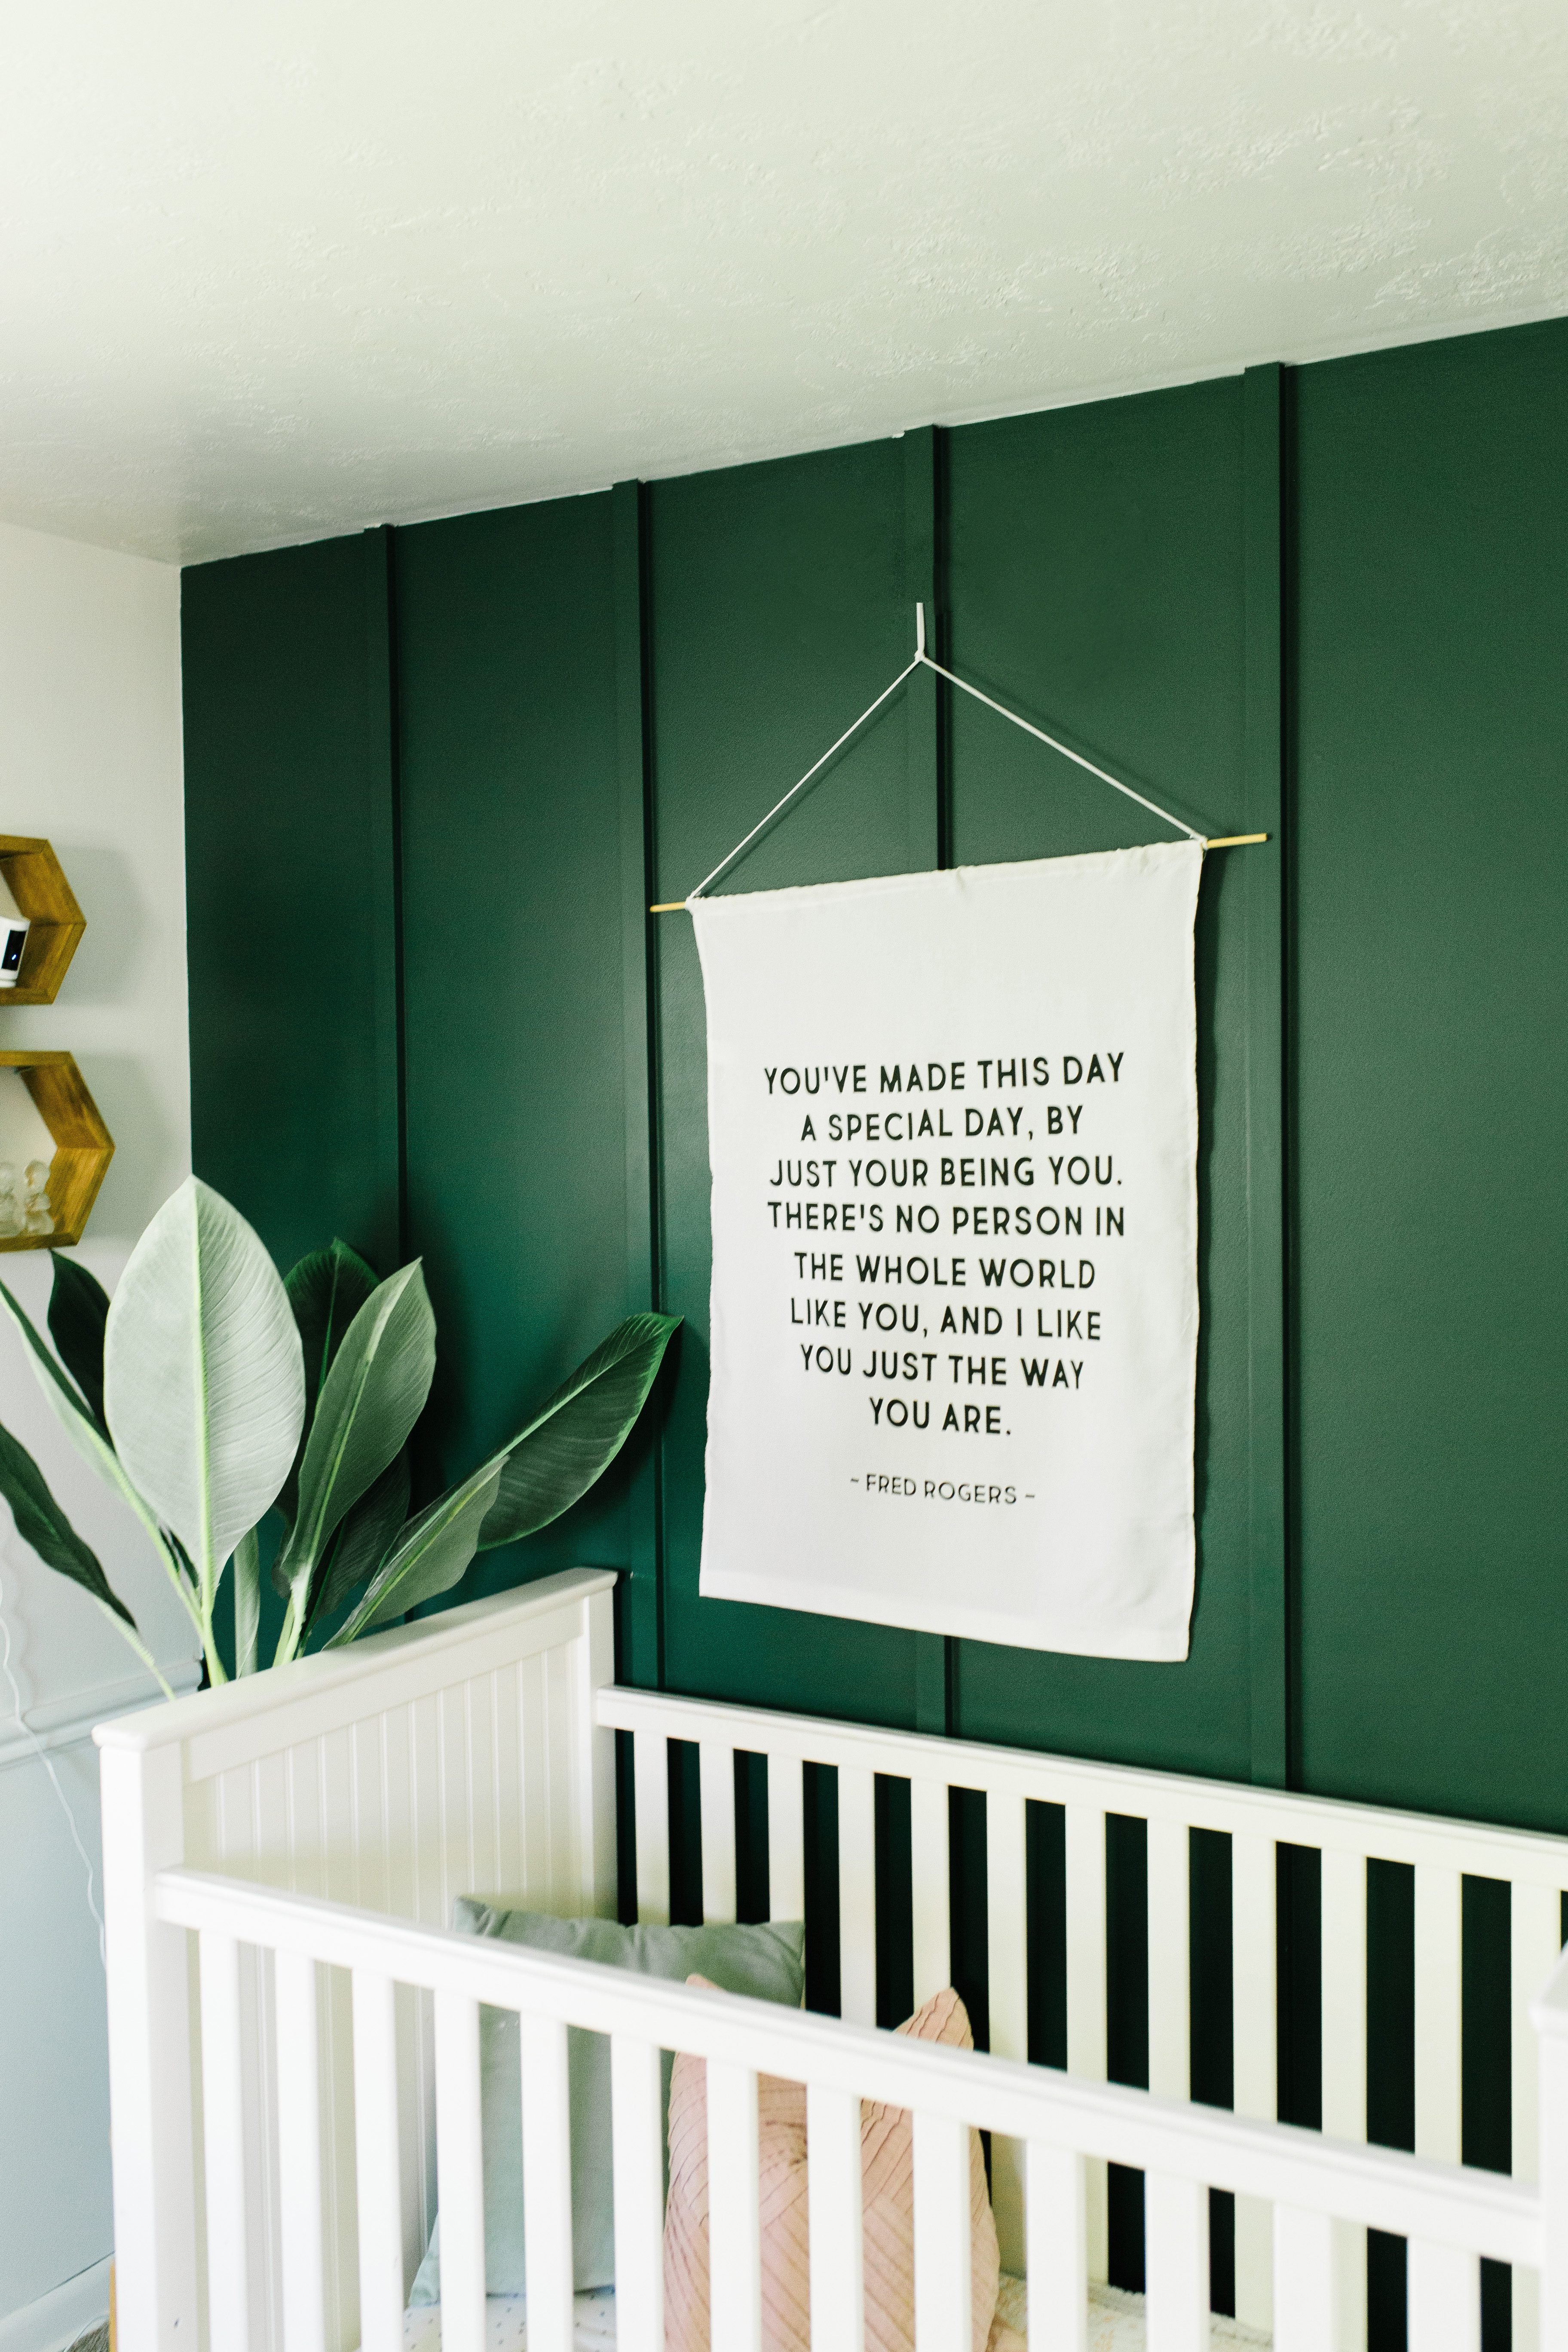
Oversized wall art is a major trend but it can be so pricey to purchase from home decor boutiques. It’s so fun to find a large piece with a meaningful saying to put in in your space, especially if you have a large wall that could use something of that scale, but the price tag can be painful! That’s why when I recently found a large piece of wall art with one of my favorite Mr. Roger’s quotes at a boutique and saw that it was nearly $200, I knew I had to turn to DIY! Luckily, with the amazing Silhouette Cameo Pro that can cut 24″ vinyl, it is shockingly easy to make creating on a large scale happen in a snap!
To make this DIY Large Wall Banner Quote with the Silhouette Cameo Pro, we typed the quote into Silhouette Studio, cut it out nice and big using the Silhouette Cameo Pro on heat transfer vinyl and ironed it on an oversized piece of canvas to make the large-scale wall hanging of my dreams. You guys! This machine makes BIG happen without even breaking a sweat. Let us show you how to do it:
Supplies needed to make a Large Wall Banner Quote
Silhouette Cameo Pro
20″ Heat Transfer Vinyl
Canvas Banner
How to make a Large Wall Banner Quote
Watch the video, or read the steps below!
Step 1: Create and arrange your design with Silhouette Studio. We simply typed the quote we wanted using one of the Silhouette Studio fonts and arranged it in Studio, then sized it to fit our banner. Since you will be cutting it on heat transfer vinyl and ironing it onto fabric, be sure to mirror your design.
Step 2: Load your heat transfer vinyl into your Silhouette Cameo Pro and send your design to cut. (For extra tips and tricks for cutting with a Silhouette machine, see this post.)
Step 3: Unload your design from your machine and weed any excess using a weeding hook.
Step 4: Place the weeded design htv-side-down on your desired fabric. Cover with a napkin or teflon sheet and press with a hot and dry iron in 30 second increments. Then, lift the backing sheet to see if it has adhered. If the htv lifts, press the design with the iron again. Repeat until the design has adhered to your fabric completely. Then, peel back the backing sheet to reveal your design!

Isn’t it the sweetest? So perfect for a nursery, playroom or bedroom and so simple to make using that big, powerful, Silhouette Cameo Pro! What would you make with that magic machine?


Happy making!
ox. Liz and Sam
Check out these other Silhouette project ideas!
 Silhouette Cameo Pro Christmas Print
 3D Large Scale Rainbow Wall Art
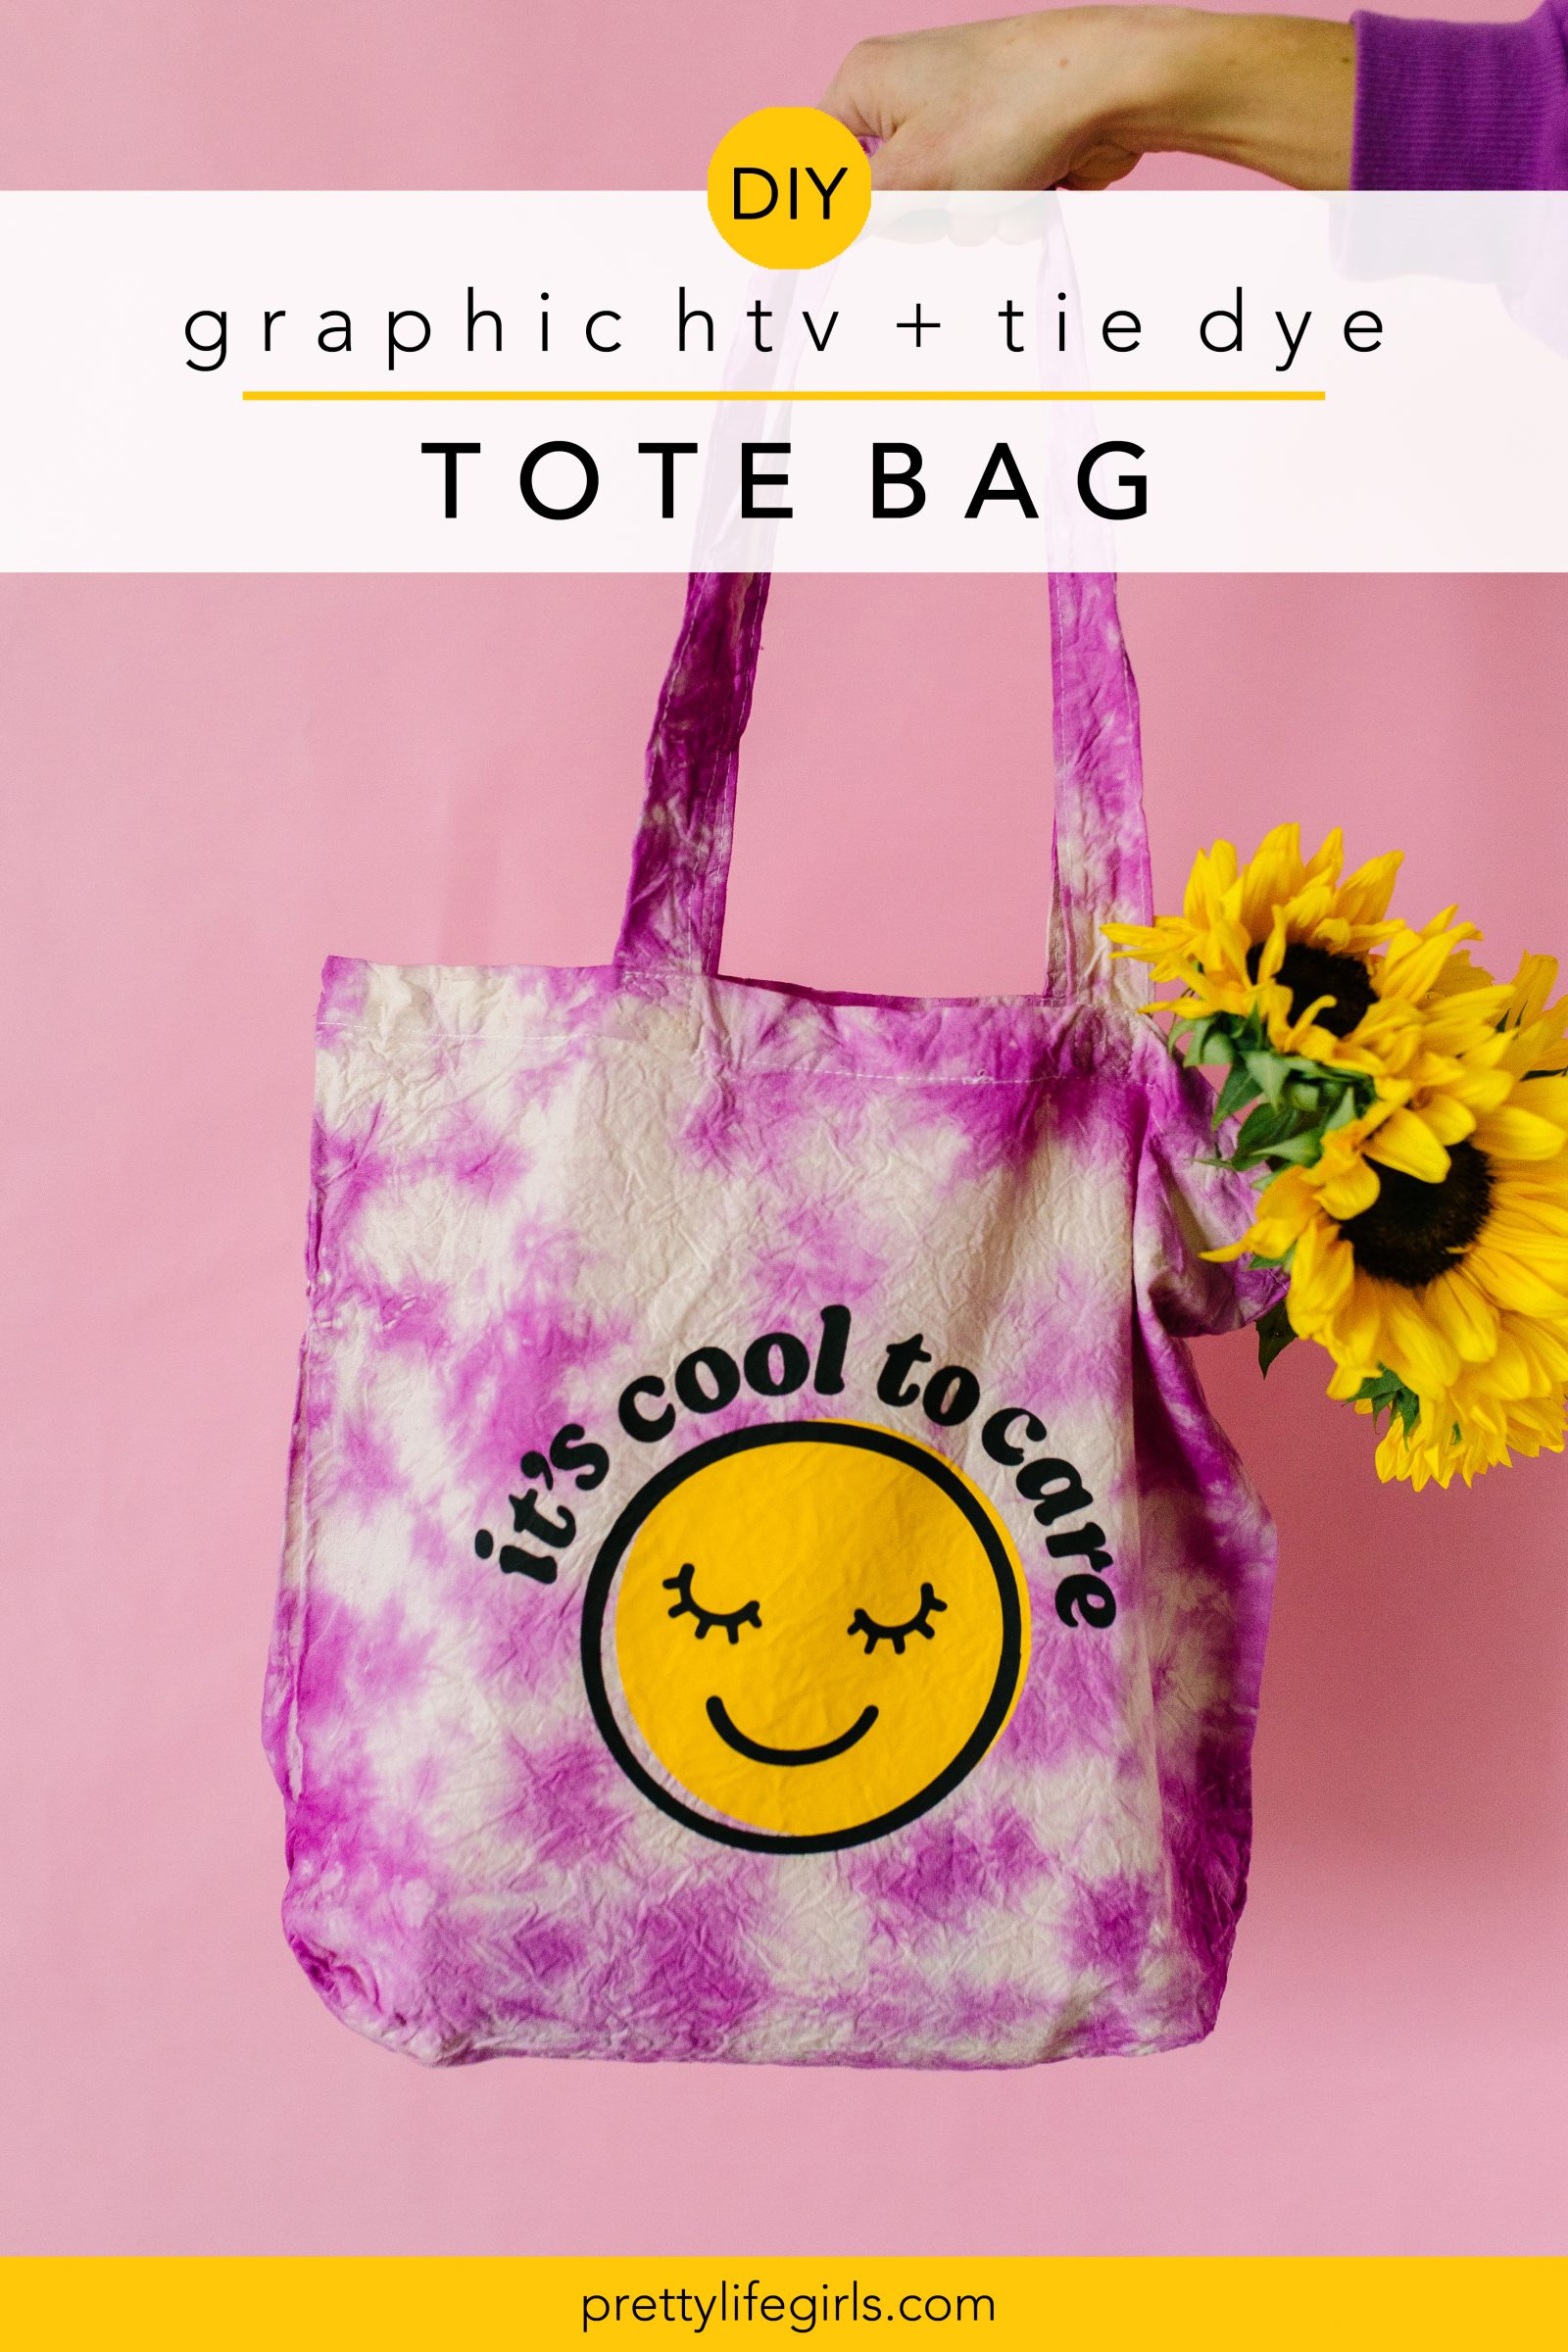 DIY Graphic HTV Tote Bag with Tie Dye
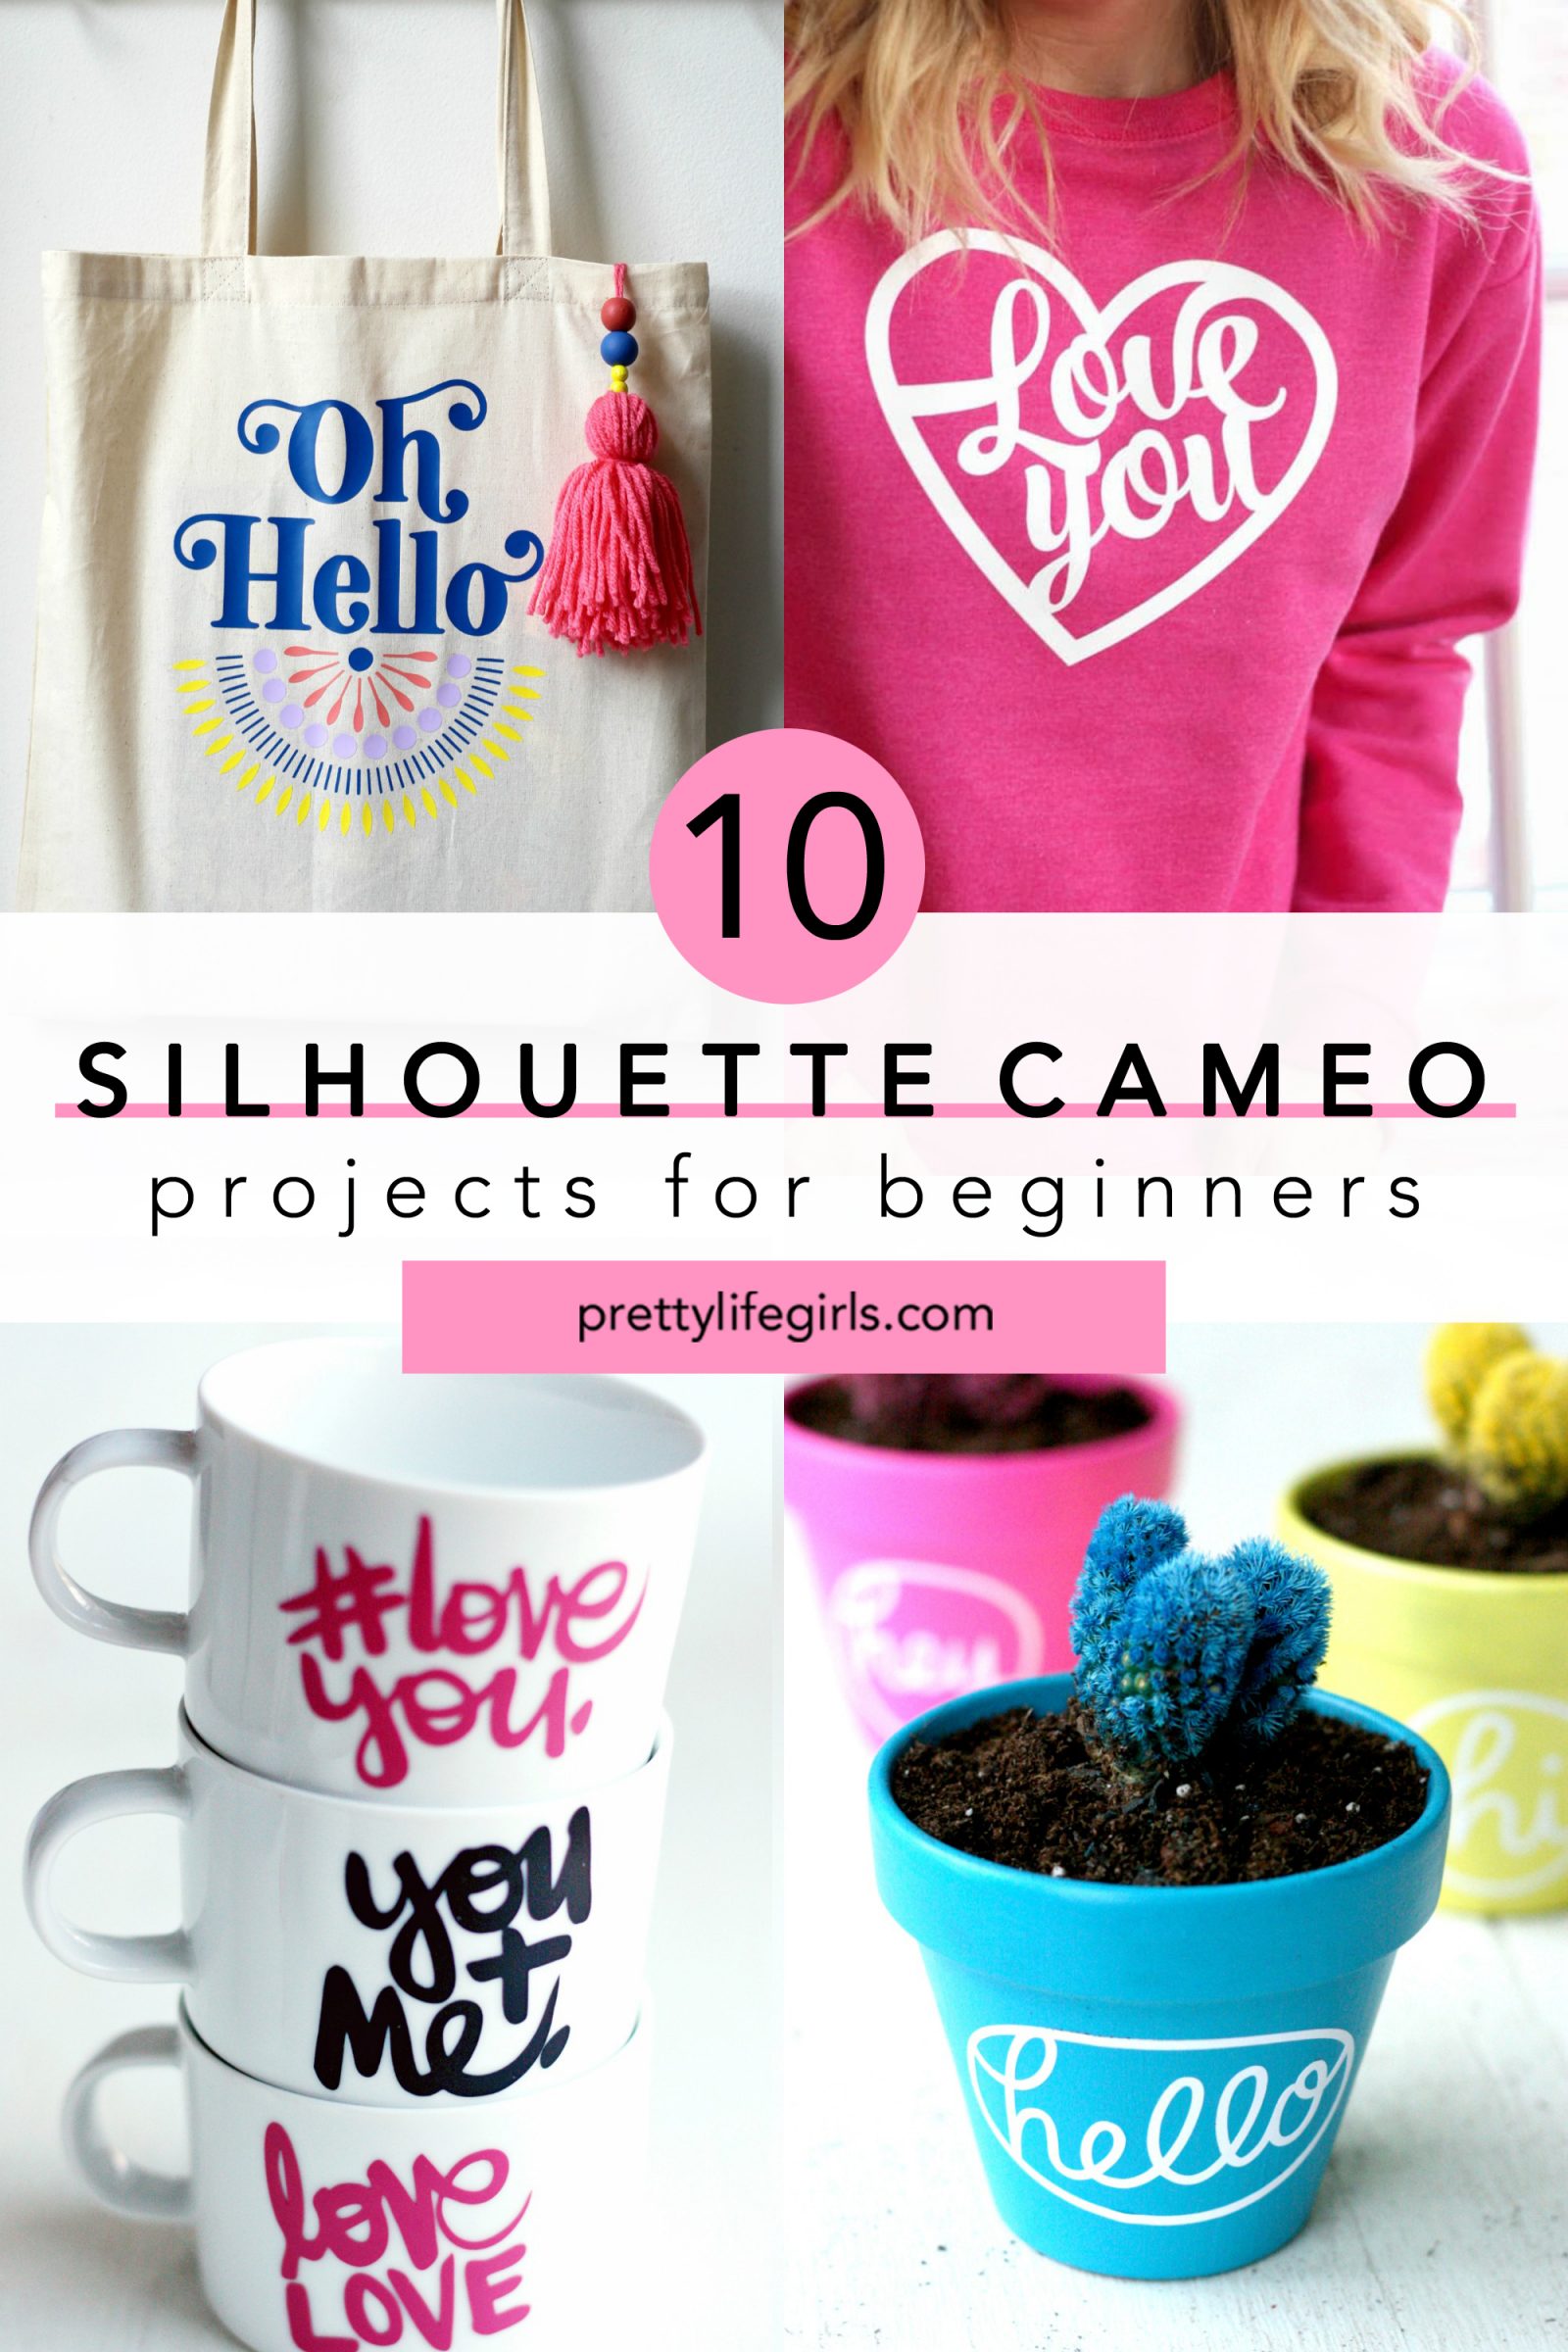 10 Silhouette CAMEO Projects for Beginners

