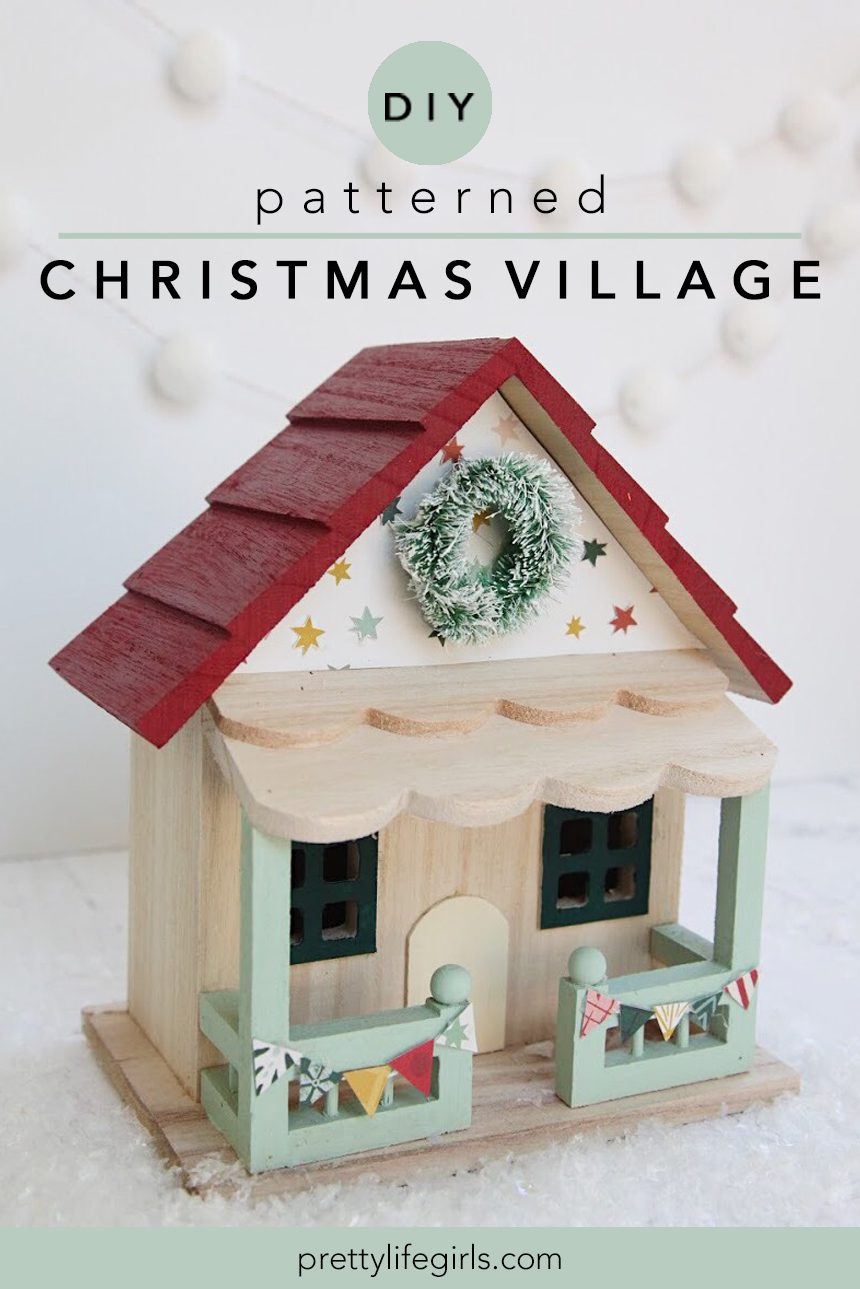
Tiny houses are a THING at Christmas, aren’t they? We love tiny Christmas villages and gingerbread houses and this year at Target I watched as a couple of ladies fought over the last set of small wooden Christmas houses in the dollar spot. It didn’t come to blows, but there was definite fist-fight ENERGY. I think we love them because we can mold and decorate charming little Christmas dream homes with them and also they are so CUTE.
As a result of our tiny holiday house affections, today I’m showing you how to make a set you’re sure to love, this time from paper! This DIY paper house ornament tutorial is so fun – the houses can be put together in a snap with a simple design from the Silhouette Design store and your Silhouette cutting machine of choice (I use a Silhouette CAMEO 4 at the moment). These are so much fun to make because the possibilities for color combinations and designs are endless since they are made with patterned scrapbook paper! Here is what you’ll need to make them:
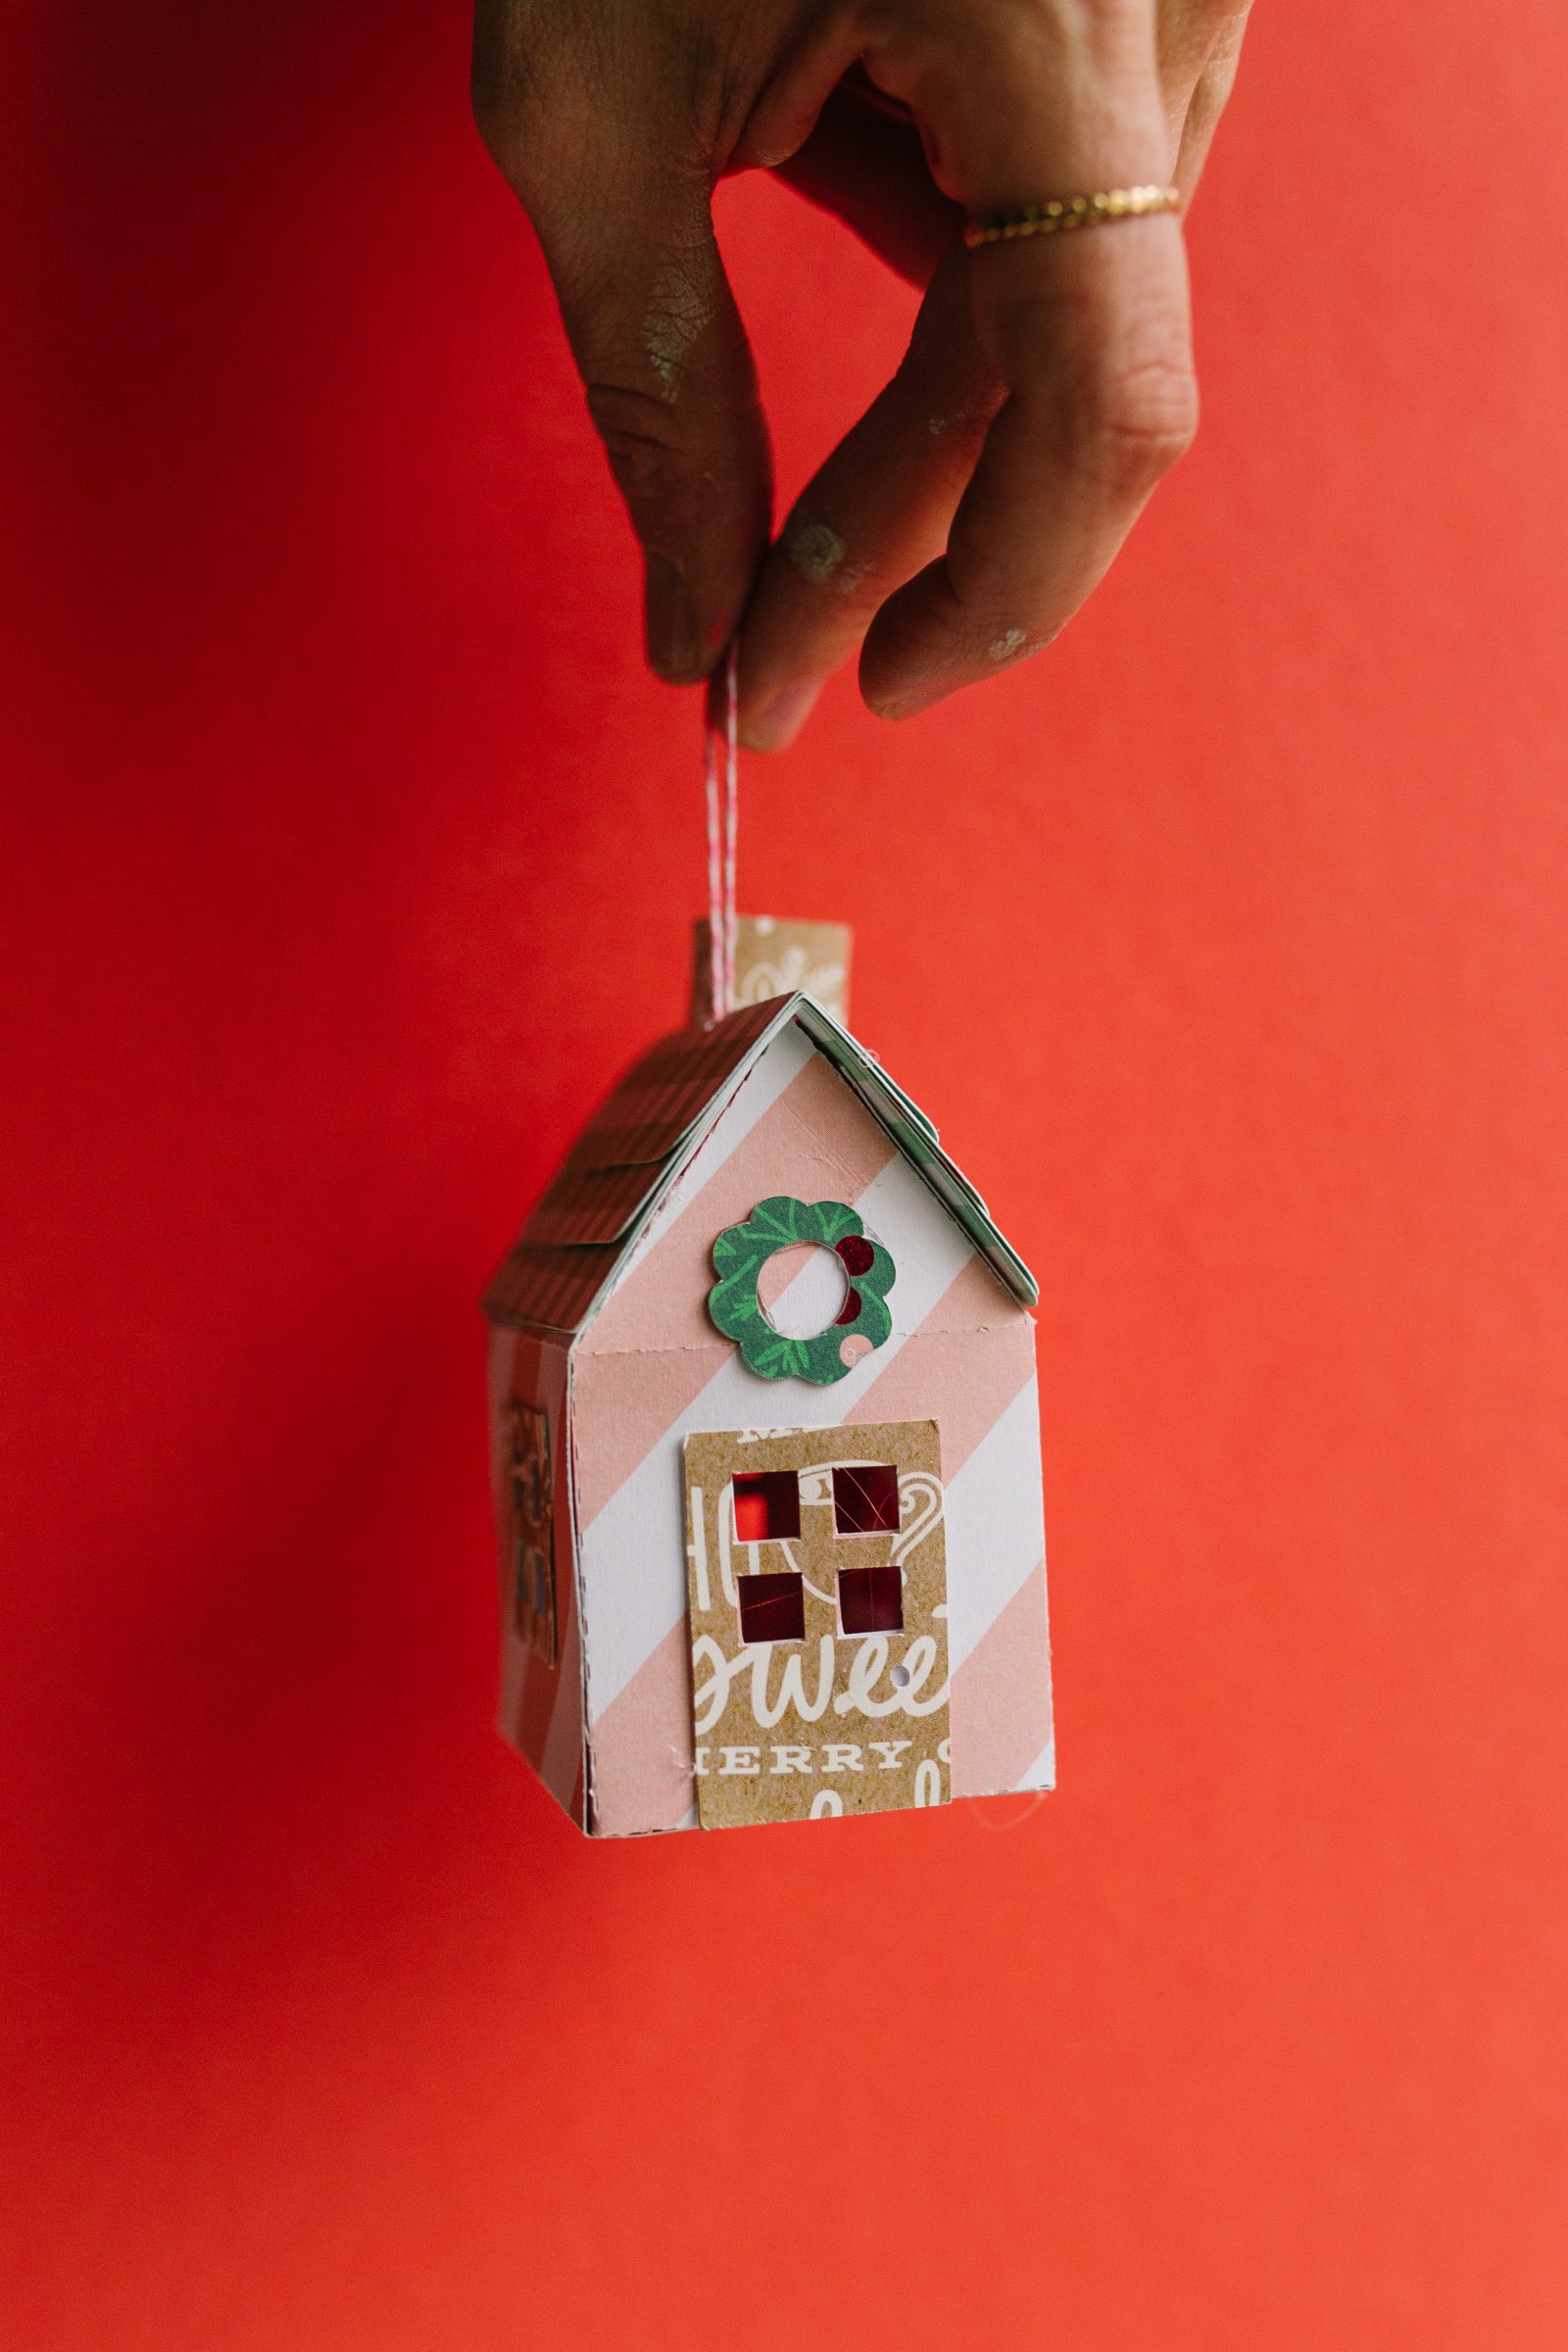

Supplies needed to make a DIY Paper House Ornament
Silhouette Cutting Machine (I used the Silhouette CAMEO 4)
Design 69520 from the Silhouette Design Store
Patterned Paper
Hot Glue Gun + Sticks
String
How to make a DIY Paper House Ornament
Step 1: Open the house design in Silhouette Studio. If you are going to use multiple papers for the different surfaces of your house (roof, door, walls, etc.) you’ll want to separate the designs so you can cut the pieces you’d like on each of your desired papers. To do this, select the entire design, right click and select “release compound path”.
Step 2: Remove the pieces that you don’t want to cut from the cutting mat in Silhouette Studio. Load the corresponding paper for the section of the house you would like to cut and send your design to your machine to cut. Repeat this until you have cut each of your house pieces on each of your desired papers.
Step 3: Remove all of the pieces from the cutting mat. Begin with the house piece and fold along the dotted lines. Then, apply a line of hot glue along each of the connecting flaps and press them on the inside of the house to secure.
Step 4: Fold each of the roof pieces along the dotted line and stack on each other, securing with hot glue. Fold the chimney piece and attach to the roof using hot clue.
Step 5: Cut a string to hang the ornament to your desired length and loop through the hole in the roof. Secure the ends to the underside of the roof using hot glue.
Step 6: Attach the roof, window and door pieces to the house using hot glue.
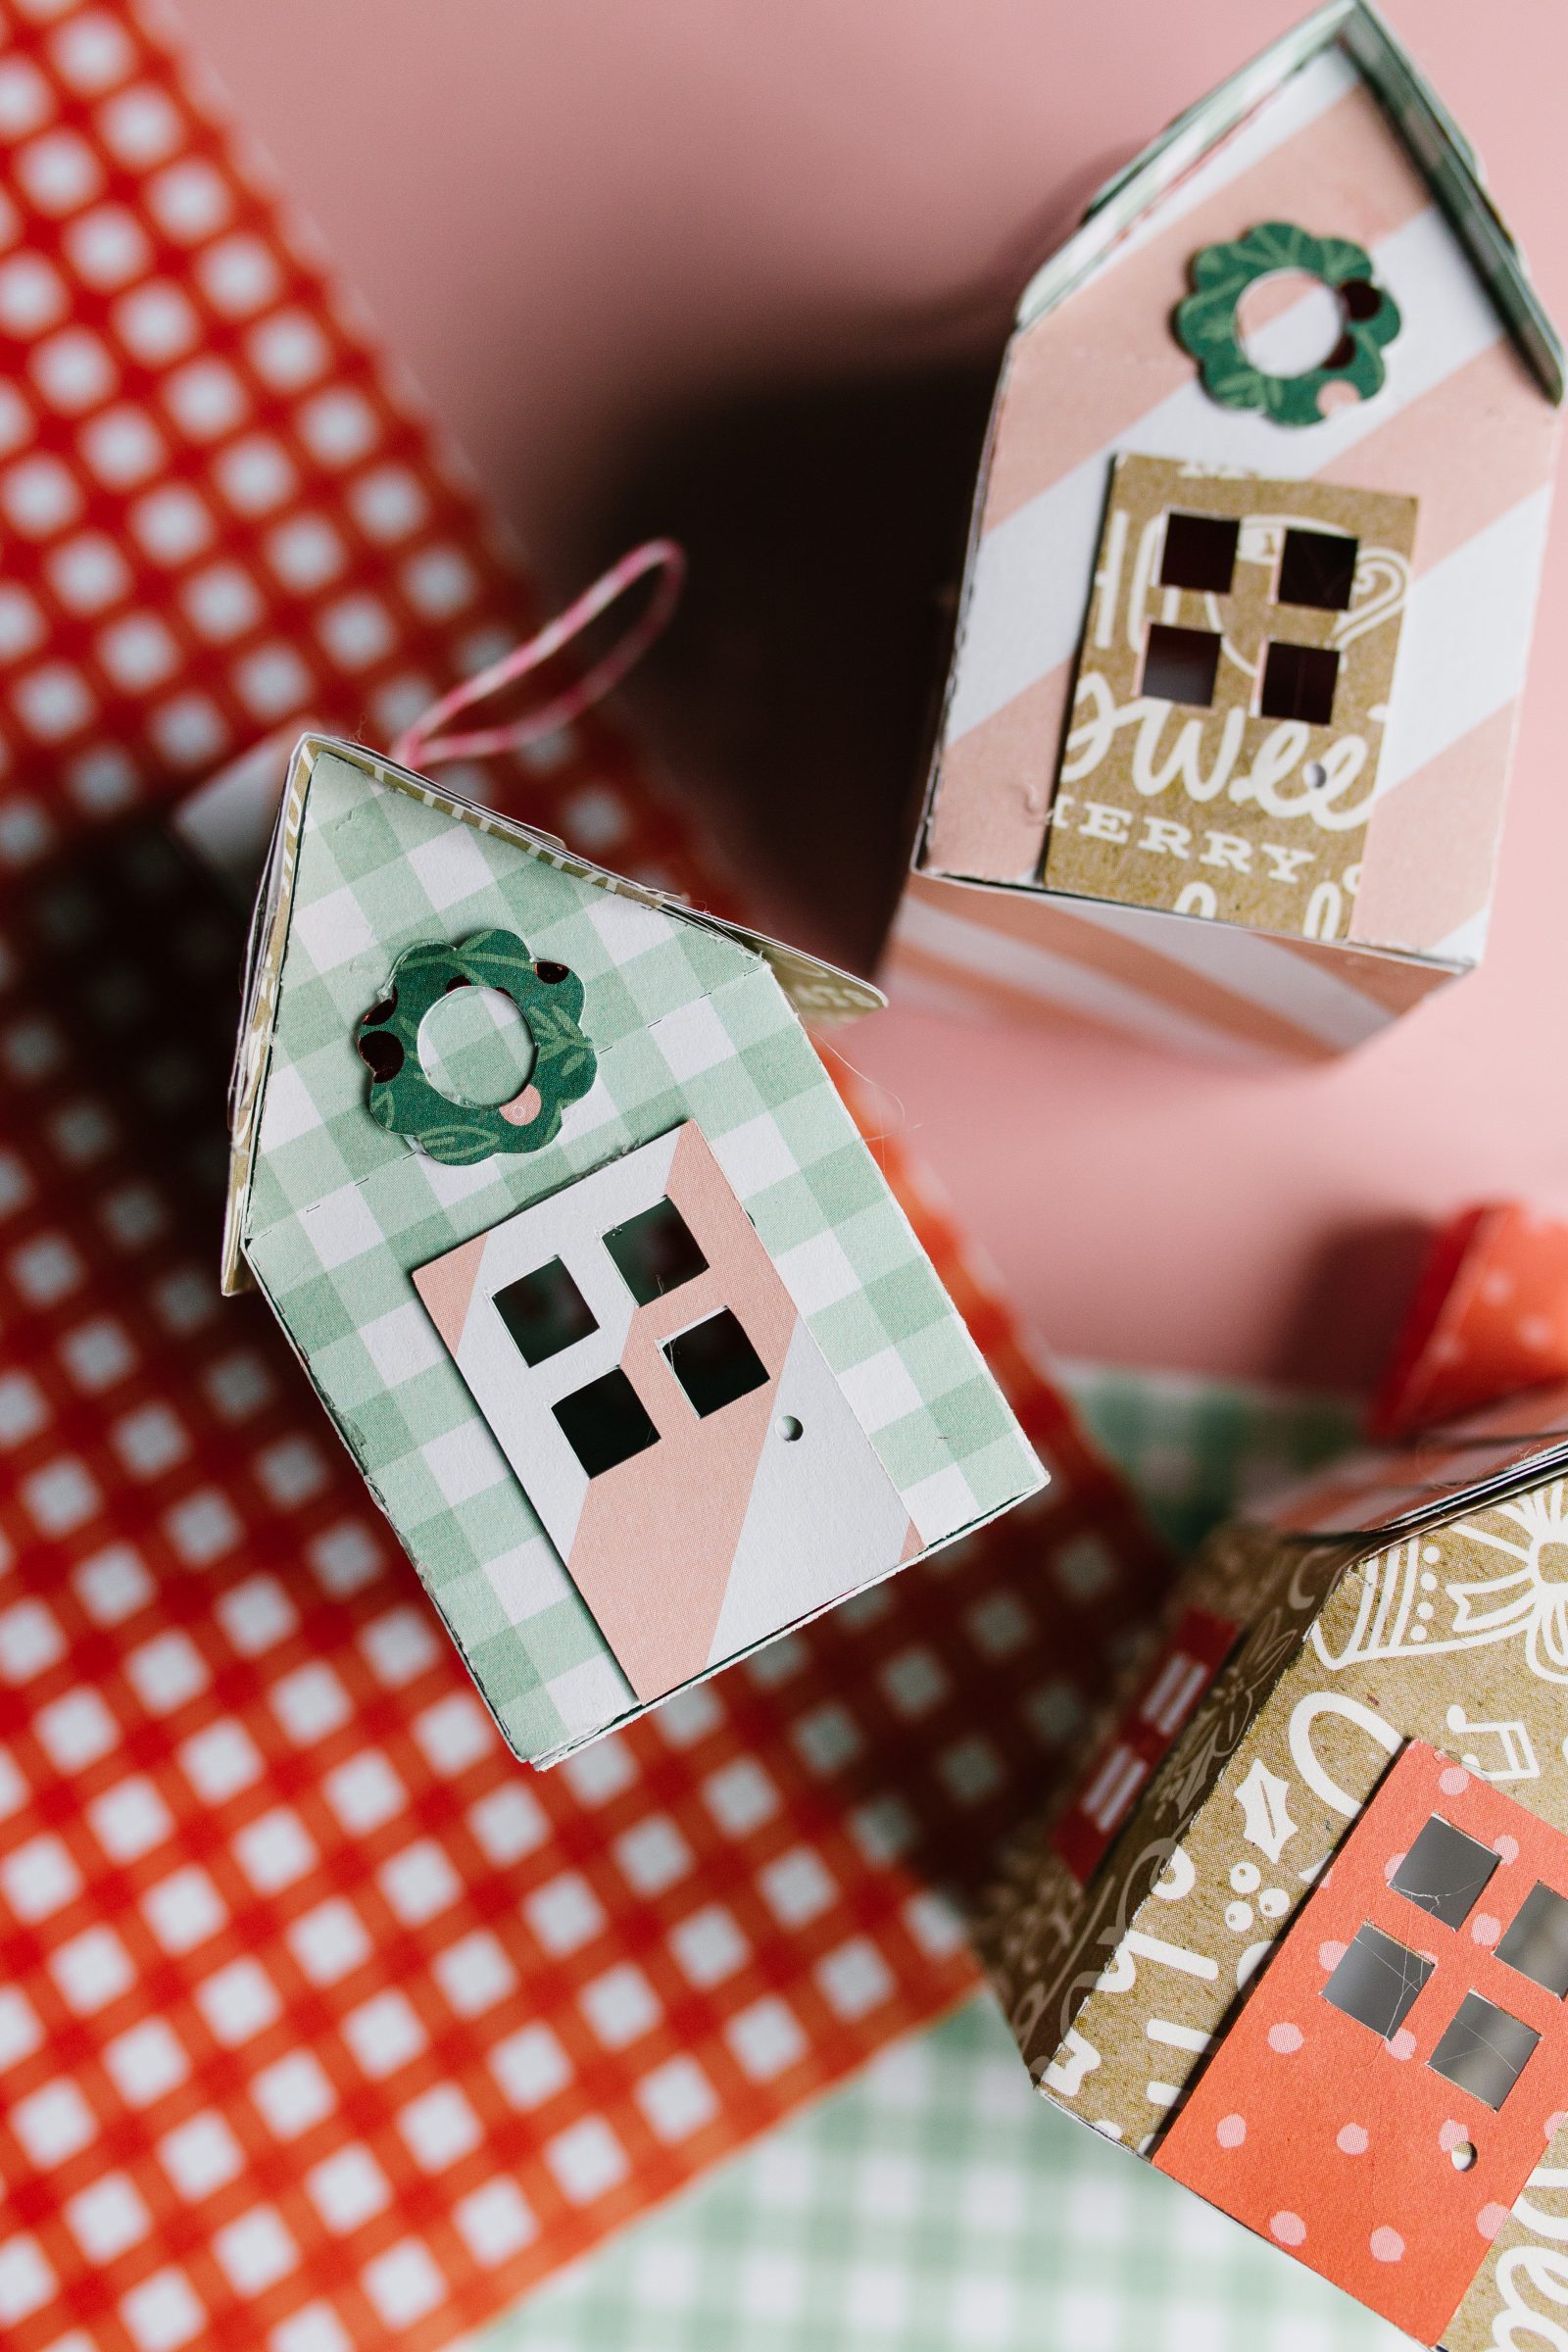

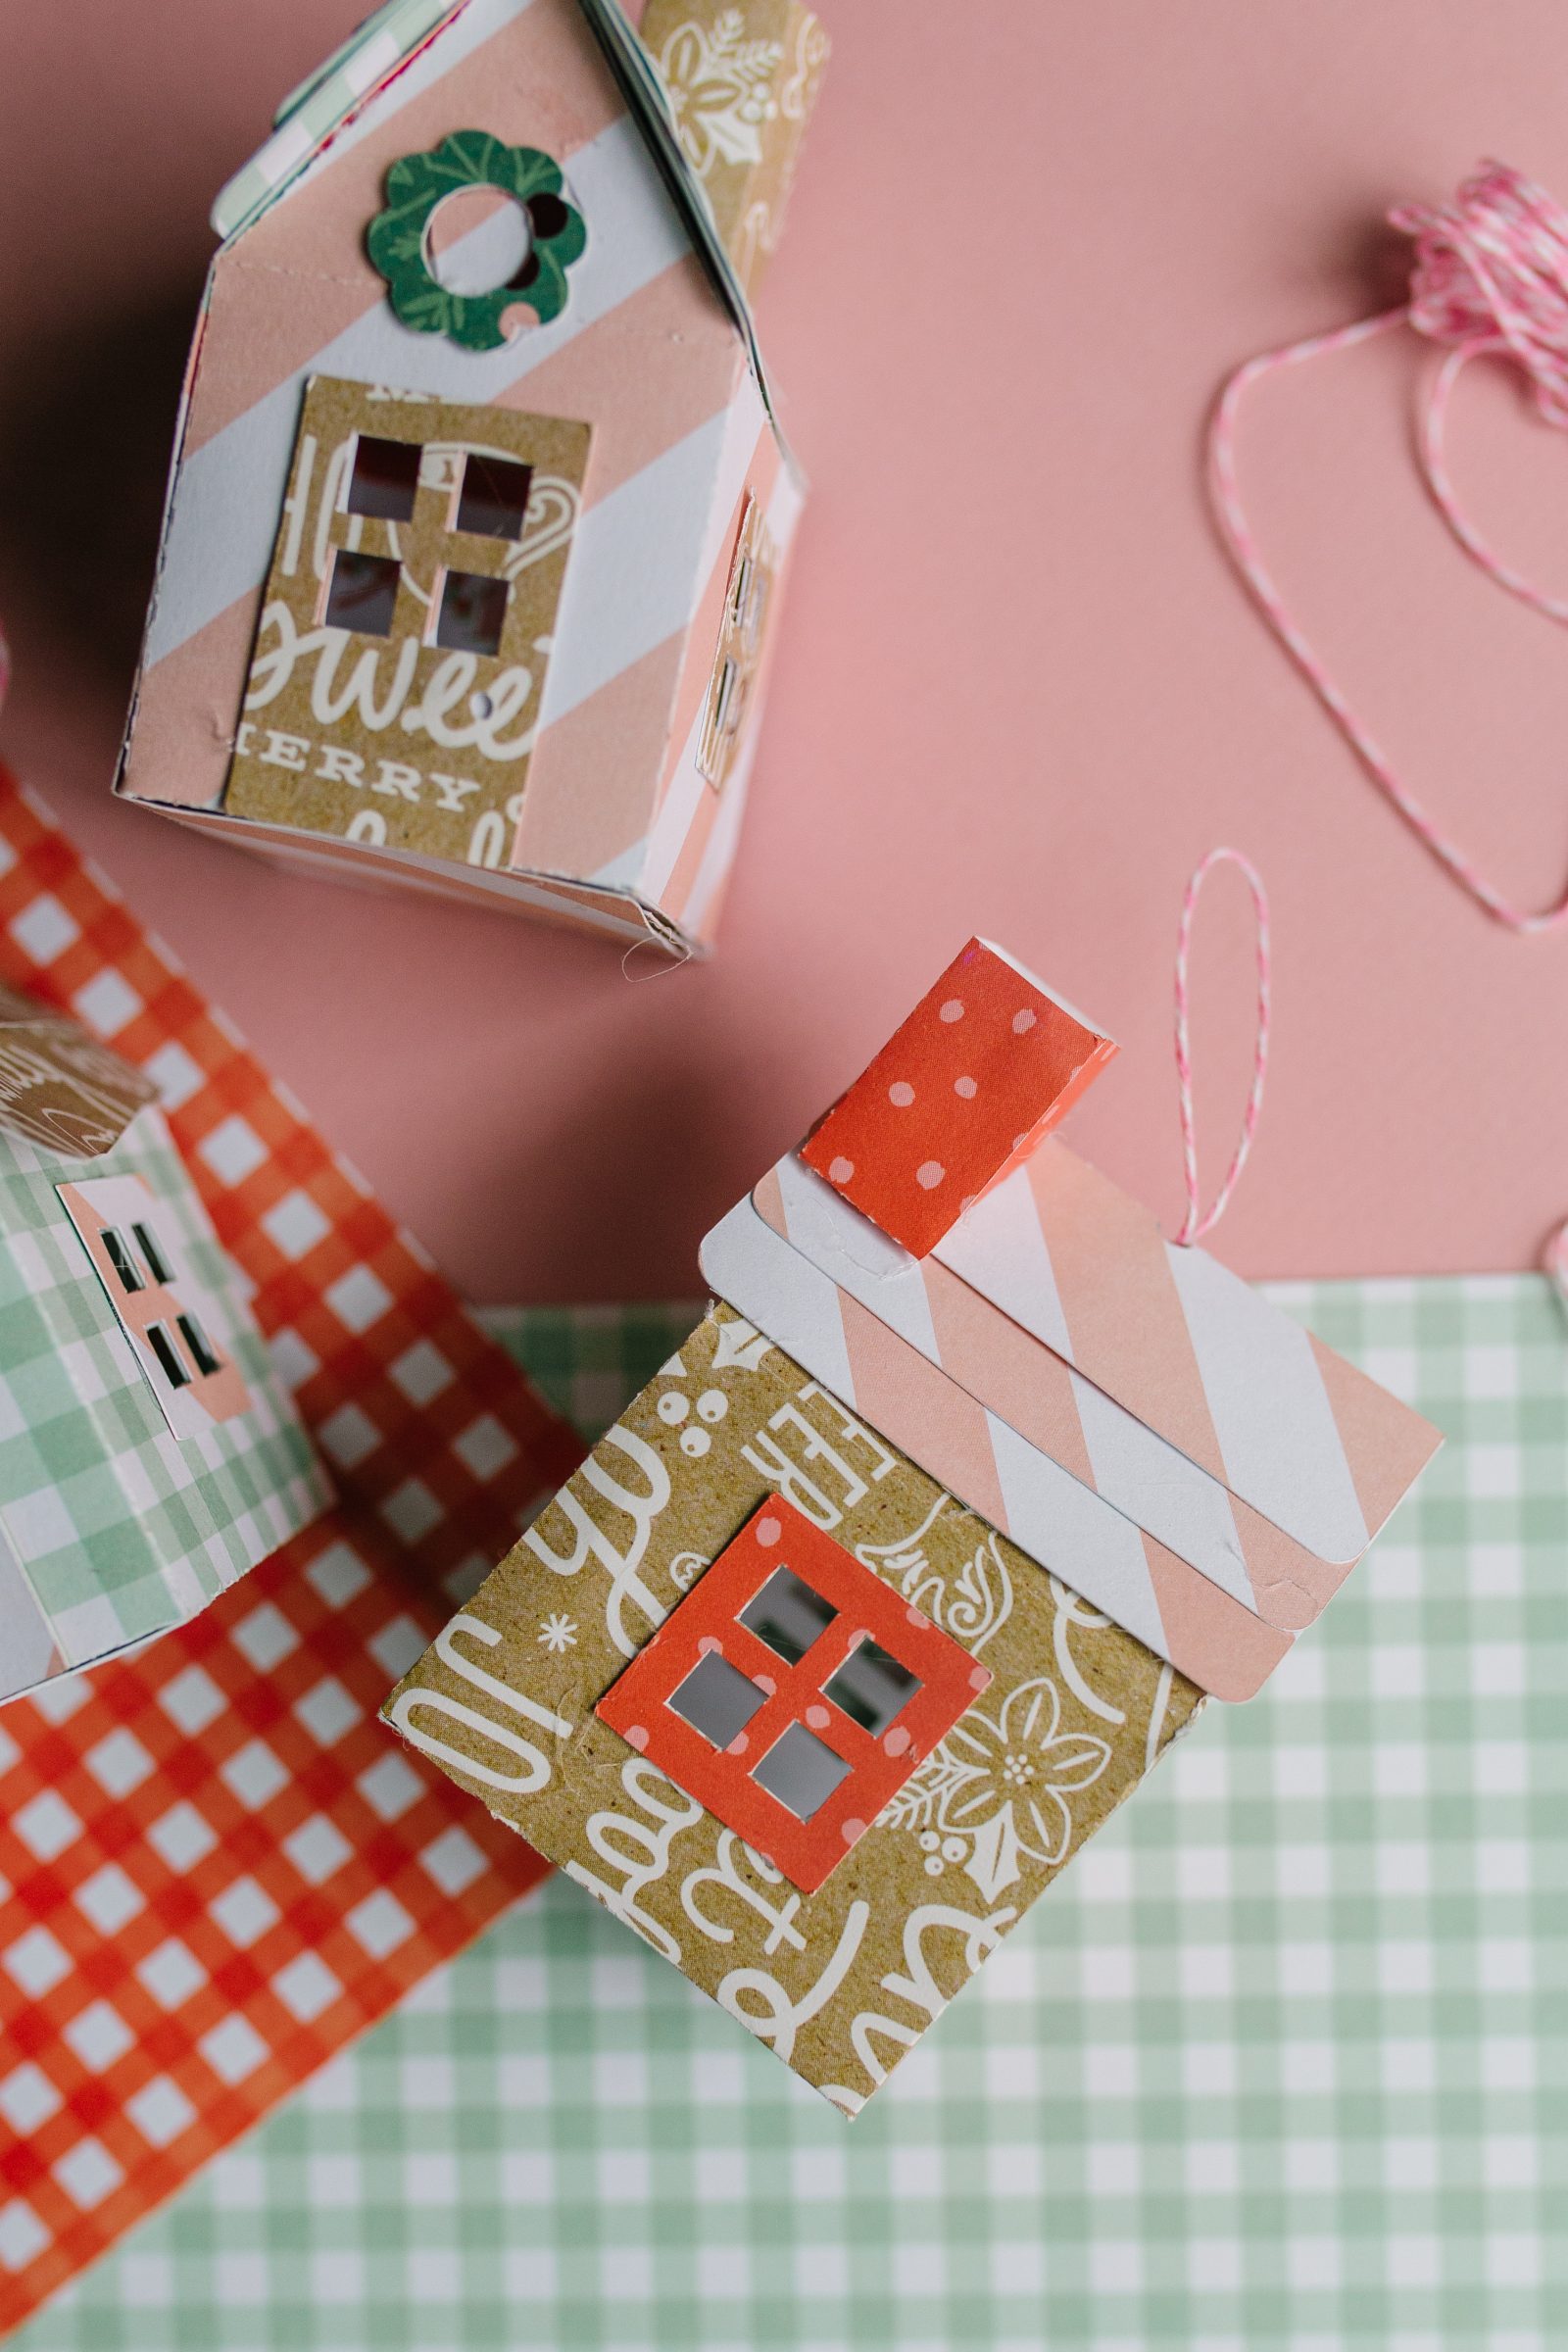

Aren’t they just the sweetest? Imagine a Christmas tree decked out in these cuties! I find myself wanting to make a whole set in snowy winter white and another in every color of the rainbow! Whatever color/pattern scheme you decide they are sure to be adorable. Add some glitter for a little sparkle, or paint them for an extra personal touch!
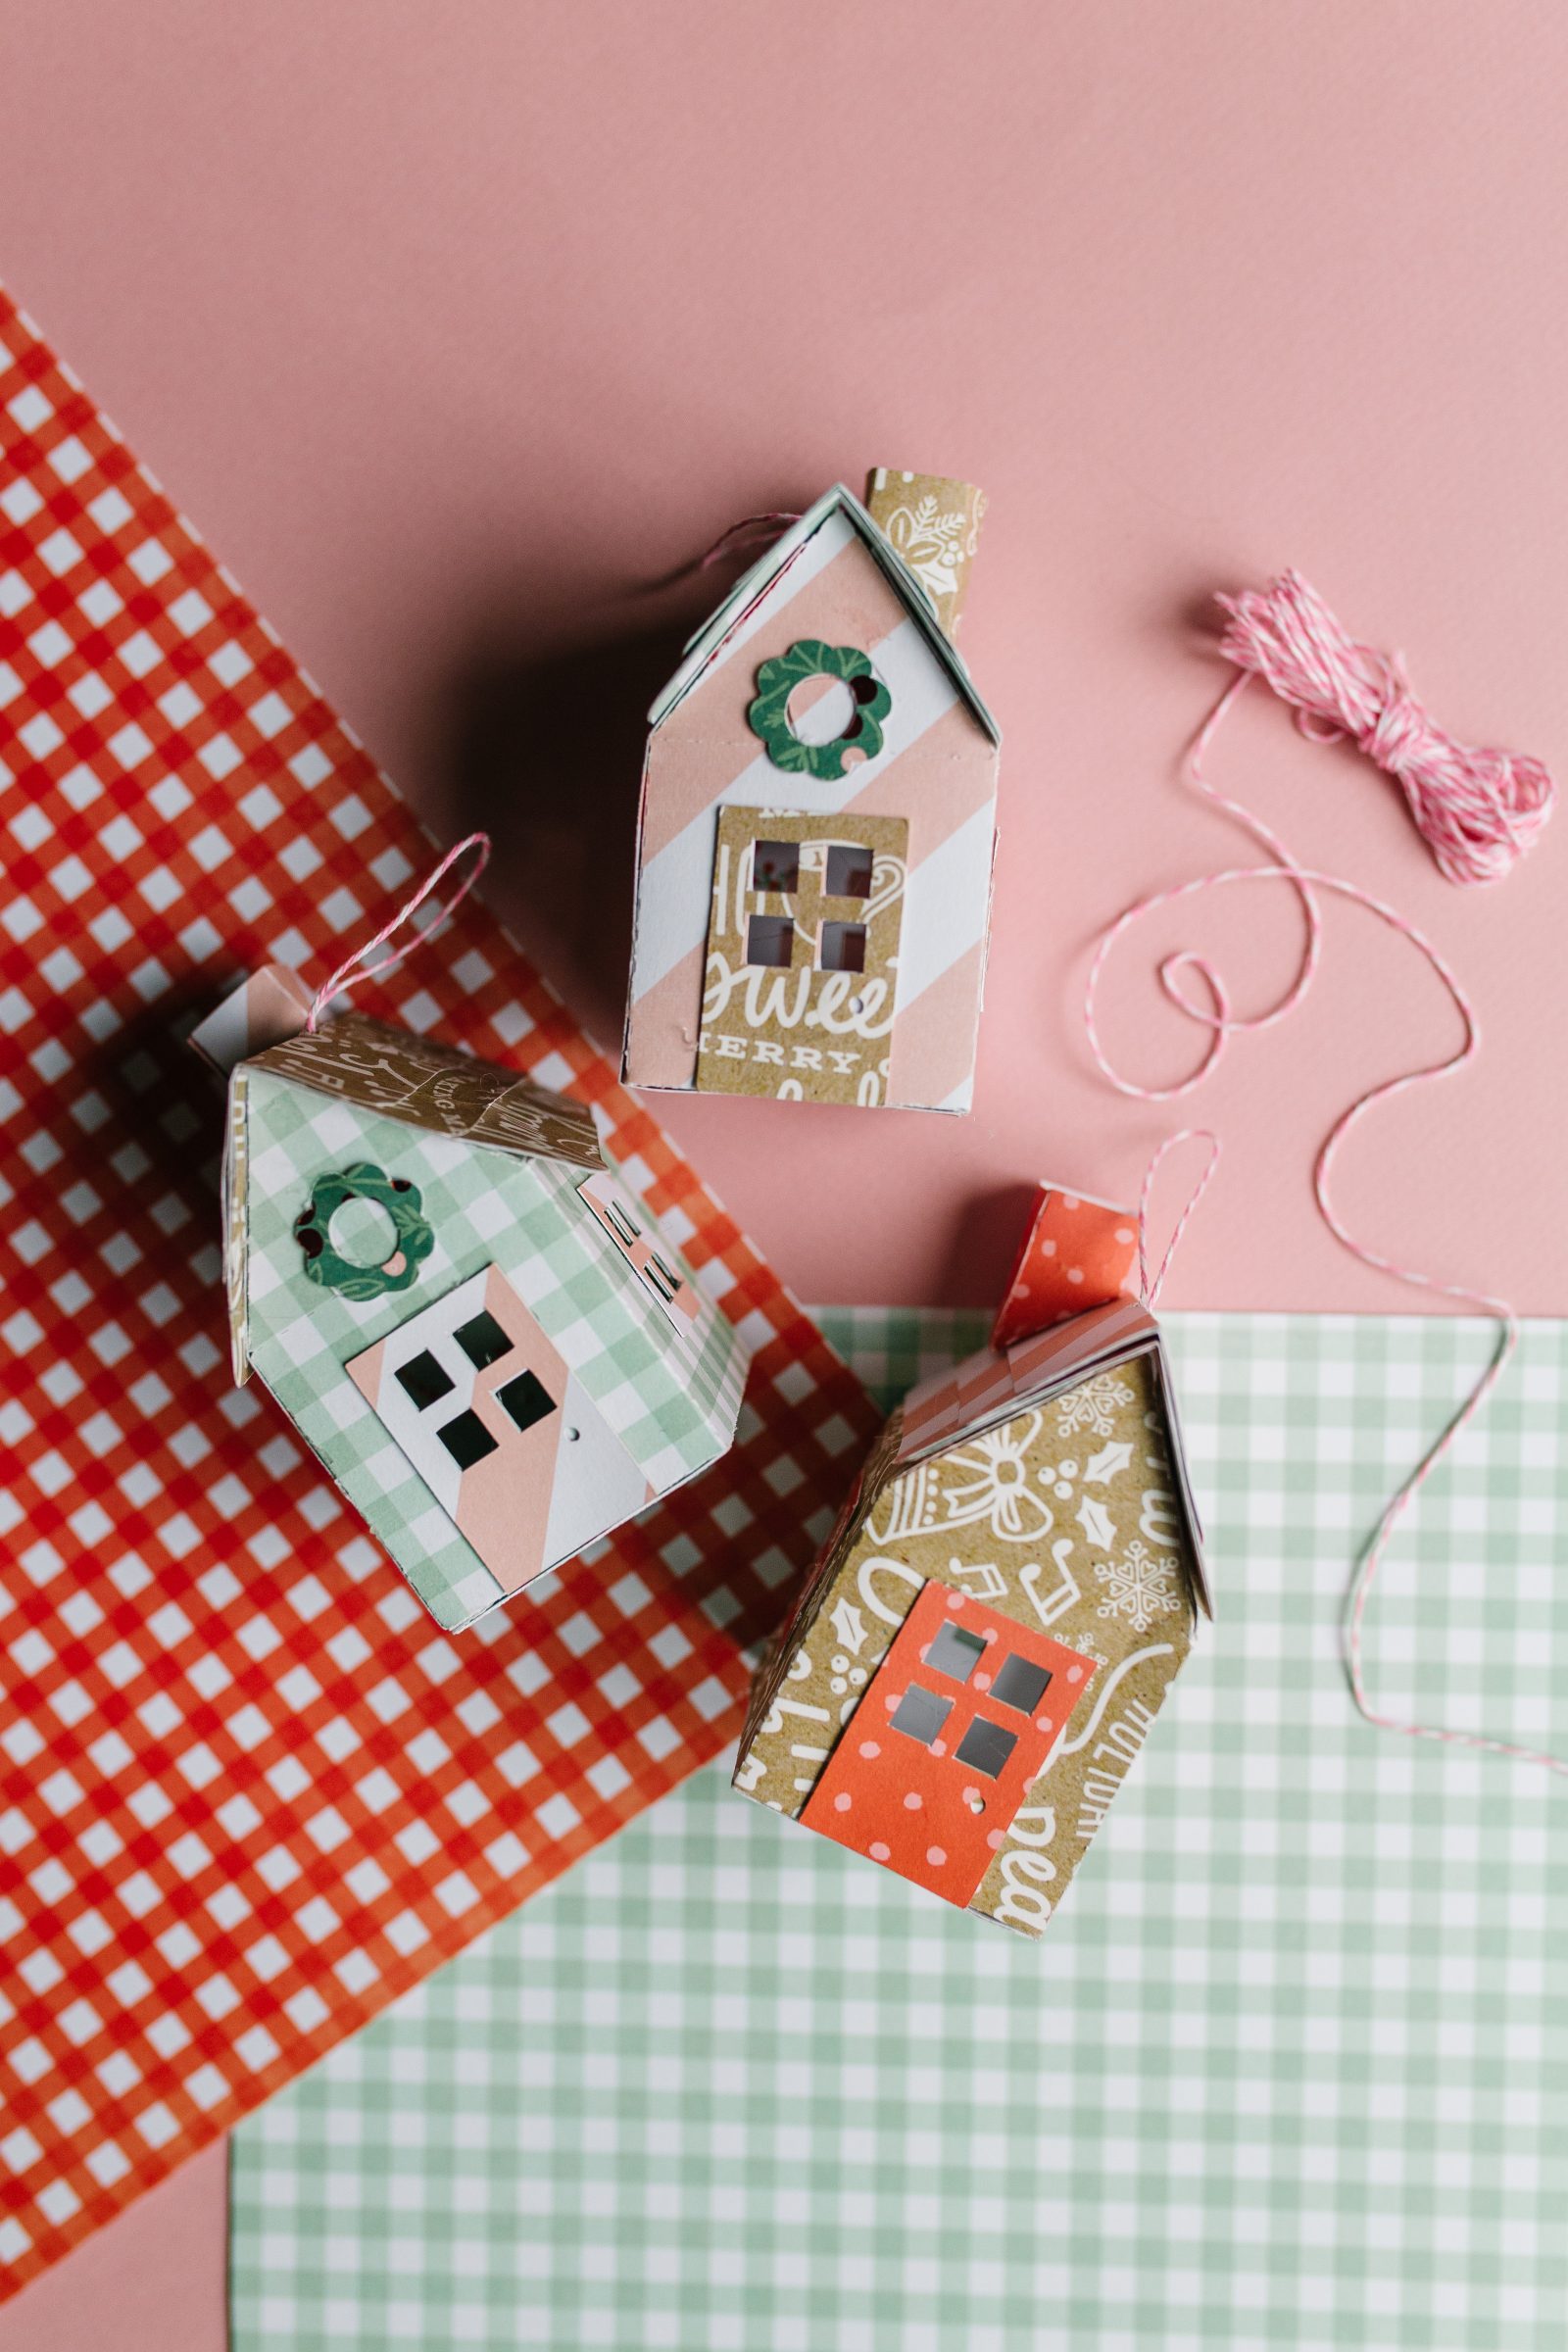


What are your favorite Christmas village crafts? We’d love to hear about them!
Happy Making!
ox. Liz and Sam
Check out these other fun tutorials!





Adorable!!! You could do so many different color schemes! I don’t have a Silhouette but I’m kind of wishing I did ????.