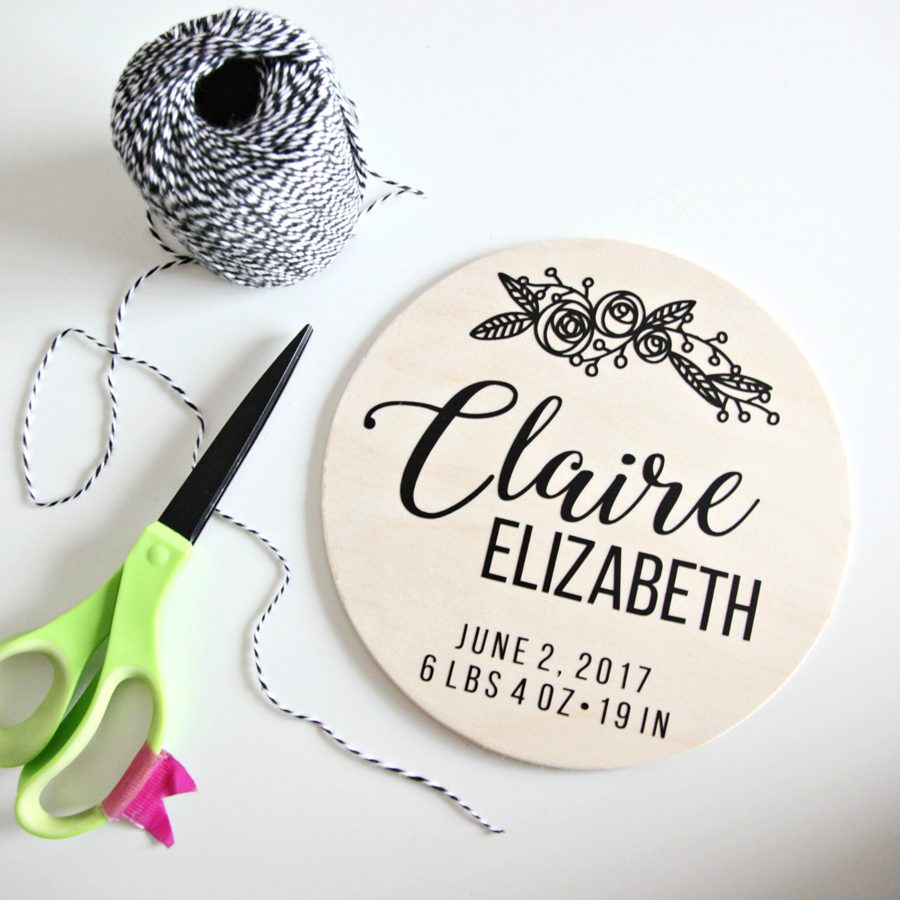
Today we’re talking all about Silhouette Studio fonts! There are so many fun things you can do with fonts, and we’re going to share some basic tools and tips. As we go, we’ll be making this personalized baby birth stats sign so you can play with all the font features in Silhouette Studio and make something pretty with your Silhouette machine. Keep reading for more!
Silhouette Studio Fonts
Silhouette Studio can use any font (like TTF or OTF) that is installed on your computer. Fonts on your computer will automatically be available in the Silhouette software. If you install new fonts while the software is open, you will need to restart the software to see them in the available fonts list.
You can find new fonts for Silhouette projects anywhere you download fonts for your computer, as well as in the Silhouette Design Store.
Best fonts for Silhouette Projects
Although all fonts on your computer are available in the software, not all fonts work well for Silhouette projects. For example, your machine might have a harder time cutting extremely thin or jagged fonts, so keep that in mind as you are creating your design.
Using fonts in Silhouette Studio
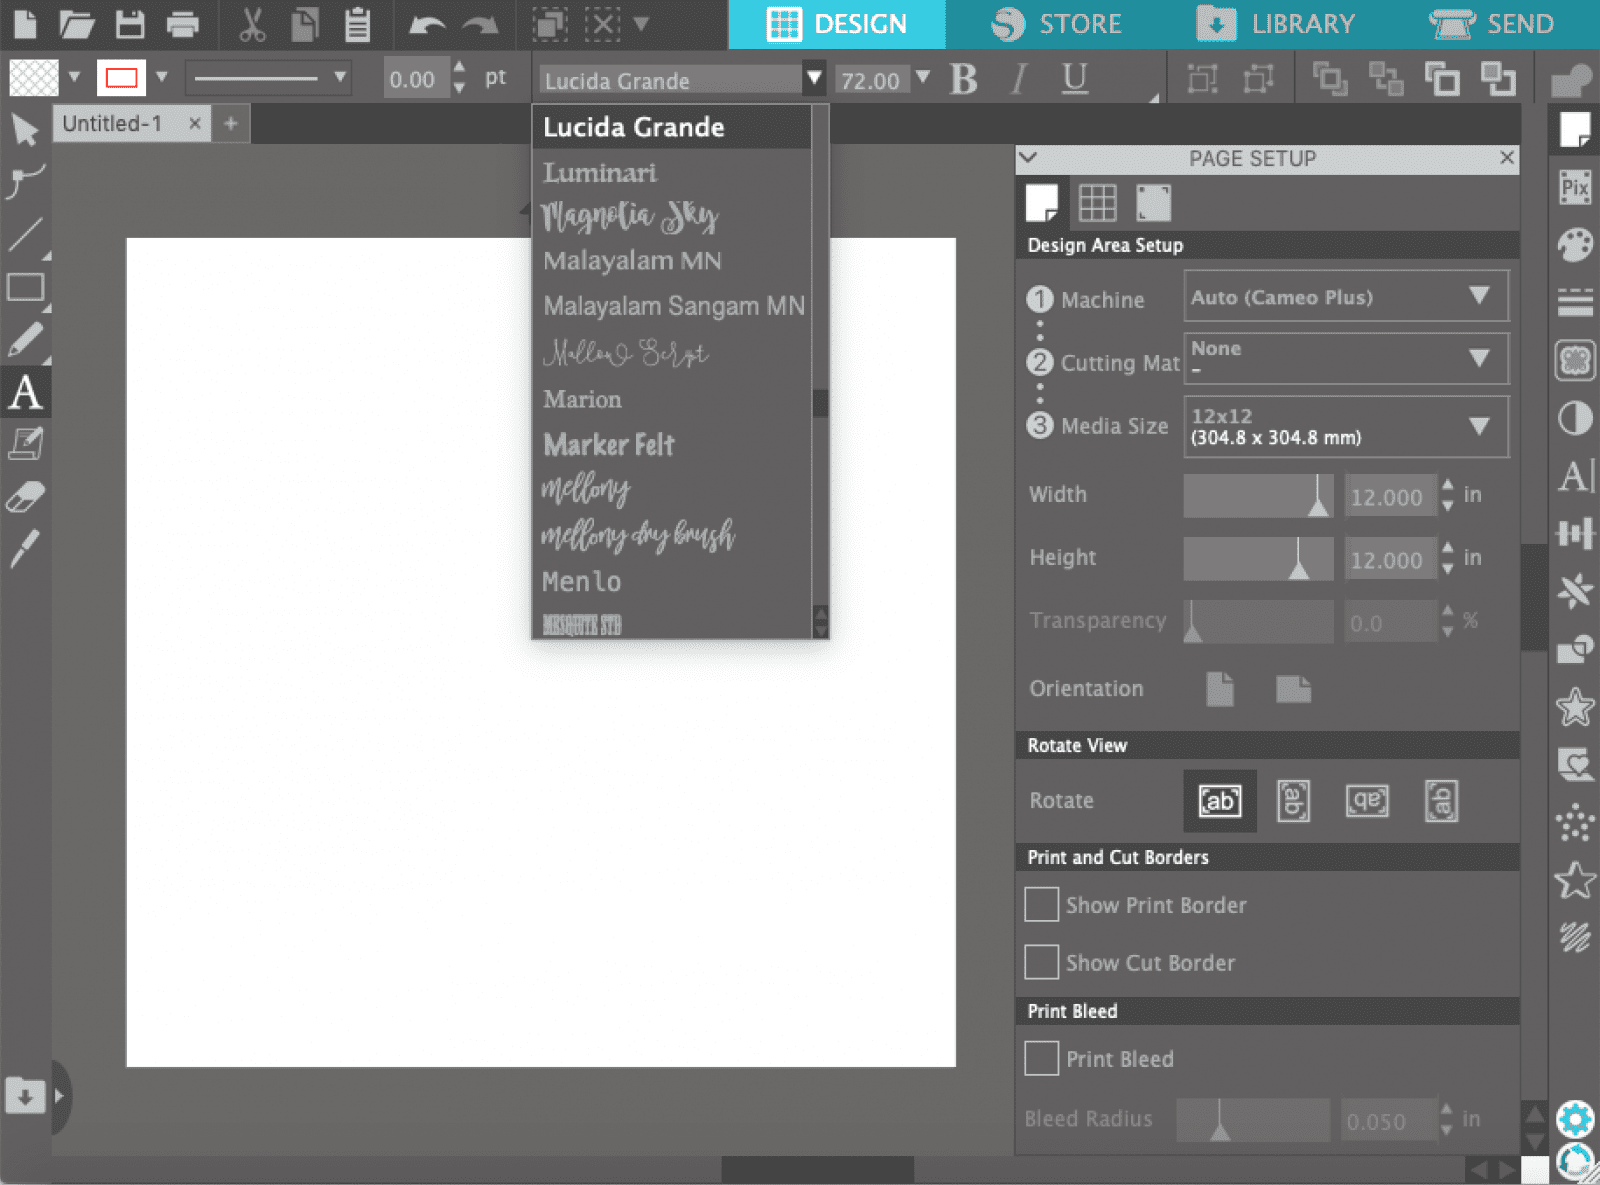
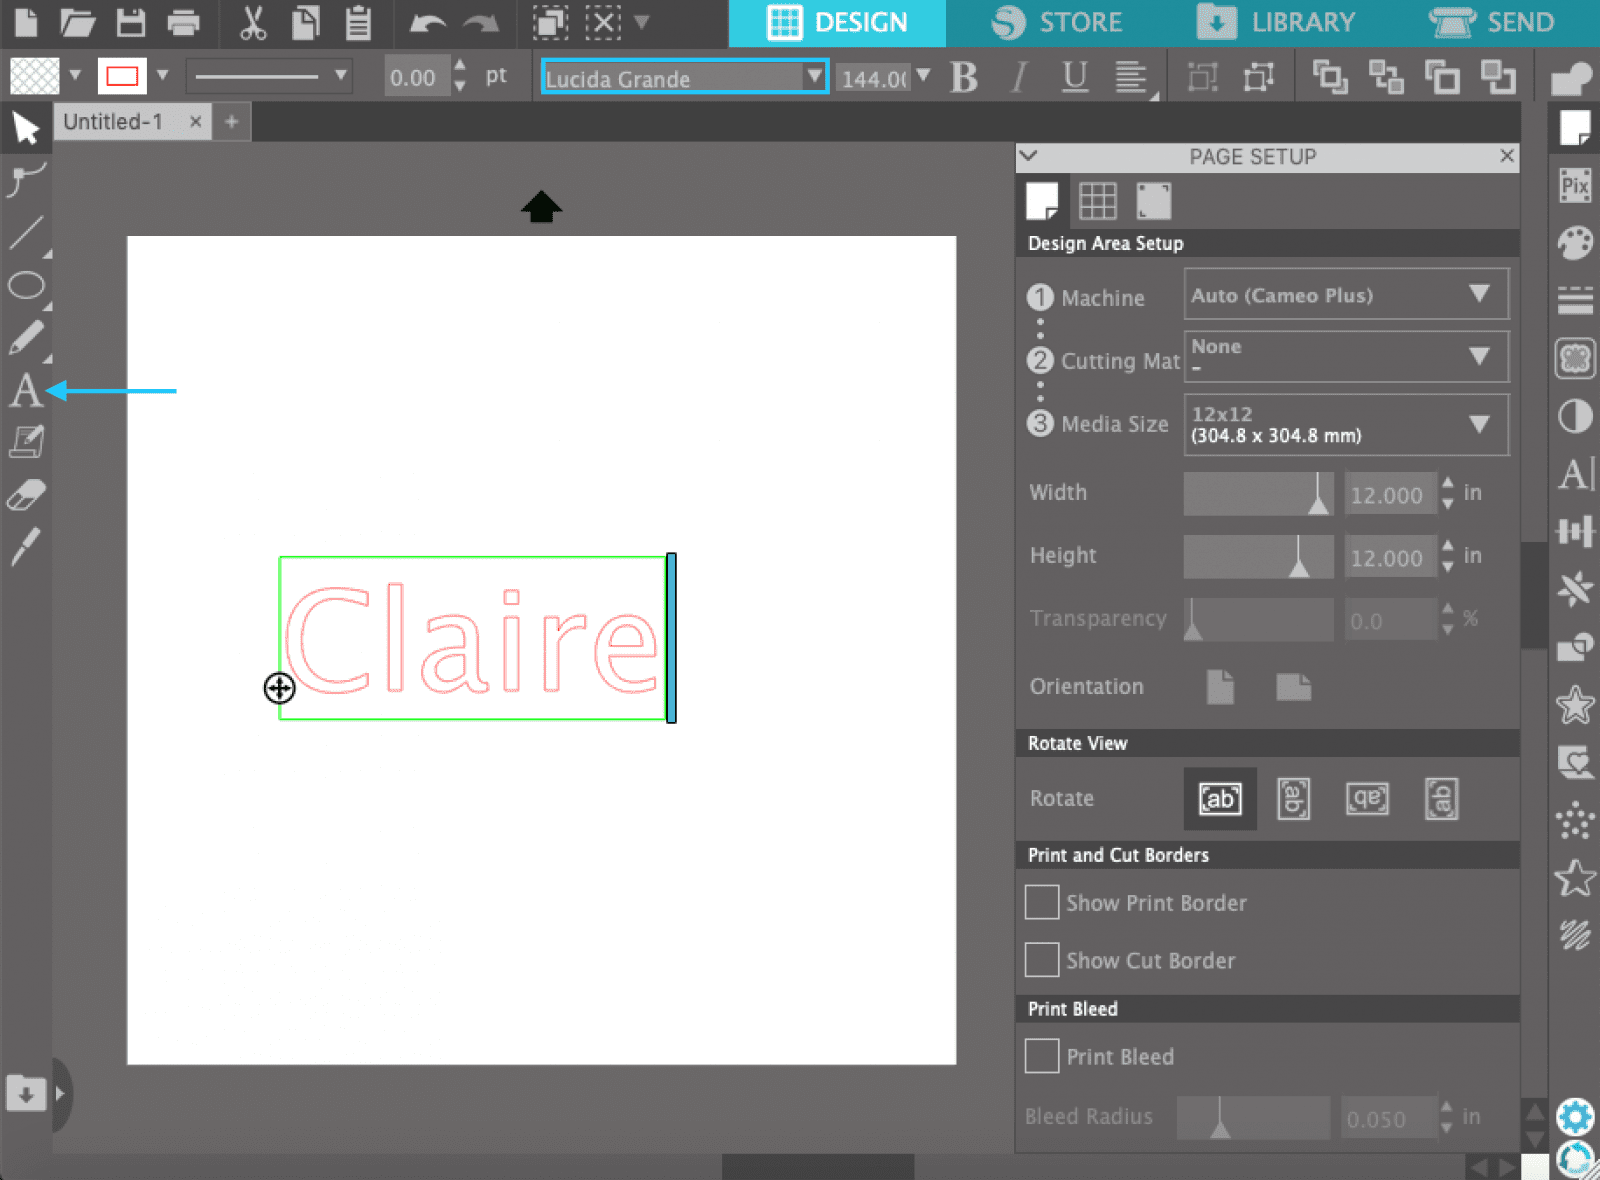
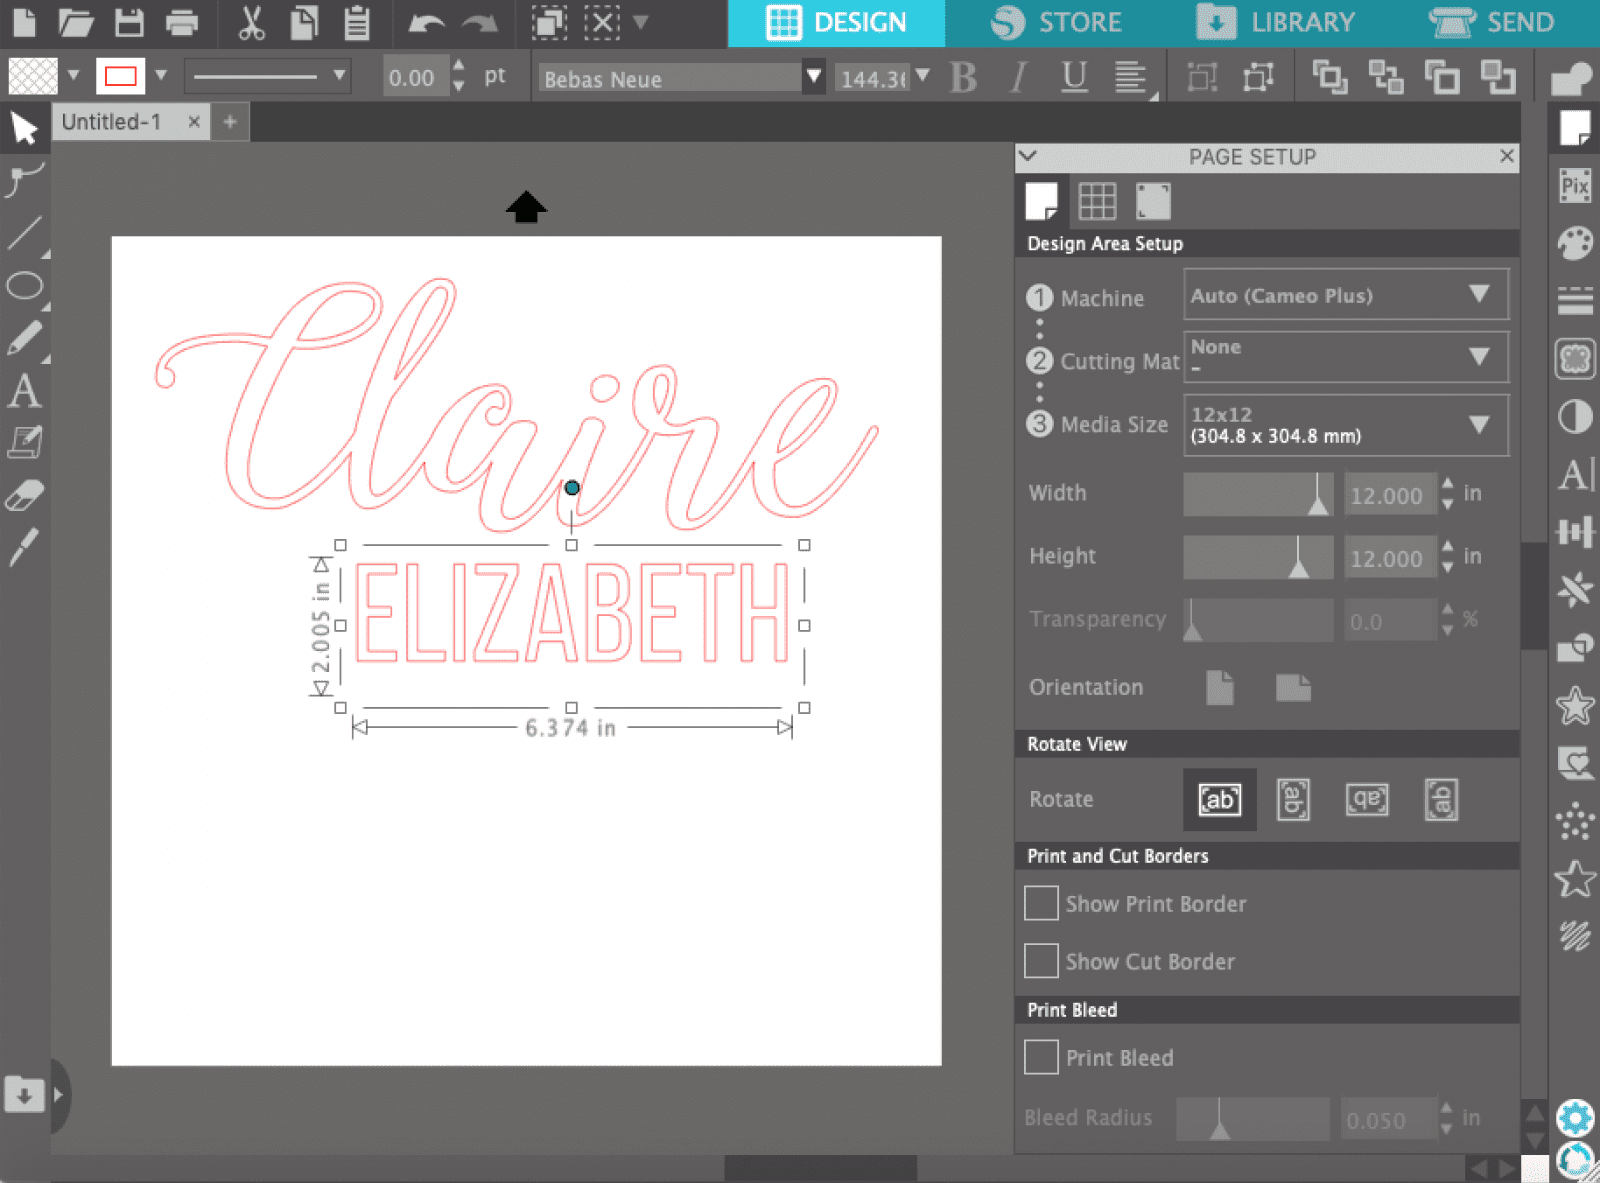
Access text options and fonts by clicking the text icon on the left side. You can then select your font in the drop down menu at the top of the screen. With your font selected, click on the canvas and type.
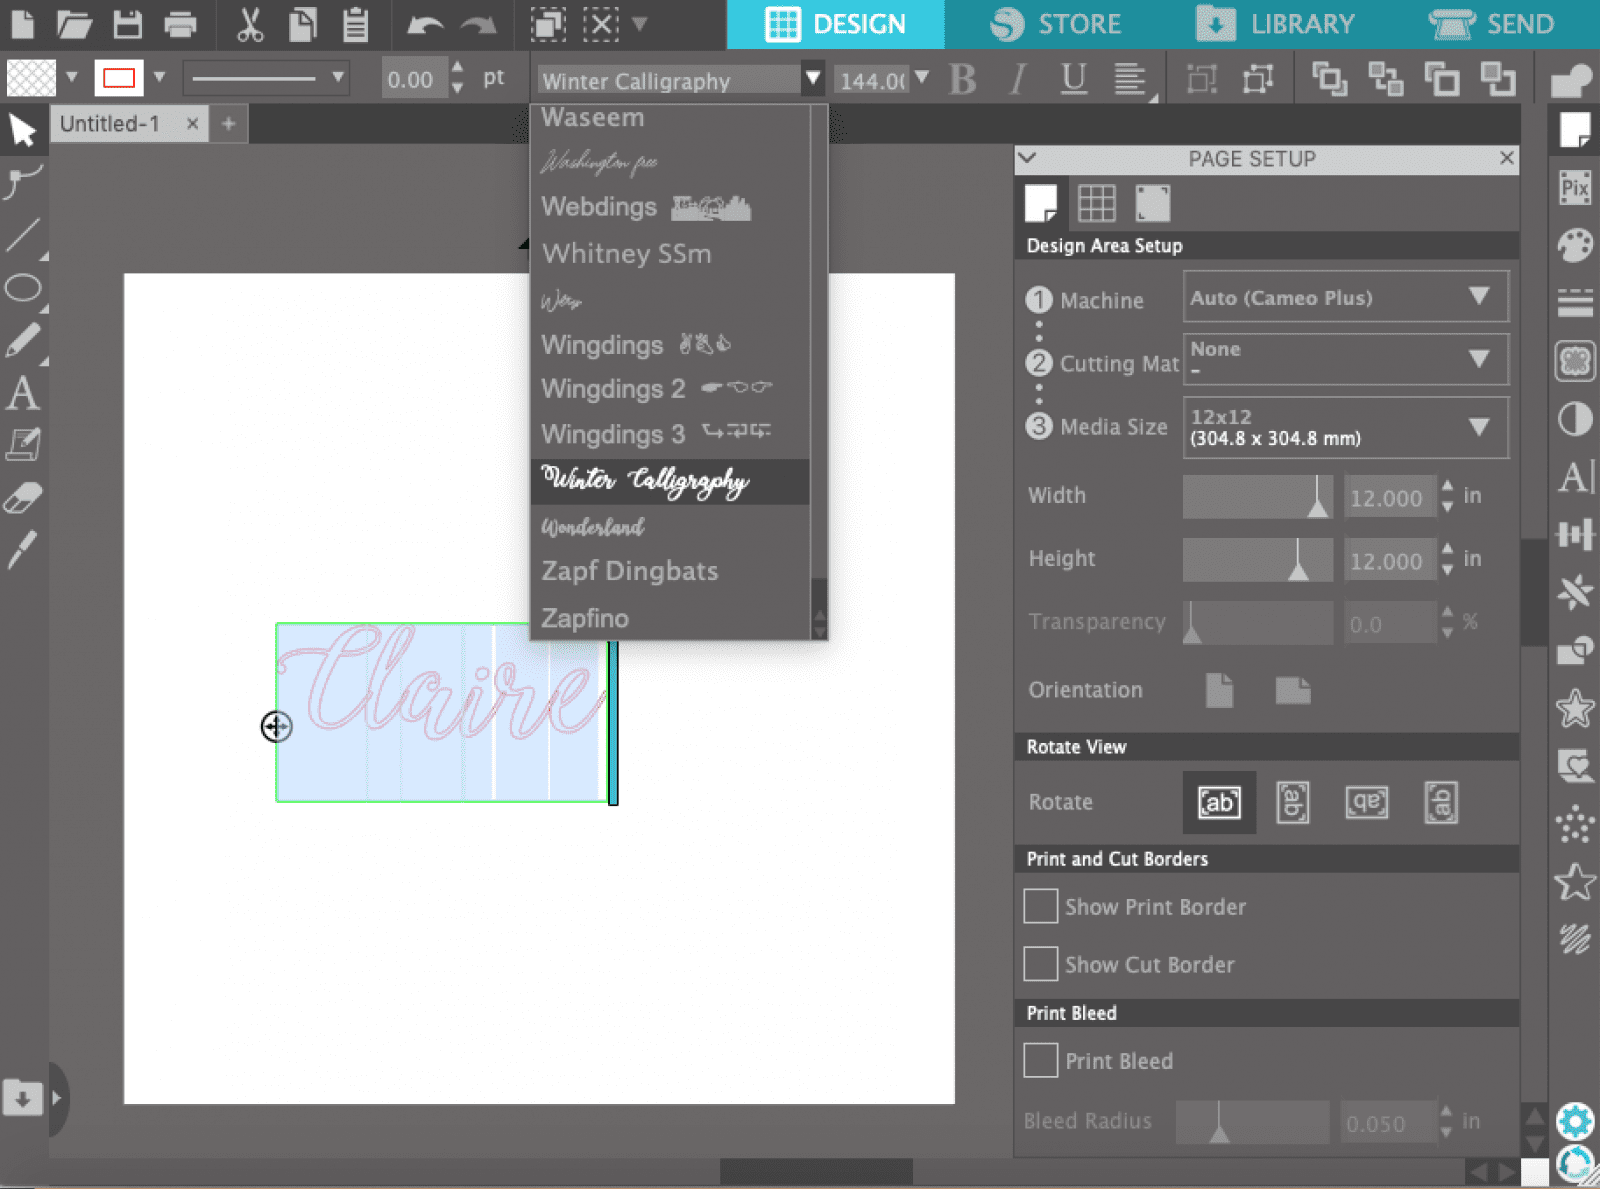
If you deselect the text, just double click on it to continue editing. To change the font, click and drag to select the text you’d like to edit. Then select your desired font.
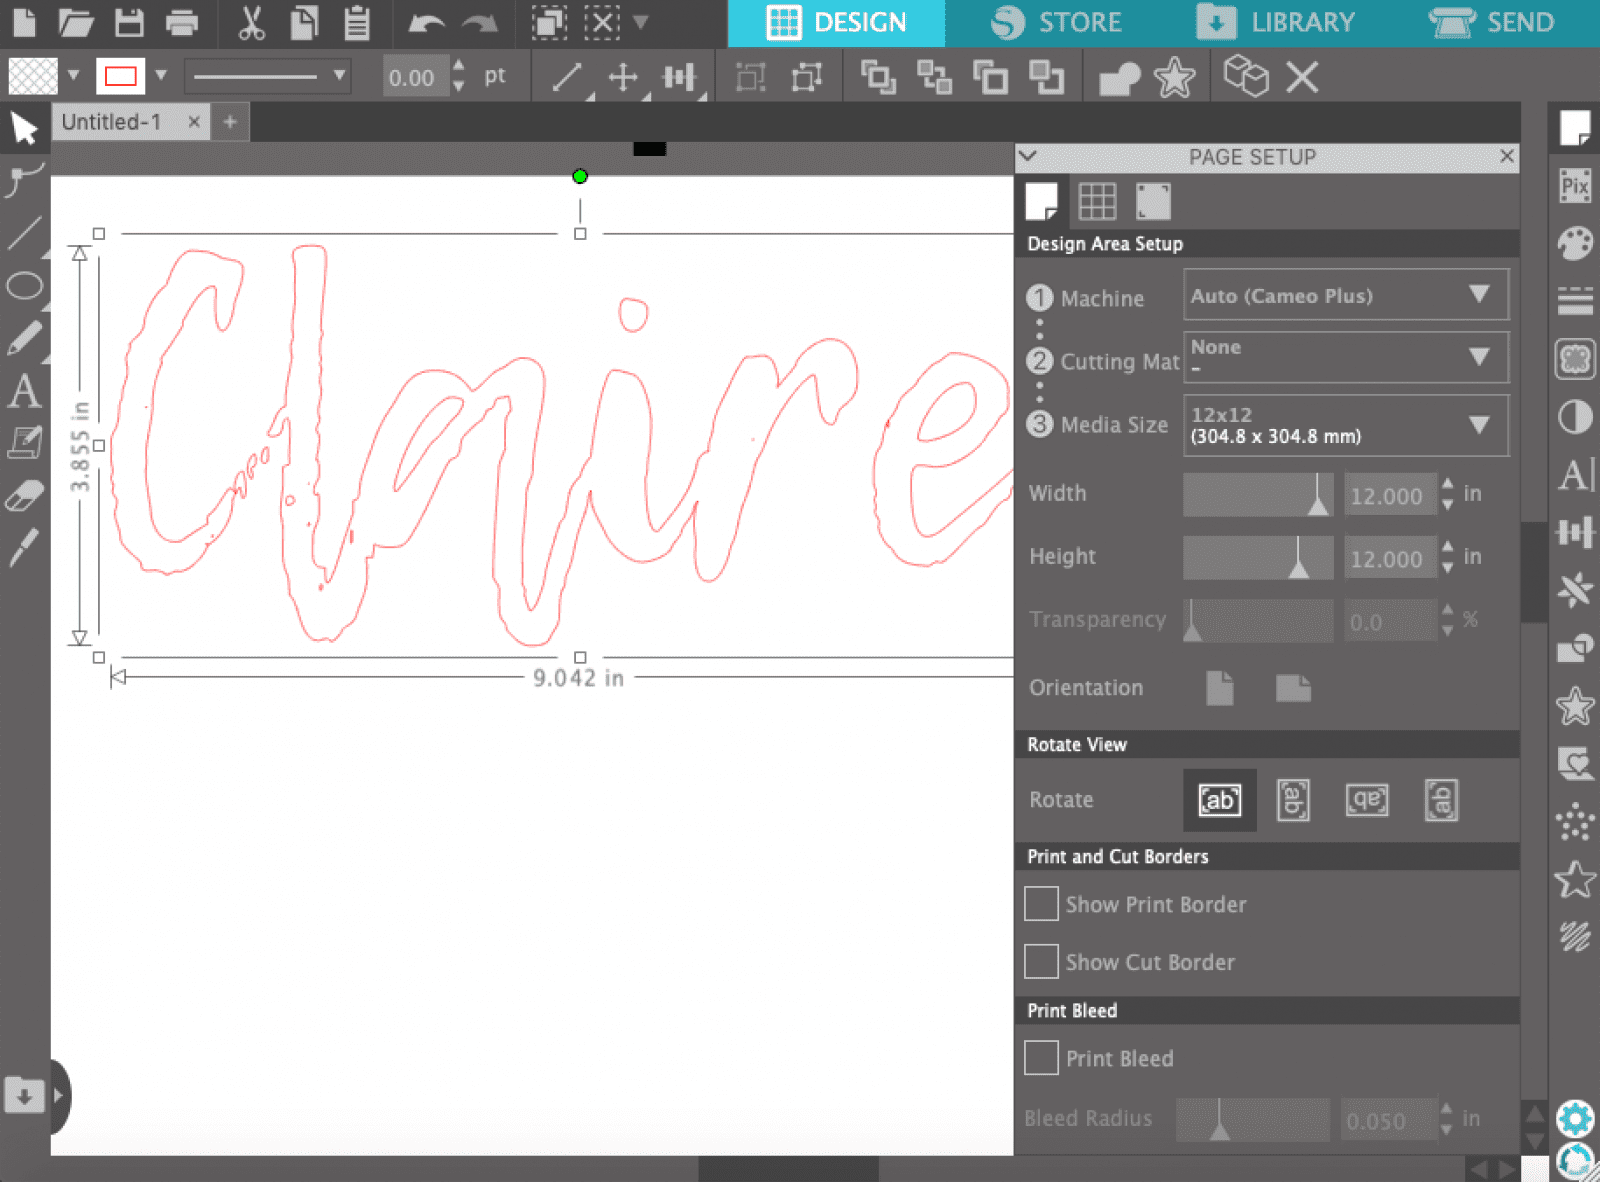
You can then resize the font by adjusting the size in the toolbar, or by deselecting the font, and then clicking and dragging to select the text, and dragging the corners to scale the design.

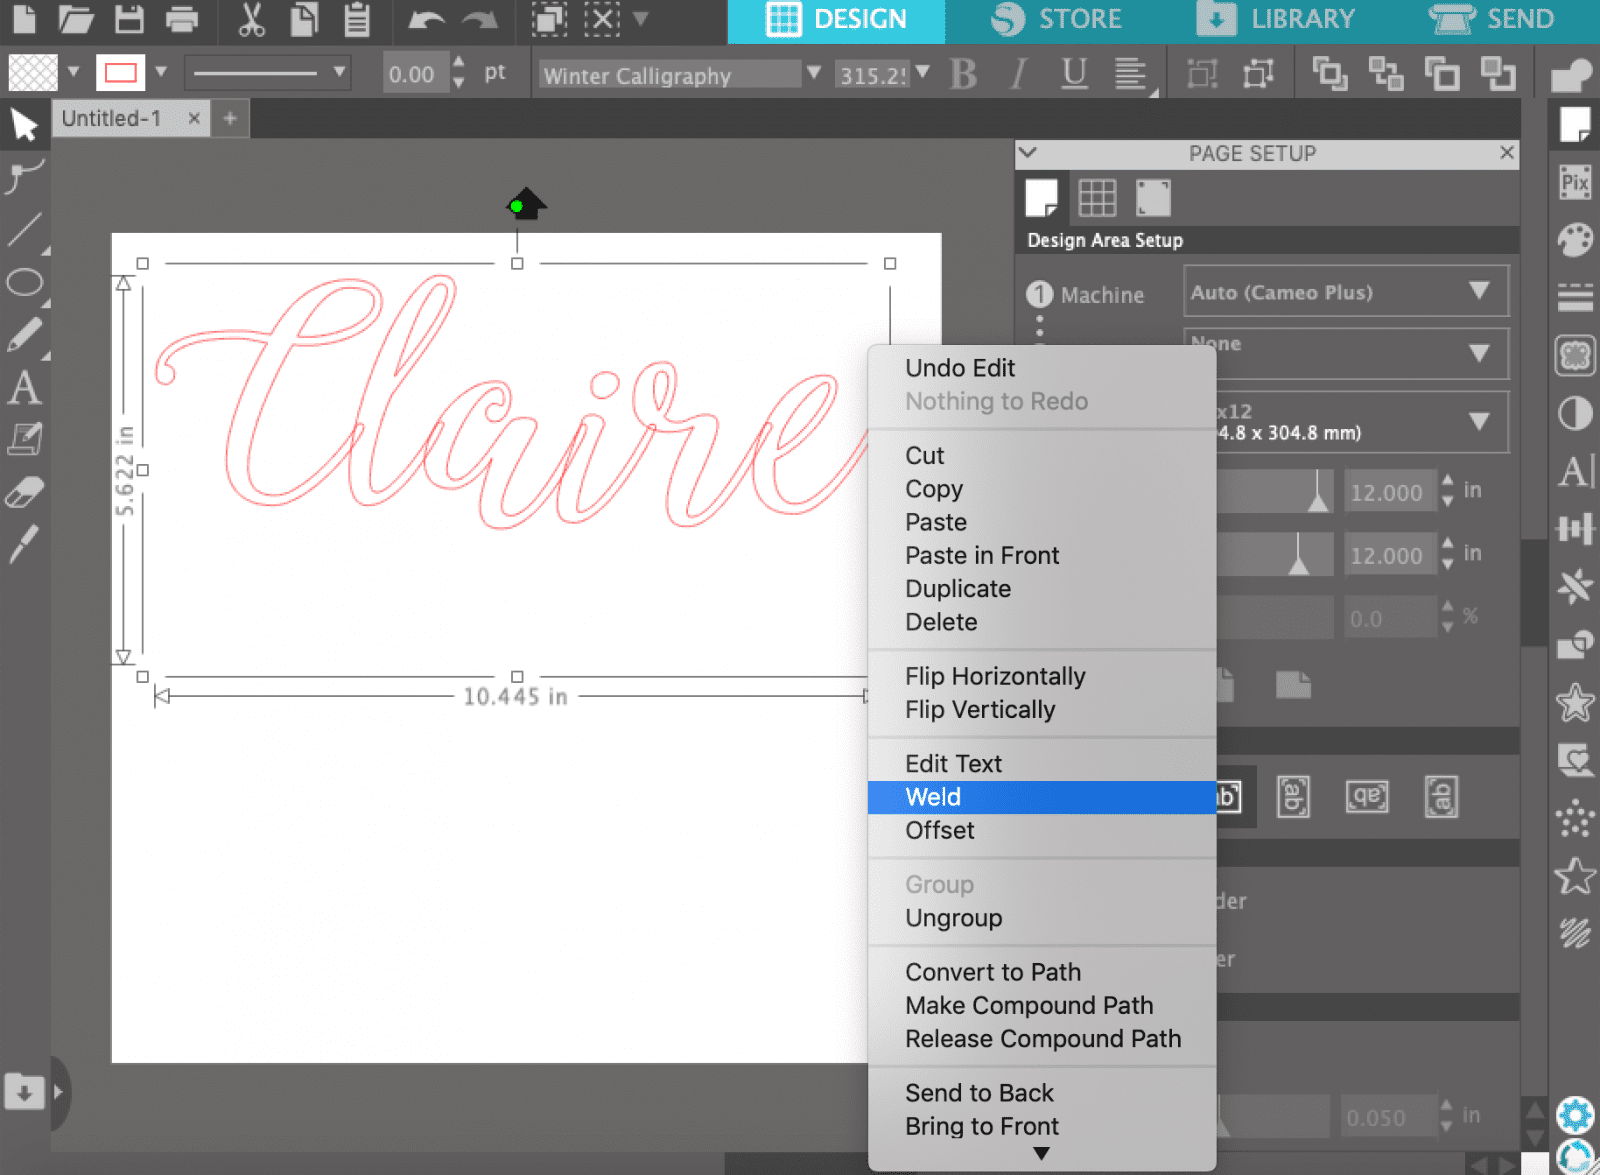
With script fonts, you will notice that each letter is separated for cutting. To make them one smooth piece, right click on the word and click Weld. This will make cutting, transferring, and application much easier (and prettier).

To add another line of text, click the canvas to deselect the other text. Then click the text icon again, and repeat the steps – type, adjust font, resize, and position. Repeat the same steps for any additional text.
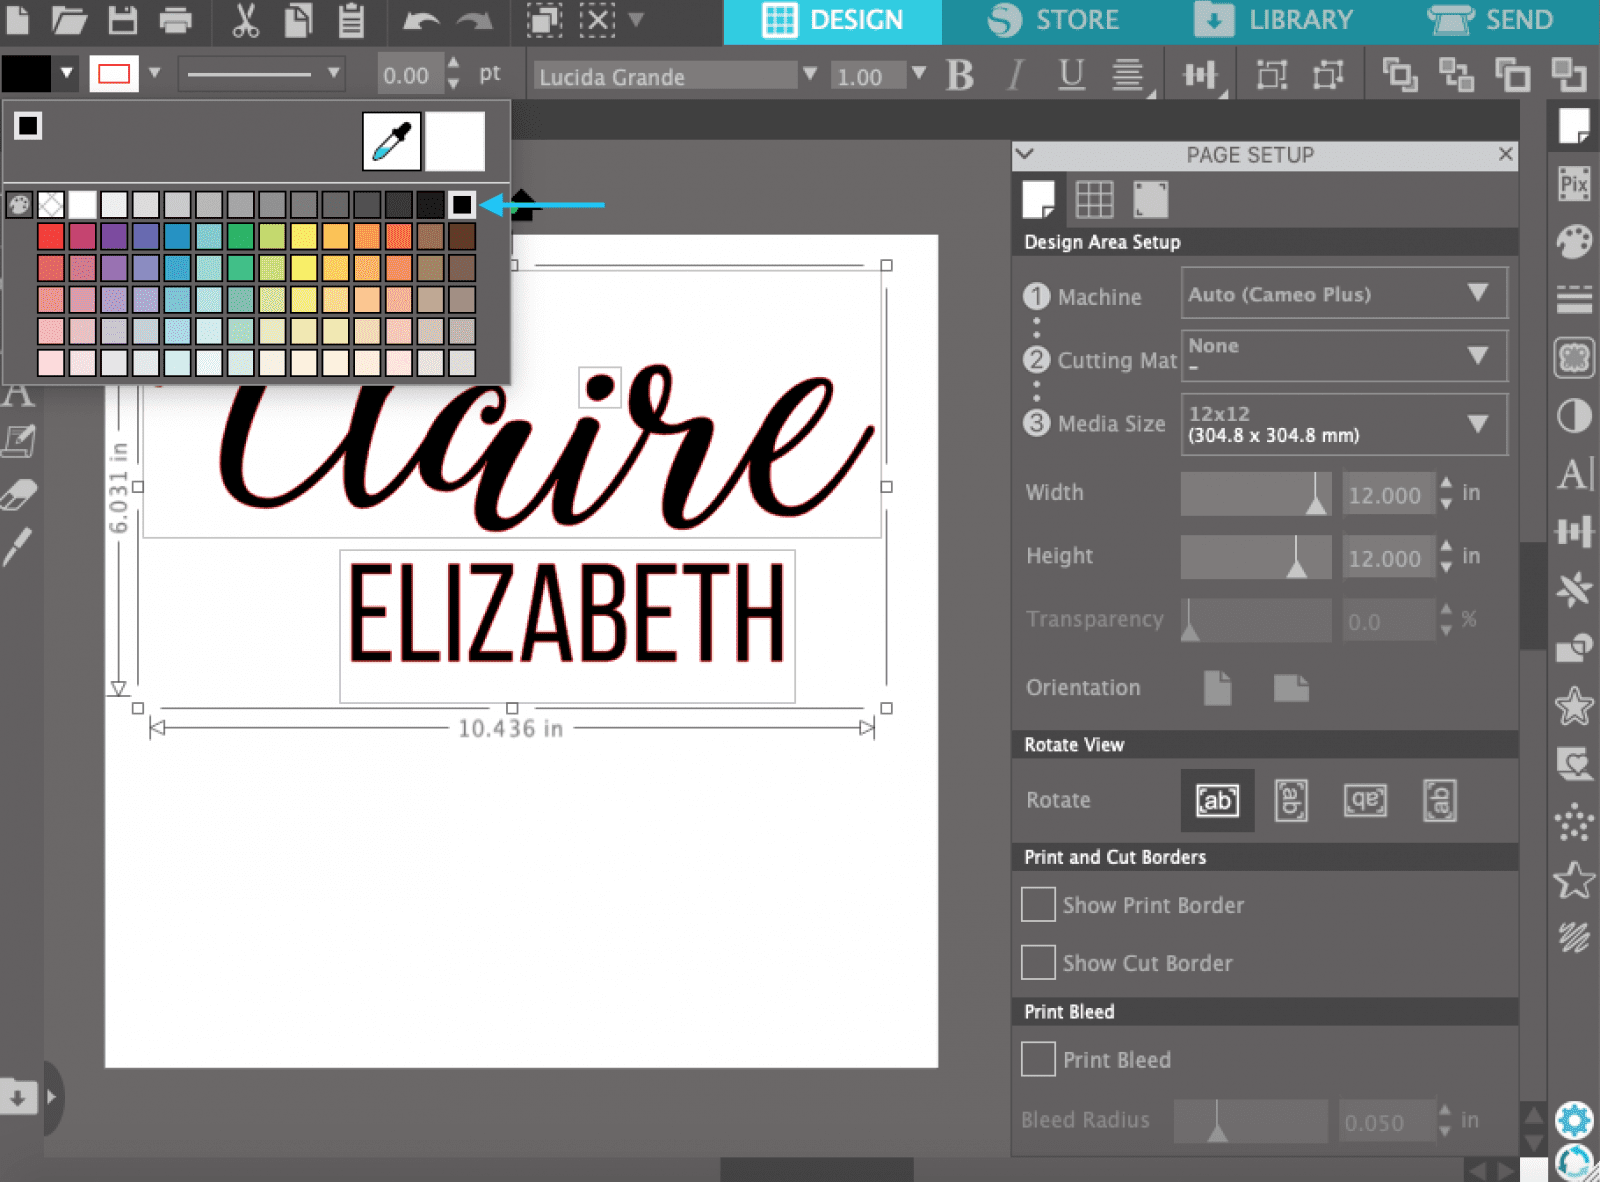
If you want to change the color of your design, select the design by clicking and dragging. Then click the Fill Color dropdown and select the color.
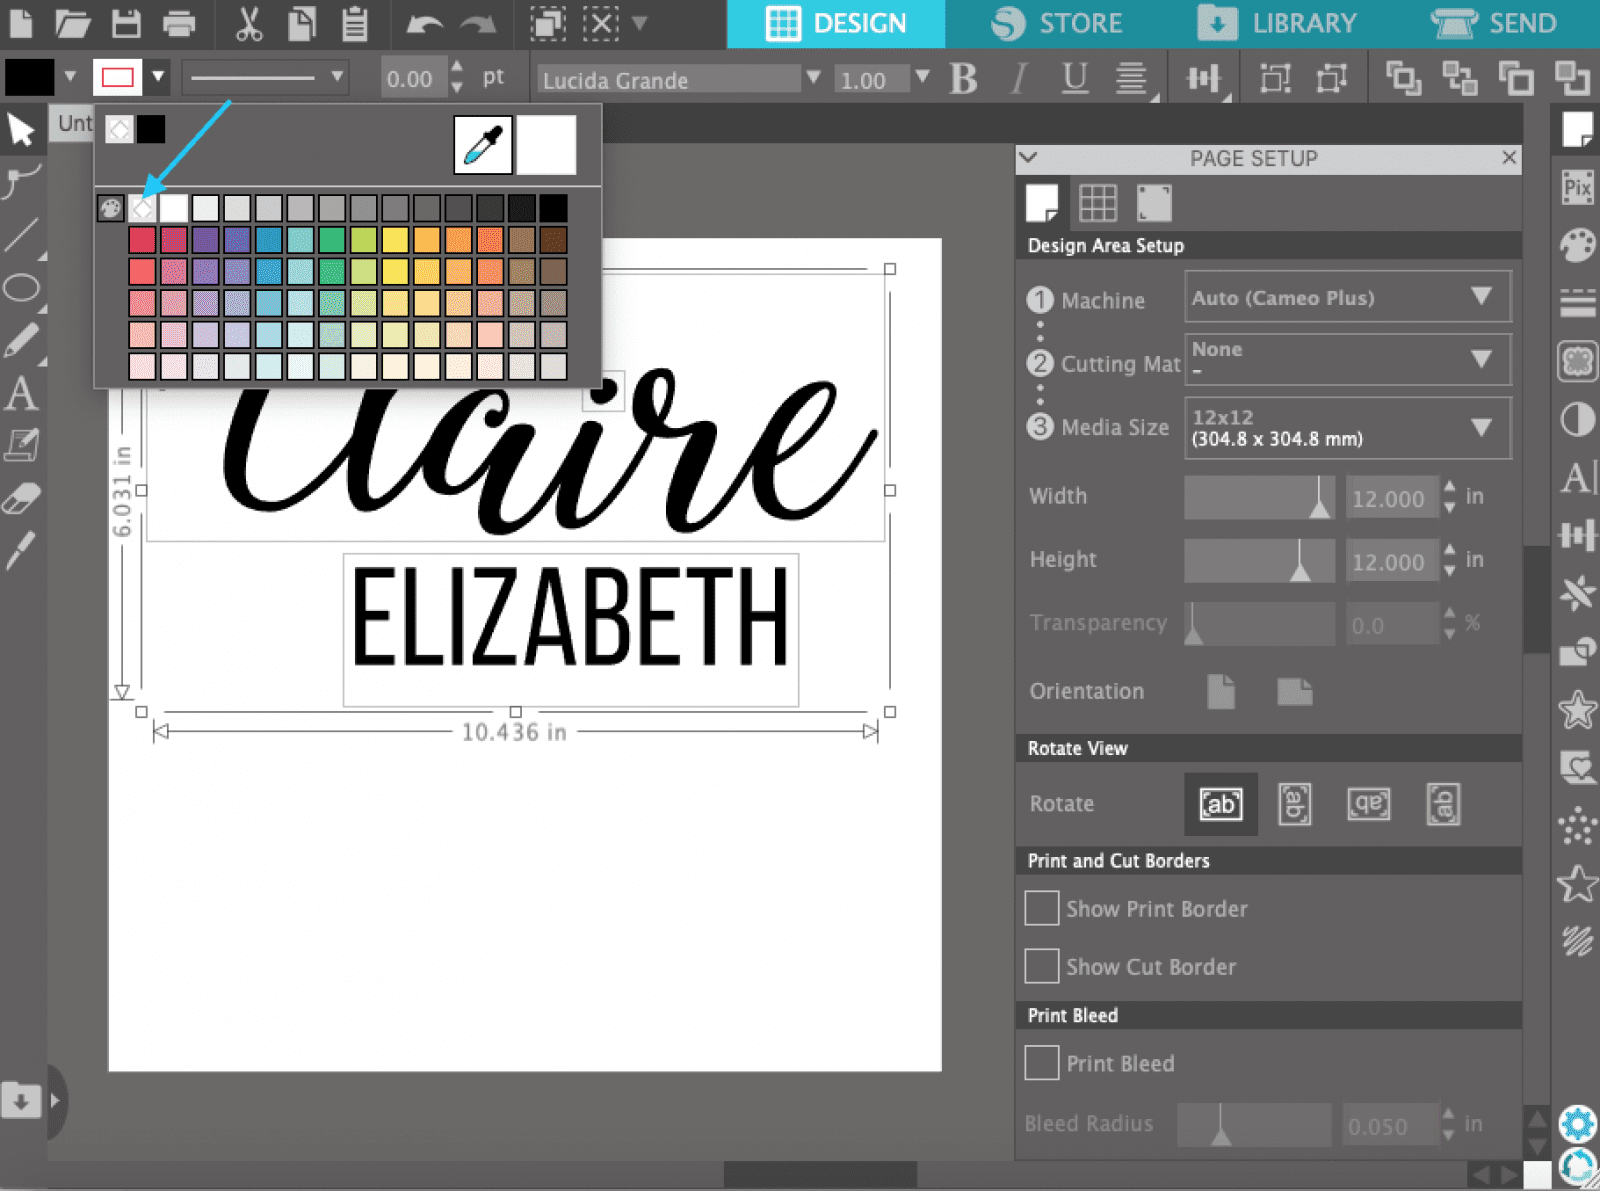
You can also remove the red cutting line by clicking the Cut Line Color dropdown and selecting Standard.
We hope this helps you understand Silhouette Studio fonts a little better! If you have any questions you’d like us to cover, leave them in the comments, or send us an email to hello@prettylifegirls.com. And be sure to keep reading for the baby stats sign tutorial, where you can put your new skills to use!
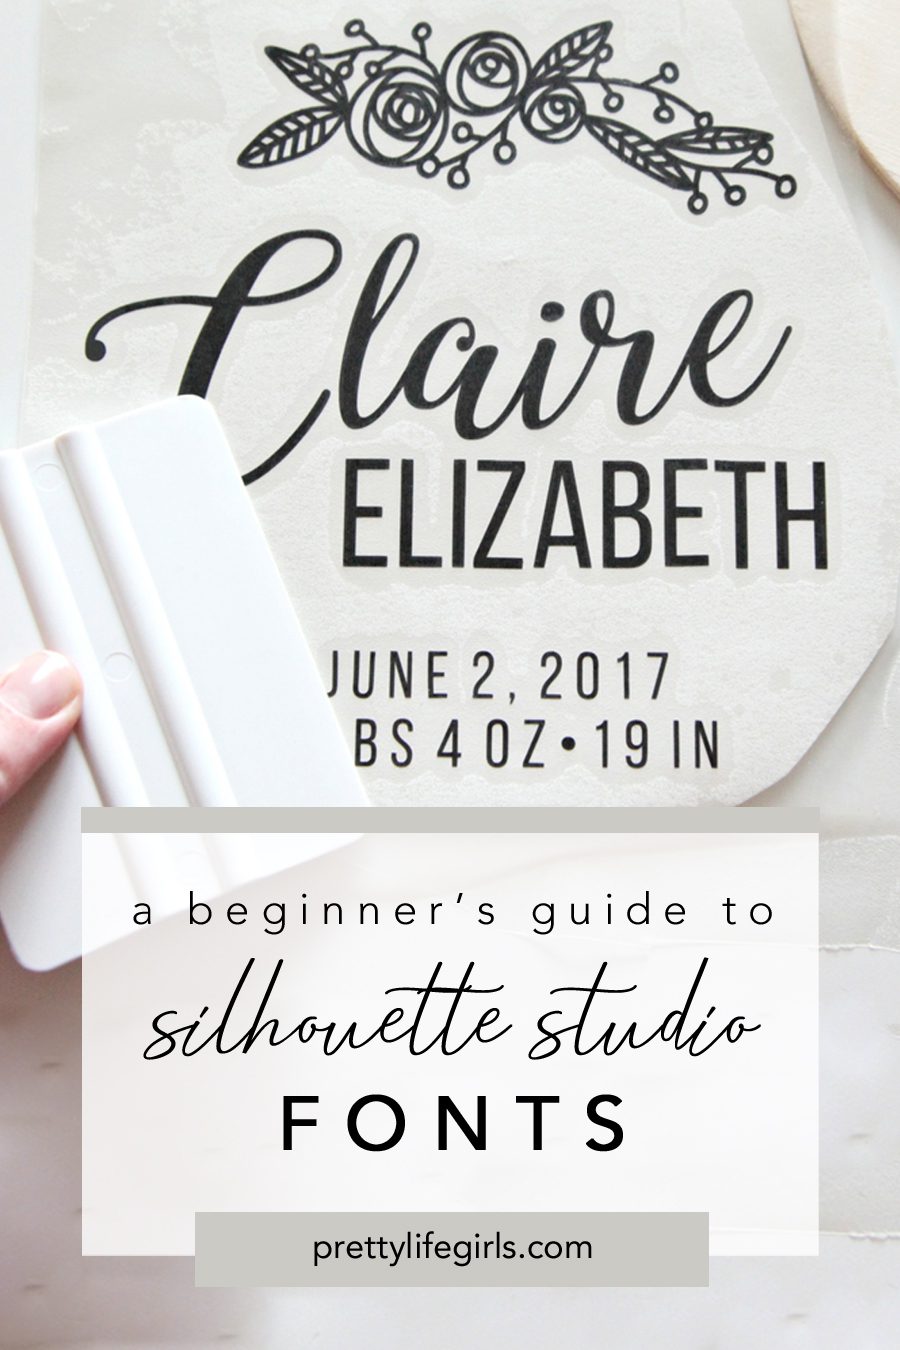
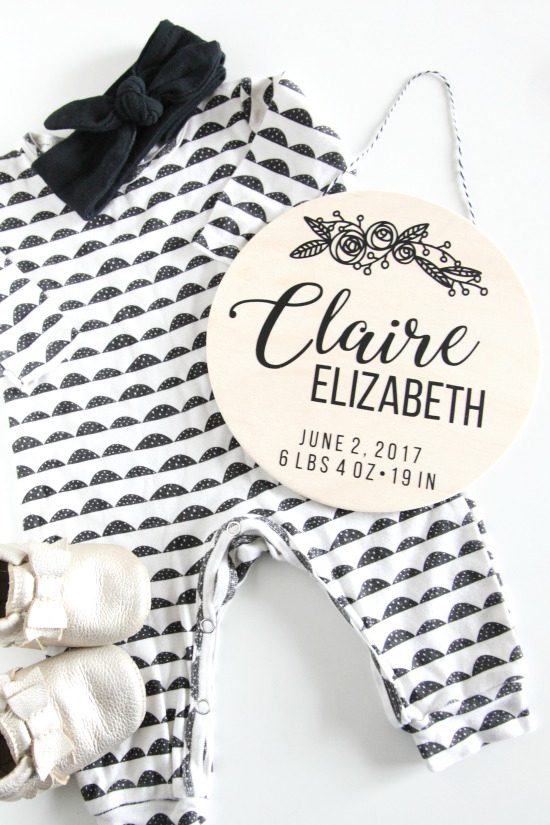
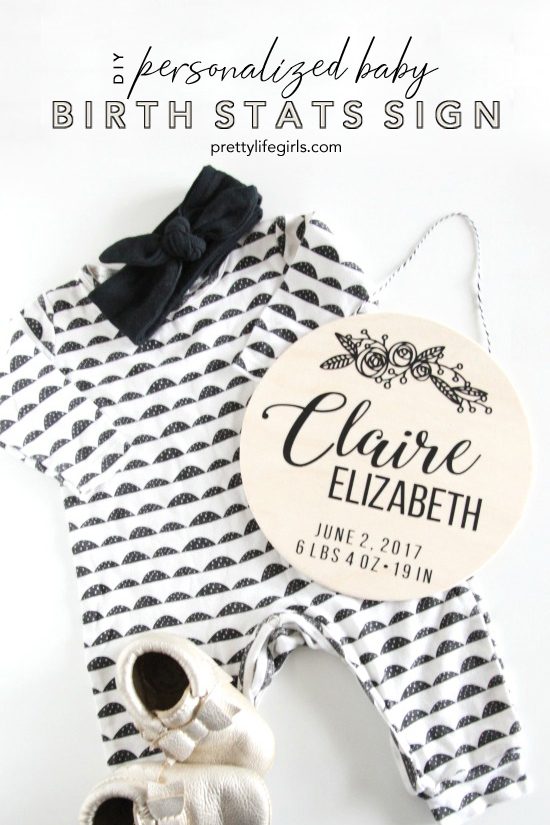
How to make a Personalized Baby Birth Stats Sign
Supplies
Silhouette CAMEO
Cutting mat
Weeding hook
Adhesive vinyl
Transfer tape
8” unfinished wood circle
Twine
Glue gun
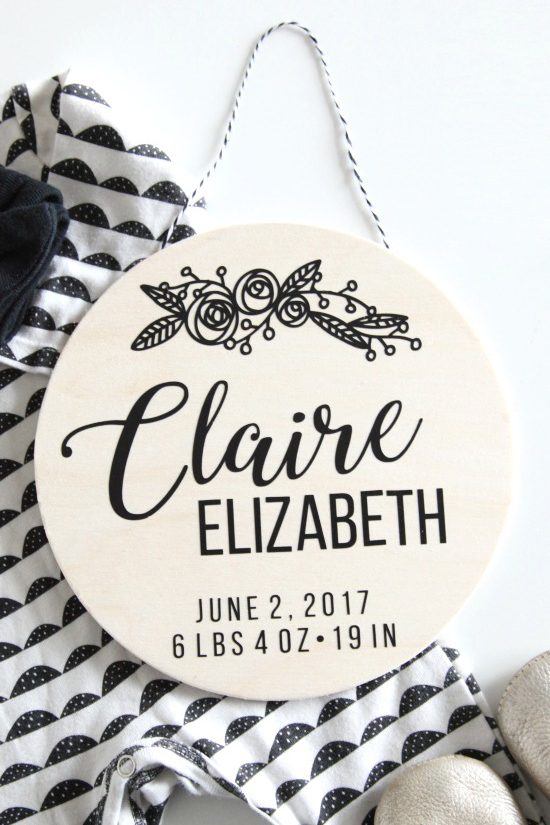
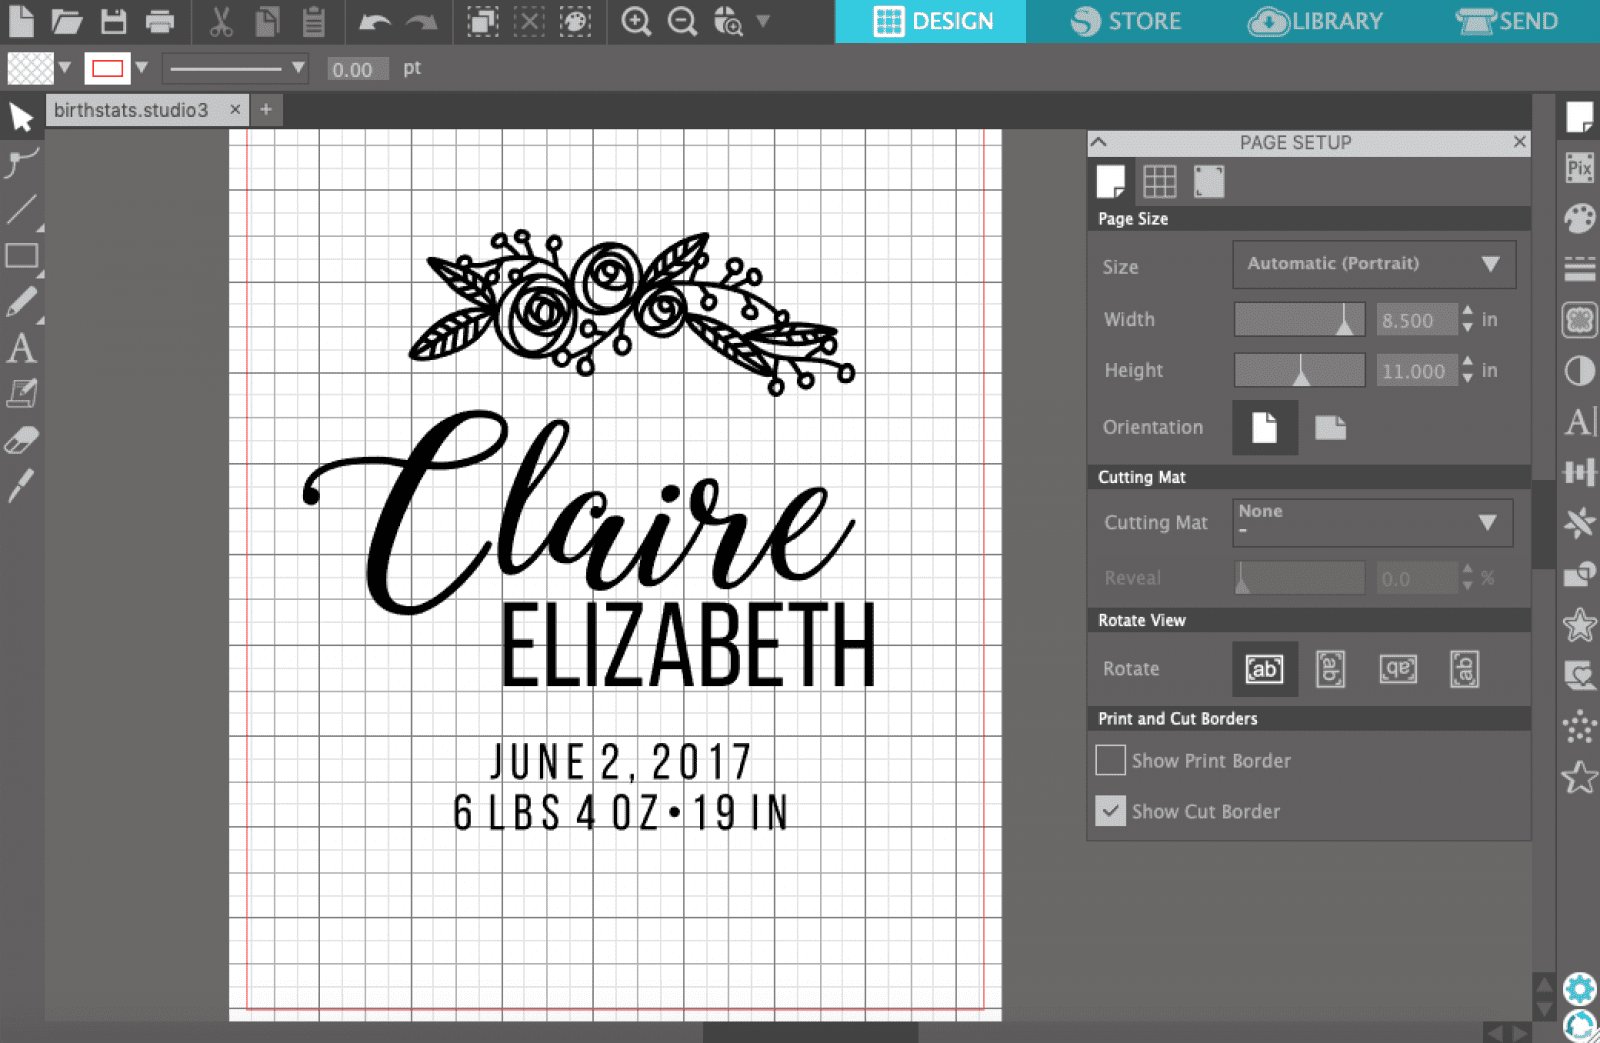
Step 1: Create your design in Silhouette Studio. I used Winter Calligraphy and Bebas Neue fonts and this design from the Silhouette Design Store.
Step 2: Put your adhesive vinyl on a mat, load it into your machine, and cut.

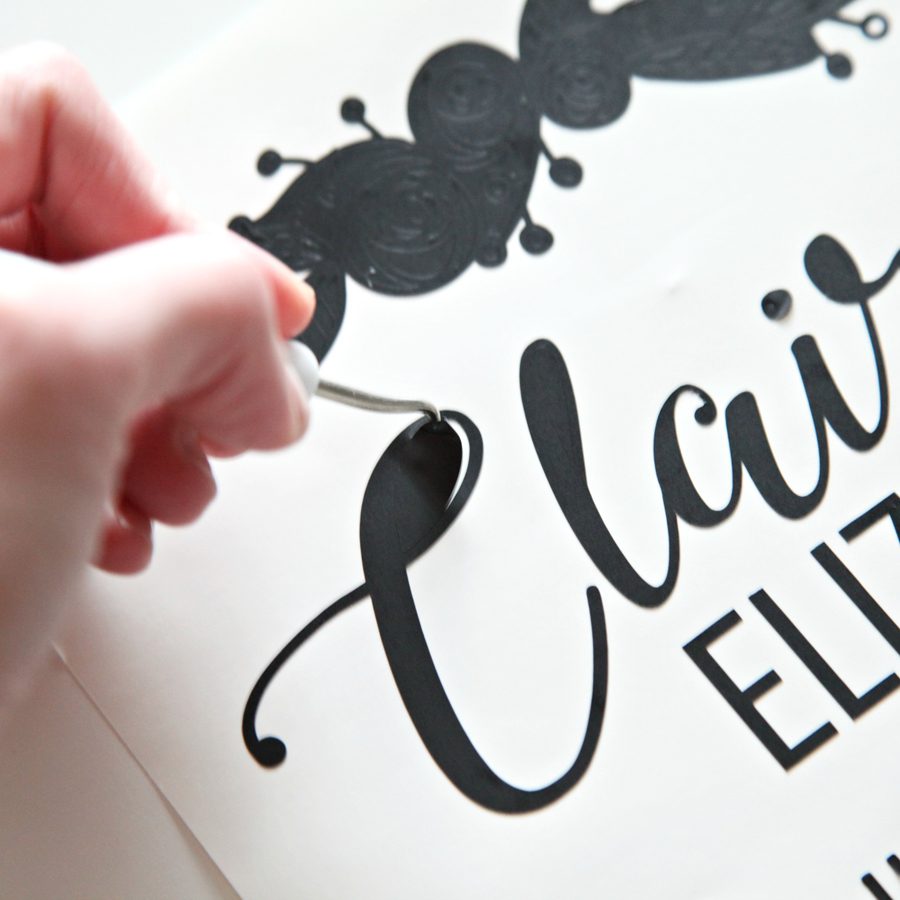
Step 3: After your machine has finished cutting, remove the vinyl, and weed the excess. Use the hook to remove any small pieces.
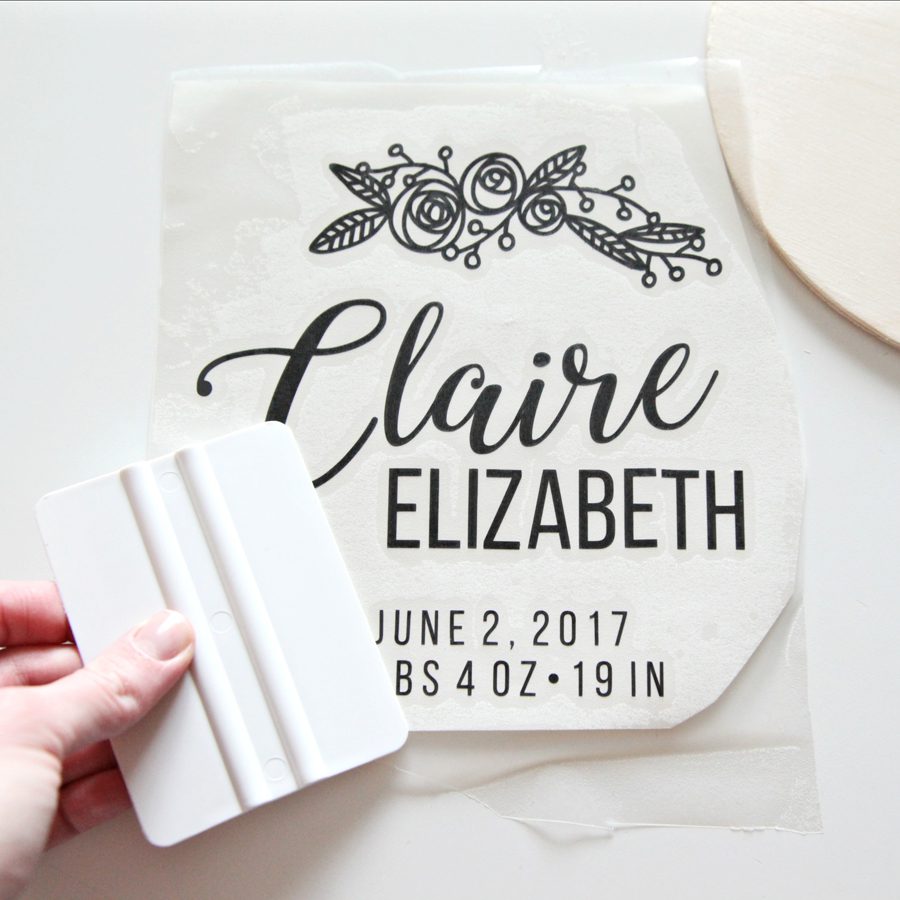
Step 4: Use transfer tape to move the vinyl from the carrier sheet to the wood circle. Apply it to the wood, using firm pressure.
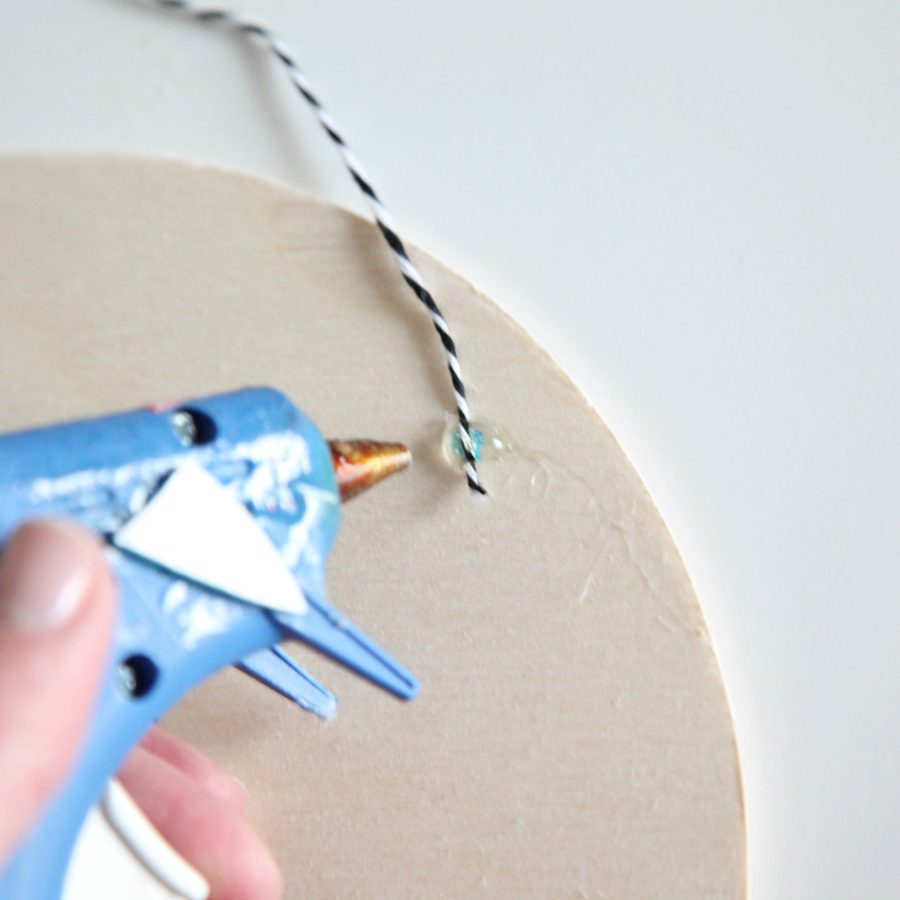
Step 5: Carefully remove the transfer tape. Then cut a piece of twine to use for hanging.
Step 6: Use hot glue to attach the two ends of the string to the back of the circle.
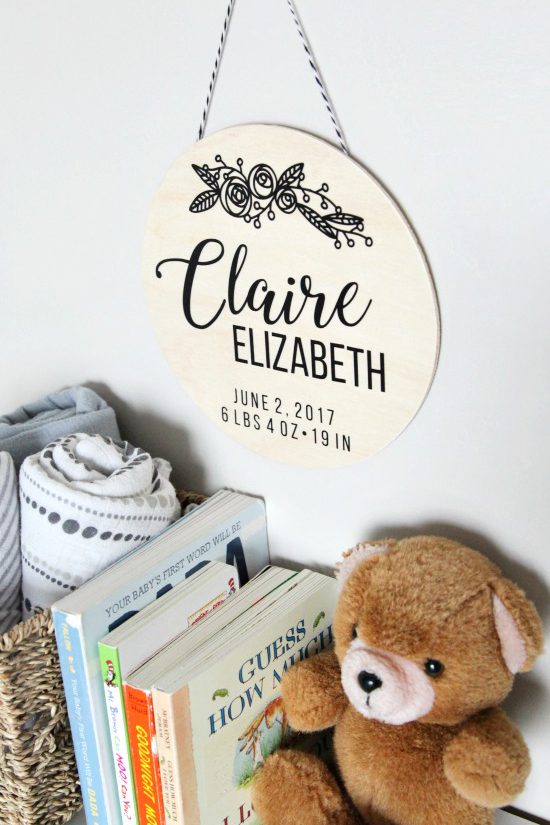
Isn’t this the sweetest? I love a personalized touch in any room, especially a nursery!
Happy crafting!
xo, Sam