This 3D Paper Camera post is sponsored by Silhouette. All opinions are ours alone.
This post may contain affiliate links, which help us support this site.
Paper crafts are one of my true loves as a maker, but I struggle to find time to do them because of the more substantial DIY projects that often take up my time. However, being home with my kids during Covid-19 has given us extra time to make, and paper crafting has been a perfect way to create together! Working with paper is great for kids because there is little mess and they can easily fold and glue their way to something adorable! Plus, by bringing my Silhouette CAMEO 4 into the mix, along with all of the amazing 3D paper craft designs on the Silhouette Design Store, the possibilities for what we can make are endless.
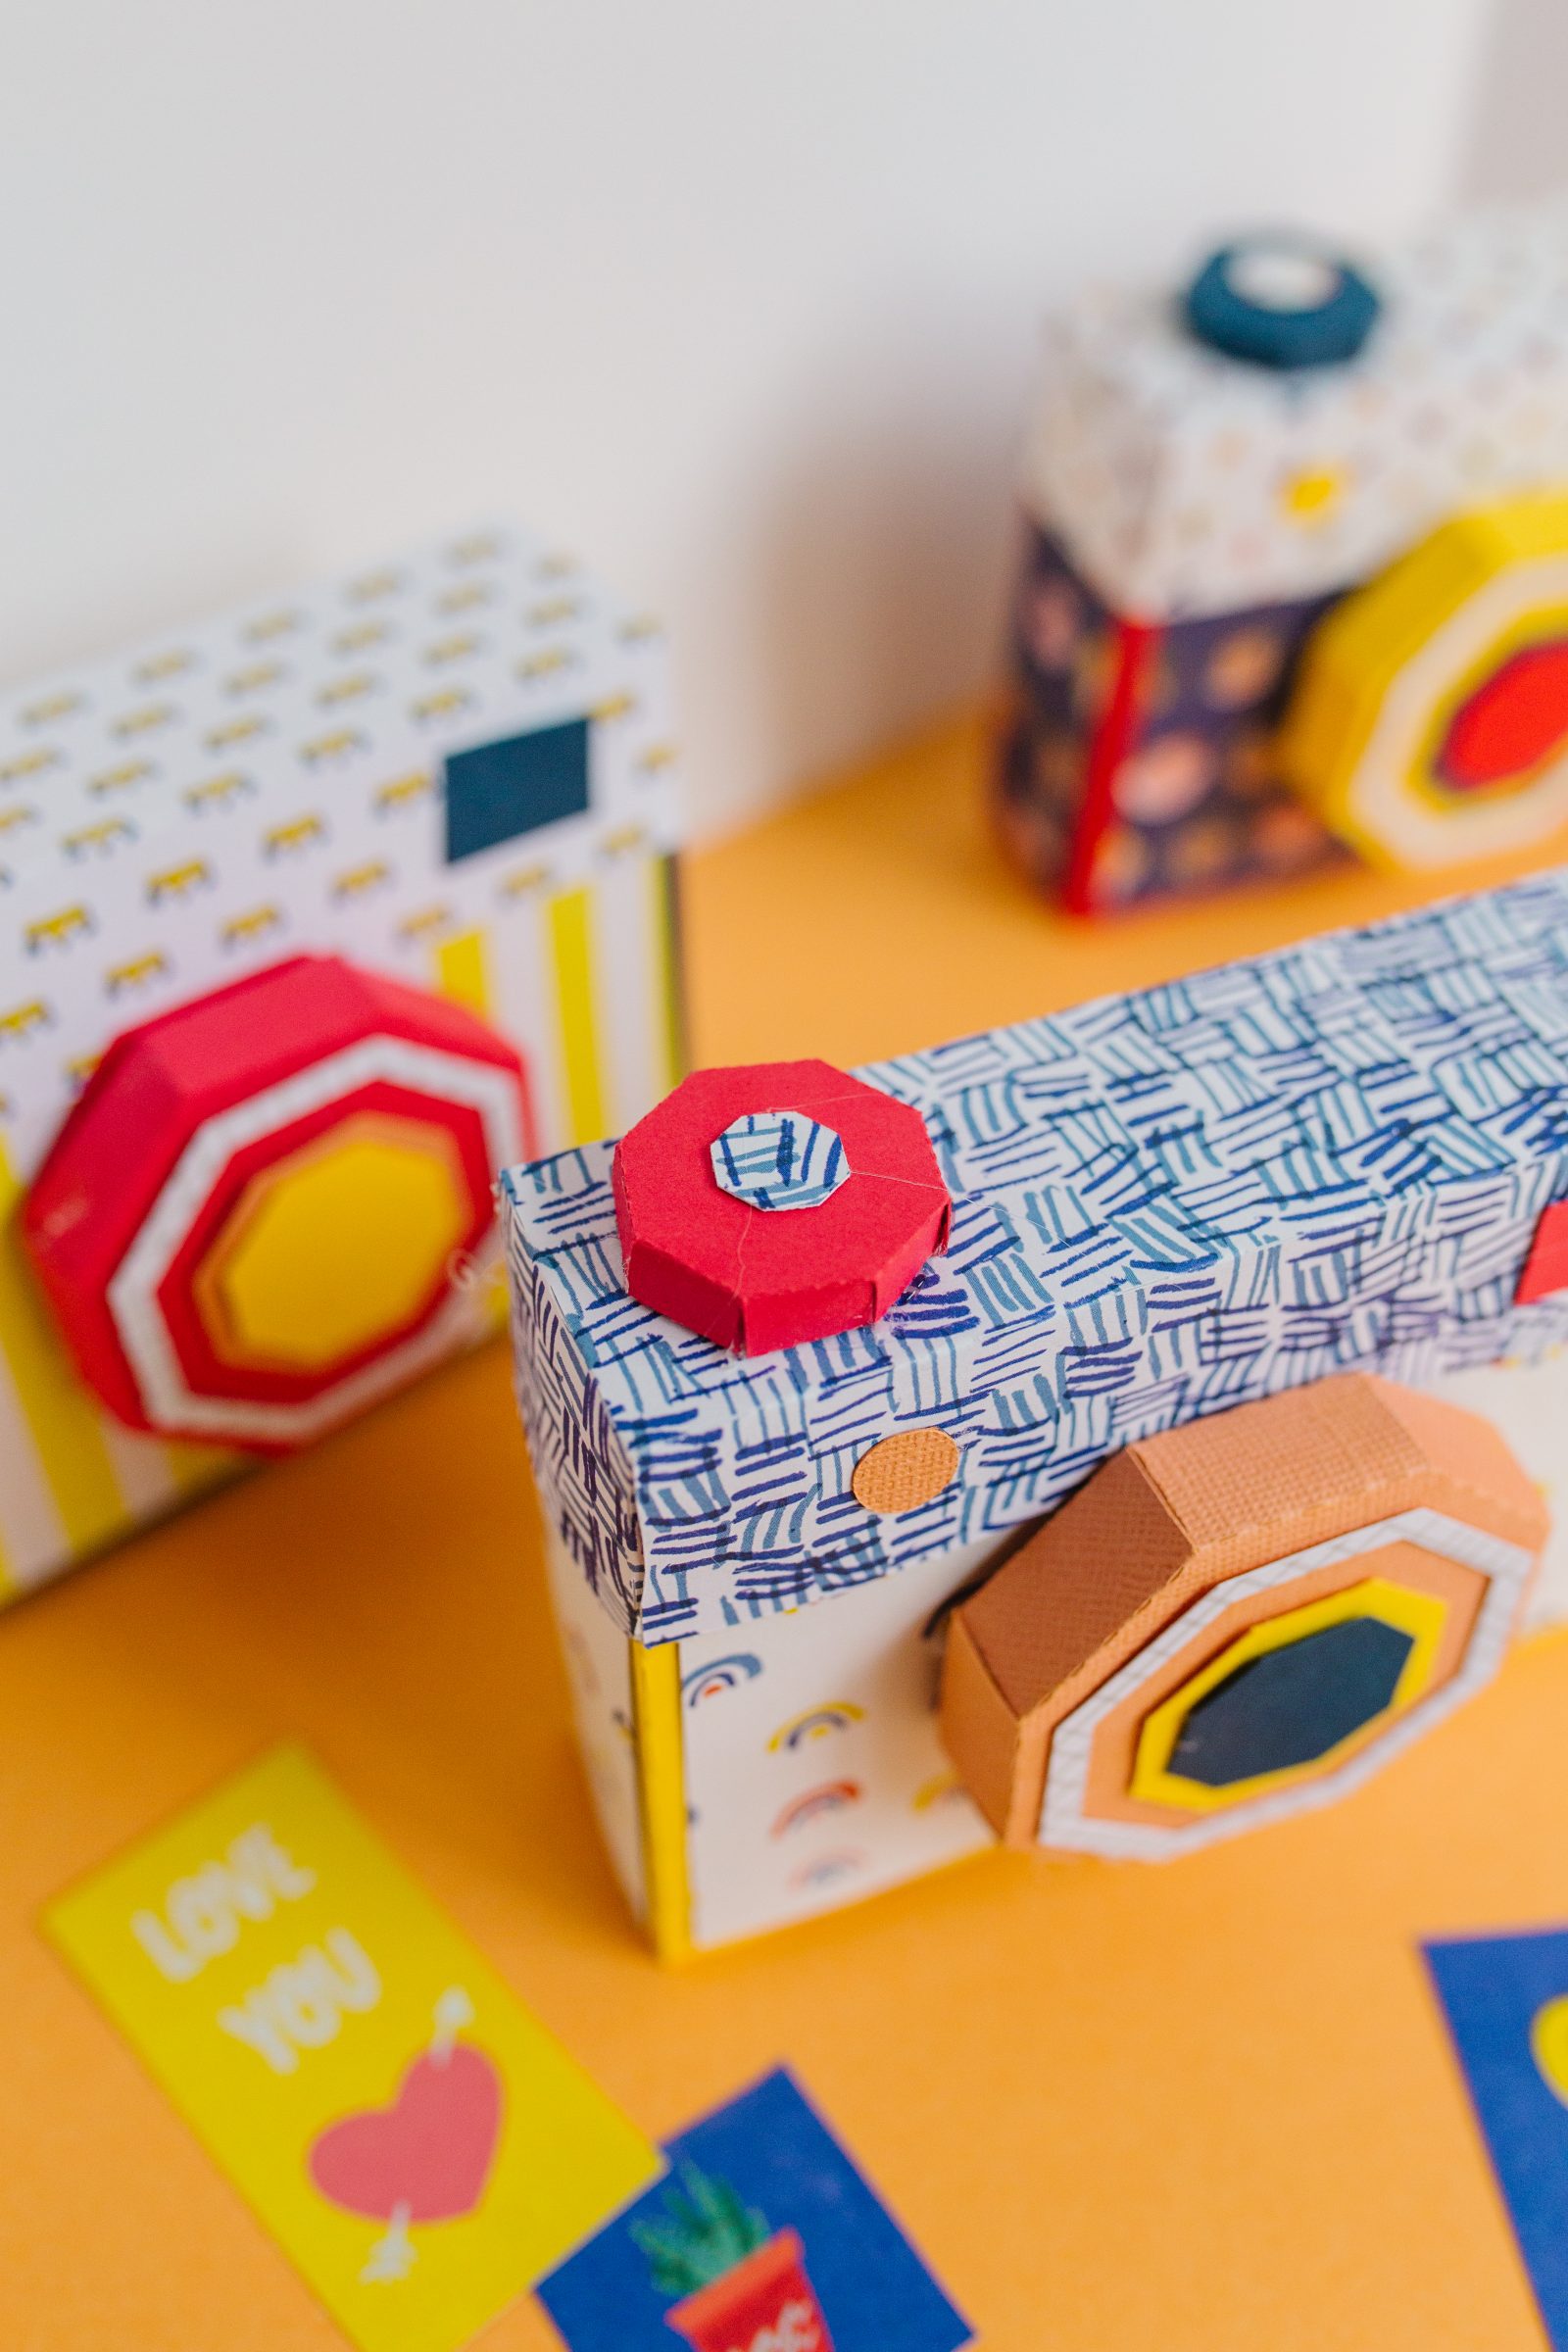
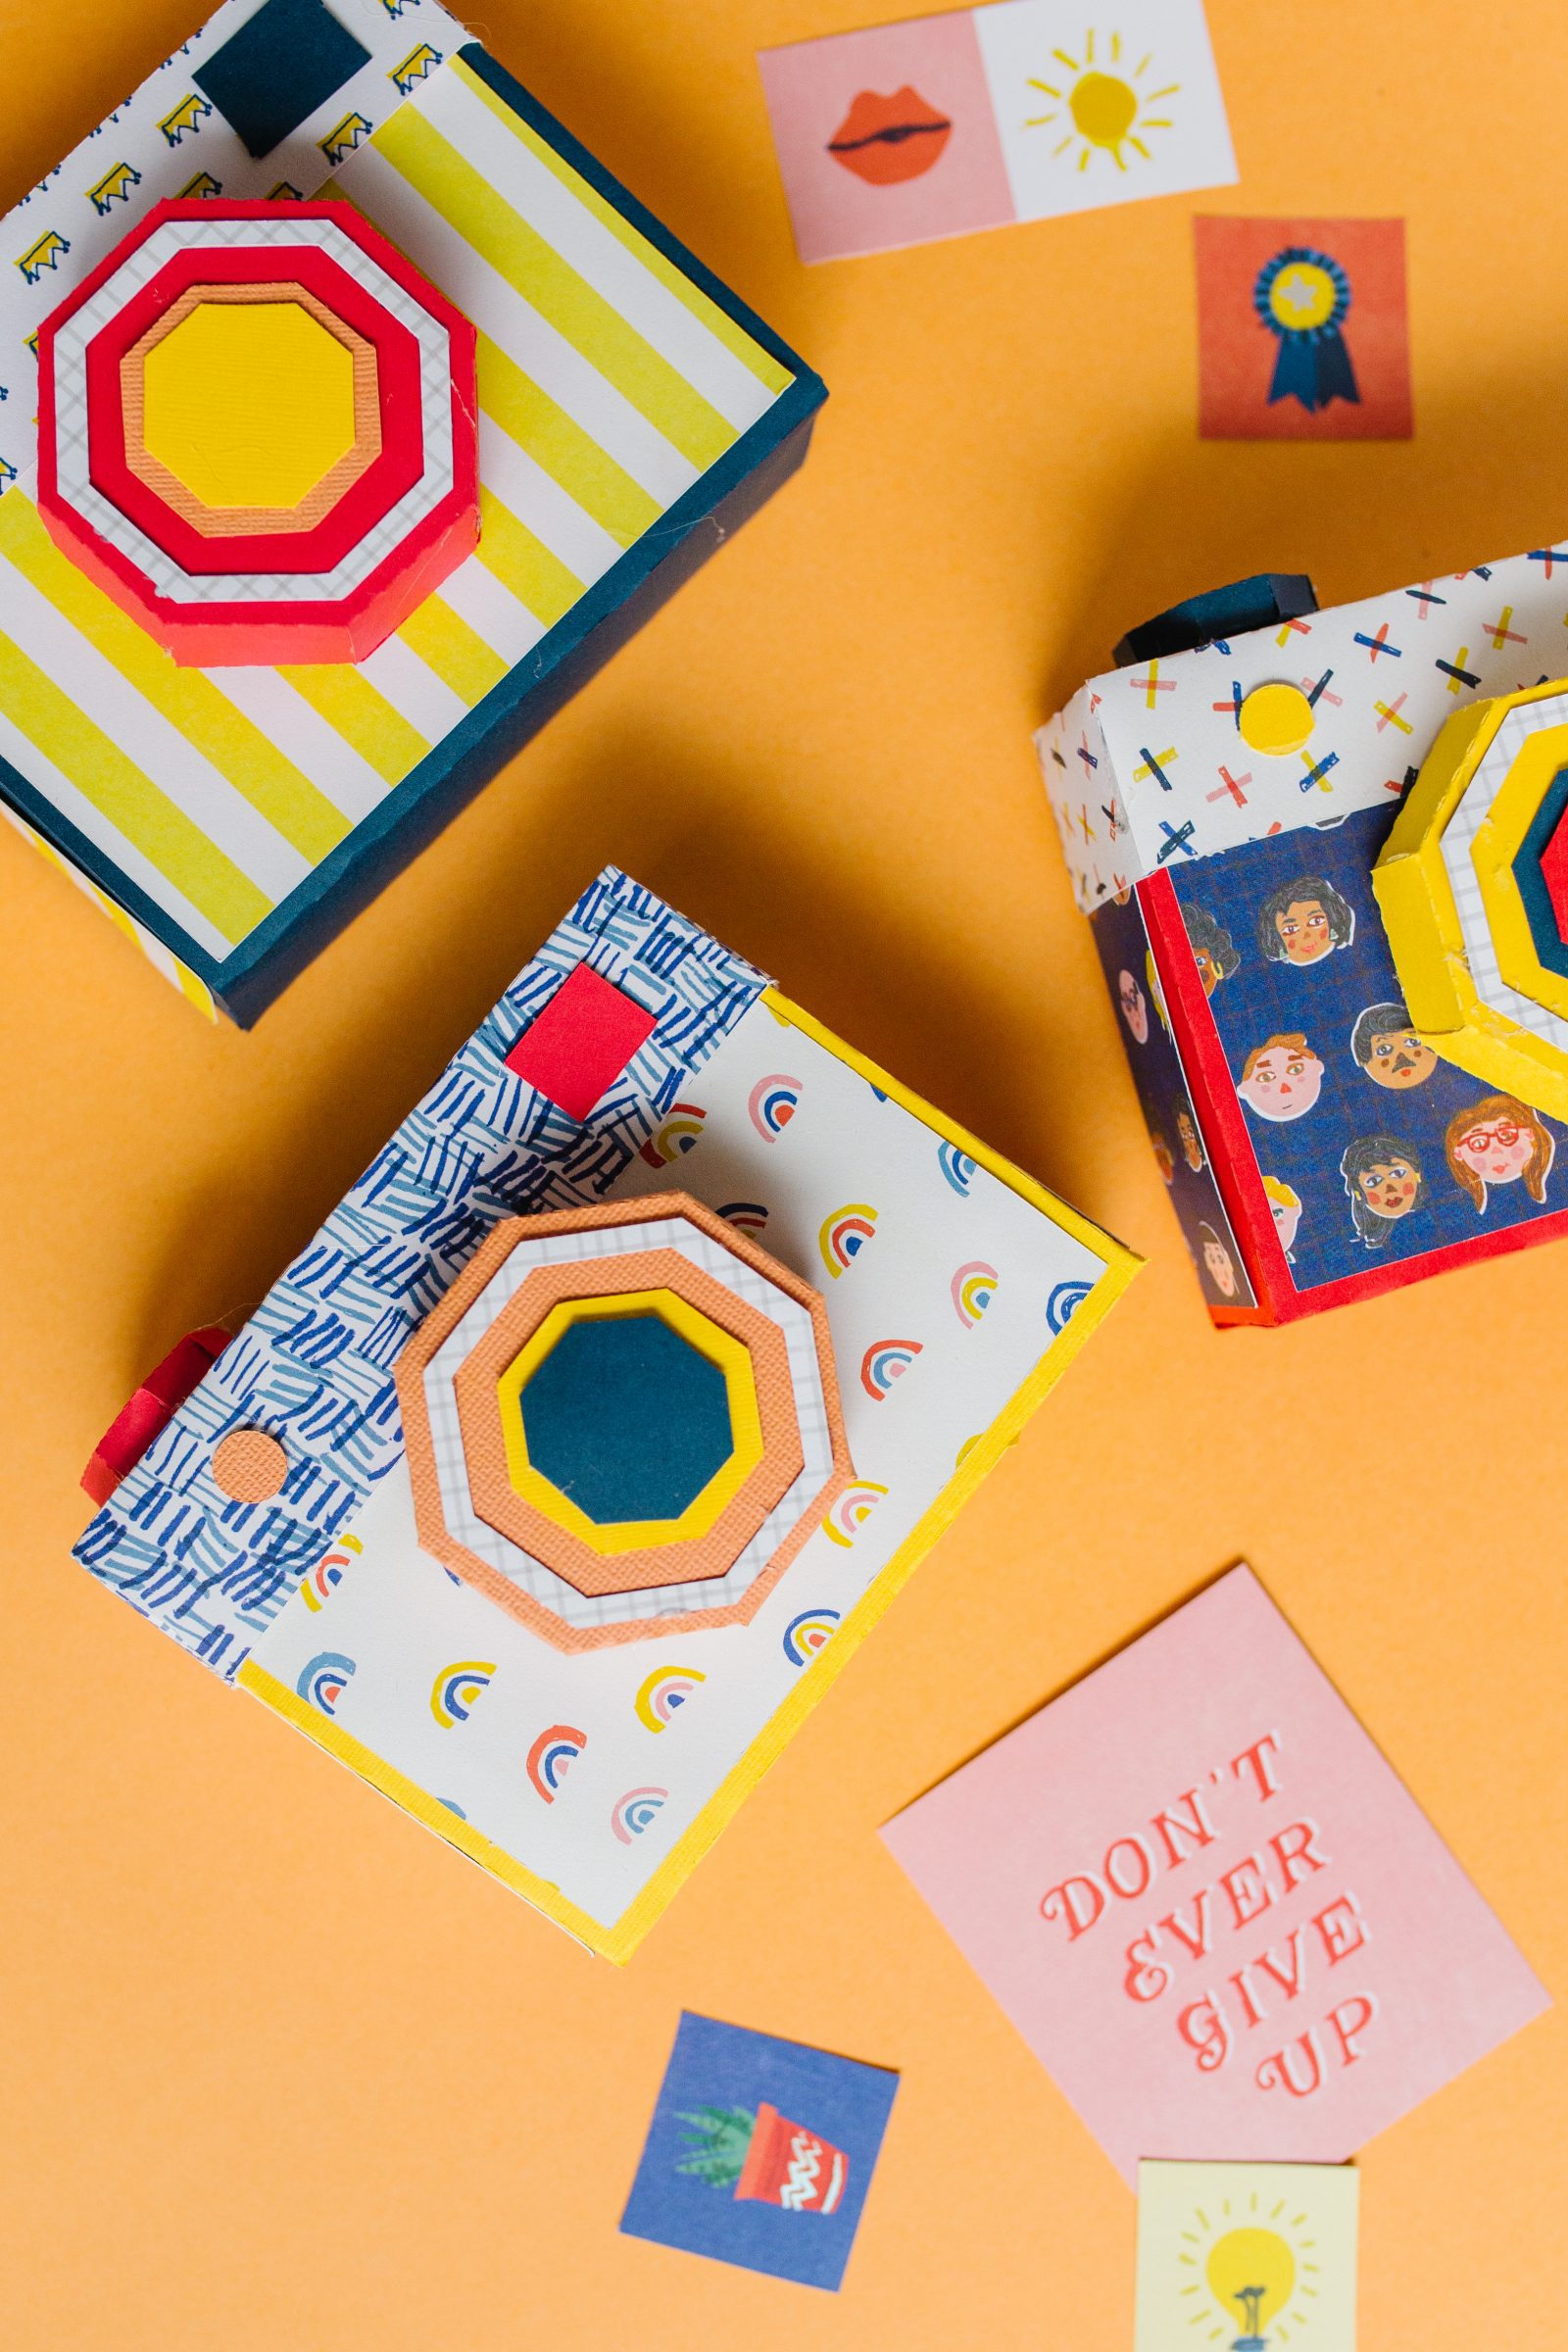
If you’re looking for the perfect afternoon craft project to make with your kiddos, look no further than these 3D Paper Camera Shaped Boxes we found on the Silhouette Design Store. They are just the right size for storing photos, little treasures, or they are fun for the little one who wants to play photographer! We had the best time making them and they couldn’t be cuter. Keep reading for the tutorial!
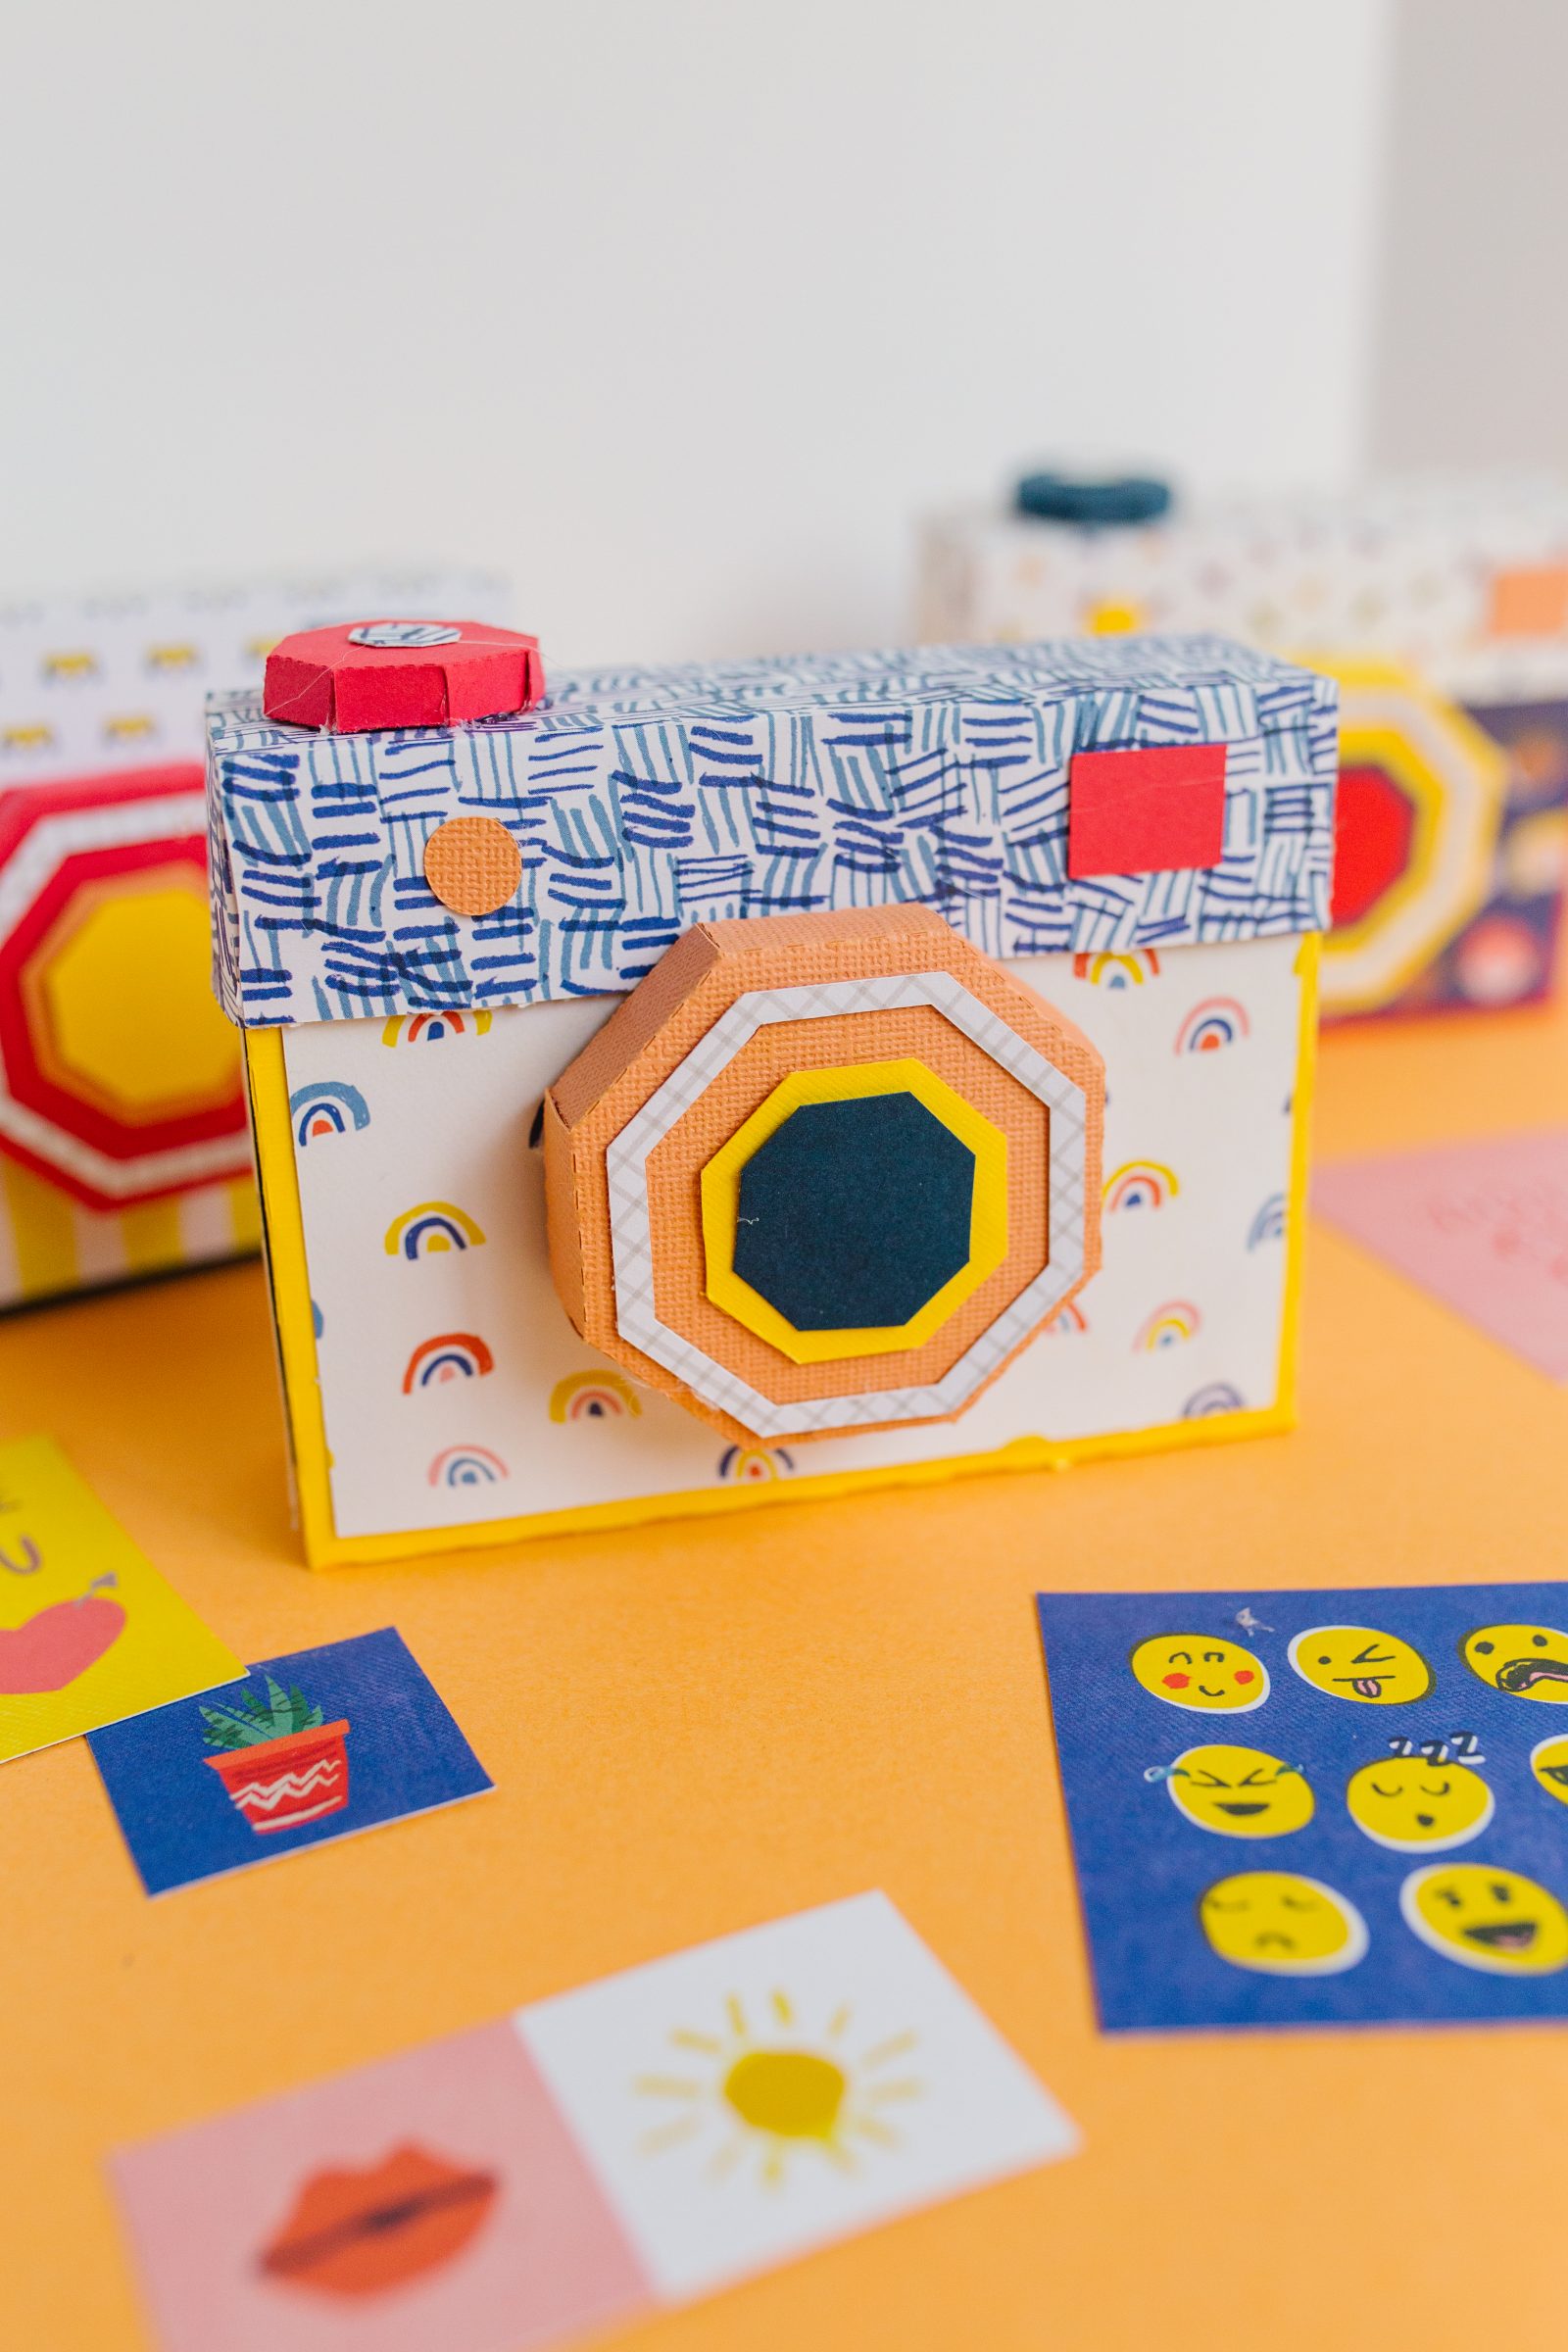

Supplies Needed to Make a 3D Paper Camera with the Silhouette CAMEO
Camera Shaped Box design from the Silhouette Design Store
Silhouette CAMEO 4
Cardstock (I used patterns and solids)
Hot Glue Gun + Sticks

How to Make a 3D Paper Camera with the Silhouette CAMEO
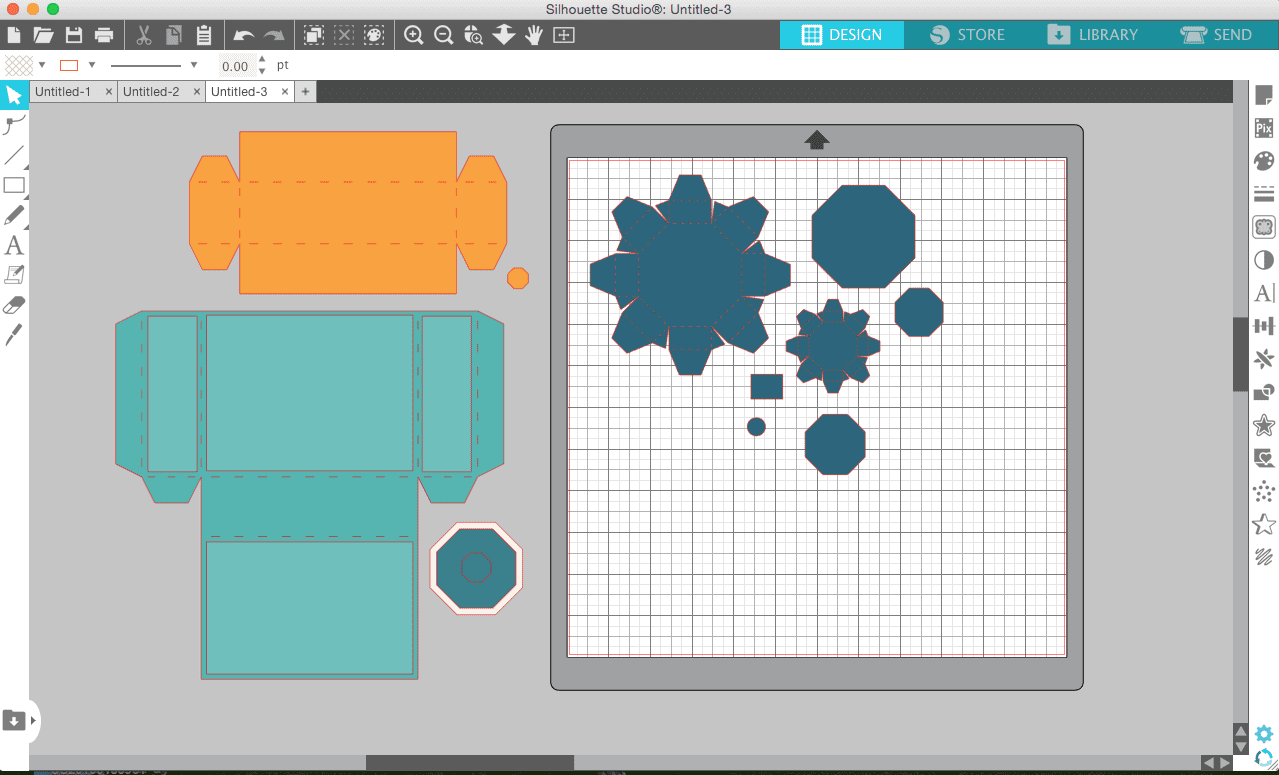
Step 1. Arrange your design in Silhouette Studio. The camera box design is sorted by color so you can tell where the camera will have layers of paper and what pieces go together (as seen in the Studio screenshot above), which helps when you are trying to decide which paper to cut for a particular part of the camera. Also, the size the design is set to will hold 4×6 photos, but you can enlarge/shrink as desired. Once you have arranged your design, send your desired pieces it to your CAMEO to cut on your desired paper and repeat the process until all pieces are cut.
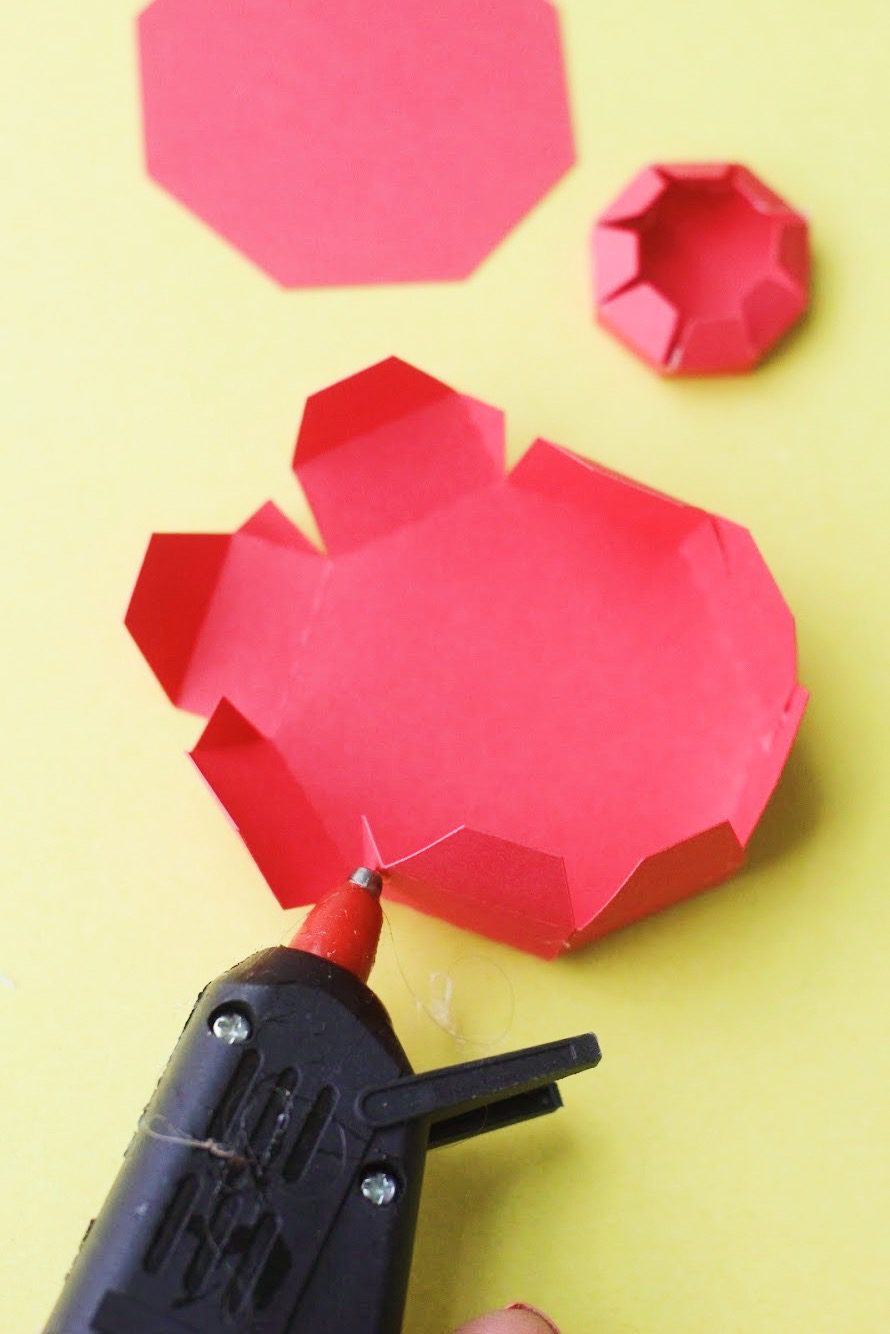

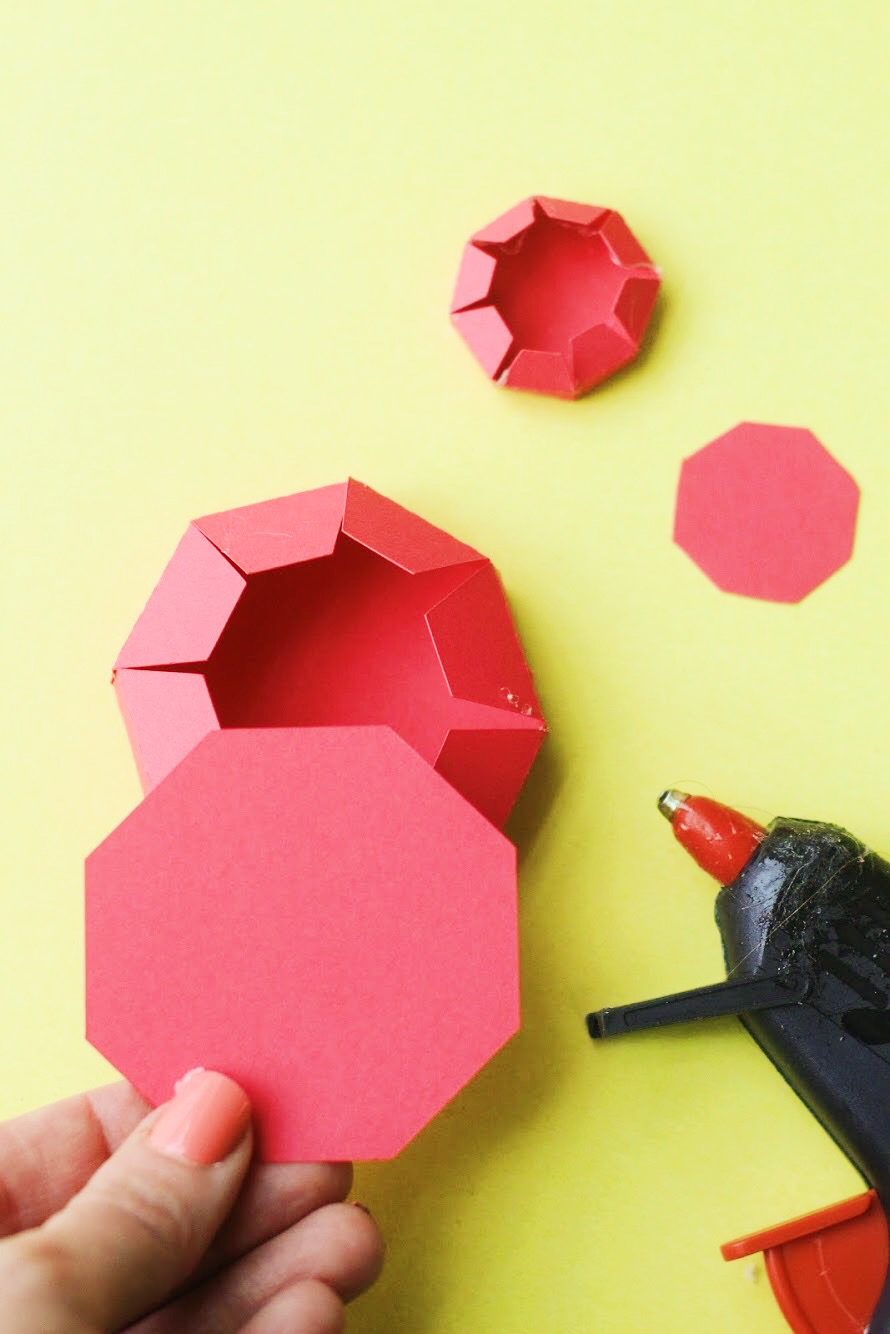

Step 2. Once all of the pieces have been cut, fold and assemble your 3d lens and top dial pieces. The lens and the top dial have score lines that create mountain folds, as well as triangle tabs where you can add a dot of glue to secure them to the rectangle beside them and create an octagon. Once your octagon is assembled, glue to the flat octagon piece of the same size. This piece will act as a base that will help the lens and the top dial lay flat against the camera box.
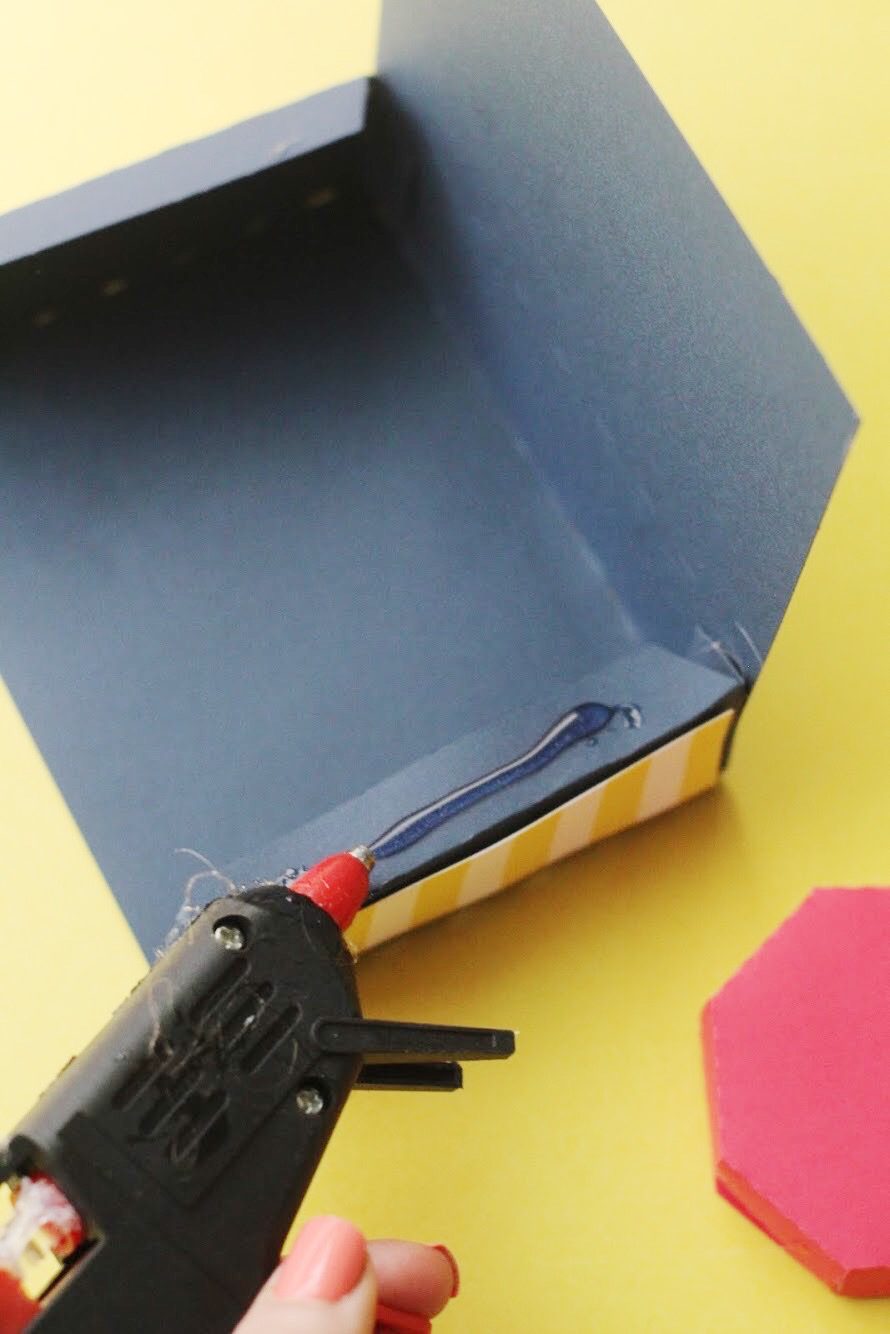

Step 3. Glue the decorative panels to the camera box and then fold along the dotted lines and secure the box using hot glue. Repeat this process with the box lid.
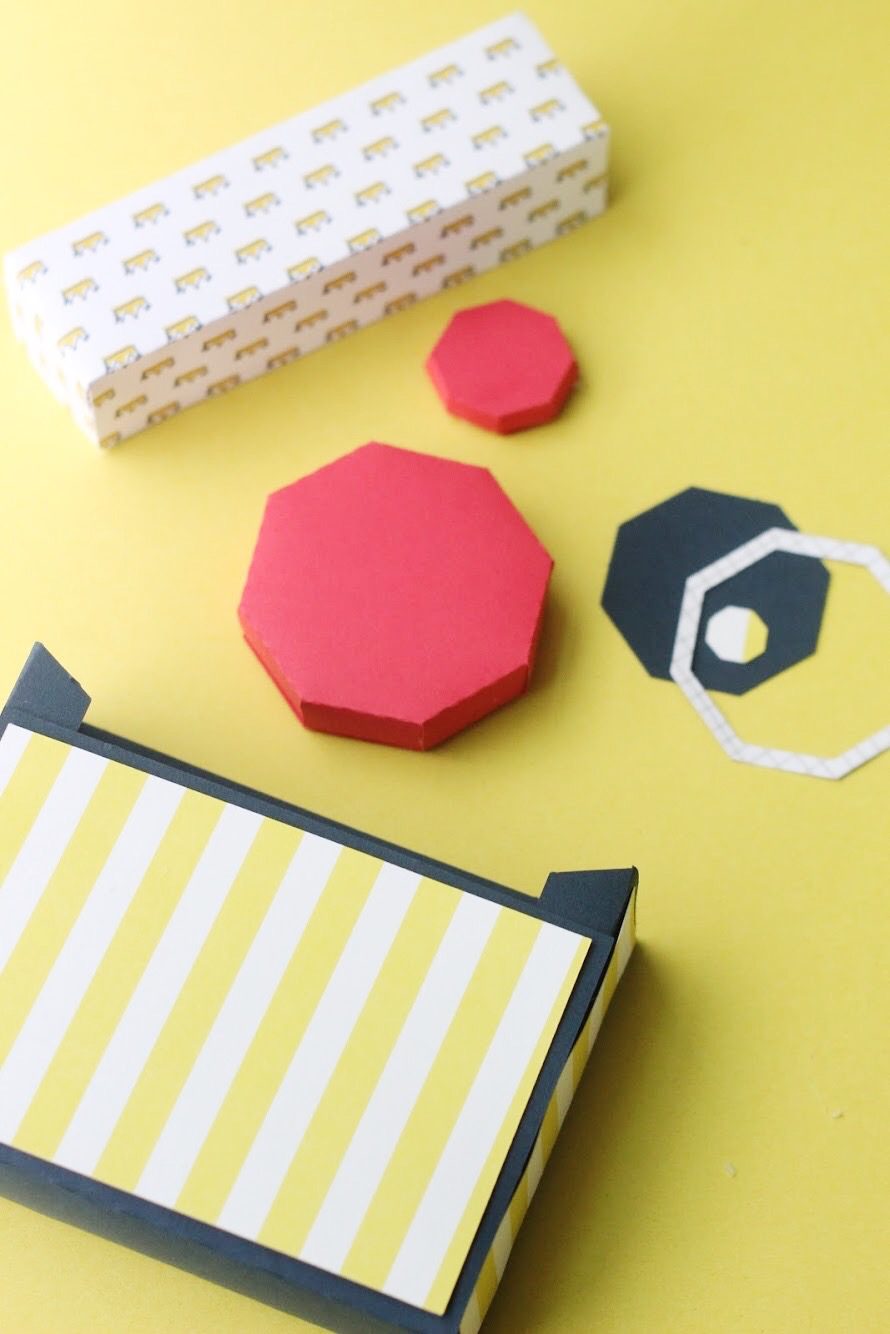

Step 4. Once your boxes and your lens and dial are assembled, attach the lens to the front of the box and the dial to the lid using hot glue. Attach the remaining decorative elements to the boxes using hot glue.
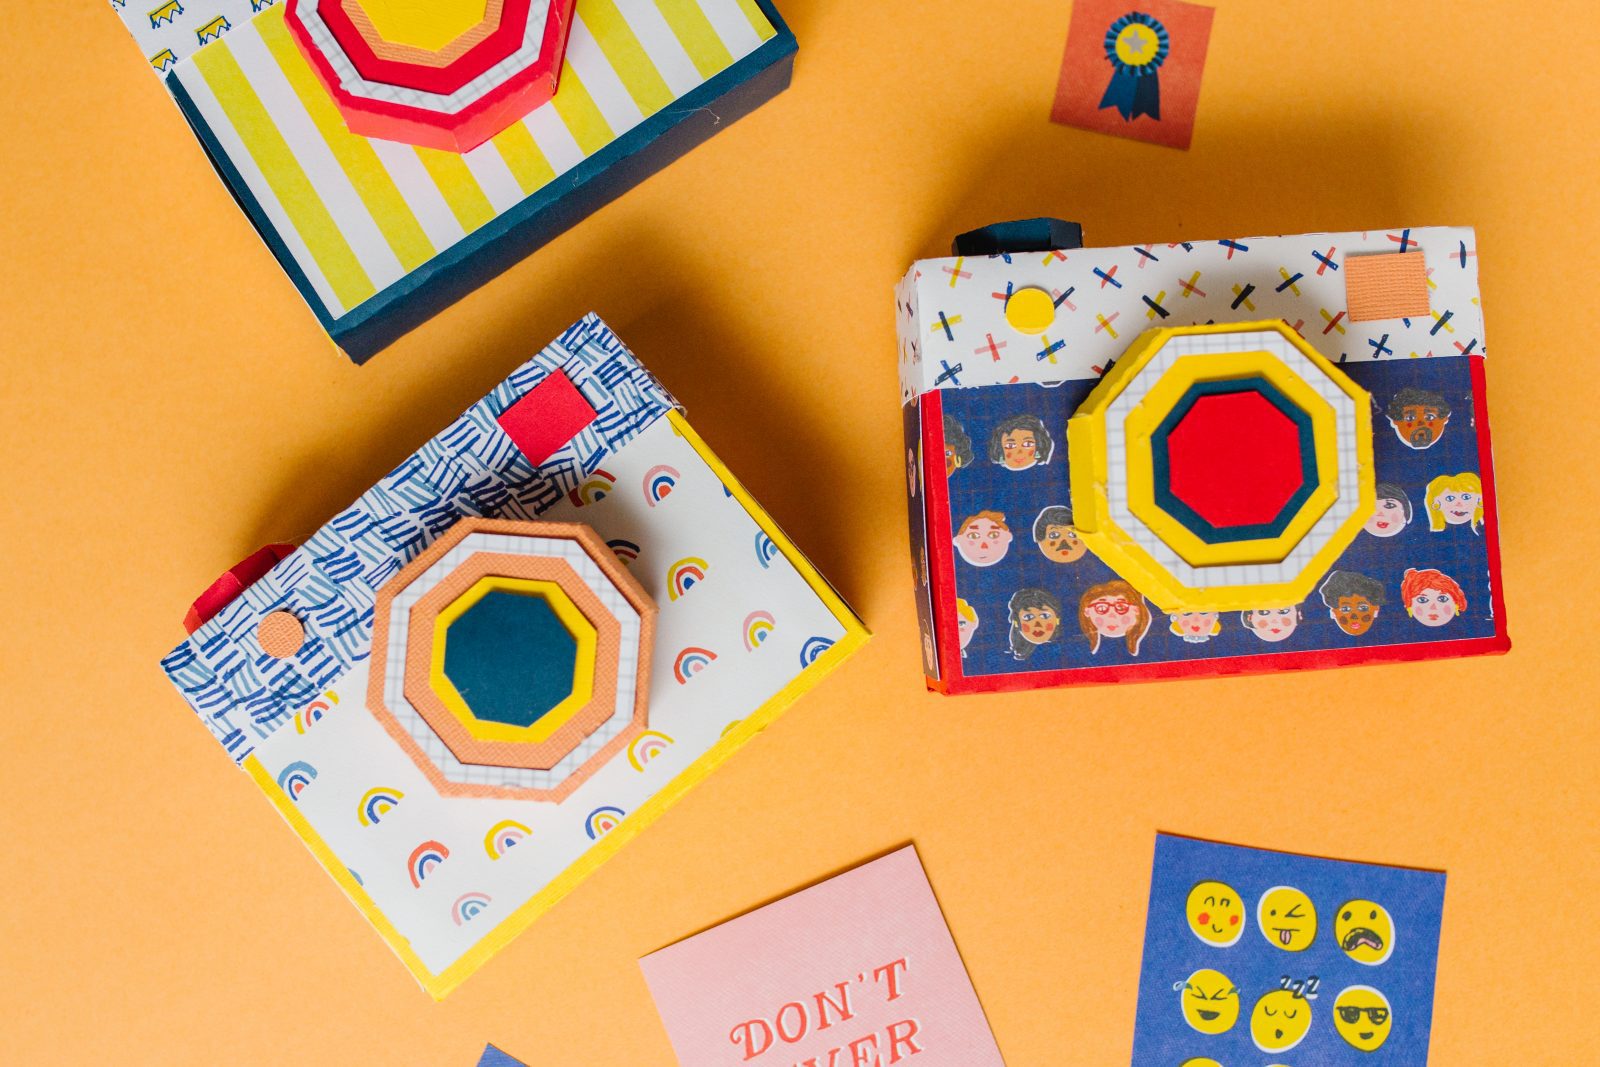

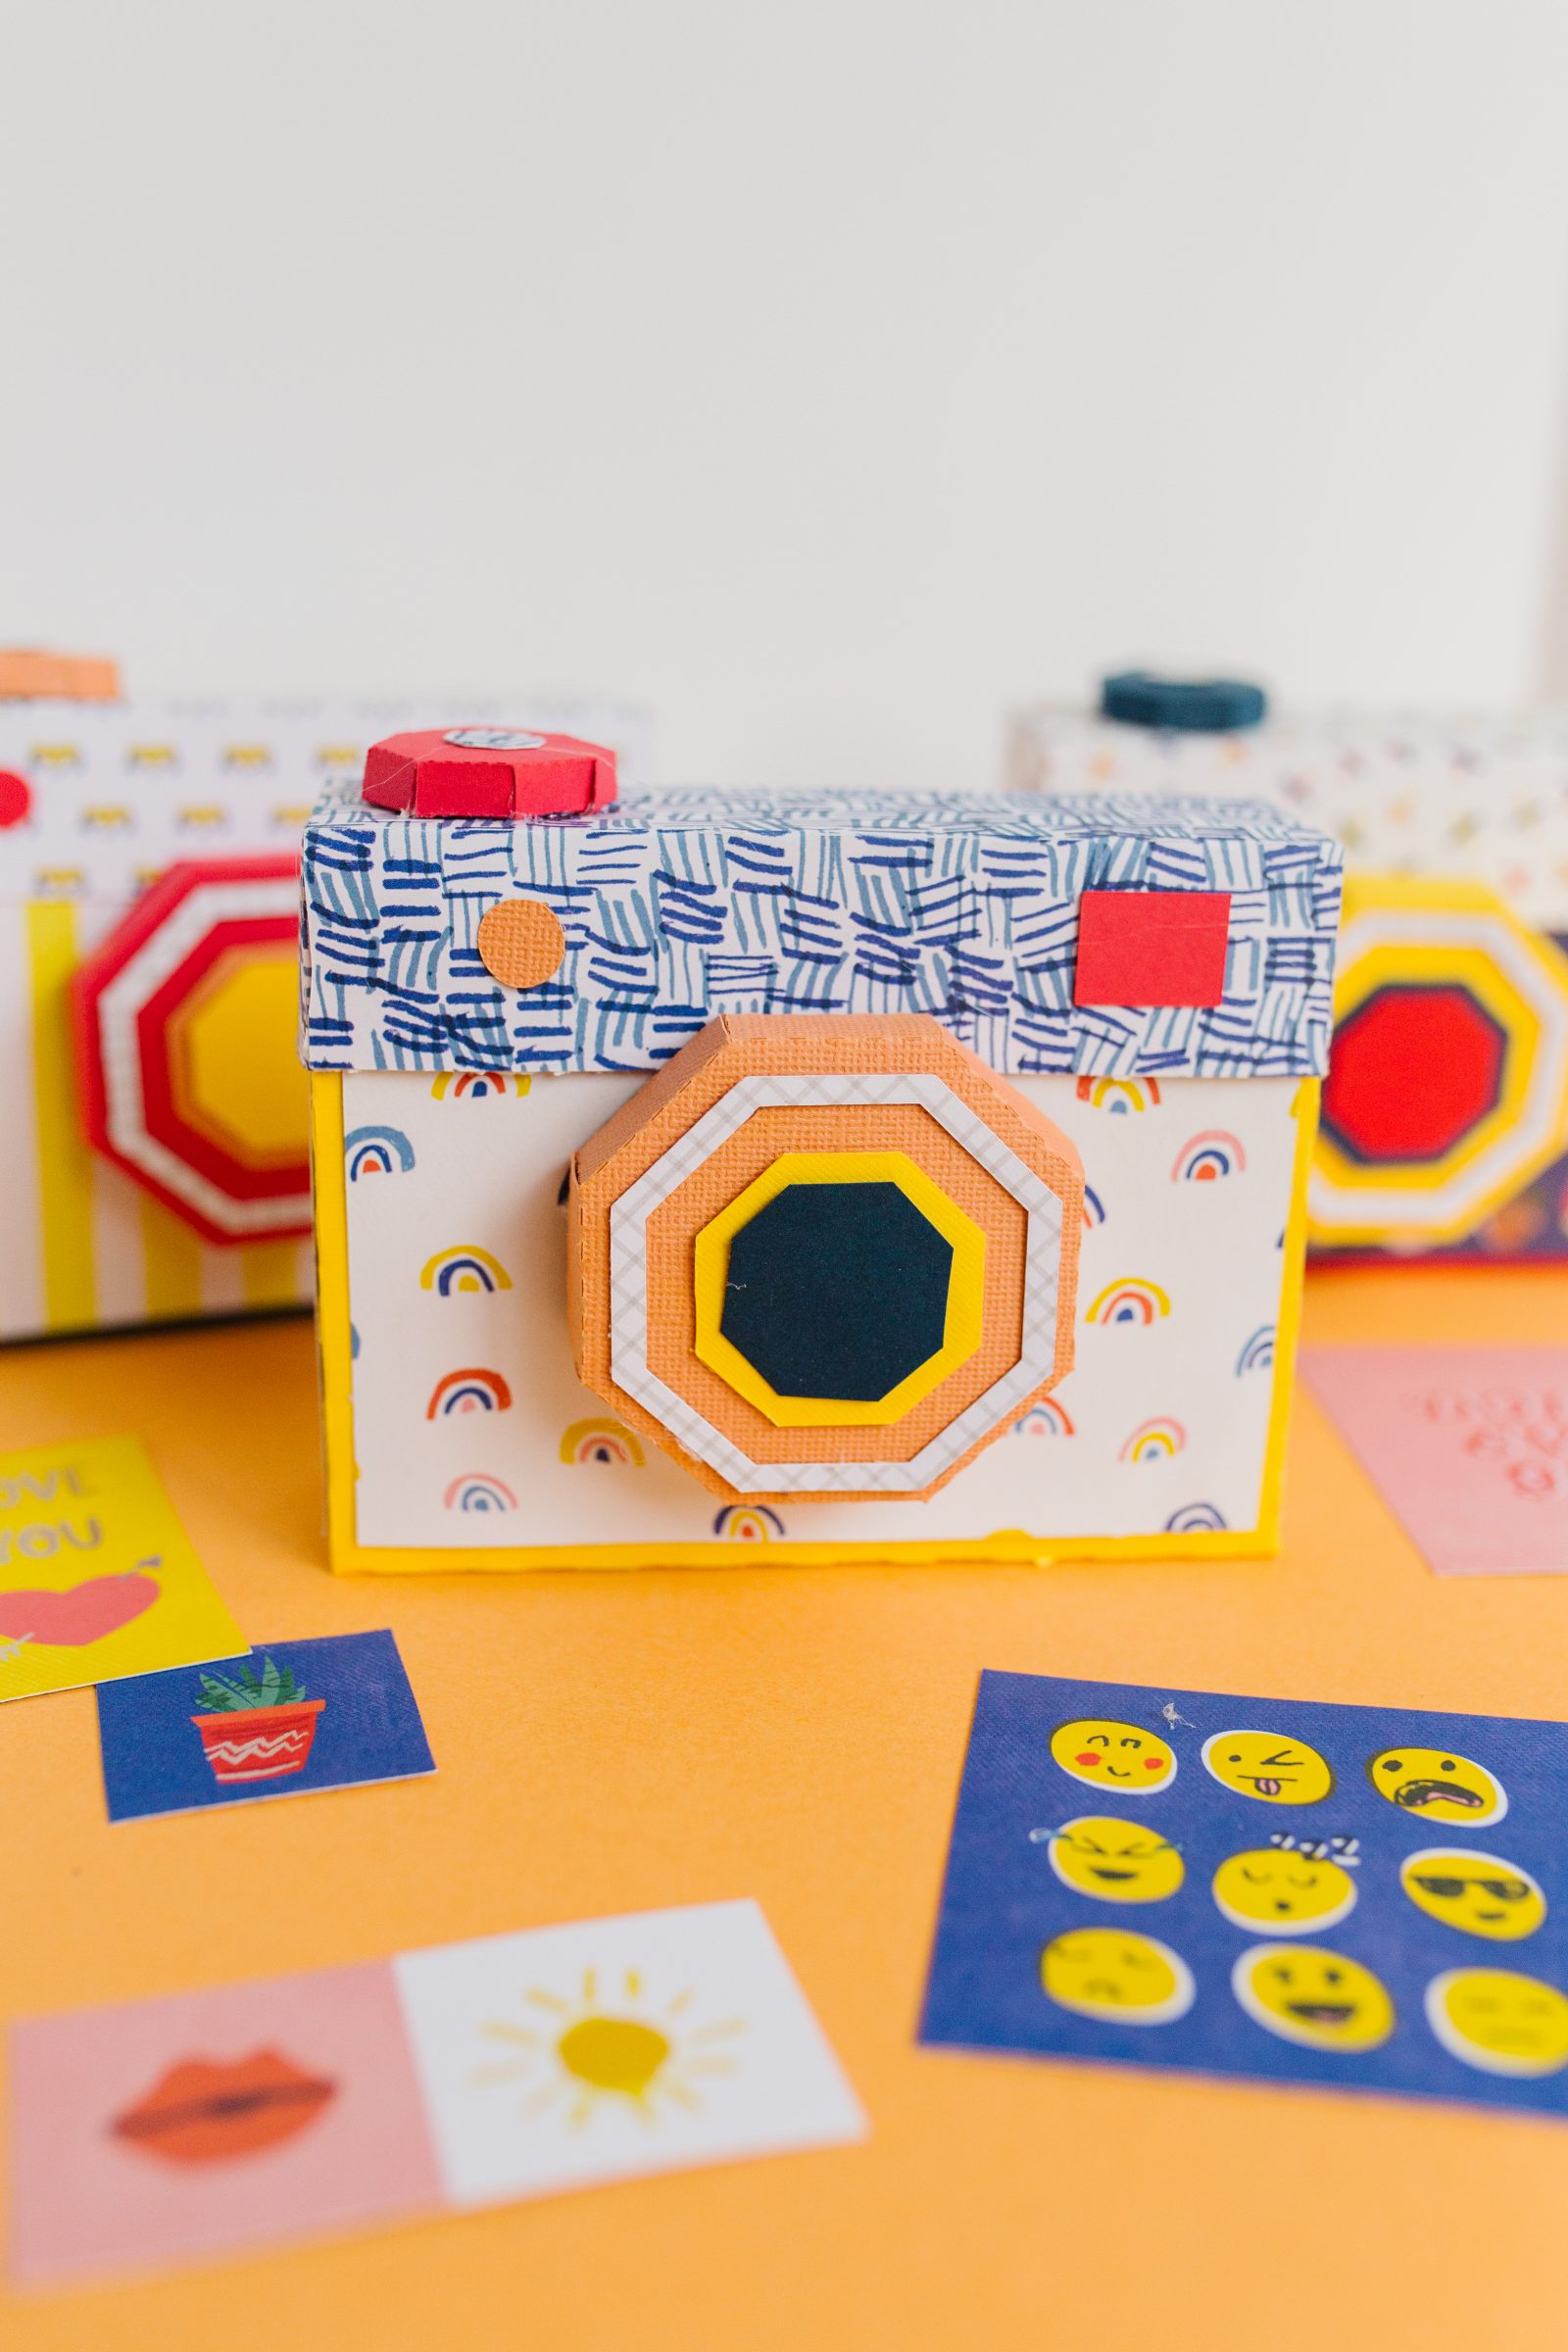

Aren’t they so fun? We had the best time matching up patterns and deciding which piece would be each specific color and I loved seeing my kiddo’s personalities shine as they chose their papers and assembled a camera of their very own! Plus, after making these they can’t wait to scour the Silhouette Design Store again to find more 3d paper treasures they can get to work on!



Has this strange time sparked any Covid creativity around your house? We’d love to hear what you’re making!
Thanks for reading!
ox. Liz





Thought the camera would be a perfect holder for a mini album. Maybe with pics from the make it session. Going to give it a go with my niece when she visits this summer.
What an adorable idea, Sandra! Let us know how it goes!