These DIY Shrink Plastic Barrettes are sponsored by Silhouette. All opinions are ours alone.
This post may contain affiliate links, which help us support this site.
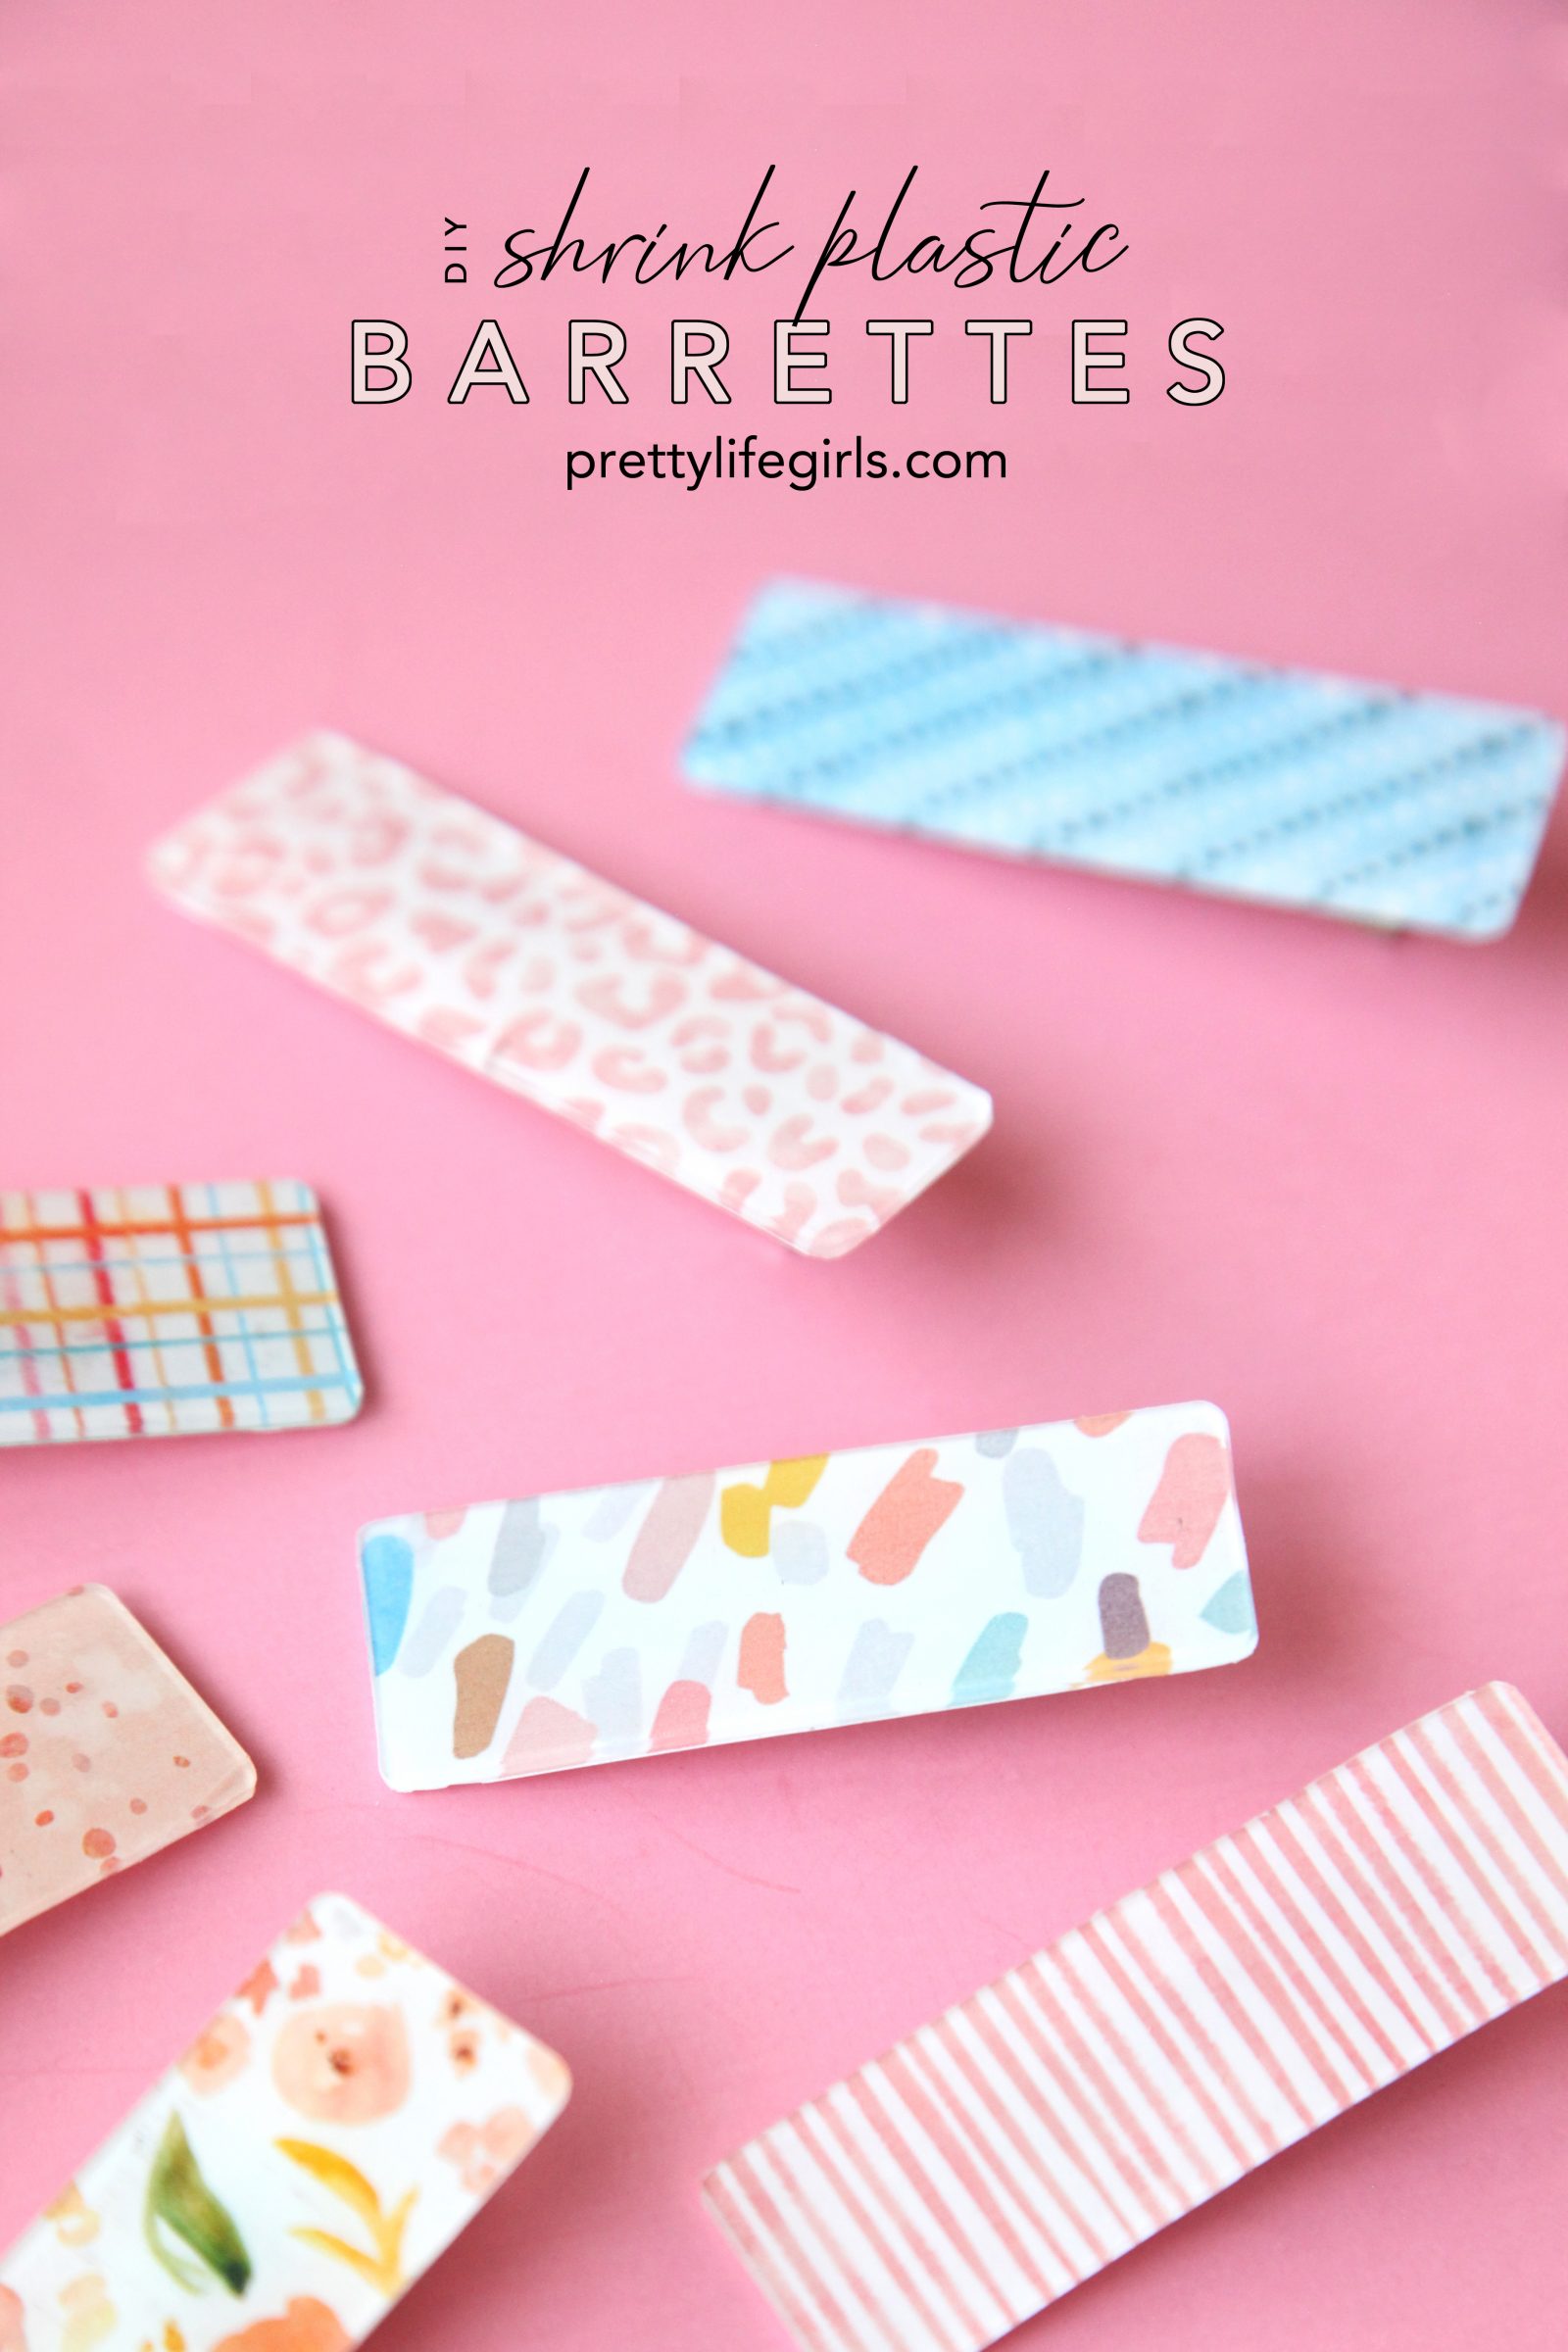
Here at the PLG we have certainly gone a little barrette crazy over the last year, not only because they are the cutest accessory, but because they are so easy to DIY! The possibilities for what you can attach to a barrette form are endless and today’s method might be my favorite. We’re making barrettes out of shrink plastic!
If you haven’t used shrink plastic before, you are sure to have your mind blown. We have made several shrink plastic projects and it still feels like magic every time! Plus, we used Silhouette Translucent Shrink Plastic Sheets that you can run through your printer (which means you can put any design imaginable on your barrette) and then cut them with our Silhouette Cameo so they are perfect every time! Then, just pop them in the oven, watch them shrink and you’ve got the perfect barrette for any outfit! We apologize in advance for any addiction to shrink plastic this post may cause. Consider this your warning — it’s SO fun. Here’s what you need:

Supplies needed to make your own DIY Shrink Plastic Barrettes
Translucent shrink plastic sheets
Color printer
Silhouette CAMEO
Alligator clips
Super glue
White permanent vinyl (optional)


How to make your own DIY Shrink Plastic Barrettes
Step 1: Arrange your patterns in Silhouette Studio. We found all of these adorable patterns in the Silhouette Store. Place rounded rectangles around each pattern for cutting and add registration marks.
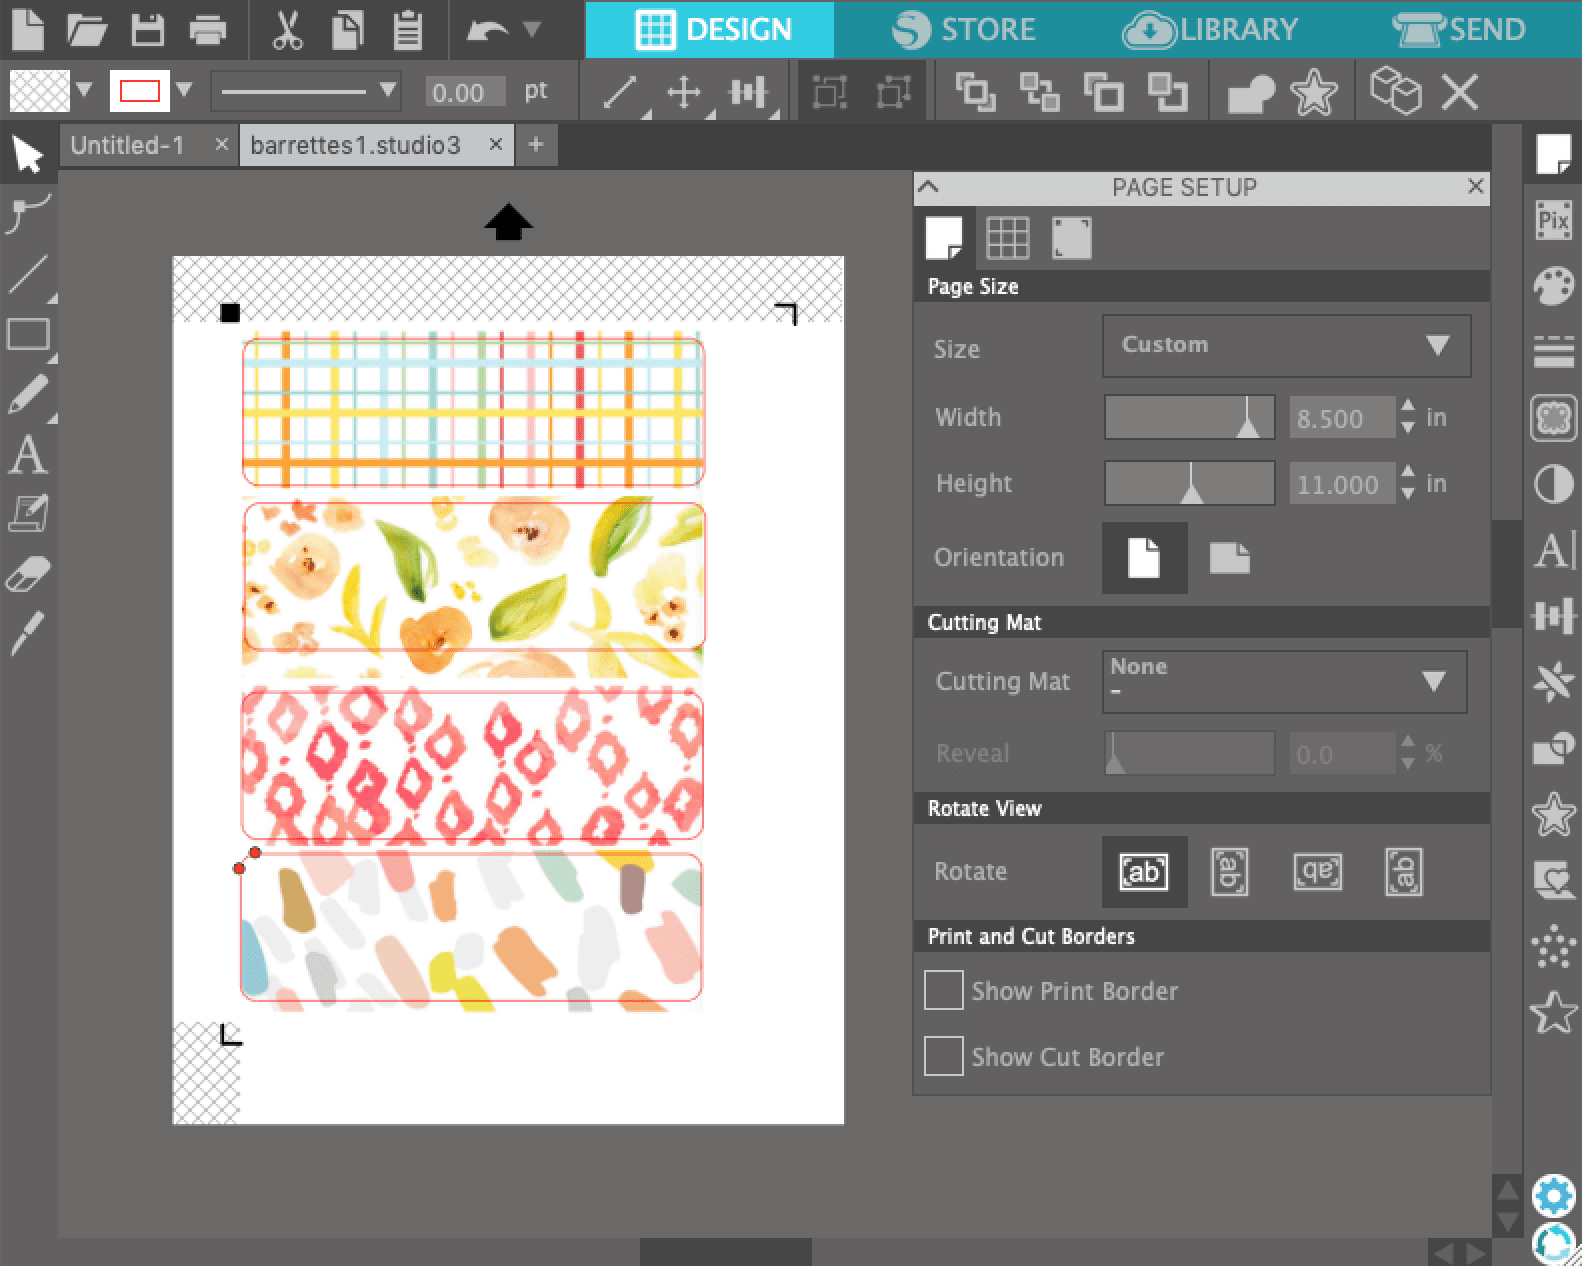

Step 2: Print your design on the shrink plastic, then move it over to your CAMEO and send to cut.


Step 3: Follow the directions on the shrink plastic packaging to bake and shrink the plastic.


Step 4: If desired, apply white permanent vinyl to the back side of the plastic to make the colors pop. We used the glossy side for the front and the matte side for the back.


Step 5: Use super glue to attach alligator clips to the back of each clip. Let dry completely.


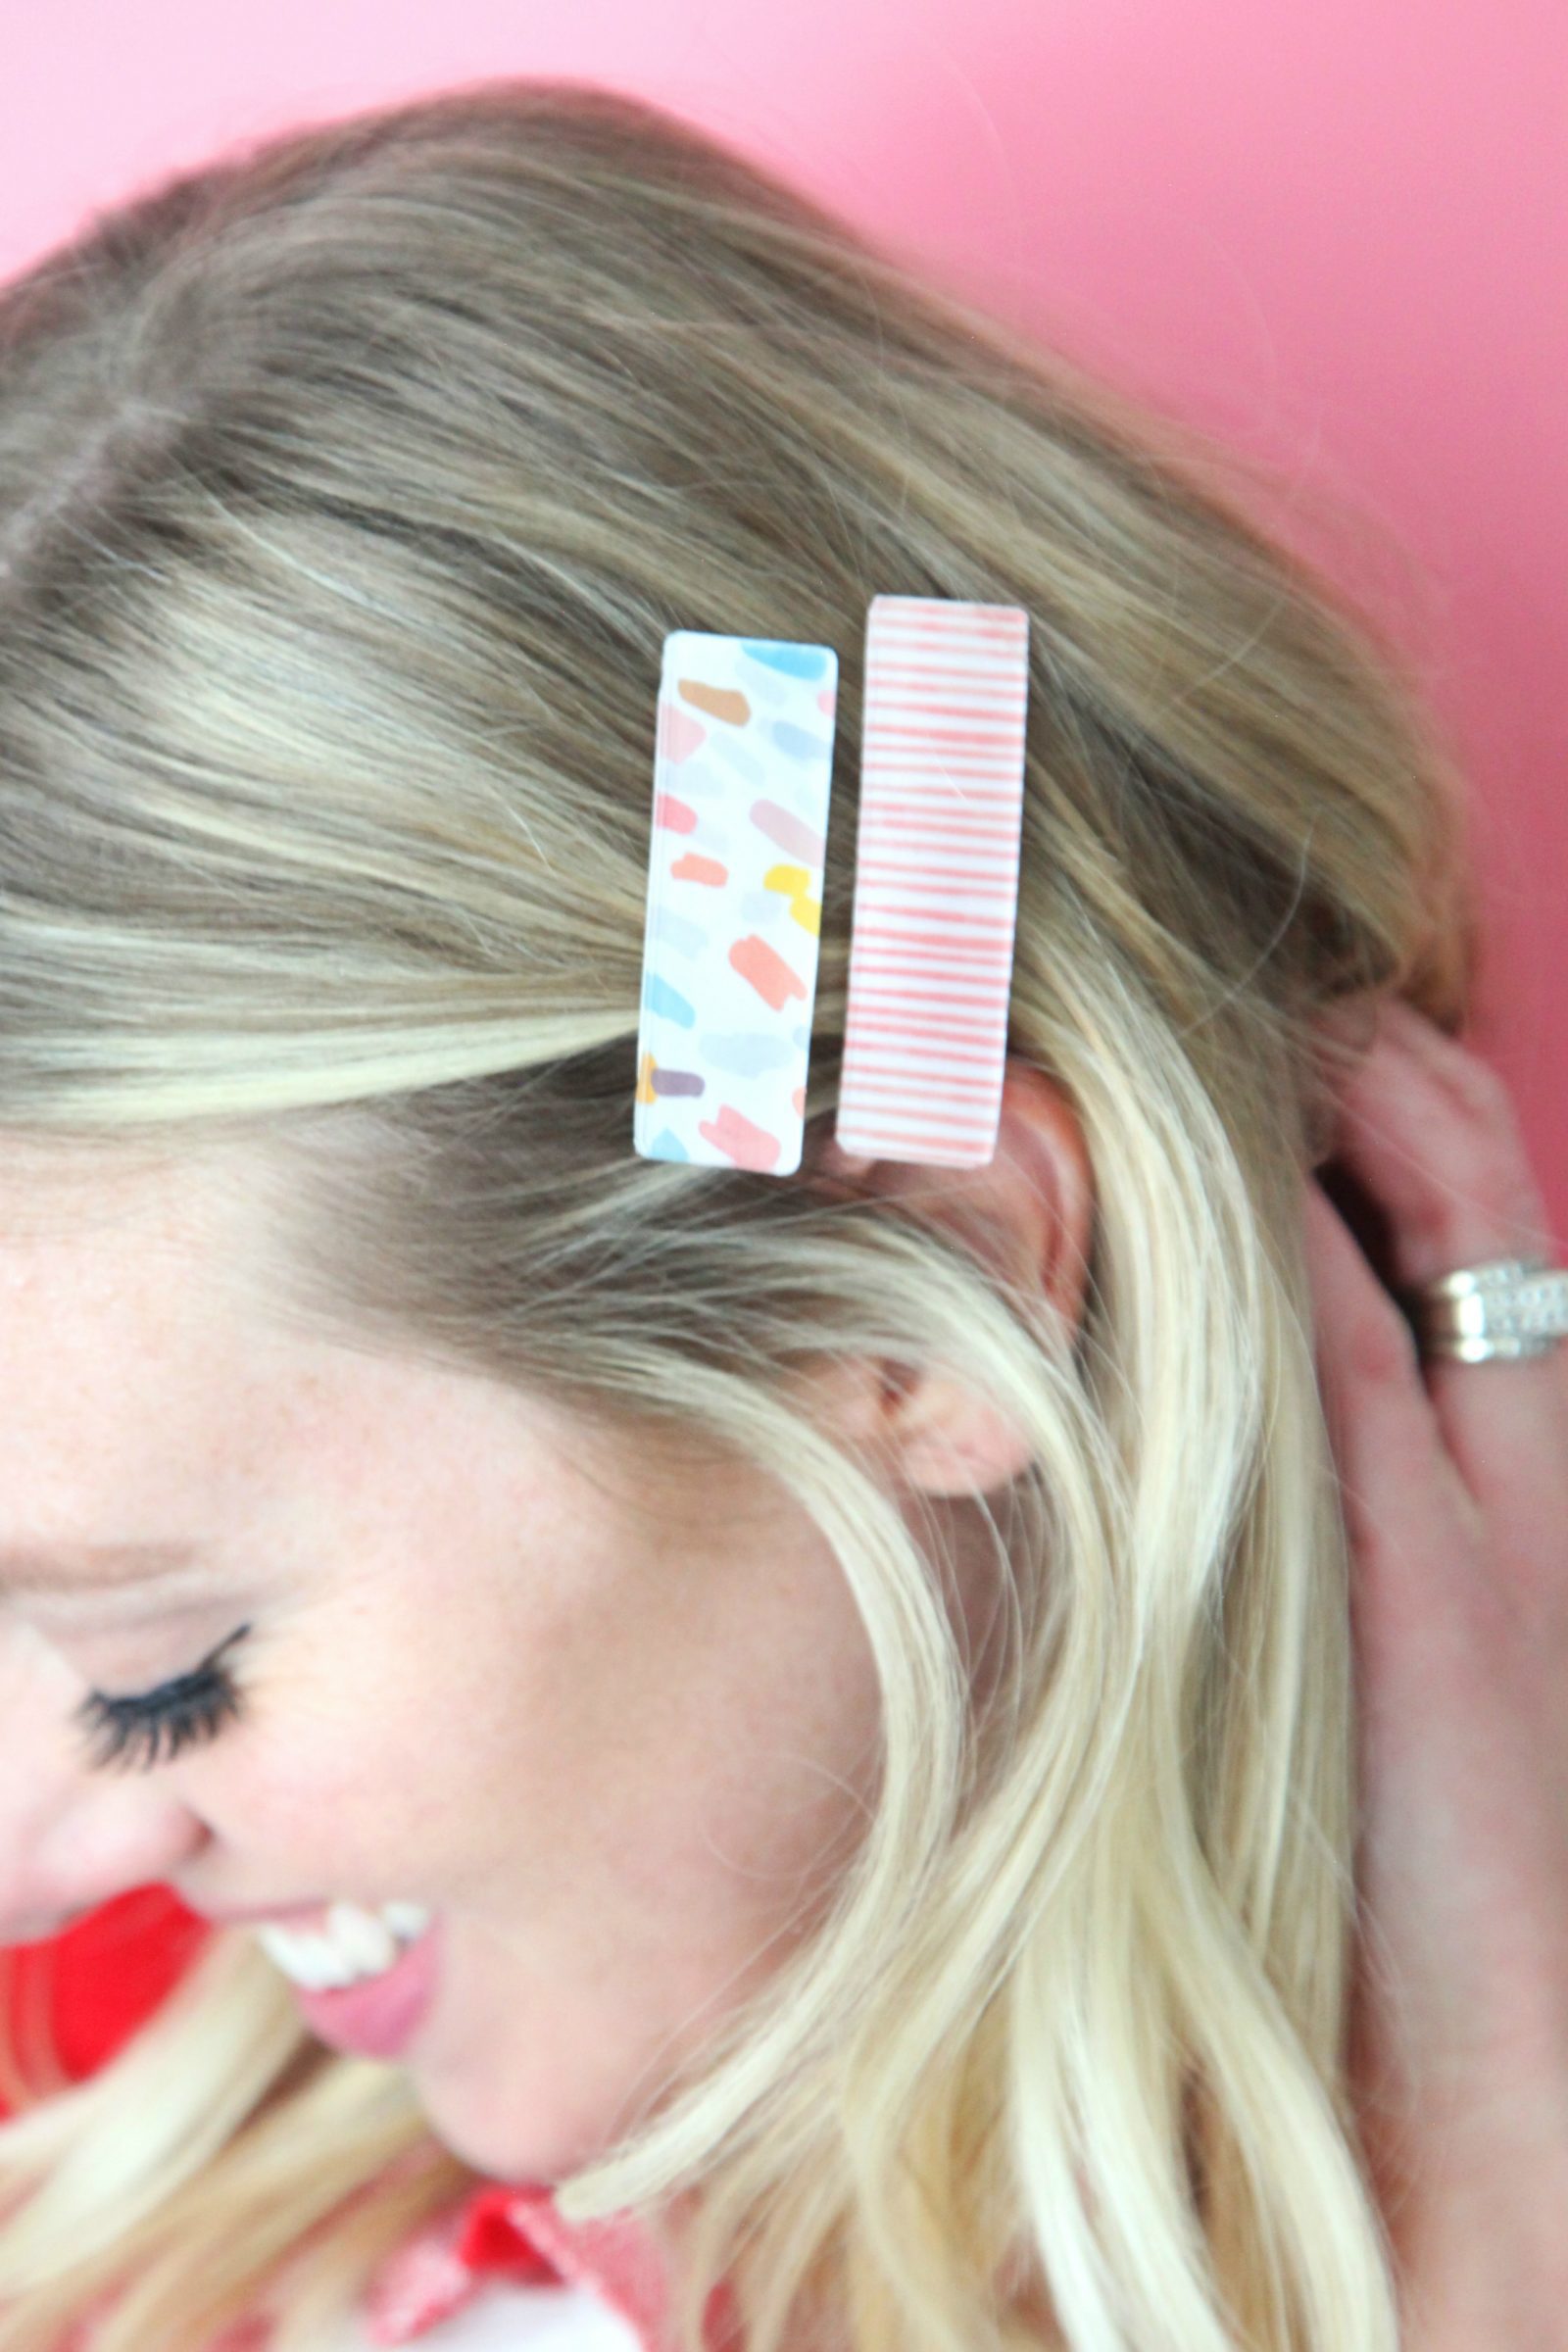
Can you even believe how cute these are? And think of the possibilities – you could do any pattern, any color, and any shape! And they could not be easier to make.





Happy making!
xo, Sam
Looking for more projects you can make with your Silhouette? We think you’ll love these projects!




I don’t know how to do the silhouette part. Where can I find more instruction on that?
These are super cute and i really want to make some.
Hi Colette! I would recommend looking at these tutorials for more detailed instruction: https://www.silhouette101.com/?s=shrink+plastic. Good luck!
Hi Colette!
Do you have a Silhouette machine? If so, where are you getting stuck? I would be happy to send more detailed instructions if the blog post isn’t enough. If not, you can cut these by hand!
-Sam
Bonjour,
Je découvre vos DIY et j’adore ! Merci pour le temps passé à nous expliquer tous ces beaux modèles ???????????? je like les barrettes ❤️❤️❤️ et je vais essayer avec ma fille.
Merci merci beaucoup ????
What are the dimensions of each barrette that you used?
Mine were about 8 inches long and 2.5 inches wide for printing!
Hello,
I’m curious about the cut settings you used on the Cameo. Did you use a cutting mat, or a special blade? I really want to make some of these for my family!
Hi Amy!
I used a normal ratchet blade, and Silhouette Studio has shrink plastic in the materials list! But for reference, these are the settings: Blade-6, Force-33, Speed-1, Passes-2. I hope this helps! Send us a picture if you make some!
-Sam
Hi Sam,
Thanks for answering my question! I have some of the old fashioned Shrinky Dink material, and it is not cutting well, which is a real bummer, but I am hoping to try with the Kraft blade in my carriage 2 on my Cameo 4. I will send pictures if I get it to work, along with the (hopefully) successful cut settings.