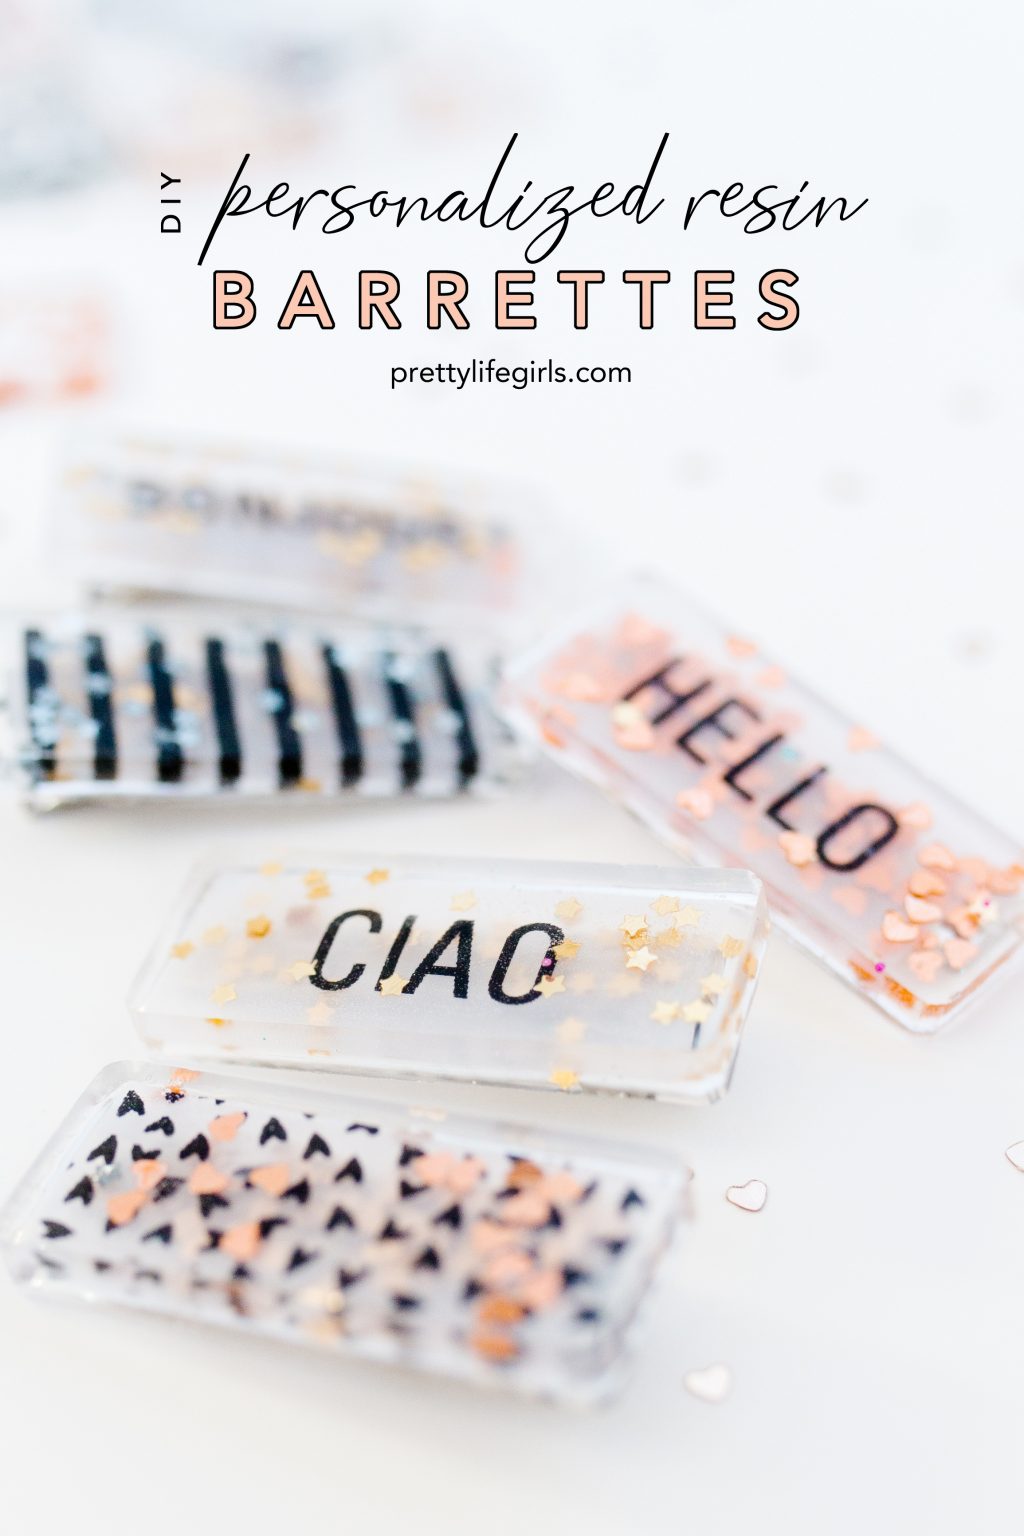
This post is sponsored by Brother. All opinions are ours alone.
This post may contain affiliate links, which help us support this site.
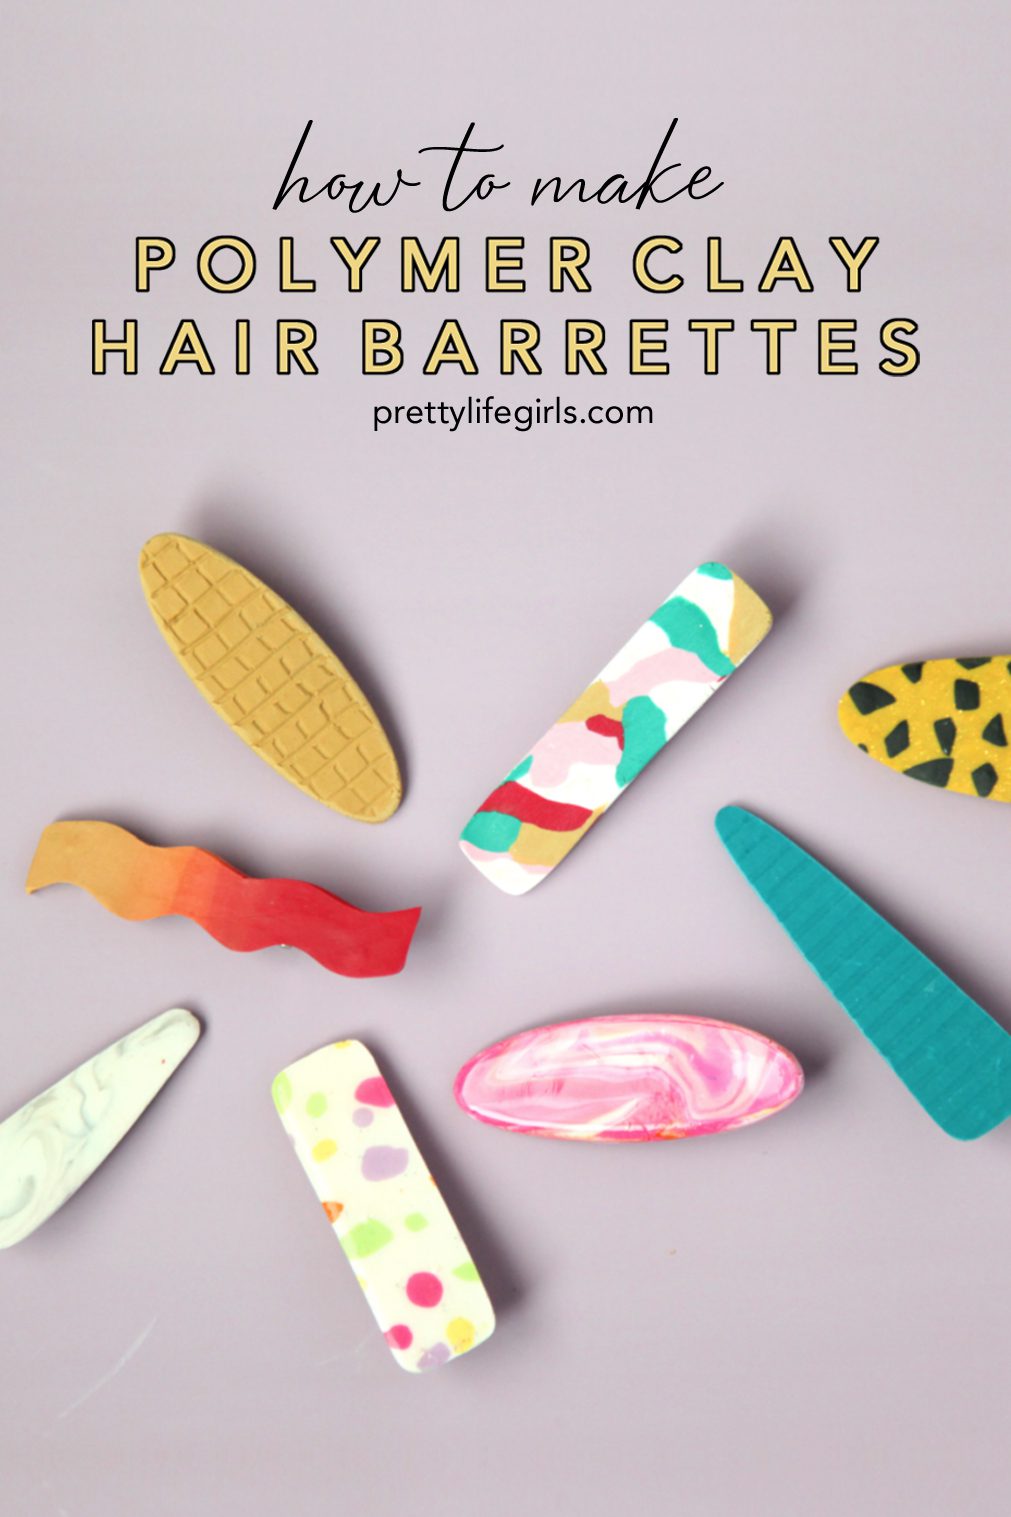
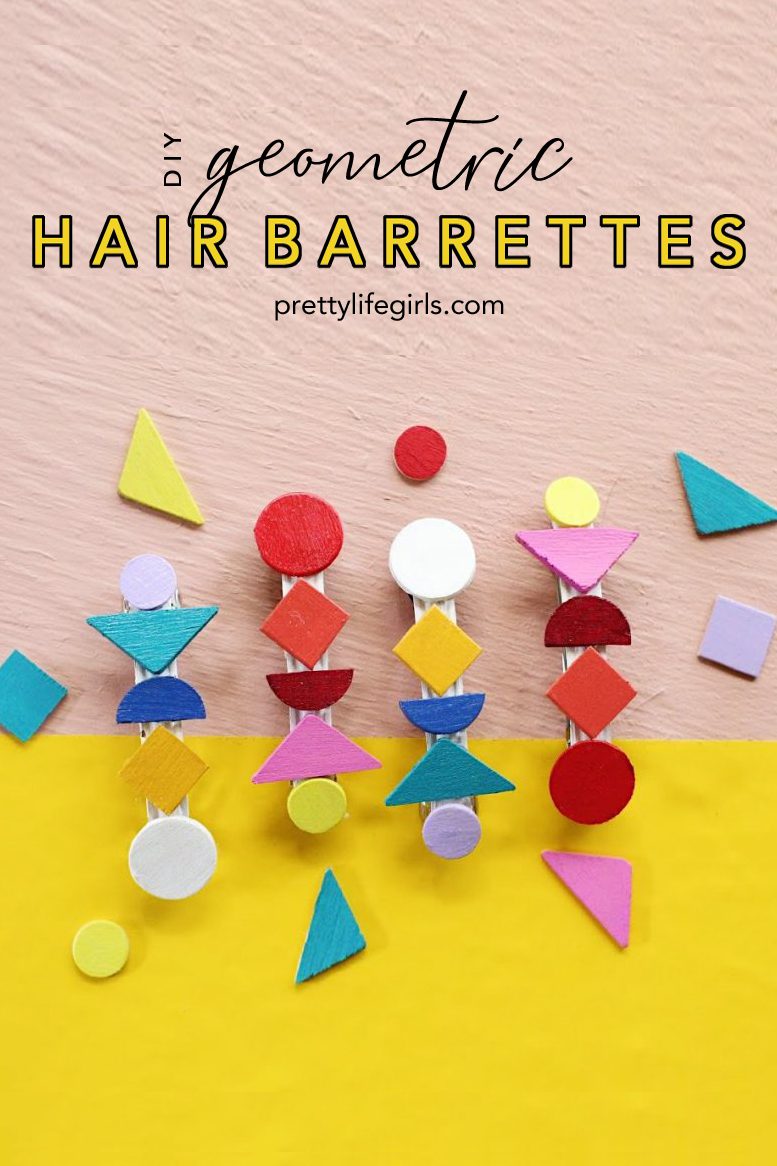
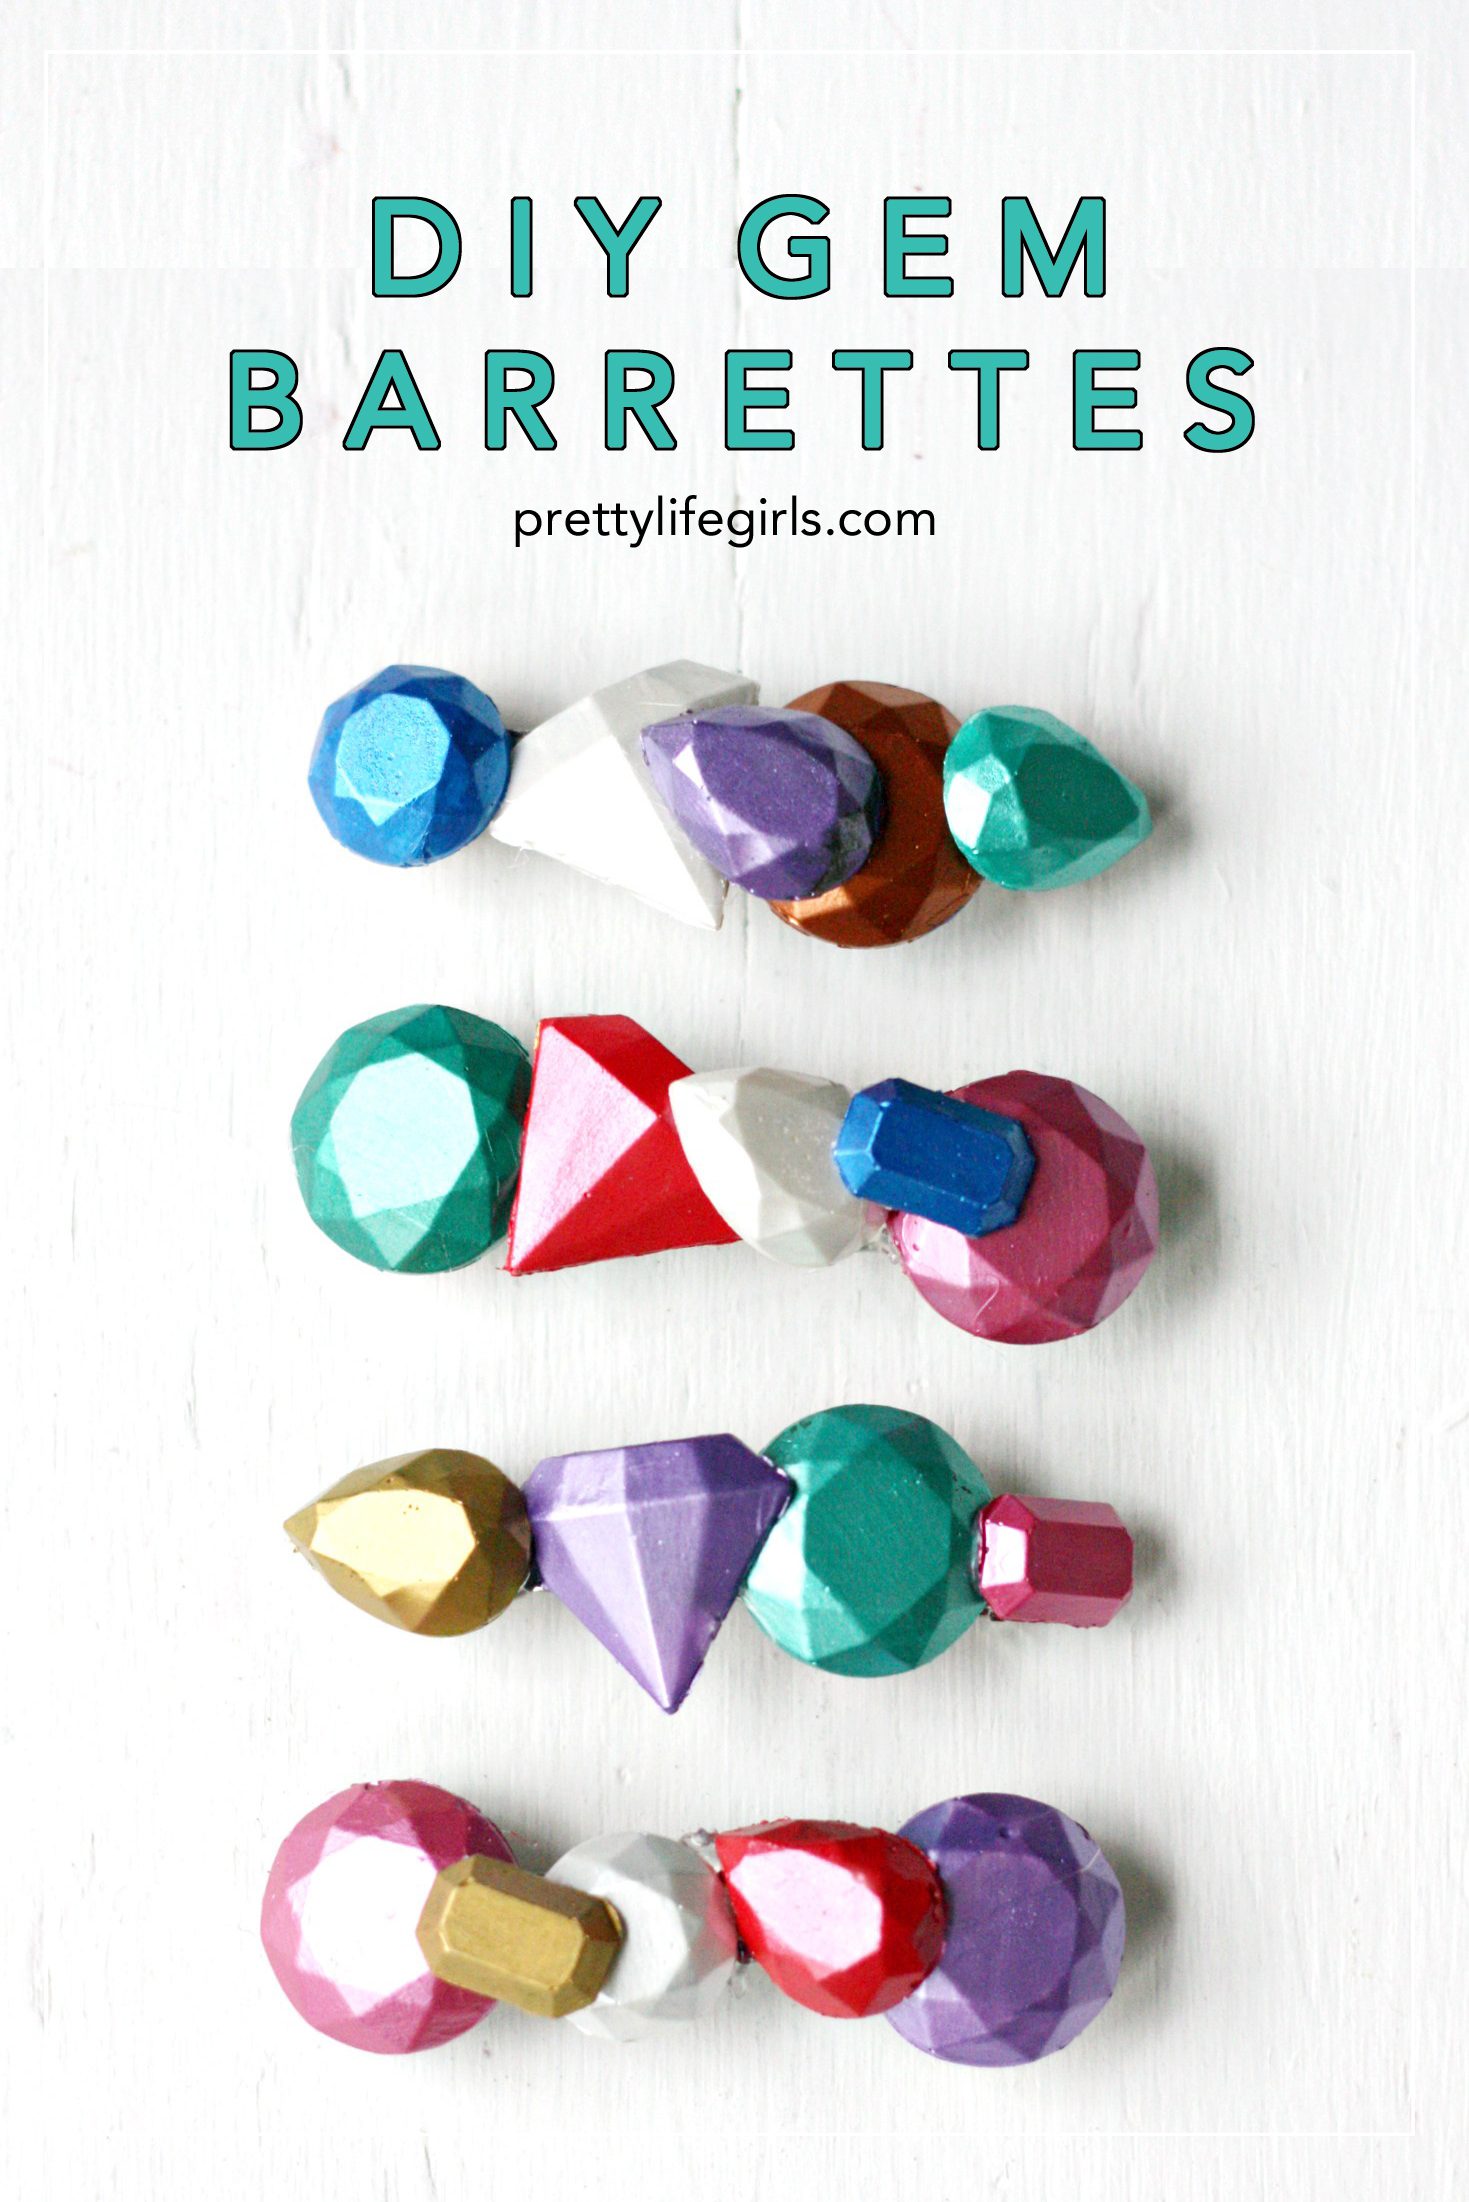
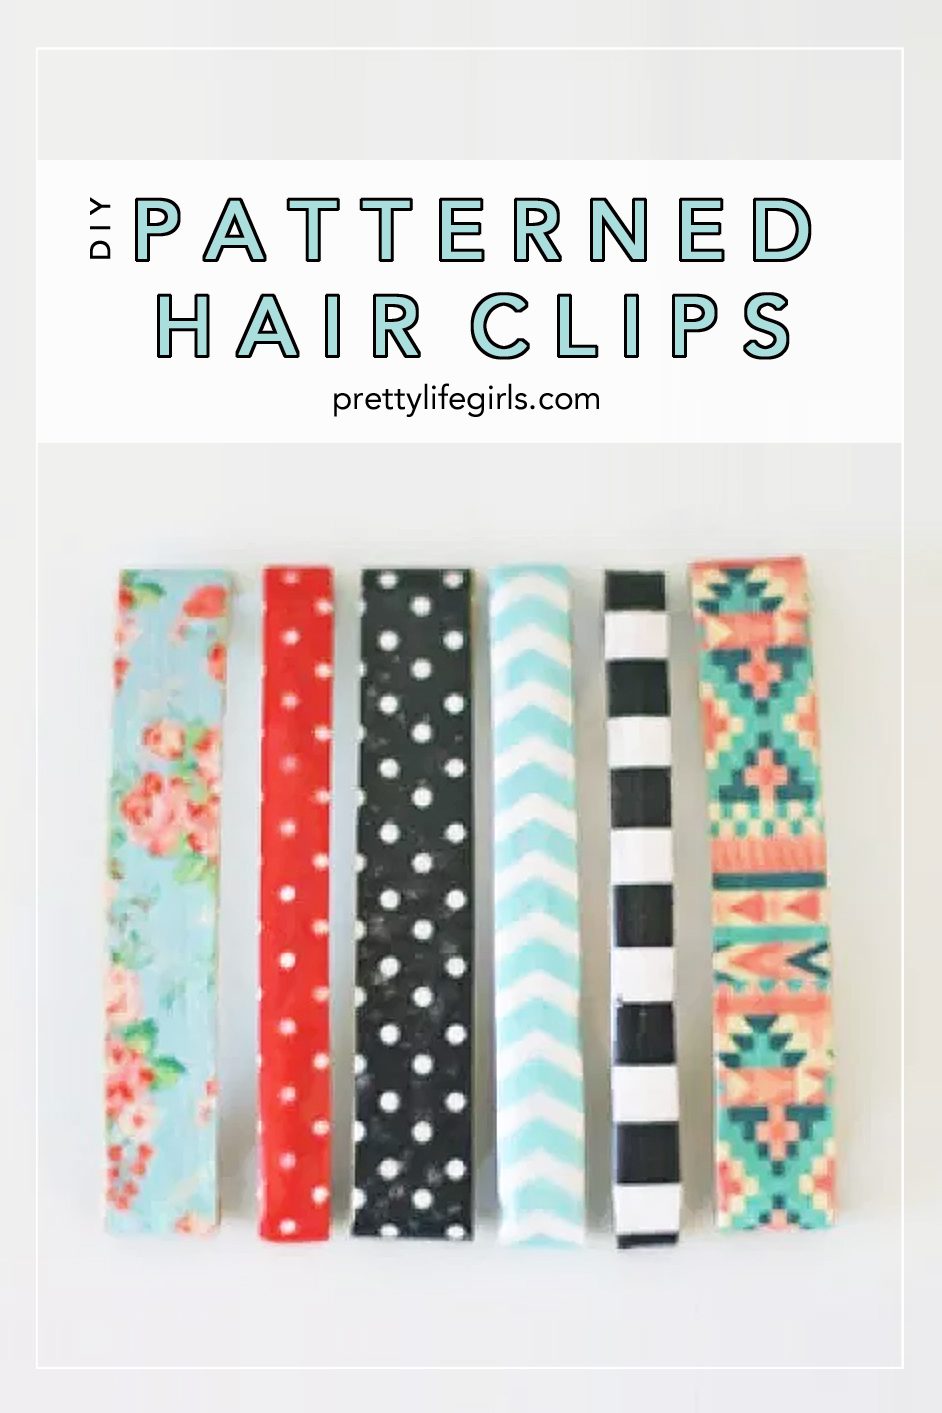
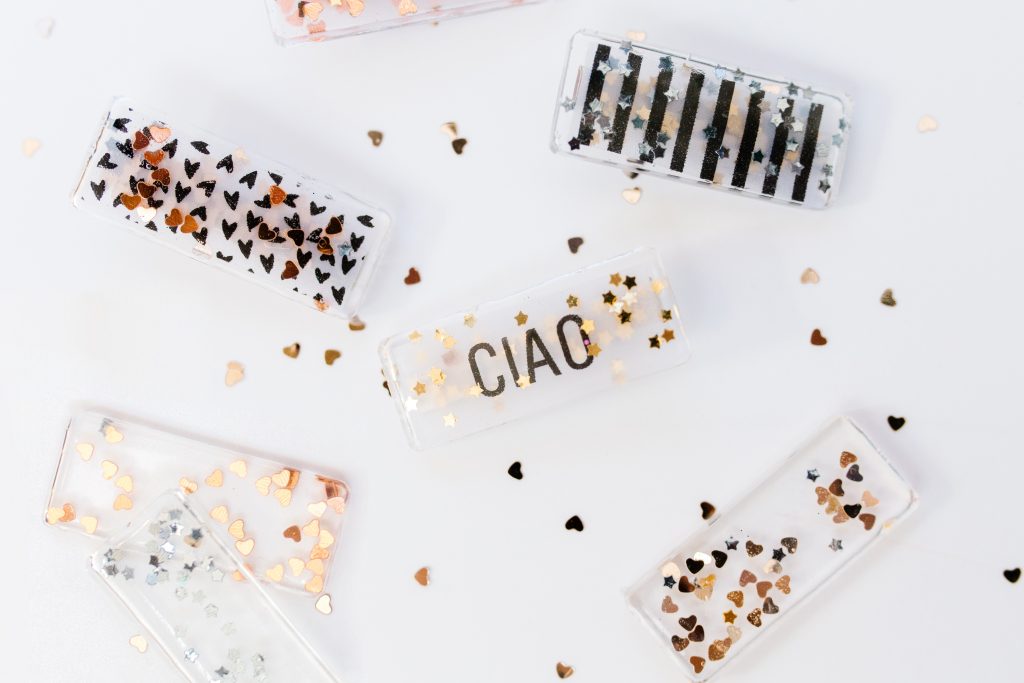
Barrettes are such a big hair accessory trend at the moment, which I love as a maker because they are so easy to DIY! Just grab some glue and a barrette form and the possibilities for cute clips are endless! From pearls to pom poms, clay to confetti, there are so many ideas to make a barrette beautiful, and one of our favorite methods has to be resin. Resin cures hard but clear, so you can encase just about anything inside it in just about any shape!
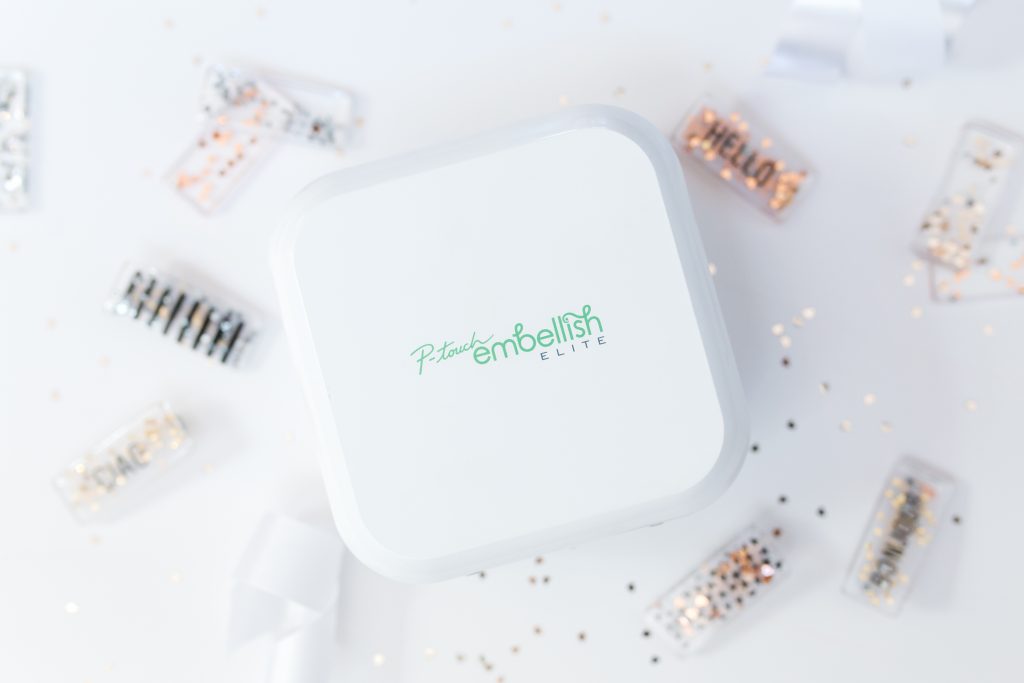
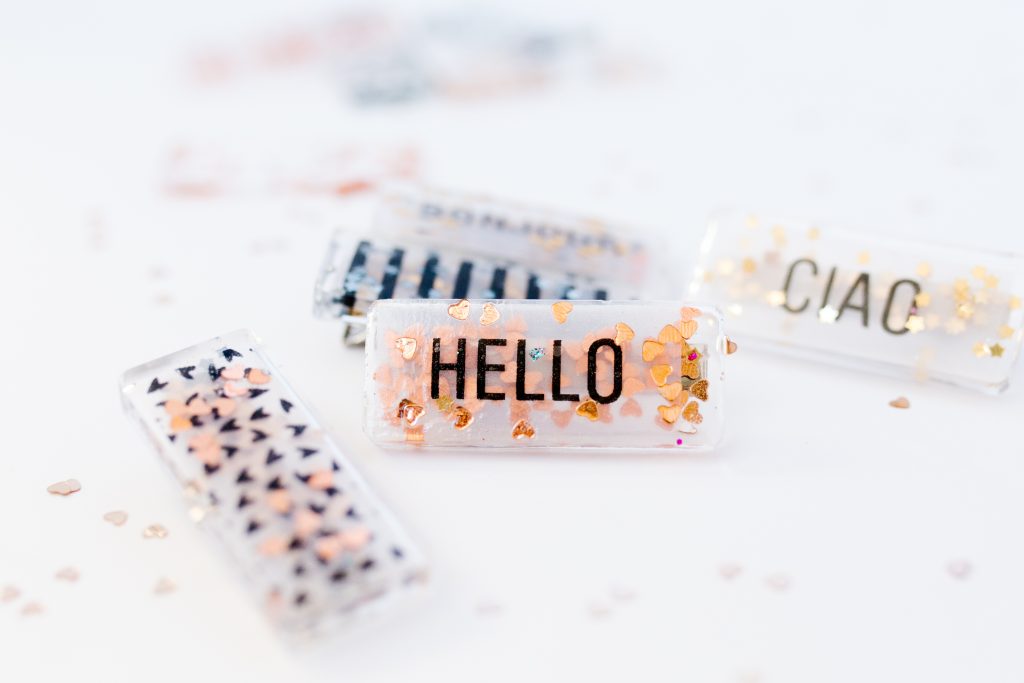
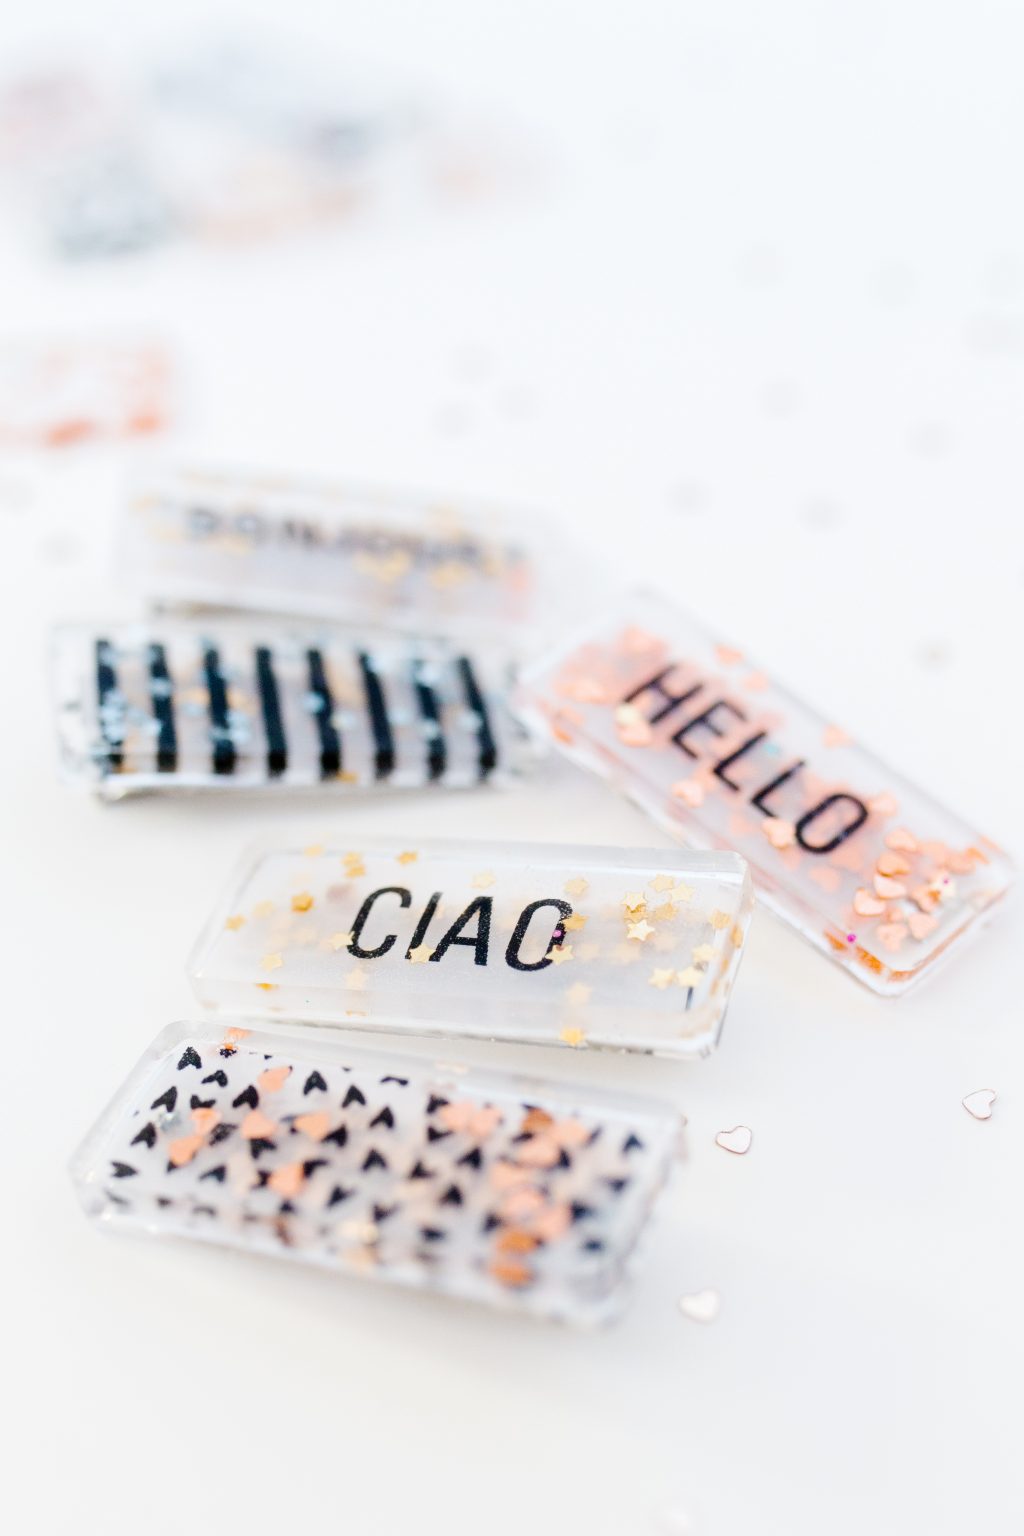
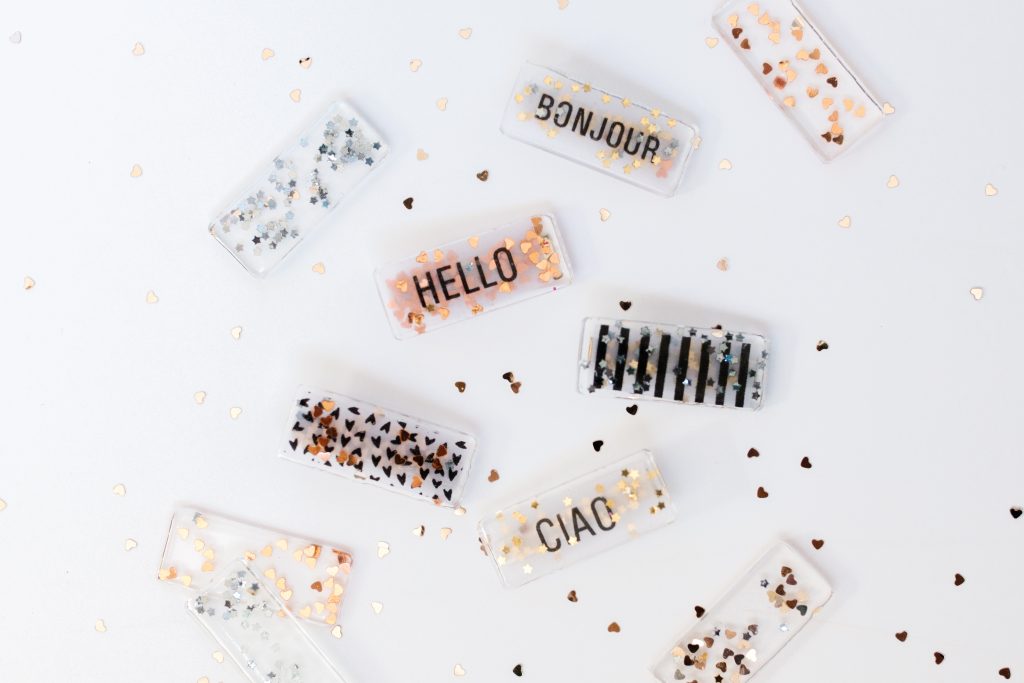
Using resin to make barrettes really gets my wheels turning because there are so many different ways to use it, so we decided to combine the method with one of our other favorite crafty tools, the P-touch Embellish! With the P-touch Embellish ELITE you can print any message on tape and ribbon, making it perfect for incorporating fun graphic elements into any project! We printed a few fun words and designs on our own custom ribbons and encased them in resin for the most adorable, one-of-a-kind barrettes! The result could not be more adorable. Here’s how we did it:
Supplies needed to make your own Personalized Resin Barrettes
P-touch Embellish ELITE
P-touch Embellish black on white ribbon
Epoxy Resin
Silicone Mold in Desired Shape
Glitter
Barrette Molds
Hot Glue Gun + Glue
How to make your own Personalized Resin Barrettes
Step 2. Mix epoxy resin according to package directions. Pour a thin layer of resin in the mold shapes (using a syringe is super helpful because you want only enough to coat the bottom of the mold). If bubbles appear, take a drinking straw and gently blow into the molds to remove them. Let this first layer of resin set.
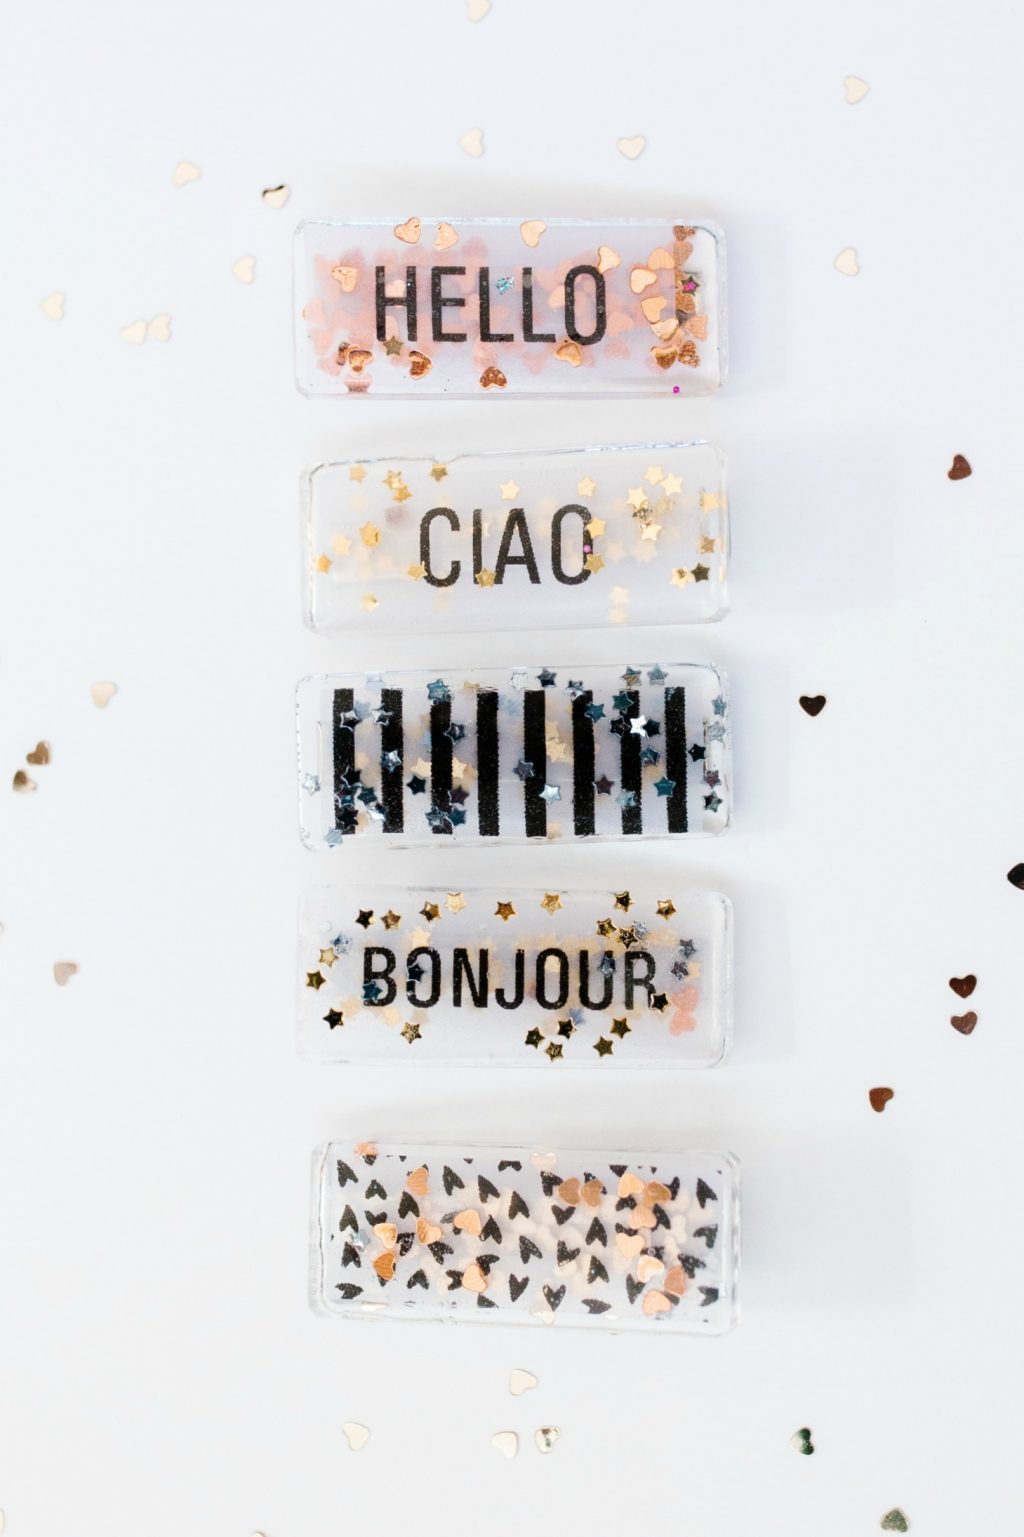
Step 3. Sprinkle glitter into the mold shapes (if desired), then place the ribbon into the molds, design side down. Pour remaining epoxy resin on top of the ribbon, to the desired thickness of the barrettes. Blow out any bubbles with a straw.
Step 4. Let resin set completely, according to package directions. Once they have set, remove resin shapes from the molds.
Step 5. Attach a barrette form to the bottom of the resin shapes using a hot glue gun. Let dry completely before wearing.
You’re done! Now you’ve created some adorable custom barrettes that will make any hair day adorable. We love all of the possibilities for barrette design when using the P-Touch Embellish! This machine makes it so easy to put anything from names, shapes or favorite words on a clip and in your hair. So much fun.

What message would you send in your barrette with the P-Touch Embellish? Tell us all your ideas!
Happy making!
ox. Liz & Sam