This post was originally published in March 2020 and updated as of July 2022.
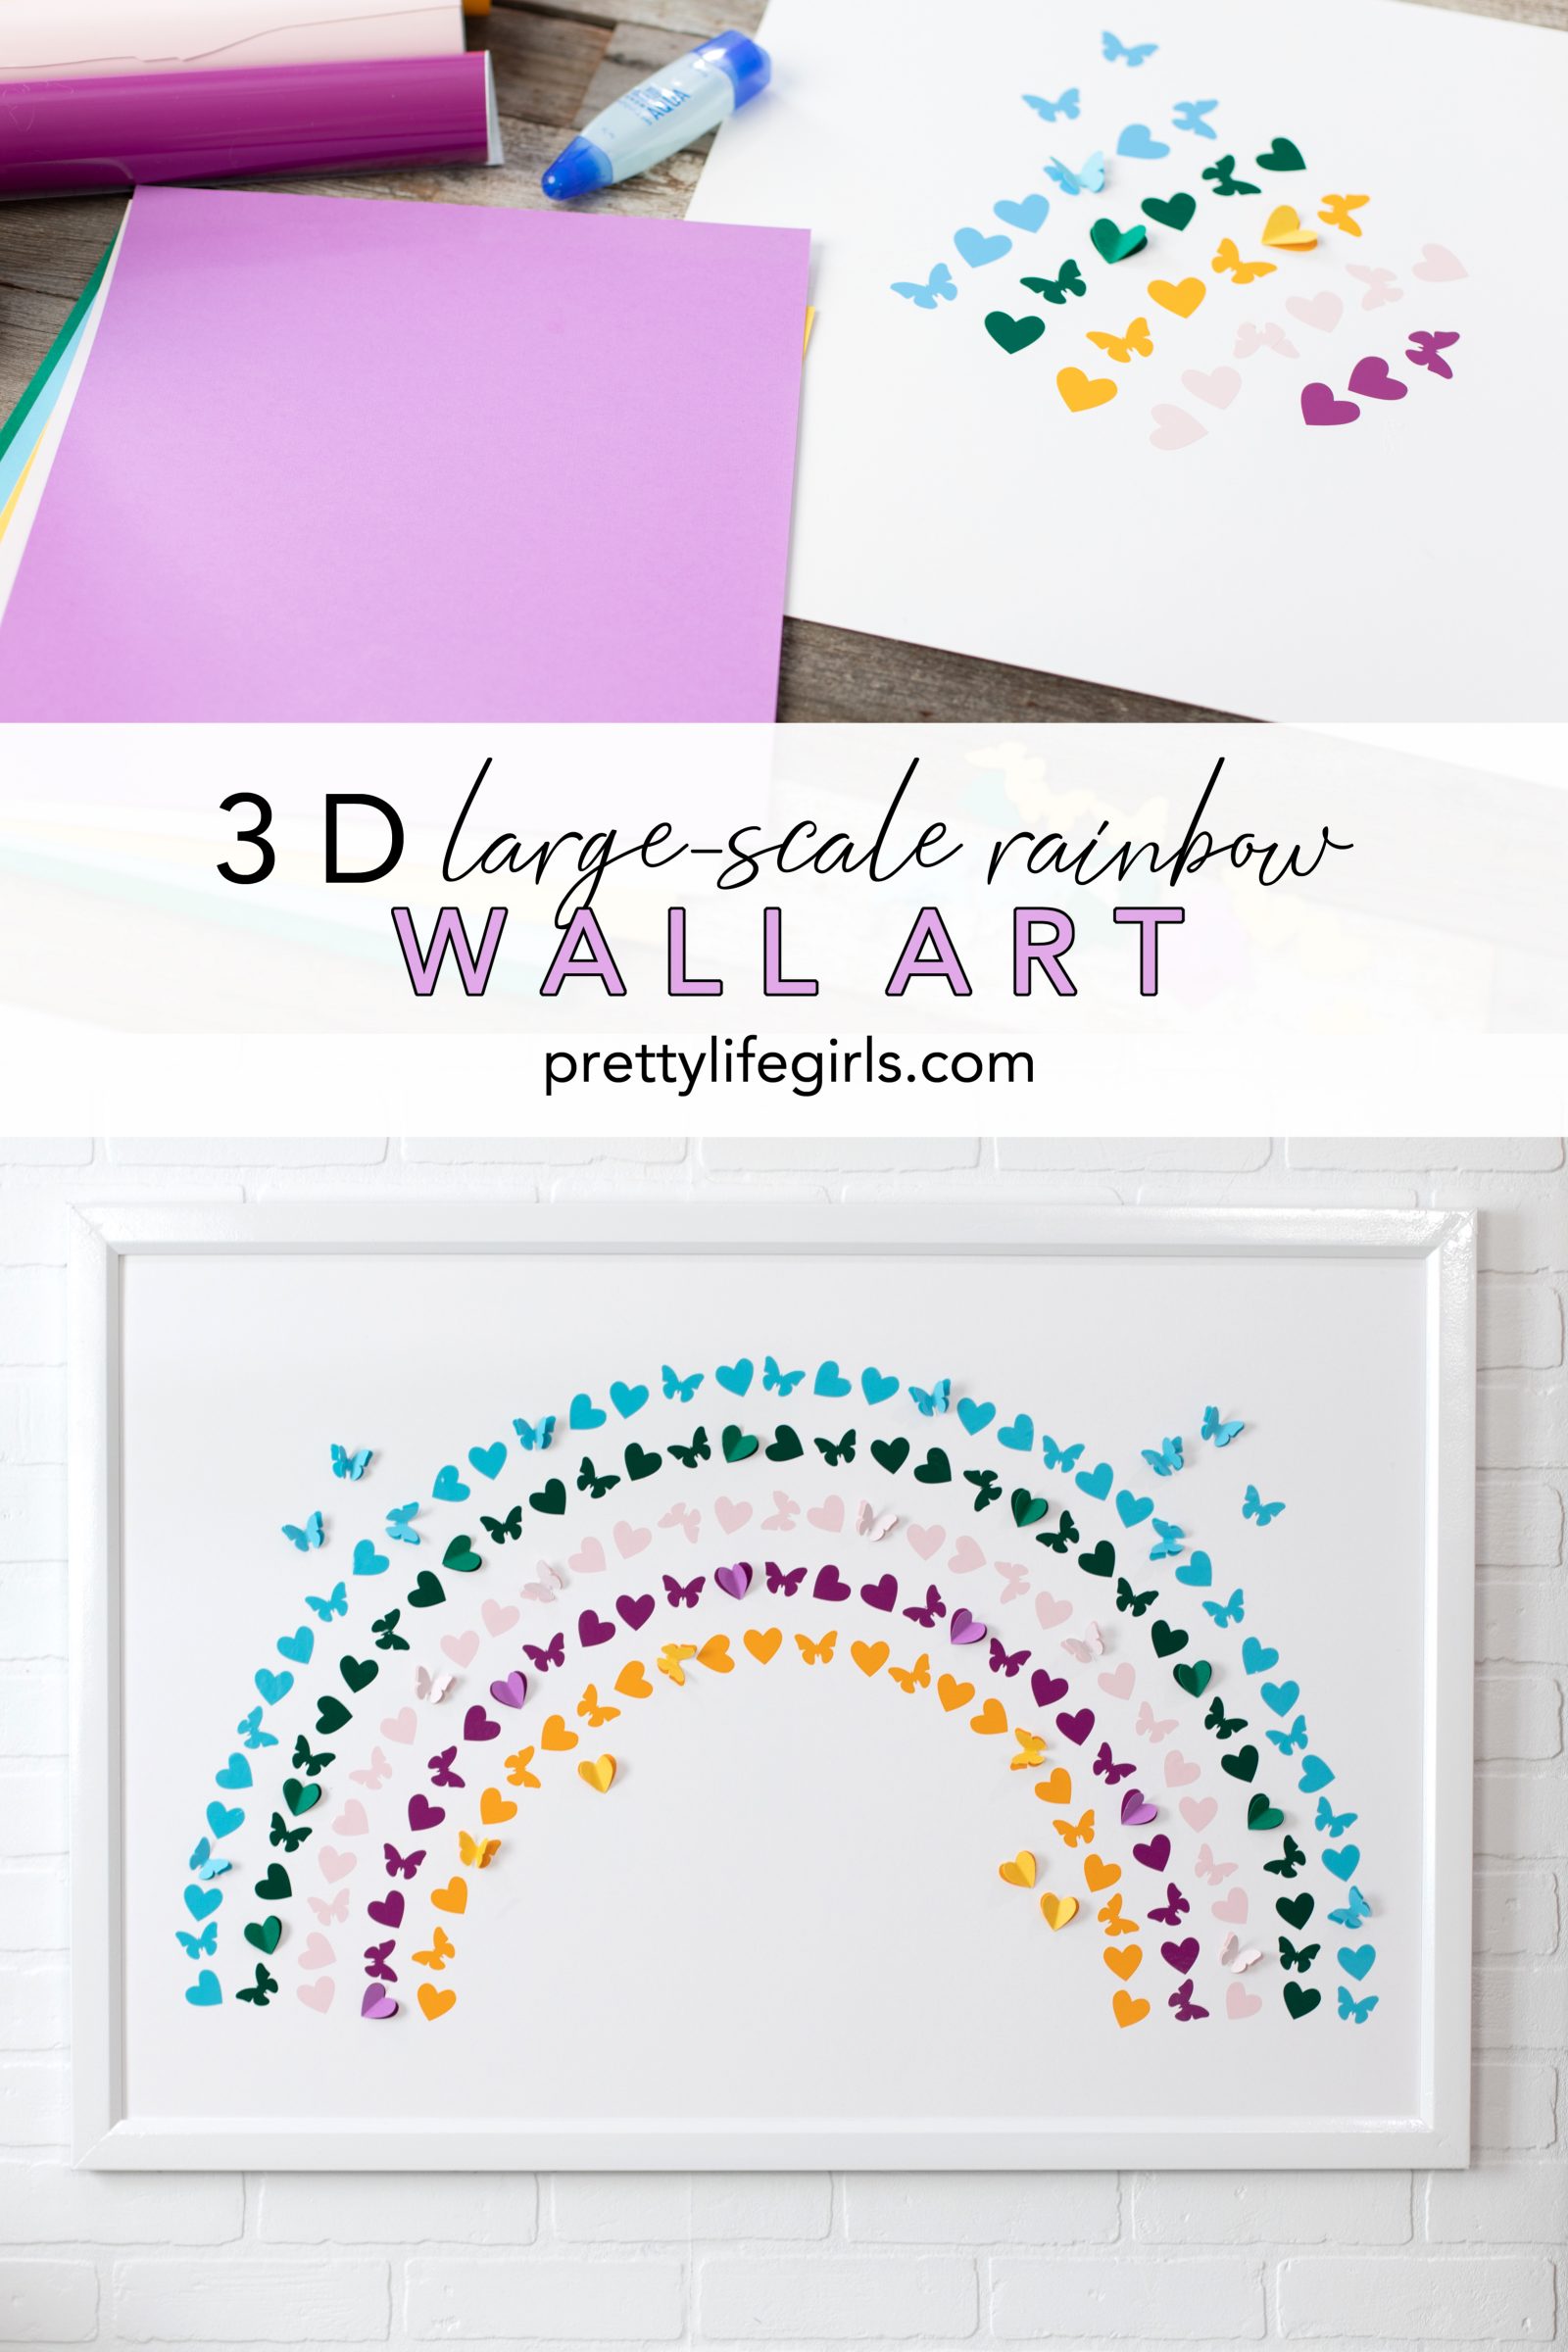
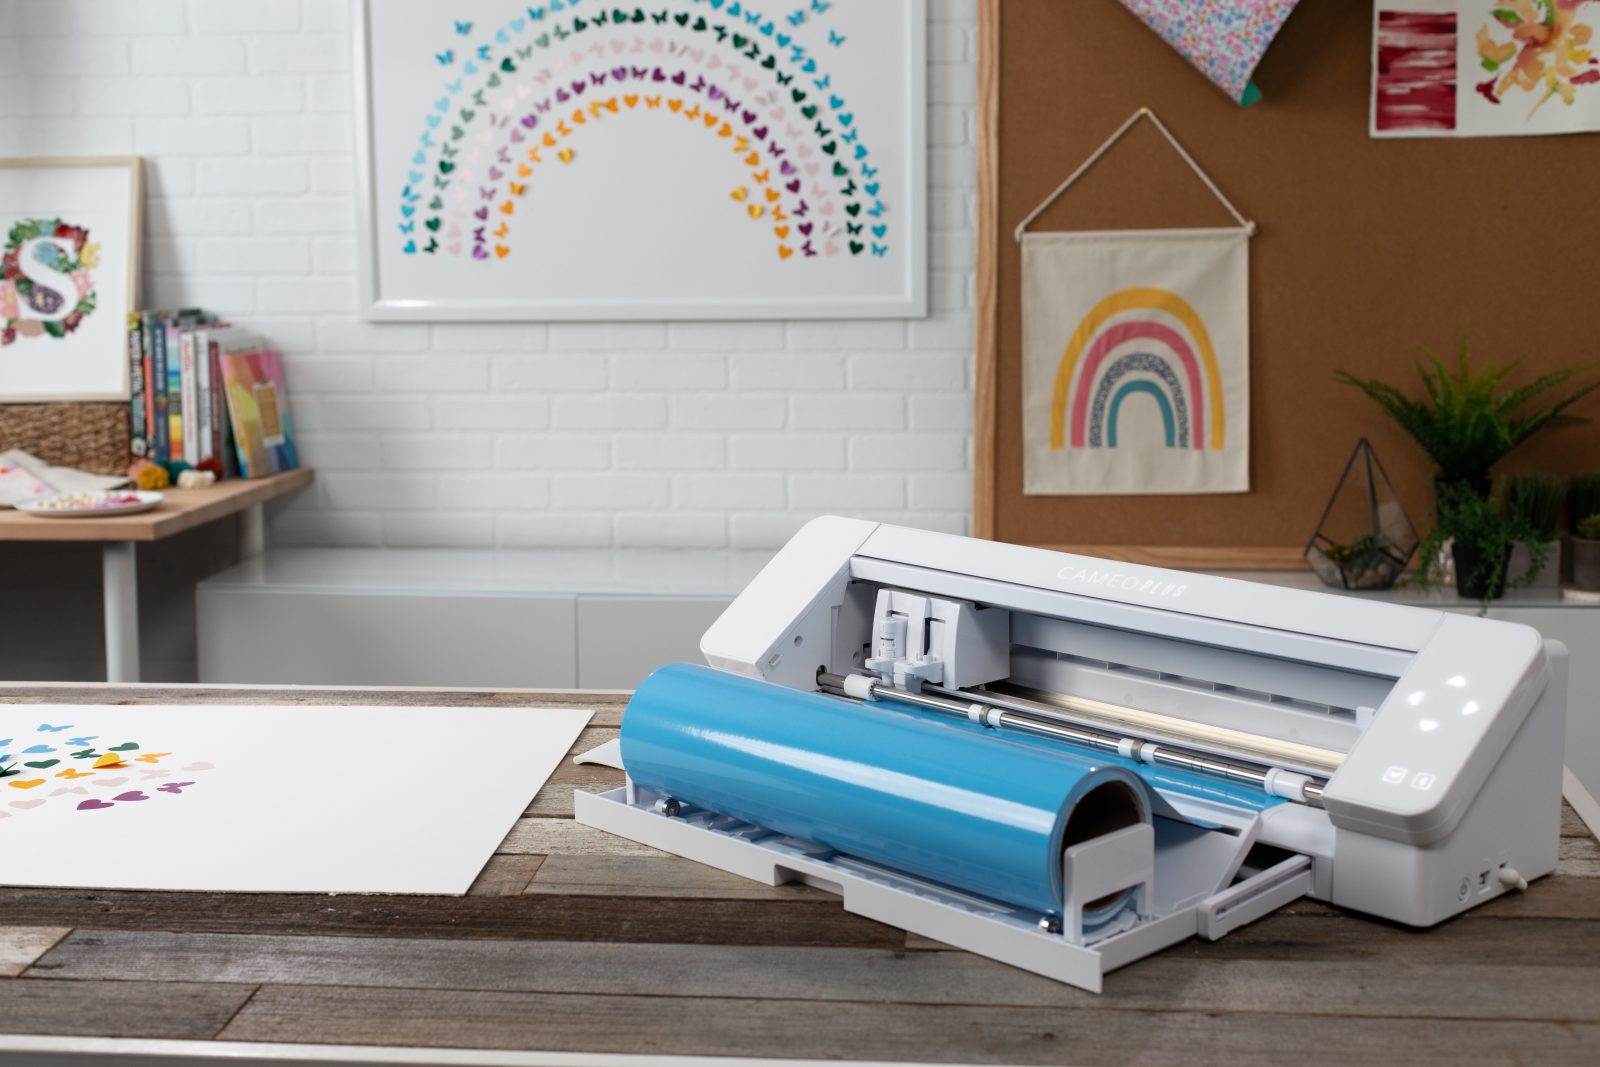
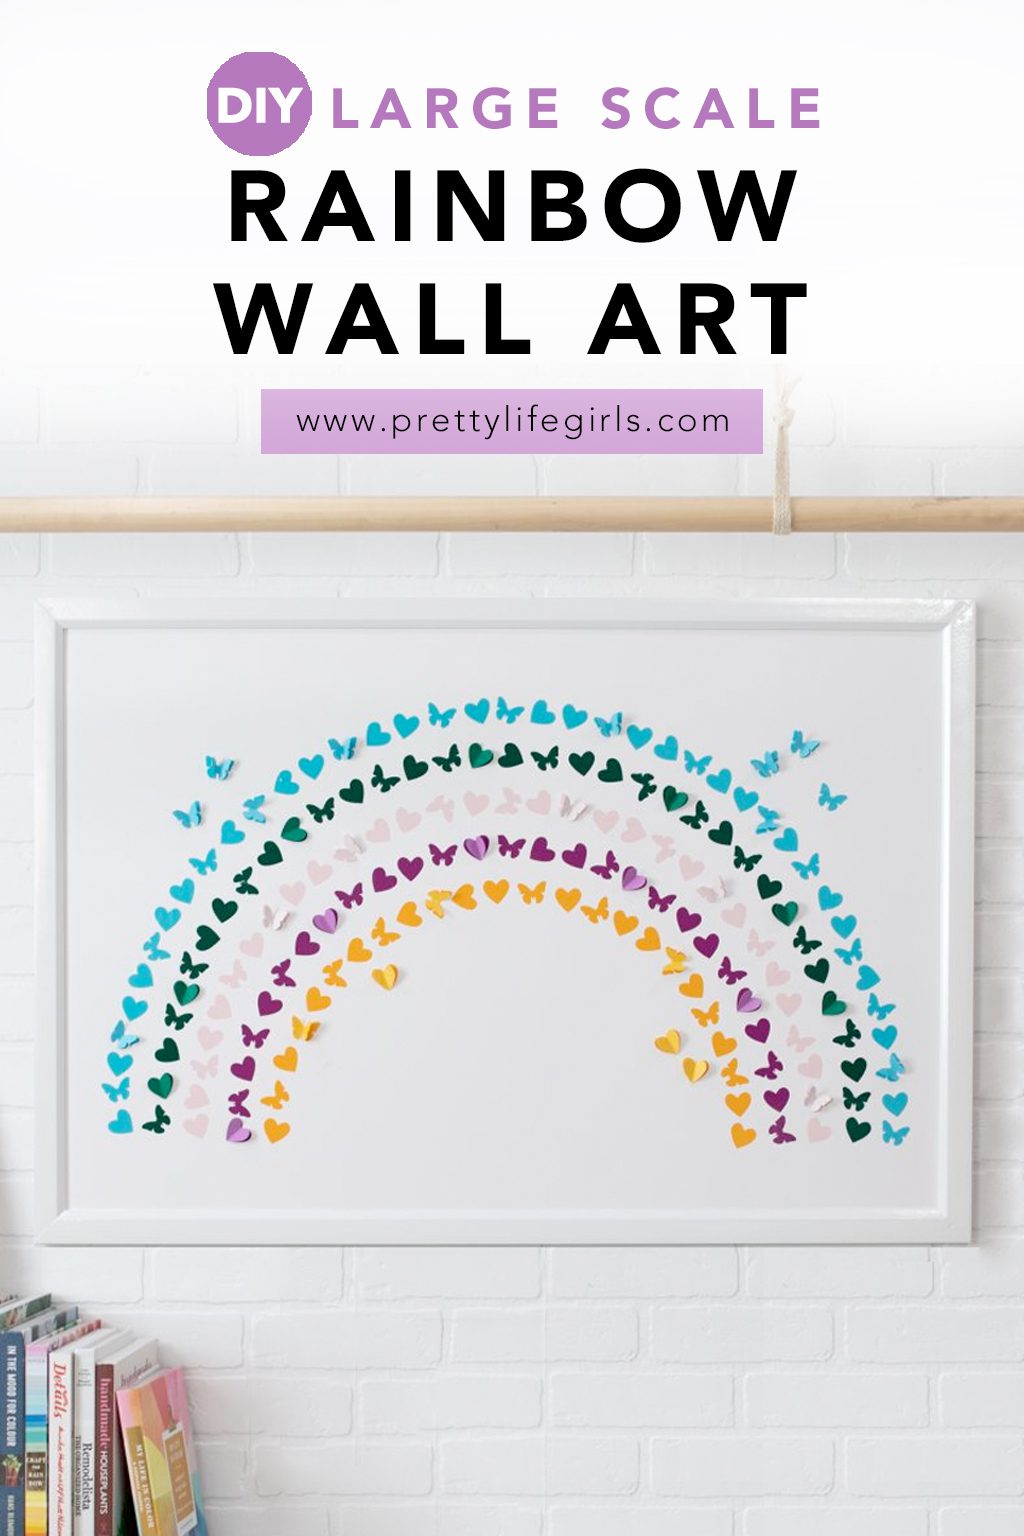
We had the funnest opportunity to team up with Silhouette to make a couple projects for the launch of the new CAMEO 4 Plus! This machine can cut materials up to 15″ wide, giving makers more space to create, which is perfect for creating large scale projects like this 3D Large Scale Rainbow Wall Art! Our sister-in-law has something similar hanging in her daughter’s room, and we’d been wanting to make it forever, and this was the perfect opportunity. Keep reading to see how we did it!
How do you make rainbow wall art?
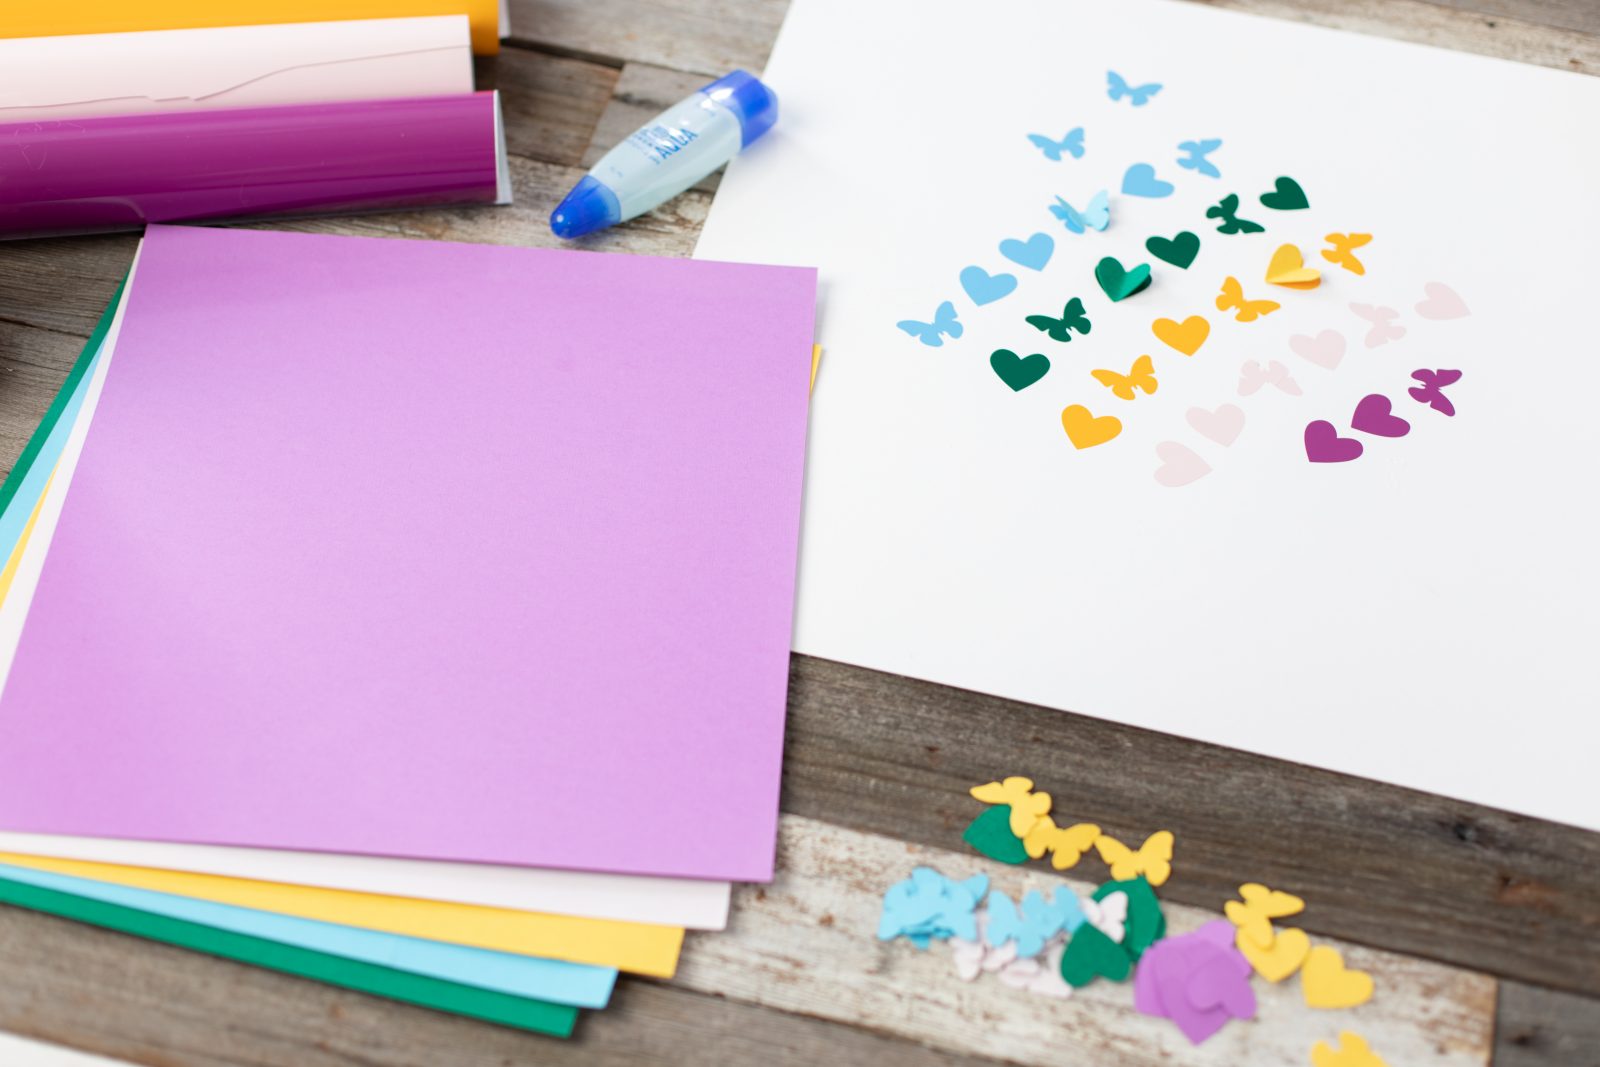
Supplies needed to make your own Rainbow Wall Art
CAMEO 4 Plus
Adhesive vinyl (5 colors)
Transfer tape
Cardstock (same 5 colors)
Hot glue/glue gun
24×36 White matte board (poster board would work too, but it’s not as sturdy)
24×36 Frame
Cut file (get it for free here)
Rainbow Wall Art Tutorial
Watch the video tutorial here, or follow the steps below.
Step 2: In Silhouette Studio, open the cut file.
Step 3: Release the compound path, then cut each row in a different color of adhesive vinyl. Depending on the size of your vinyl, the design may need to be broken up into sections.
Step 4: Weed the excess vinyl, and use transfer tape to arrange the rainbow on the matte board.
Step 4: Cut ten of the butterfly or heart shapes out of cardstock. We alternated each row with a different shape (i.e. blue butterflies, green hearts, pink butterflies, purple hearts, yellow butterflies).
Step 5: Fold one of the cardstock pieces in half and apply glue along the fold. Place it on top of one of the corresponding vinyl shapes. Repeat with the rest of the cardstock pieces, spacing the cardstock pieces throughout the design. Let the glue dry.
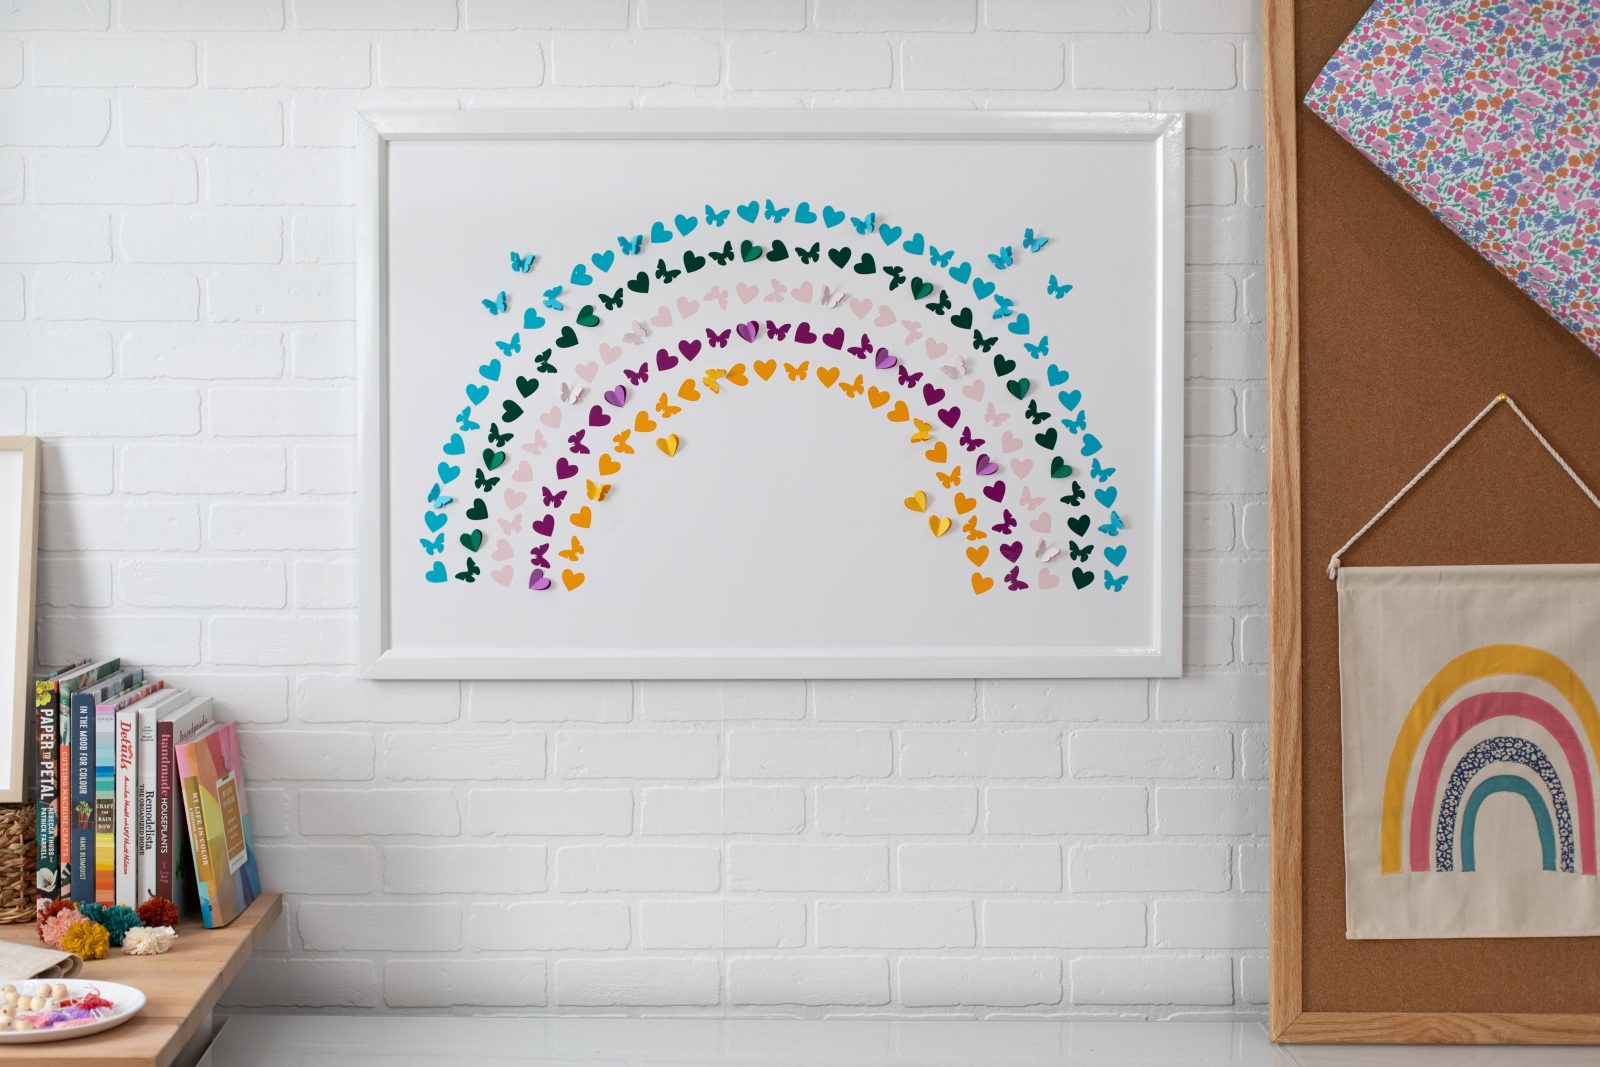
Step 6: Remove the glass from your frame or use a shadowbox style frame), and frame the board.
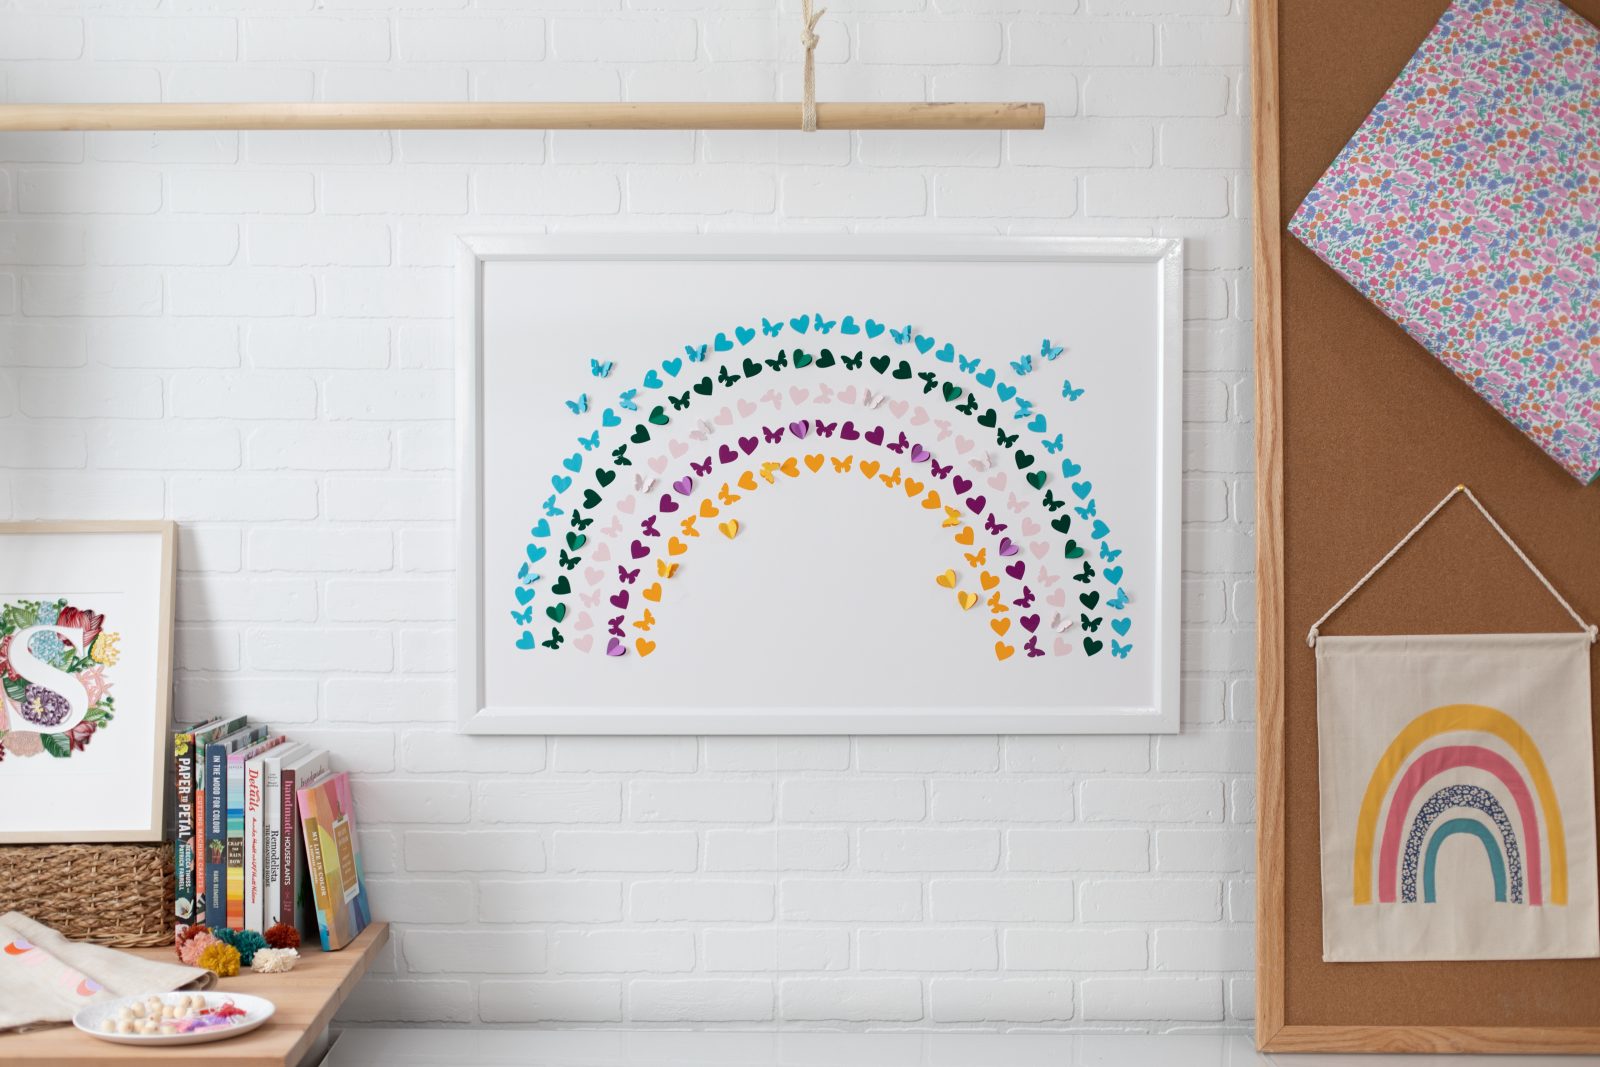
We love the dimension the folded cardstock pieces add to the design. How perfect is this for a nursery or play room? And you can change the colors to match your style!
Be sure to subscribe to our YouTube channel for more video tutorials!
xo, Sam & Liz