This Felt Wall Hanging Tutorial is sponsored by Silhouette. All opinions are ours alone.
This post may contain affiliate links, which help us support this site.
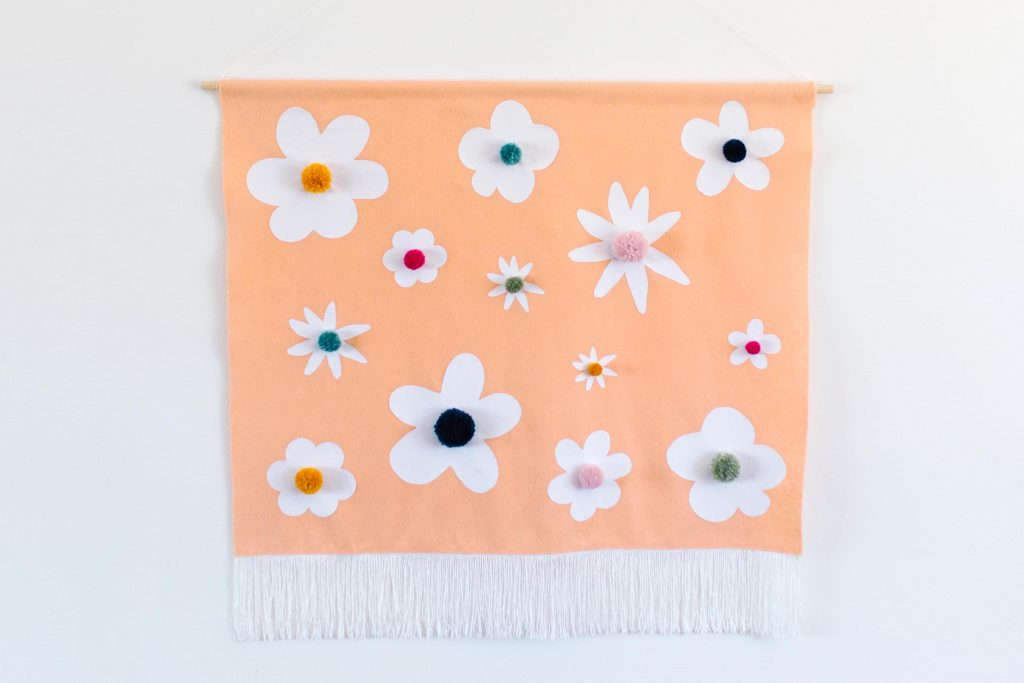
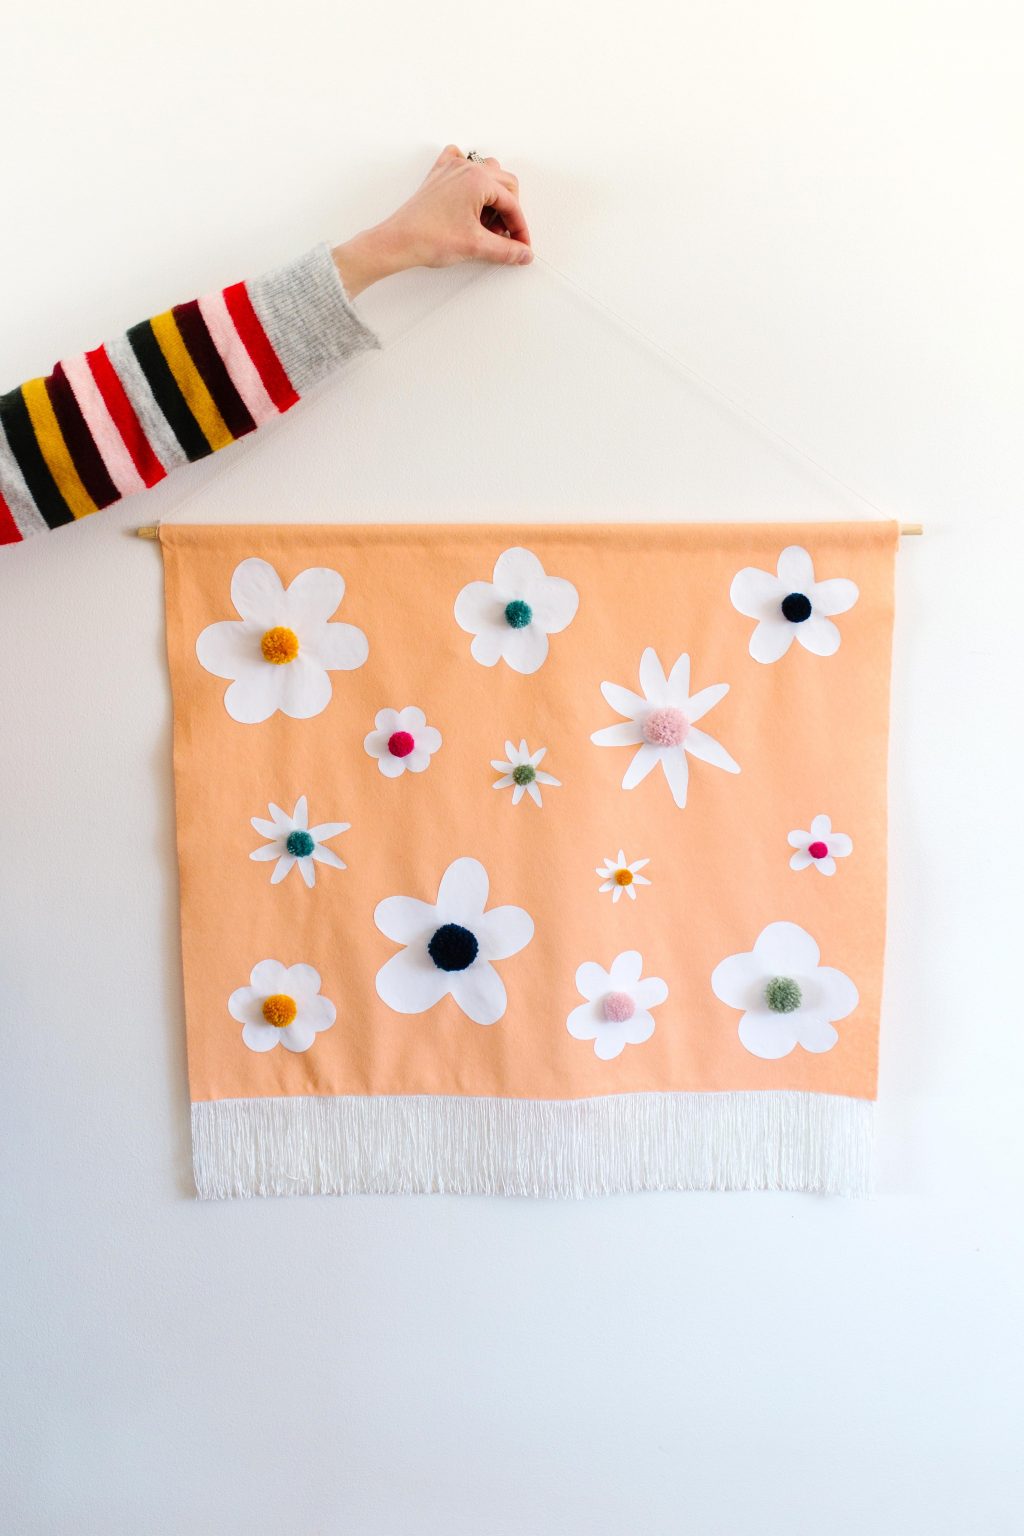
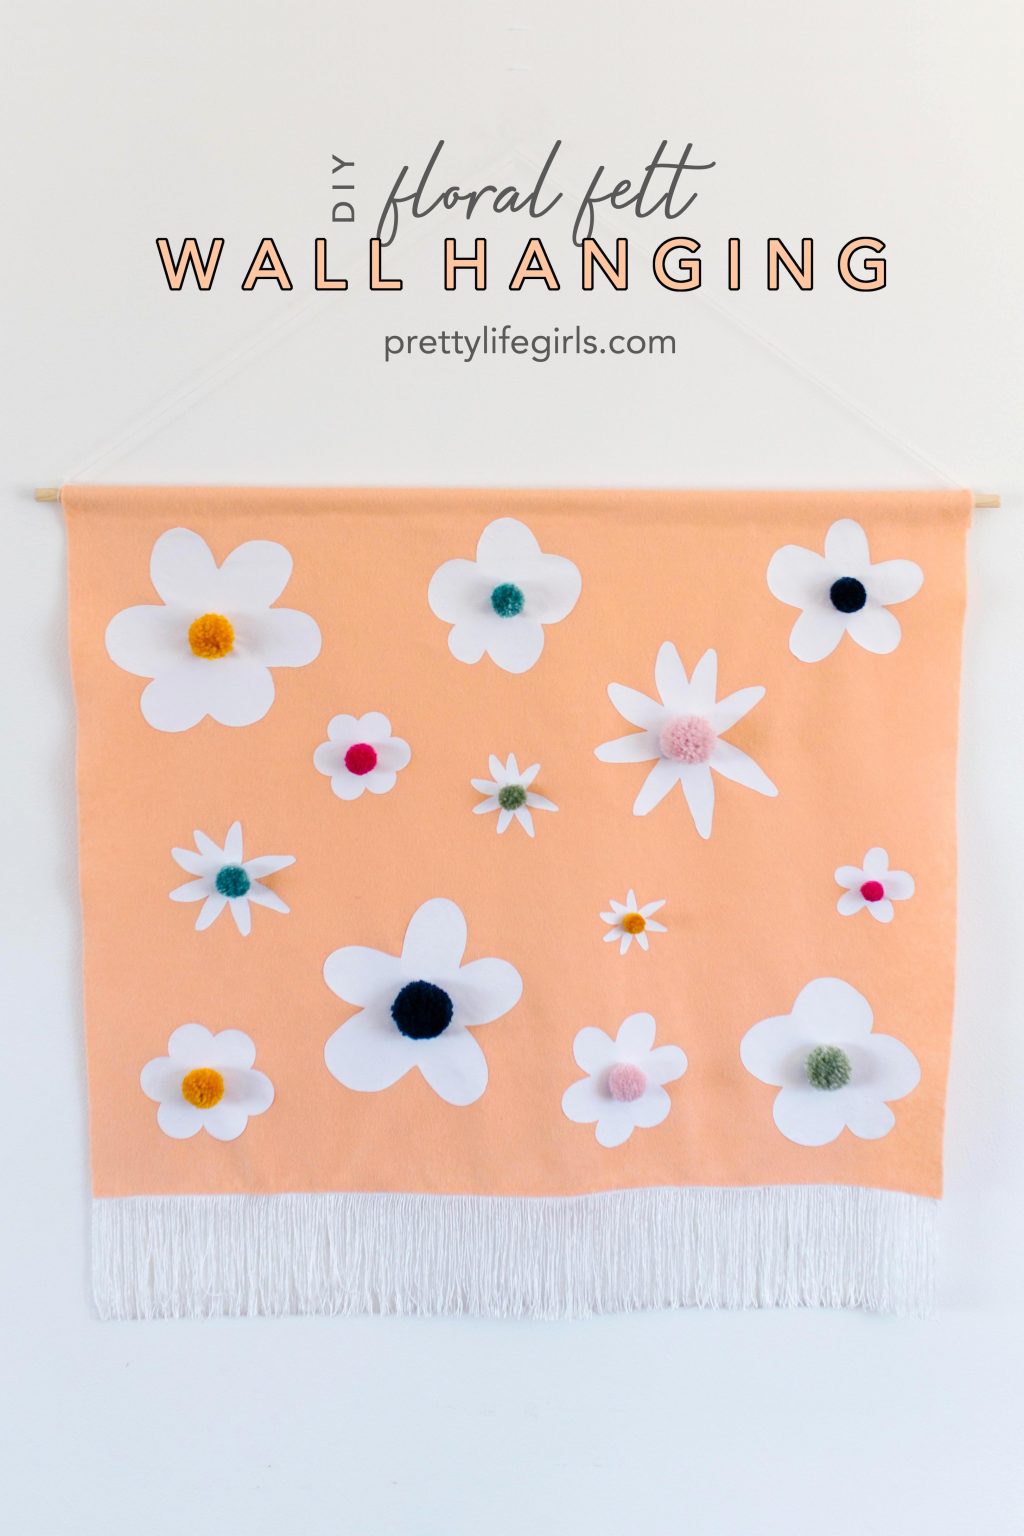
I saw this adorable wall hanging on Sarah Hearts’ Instagram feed a few weeks ago, which led me down a major rabbit hole of the incredible creator Allie Chenille. I was so inspired, I had to make my own version of the wall hanging! From what I can tell in the picture, Allie’s version is quilted and uses punch needling for the center of the flowers. But since I have no sewing or punch needling skills, I simplified by using felt and pom poms. It’s bright and adorable and so fun to make! Keep reading for the tutorial!
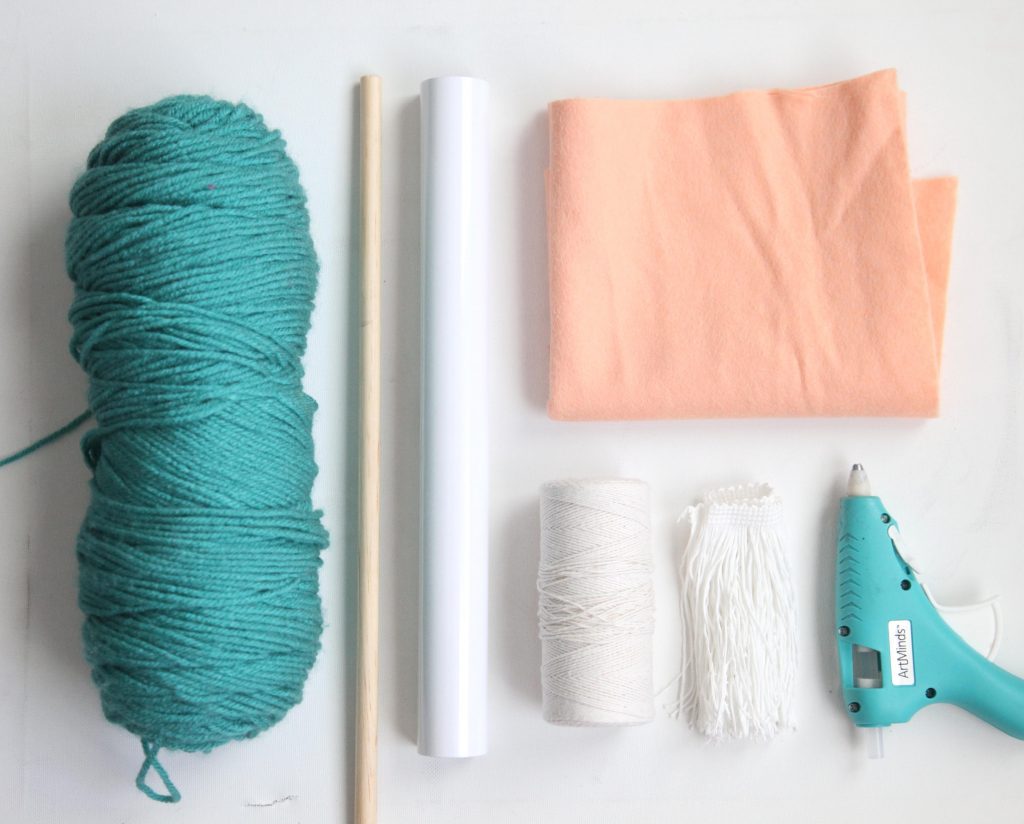
Supplies needed to make your own Felt Wall Hanging
Felt (cut to desired size)
Silhouette CAMEO
White Heat Transfer Vinyl
Yarn
Wood dowel
Twine
Hot glue
Fabric glue
Fringe trim
How to make your own Felt Wall Hanging
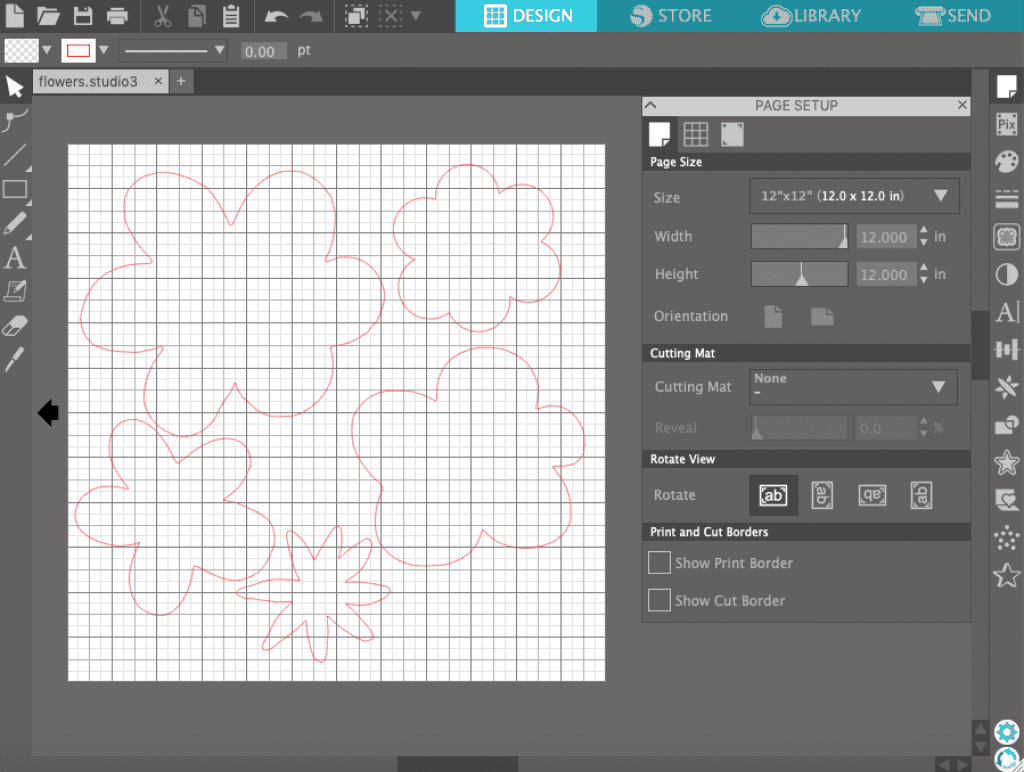
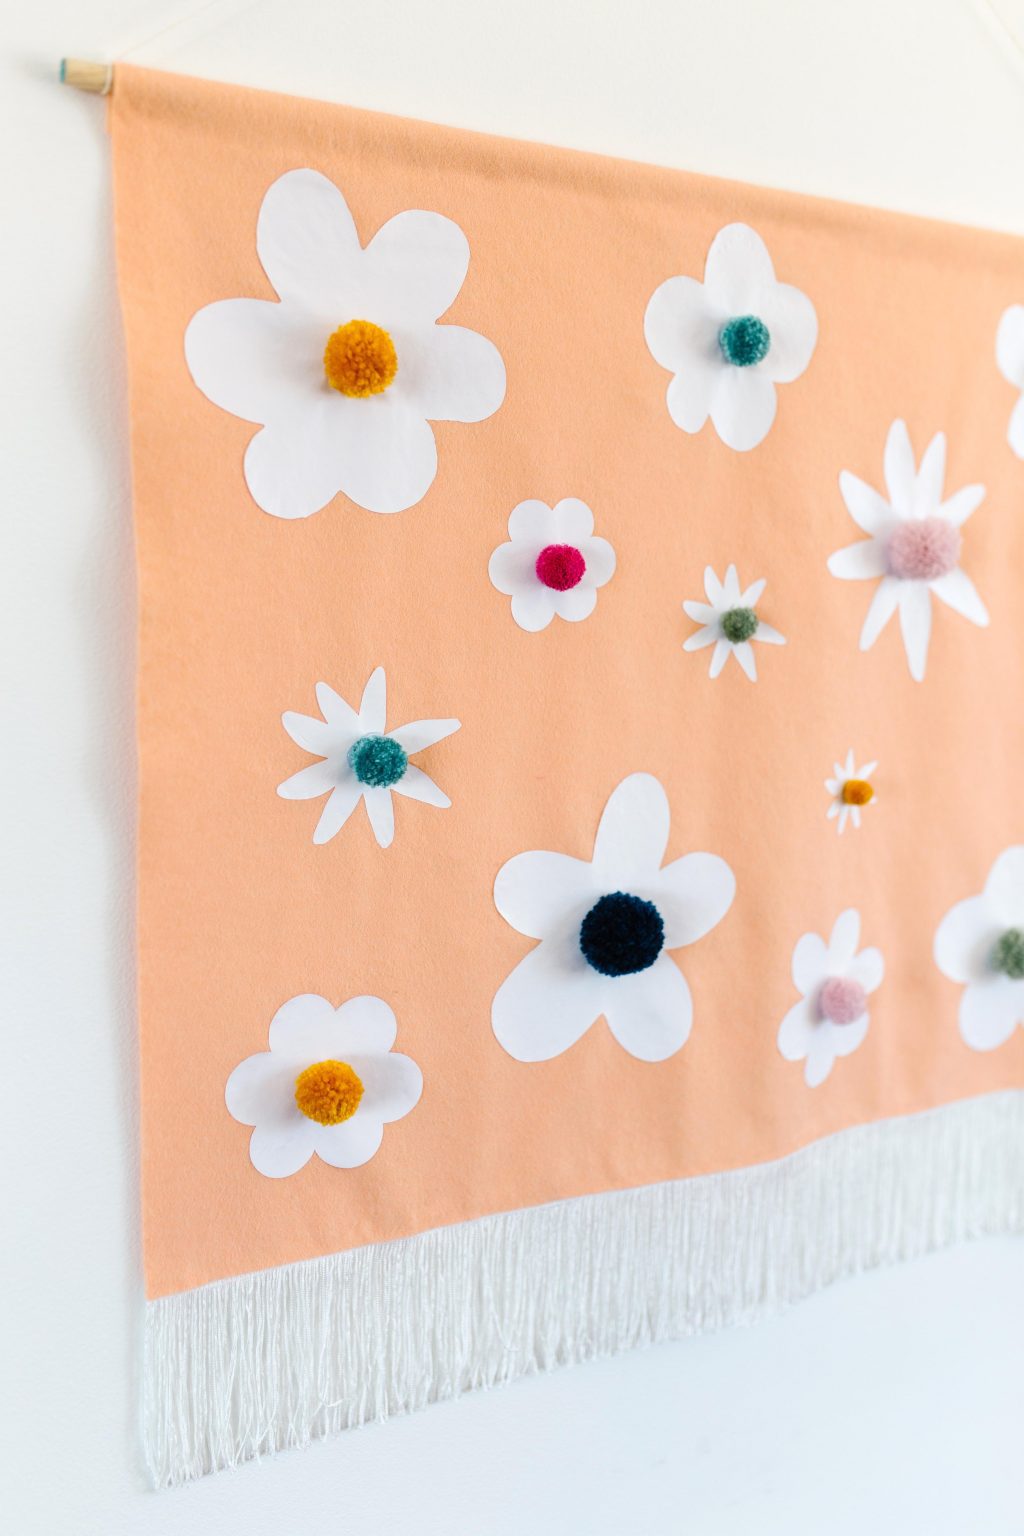
Step 1: Cut the flower shapes from white heat transfer vinyl using your Silhouette CAMEO. Then weed the flowers and arrange them on the felt. Apply them to the felt with a heat press or iron.
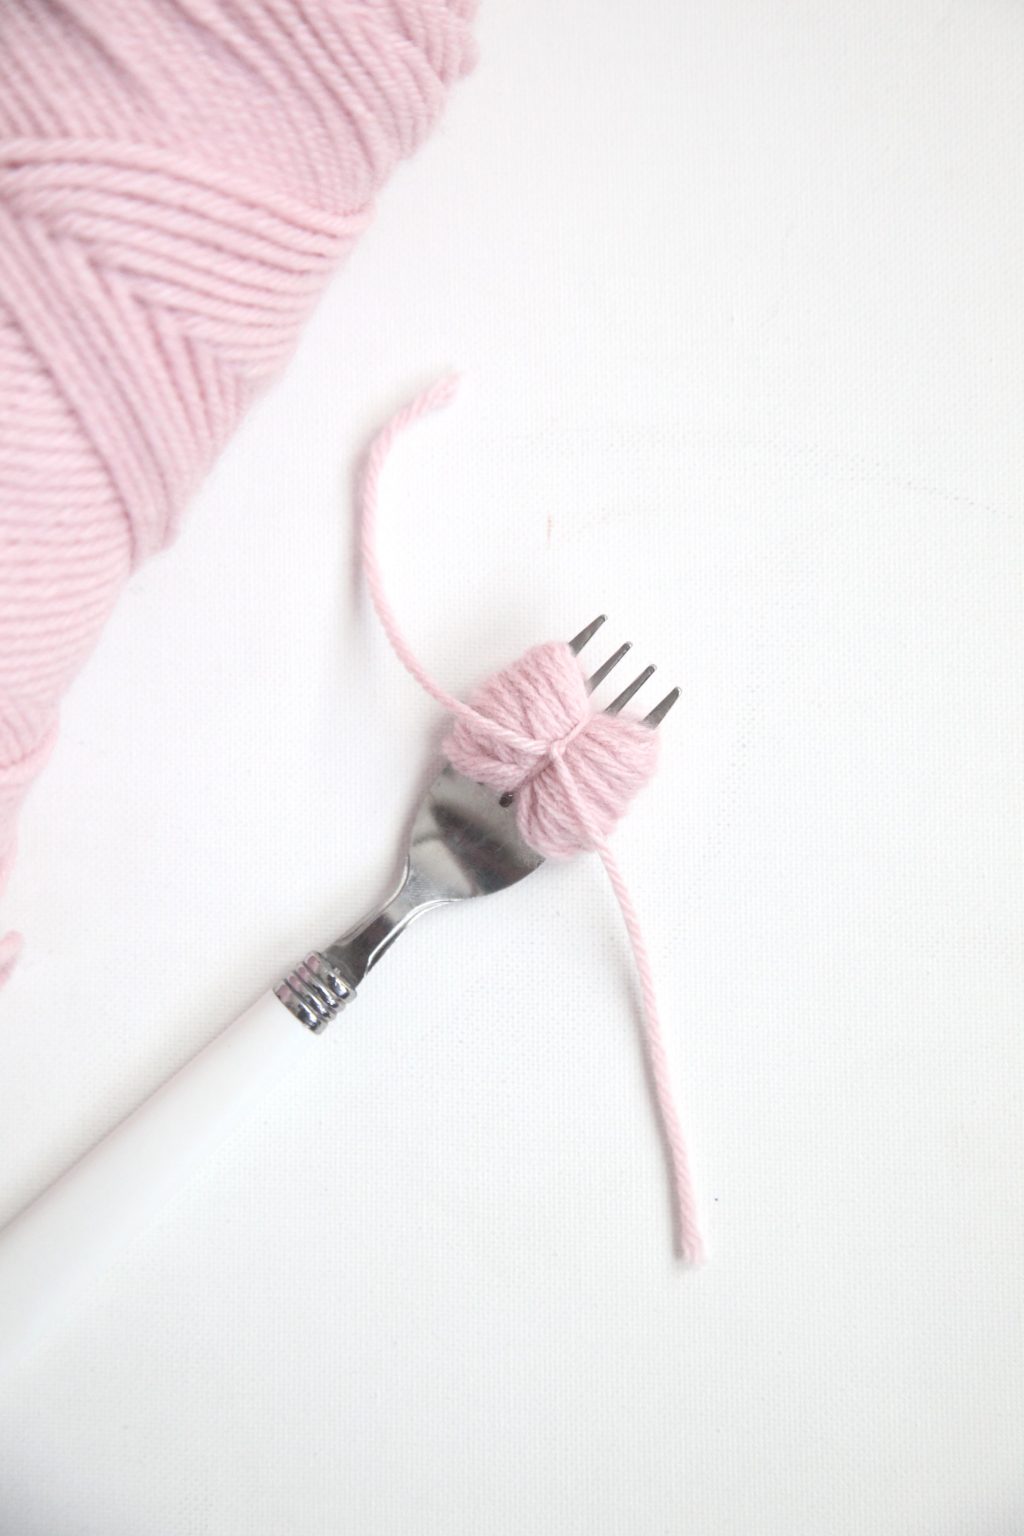
Step 2: Make pom poms (a fork is the perfect little pom pom maker for this project!) with various colors of yarn, in 2-3 different sizes.
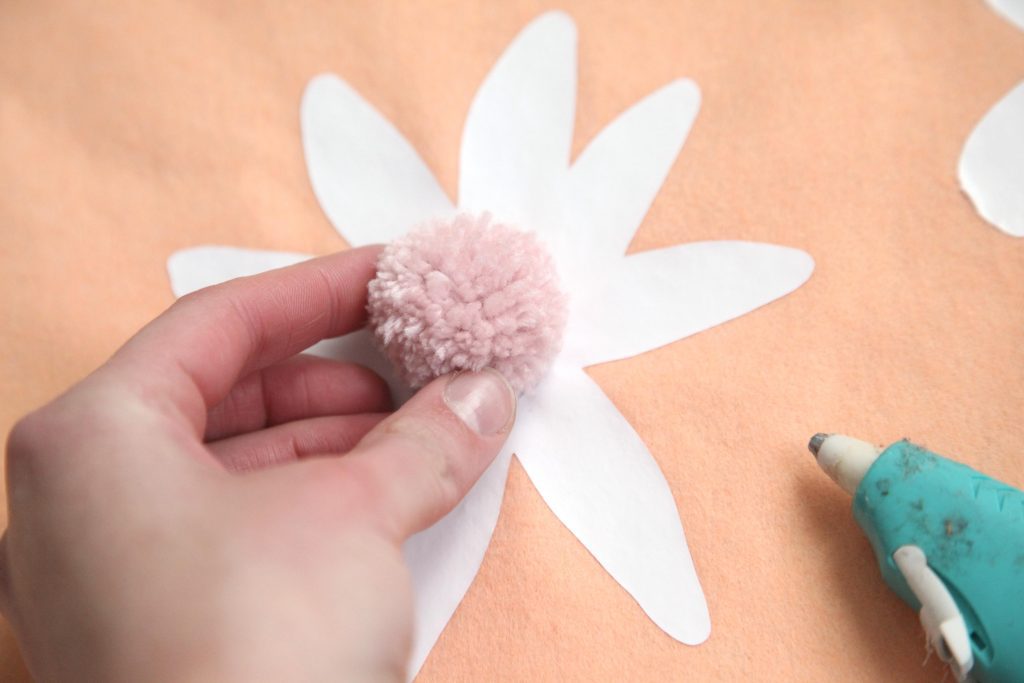
Step 3: Use hot glue to attach the pom poms to the center of each flower.
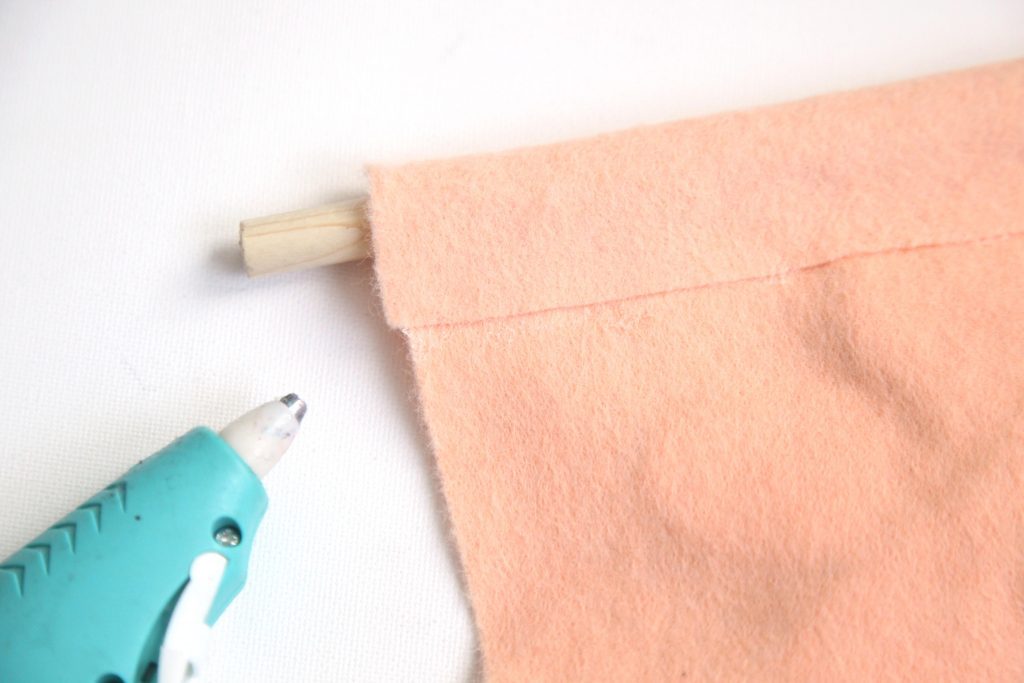
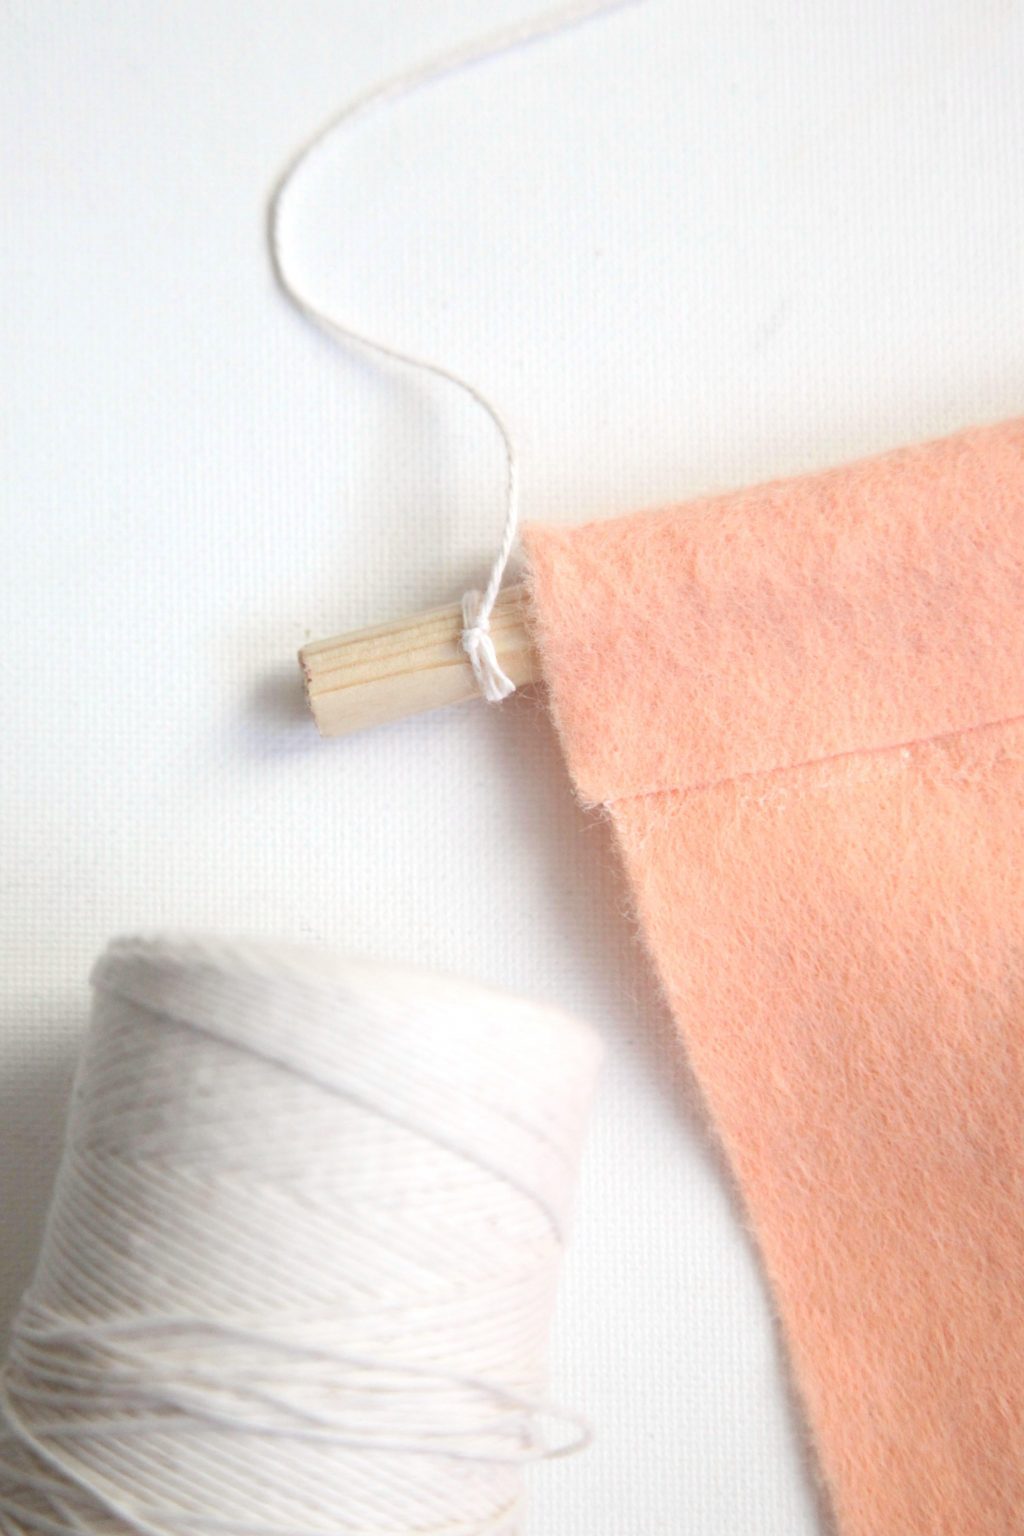
Step 4: Fold the top of the felt over the dowel, and secure with hot glue or fabric glue.
Step 5: Use hot glue or fabric glue to attach fringe to the bottom of the wall hanging.

Step 6: Tie twine on the ends of the dowel to hang on the wall.
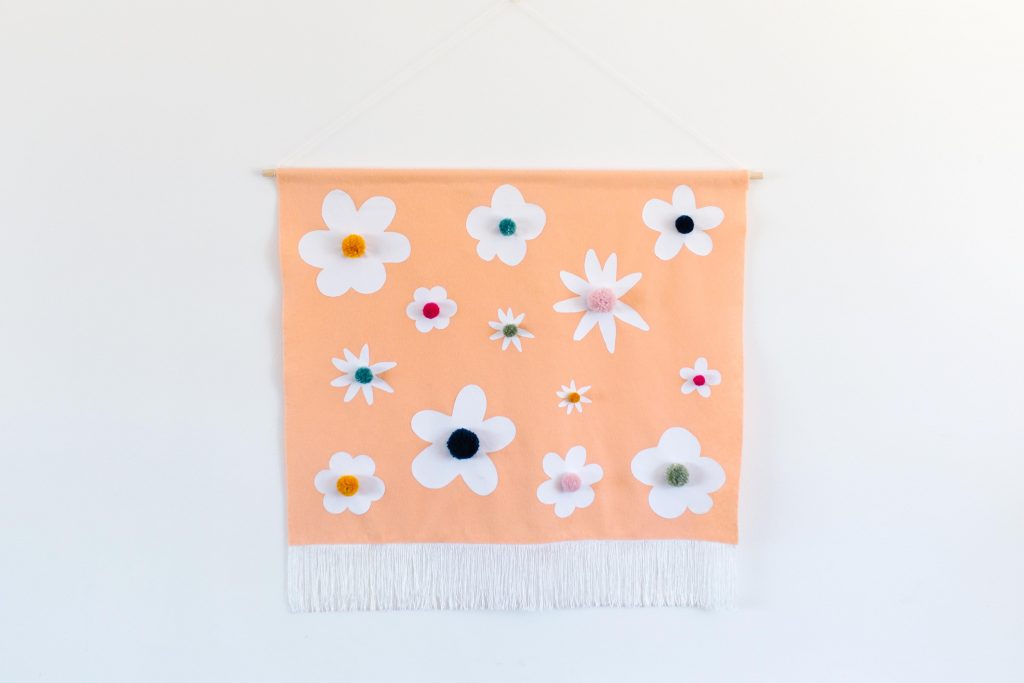
I love how it turned out! It’s so bright and springy, and I love that it can be customized to different sizes and color schemes.

Happy crafting!
xo, Sam