This post was originally published February 2017
and updated as of June 2022.
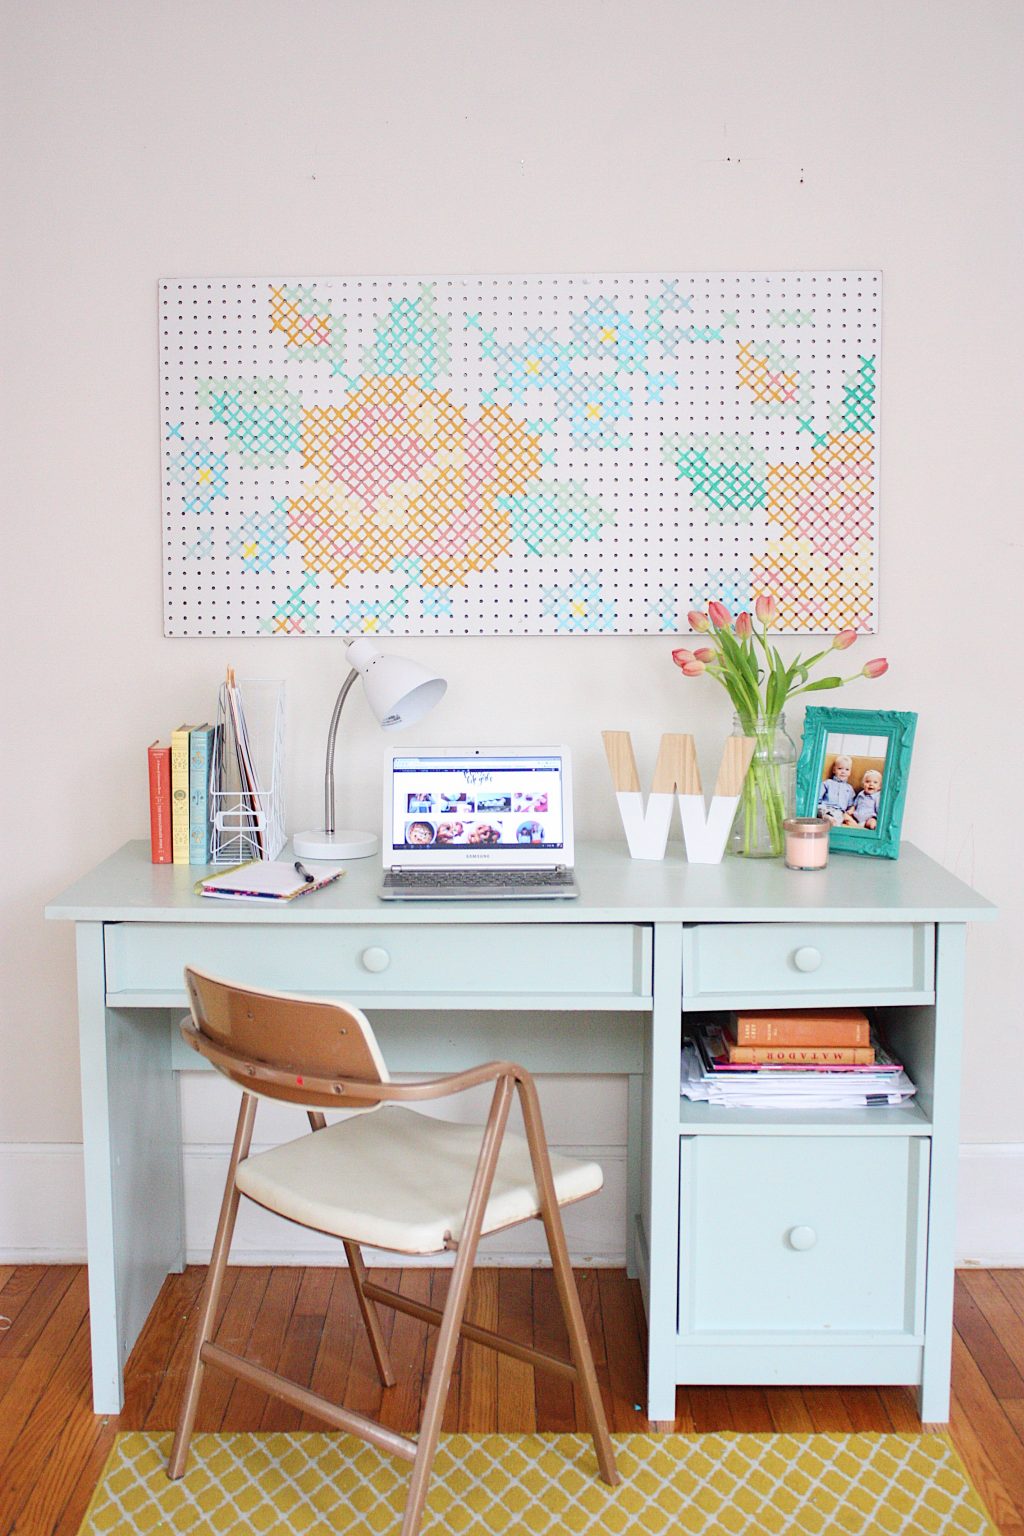
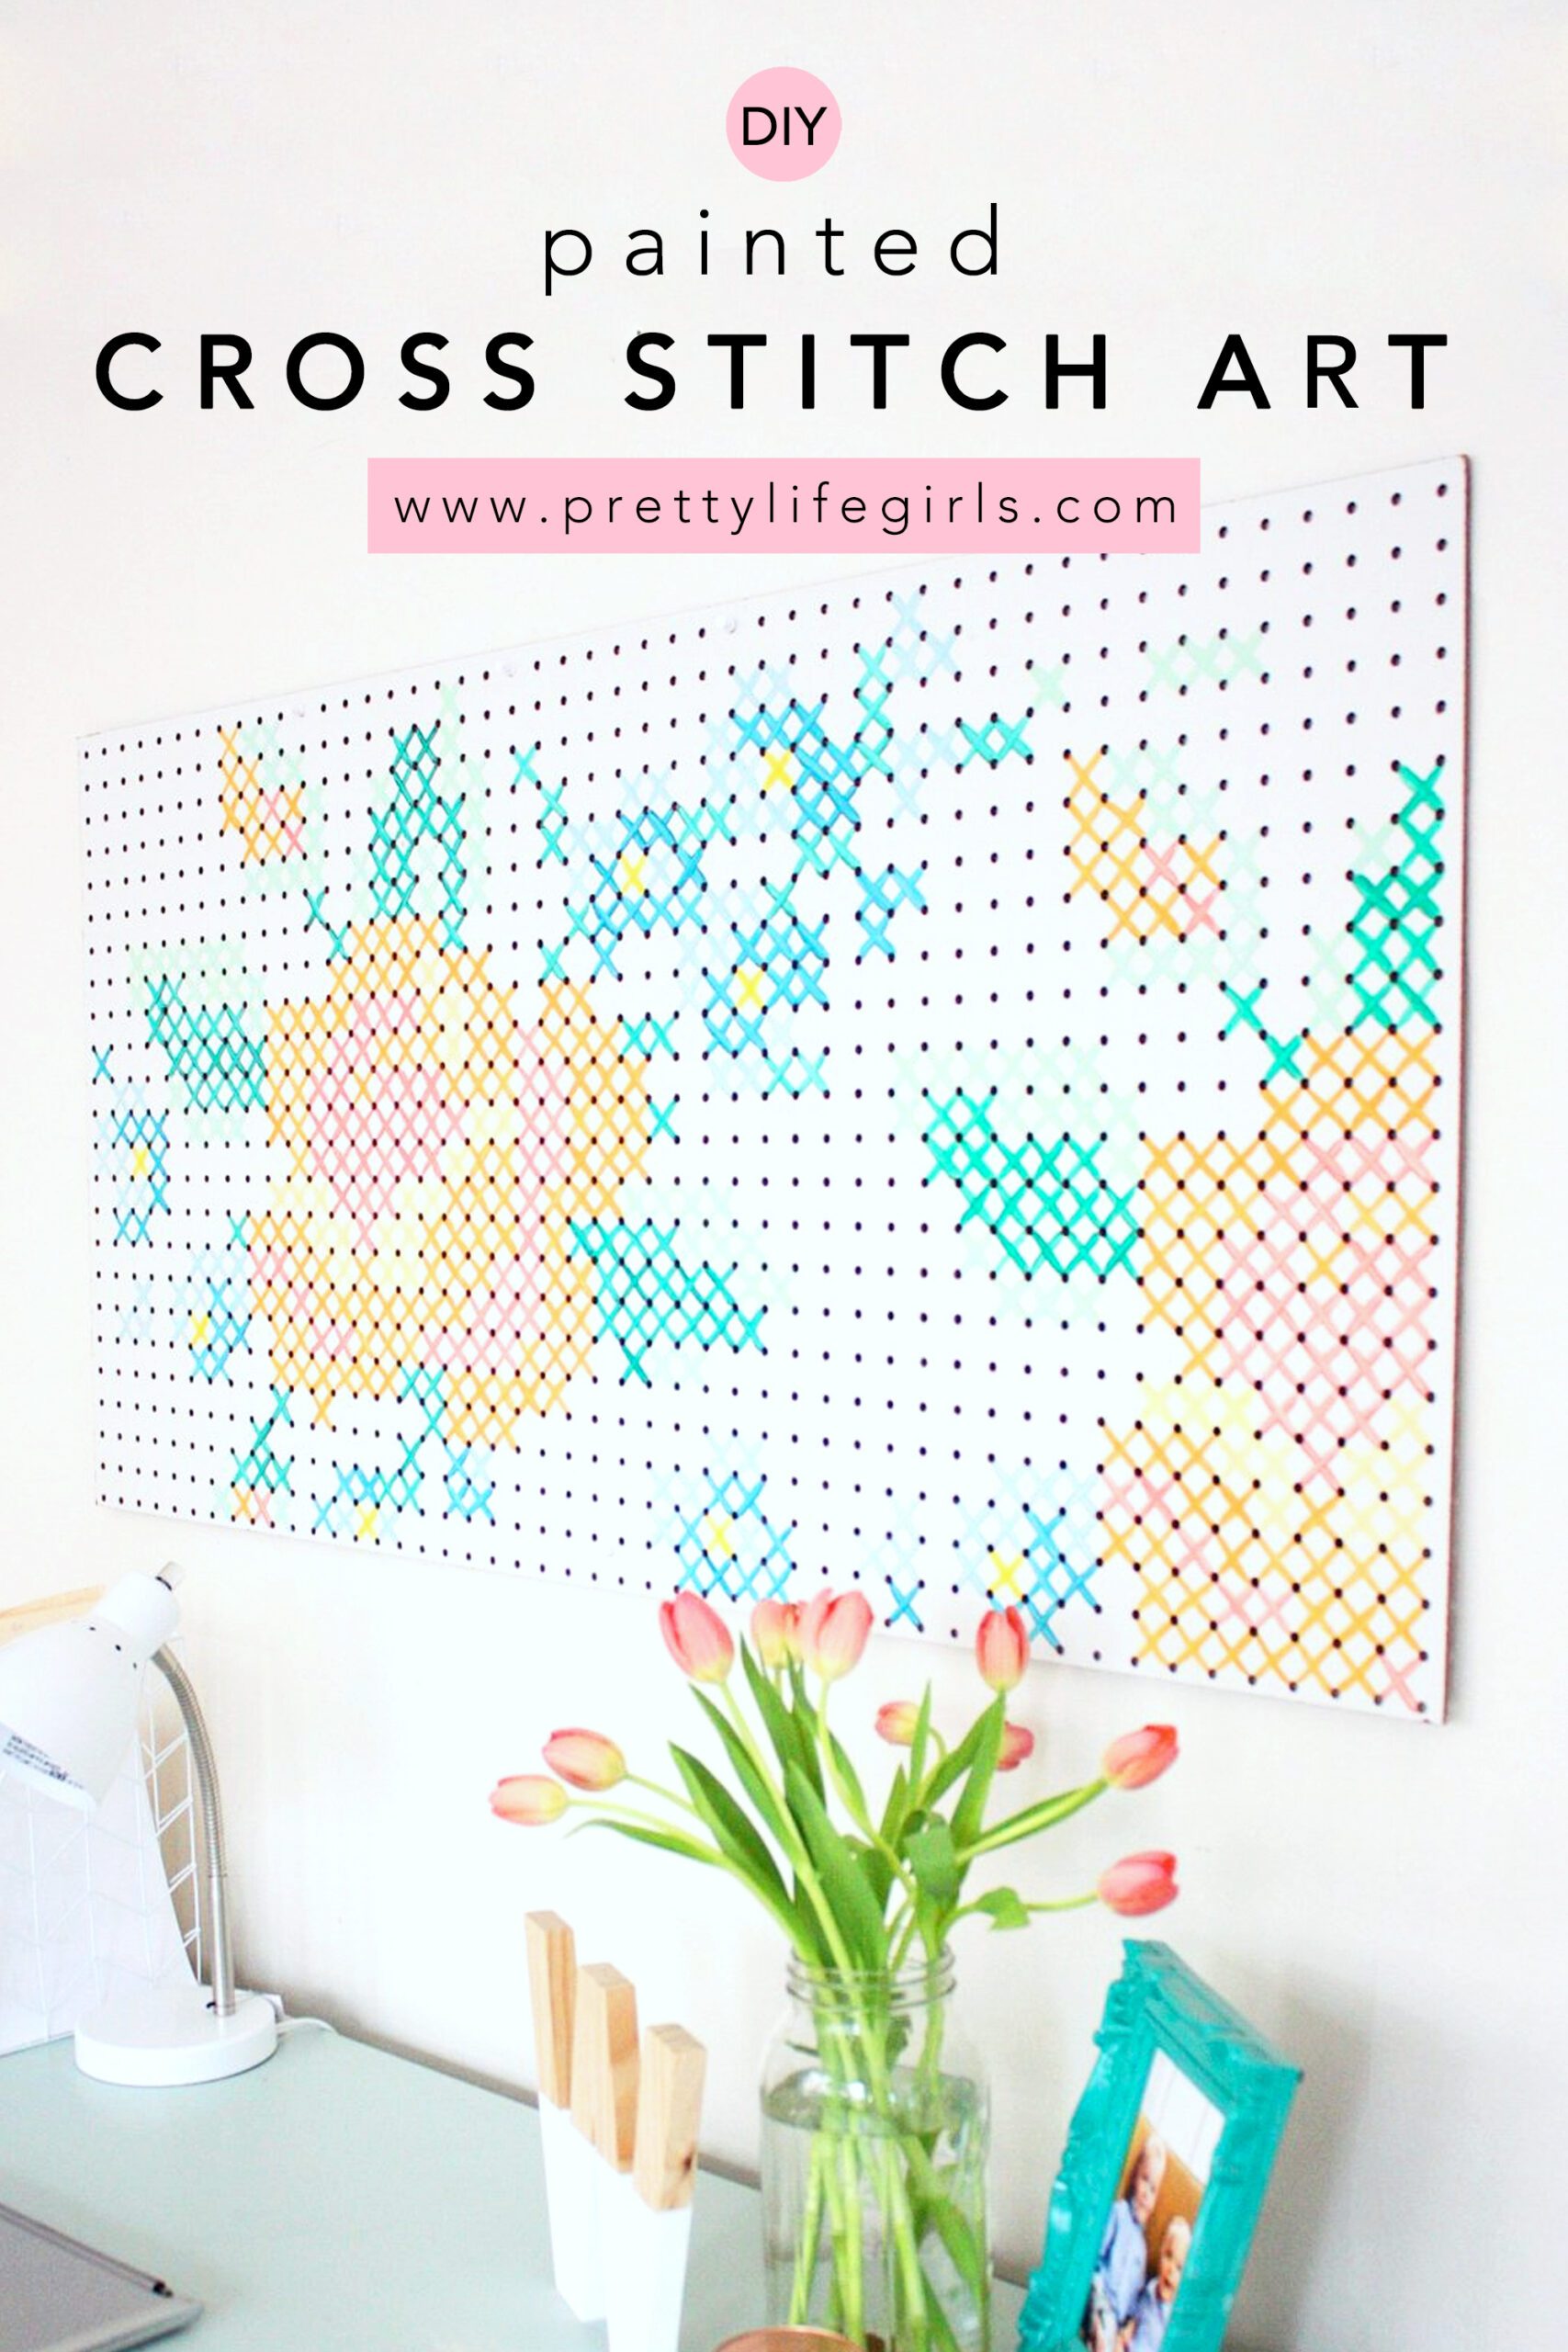
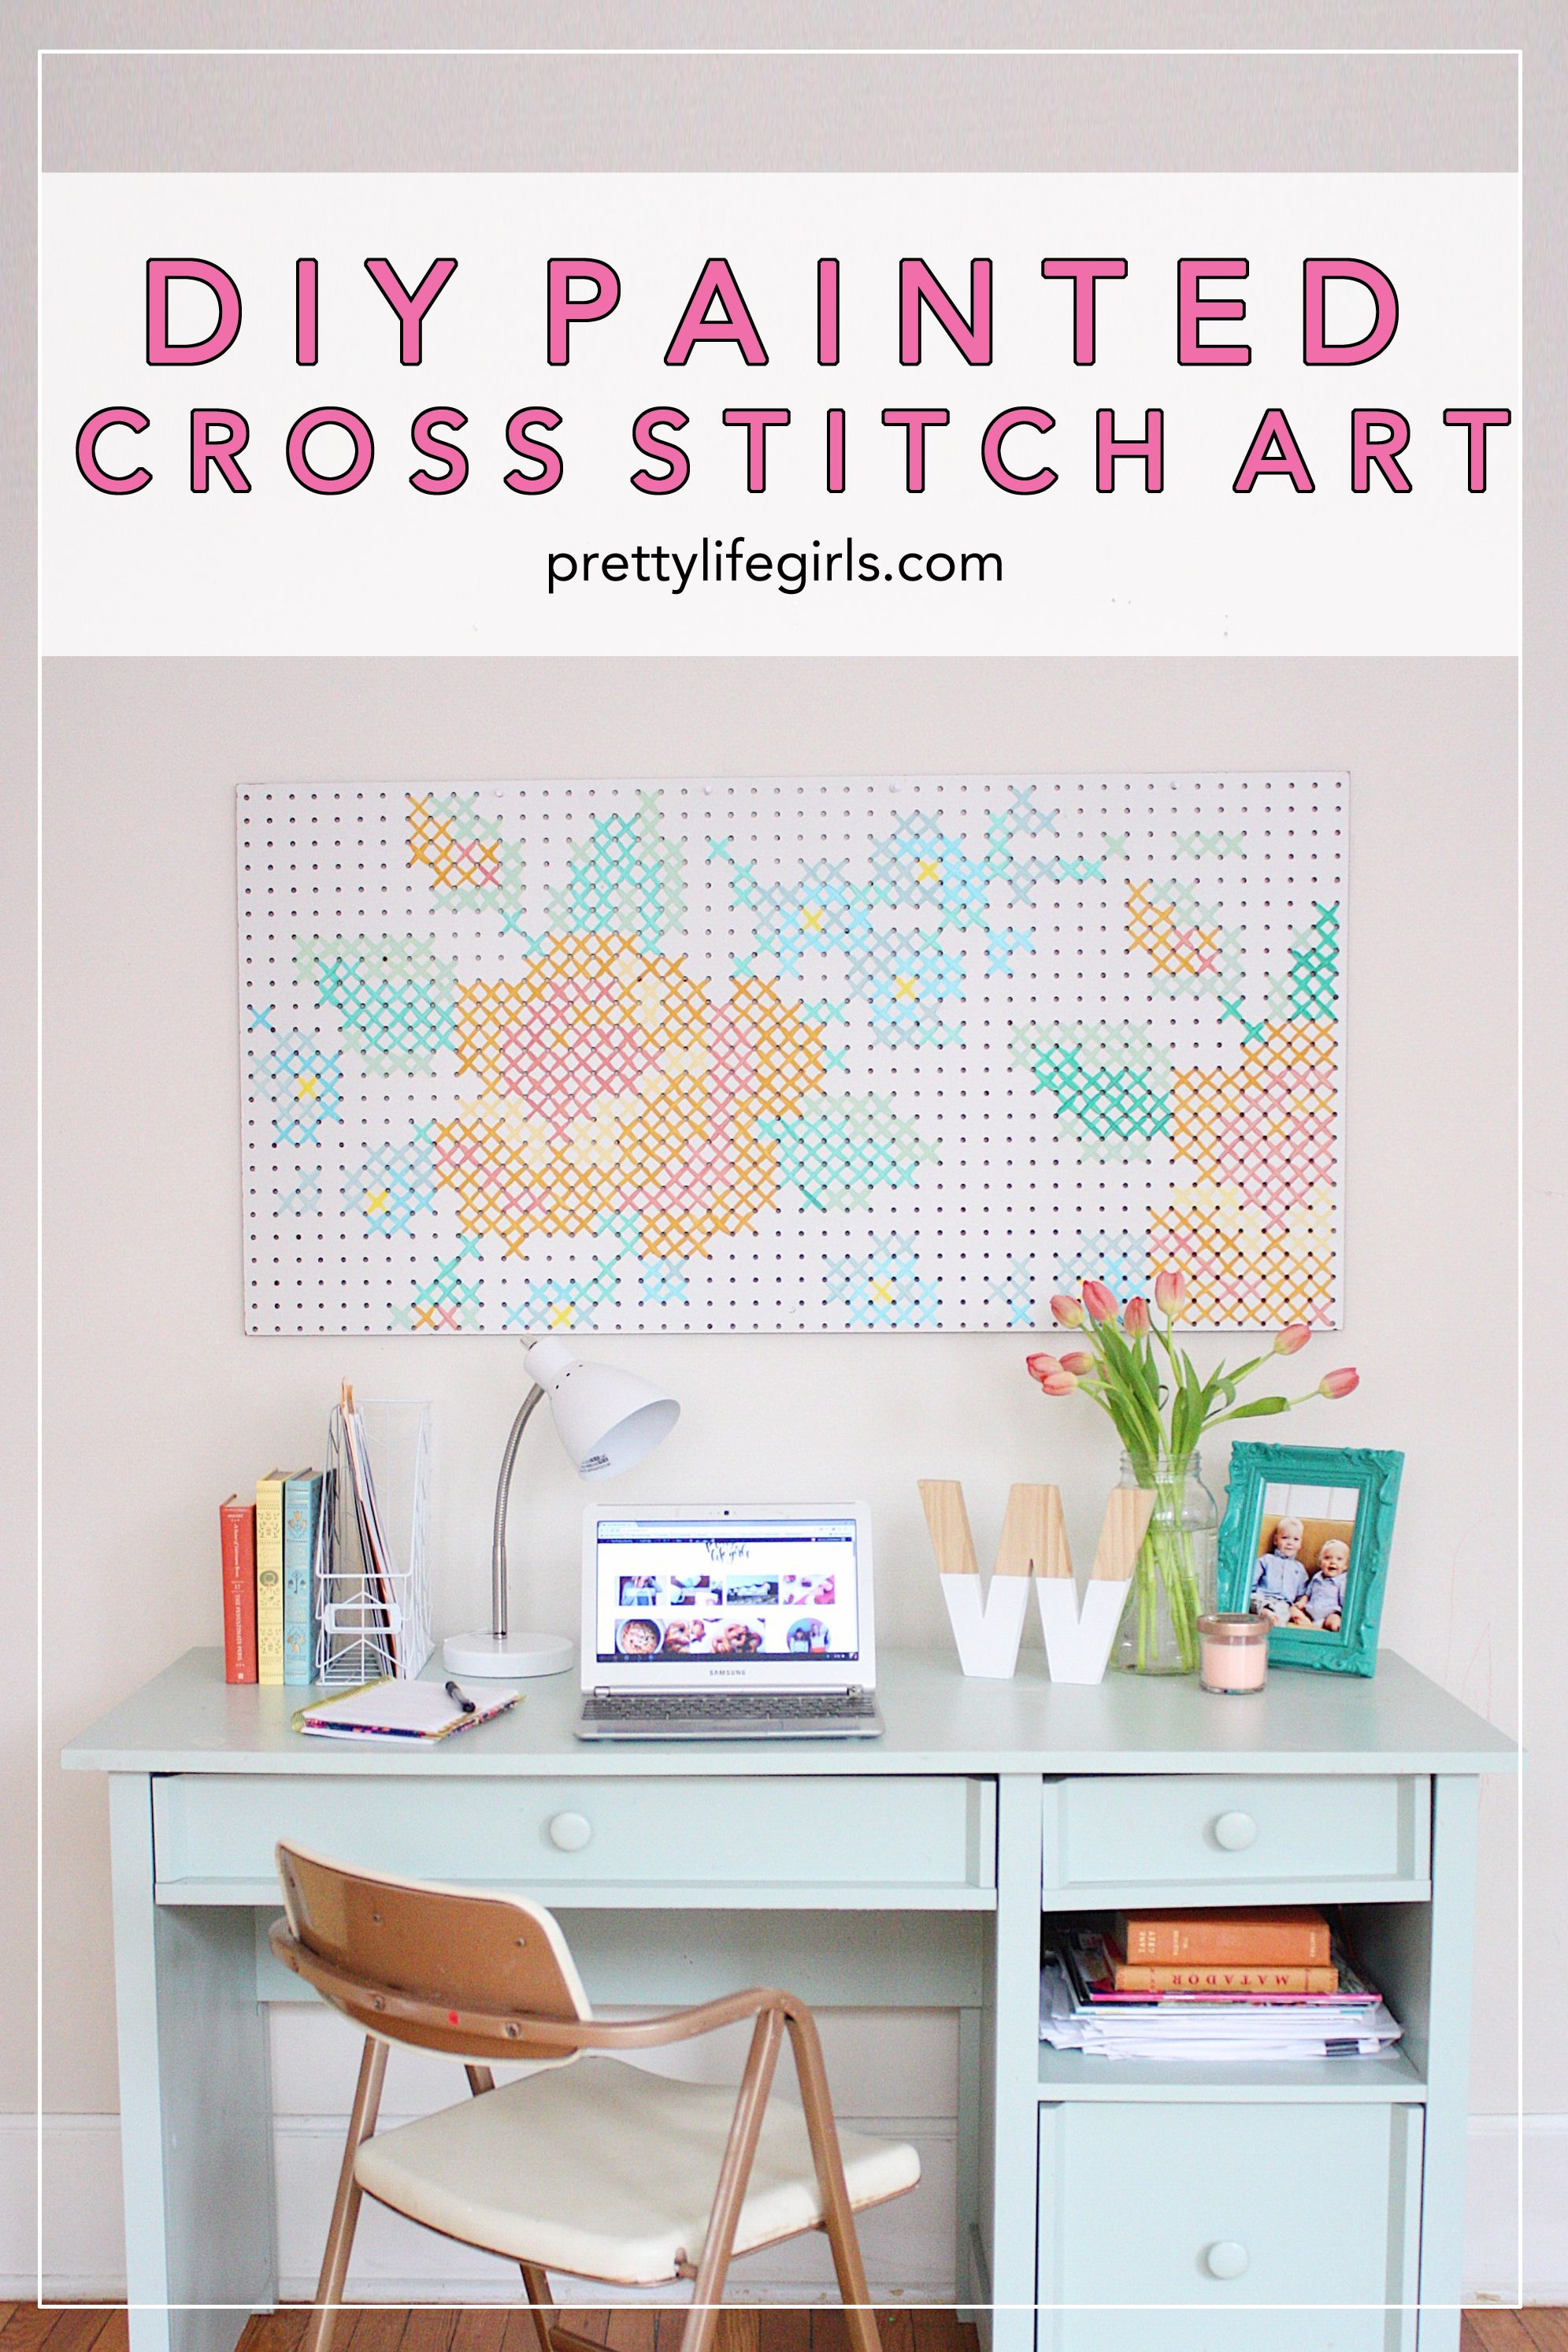
This DIY Painted Cross Stitch Art is a great project if you want to create beautiful, one of a kind art for your home. And all you have to be able to do is paint an X!
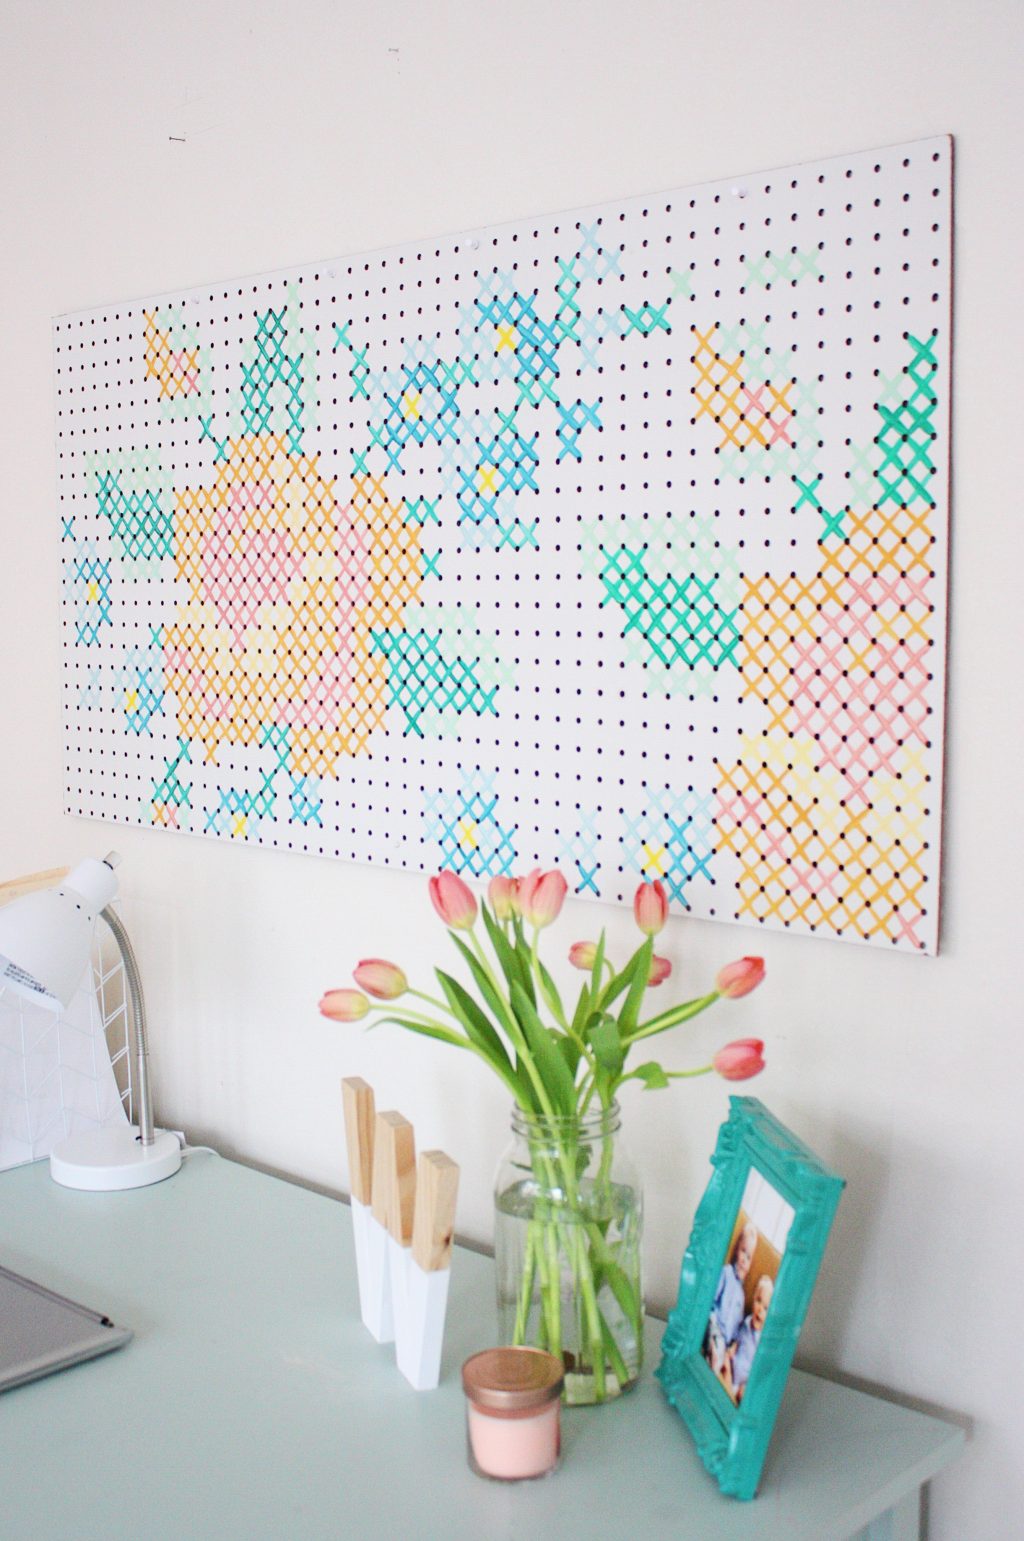

I have always felt plagued by my lack of artistic skills. I mean, I’m crafty, and I know how to paint the heck out of something if I have a stencil, but when it comes to actually creating something from scratch, from my own brain, with a paint brush or pencil or pens, it’s NOT gonna be pretty.
Having some kind of artistic talent is something I would love to work to develop, but in the meantime, I am all about projects that allow you to create art and feel artistic without needing an MFA to execute them. That’s why I am SO excited about today’s project!
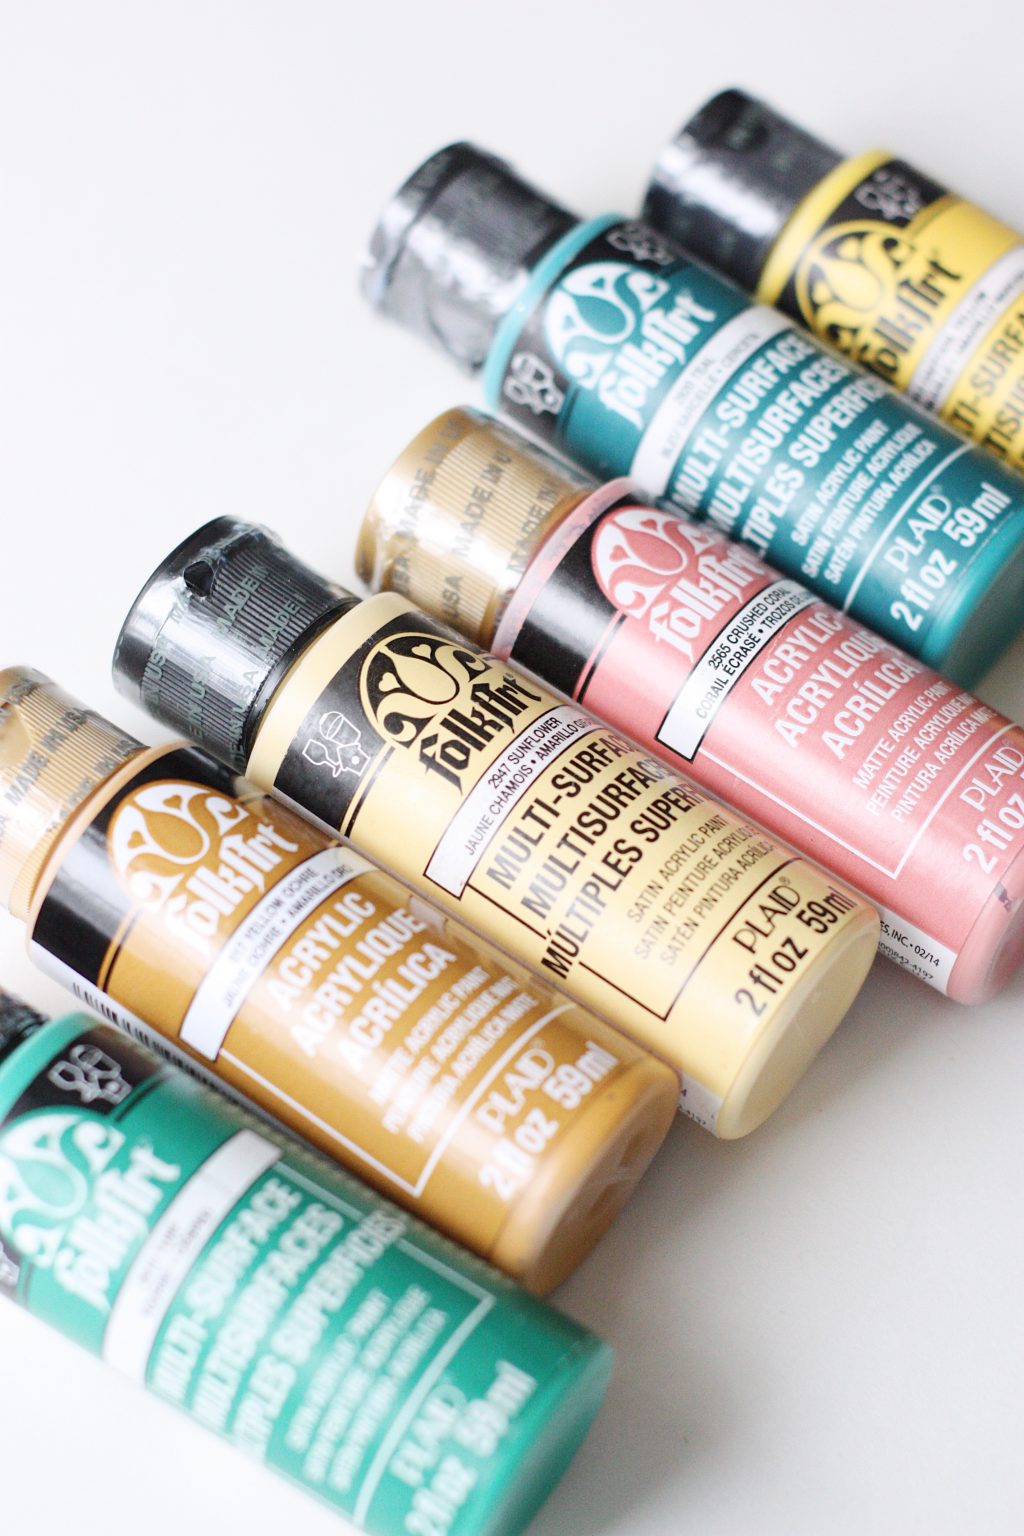
I have seen other projects like this floating around the internets (here & here) and have wanted to try it for myself for so long. I loved the idea of using a pegboard to simplify things since it allows you to skip the tiresome step of drawing a grid, and it ensures that your design will be perfectly positioned! Plus, I used my favorite FolkArt Multi-Surface and Acrylic Paints to make it happen, so of course the colors were gorgeous, and results were just like I envisioned.
This cross stitch art project was SO much fun to make, and it is legitimately beautiful, which is saying a lot coming from someone whose 4 year old can draw better flowers than her.
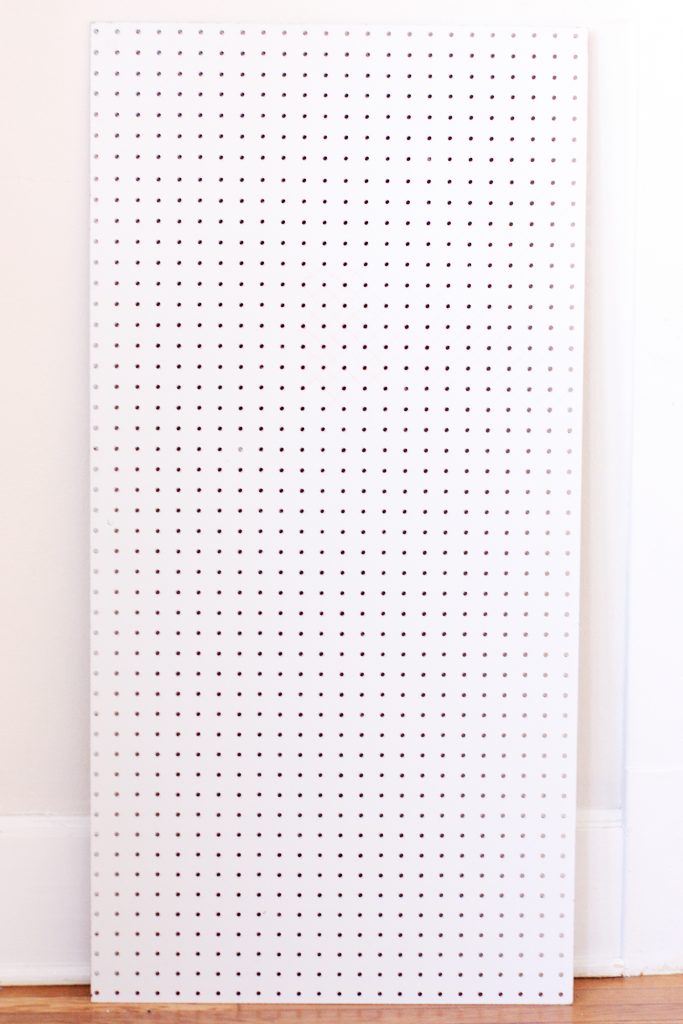

Supplies needed to make Cross Stitch Art
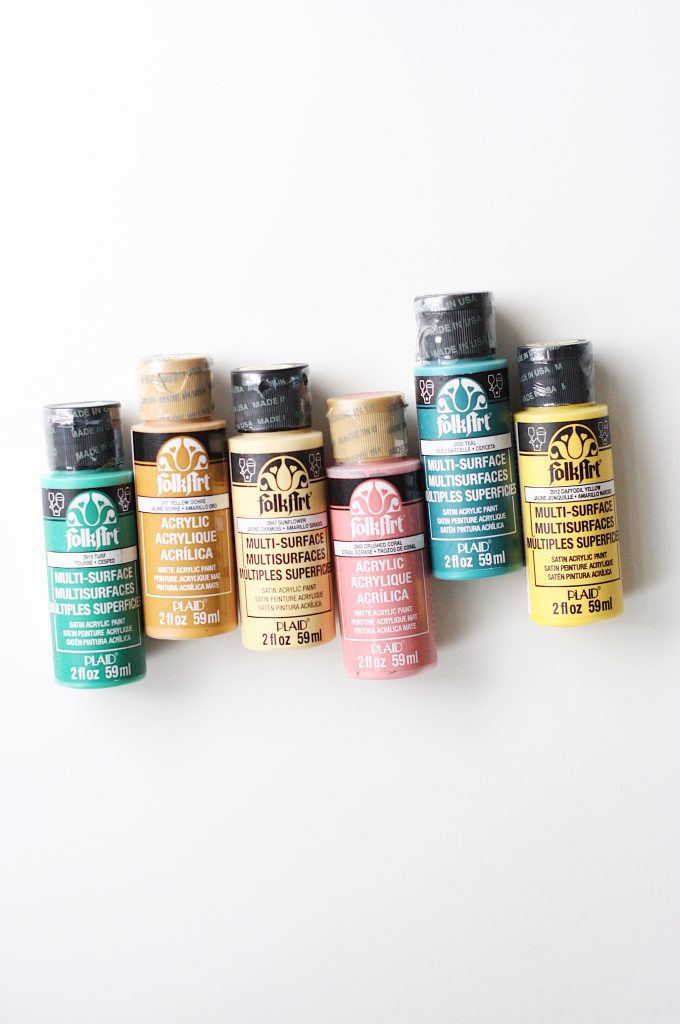
FolkArt Multi-Surface & Acrylic Paint
Paint brush
Pegboard (this one is 2′ x 4′)
Rose cross stitch pattern

How to make Cross Stitch Art
1. Choose your paint palette! FolkArt paint has so many gorgeous colors to choose from that it was super hard to nail down, but I decided to go with an orange rose as my main flower. Next, I chose the number of dark and light colors by looking at my pattern.


2. If desired, use a pencil to graph out your design. For instance, I used a pencil to count the squares and mark where the center of the flower would be to ensure that I gave myself enough space for the entire design, plus half of the design, repeated.
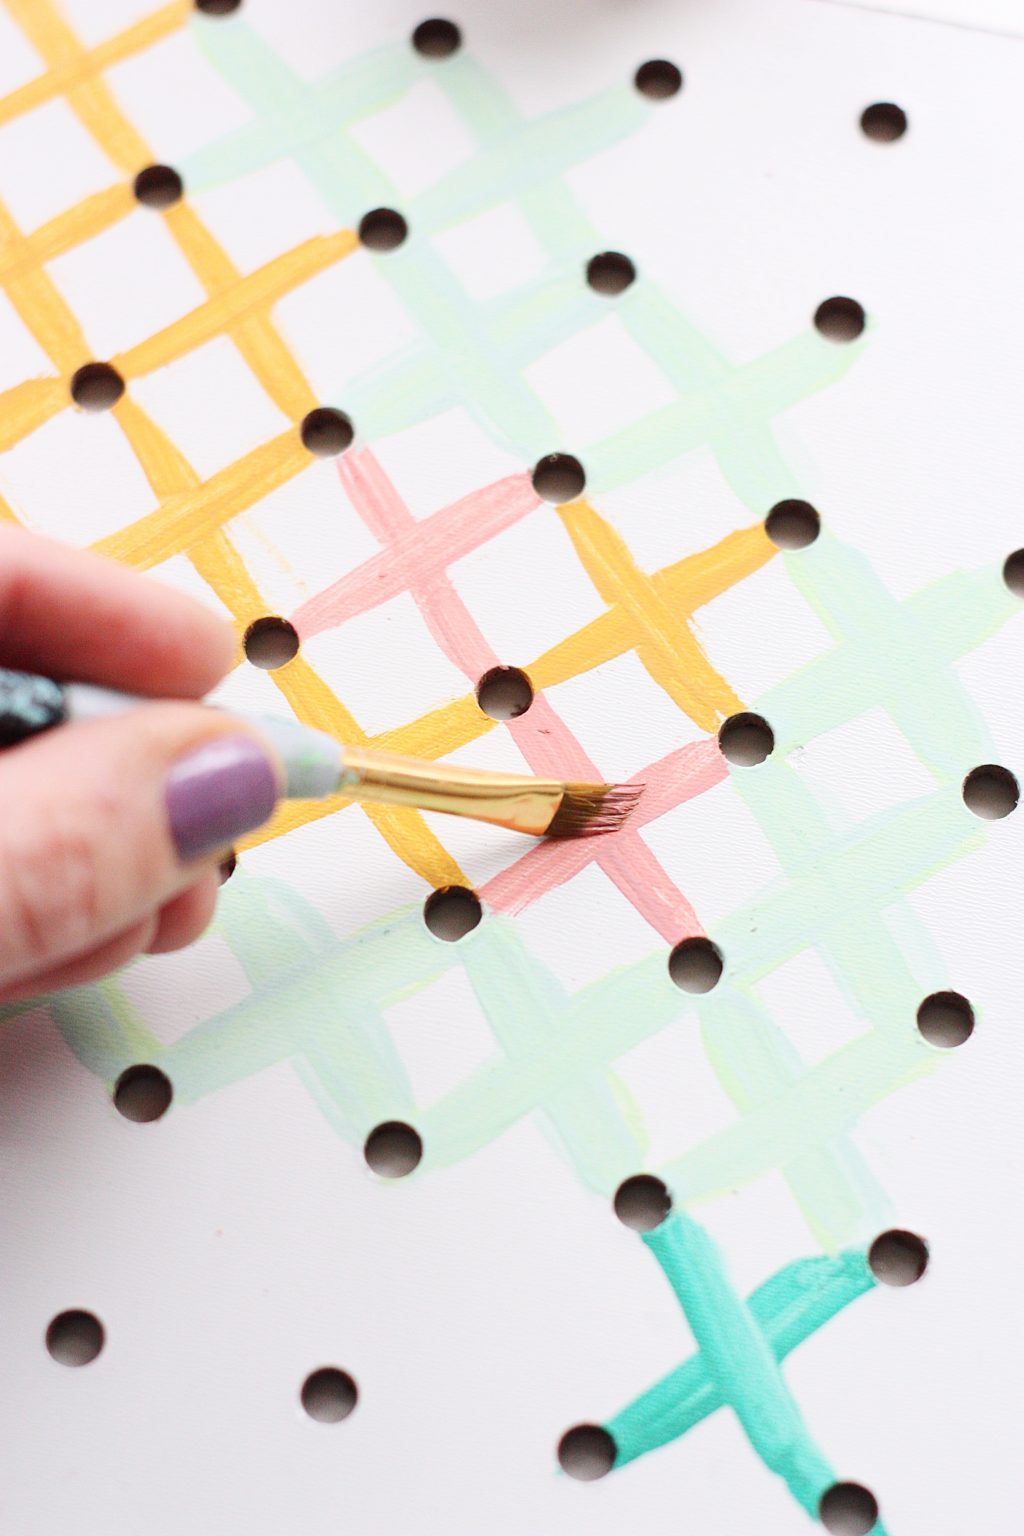

3. Start painting x’s! This was slow work for me at first, since I would count on the pattern and then apply the x’s on the pegboard, but once I got the hang of things and got myself oriented, it went really quickly. Like I mentioned before, I painted the entire design in the center, and then half of the design a little bit lower than the full design.
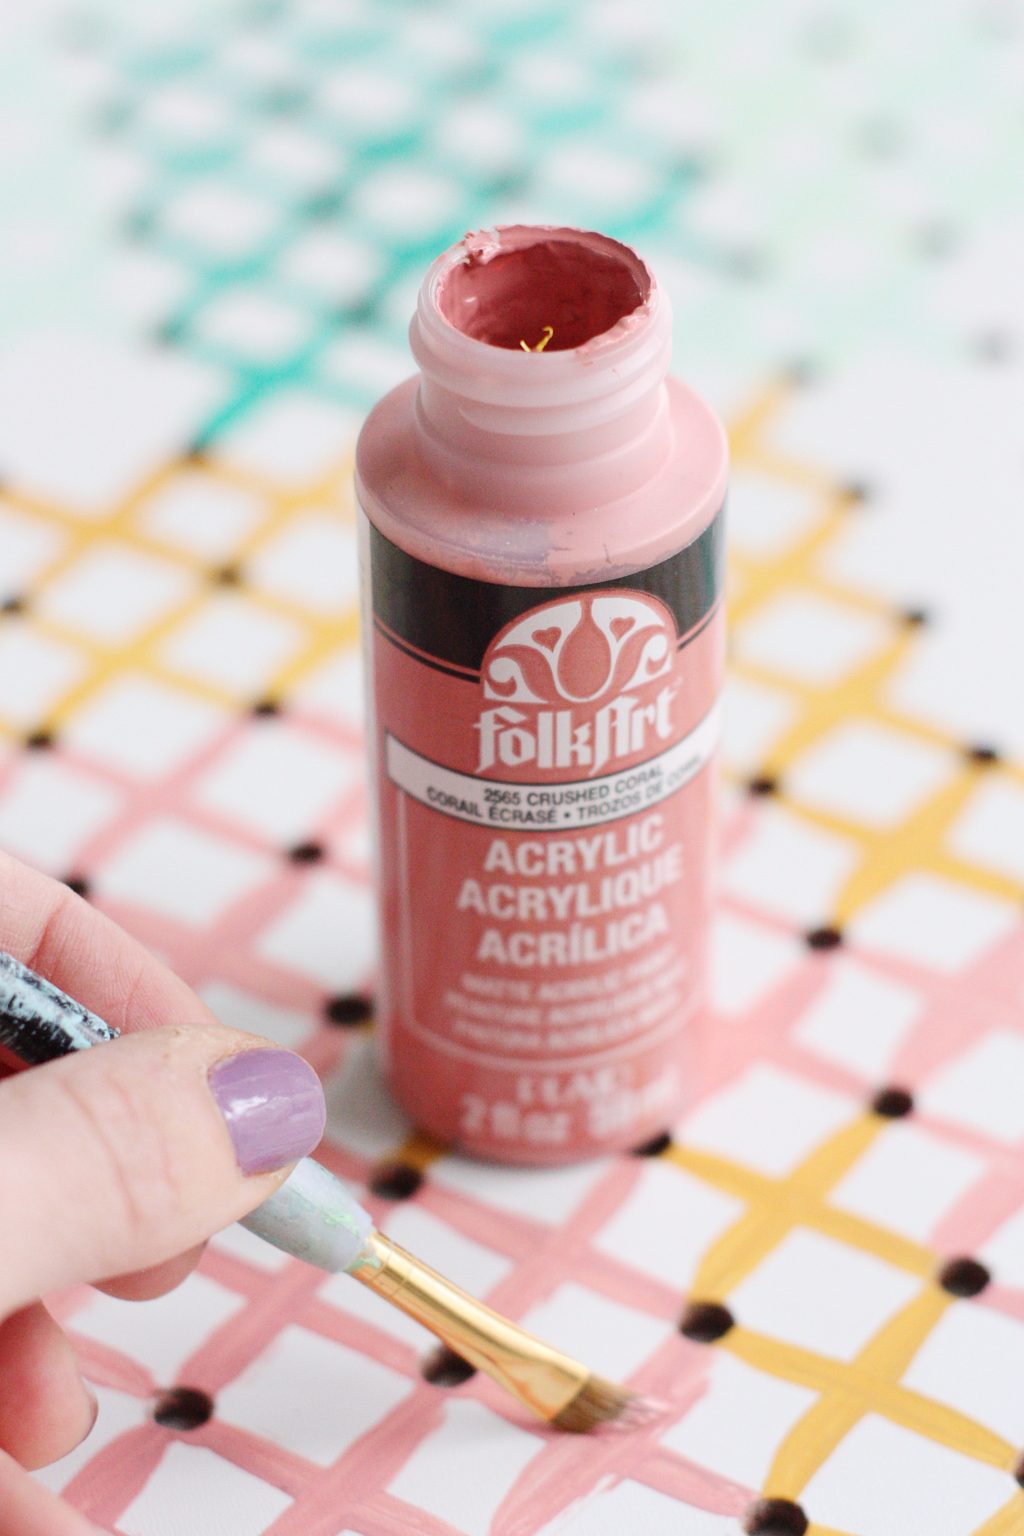

That’s it! I was able to completely finish painting the pegboard in about 3 naptimes, and it was so fun to do. I feel like painting this way gave me the same sense of relaxation that real cross stitch does, with even bigger results!
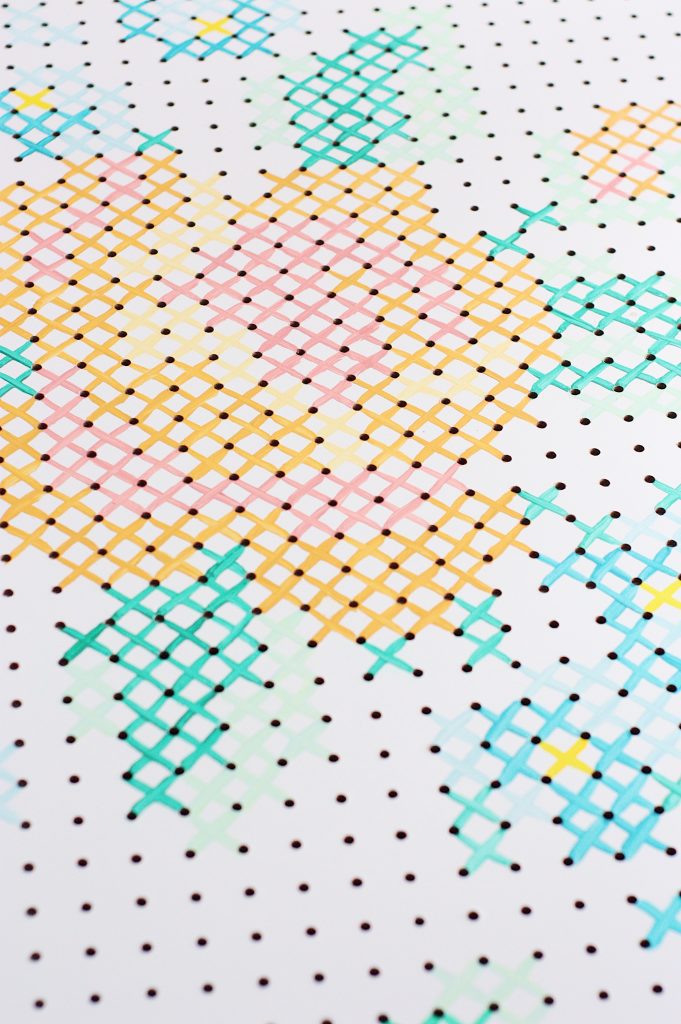

This cross stitch art project is such a pretty, easy and inexpensive way to make a big impact in a room. And you can customize the colors or the pattern to match your personal style, which means that the possibilities are endless!
Doing this project has filled my mind with so many ideas for using pegboard. You could paint it with chalkboard paint and do the cross stitch with chalk, or using actual yarn to stitch the design! So many fun variations!
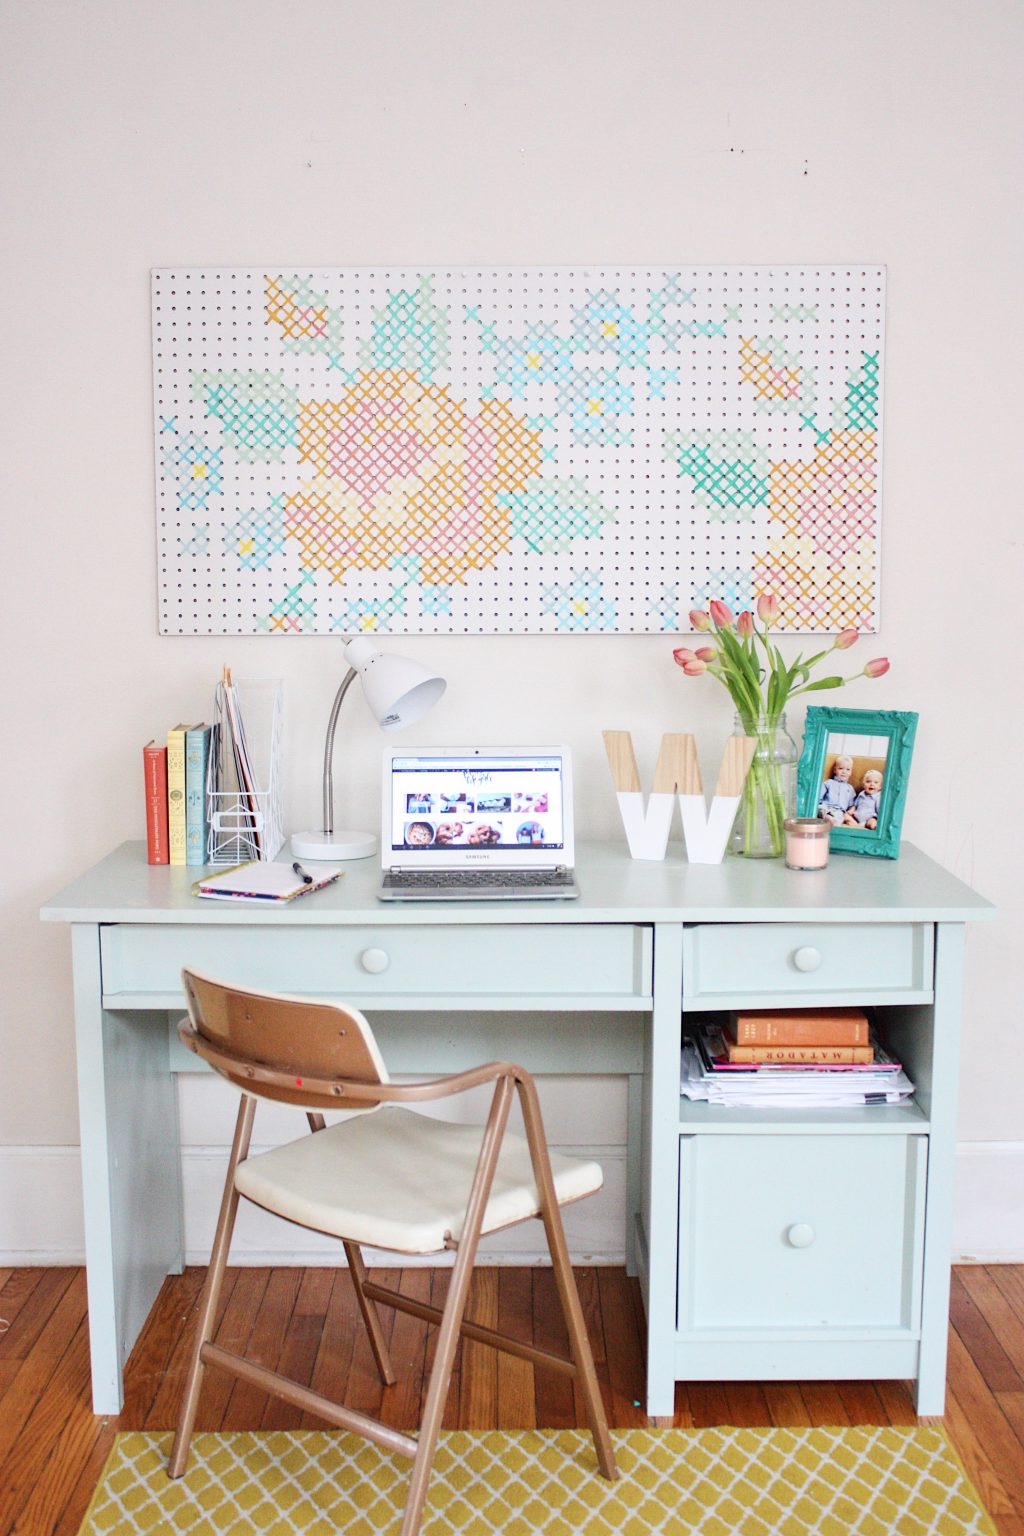

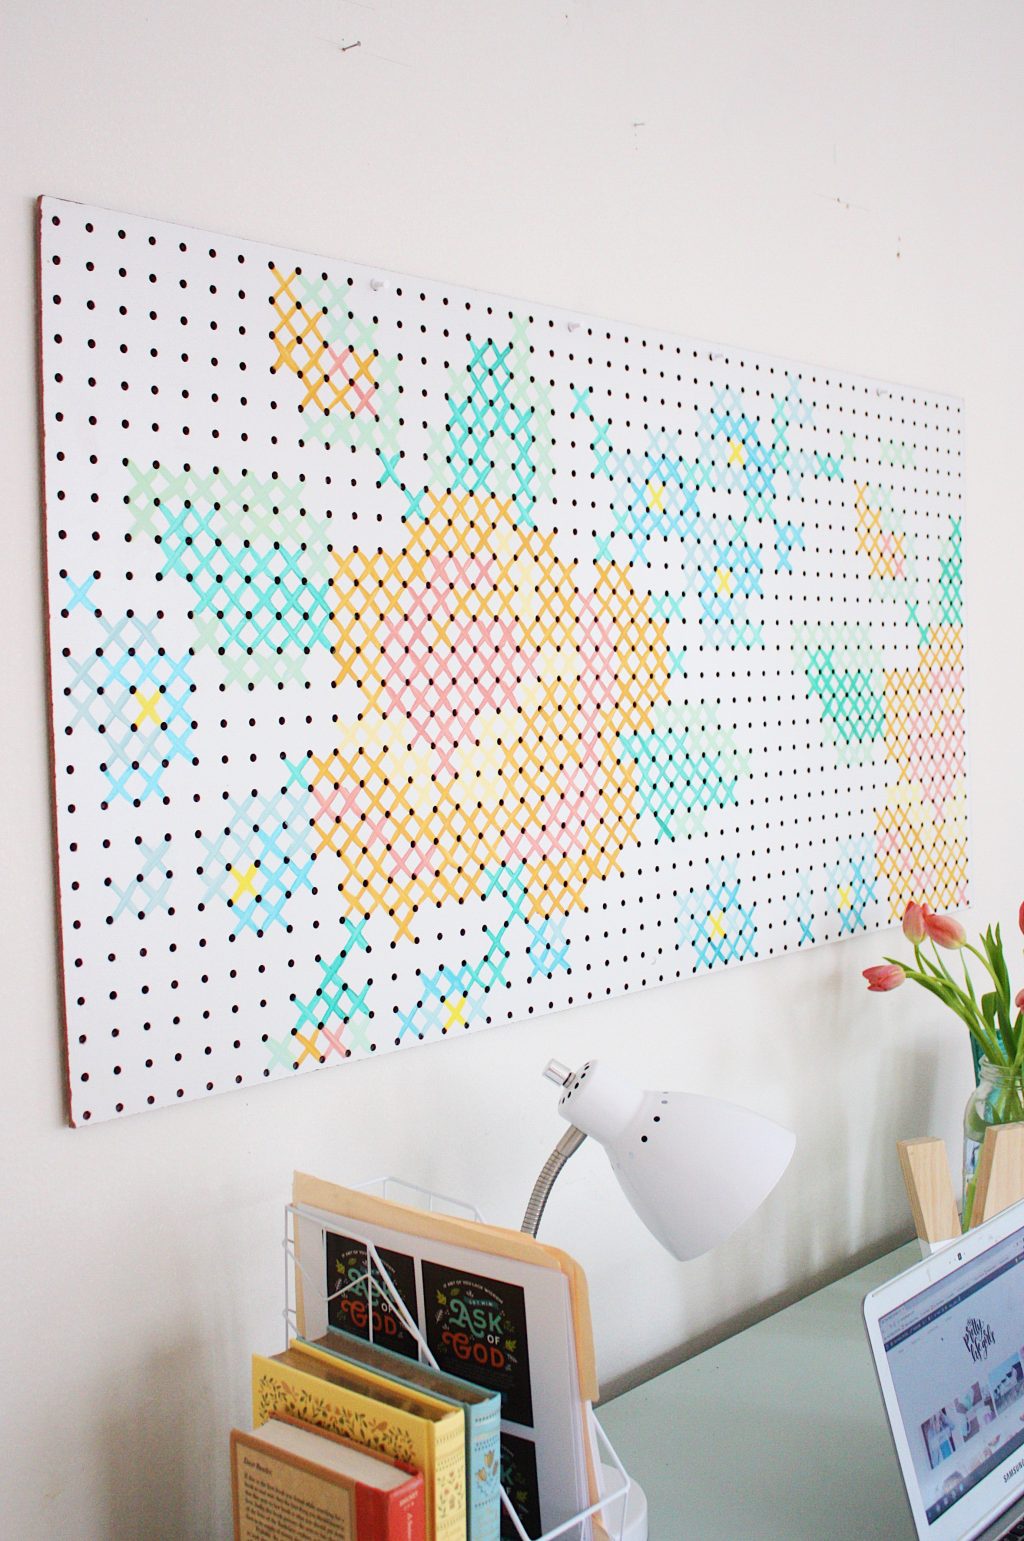

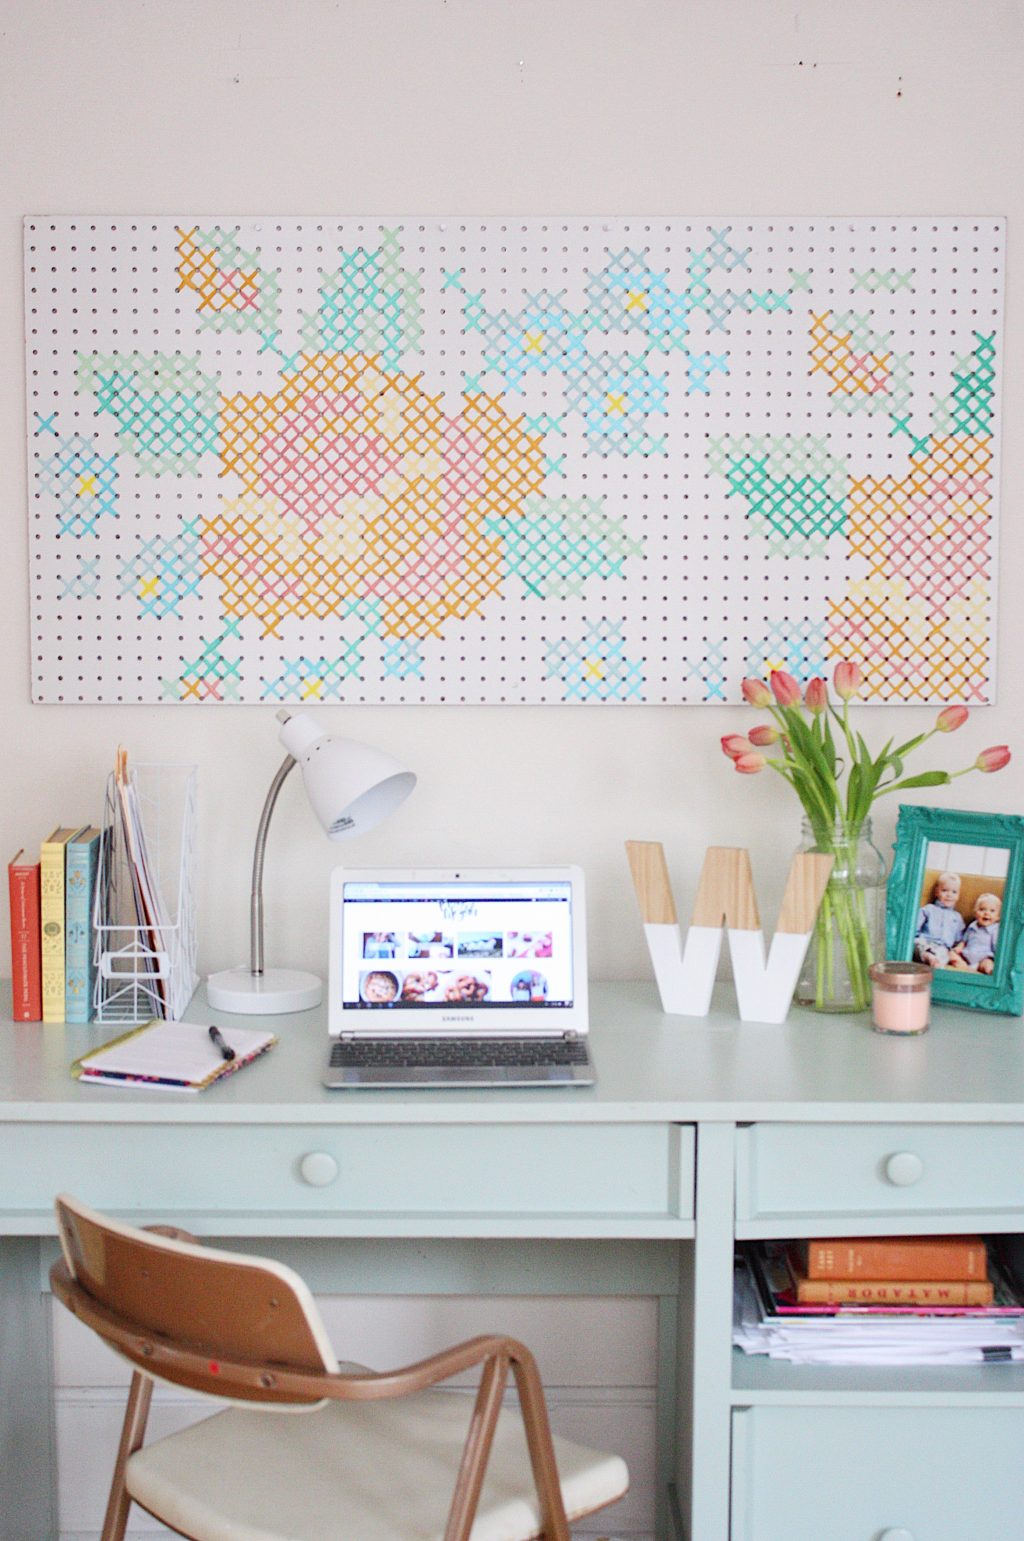

Would you paint a project like this? What are your favorite large-scale projects you have made?


ox. Liz
Full disclosure: This cross stitch art tutorial post was sponsored by Plaid Crafts. All opinions expressed are mine alone.


i have had a similar idea pinned + waiting for my guest room, but i have never pulled the trigger. but i LOVE the idea of using a pegboard! it would be SO MUCH easier to paint on a tabletop surface, rather than up on the wall, and if i dislike/tire of it, i can just take it down, rather than having to repaint a wall — GENIUS!
This is so pretty! You seriously did an amazing job!
You ladies killed this. I LOOOOOOVE it!
Hi Liz, this is flipping awesome and the Folkart colours are fab! I was thinking chalk markers the whole time that I was reading this. Great minds think alike! x
awesome work of art 🙂
Wow, this looks amazing! Thank you so much for sharing the DIY. I love trying new things and this will definitely be my next project!
i would like to cross stitch the pegboard with yarn. thanks for the inspiration.
[…] 1, 2, 3, 4, 5, 6, 7, 8, 9, 10, […]
[…] decorar una fiesta. Si quieres más información sigue el enlace de las fotos: 1, 2, 3, 4, 5, 6, 7, 8, 9, 10, […]
Anyway you can reshare the link to the pattern? Or if you have a way of converting patterns that are too big for the peg board?
[…] Here’s another example of the cross stitch decoration, I love how this one covers the whole board. (via The Pretty Life Girls) […]
This is fantastic! Do you have a current link to the pattern, by chance? Thank you!
[…] DIY Mission Particulars: prettylifegirls.com […]
[…] This floral wall art was SO much fun to make, and it is legitimately […]
[…] prettylifegirls […]
[…] DIY Painted Cross Stitch Art […]