This Clip Photo Display was originally created for Darice.
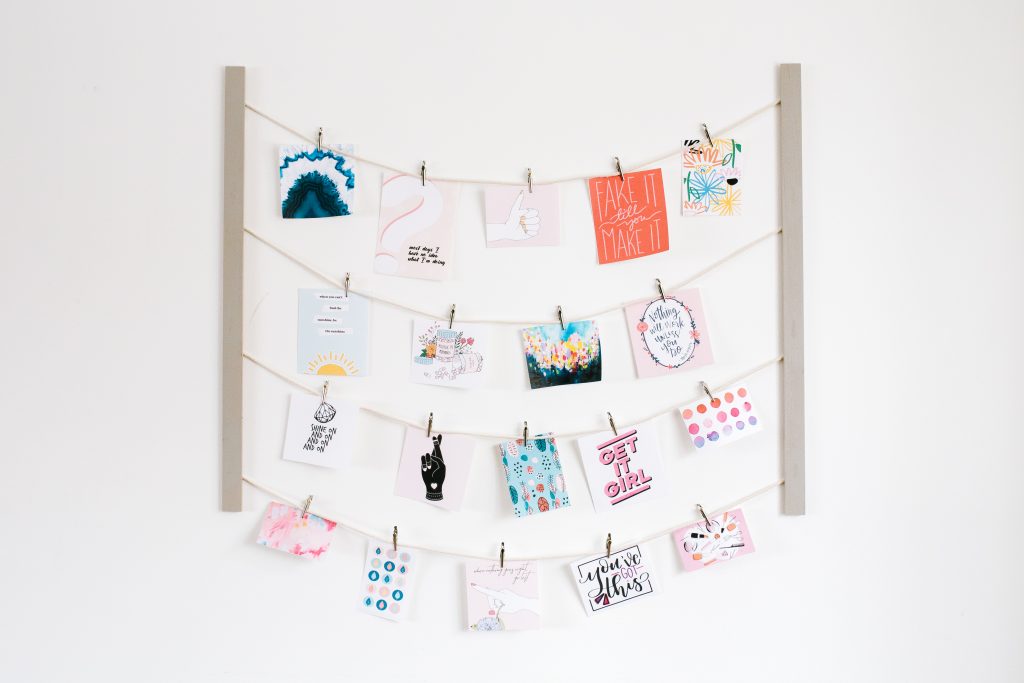
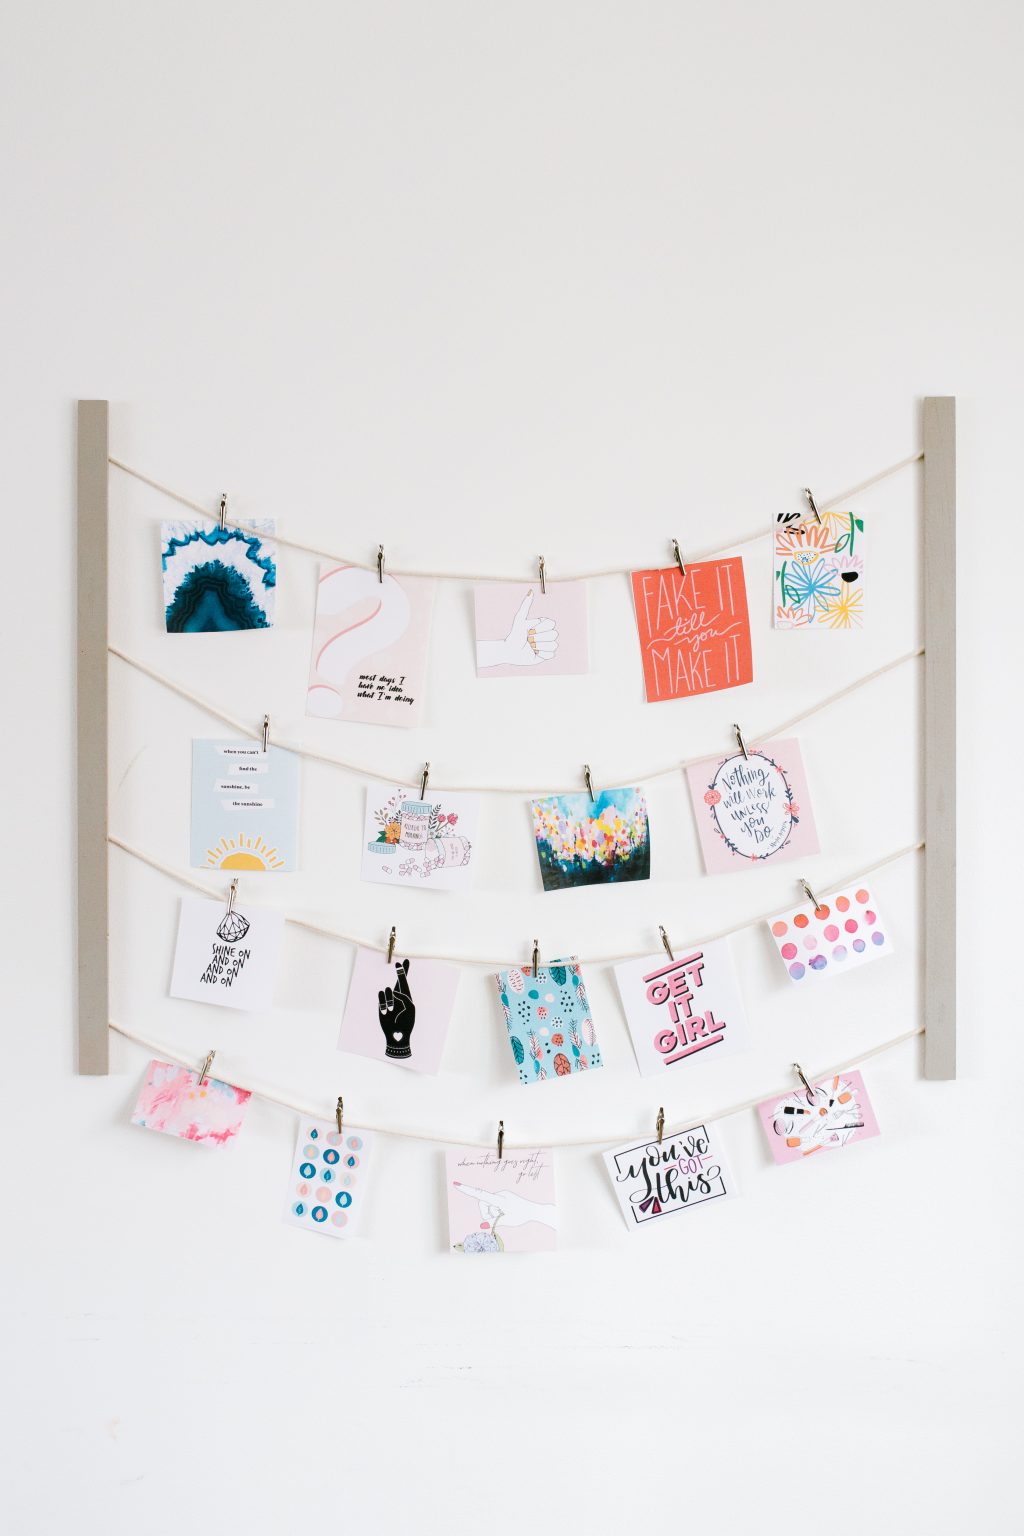
If you’re looking for an easy project that has a big impact, we’ve got the perfect DIY for you today! This DIY Clip Photo Display is the perfect trendy way to display photos, quotes, reminders, and more. It comes together in less than an hour, and is so simple for make. There are so many ways you could adapt this display – hang your Christmas cards, make it into a calendar, use it as an inspiration board – I could go on and on. Keep scrolling for the tutorial!
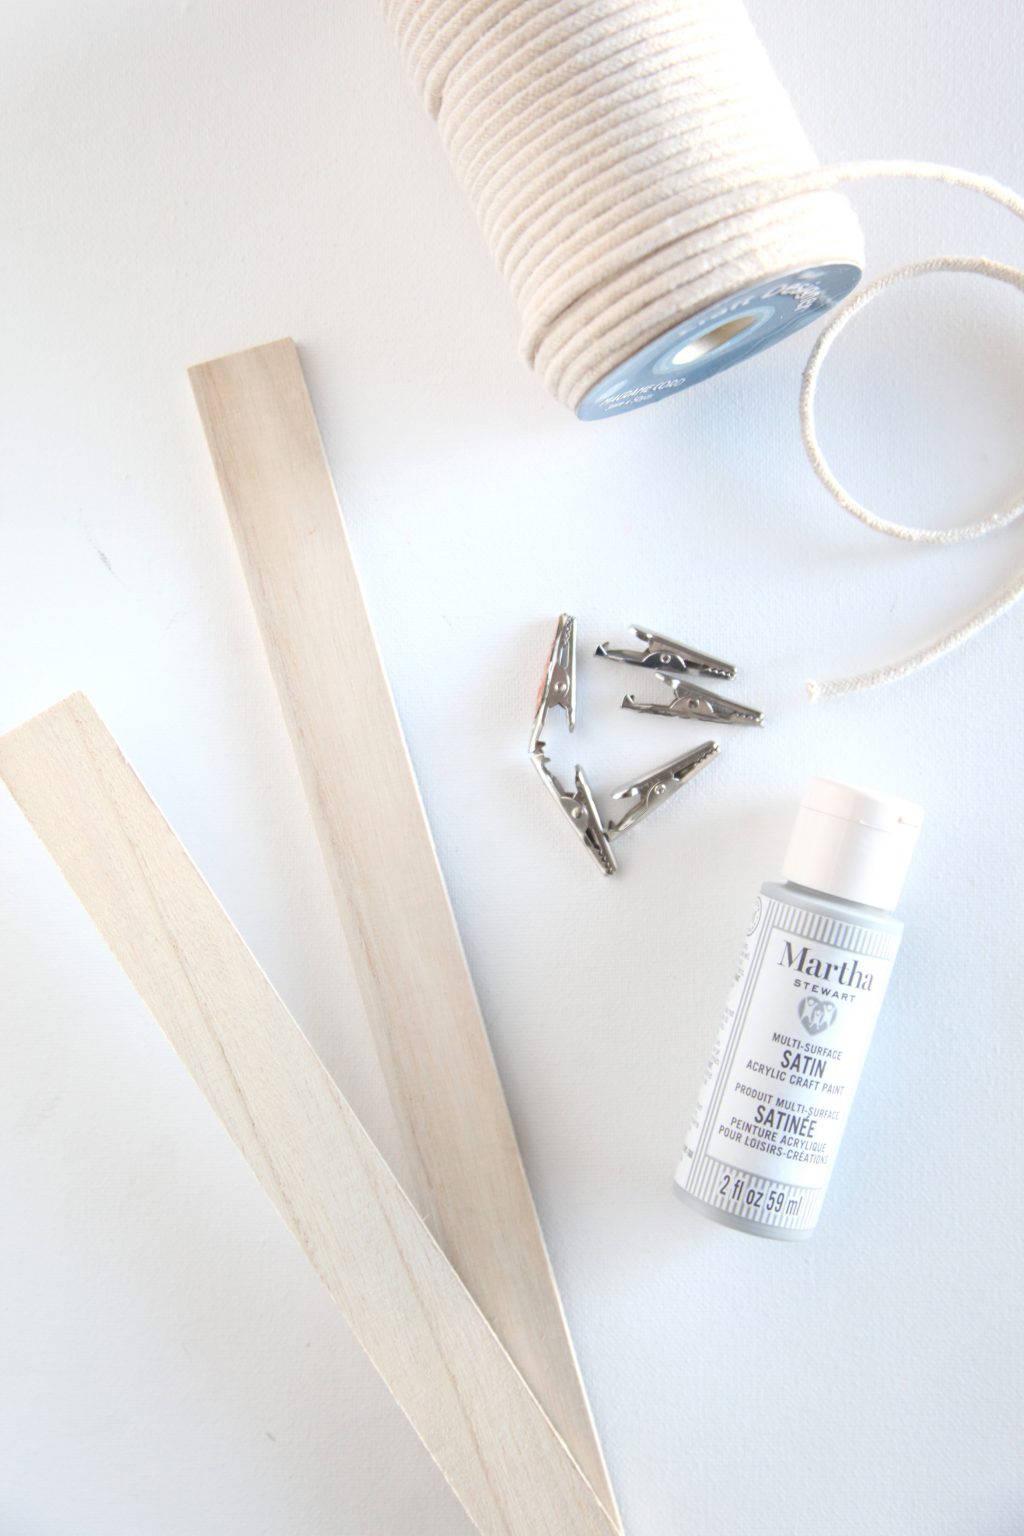
Supplies needed to make your own clip photo display
Poster hanger kit
Gray paint
Paint brush
Staple gun
Alligator clips
Macrame cord
Command strips
How to make your own clip photo display
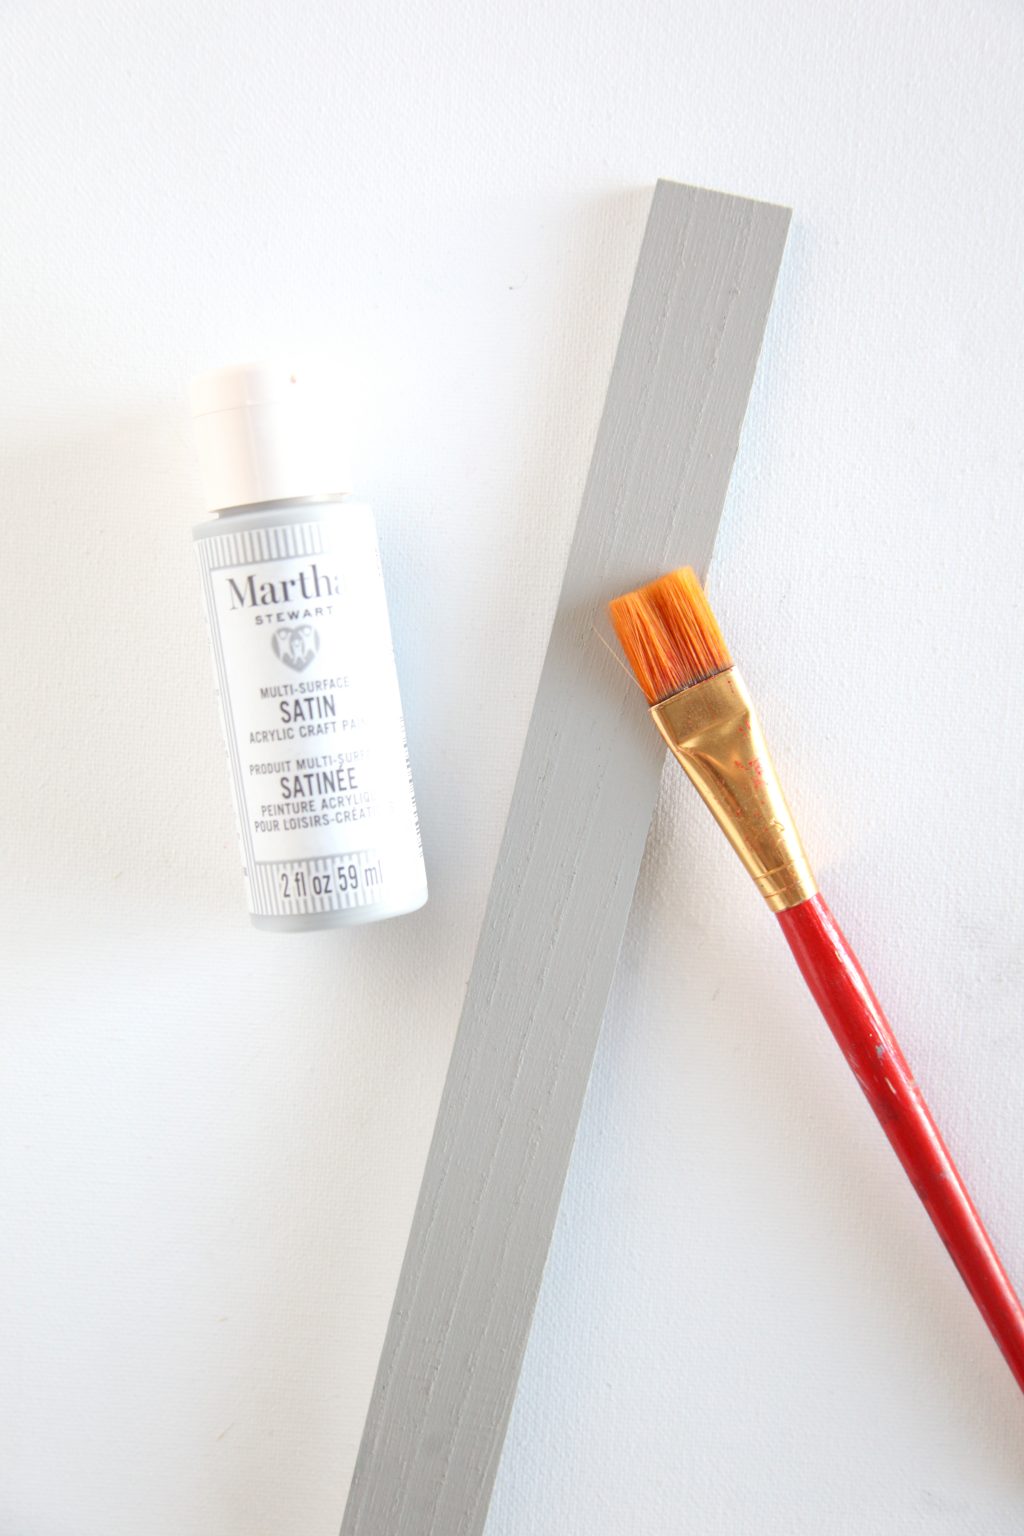
Step 1: Paint two of the wood pieces from the poster hanging kit with craft paint. Let dry completely.
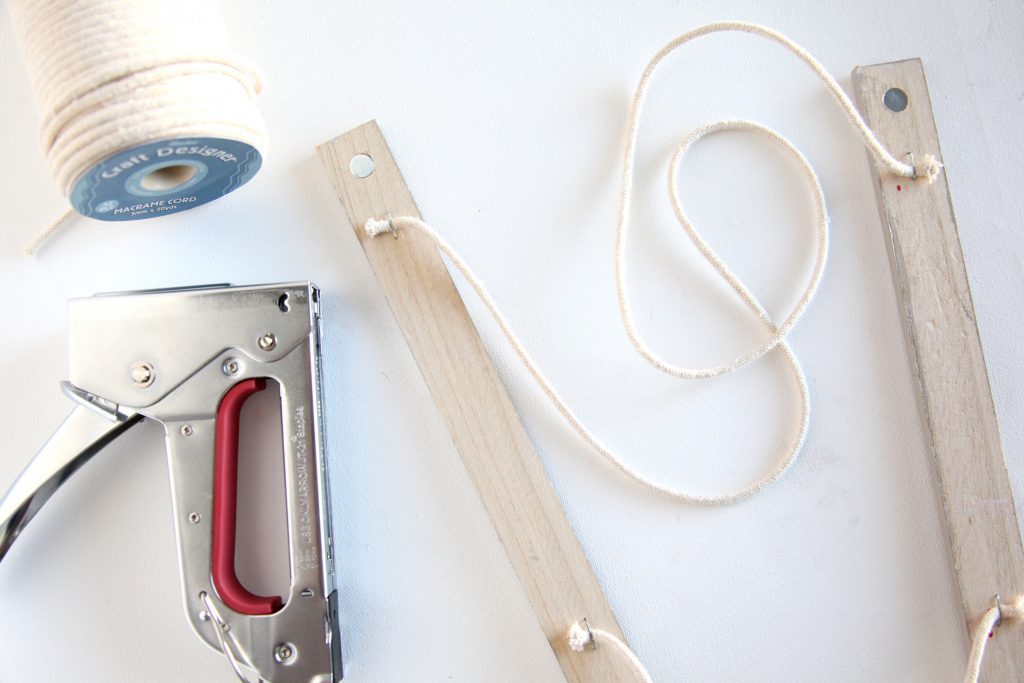
Step 2: Measure and cut four 32″ pieces of cord. Evenly space one end of each piece of cord on the back of one of the wood pieces. Attach the cording with a staple gun. Repeat, attaching the other cord ends to the remaining wood piece.
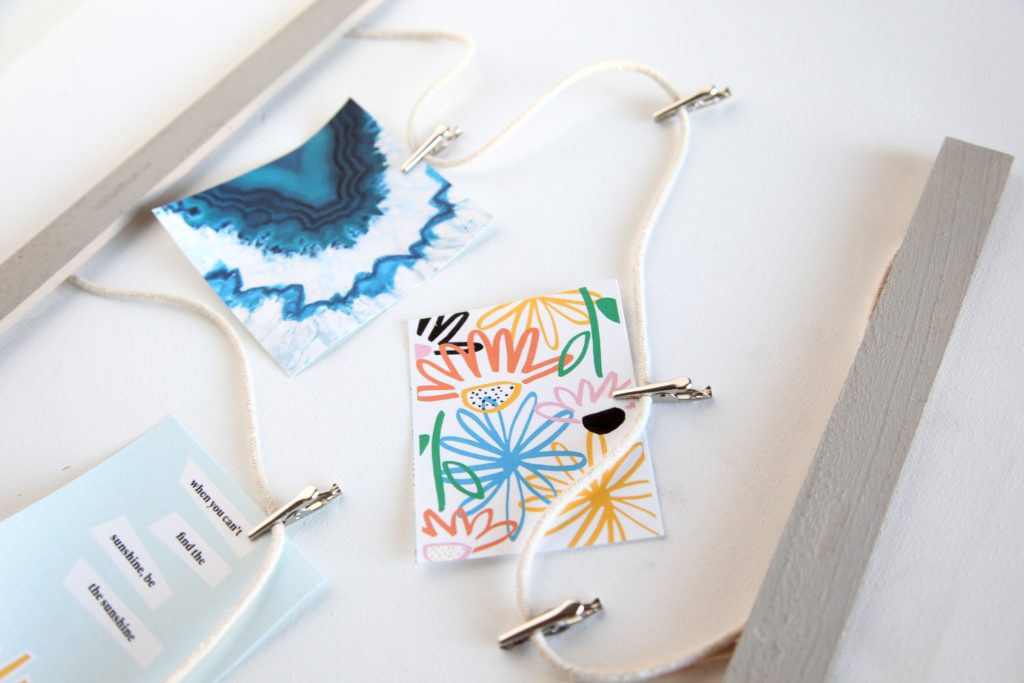
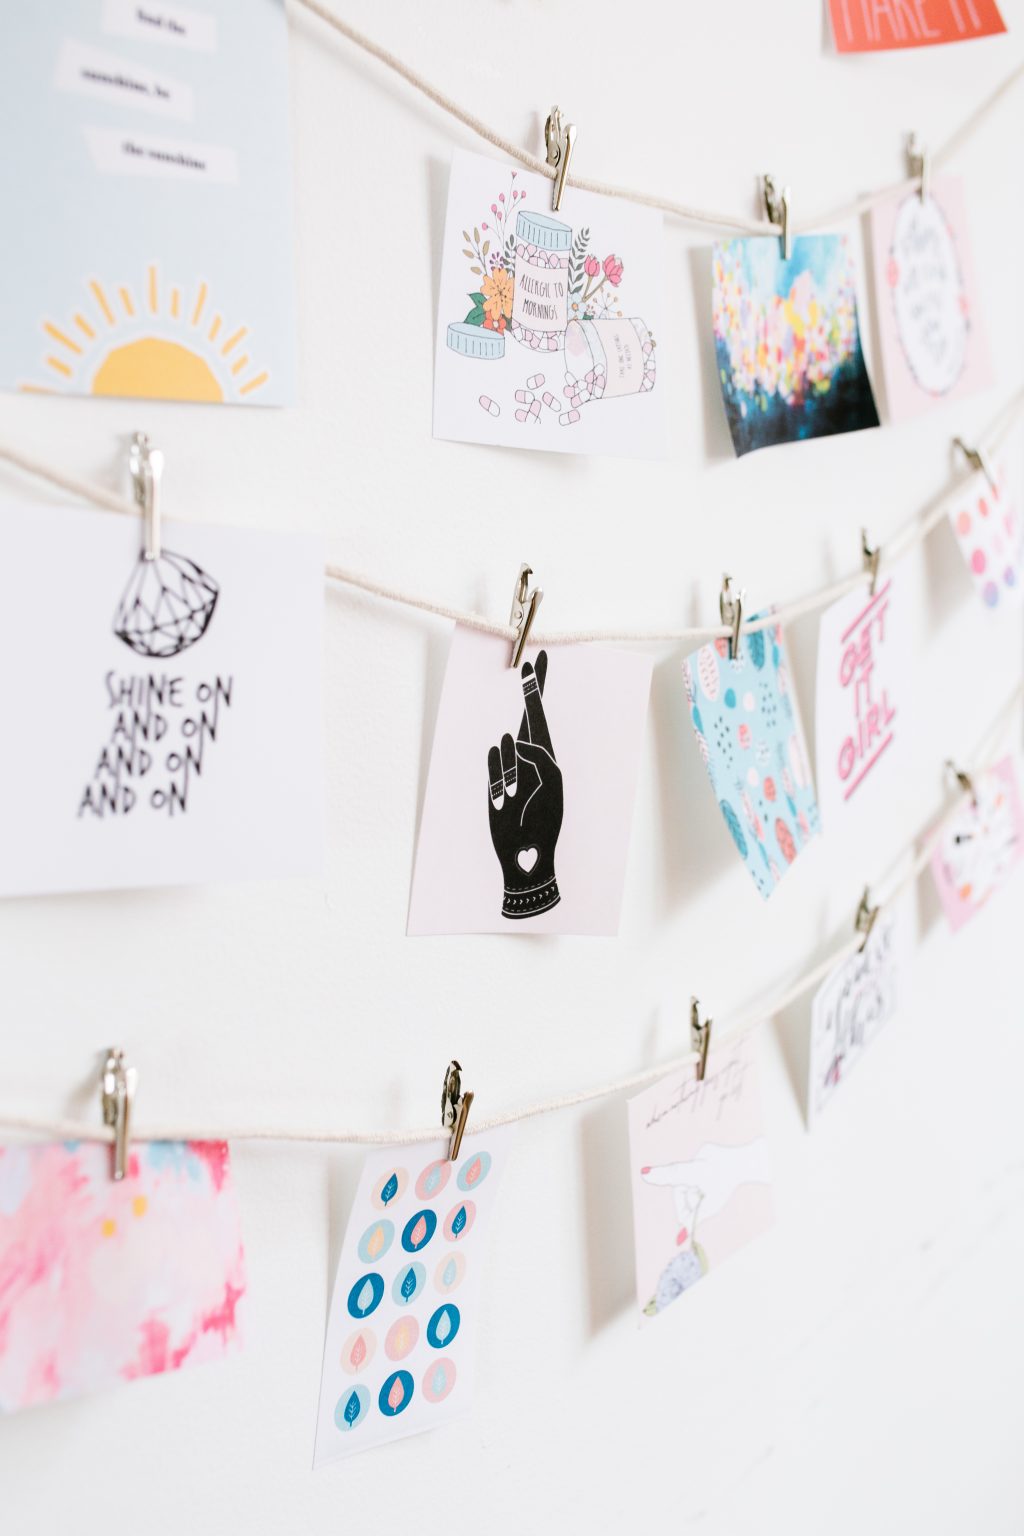
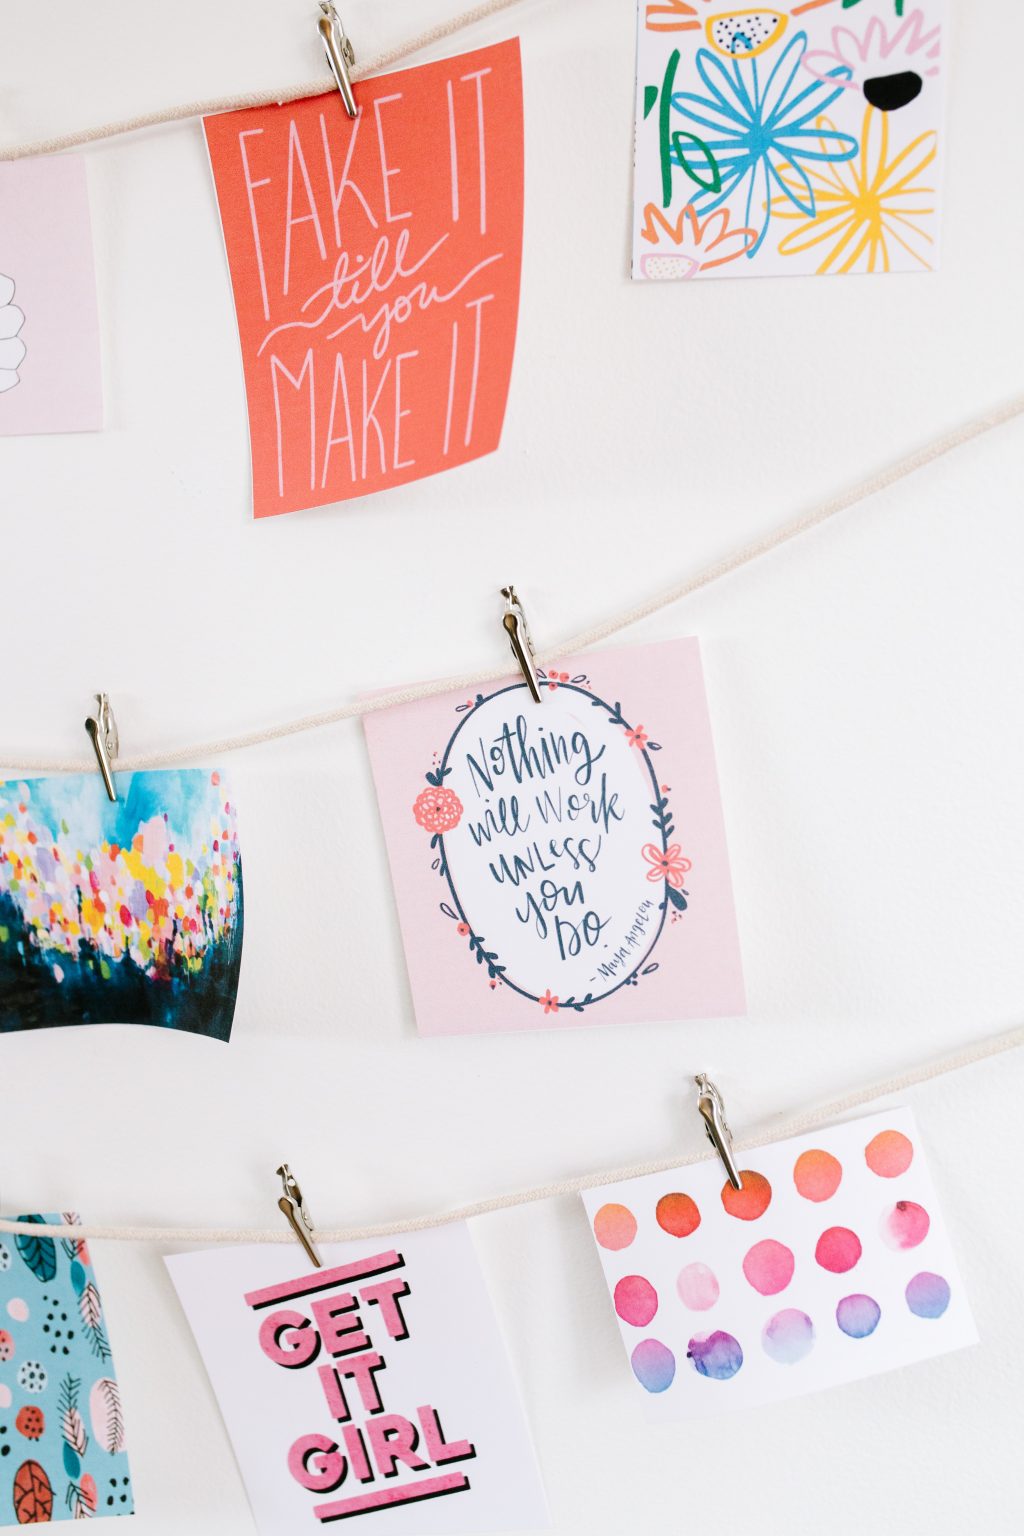
Step 3: Attach 4-5 clips to each piece of cord, and attach your pictures.
Step 4: Attach Command strips on the back of the wood pieces and hang on the wall.
The pictures we used on our display are all available as free printables! Find them at the following links:
Row 1: Blue Agate / Question Mark / Thumbs Up / Fake It Till You Make It / Daisies
Row 2: Be the Sunshine / Allergic to Mornings / Abstract / Work
Row 3: Shine On / Fingers Crossed / Floral / Get It Girl / Dots
Row 4: Pink Paint / Leaves / Go Left / You’ve Got This / Beauty

Happy crafting!
xo, Sam