These Paper Cone Christmas Trees were originally created for Darice.
Tablescape is a word that gets thrown around a lot these days by bloggers and instagrammers, and while it sounds sweeping and grand, it’s similar to the definition of another word with “scape” as its prefix, landscape, which refers to the visual elements of an area. So, you might say that a tablescape would refer to the visual elements of your table!
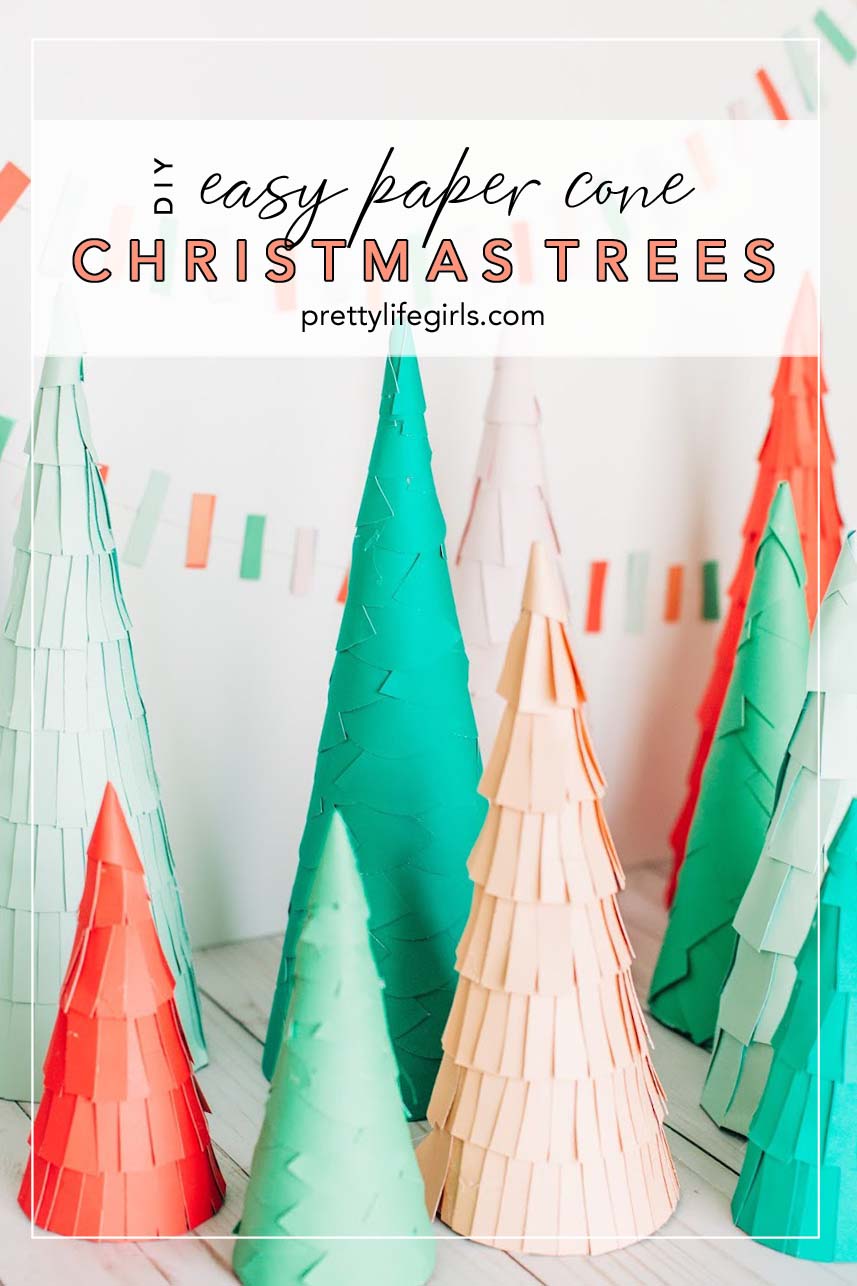
Creating a tablescape is fun because it is a bit more than just a centerpiece. It gives your table a feeling, and should fill up the space with enough elements to cover a large portion of table’s surface. However, this can all be simplified with the right materials, which is why I love the holiday tablescape we are sharing today. This project is made out of the most affordable materials that give you a lot of bang for your buck, a Christmas tree tablescape made from paper cone trees! This is such a fun tutorial because you can really play with color and texture, depending on how you’d like to execute it, plus, they are just so cute.

Supplies Needed to Make Paper Cone Christmas Trees
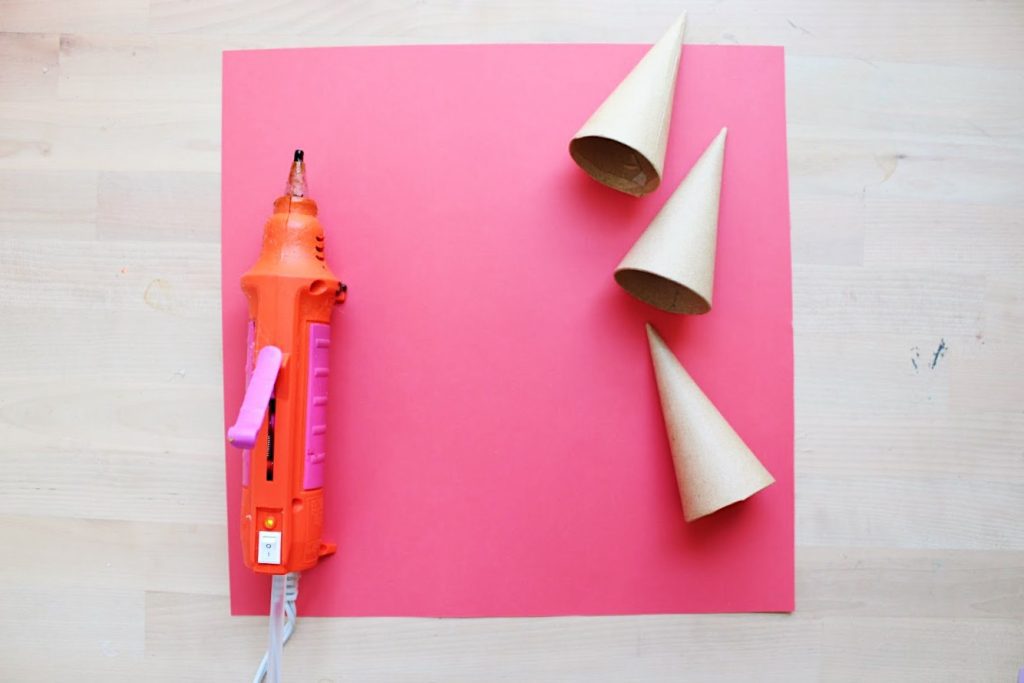
Paper Mache Cones in Various Sizes (10.63 x 4 in, 7 x 3 in., 13 3/4 x 5 in.)
Hot Glue Gun
Hot Glue Sticks
Scissors
Cardstock in Various Colors
How to Make Paper Cone Christmas Trees
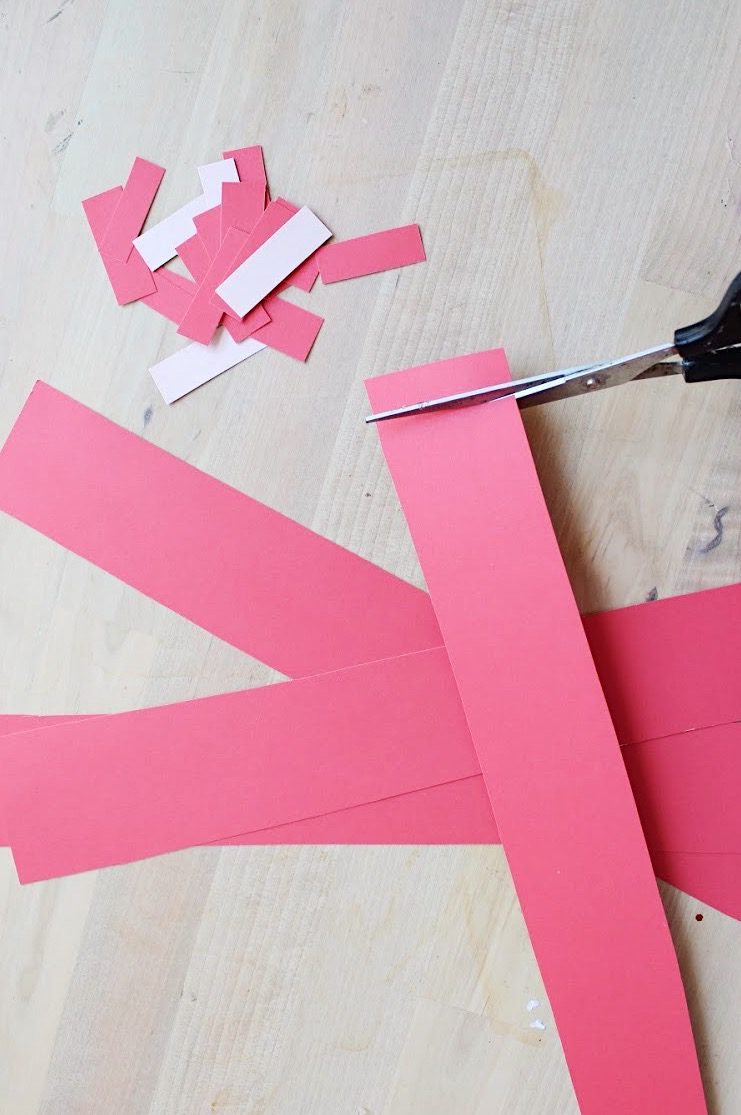
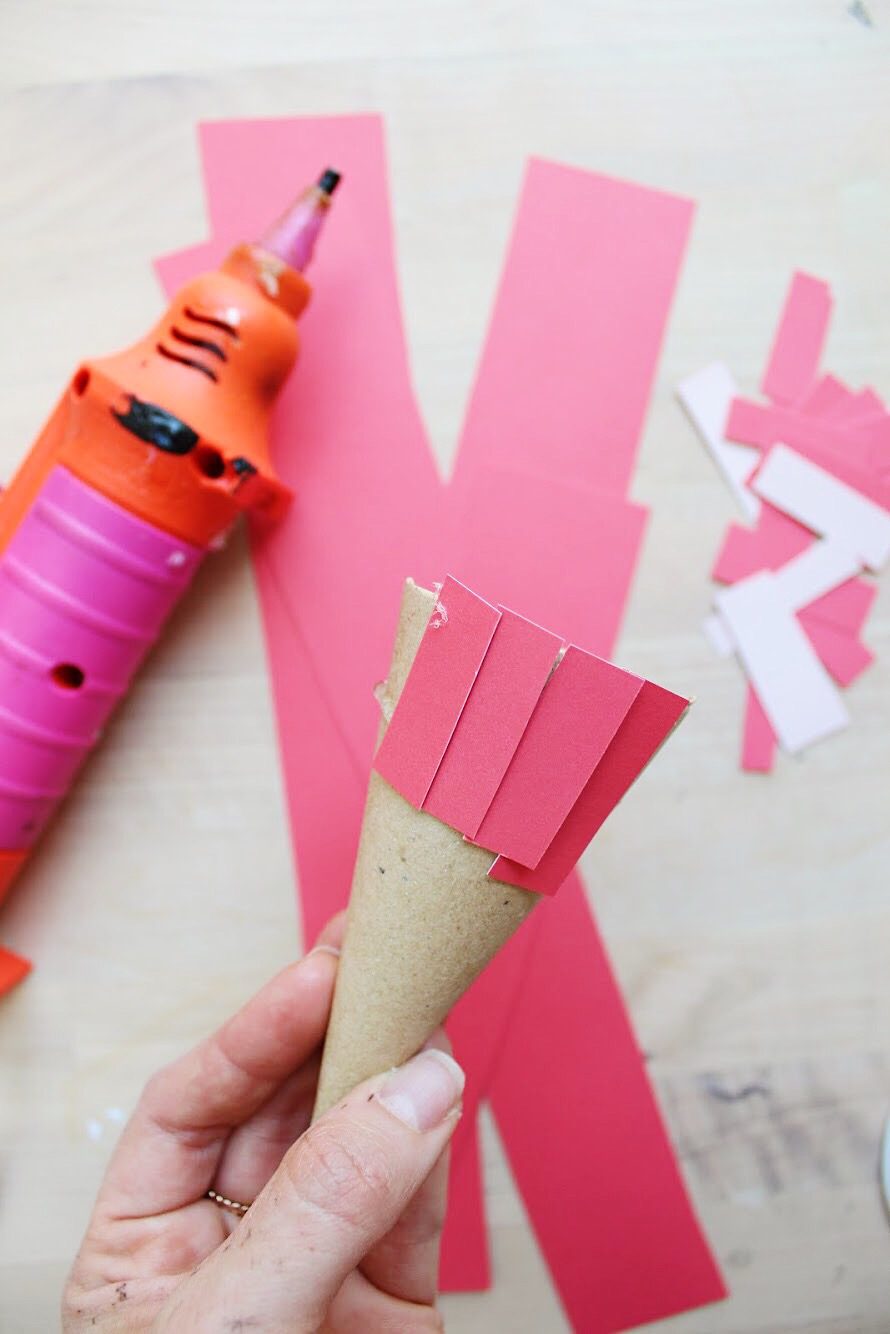
Step 1: Cut your paper into 1-inch strips using scissors, and then cut into the shape of the paper you would like to layer on the tree. For instance, for some of the trees I layered small strips of paper (as seen in the image below), for some I layered squared pieces, and for some I layered small half-circle pieces. It’s fun to experiment with different shapes and sizes of shapes to get different textures!
Step 2: Once you have cut out your shapes for your tree(s), begin attaching them to the paper mache cones. I recommend starting at the base of the cone and working your way up. Place a line of glue where you’d like to attach your papers and then carefully press the papers into the glue, making sure to cover any paper mache that might be showing through.
Step 3: Repeat process working from top to bottom, glueing and layering paper pieces, until the entire cone is covered.


I love playing around with the traditional colors of the holiday and giving them a little twist, and this project gives you so much freedom to create a little tree forest in any color scheme you desire!


Do you have any tablescape ideas for your holiday table? We’d love to hear them!
Happy making!
-Liz