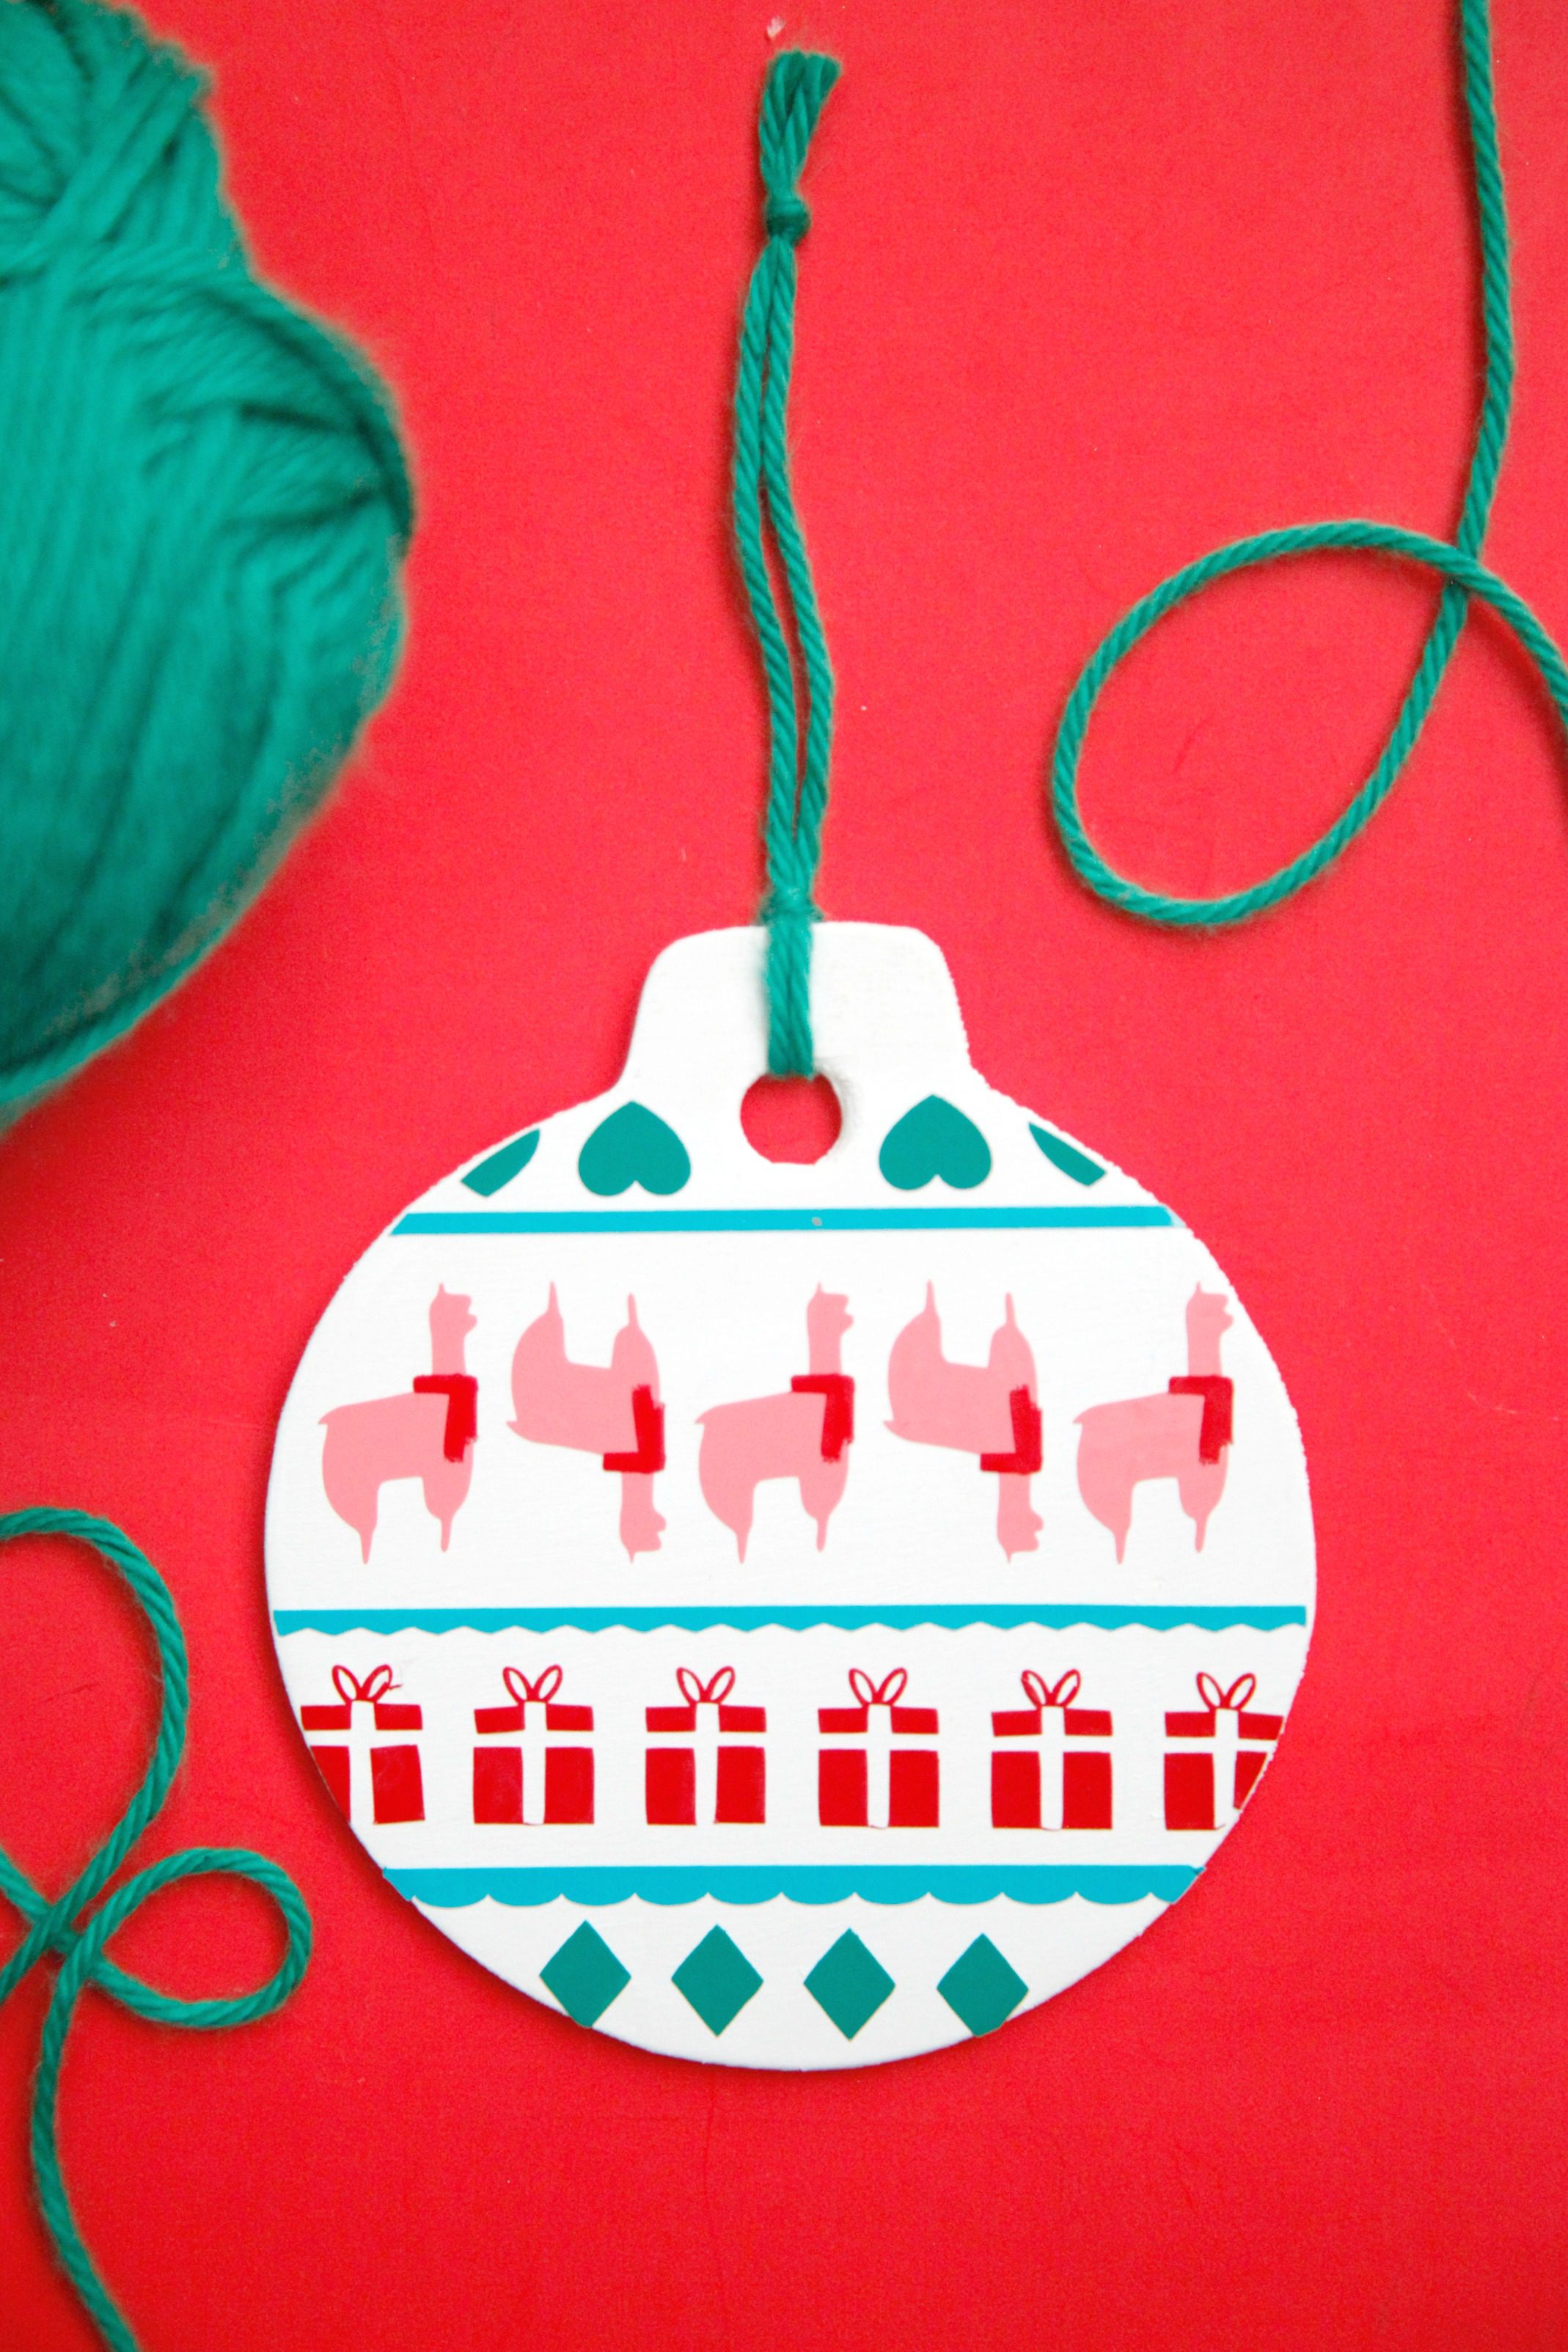
These Llama Christmas Ornaments were originally created for Consumer Crafts.
If you’ve been out Christmas shopping, you’ve probably noticed that llamas are EVERYWHERE – on pajamas, sweaters, home decor, journals, you name it. Fair Isle is also super popular this time of year, so we thought it would be so fun to combine them! So we came up with this fun Llama Fair Isle design (free cut file in the supplies list!), and decided to use it on these DIY Llama Christmas Ornaments that are so easy to make as last minute gifts or decorations. Keep scrolling for the file download and tutorial!

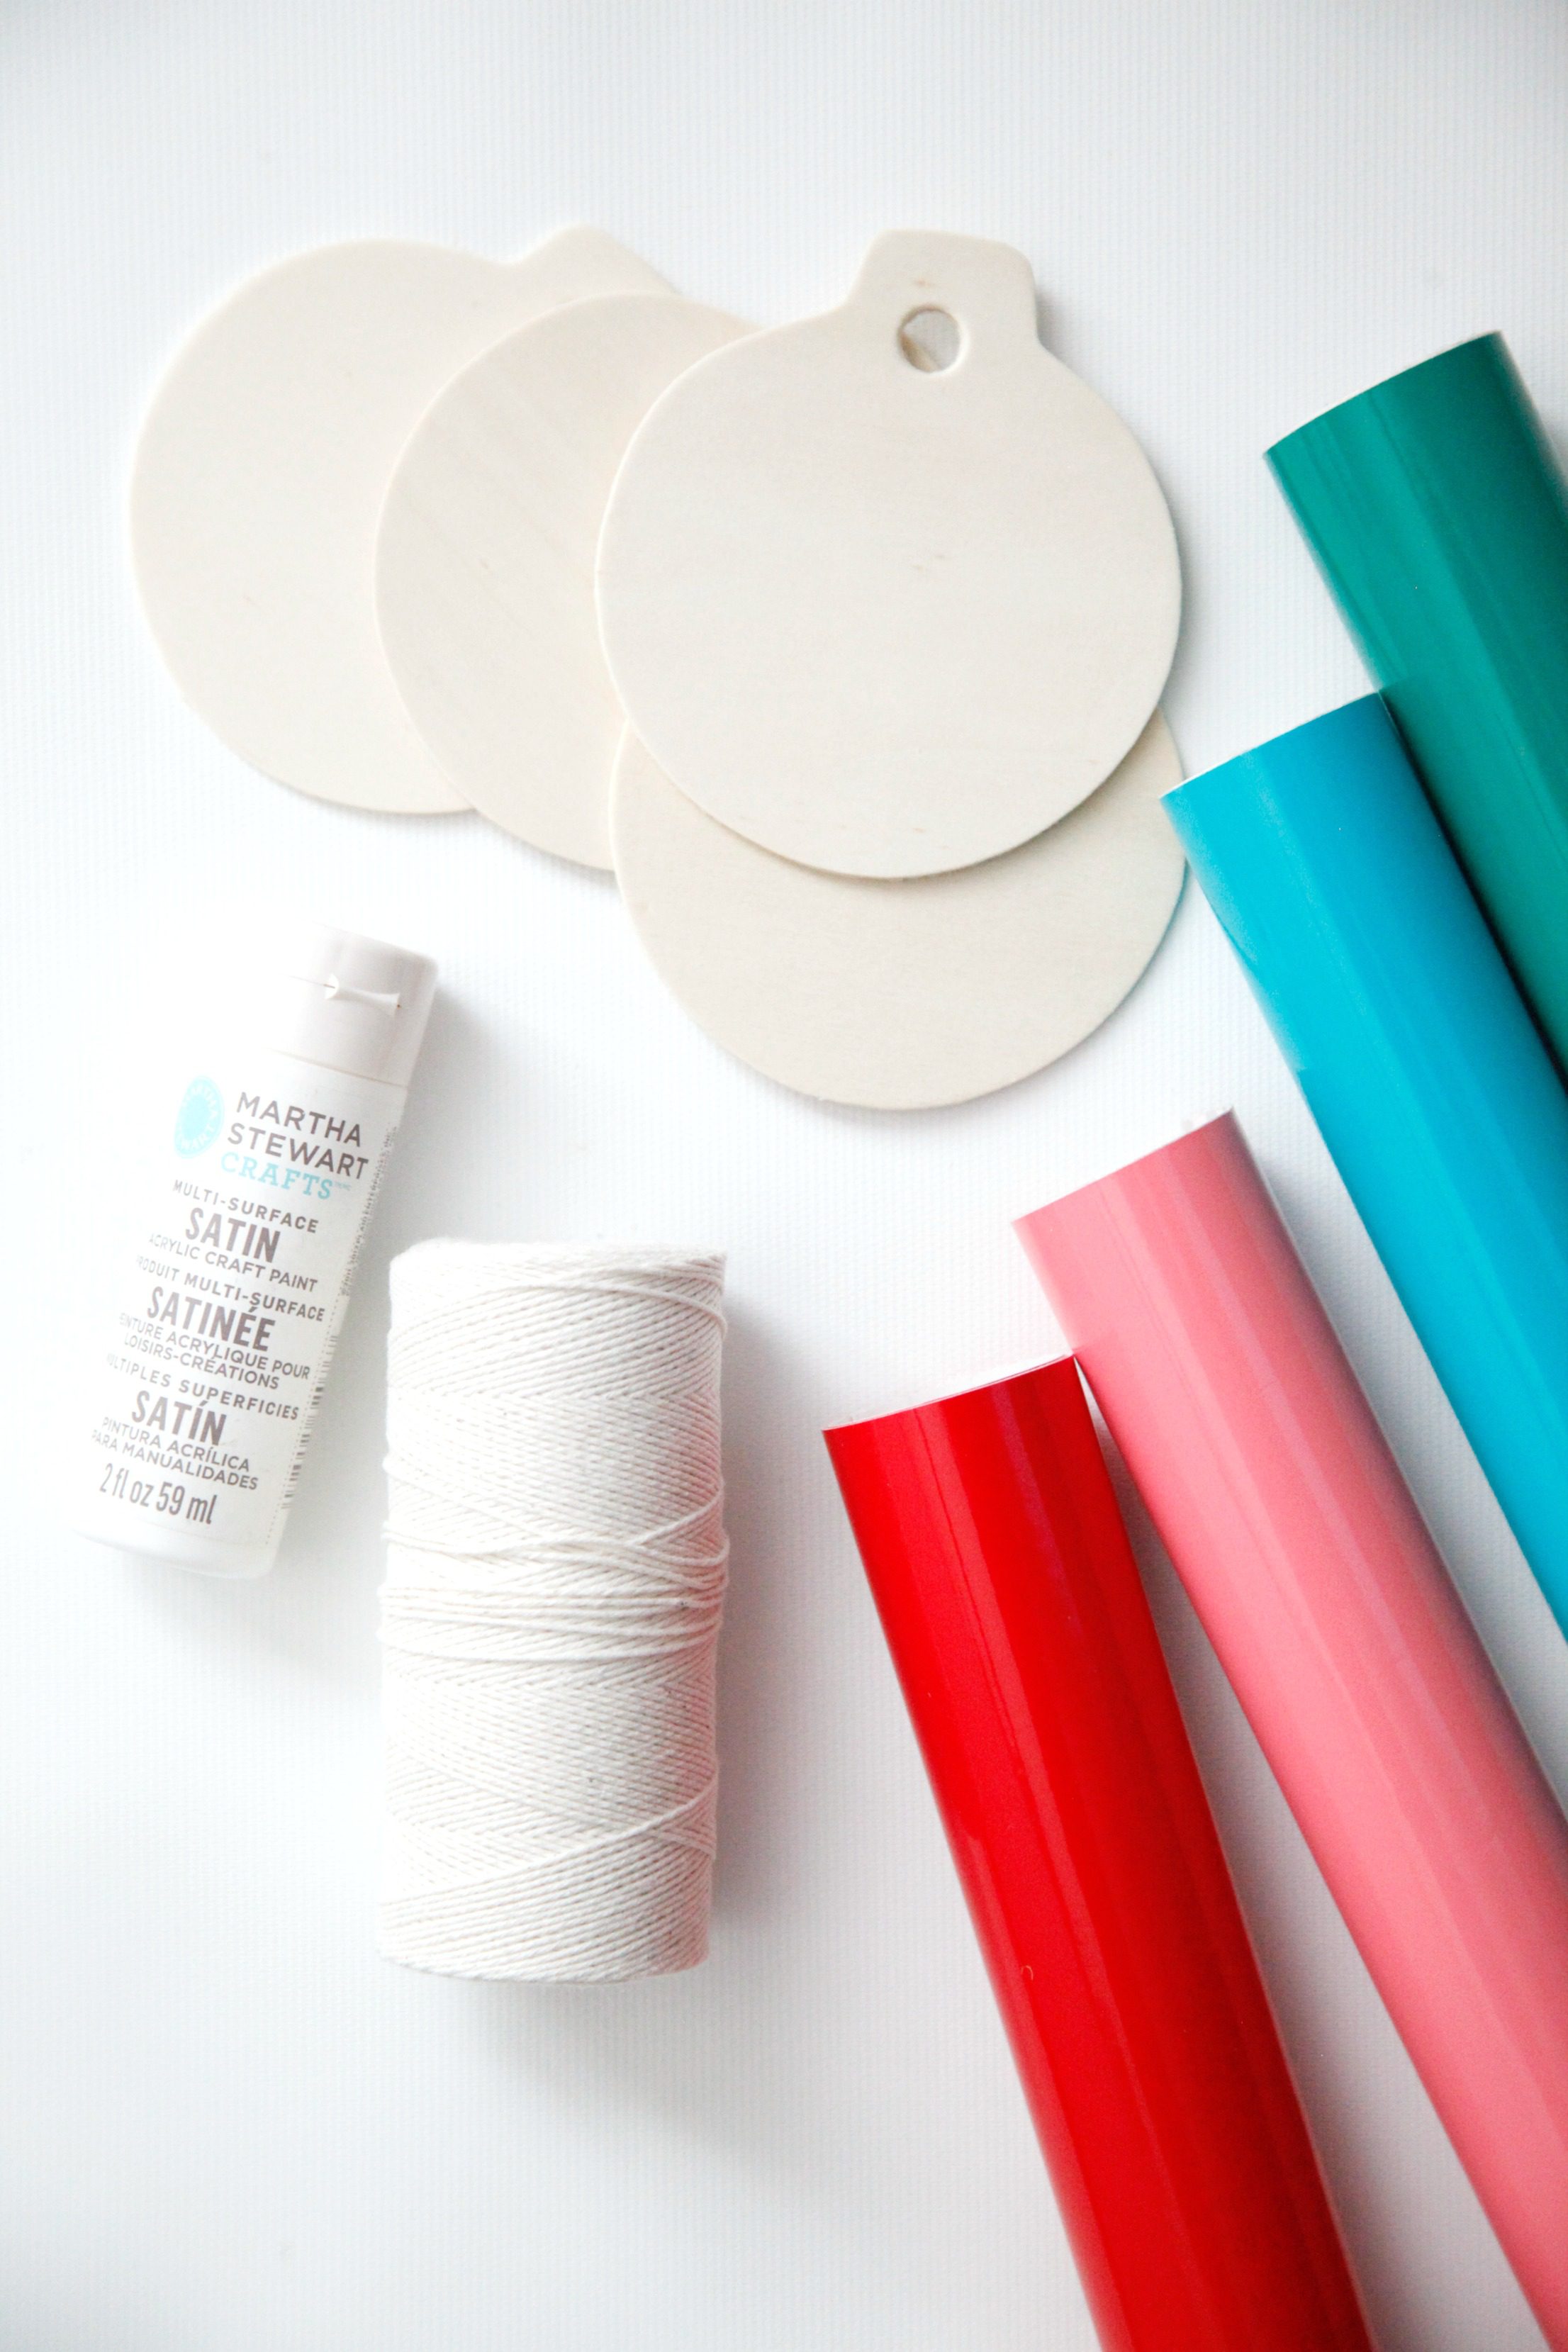
Supplies needed to make your own Llama Christmas Ornaments:
Unfinished wood ornaments
Craft paint
Adhesive vinyl
Yarn or twine
Llama Fair Isle cut file (Download Studio or SVG)

How to make your own Llama Christmas Ornaments
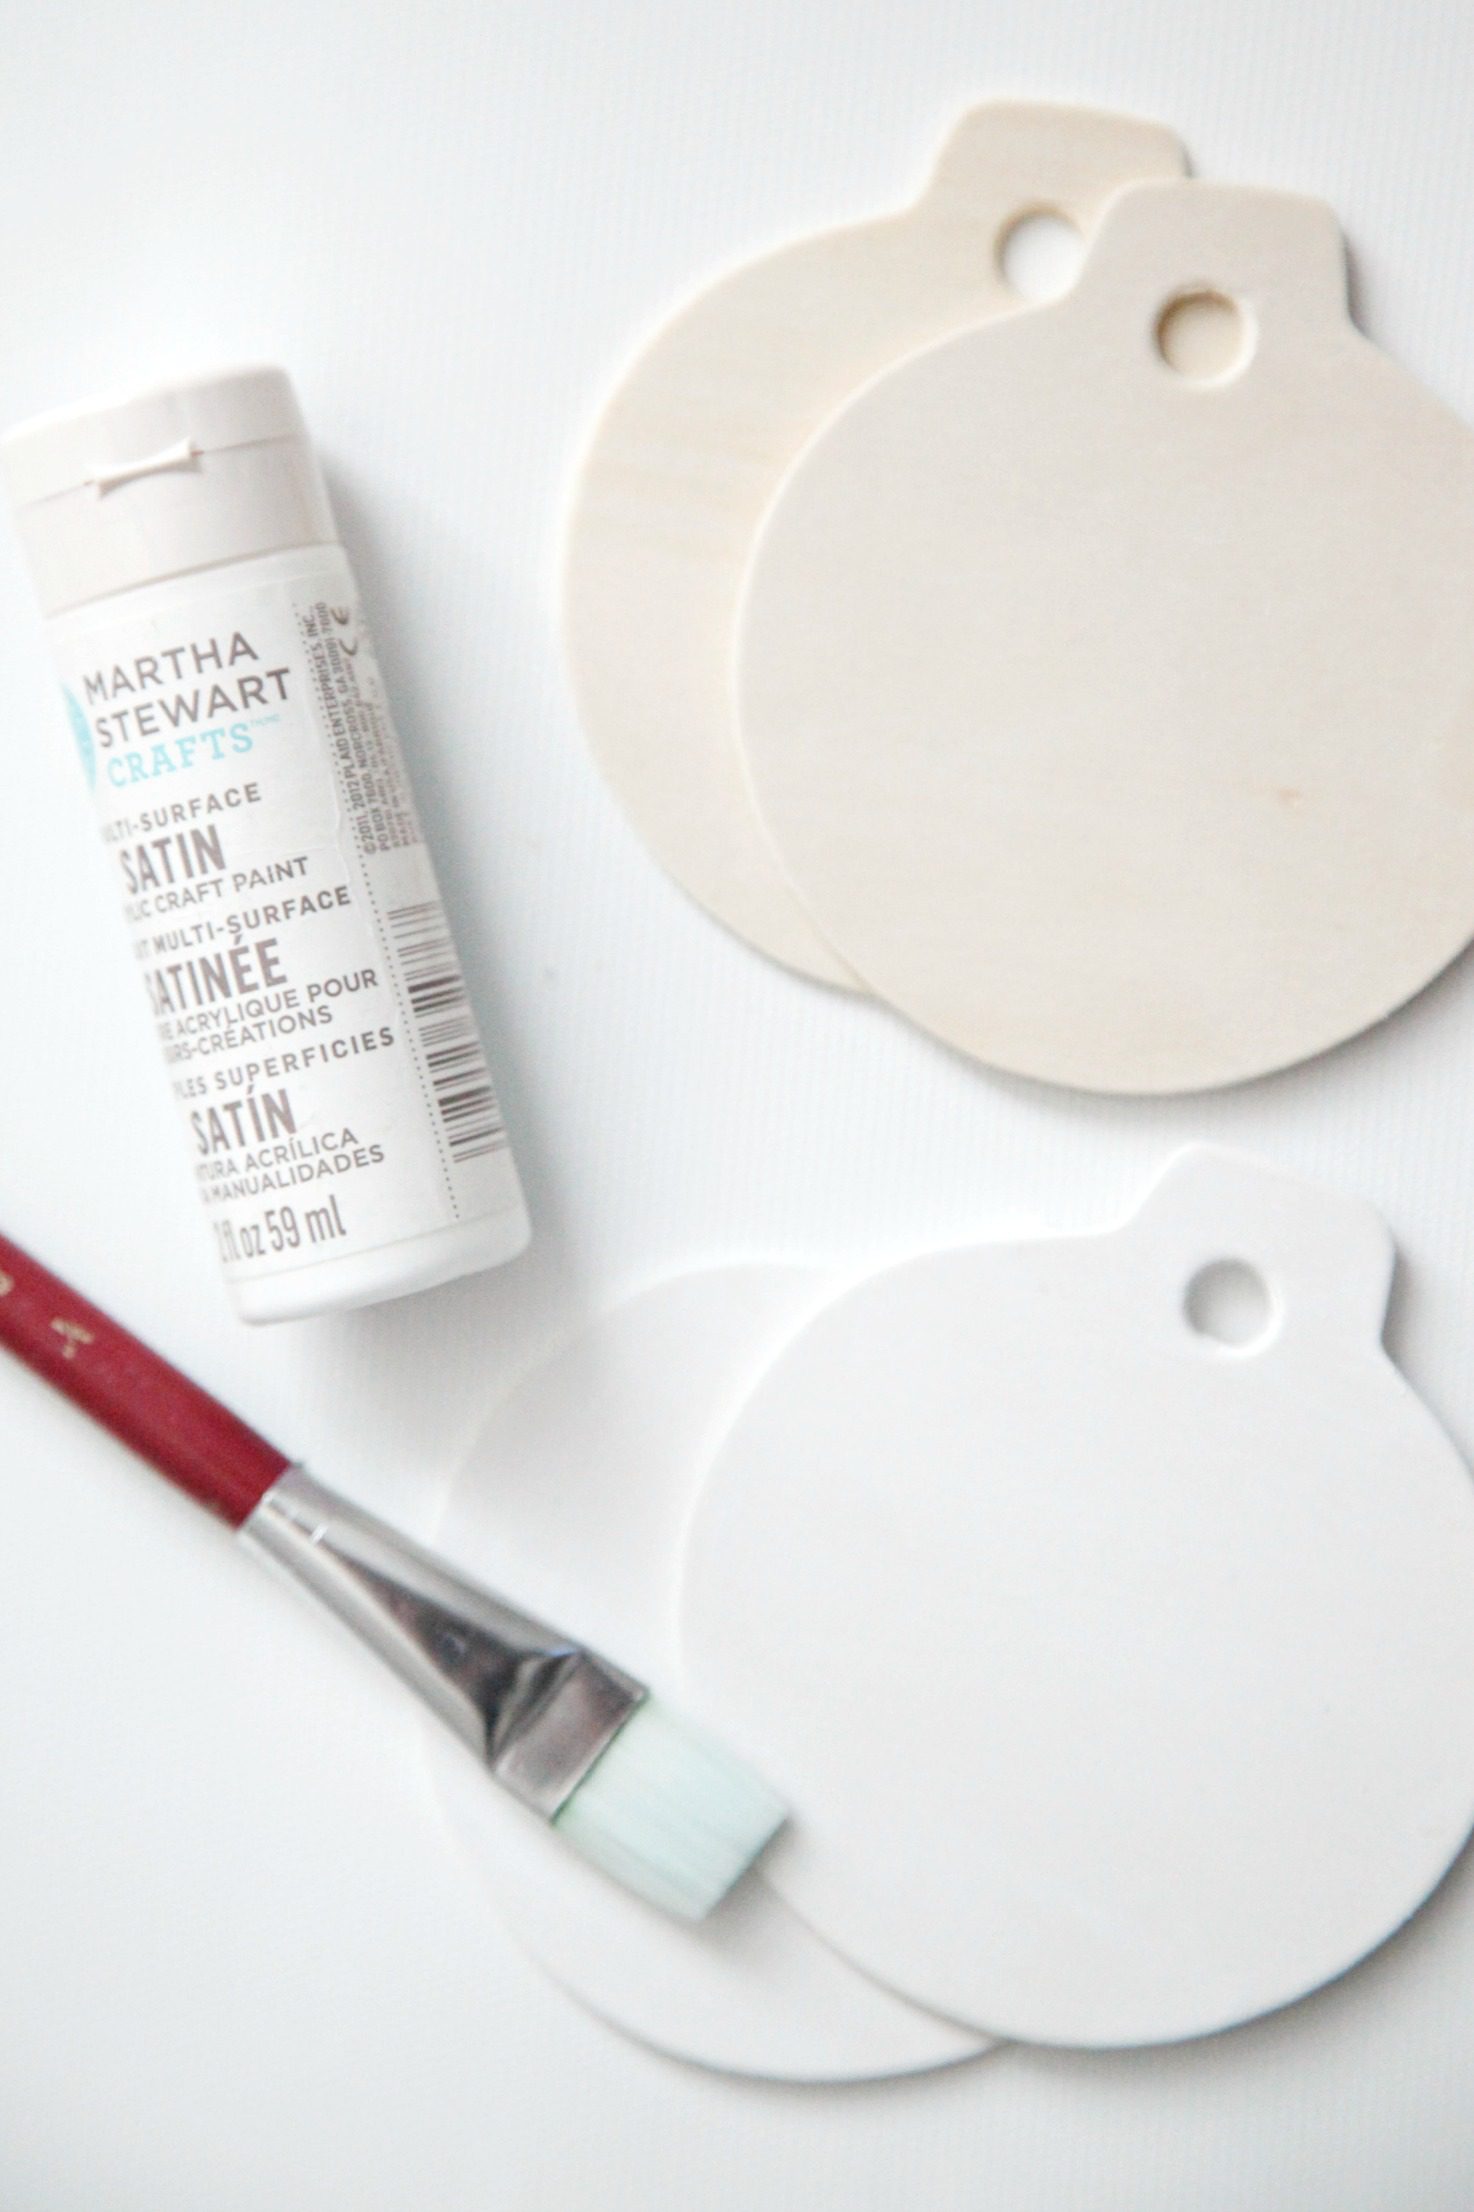
Step 1: Paint your unfinished wood ornaments with white paint. Let them dry completely.

Step 2: While the ornaments are drying, open the cut file and crop it to the size of your ornaments. If you use Silhouette Studio, which is what I use, adjust the color fill for each element to match the vinyl colors you will use. Then cut the vinyl by color.
*If you’ve never cut by color in Silhouette Studio, click Send. Then, in the Action By: bar, click Fill. You’ll see each of your colors in the list. Double check the Material and Action for each color. You’ll also want to add a pause after each color so you can switch out the vinyl color. Load your first color into your machine and start cutting! The machine will pause after it finishes each color and allow you to unload your material. After you have switched the color and loaded it into the machine, click Resume in Studio. Repeat with each color.


Step 3: Weed your vinyl, then apply it to your ornaments using transfer tape.


Step 4: Attach yarn or twine to your ornaments for hanging.
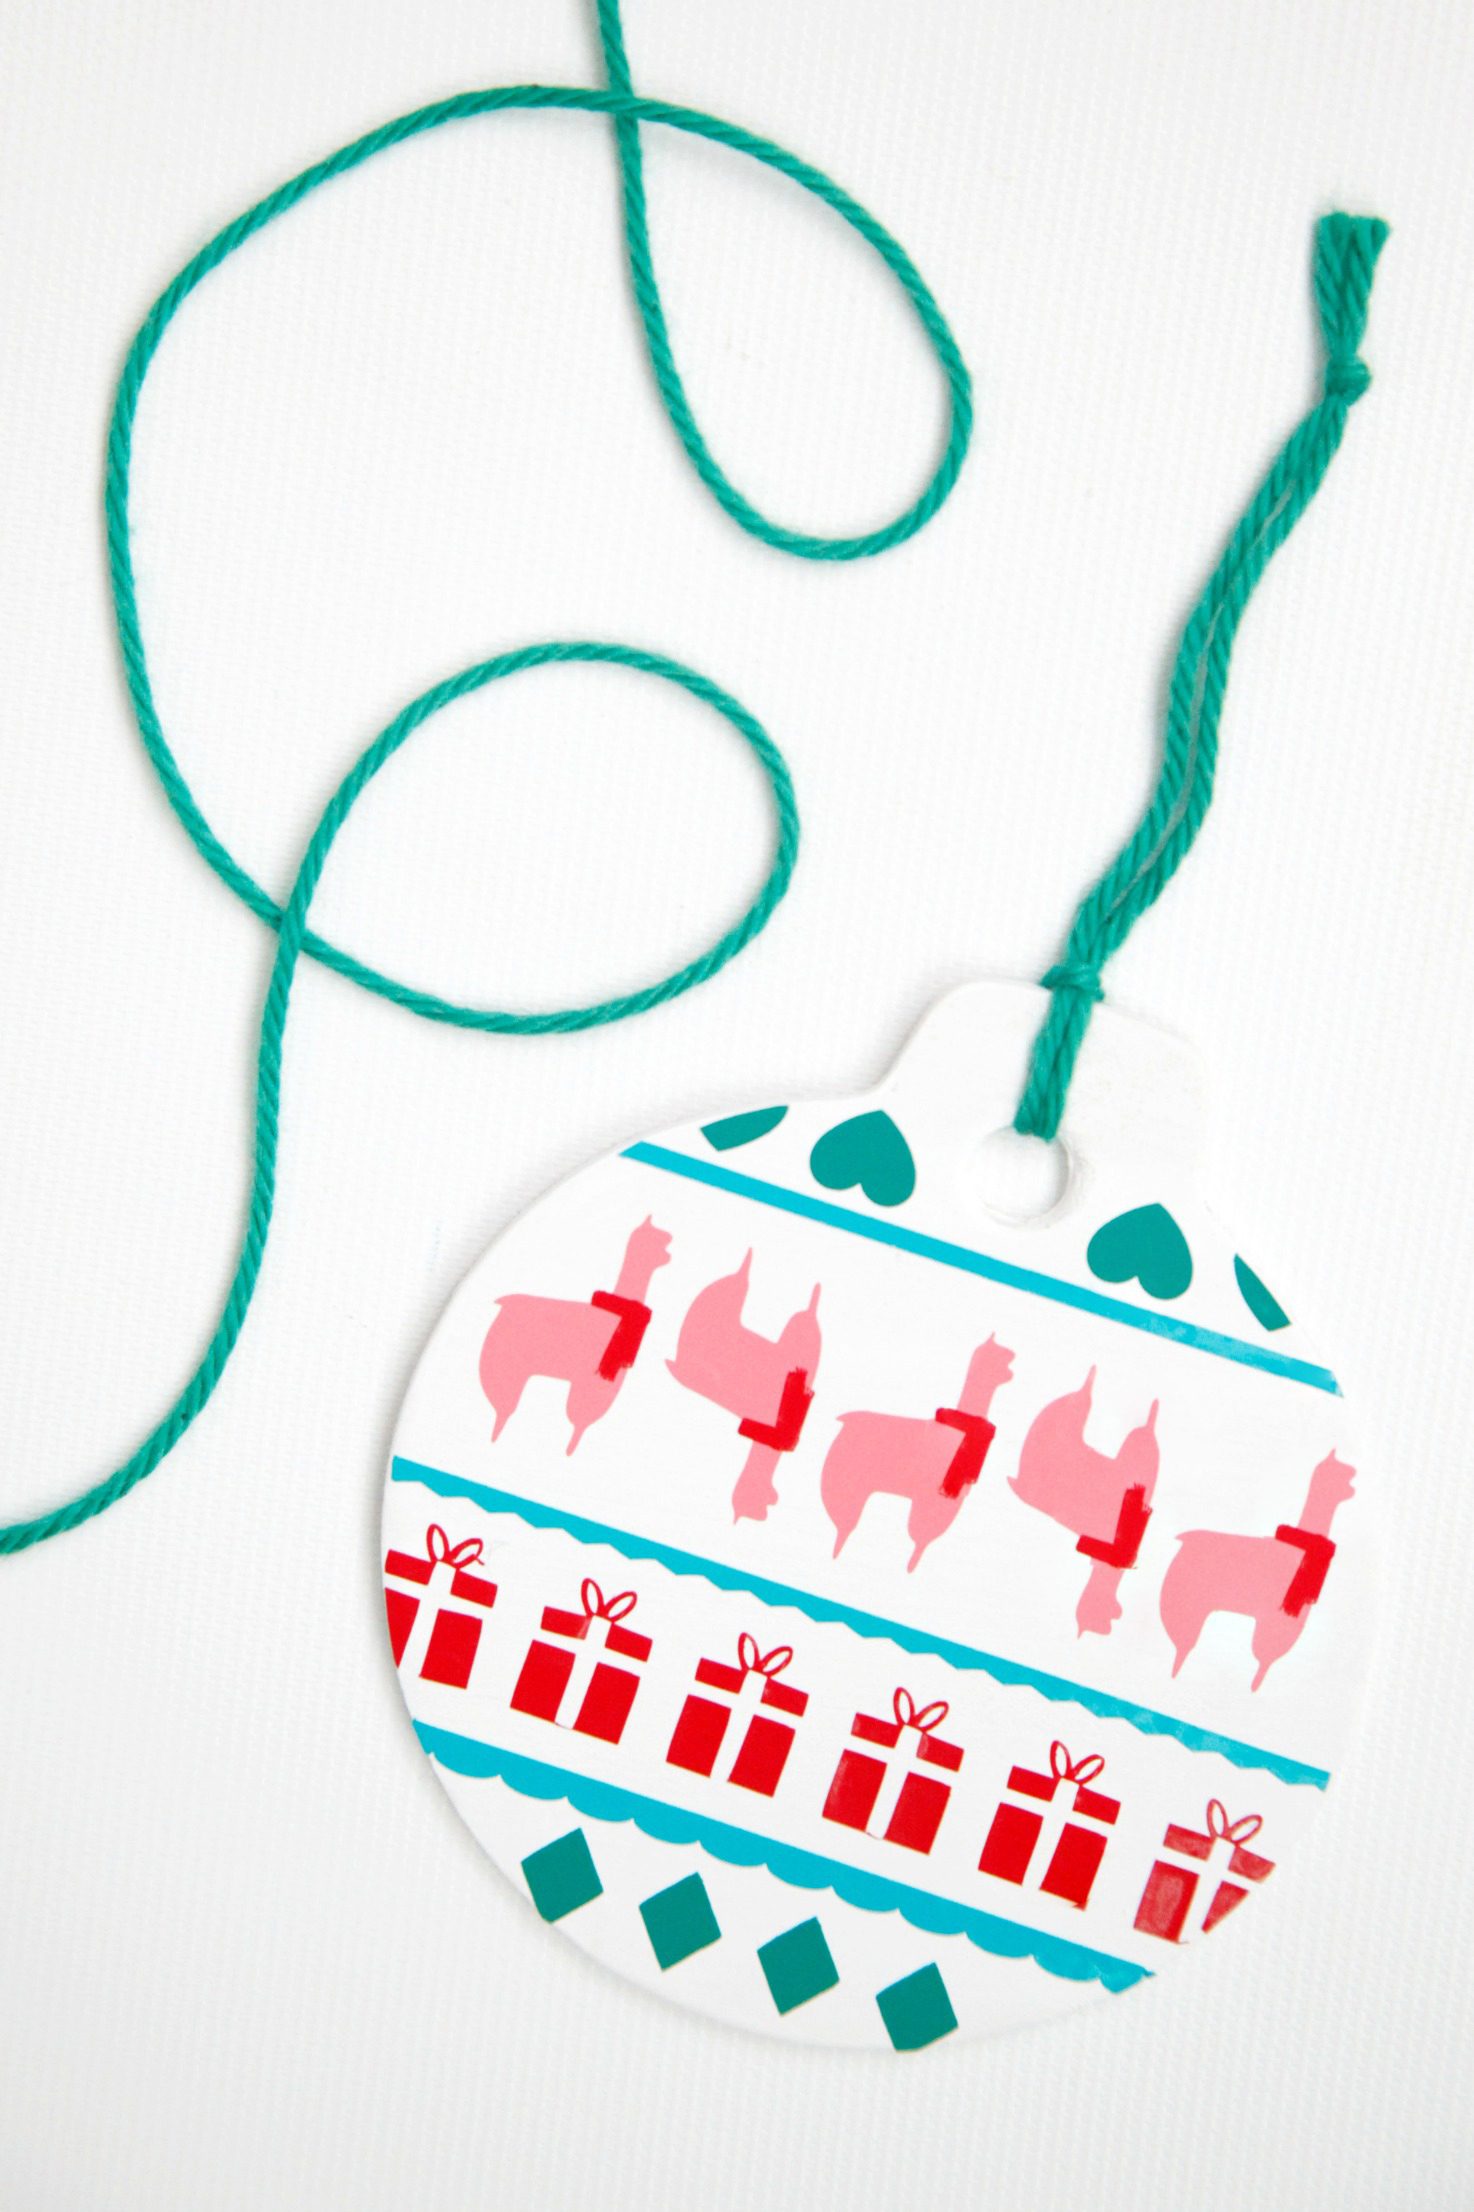

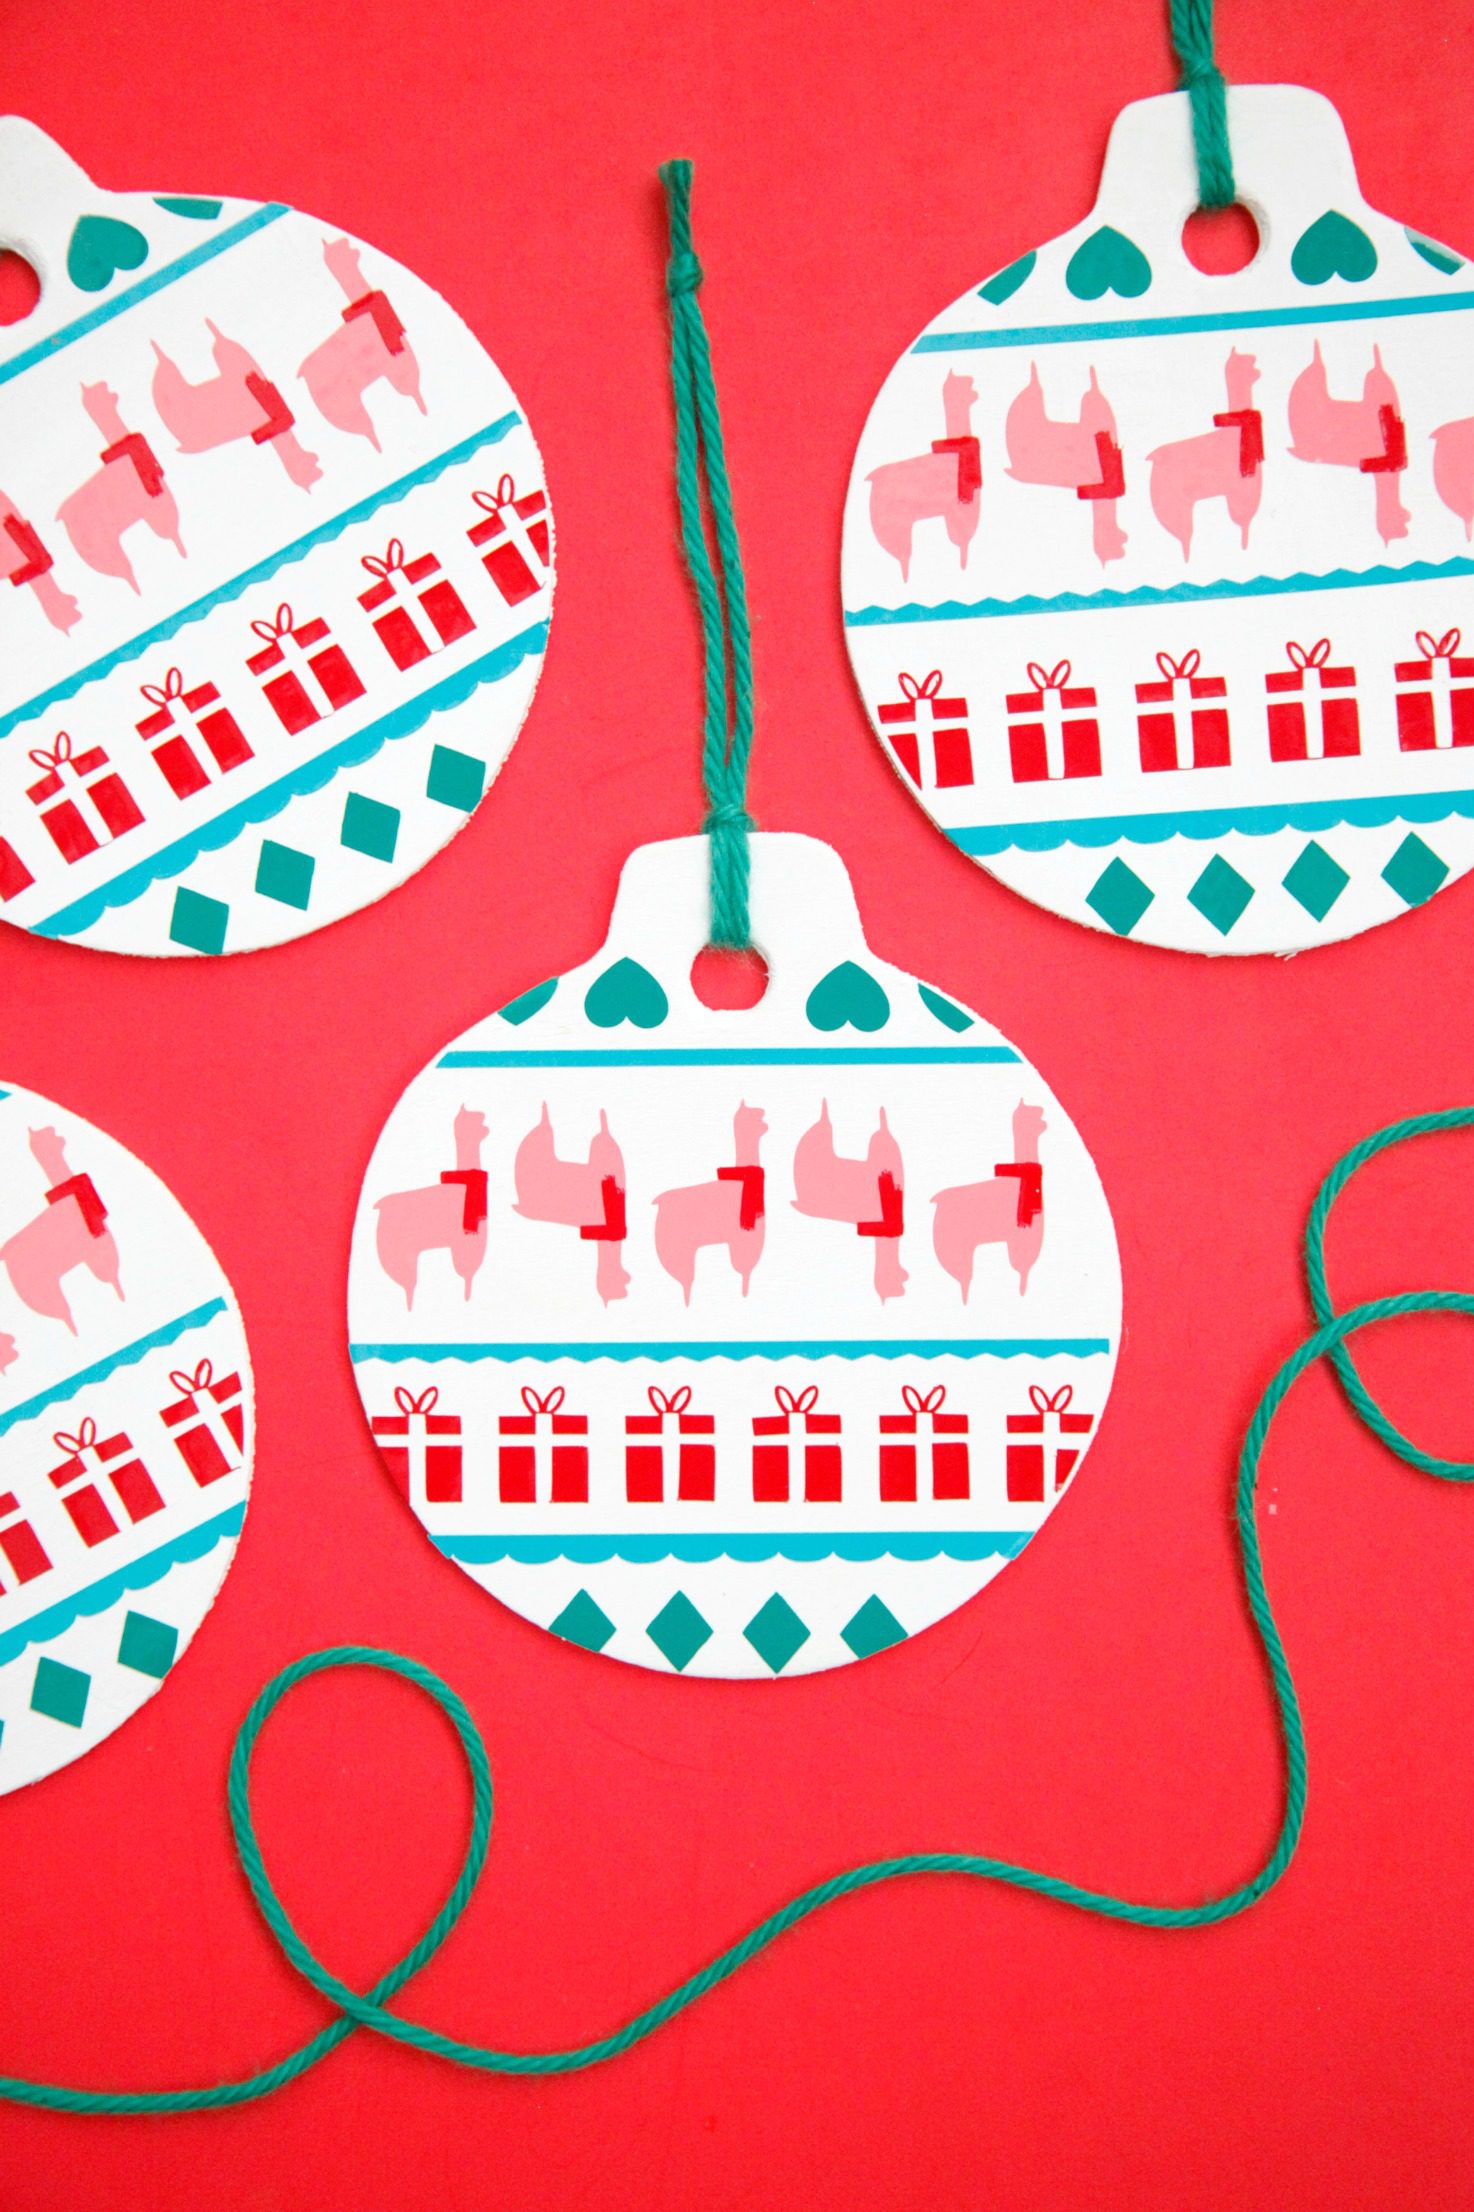
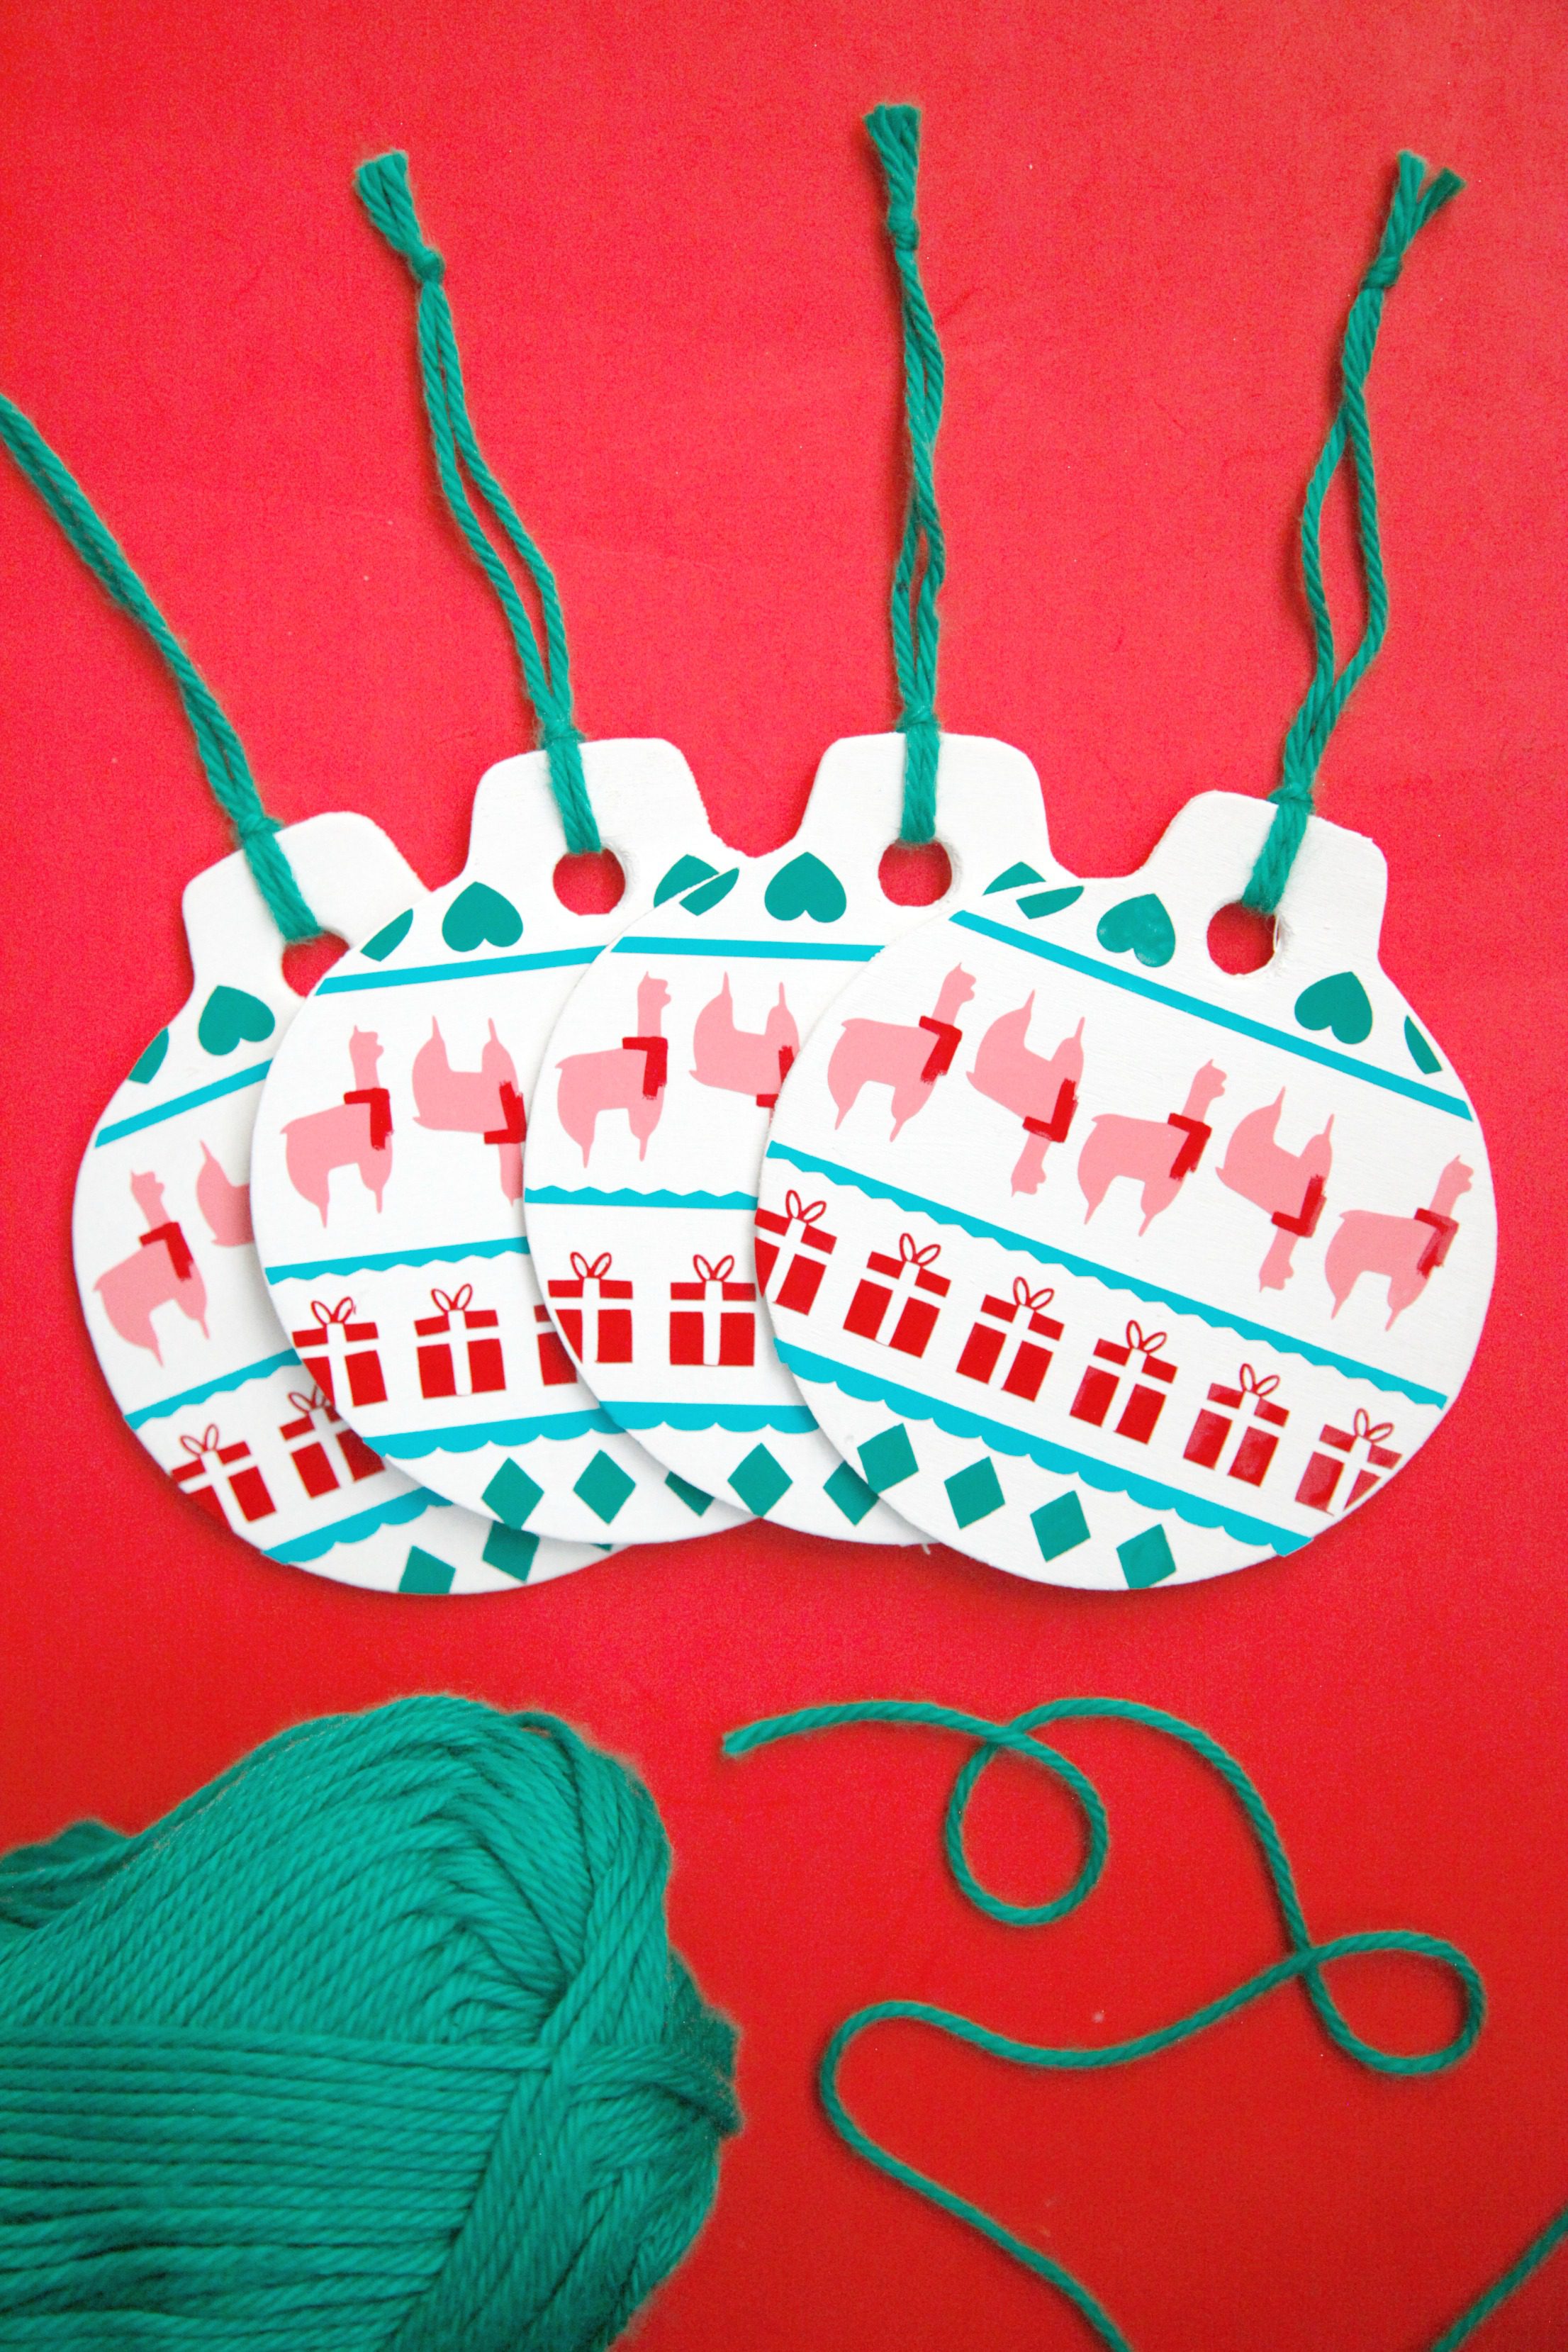
Aren’t they so fun!? I love how they turned out, and the llamas make them so fun and whimsical.





Happy crafting!
xo, Sam
Don’t miss these other DIY Christmas ornament tutorials!


