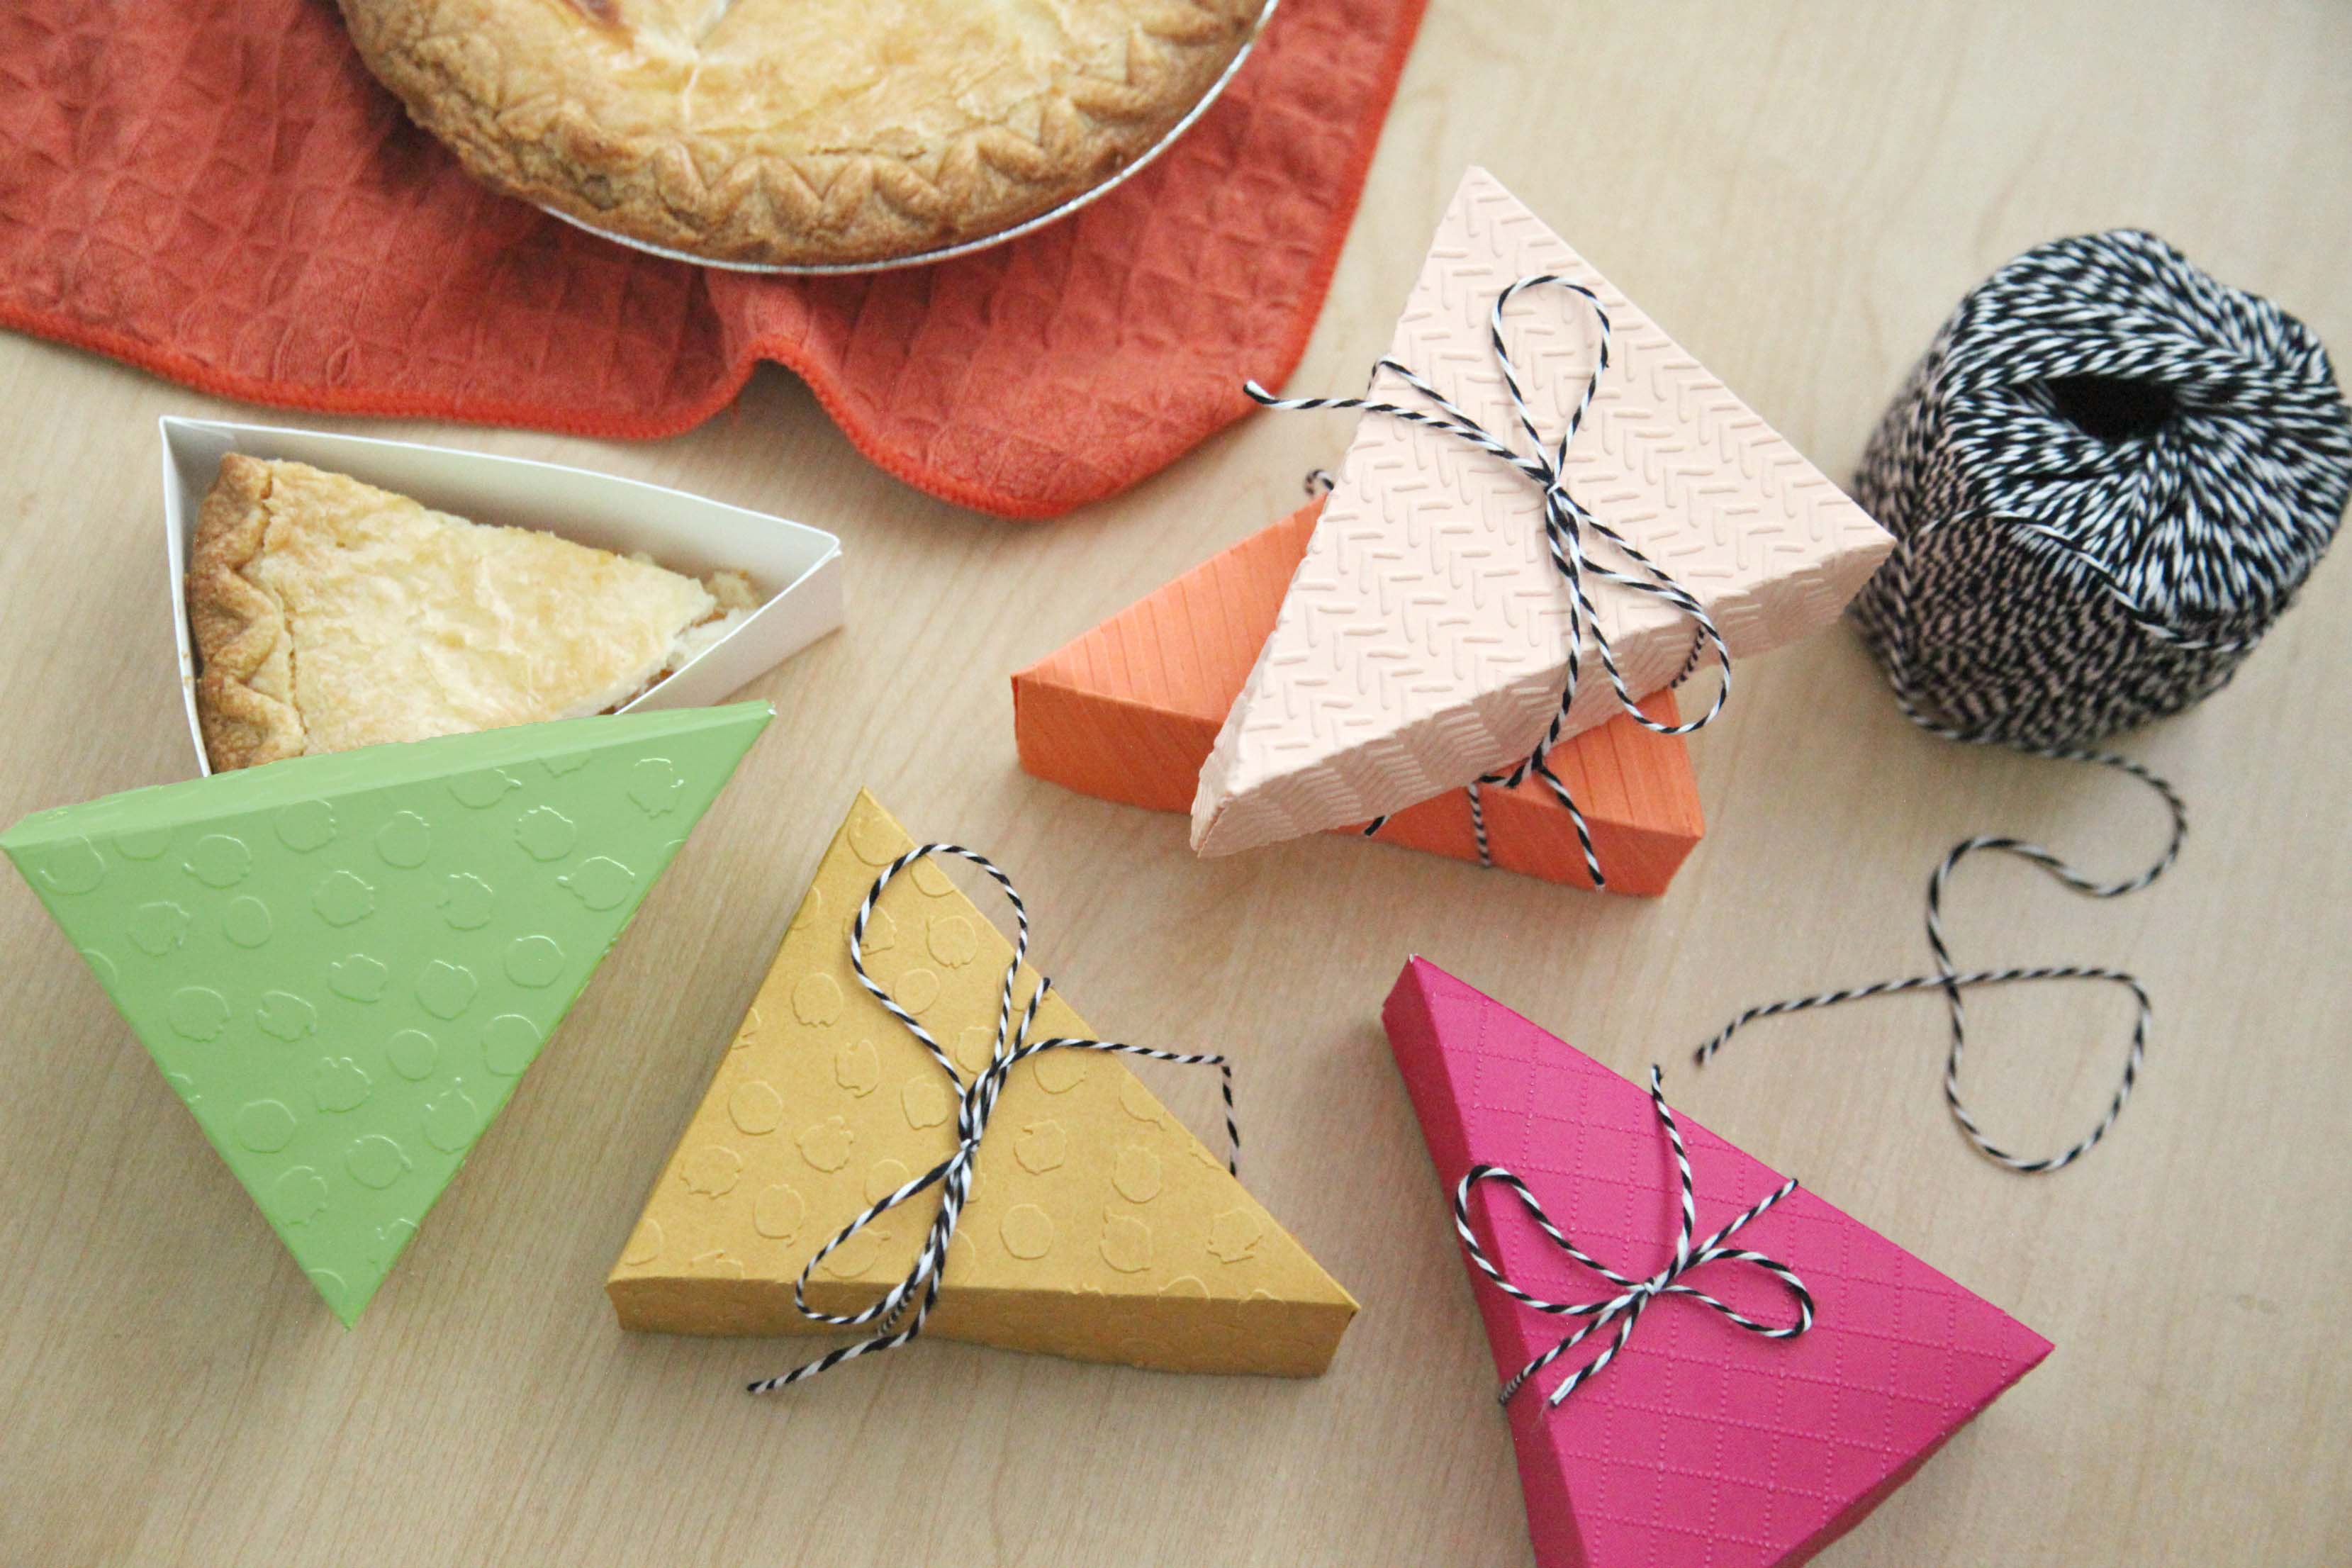
These Pie Slice Boxes were originally created for Darice.
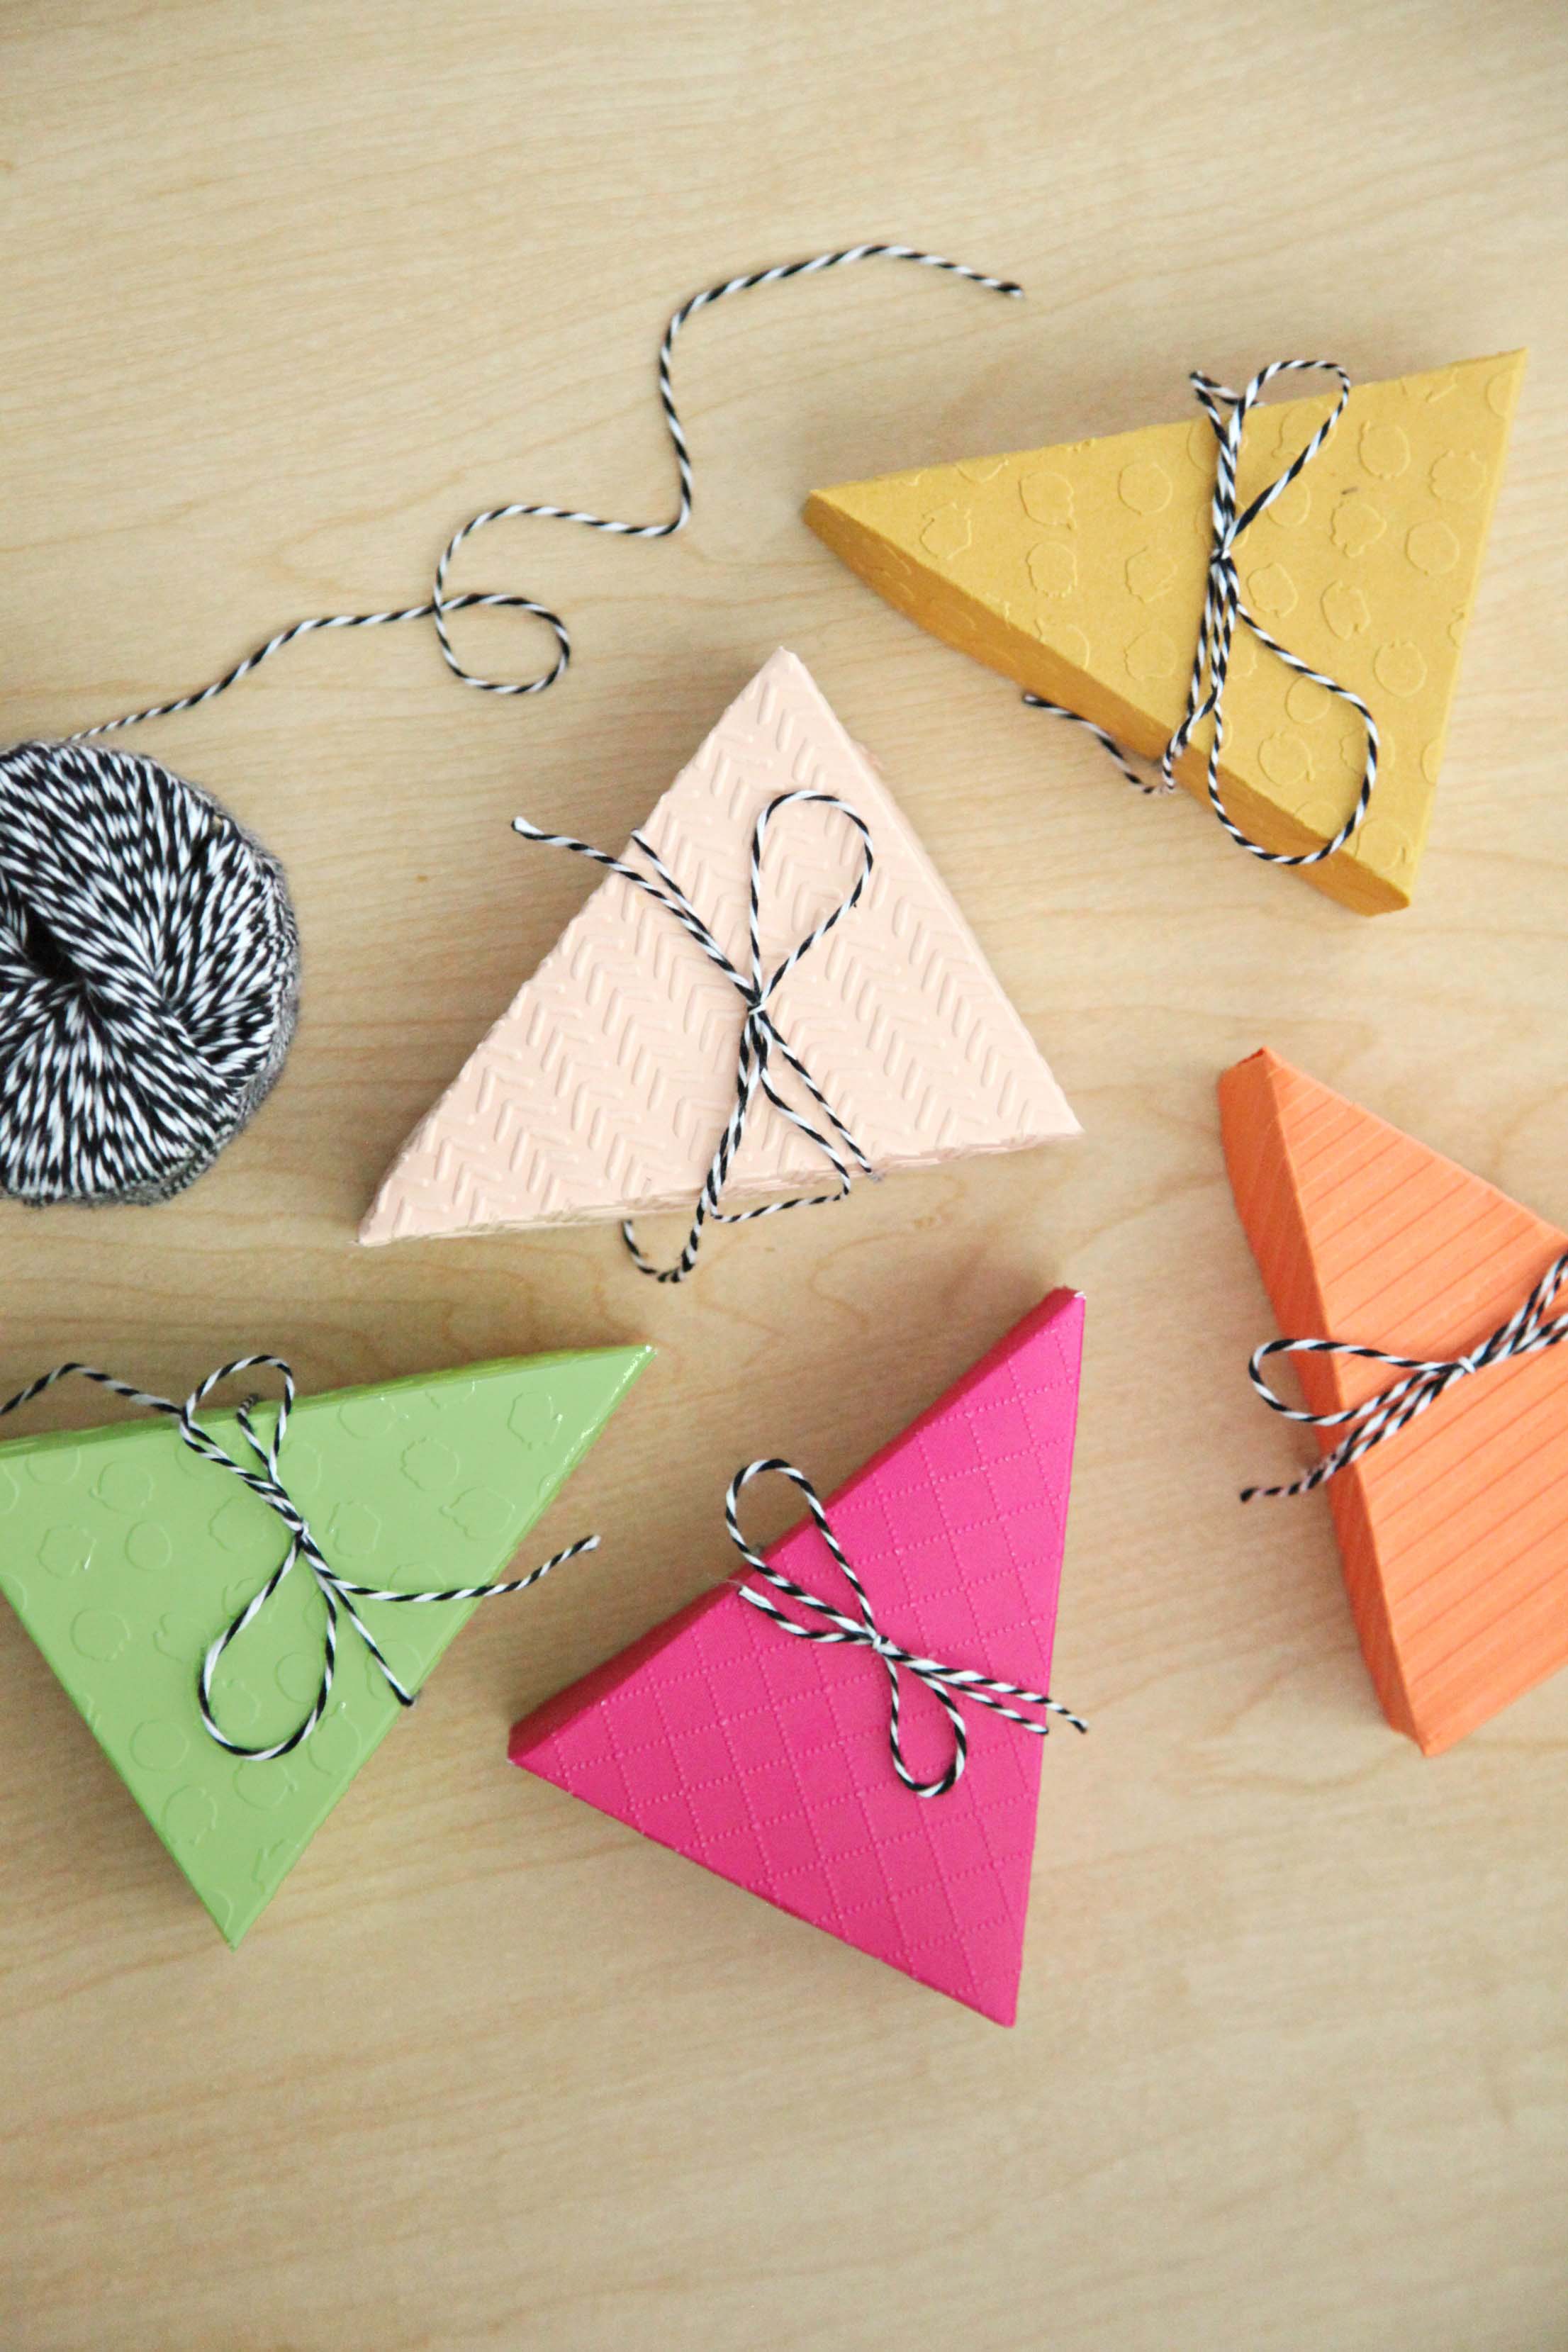
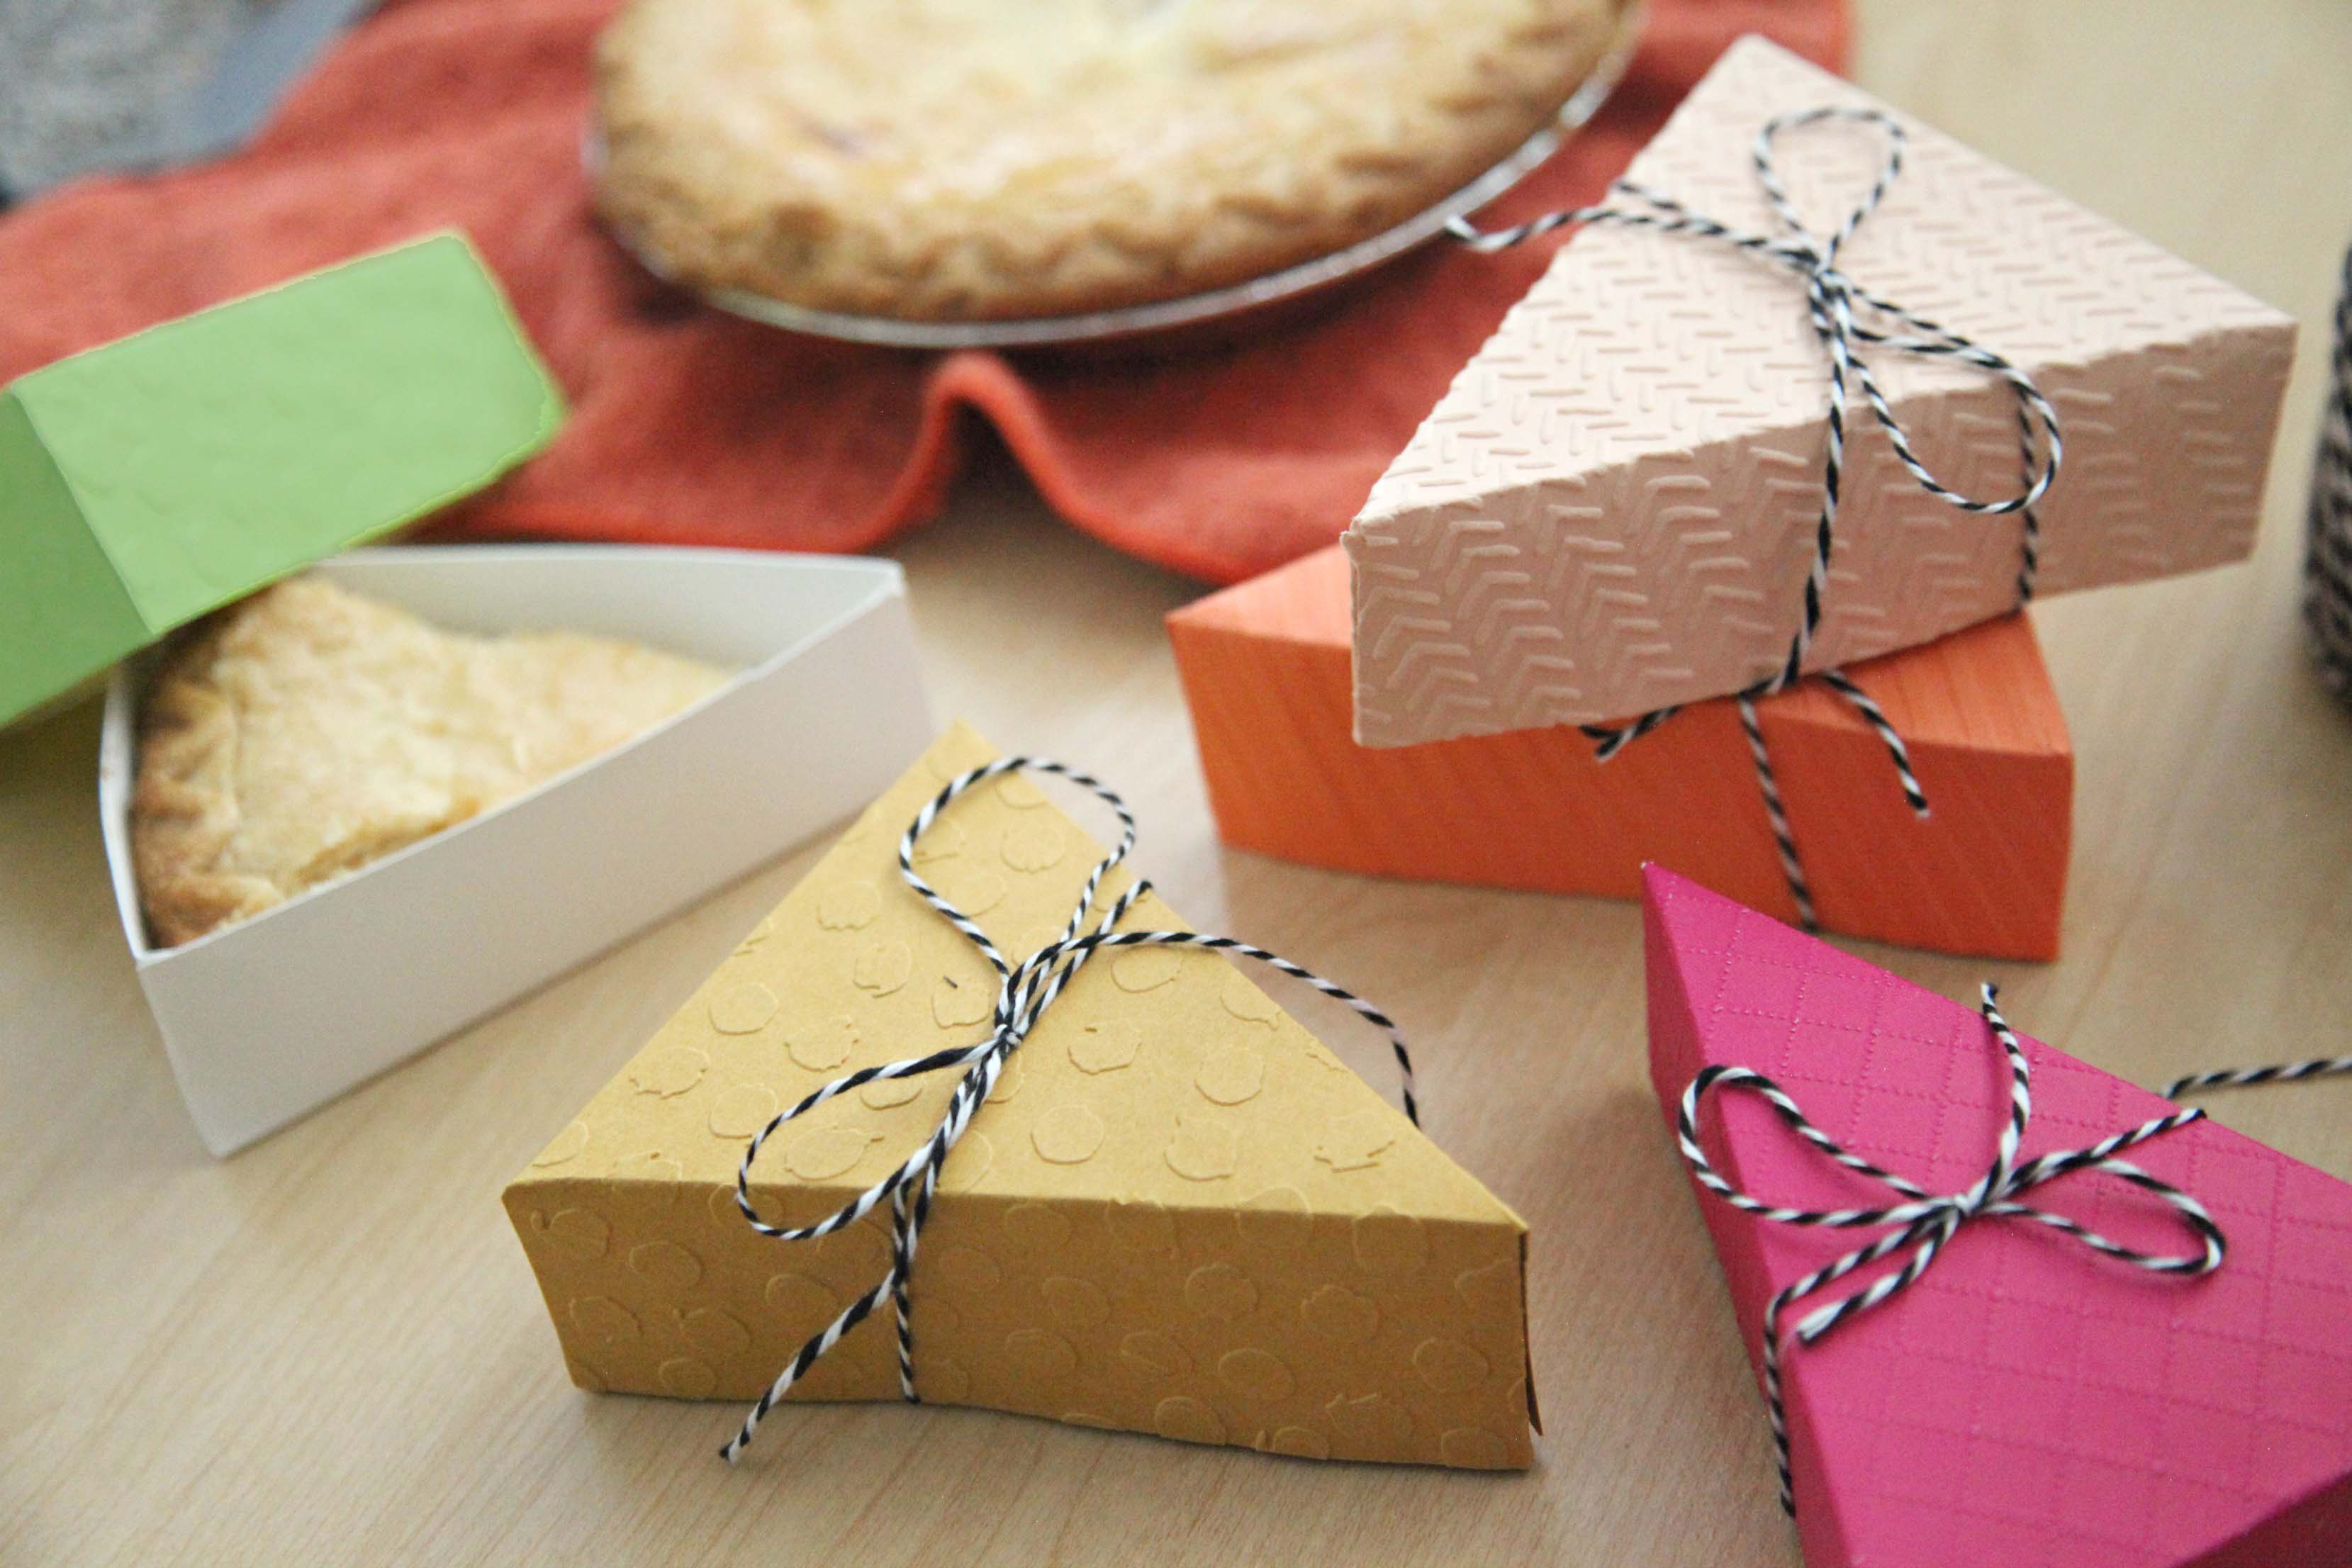
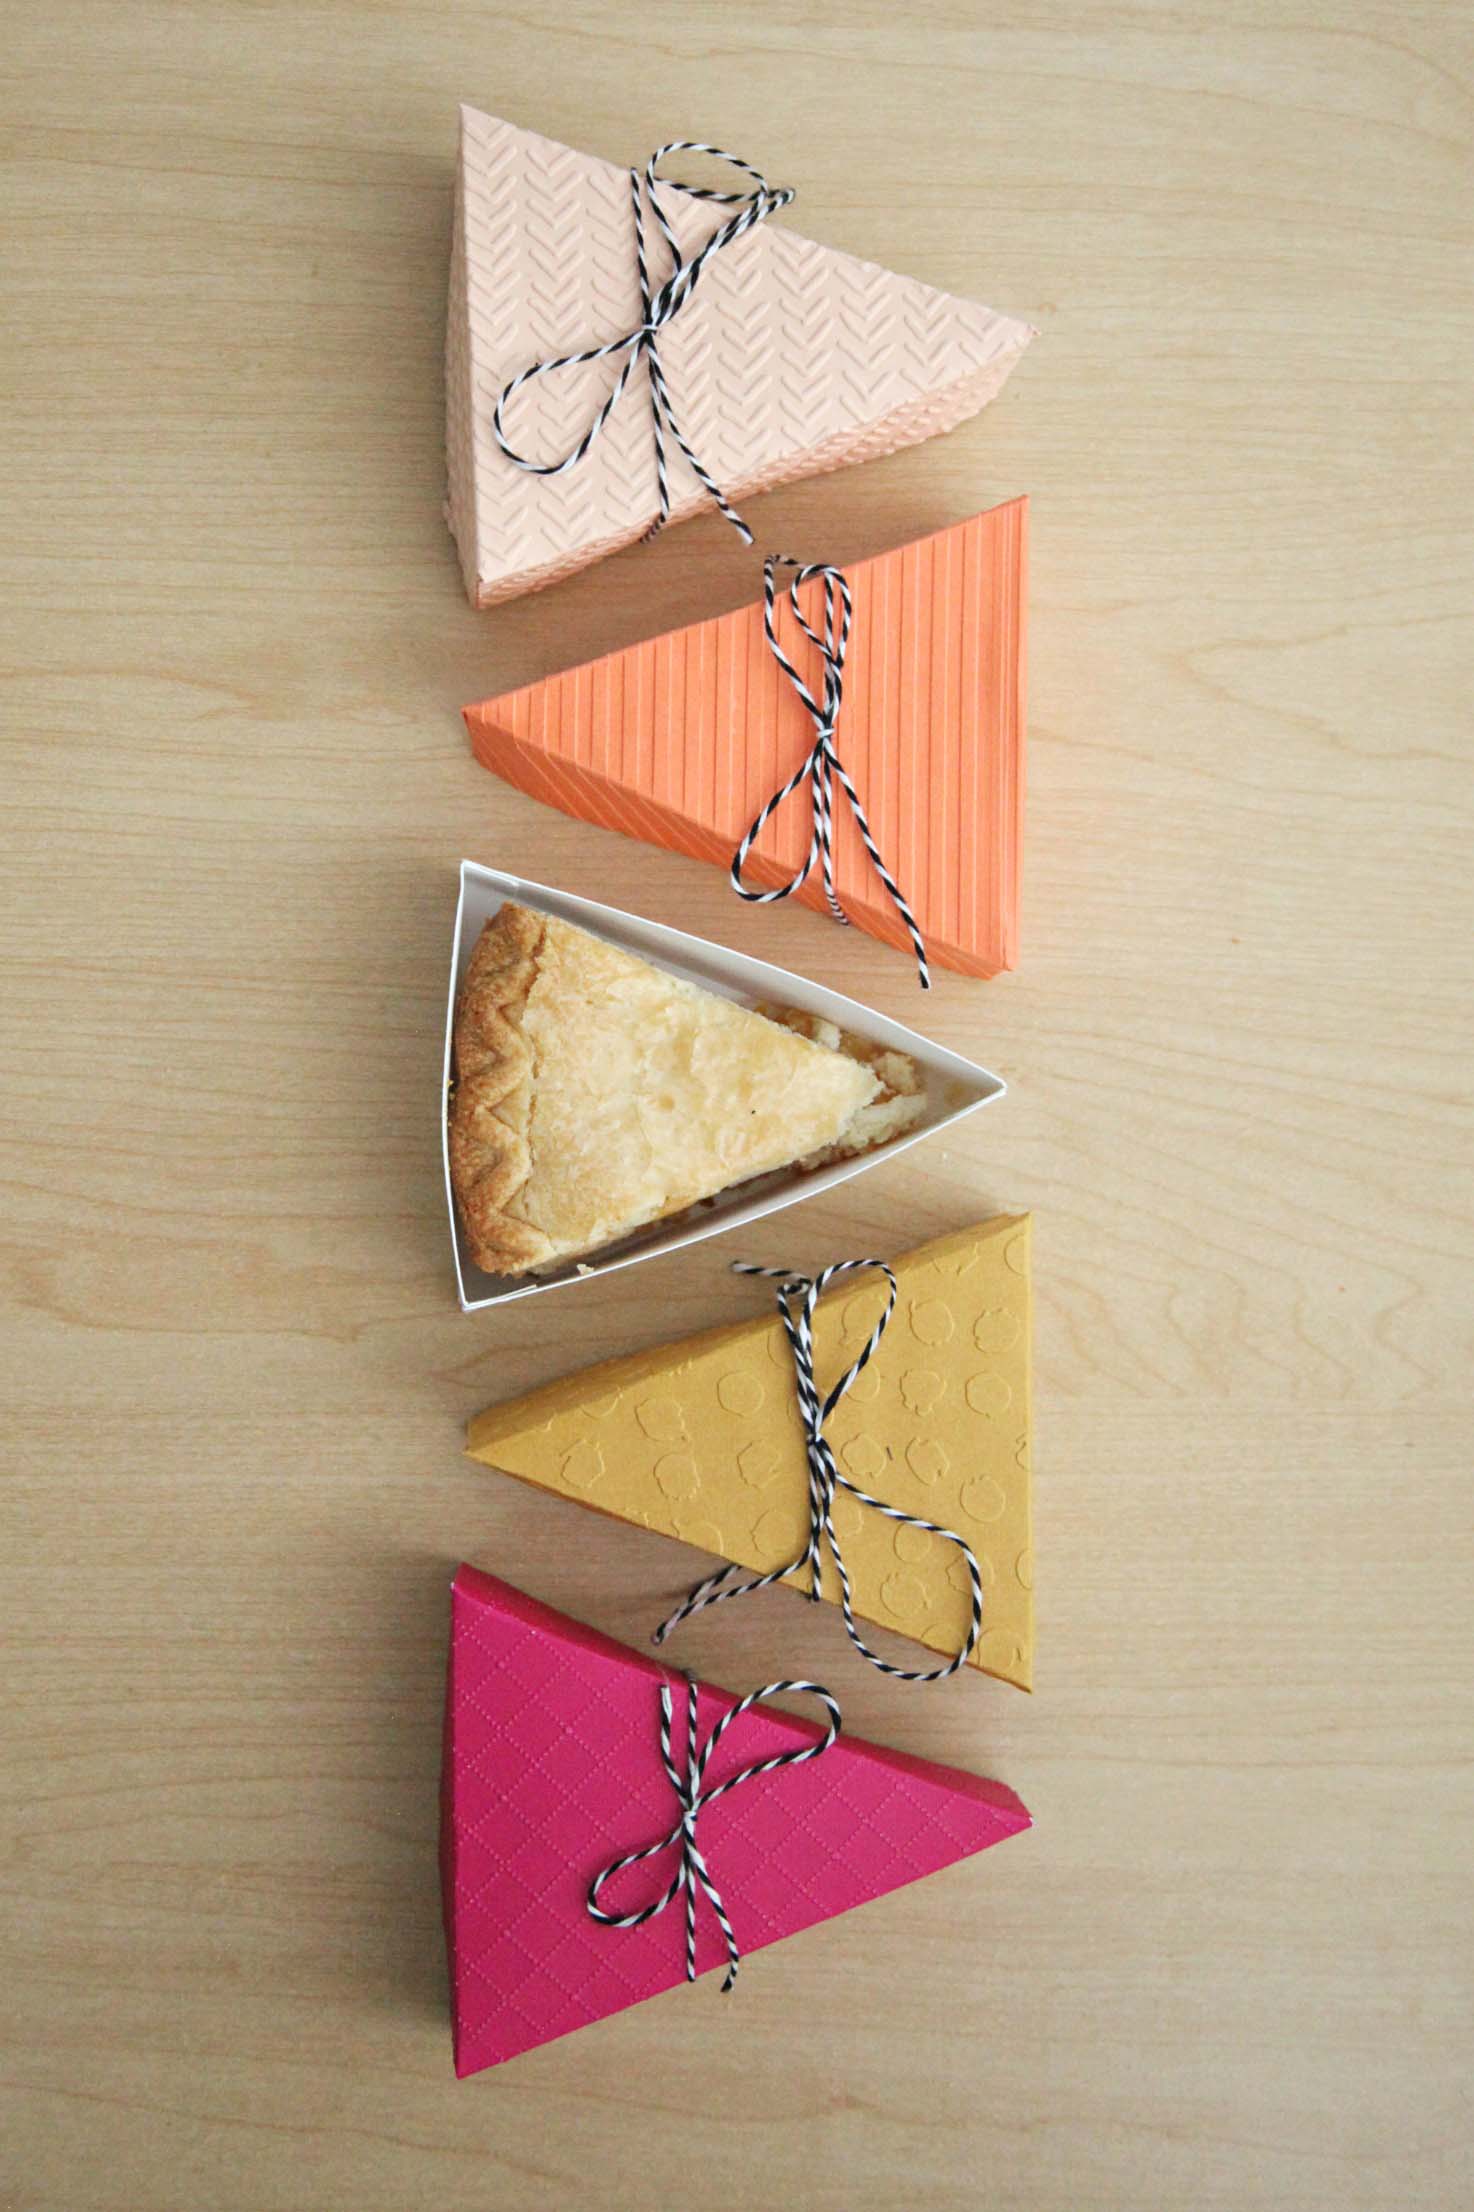
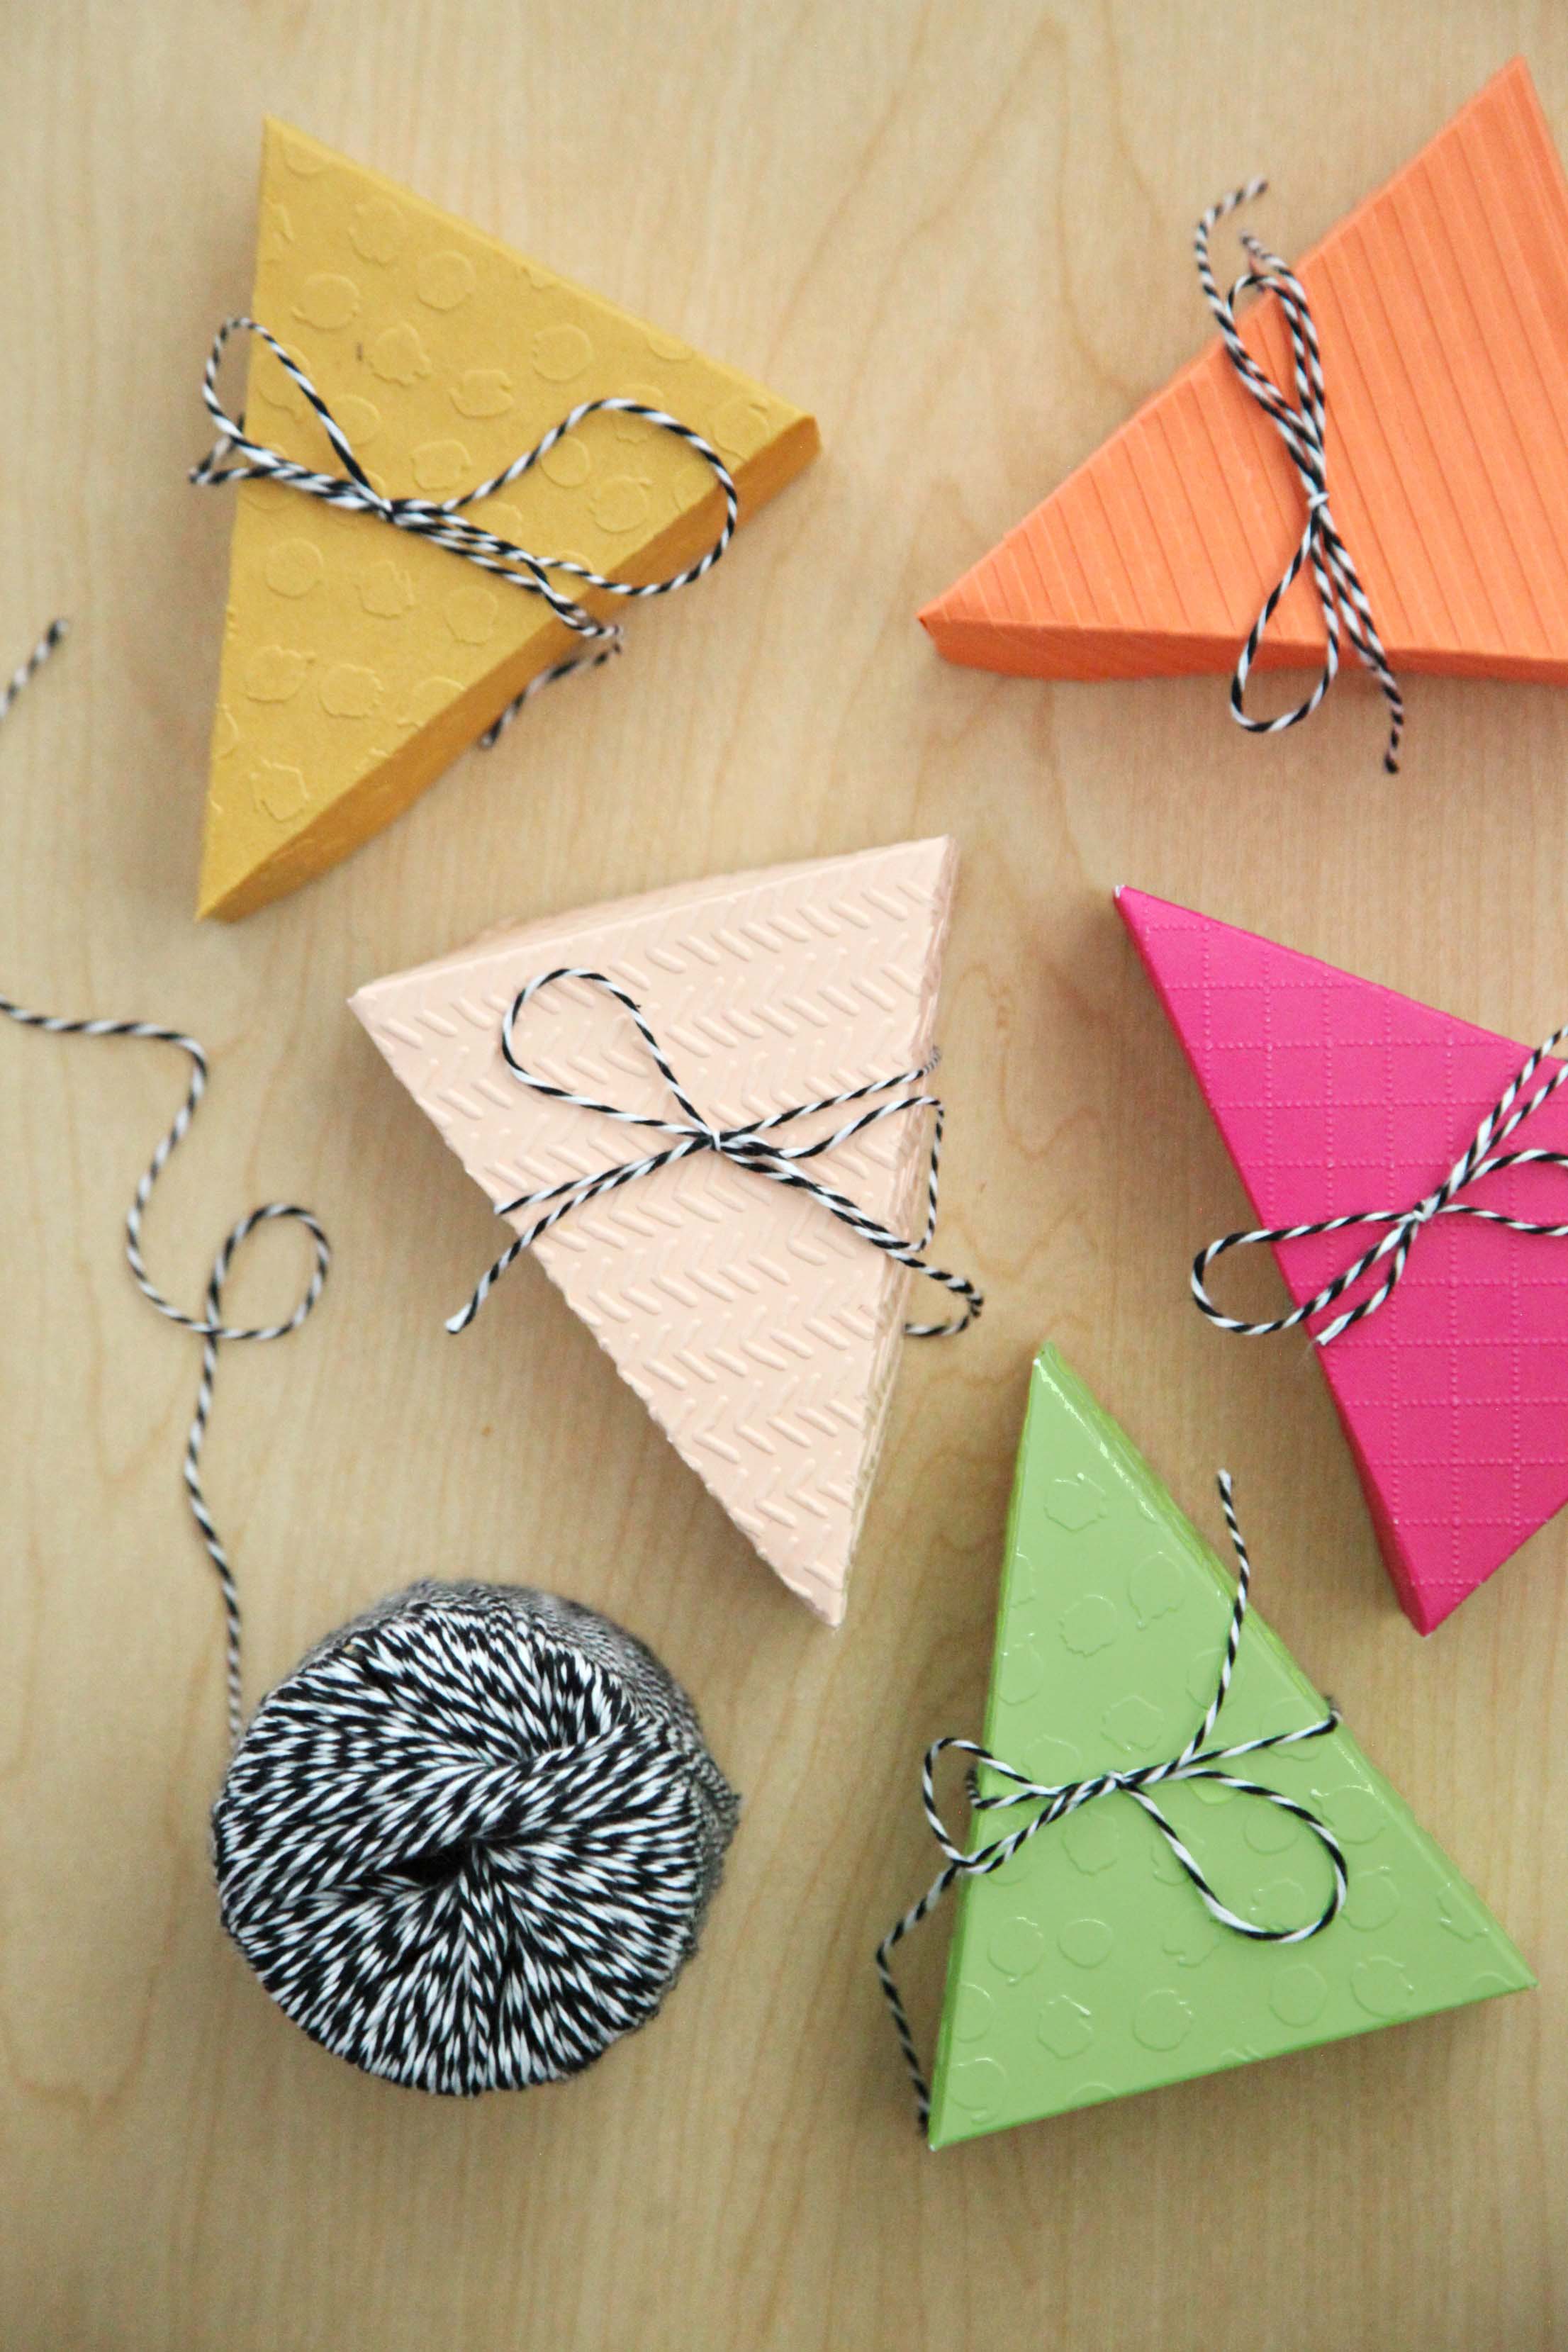
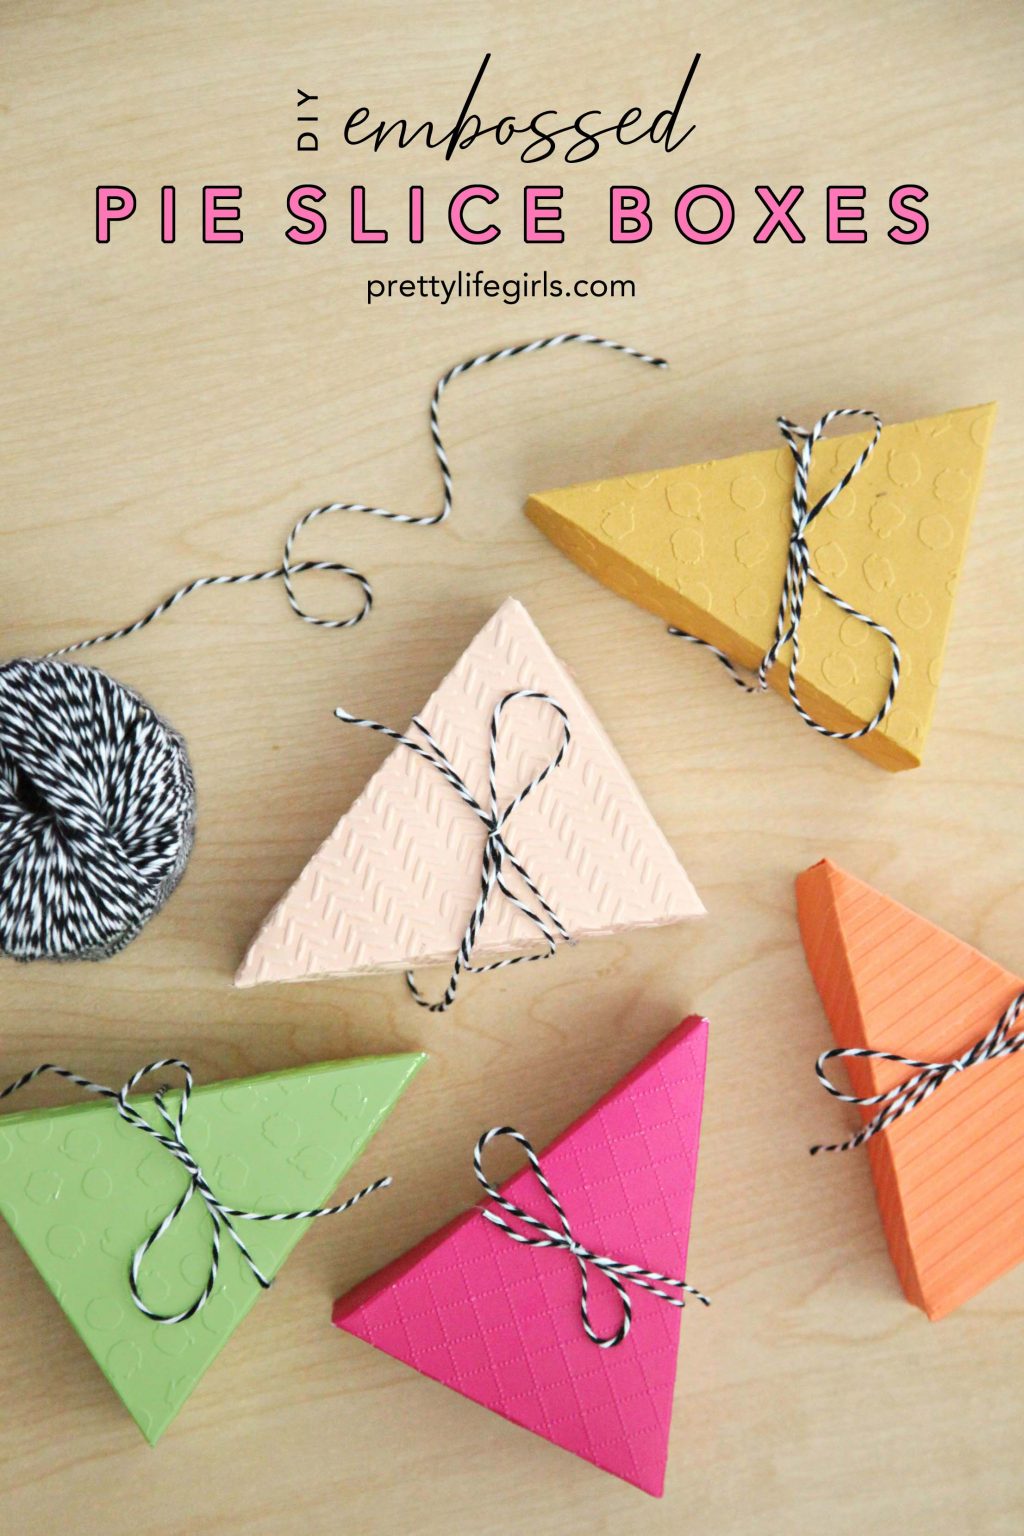
In our family, we love pie – creamy, nutty, fruity, chocolaty, frozen or hot out of the oven, it doesn’t matter. So whenever we get together in the fall, there is always pie involved… lot’s of pie… some might say too much pie. As a result, print-cut-assemble pie slice boxes have become one of our favorites things to have around. This time though, I wanted to take things up a notch, and these DIY Embossed Pie Slice Boxes were born! Adding colorful paper and just one extra step, you have these beautiful little boxes, fit for the yummiest pies. Keep scrolling for the full tutorial!

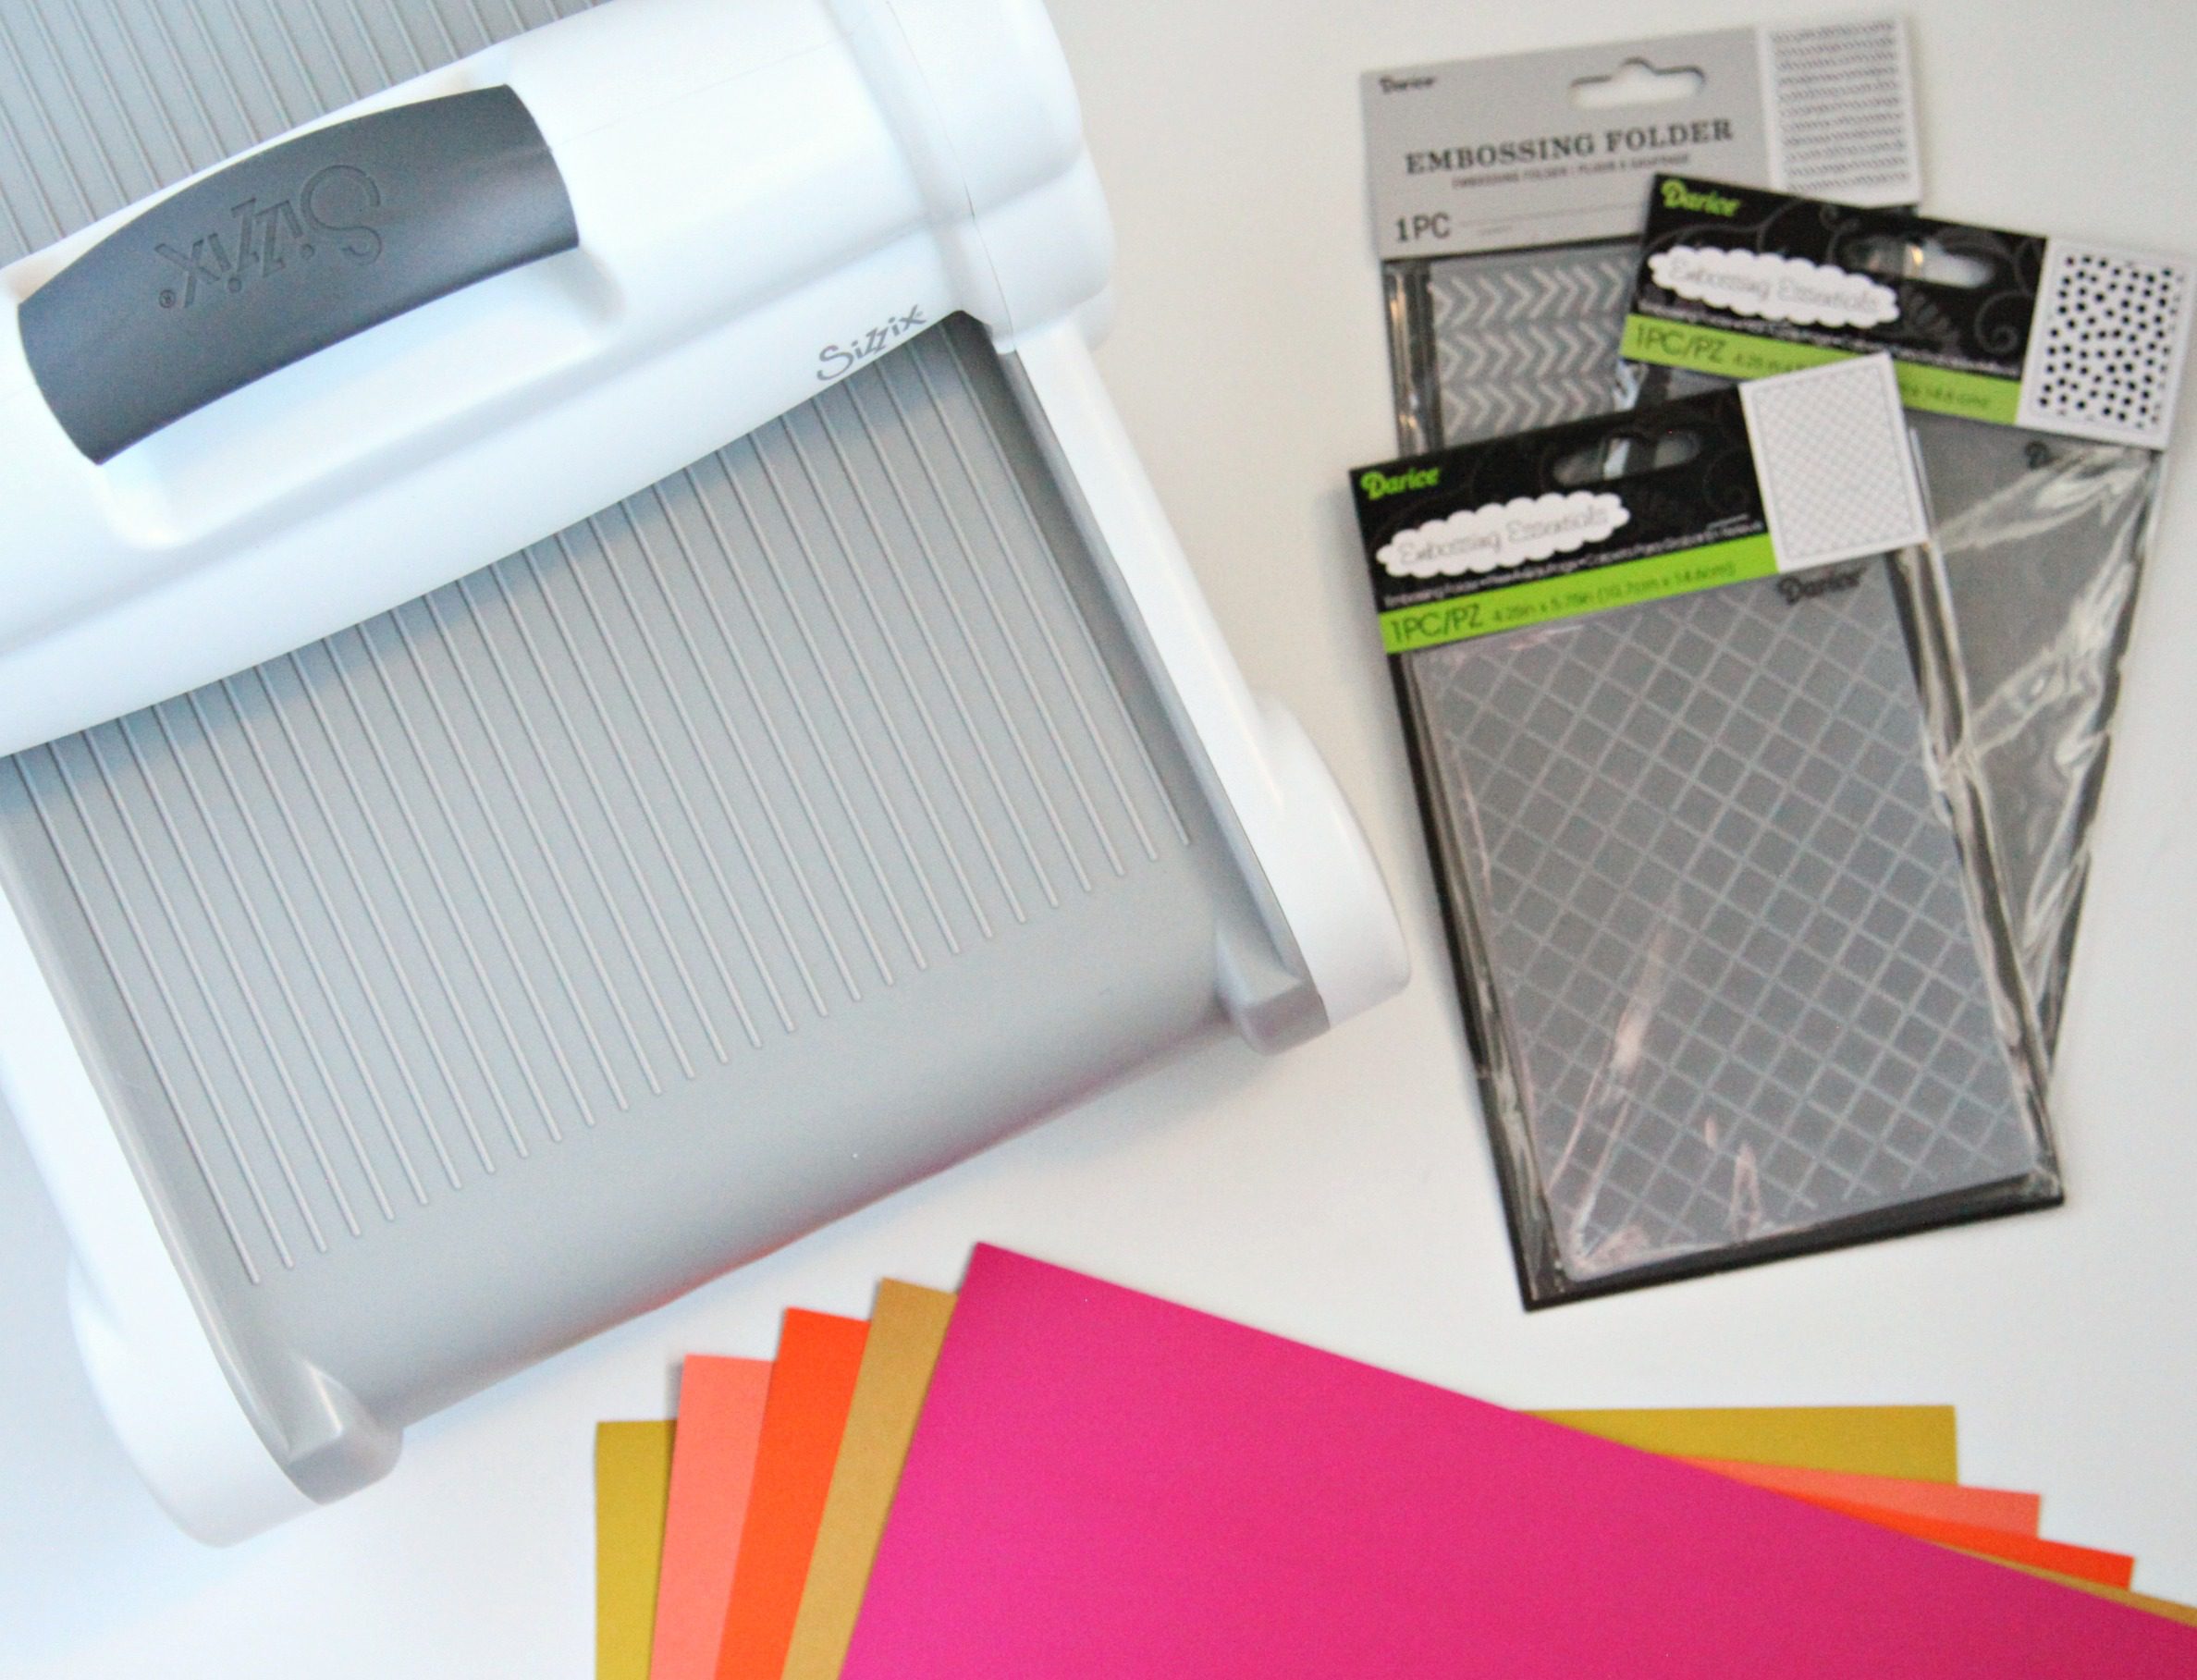
Supplies needed to make your own DIY Embossed Pie Slice Boxes
Colored cardstock
Heavy cardstock
Sizzix Big Shot
Bone folding tool
Embossing folders
Adhesive
Baker’s twine

How to make your own DIY Embossed Pie Slice Boxes
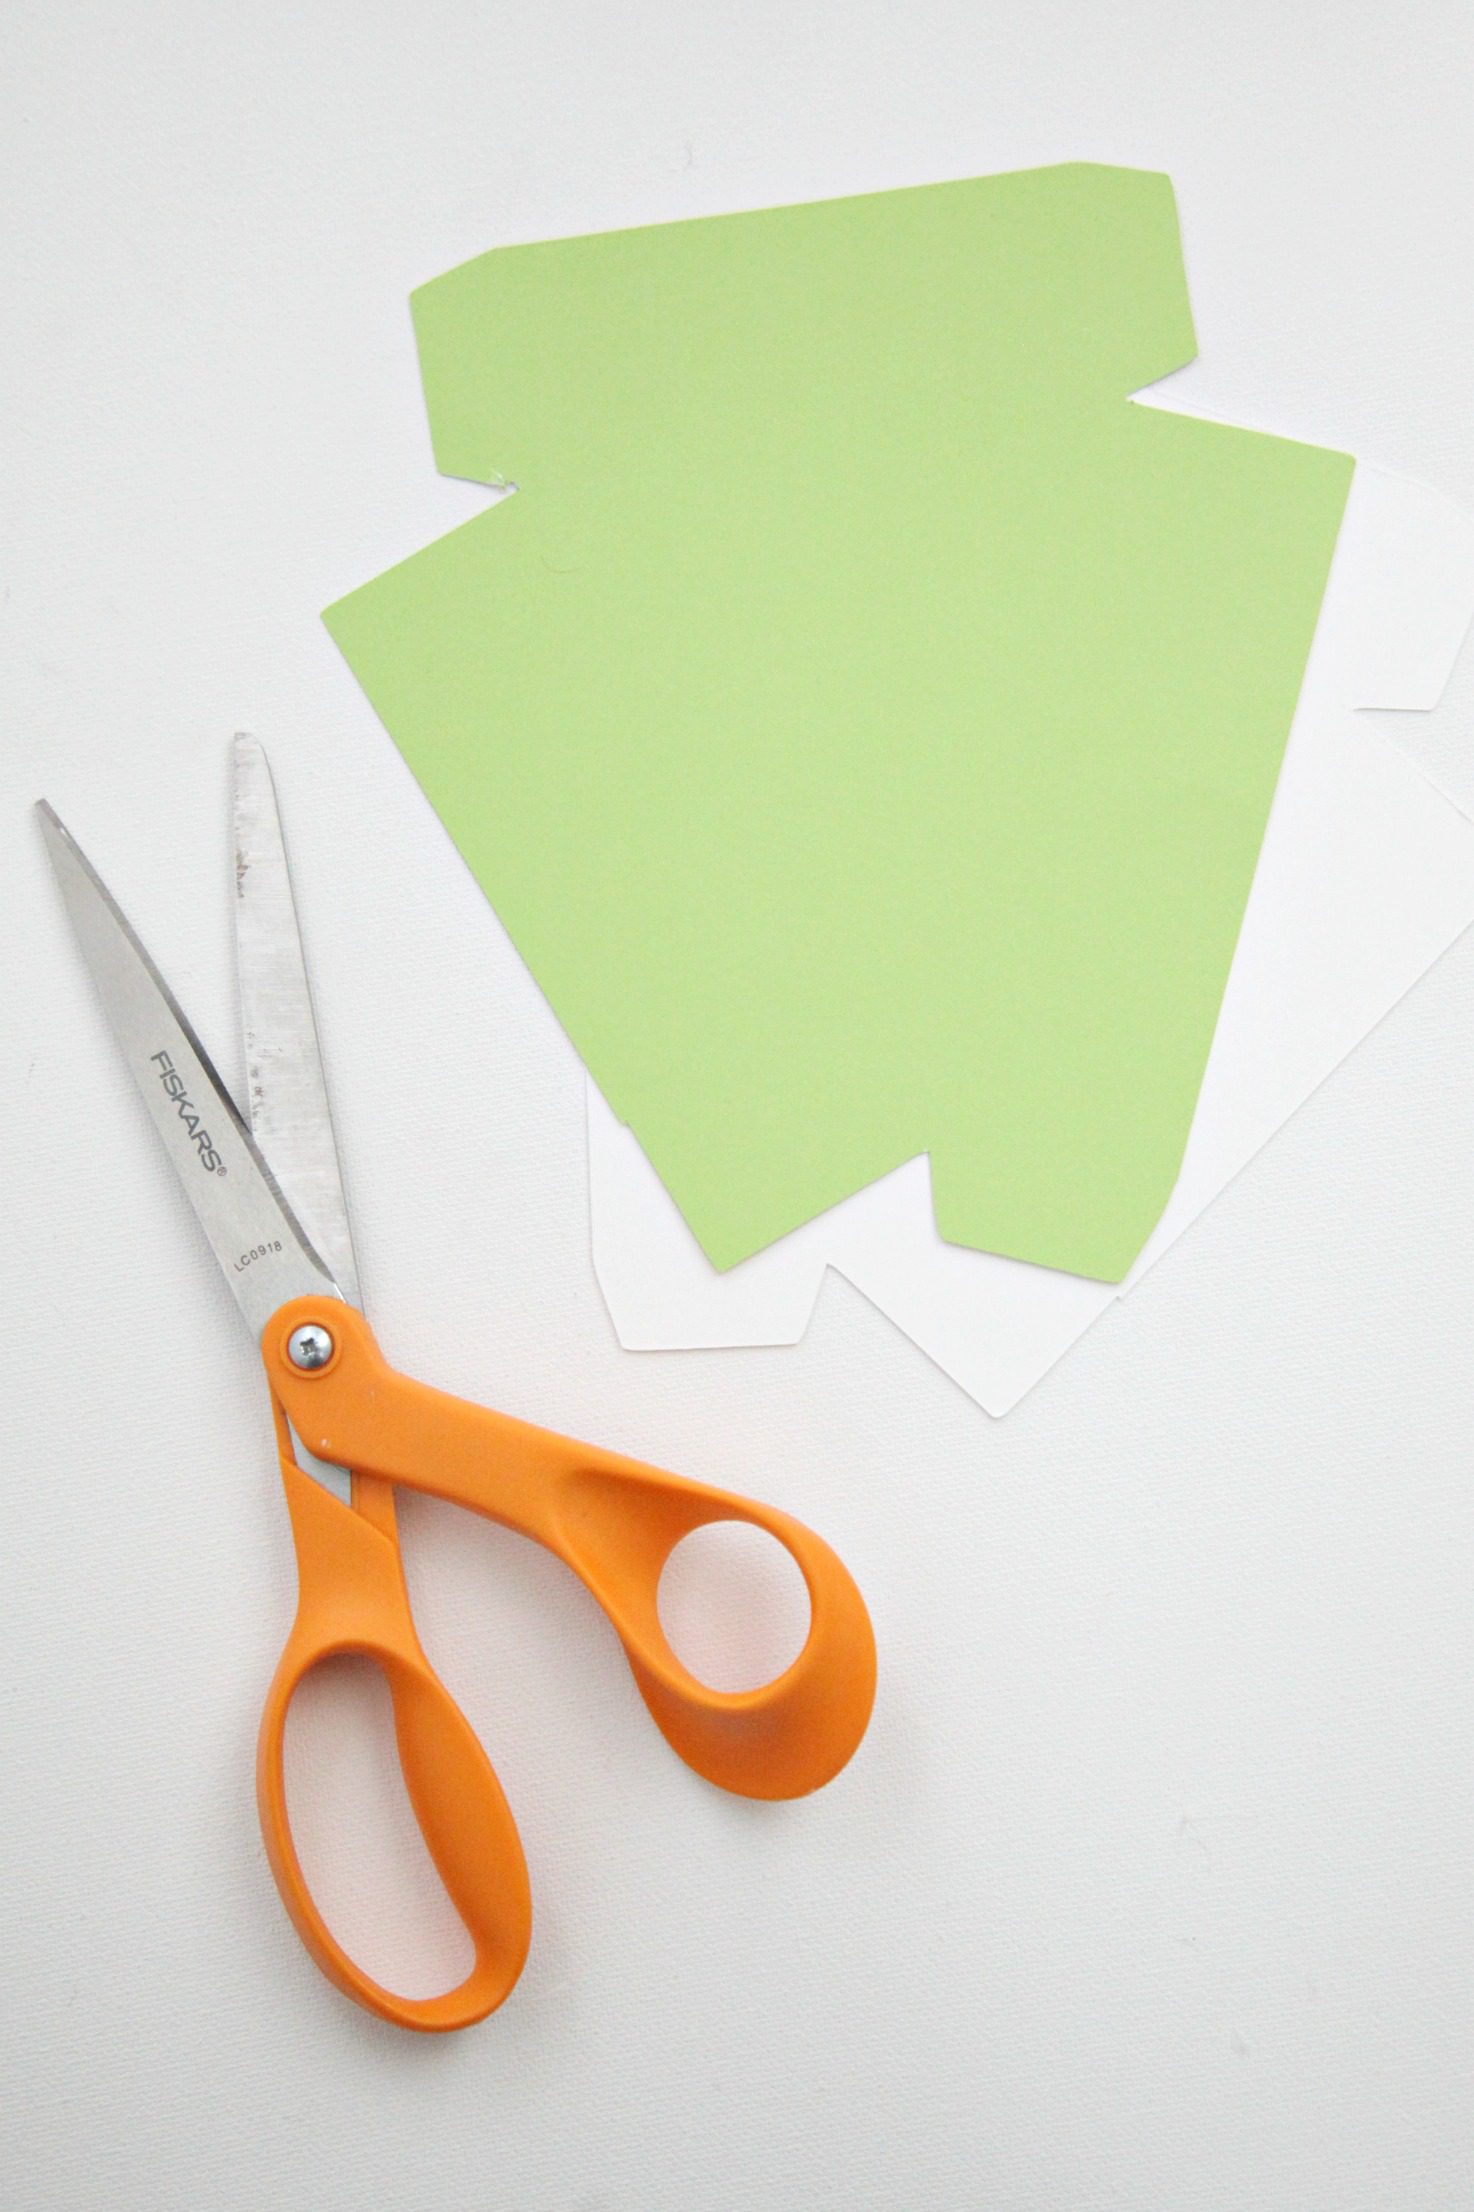
Step 1: Cut the cardstock using the pie slice box template. You will need two pieces for each pie slice box. I used a heavy cardstock for the bottom of the box and a colored (lighter weight) cardstock for the top. Note: I like to cut the heavy cardstock piece slightly smaller than the colored so it will easily fit inside.

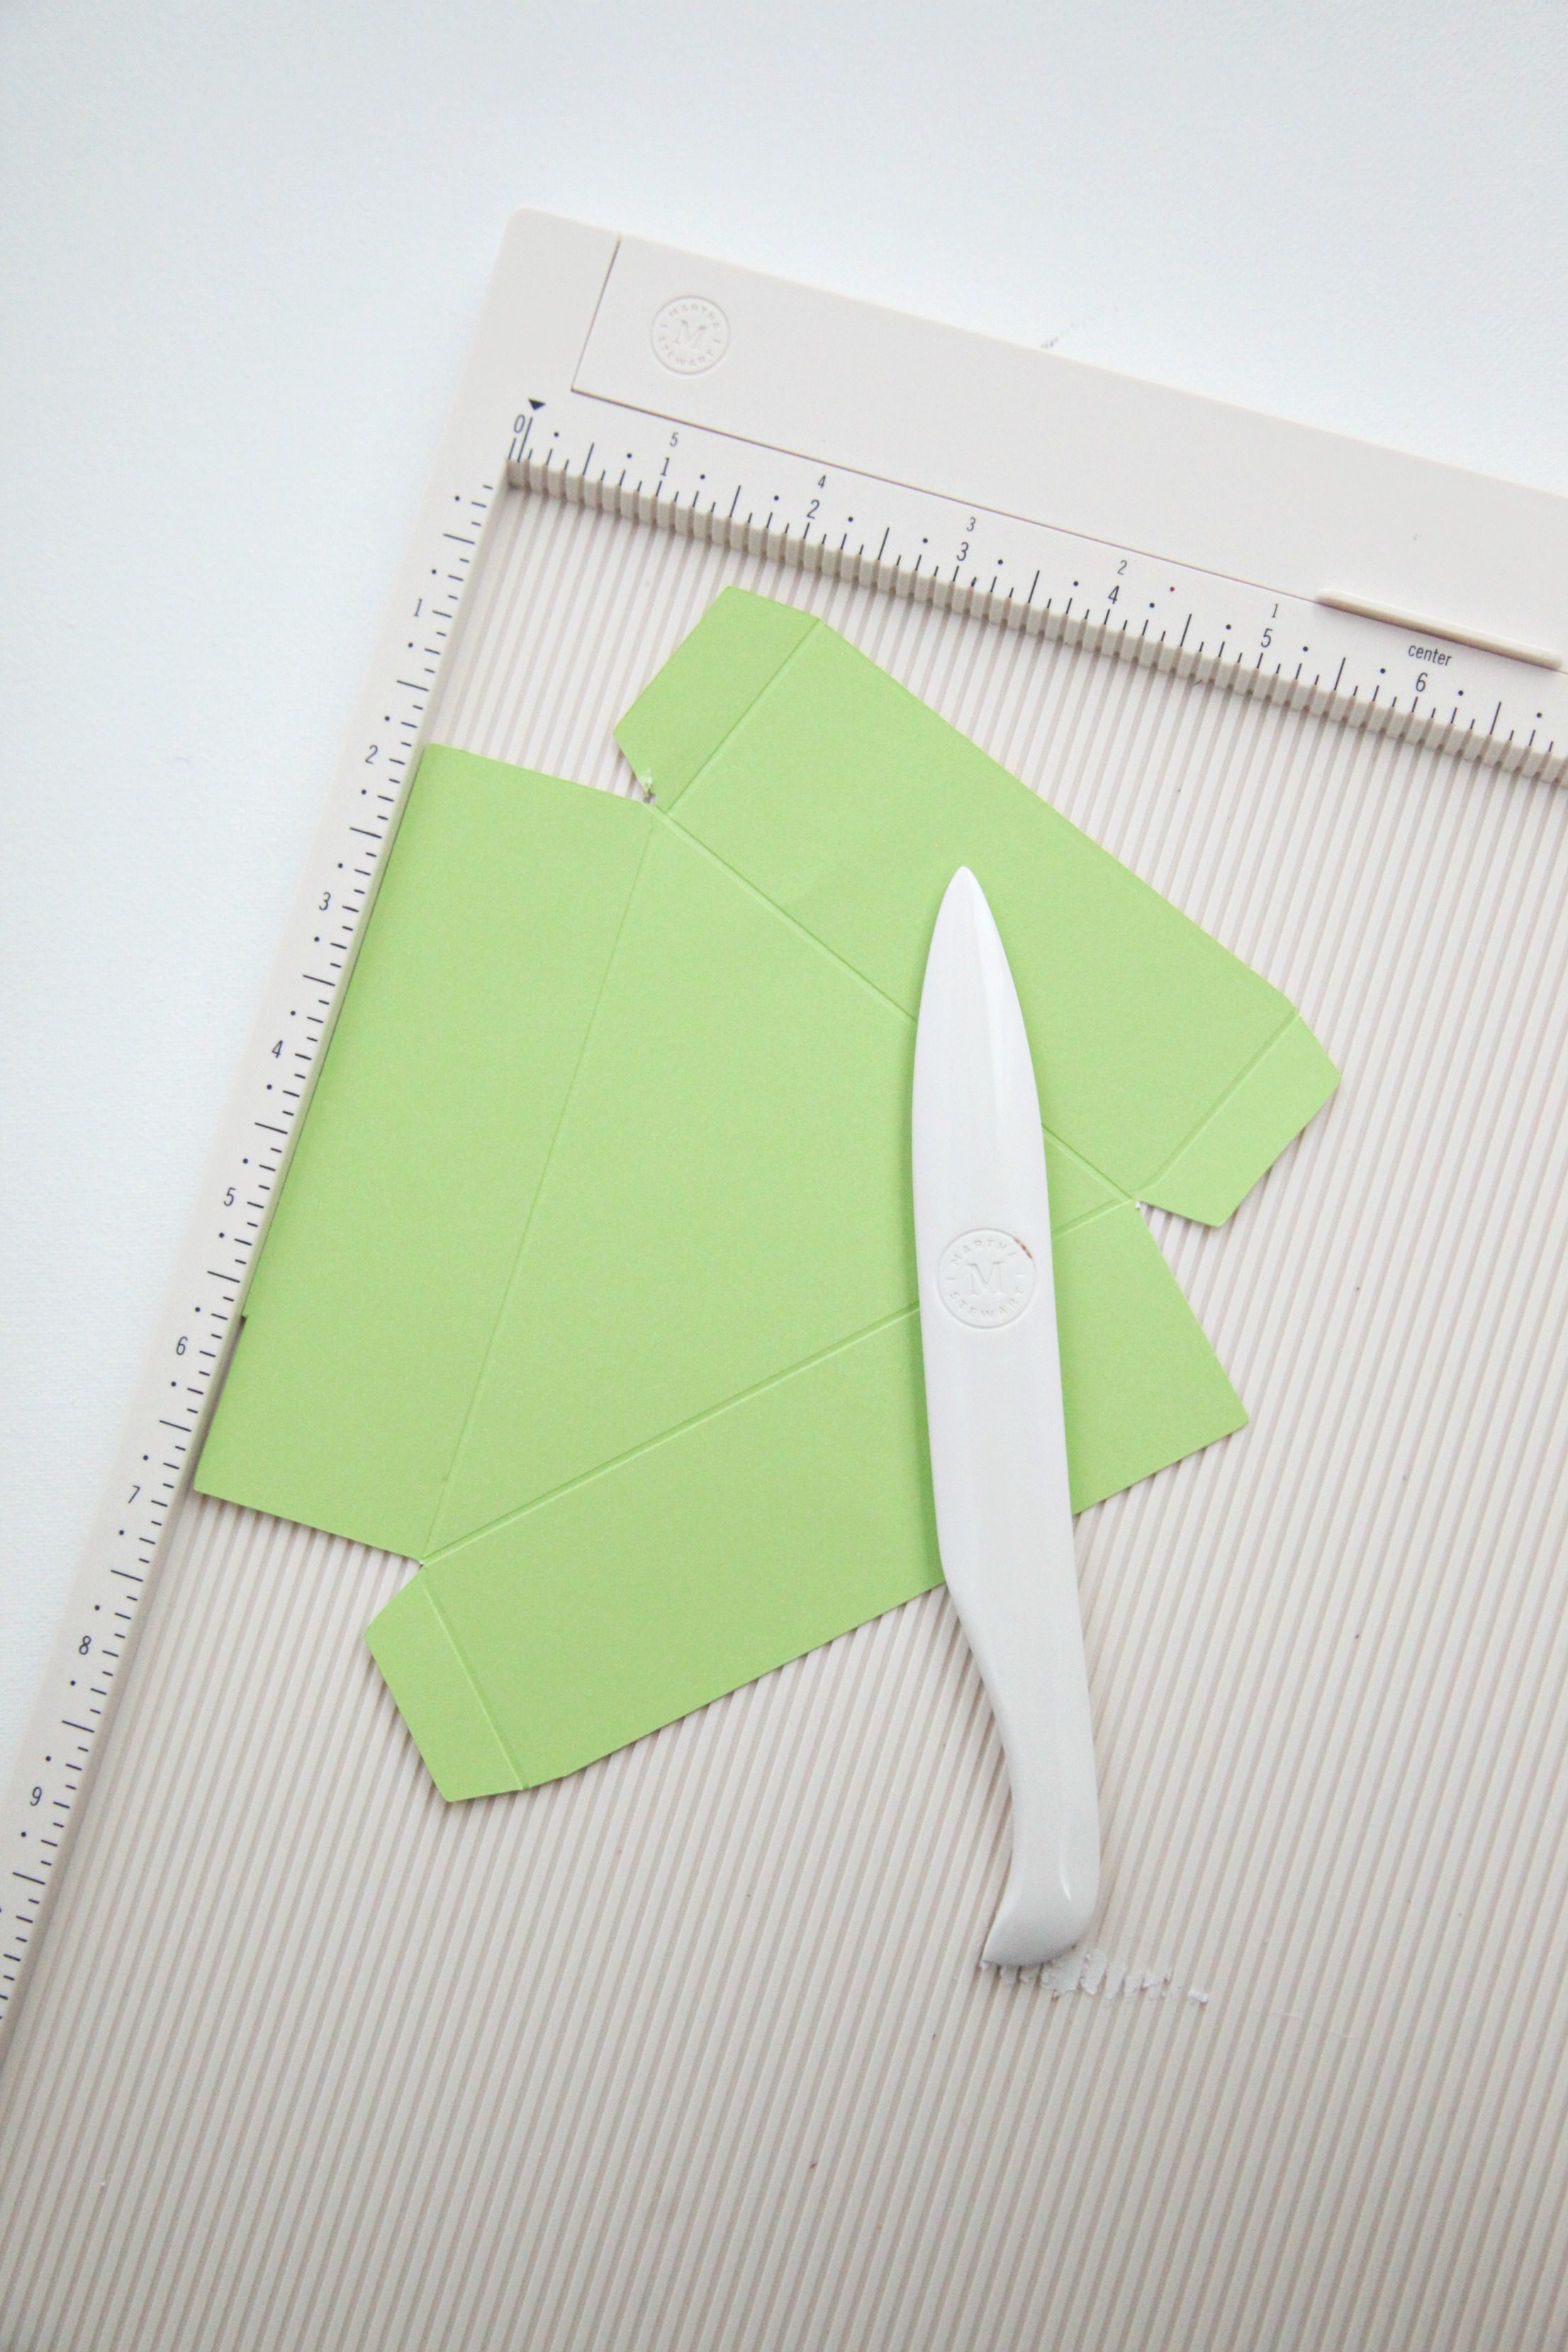
Step 2: Score the cardstock where the dotted lines are on the pie slice box template by running the folding tool along the side of a ruler. This will make your box super easy to fold.

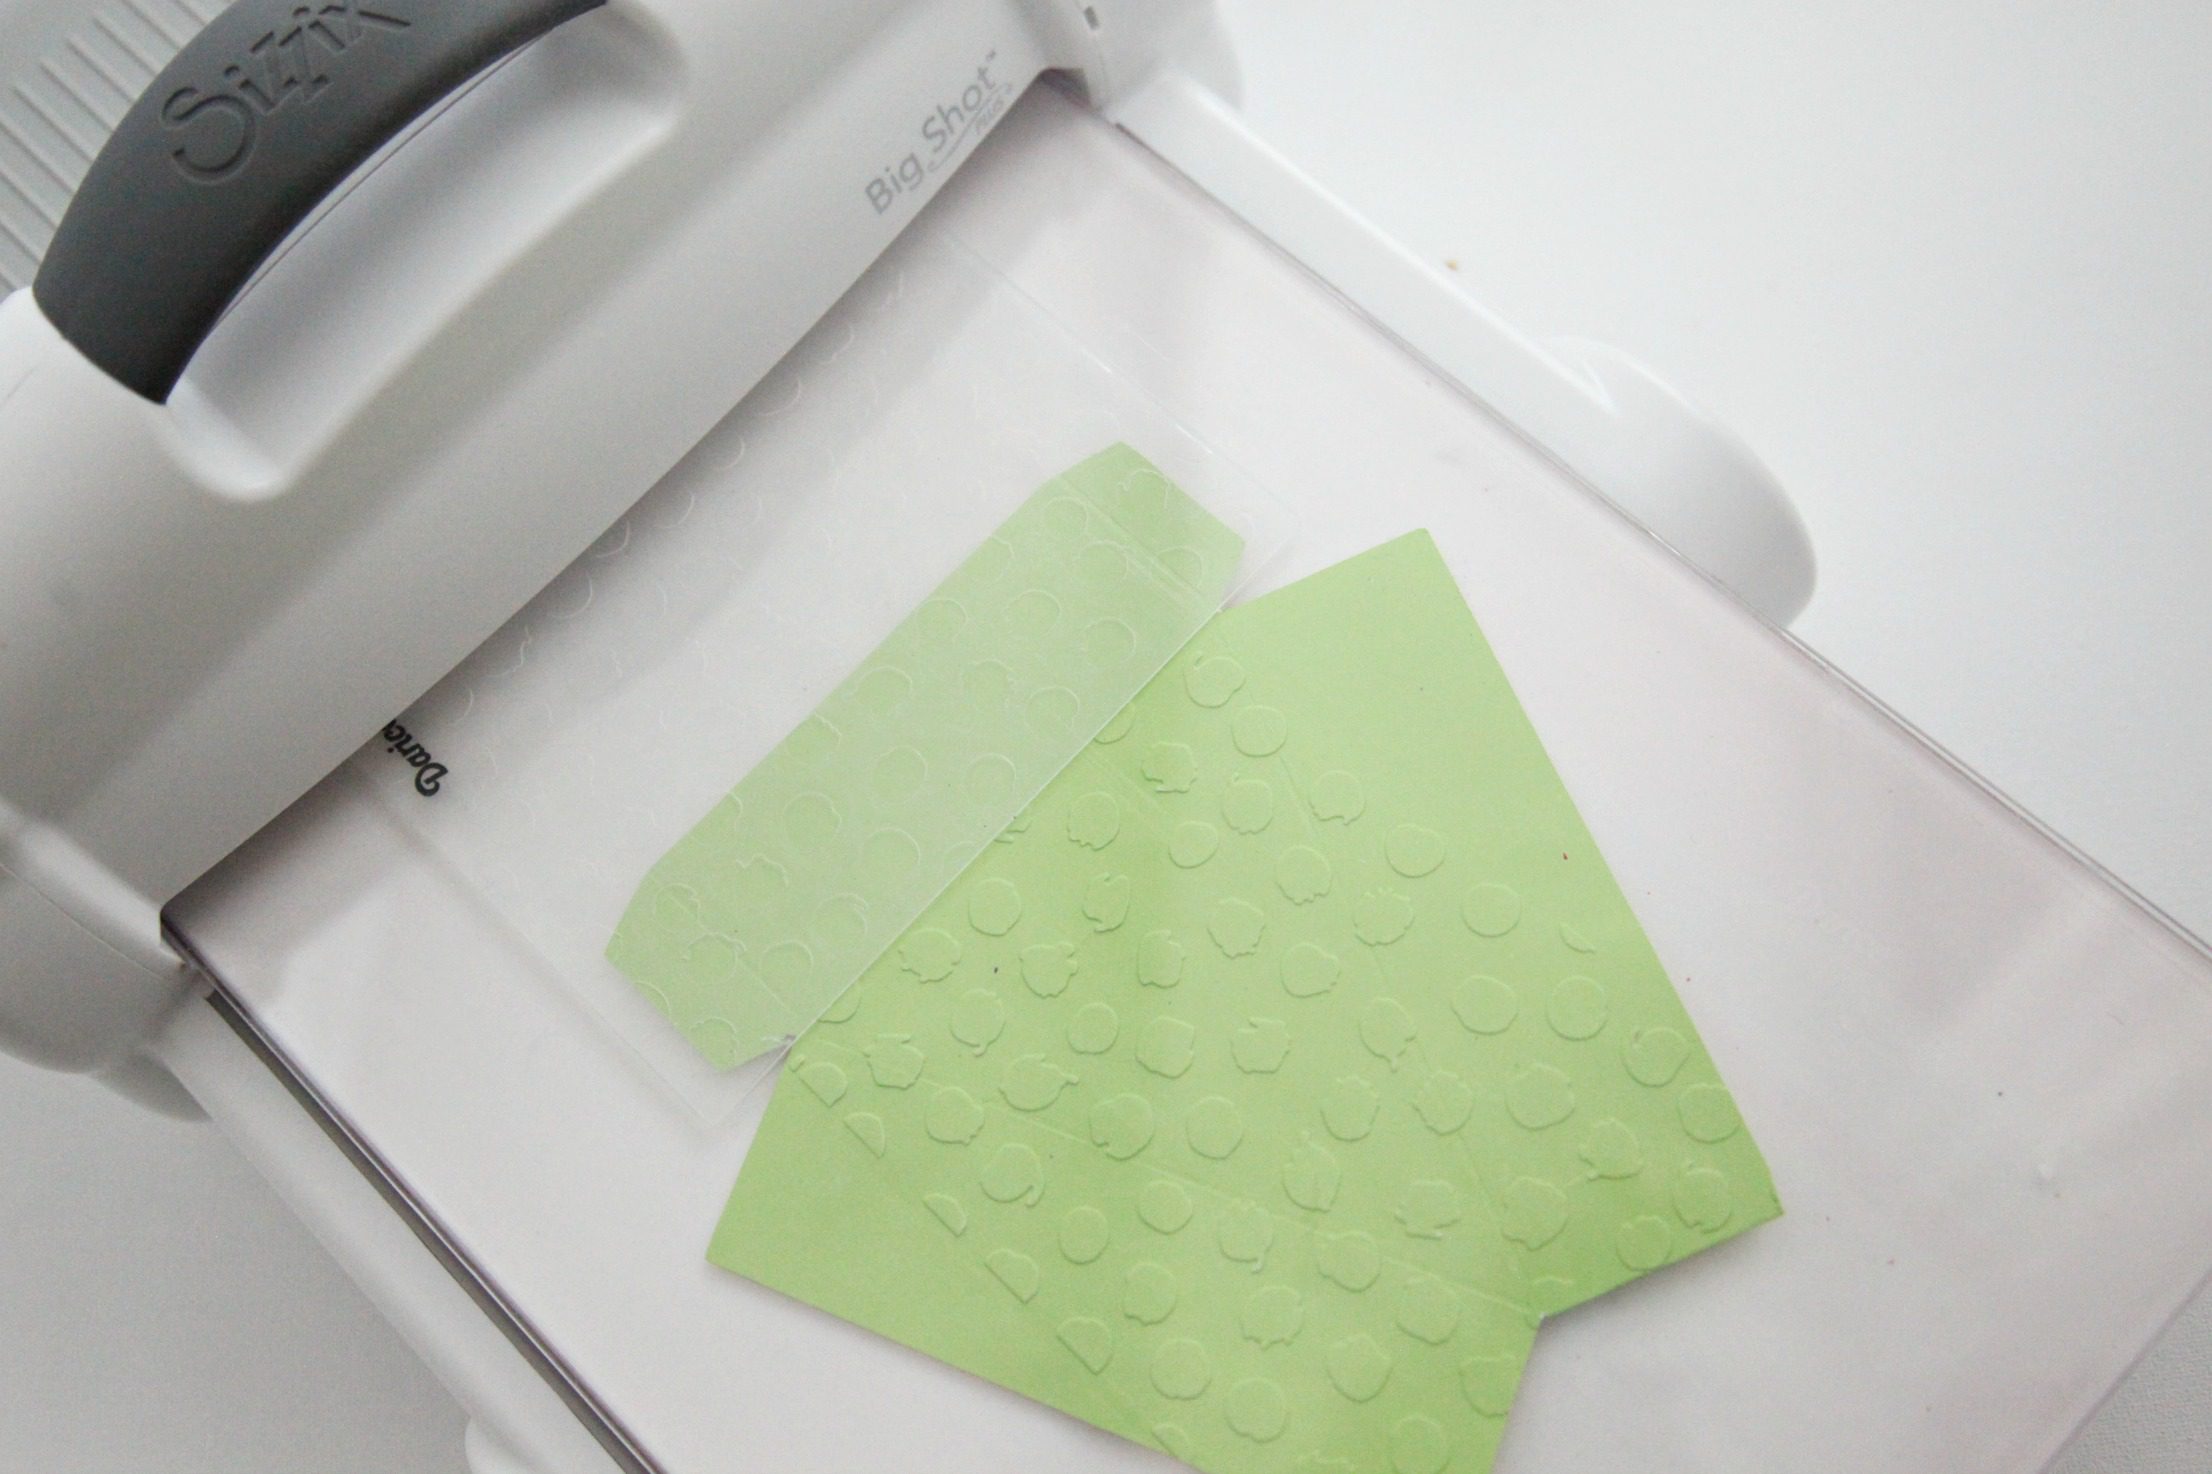
Step 3: Run the colored cardstock pieces through the Sizzix Big Shot Plus (or another embossing tool), using the embossing folders of your choice. Reposition the folders and run through a few times to emboss the whole piece.

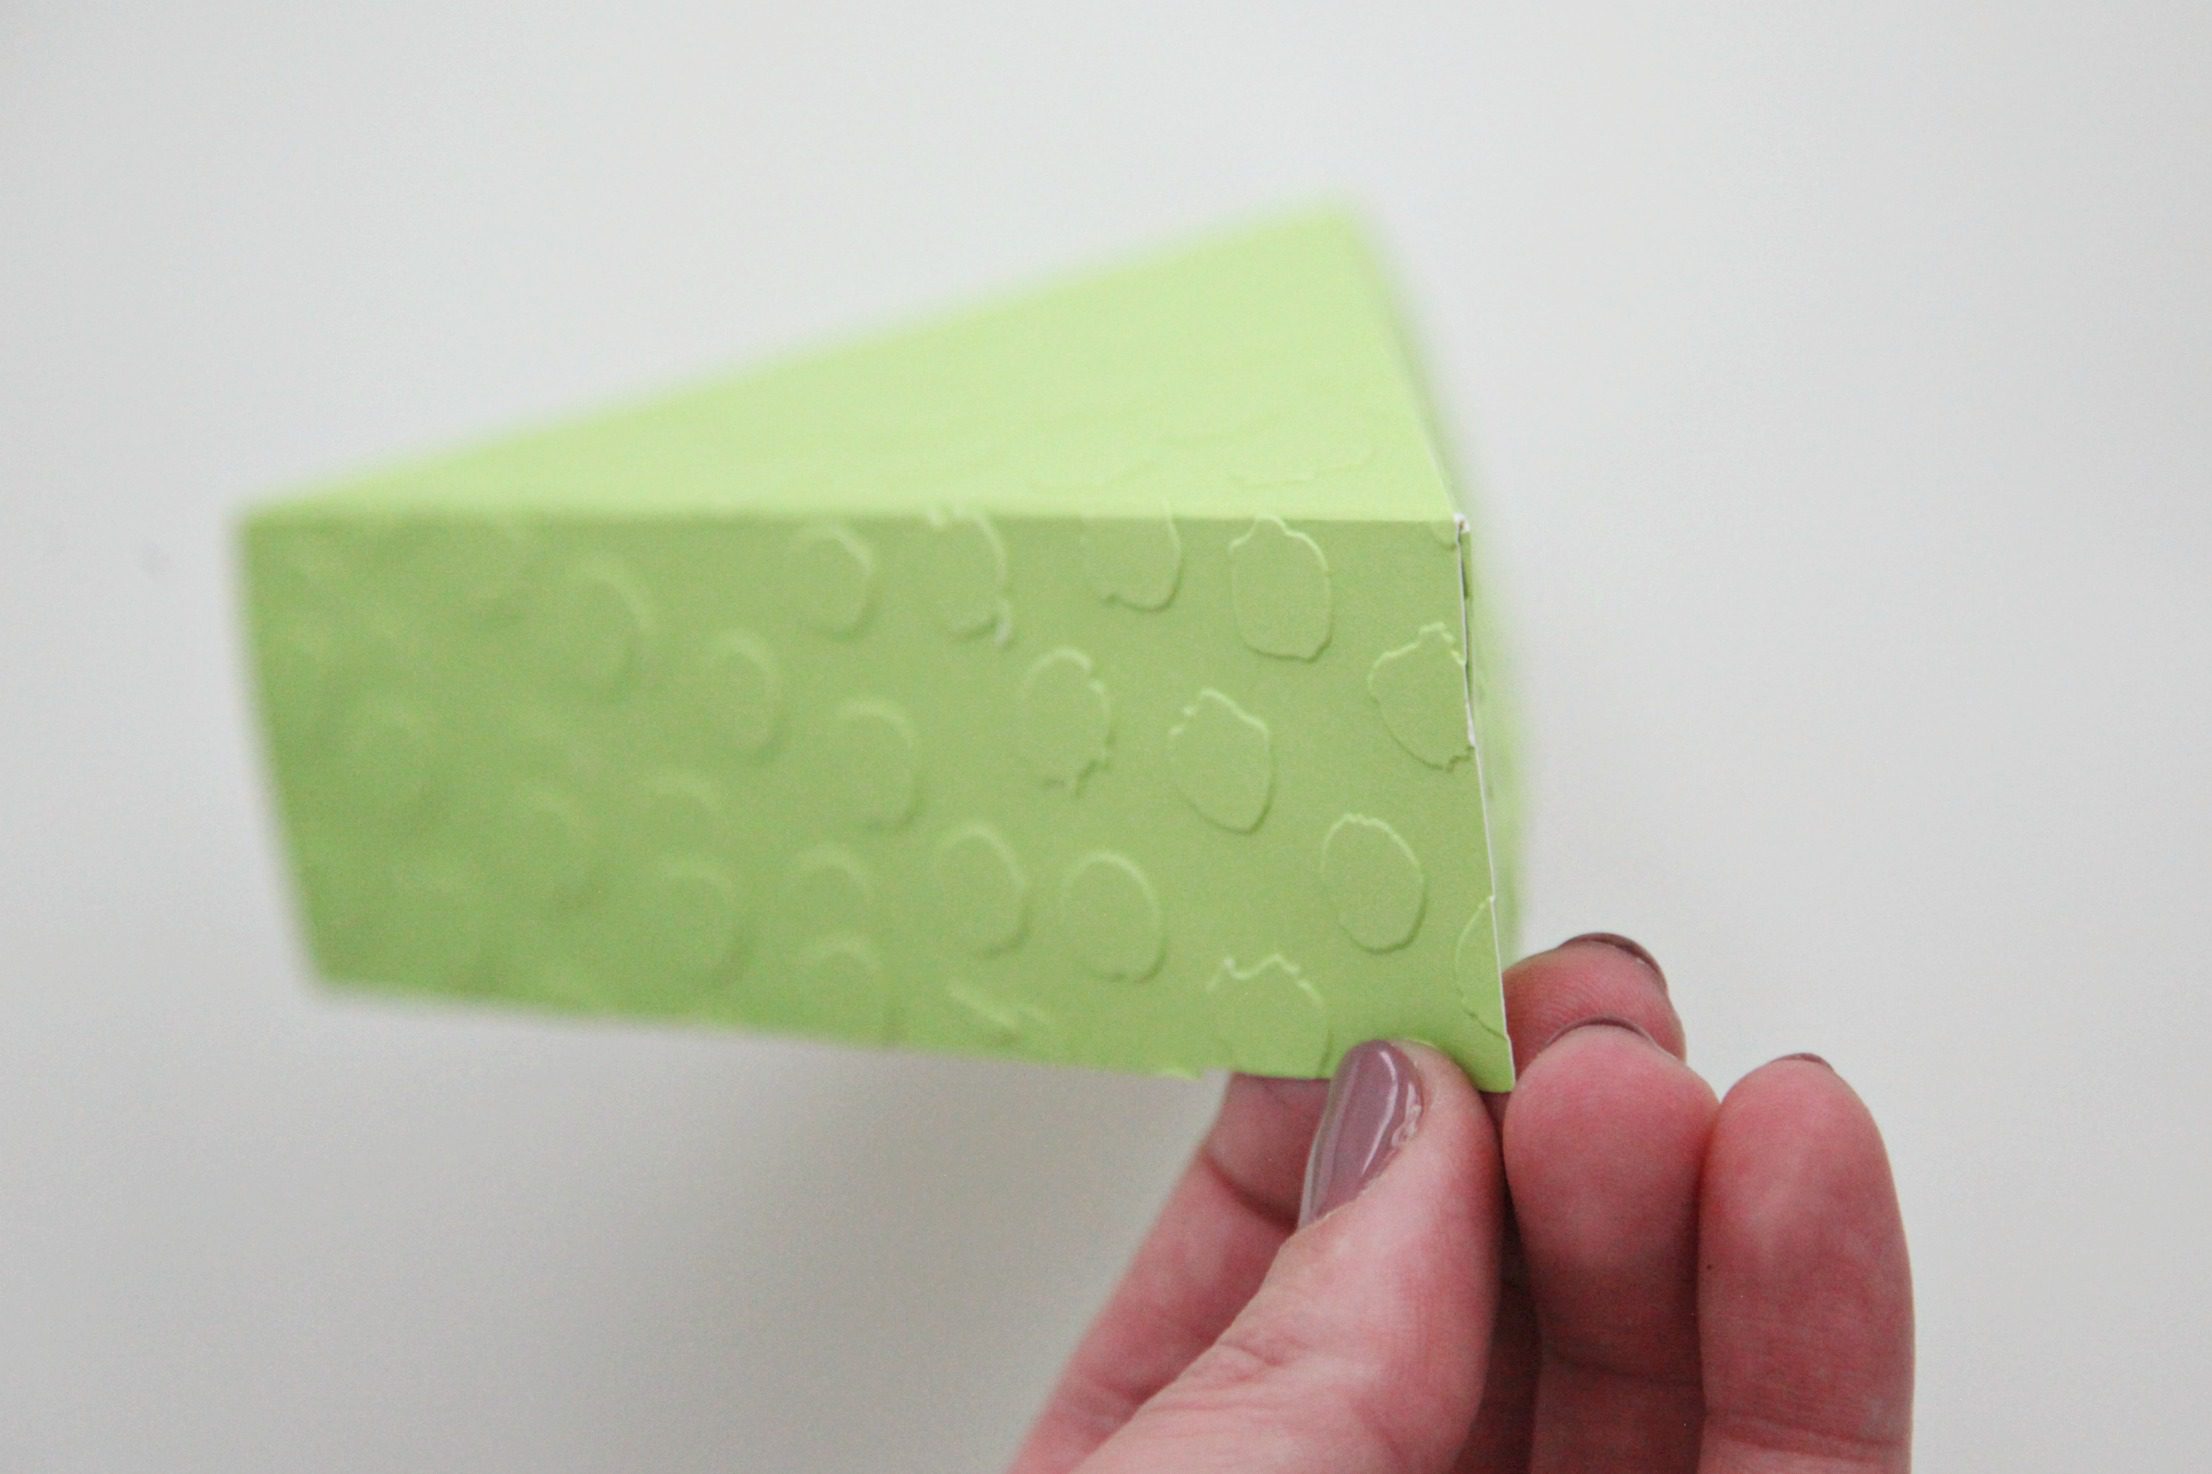
Step 4: Fold at the scoring lines. Apply adhesive to the tabs, and assemble the boxes.

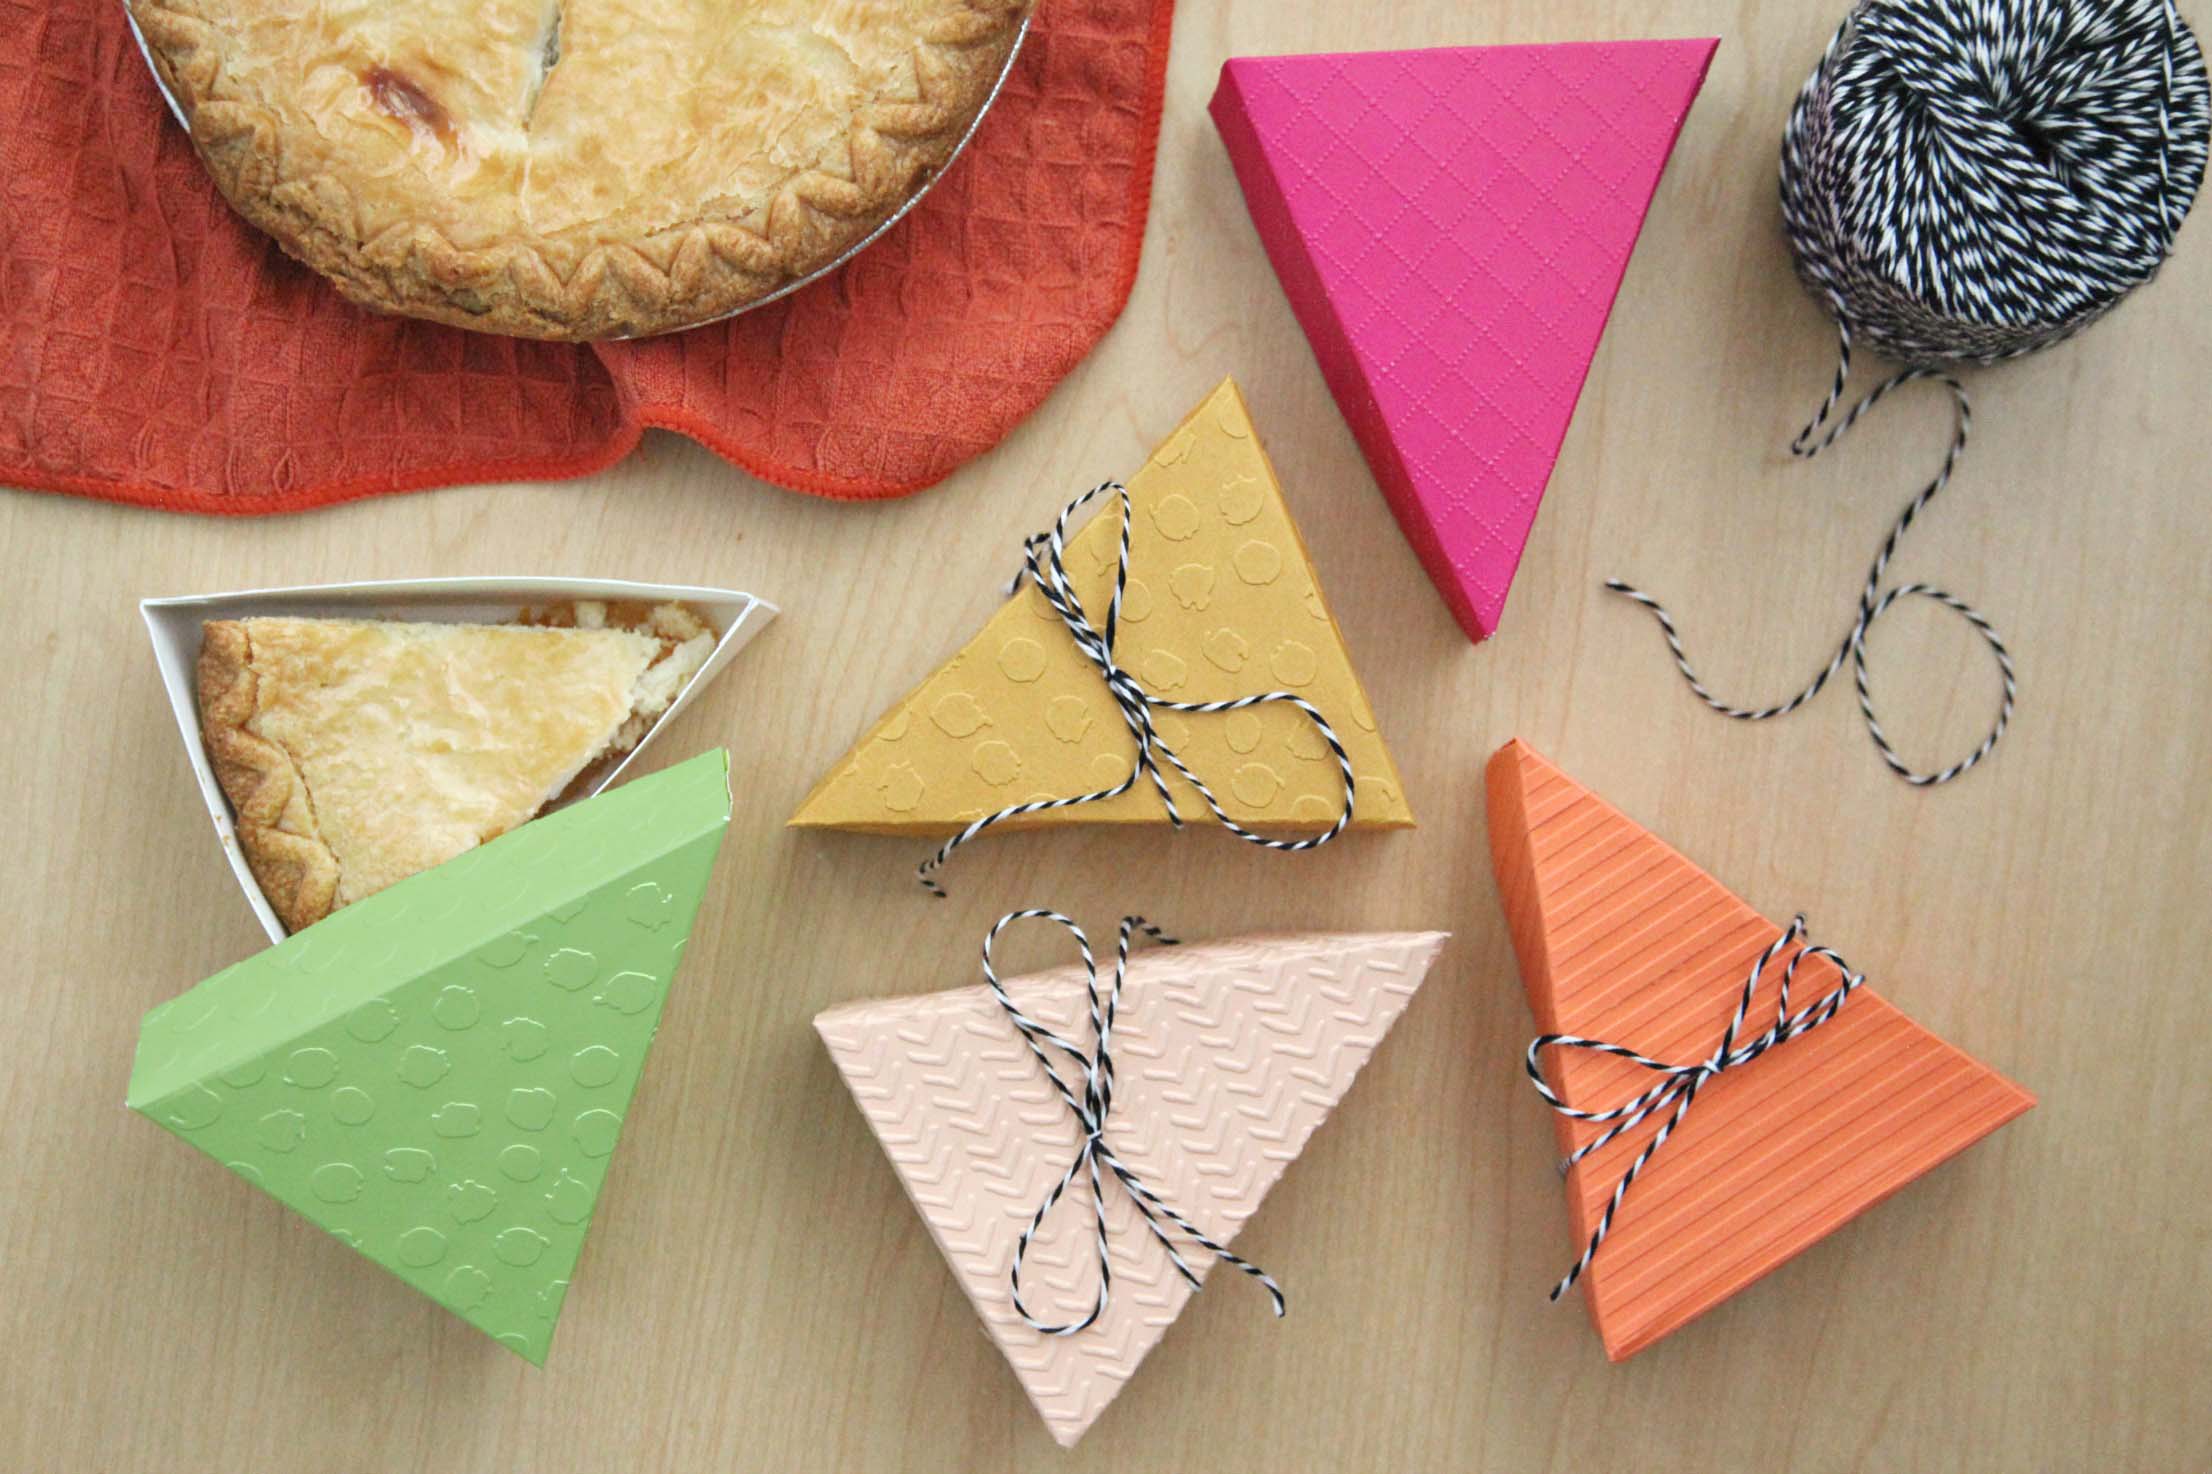
Add pie and baker’s twine, and you have the cutest to-go pie boxes your guests are sure to love!






Happy crafting (and eating)!
xo, Sam


