This post was originally published September 2019 and updated as of August 2022.
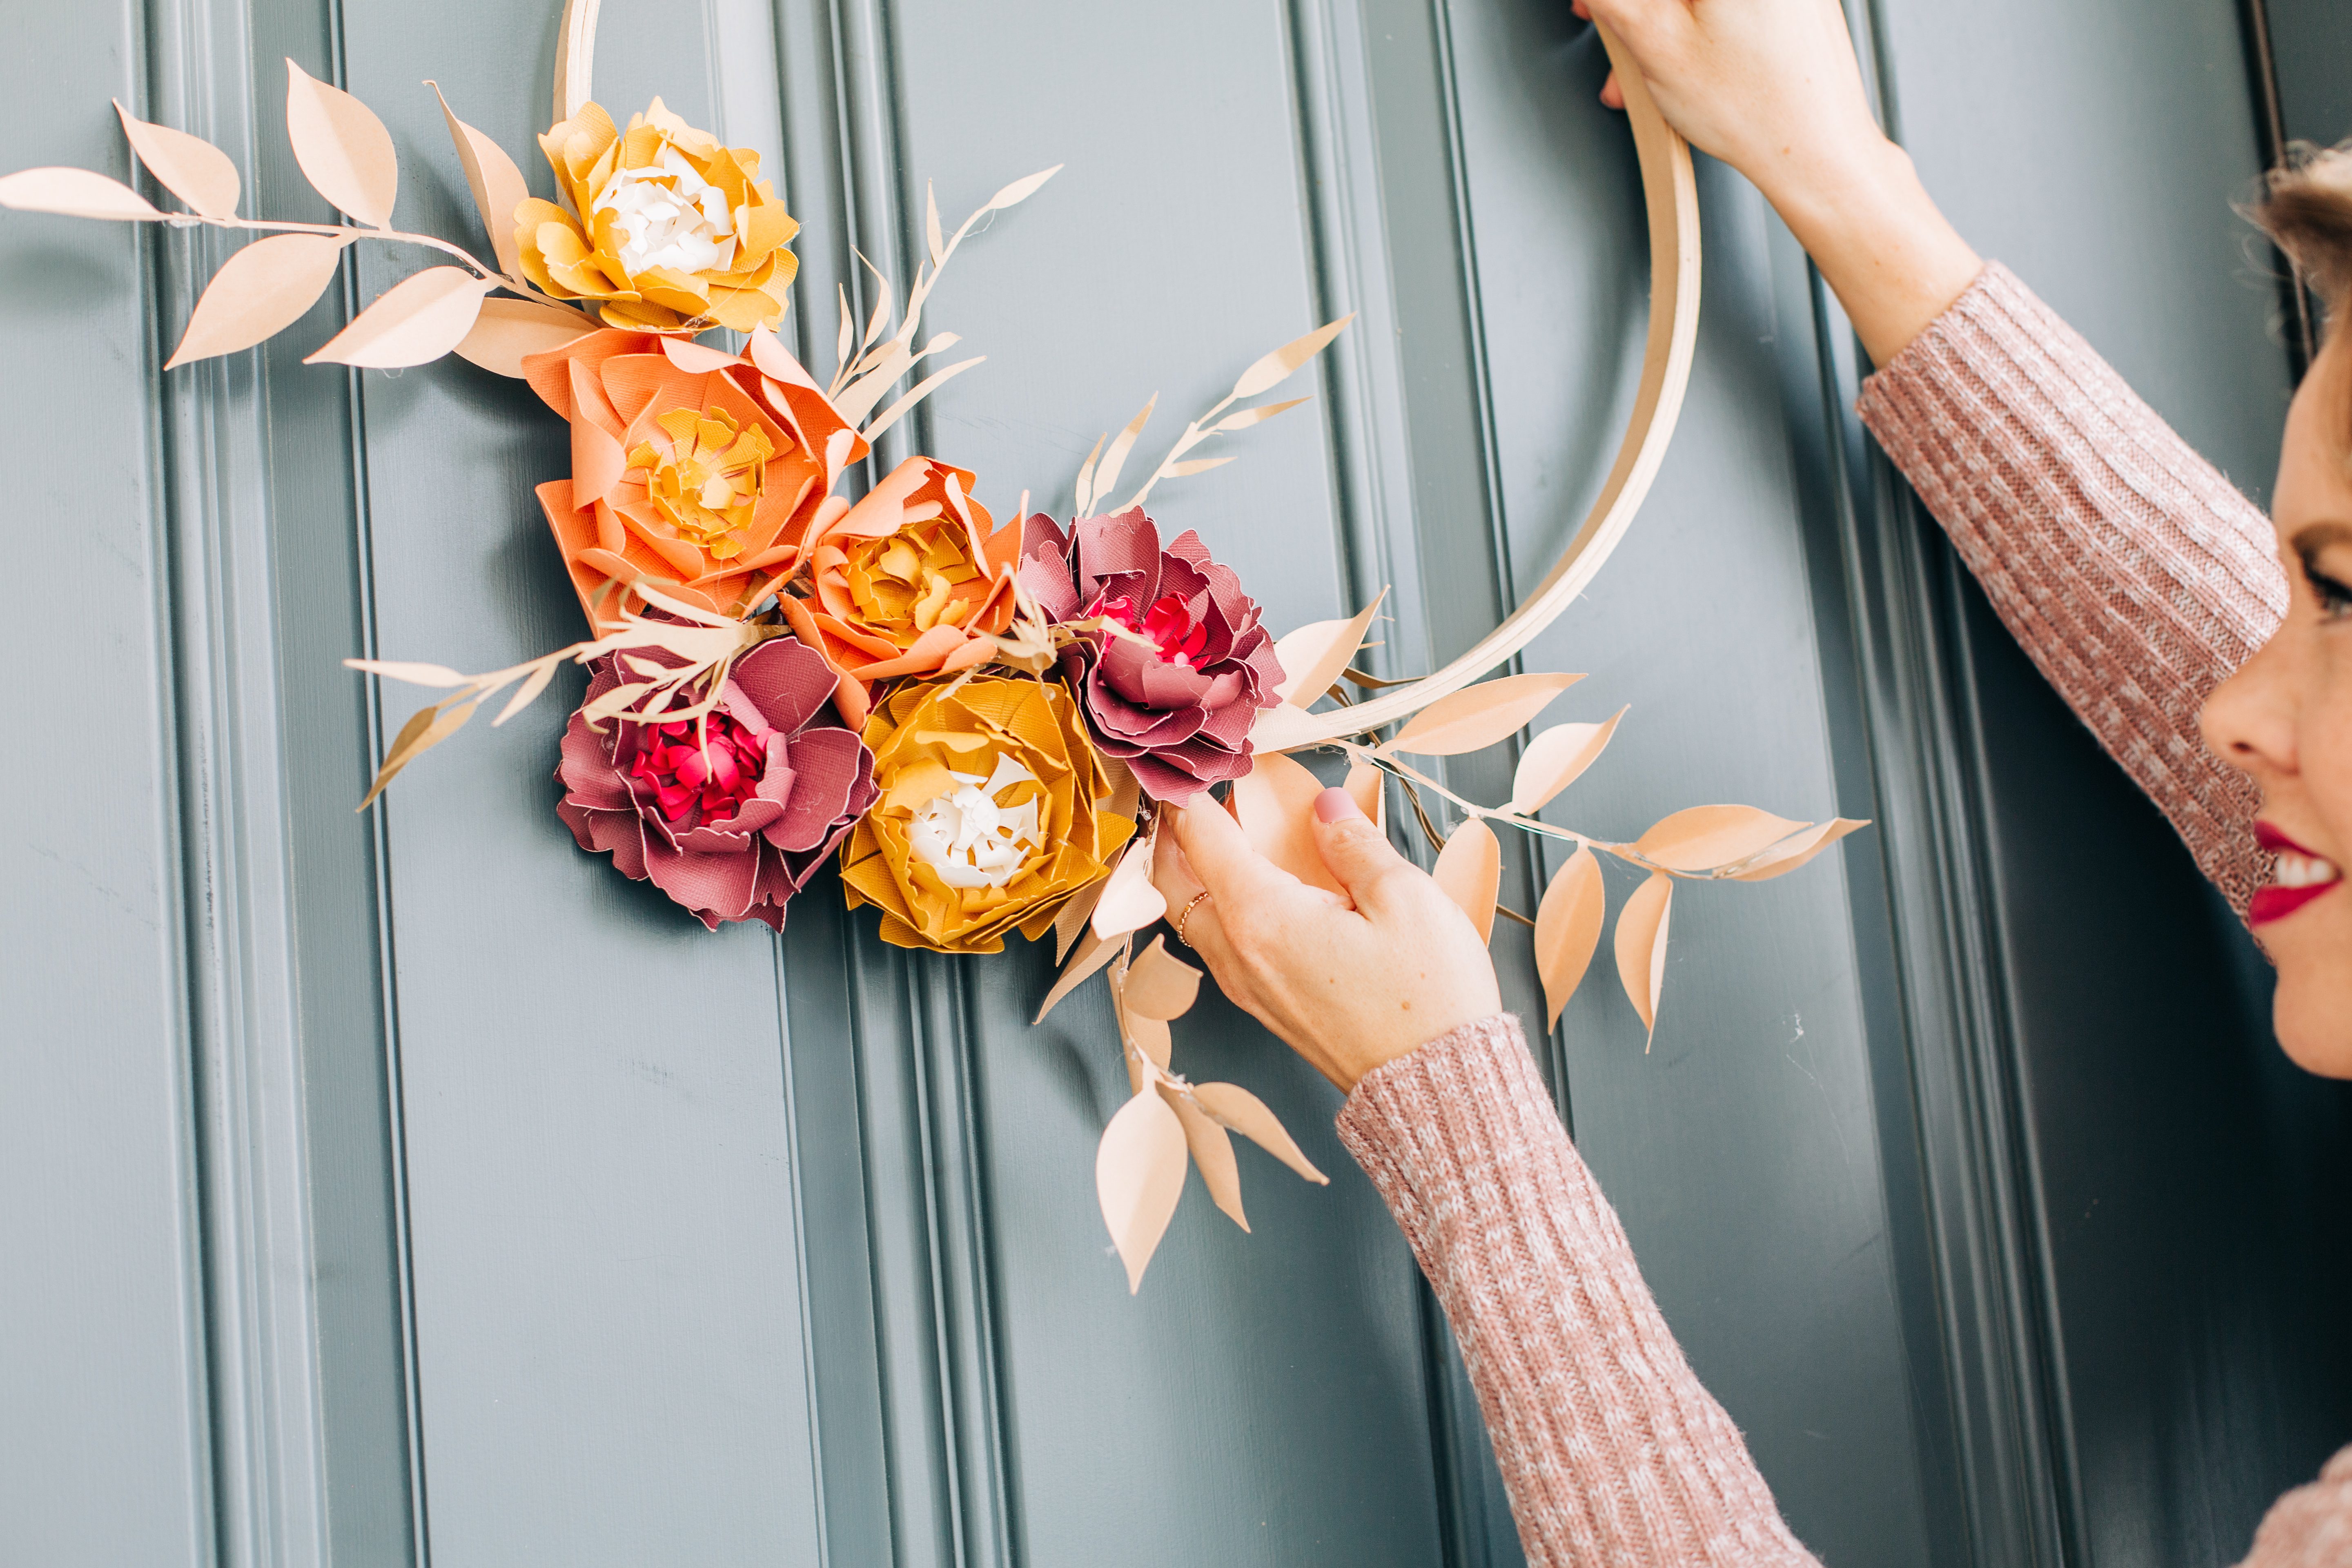
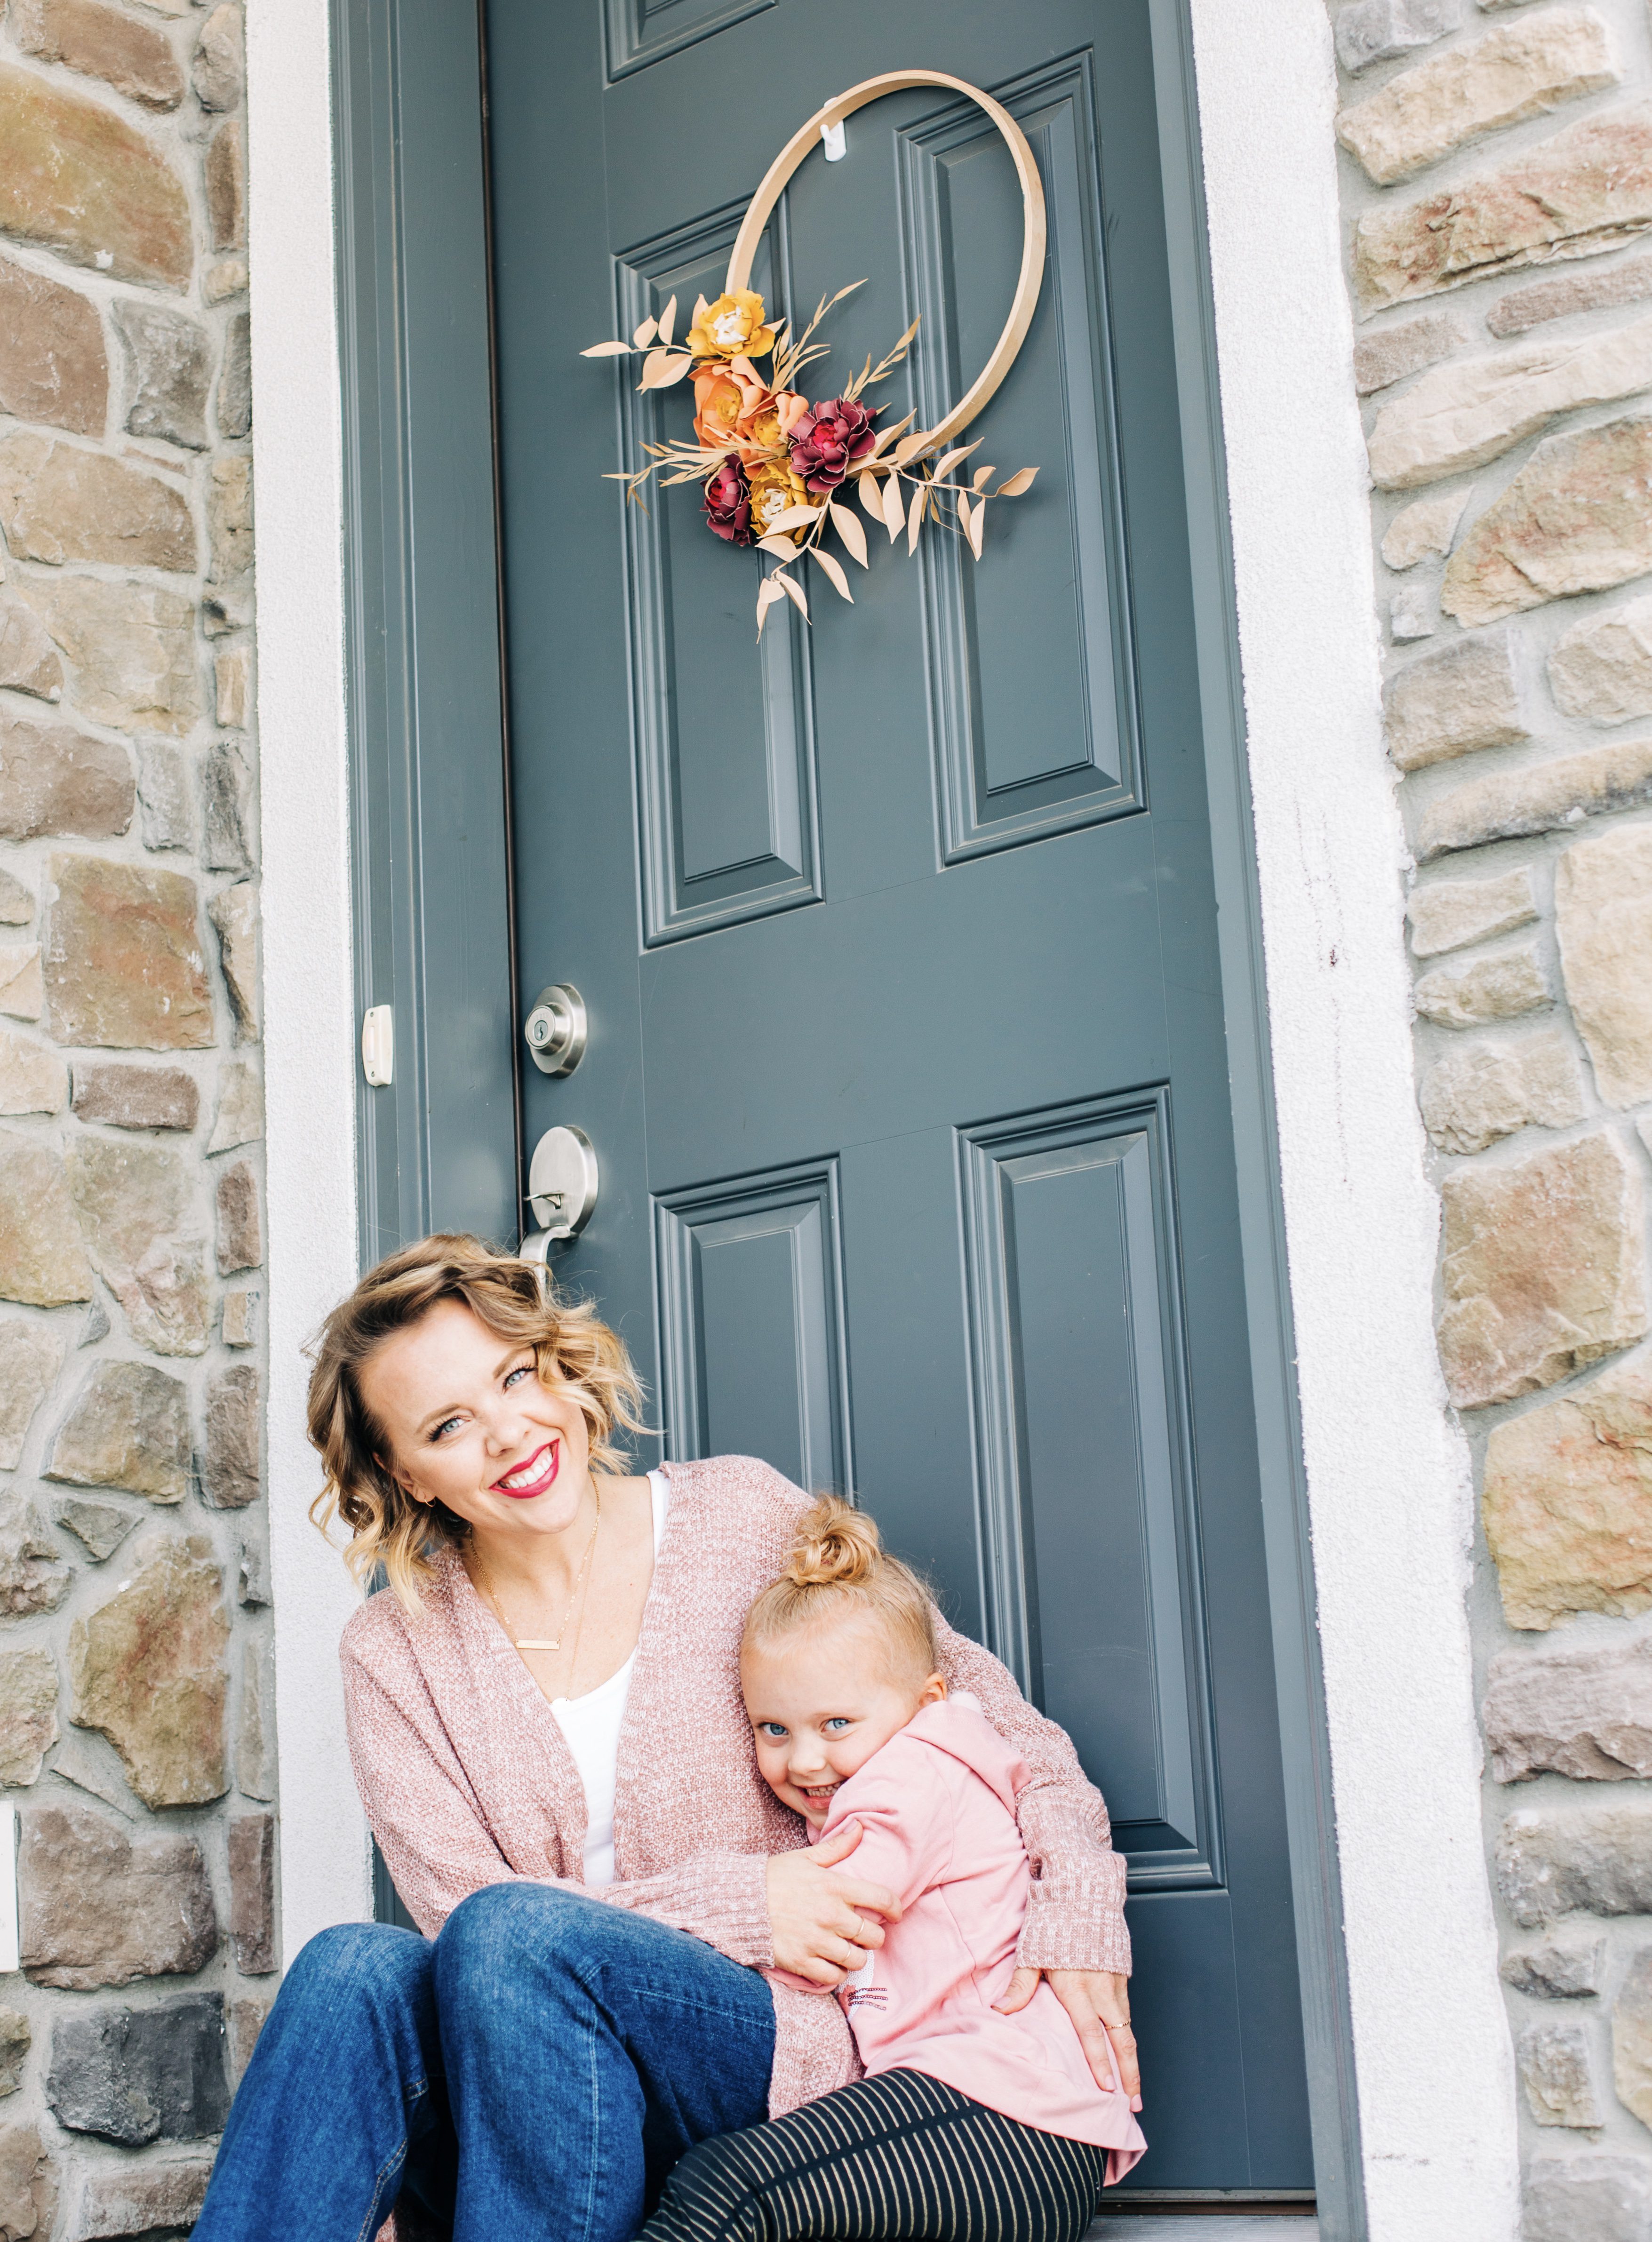
This DIY Paper Flower Wreath is the perfect way to embellish your front door for fall! Keep scrolling for the full embroidery hoop wreath tutorial!

Paper Flower Embroidery Hoop Wreath Tutorial
If it wasn’t already on your radar then a quick swipe through what will surely be a pumpkin spice and leaf-covered Instagram feed will certainly inform you that it is now officially FALL!
This year I feel particularly excited for the season since last year during this time we were living in the gulf coast where things go from hot to hotter and back to hot, robbing you of fire-colored mountains, chilly sweater weather and the sprawling pumpkin patches that we now have here in Utah.
With the change of the seasons, it’s definitely time to bring a few touches of fall into your home decor and one of my favorite ways to do that is by decorating the front door with a autumn wreath!
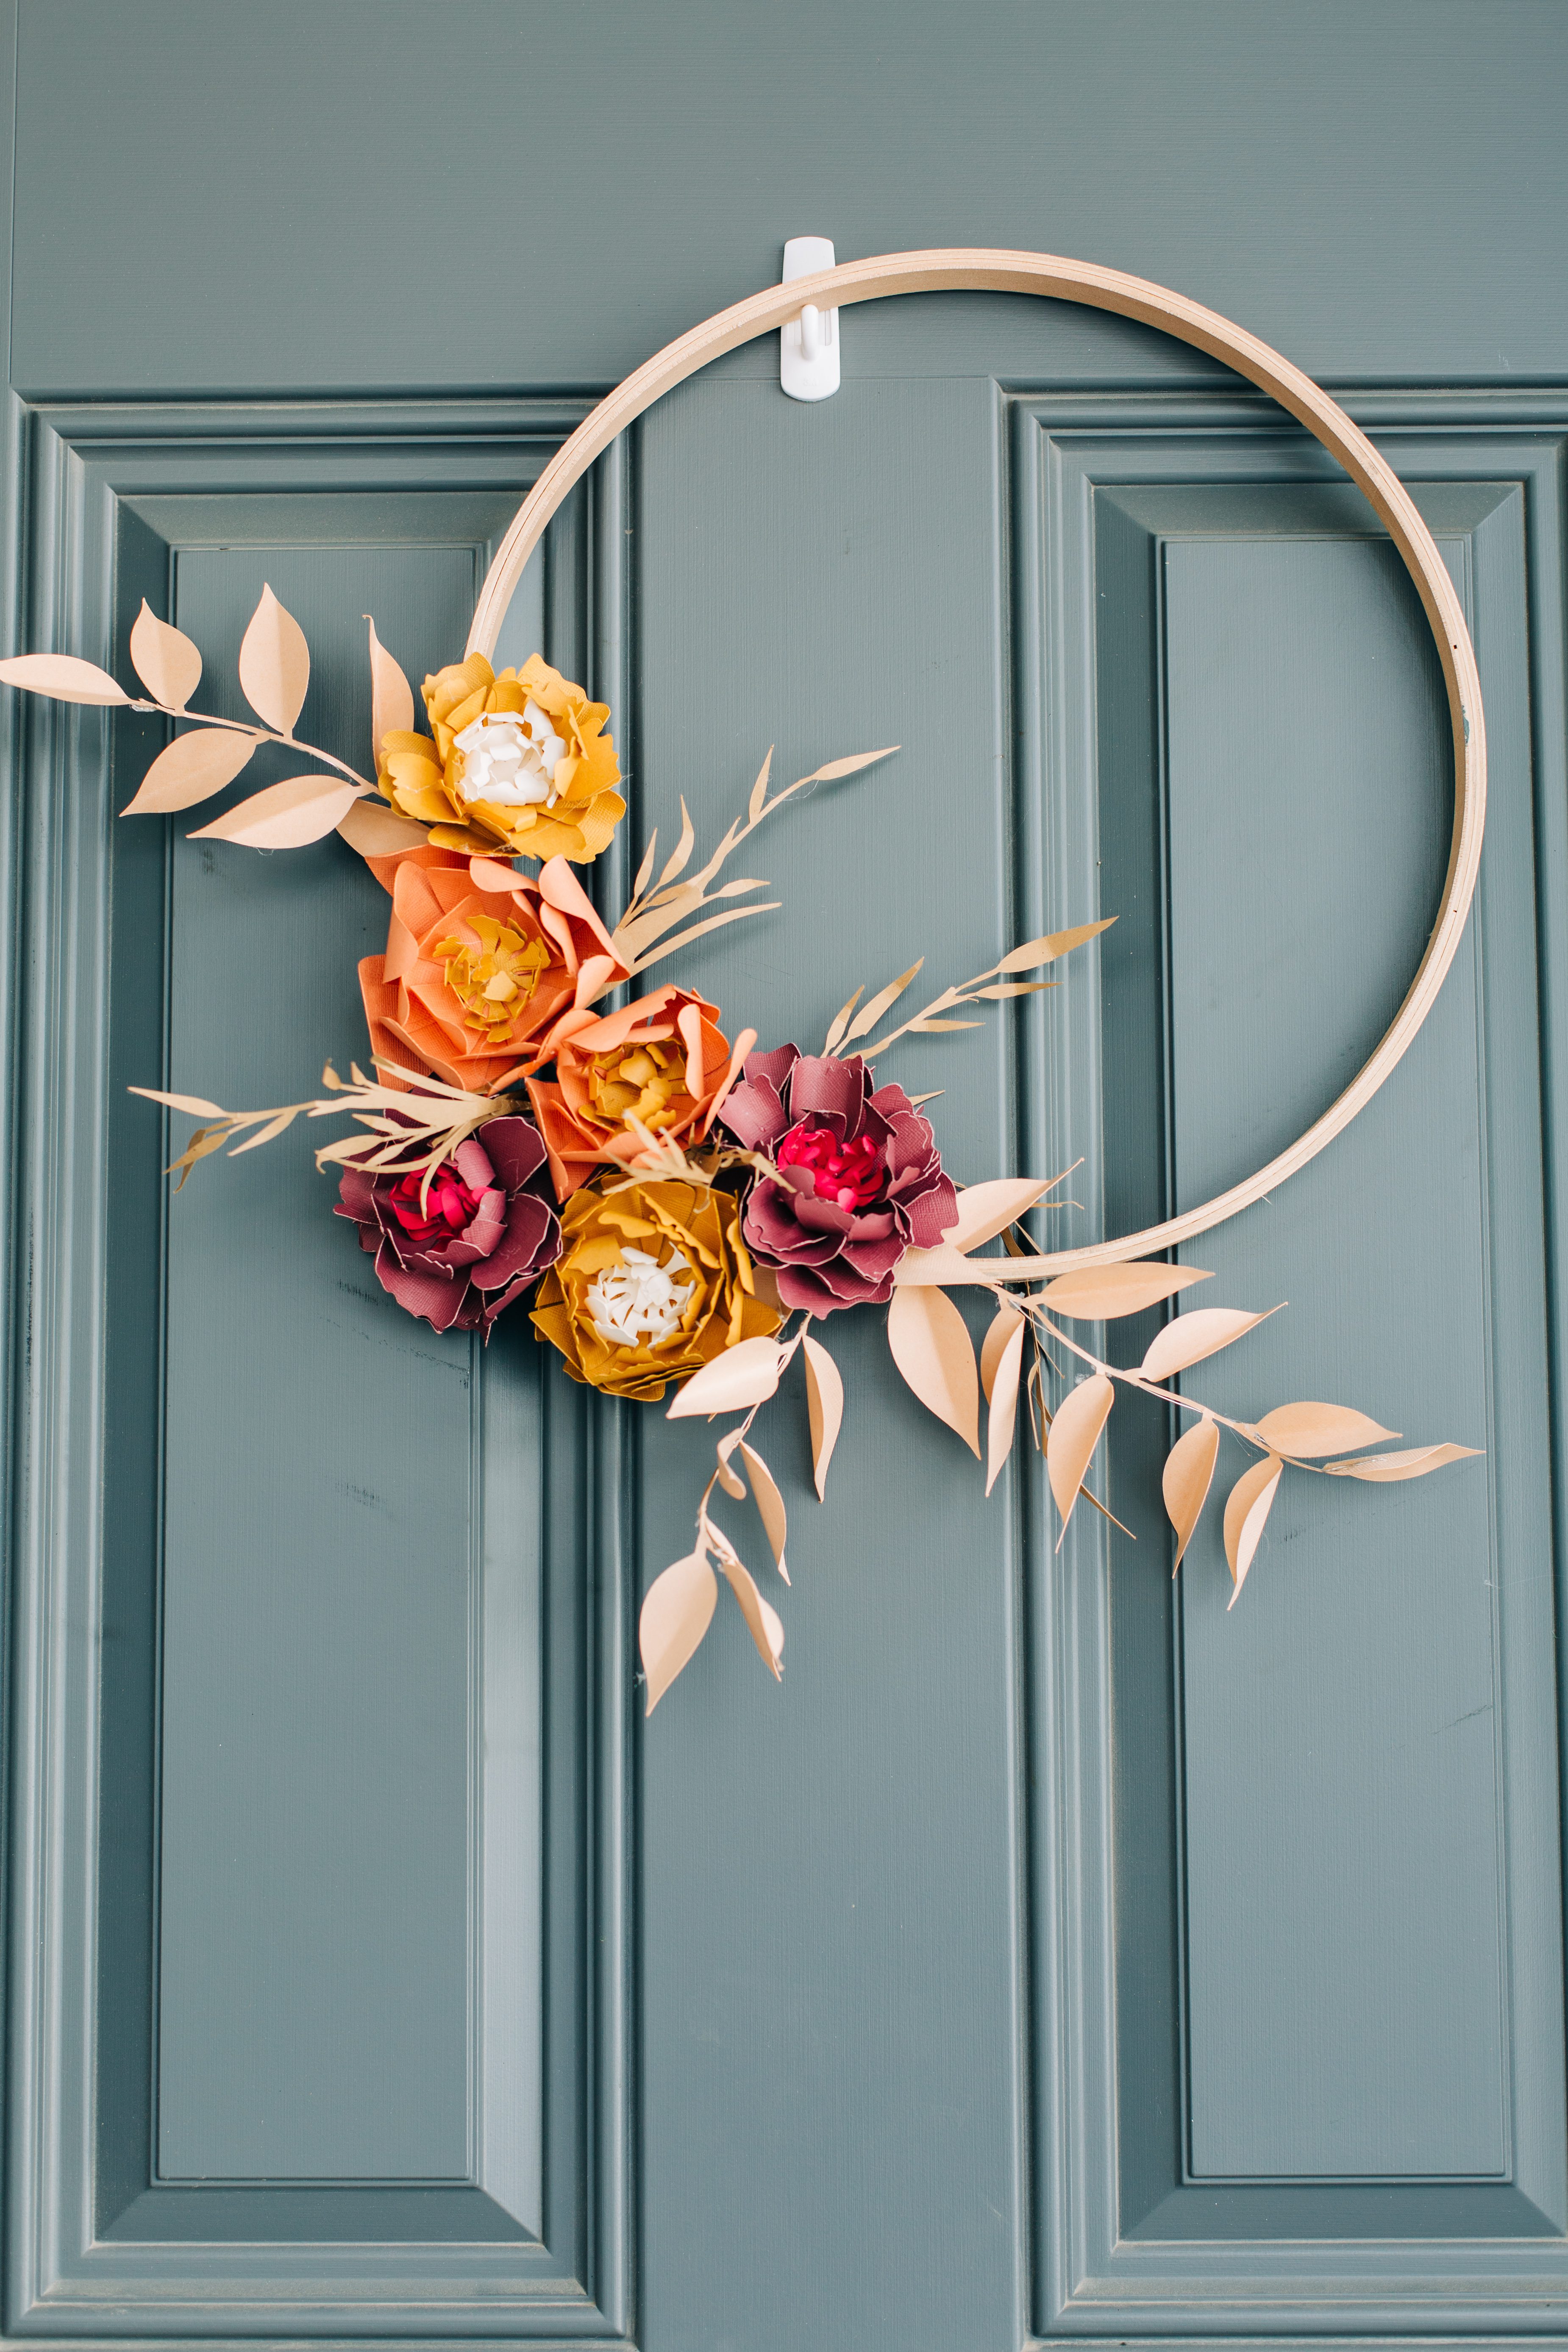
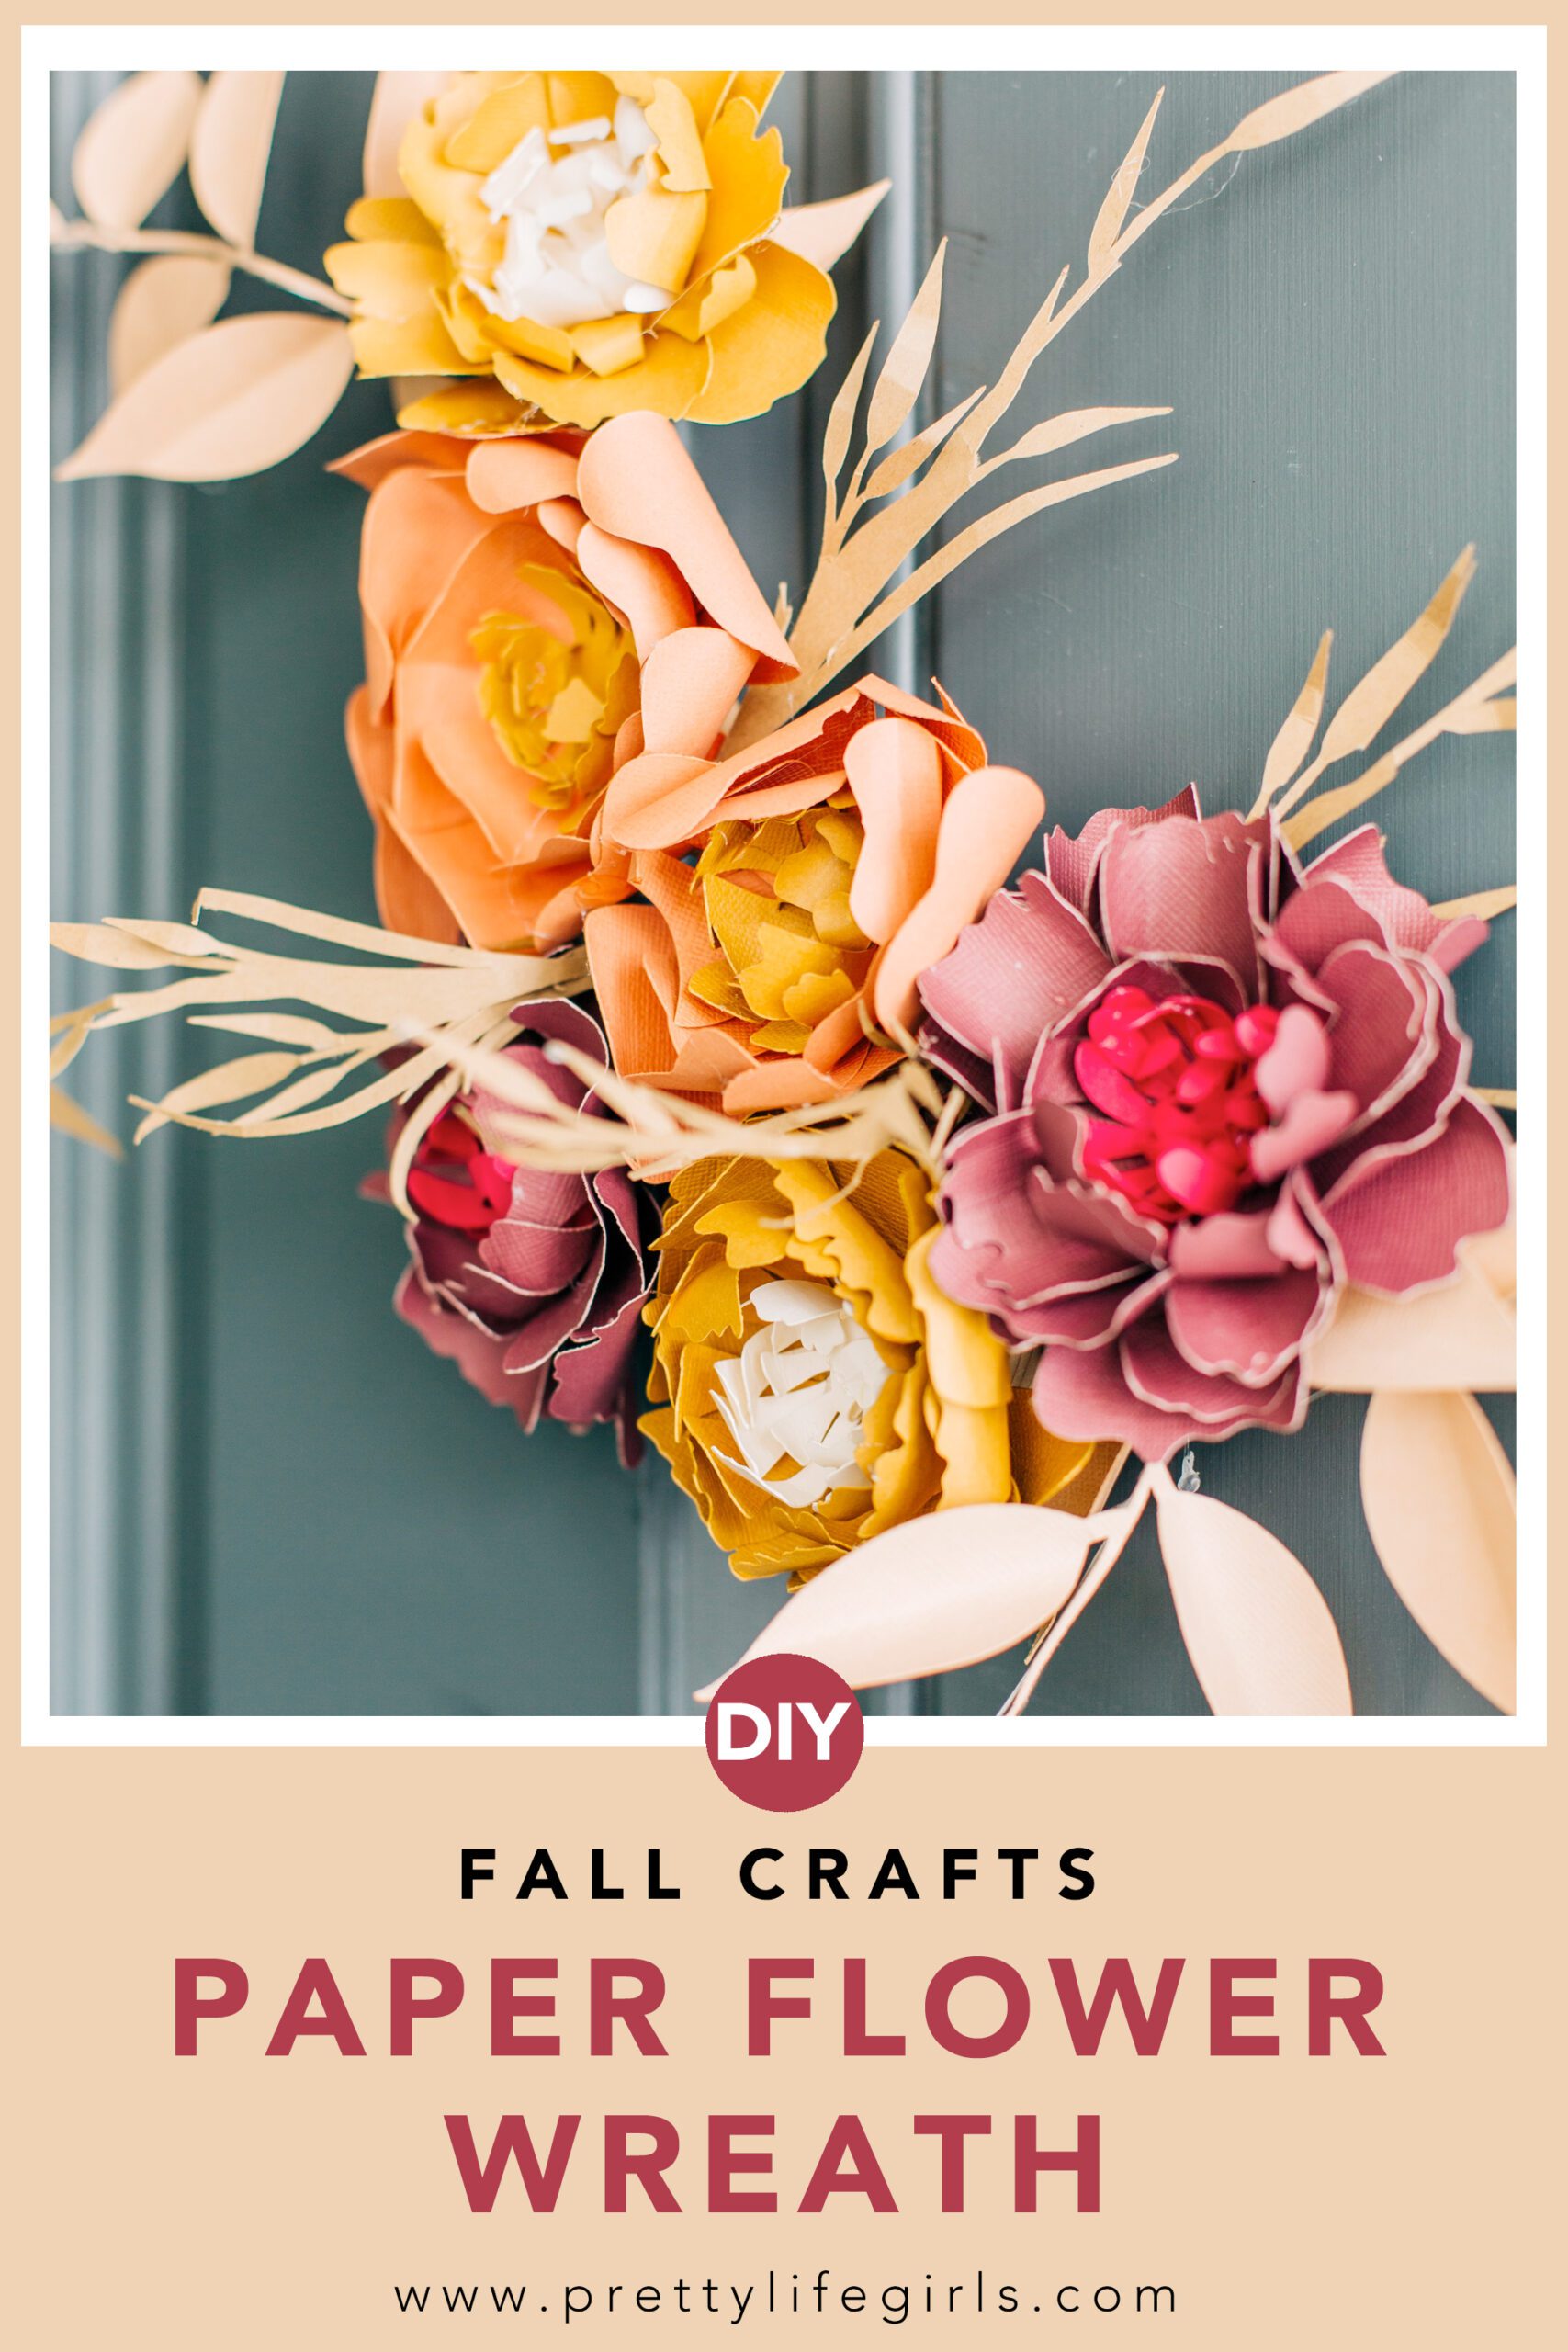
To make the perfect fall wreath for our door, we focused in on the rich colors of the season, and we made the whole thing out of paper. Let’s make a wreath!
Supplies Needed to Make an Embroidery Hoop Wreath
Craft cutter (we used a Silhouette Cameo)
Cardstock in various colors
Floral wire
Hot glue gun + sticks
Embroidery hoop
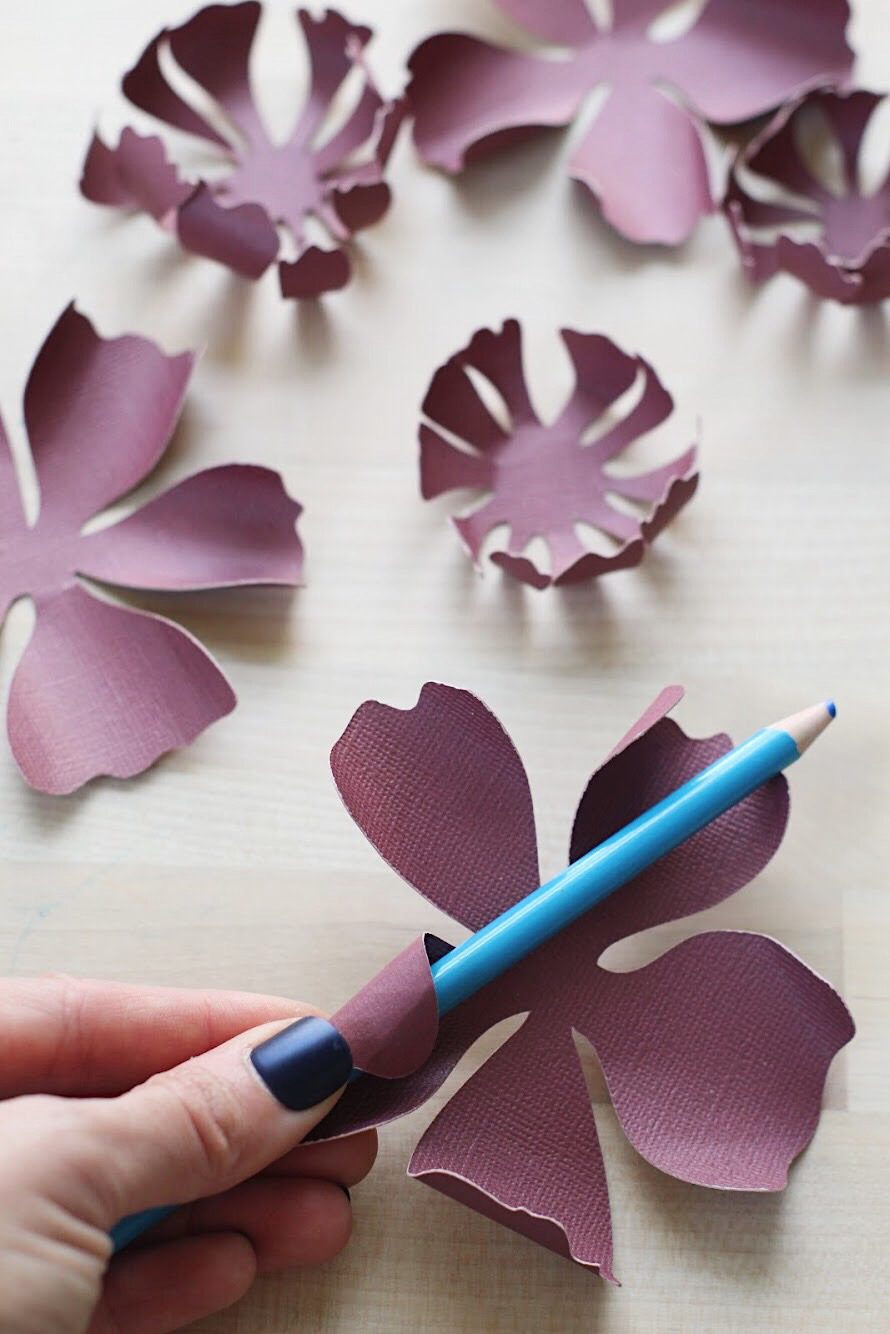
Pencil or paint brush for rolling the petals
How do you make a paper fall wreath?
Step 1. Cut out your designs using your craft cutter. We used this flower, this flower, this wheat design, and these branches from the Silhouette Design Store. We cut pieces for two mustard flowers with white centers, two burgundy flowers with magenta centers, and two pumpkin flowers with mustard centers.
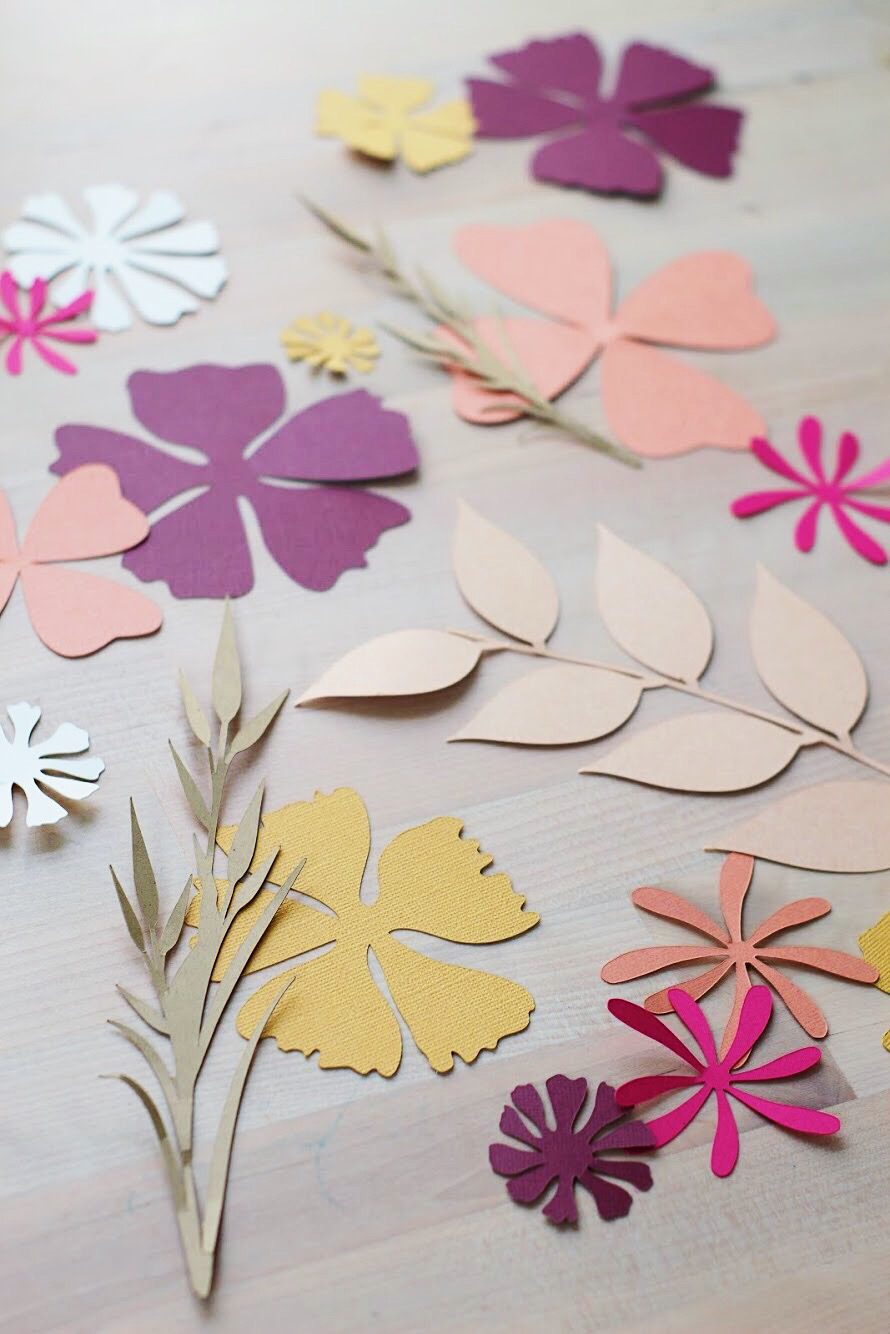
Step 2. Roll the petals of the flowers around a pencil or thin paint brush to lift the edges and give the flowers dimension.
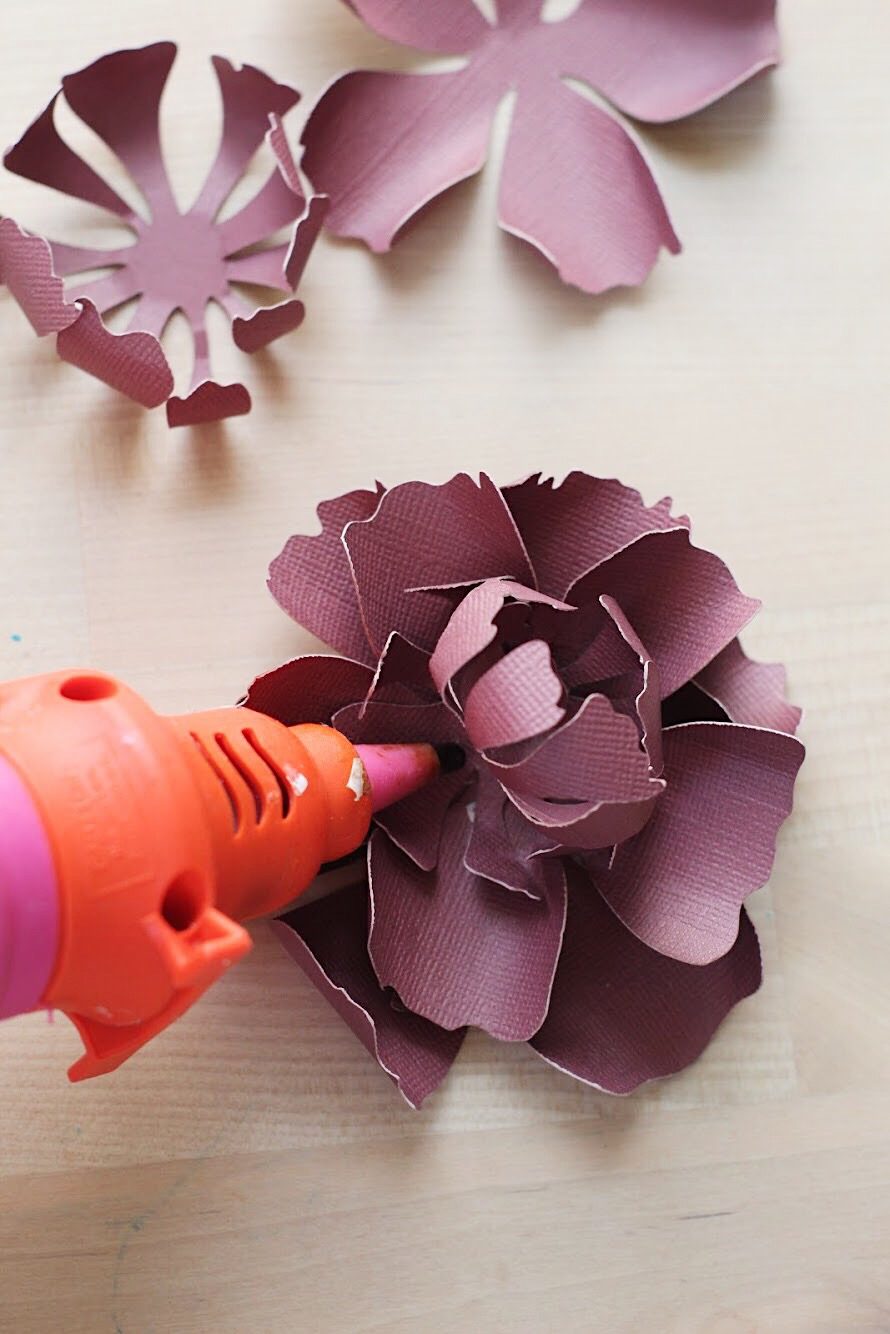
Step 3. Assemble the flowers by layering the cut and rolled flower pieces one on top of another (working from the biggest to the smallest), attaching them with a dot of glue in the center of each flower.
Step 4. Roll the leaves of the branches around a pencil or thin paintbrush to add dimension.
Step 5. Cut a section of floral wire that is slightly longer than each branch (just the branches with leaves, not the wheat pieces). Attach wire to branches using hot glue. (This will help give the thin stems of the branches some structure.)

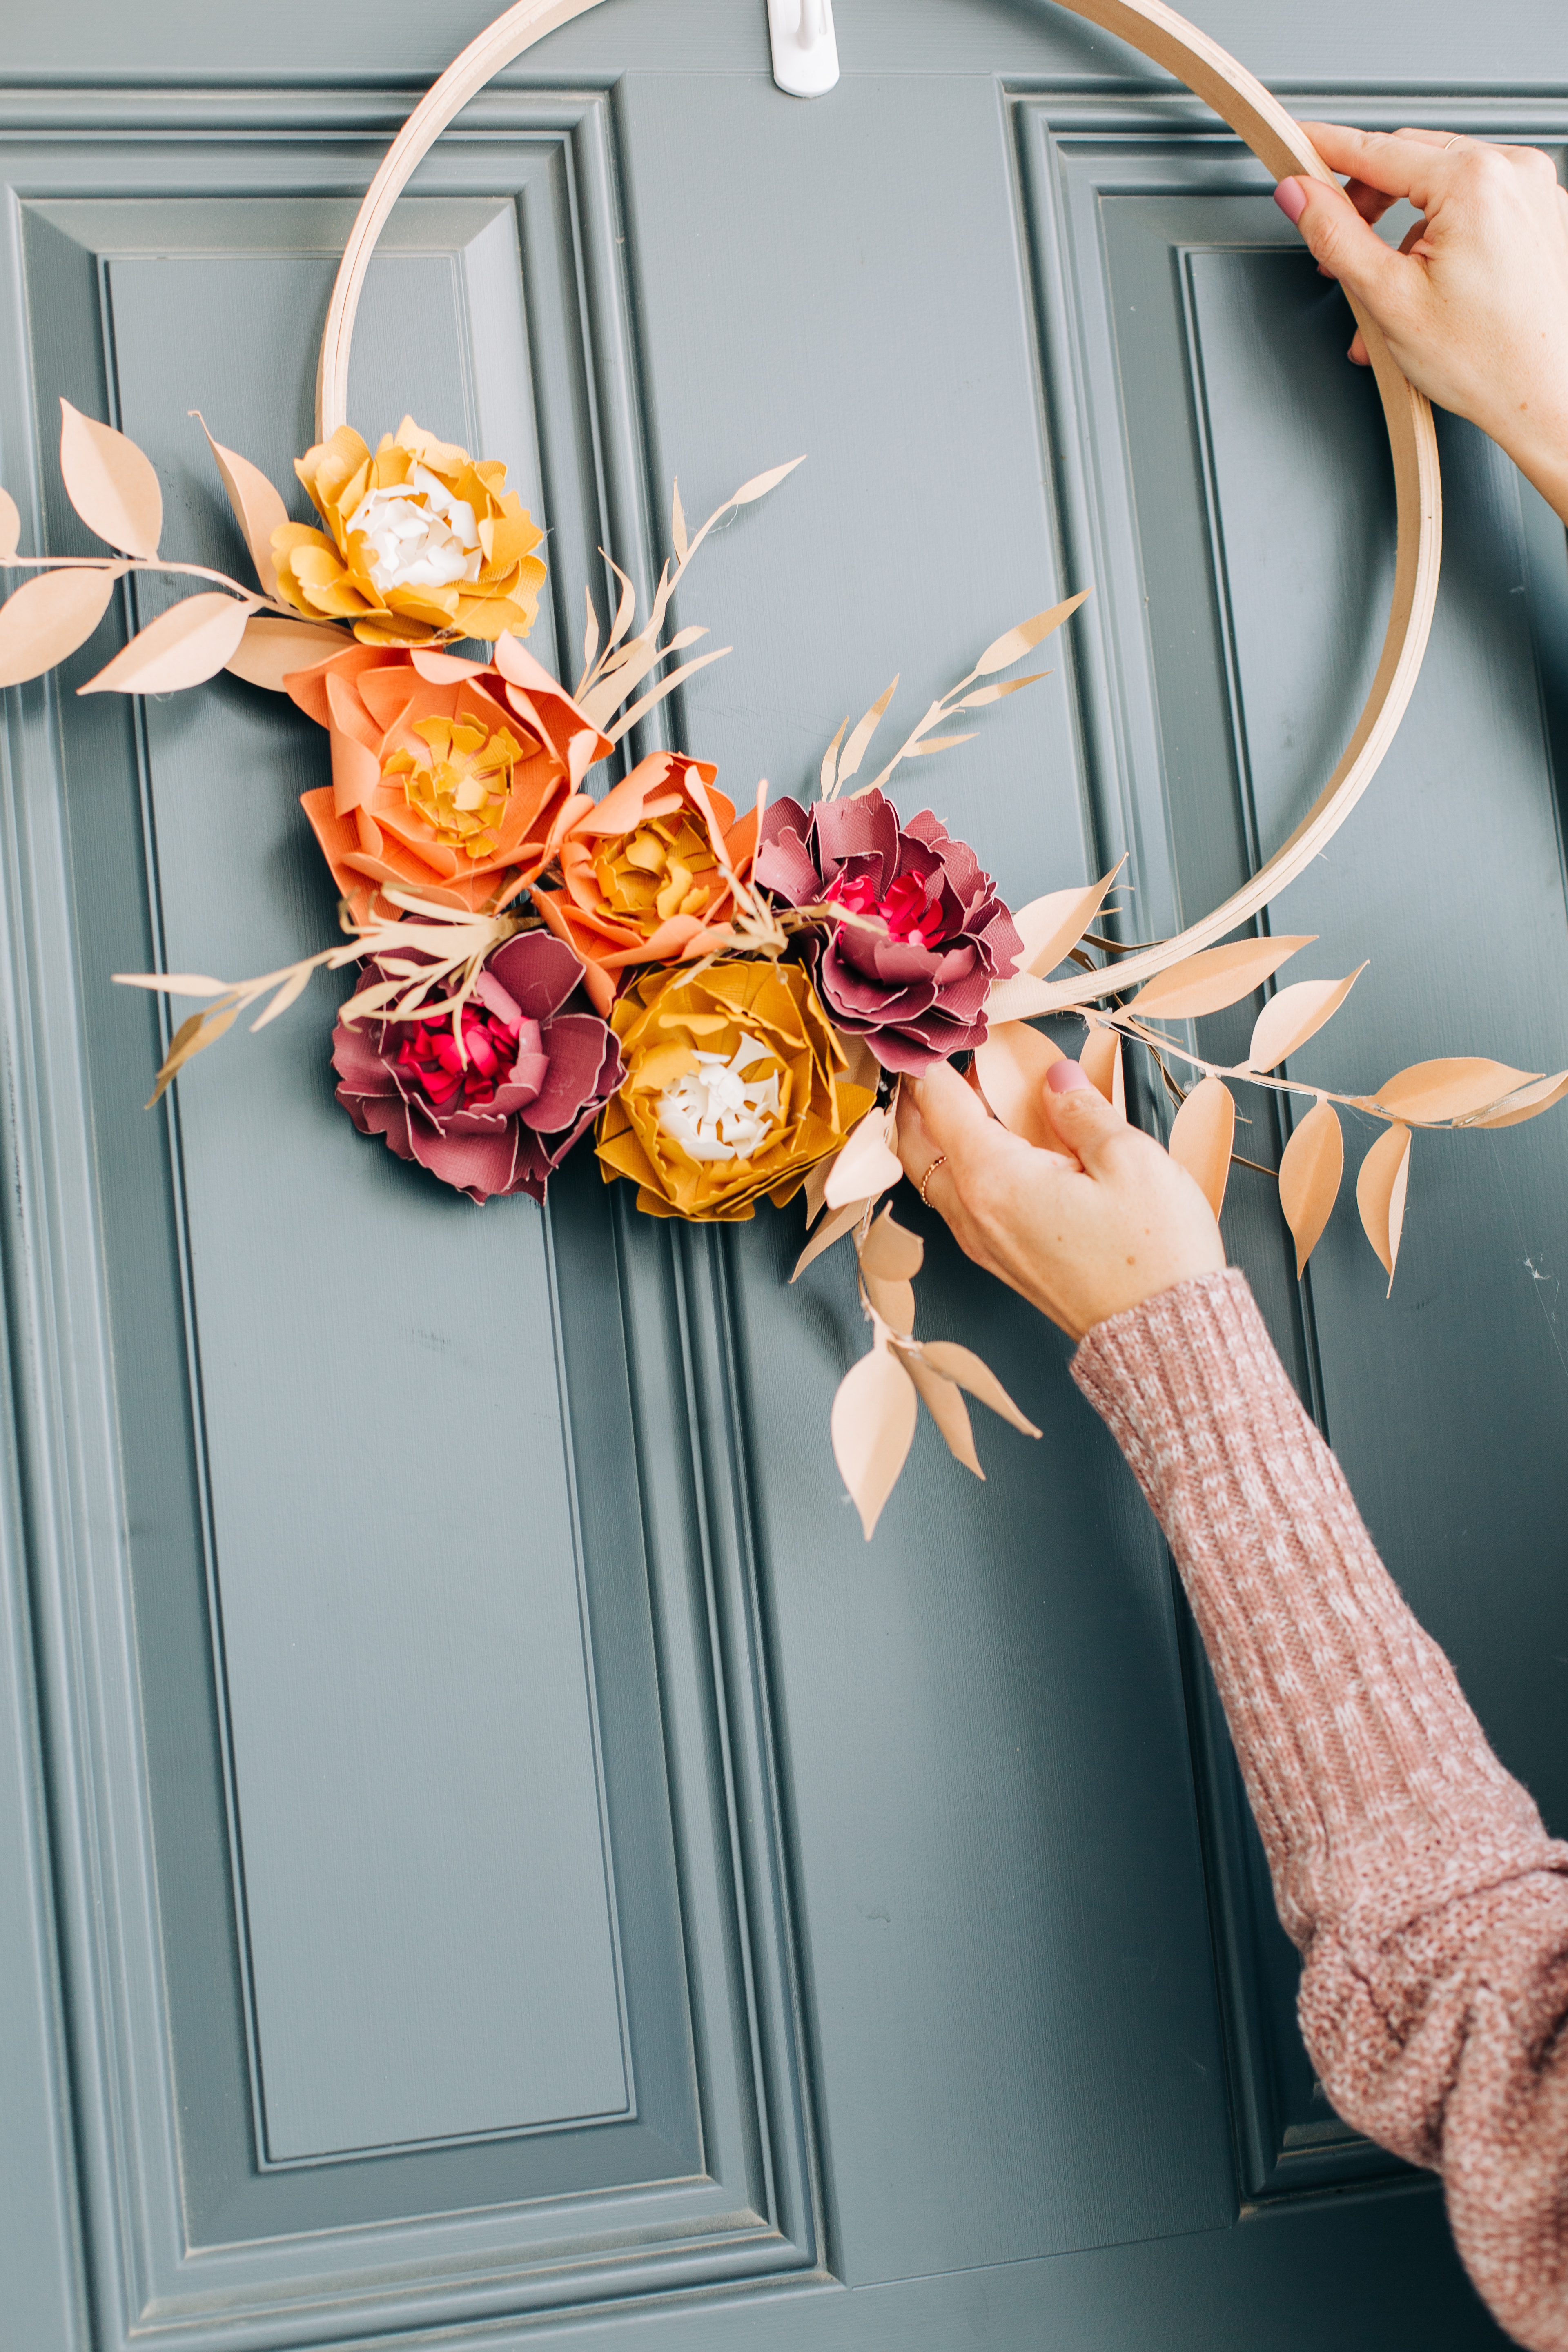
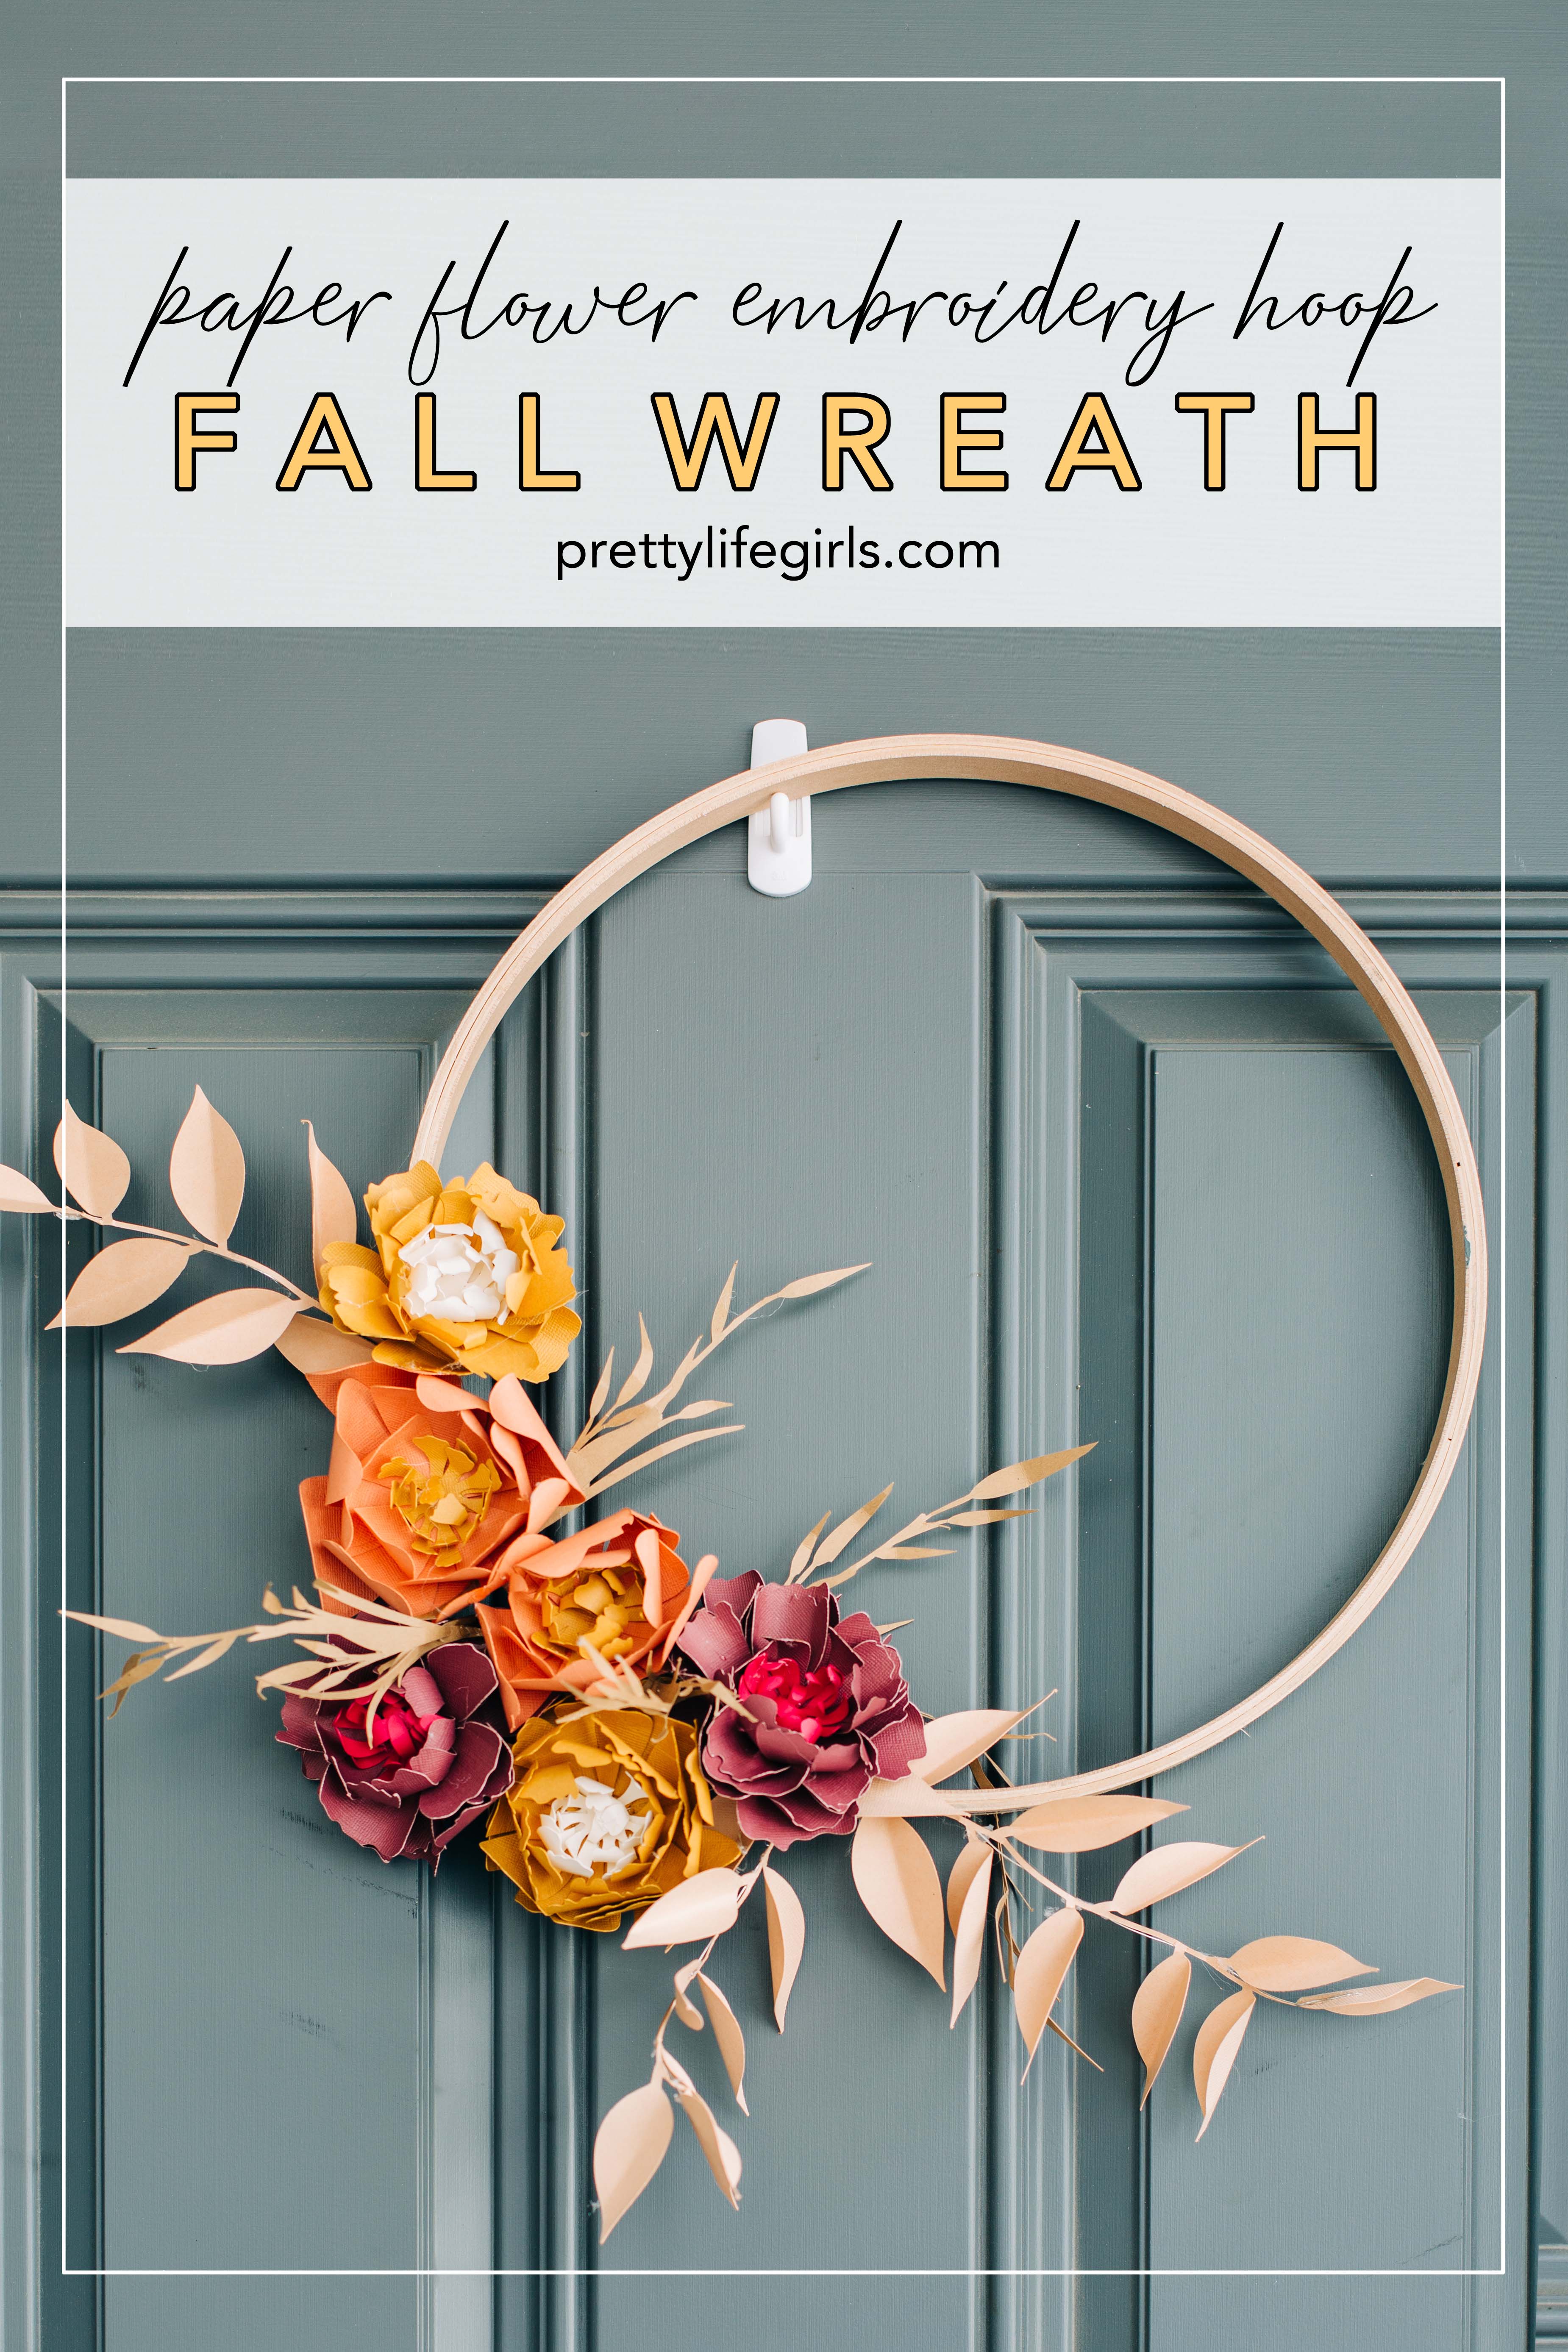
Step 6. Remove the inner hoop of your embroidery hoop and attach flowers, branches, and wheat to the hoop using hot glue. We attached ours by arranging and attaching the flowers first, then filled in empty spaces with the wheat and branches.
Step 7. Hang and enjoy!

Isn’t it stunning? I’ve been waiting ALL year for this, guys. Let’s raise our mugs full of pumpkin/apple/ginger hot liquids and cheers to this reeeeally good season finally getting here.
 How are you decorating your home for fall? We’d love to hear! And be sure to join our email list to stay up-to-date on all things Pretty Life Girls!
ox. Liz
Check out these other wreath projects on the PLG!