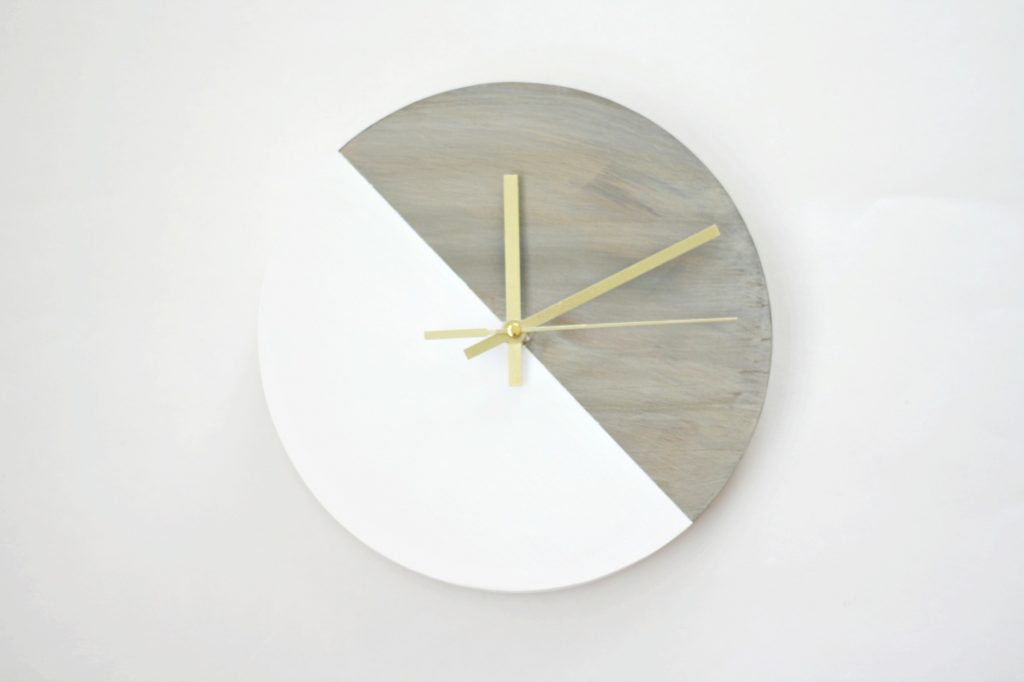
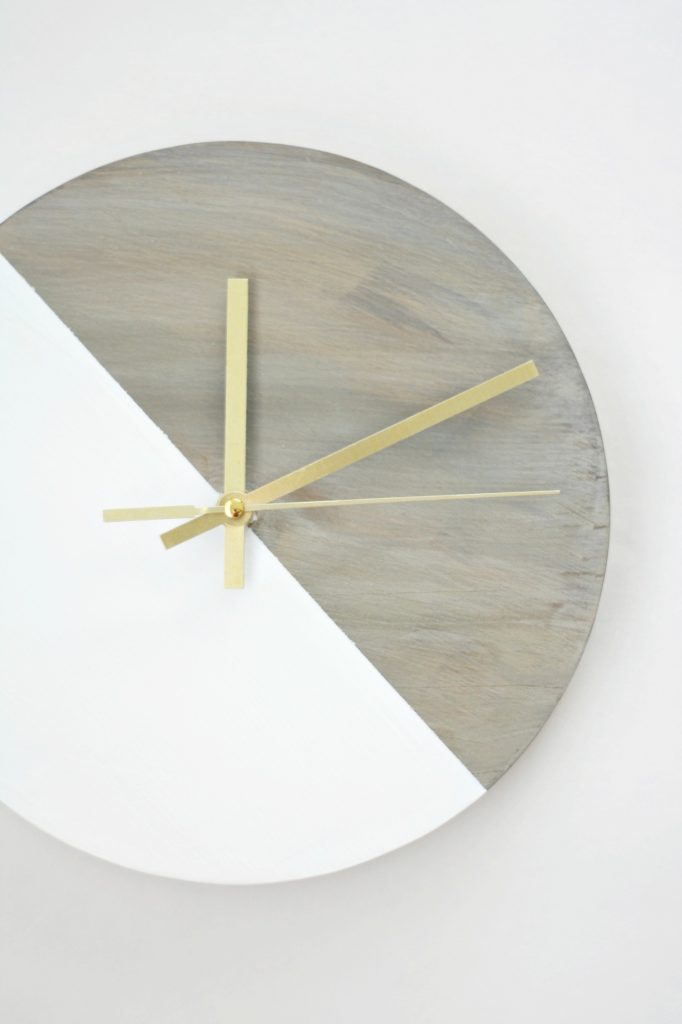
A couple years ago, we teamed up with some friends to do DIY projects for a living room. We made these Stenciled Tassel Pillows, but we were also each in charge of making an item for a gallery wall. The barnwood trend was in full force, so we decided to jump on board and made this DIY Rustic Reclaimed Barnwood Clock, using FolkArt Barnwood Painted Finishes to create a faux barnwood effect. Sadly, the barnwood finish has been discontinued, but you can still find it on Amazon (link in the supplies list) to create this amazing rustic detail in just a couple simple steps. Keep reading to see how we did it!

Supplies
FolkArt Barnwood Painted Finishes
FolkArt White Multi-Surface Paint
Paint brushes
Cloth
Unfinished wood clock kit (I used this one)
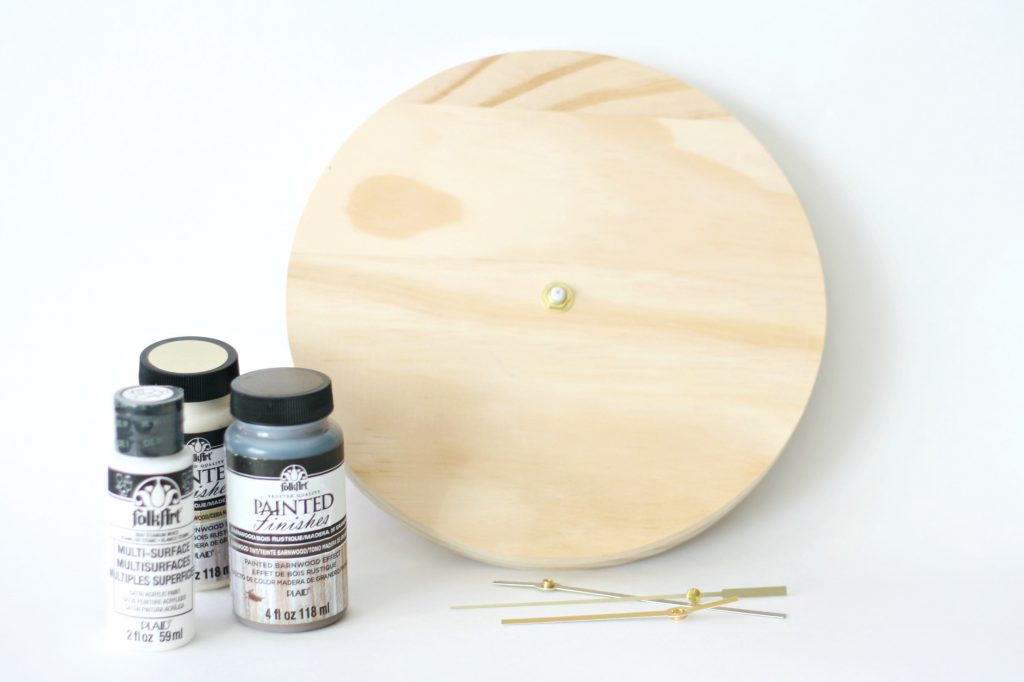

Step 1: Apply the Barnwood Tint to the unfinished wood surface by brushing long, smooth strokes. Do not allow the tint to pool or puddle in areas. Wipe surface with a paper towel or soft, lint-free cloth to remove any excess Barnwood Tint. After the first step of Barnwood Tint has been applied, allow to completely dry (approximately 4 hours) before moving on to the next step.


Step 2: Apply a smooth even coat of Barnwood Wax across the surface. While the Barnwood Wax is still wet, wipe to remove excess using a soft, lint-free cloth. Allow to dry overnight. Note: If applying this finish to a large surface or one that has many sides or angles, work a section at a time.


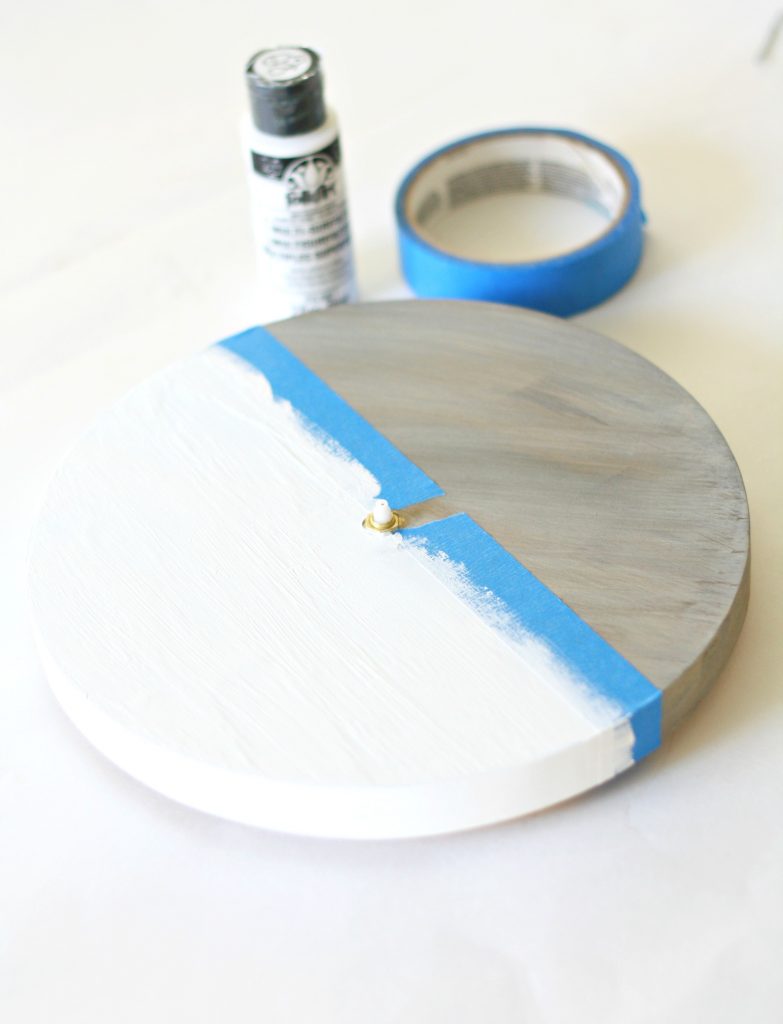
Step 3: Apply tape to the center of the clock. Apply white paint to one side of the clock, then remove the tape. Let dry.

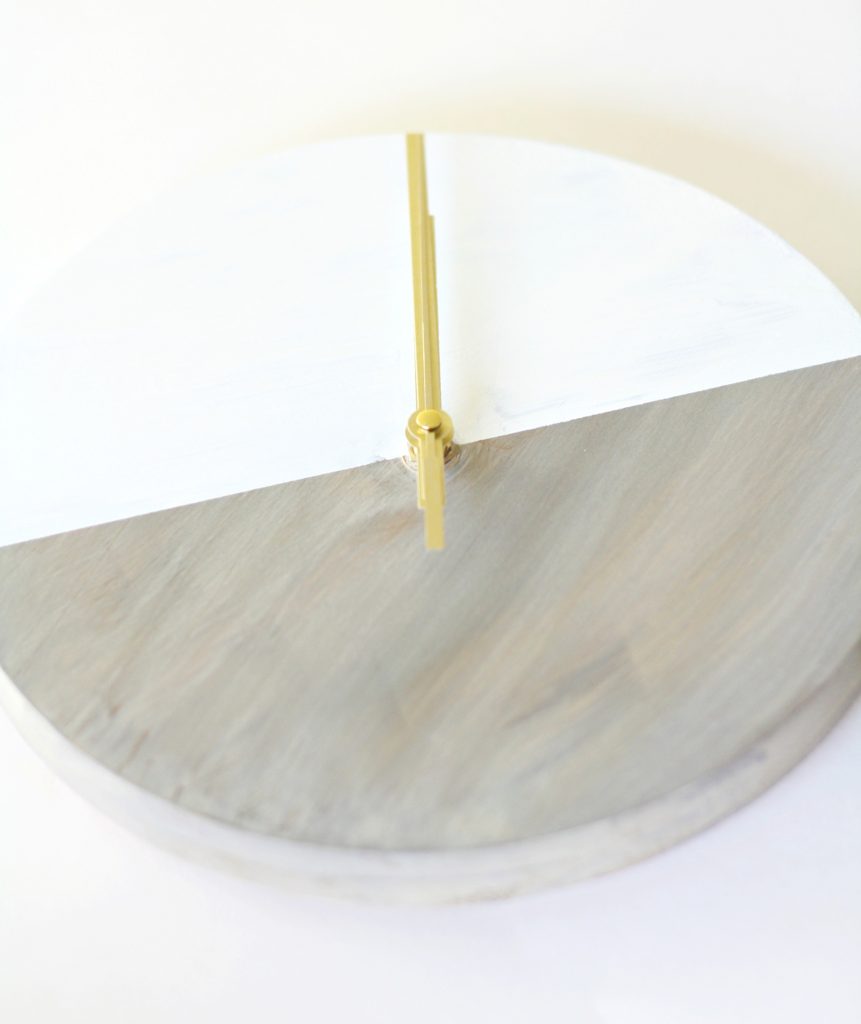
Step 4: Add the hands to the clock.




Happy crafting!
xo, Sam
Check out these other projects we made using Folkart Finishes Barnwood!


