


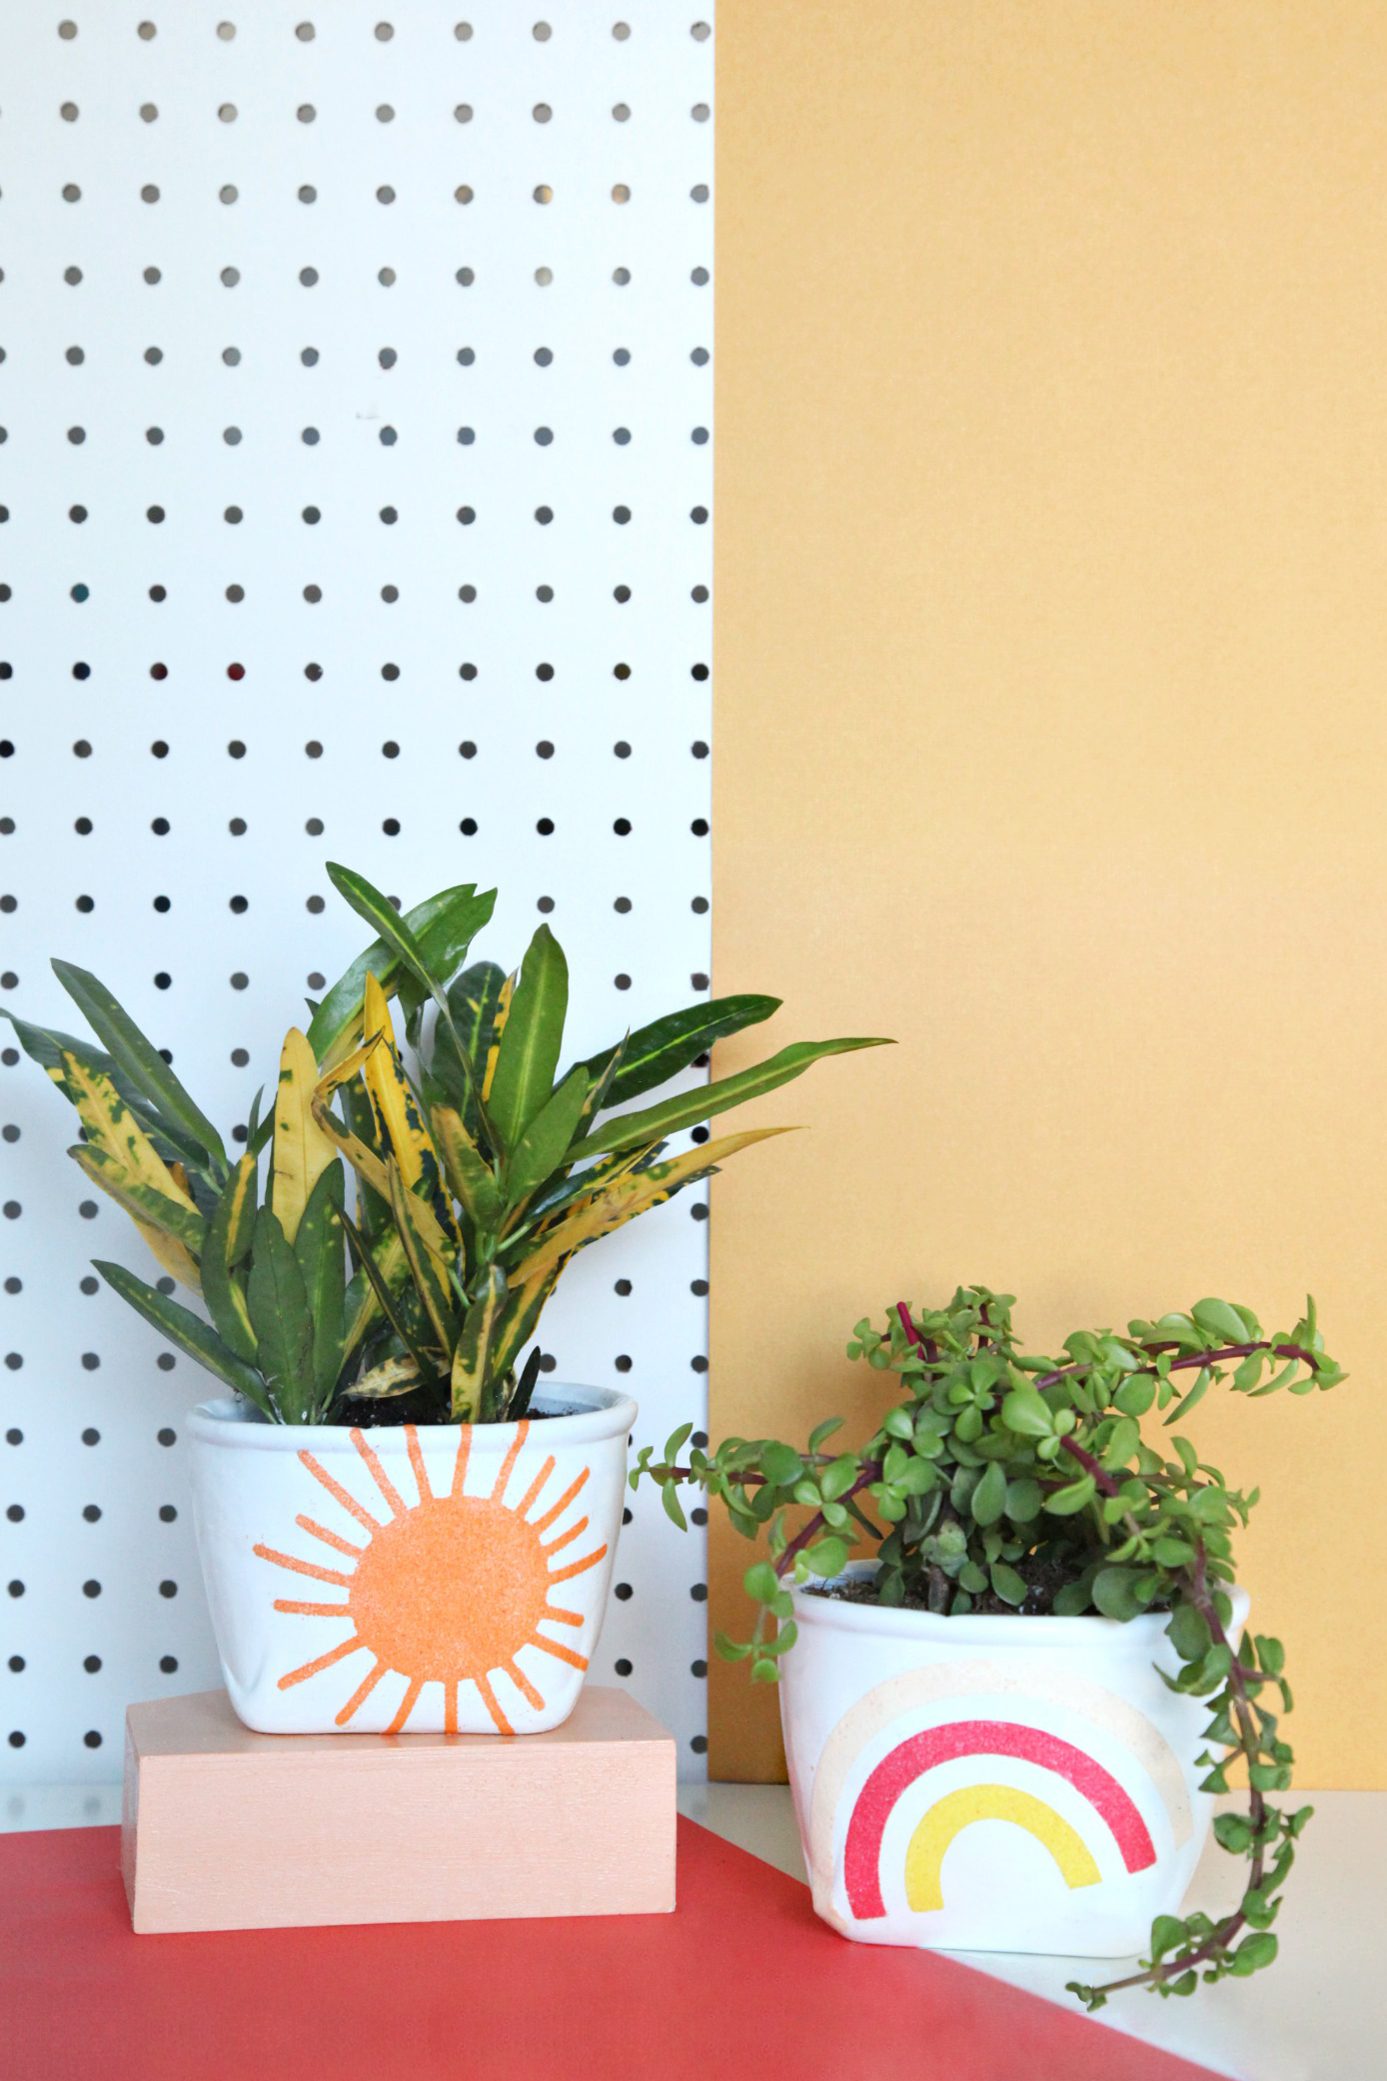
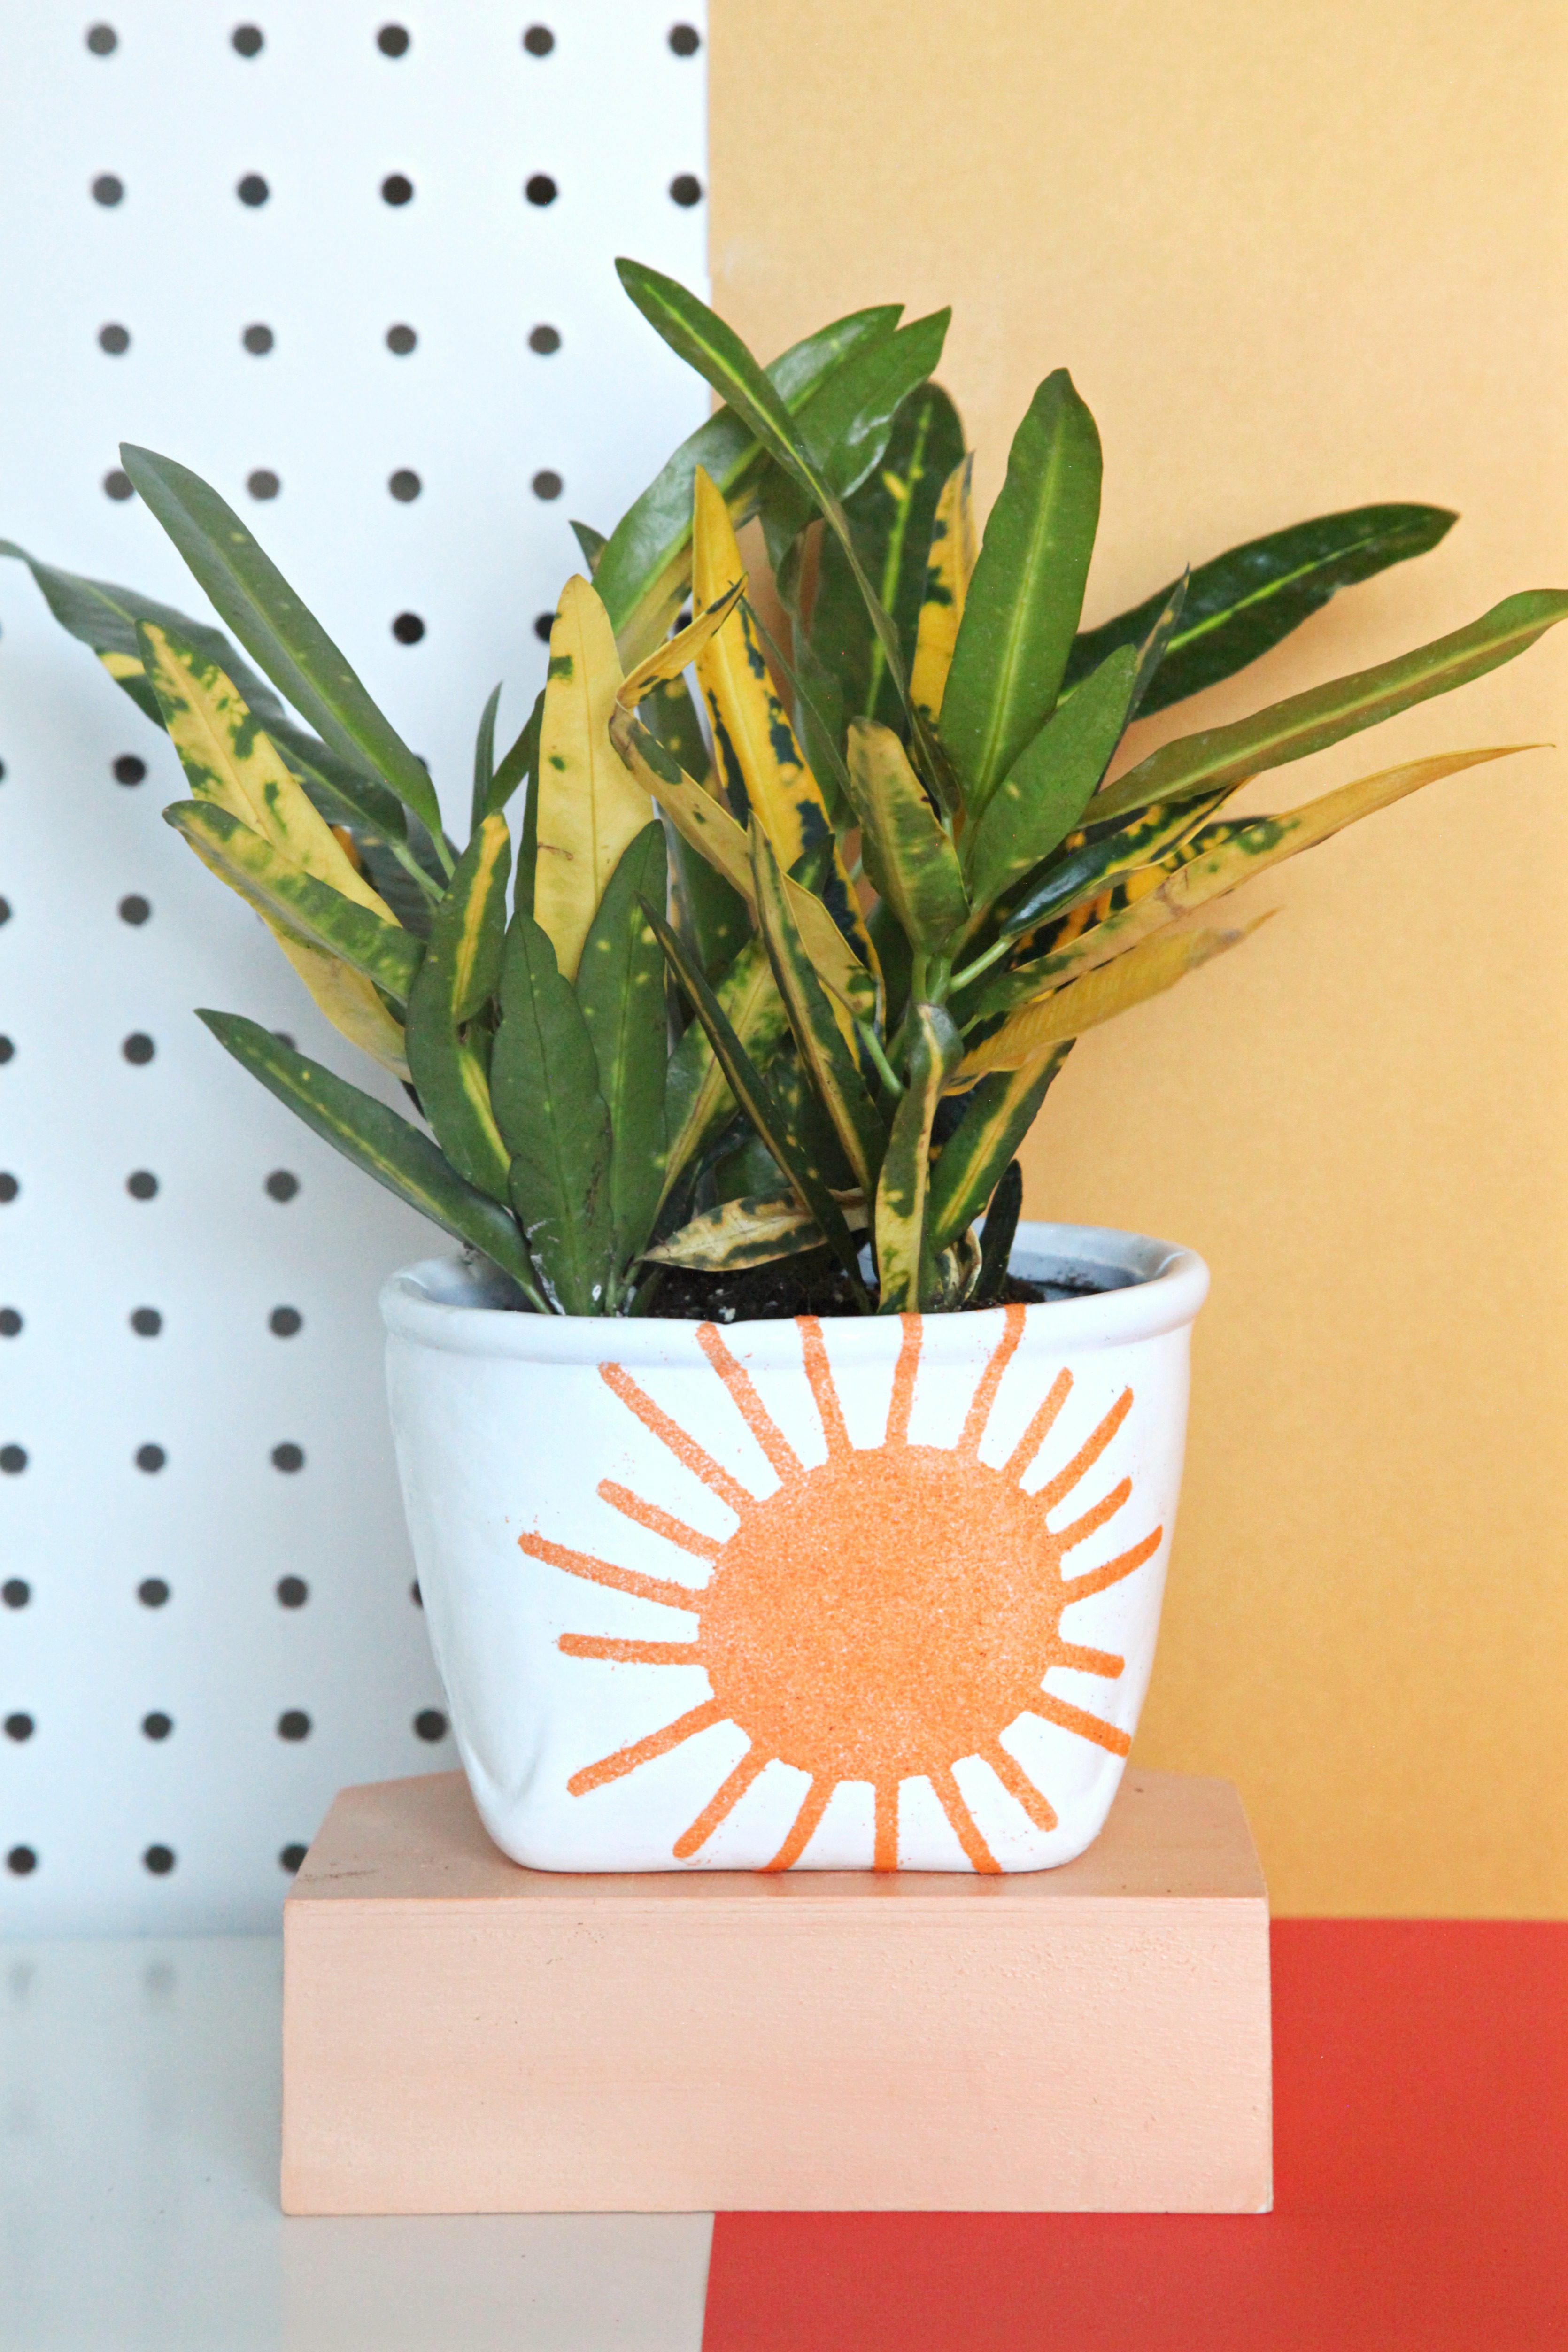
These DIY Sand Art Planters were sponsored by Silhouette. All opinions are ours alone.
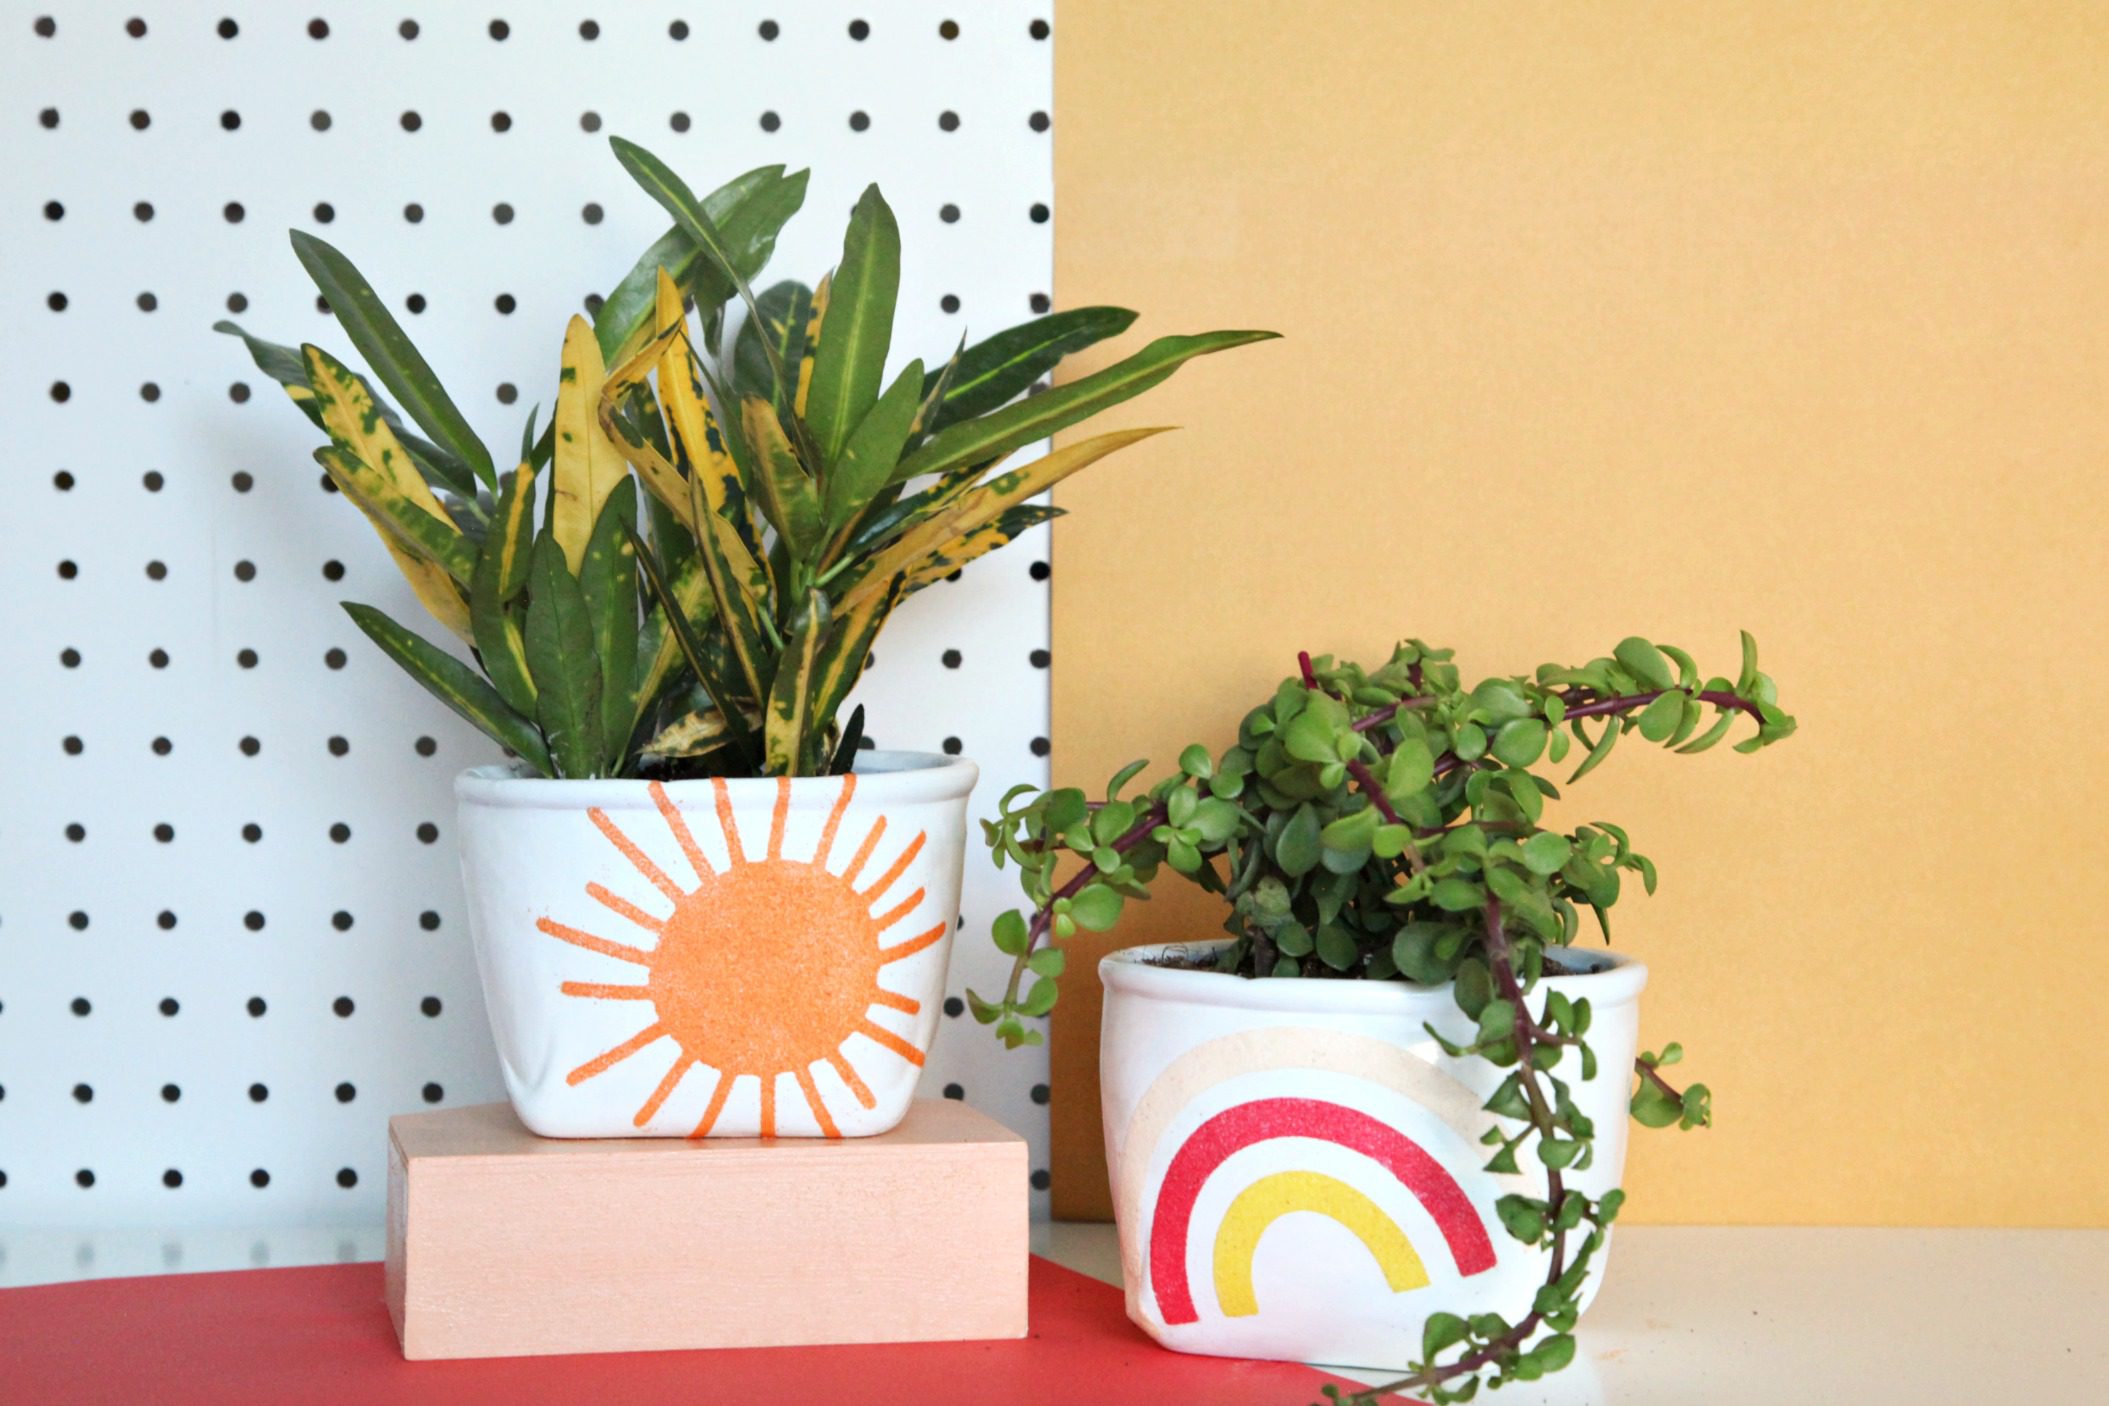
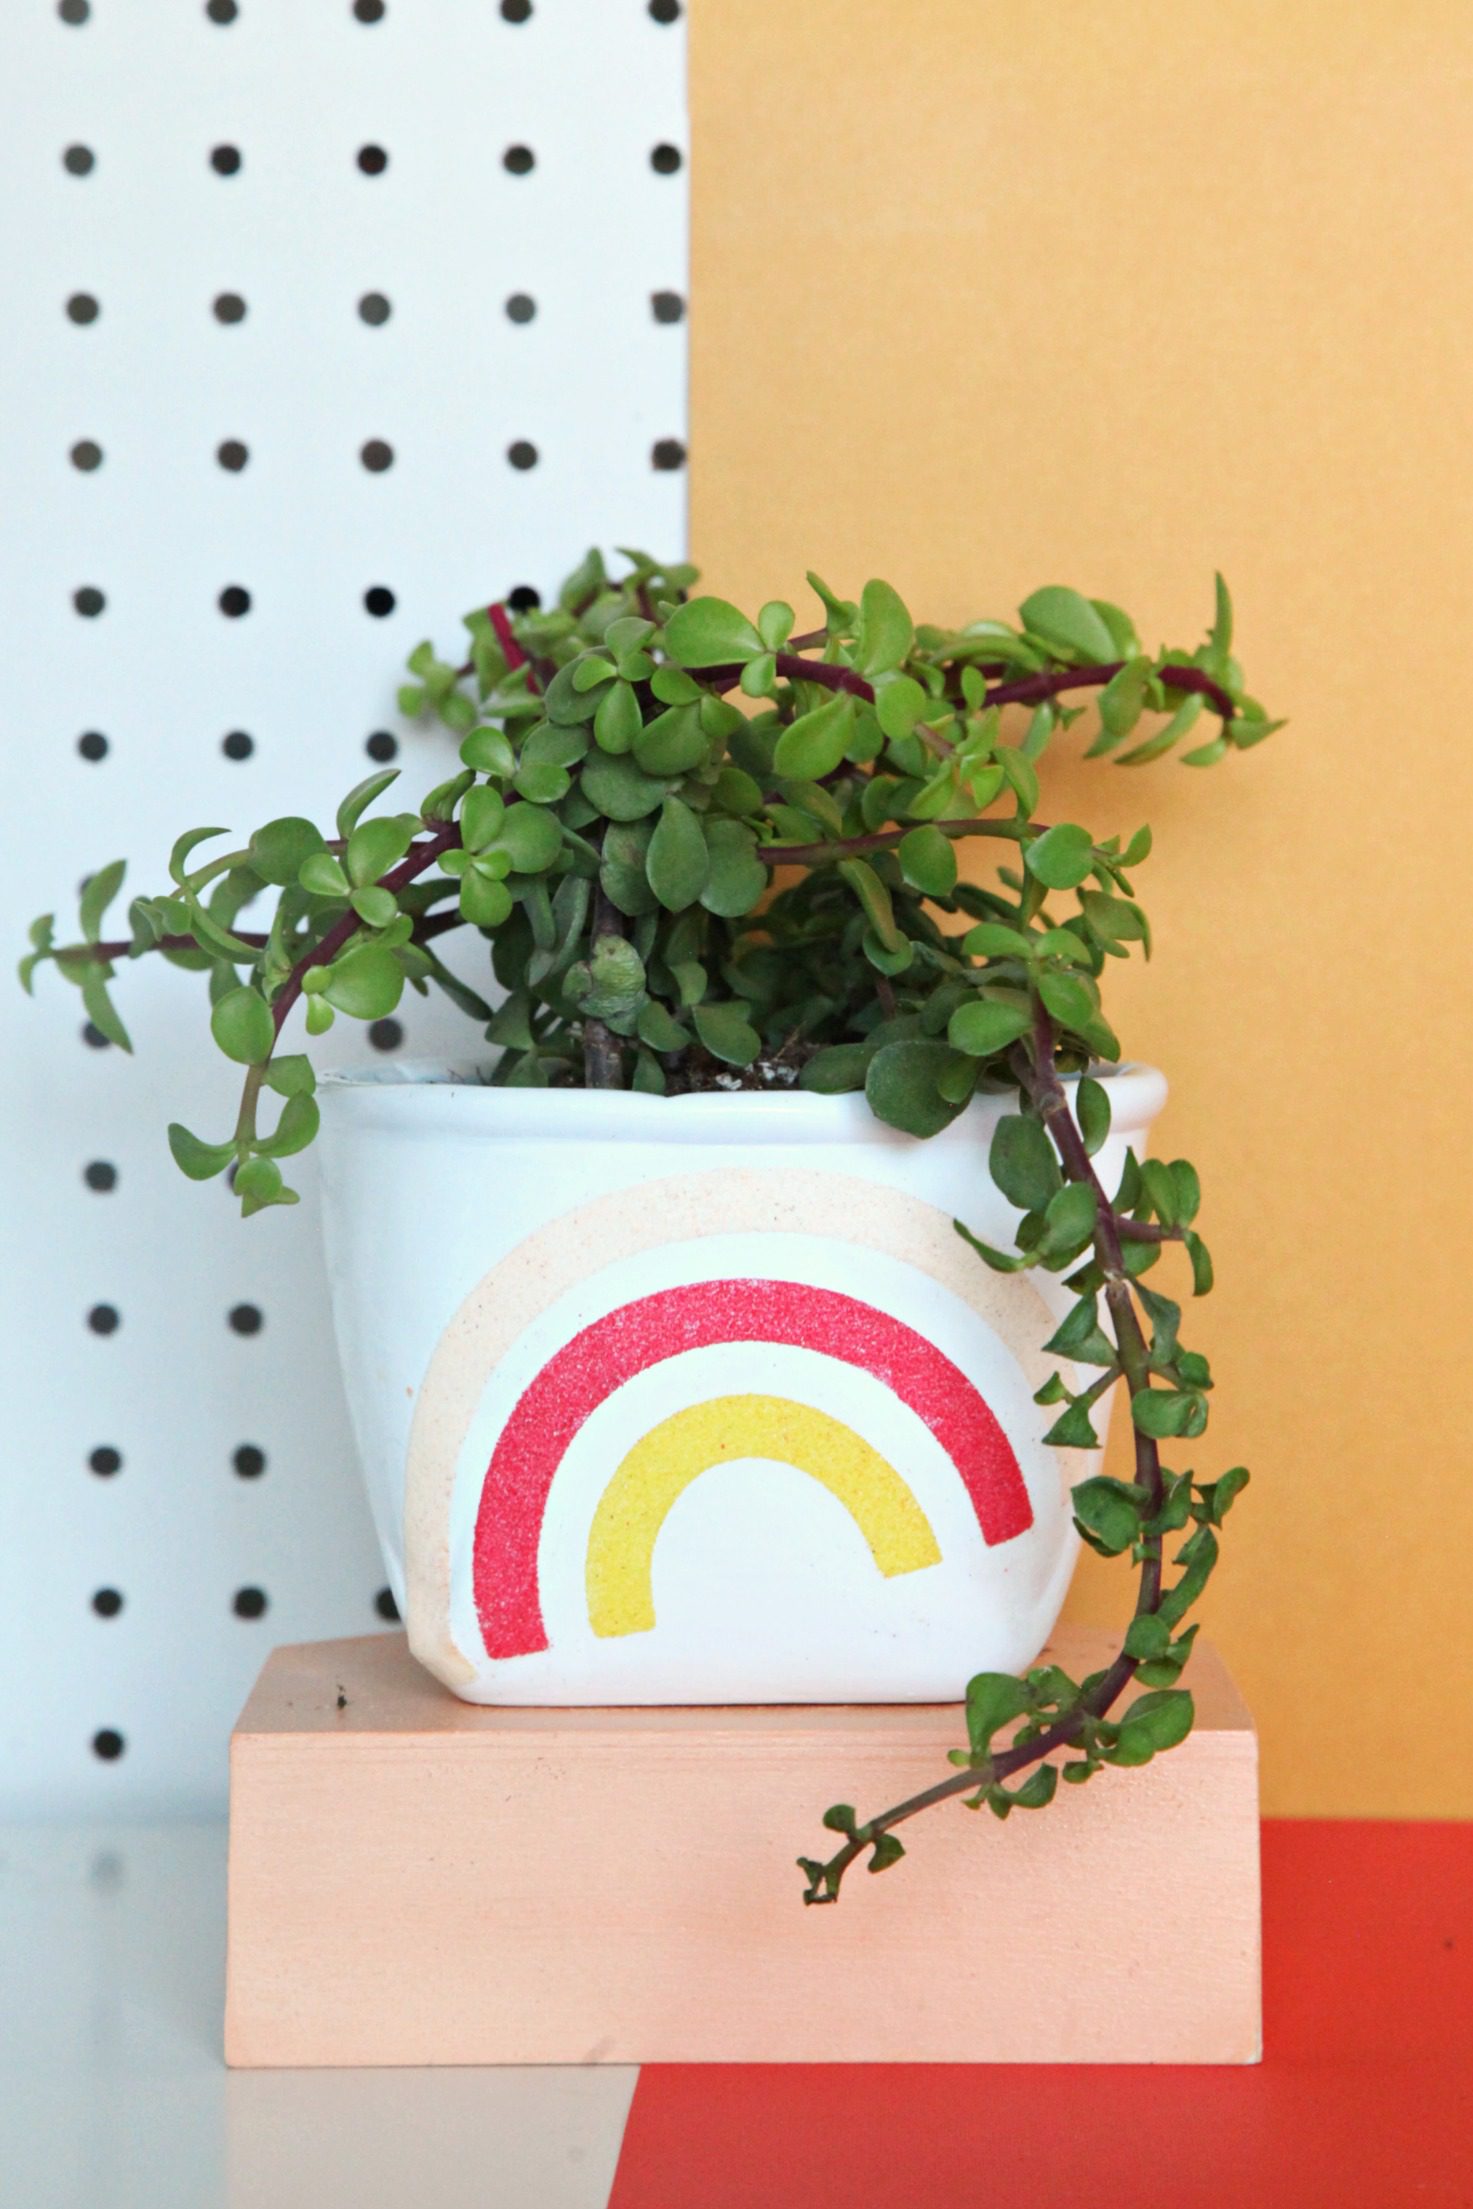
We grew up doing crafts in our house all the time, and one of my favorites was sand art. Do you remember sand art!? The bottle sand art was fun, but for me, the peel and sprinkle pictures were where it was at! I loved creating art with something other than crayons or paint – it was the perfect introduction to mixed media crafting! And today, I’m excited to share these DIY Sand Art Planters, which are reminiscent of my beloved childhood sand art, but modernized in a beautiful way. Keep scrolling for the tutorial!
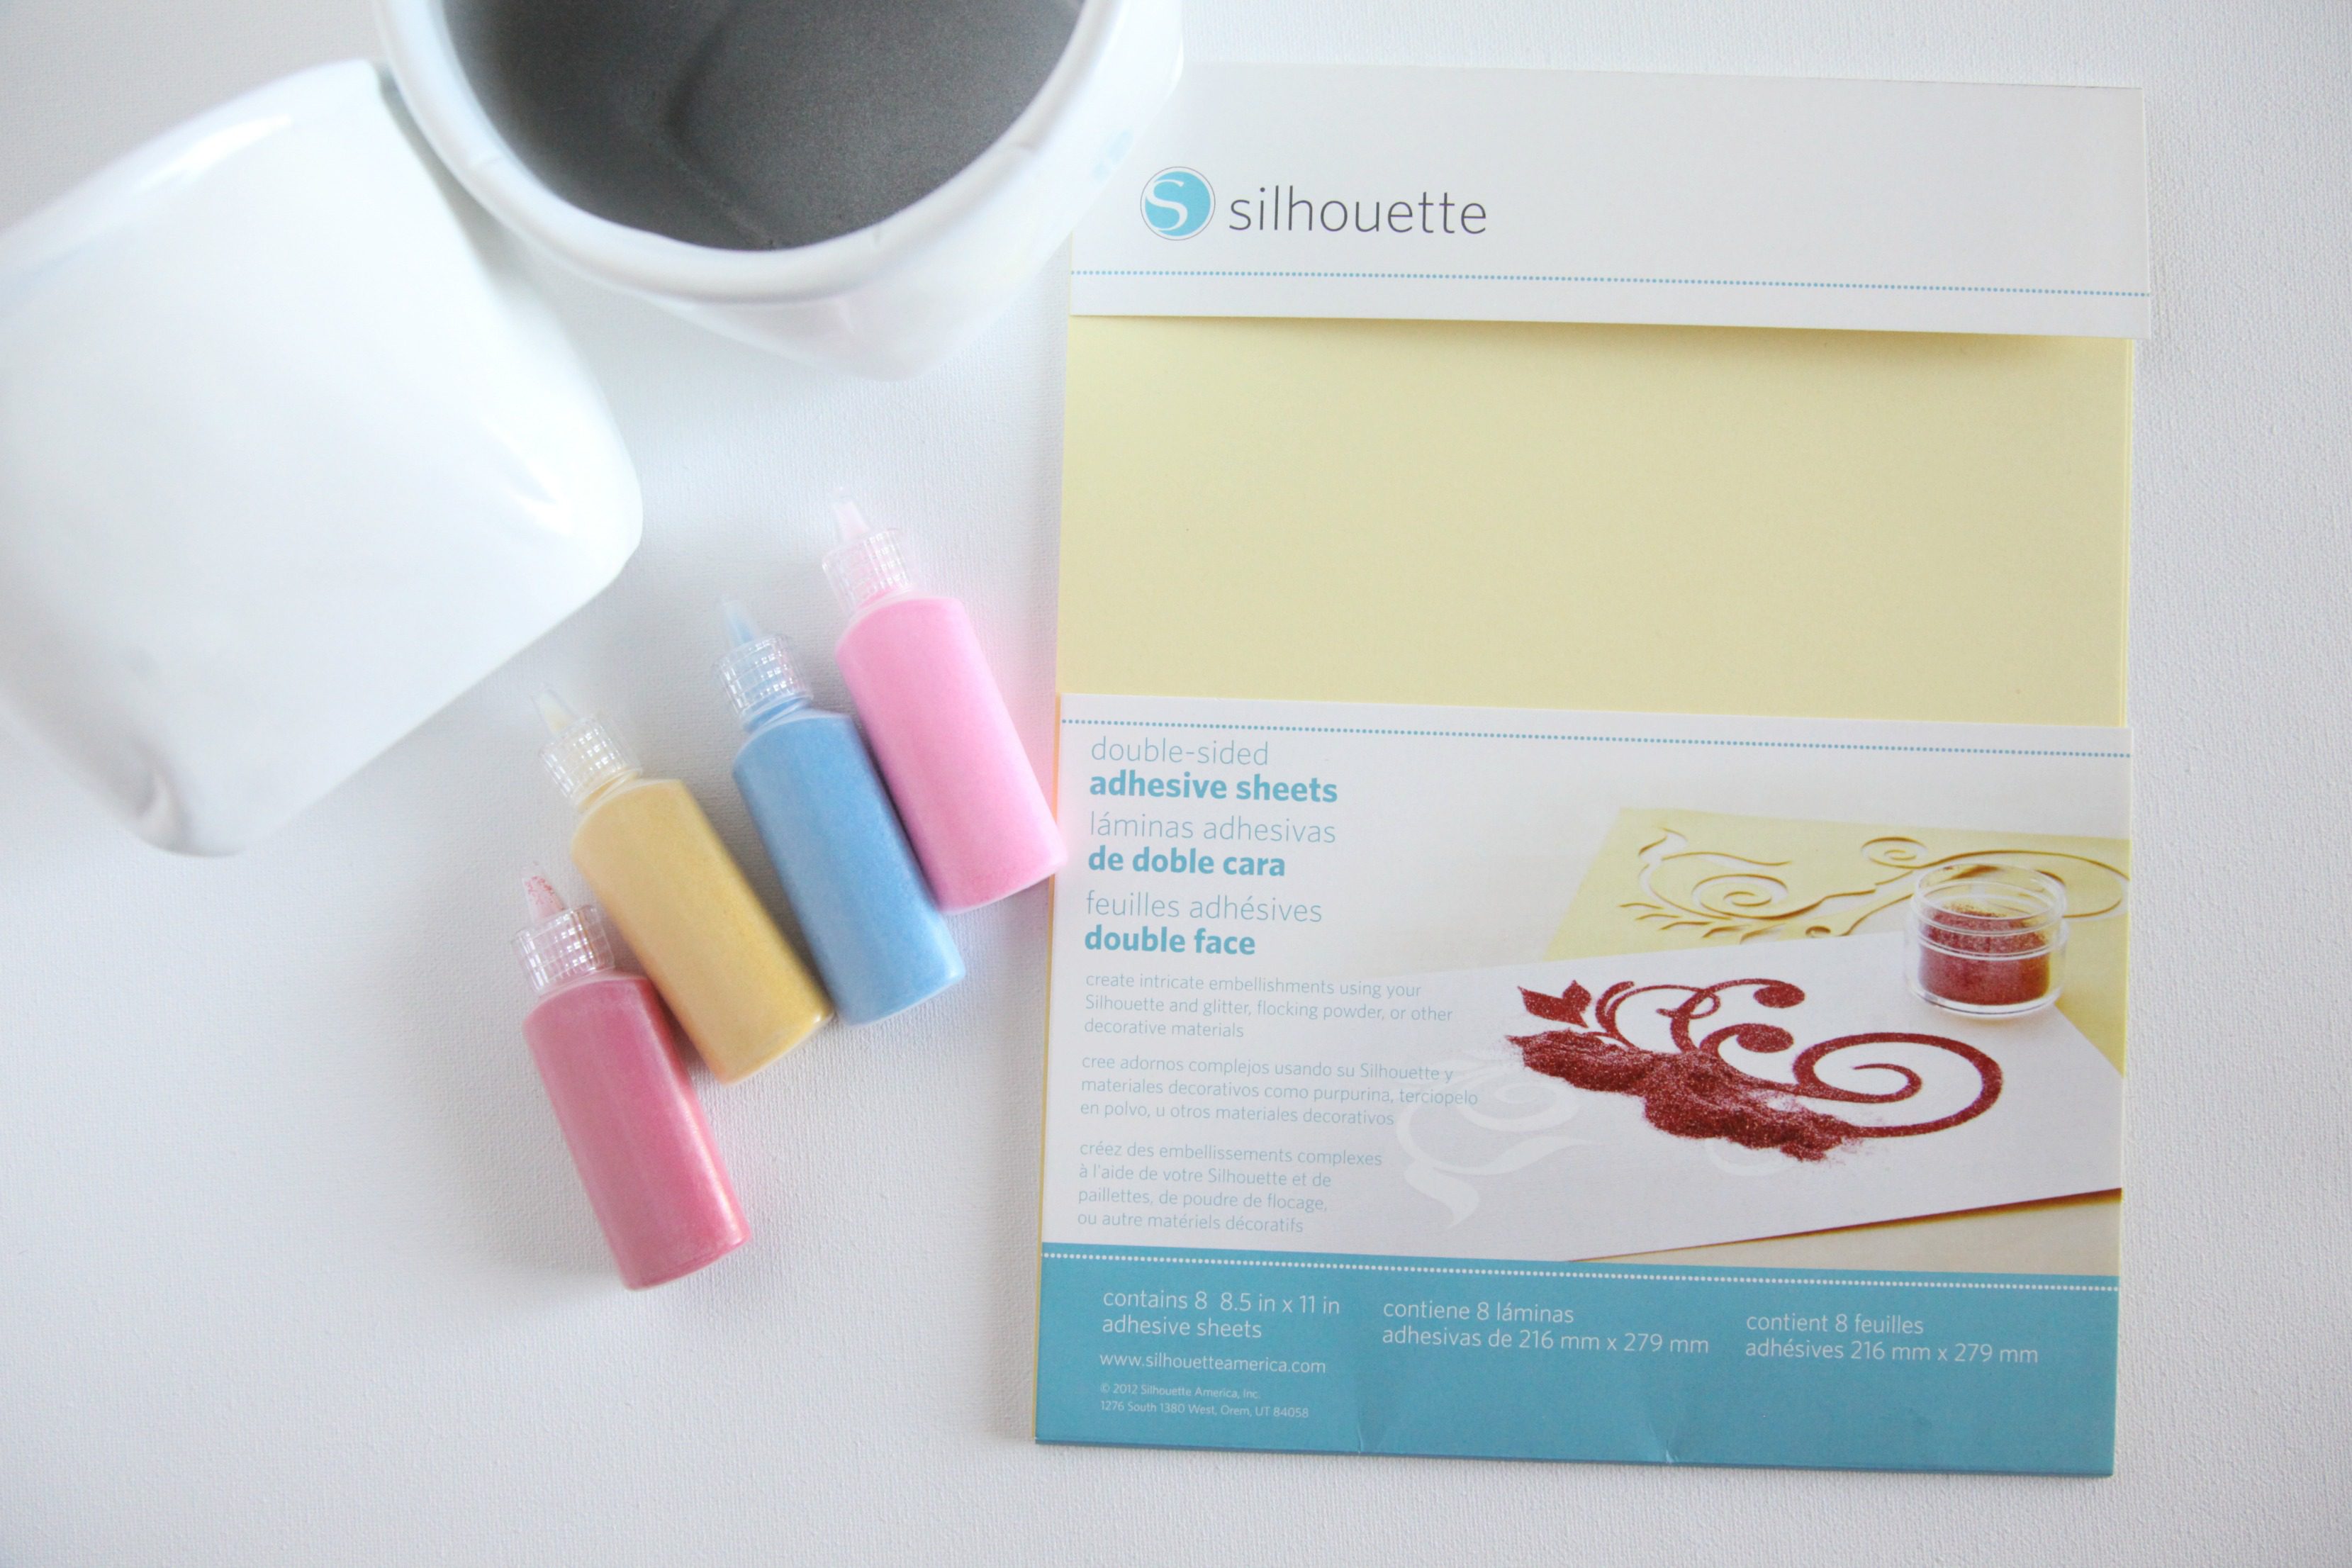
Supplies needed to make your own DIY Sand Art Planters
White flower pots
Silhouette double-sided adhesive sheets
Colored sand
Spray sealant
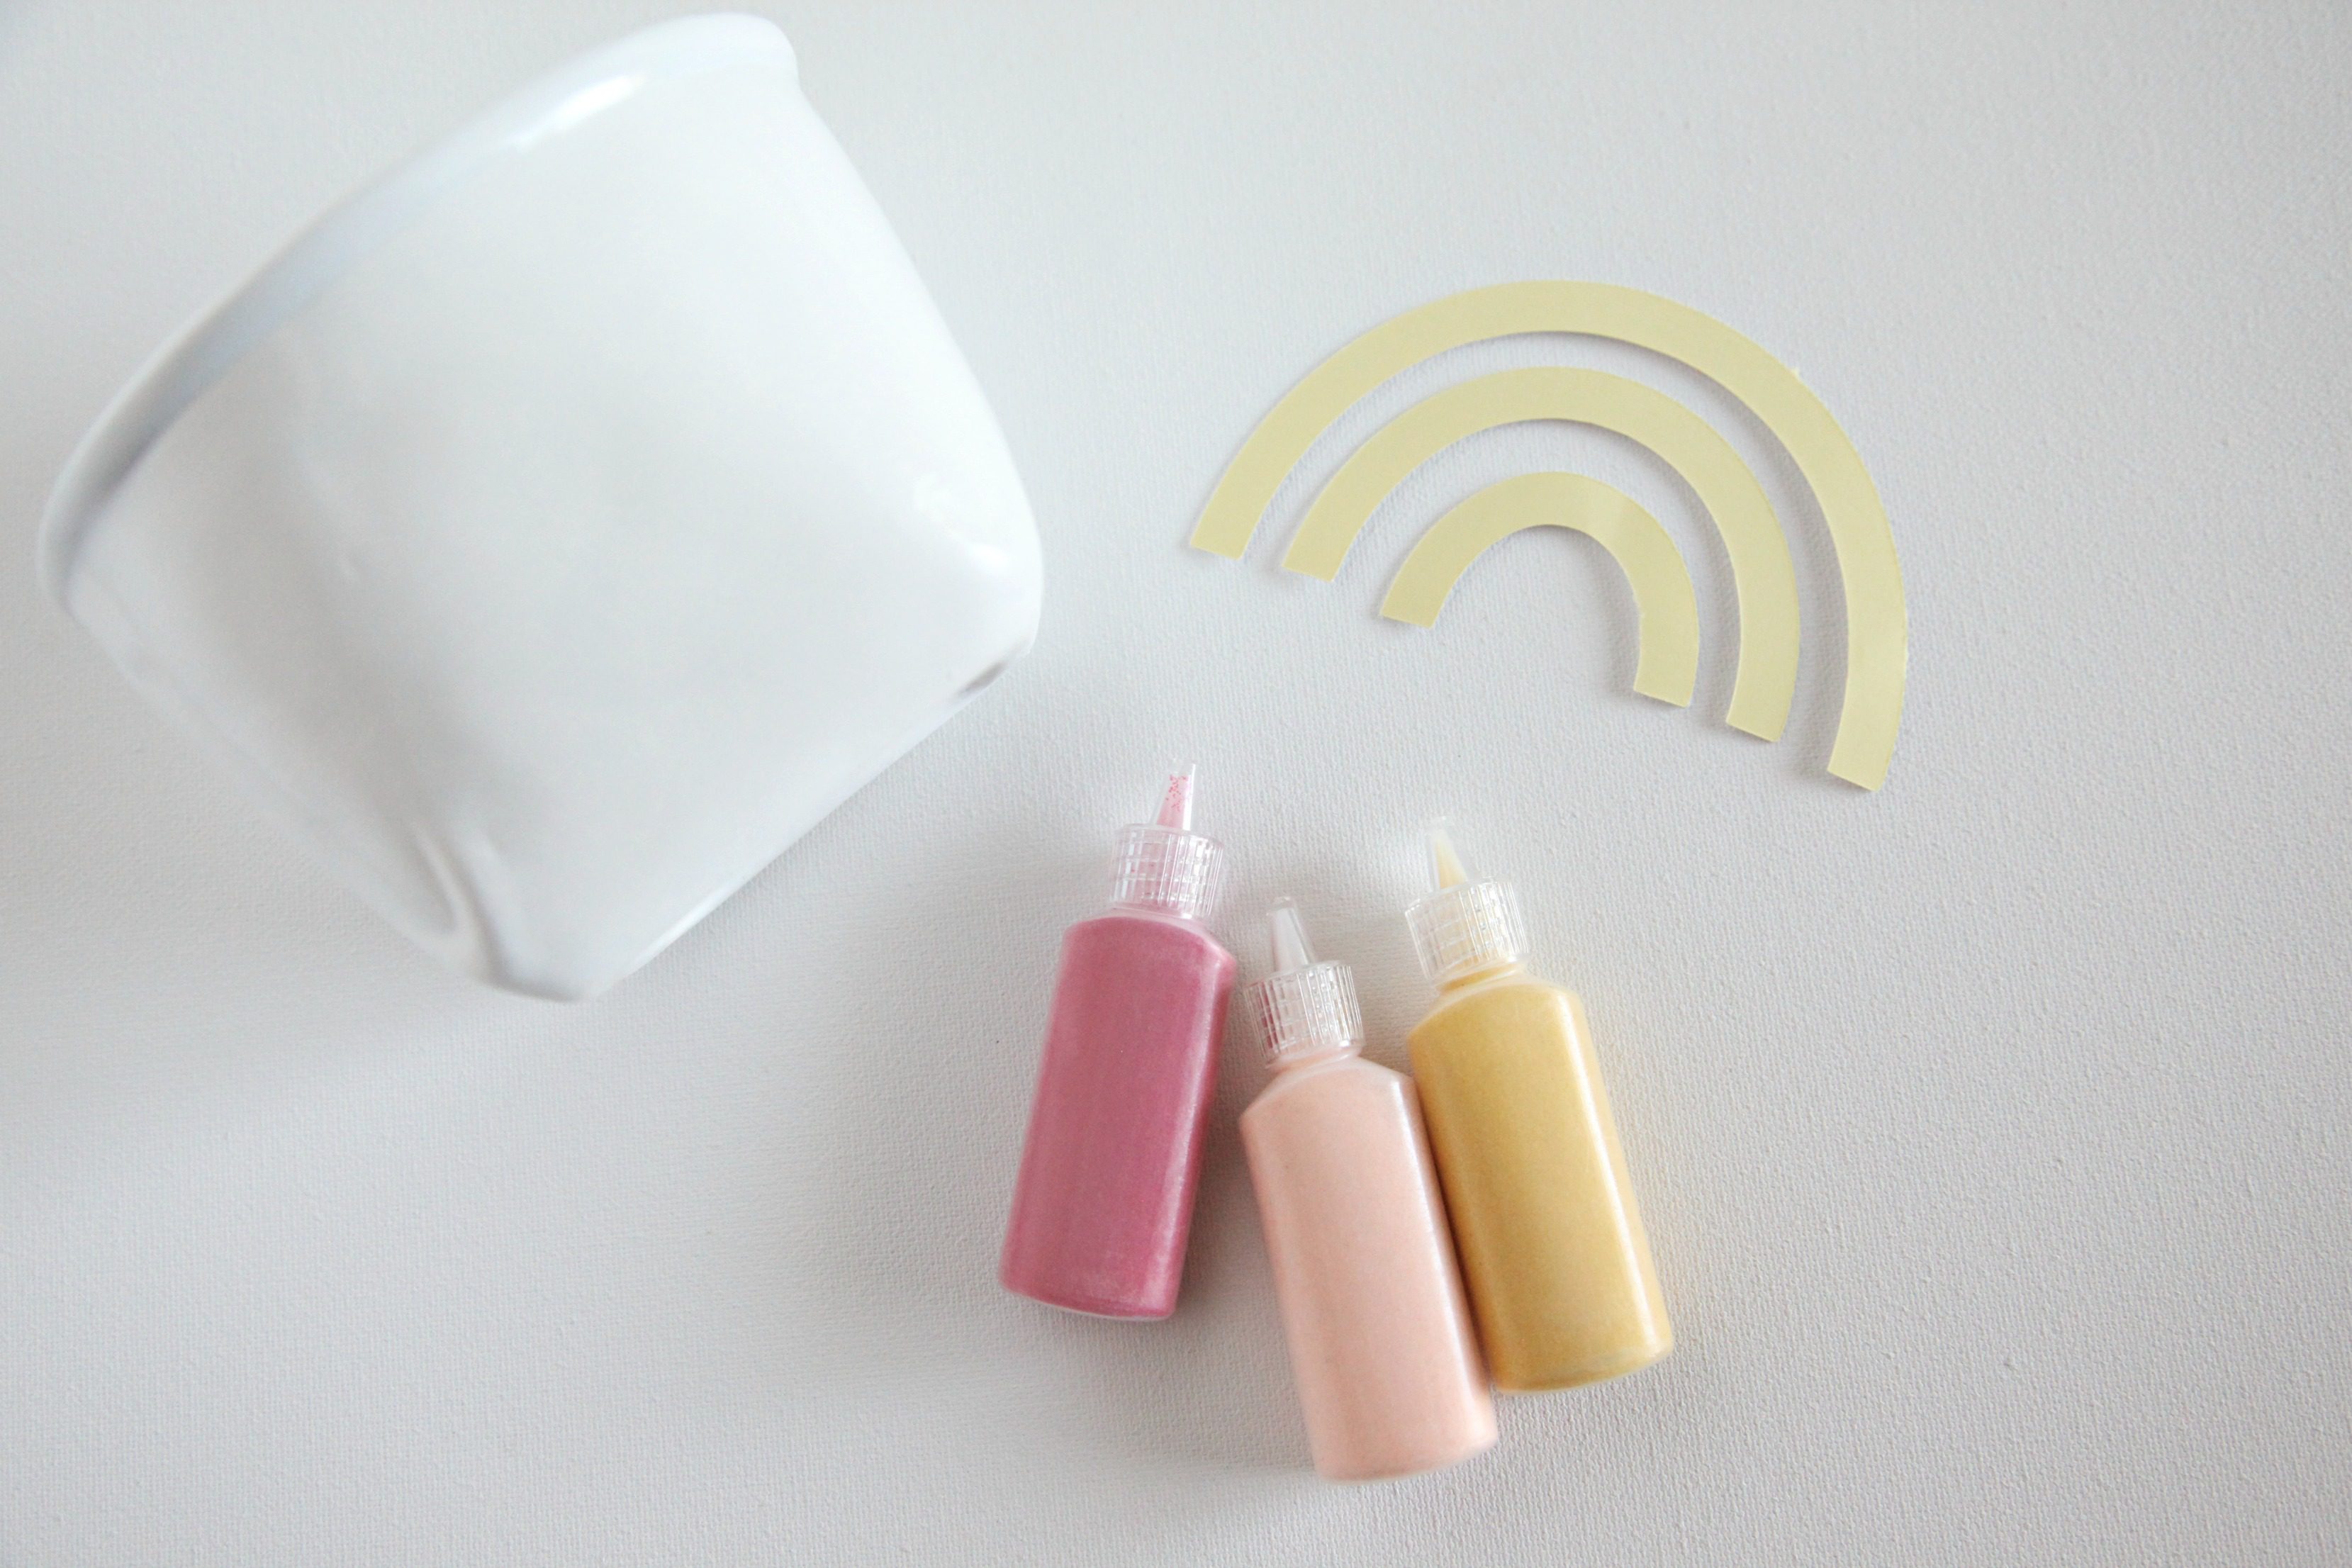
Step 1: Cut the Silhouette double-sided adhesive into shapes. I used a Silhouette CAMEO, but you could 100% cut these by hand by drawing your design, and then using scissors to cut it out.
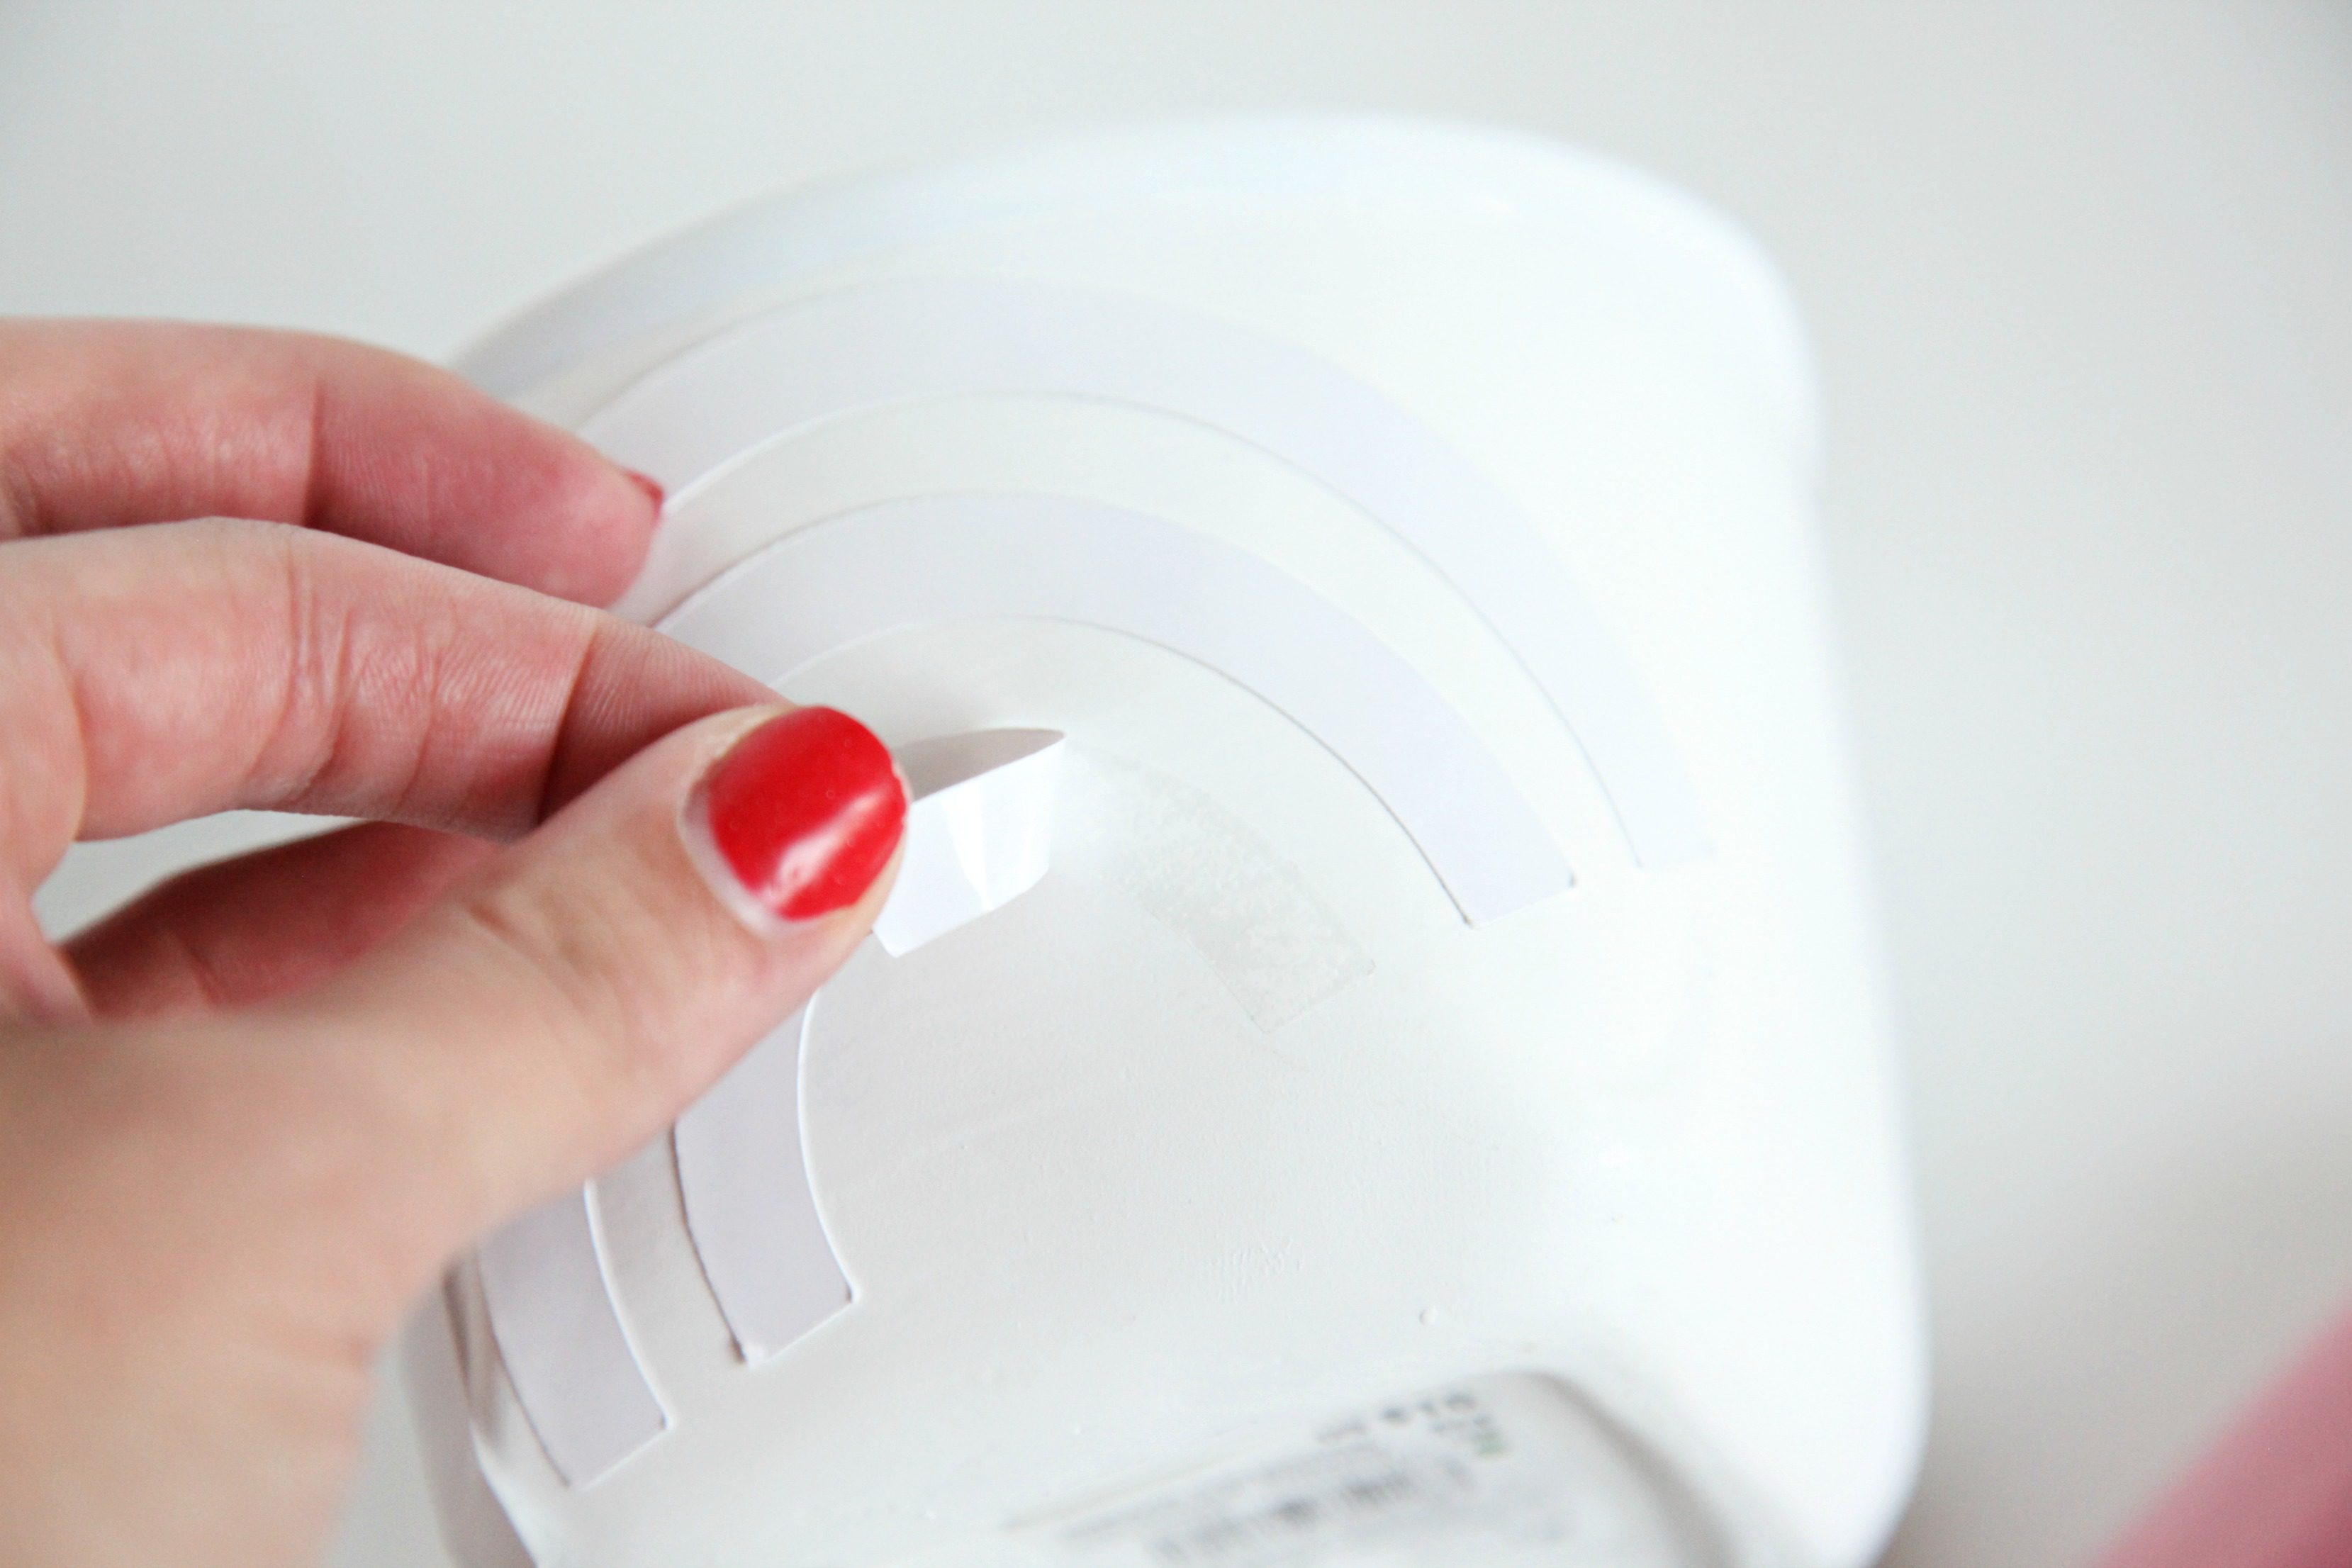
Step 2: Carefully remove the yellow backing from the adhesive sheets, ensuring that the sticky part is still attached to the white backing, and apply the design to your pot. Smooth the adhesive with your finger so that it is fully adhered to the pot. Then, remove the white backing for your first color (or all the white backing if you are just using one color).
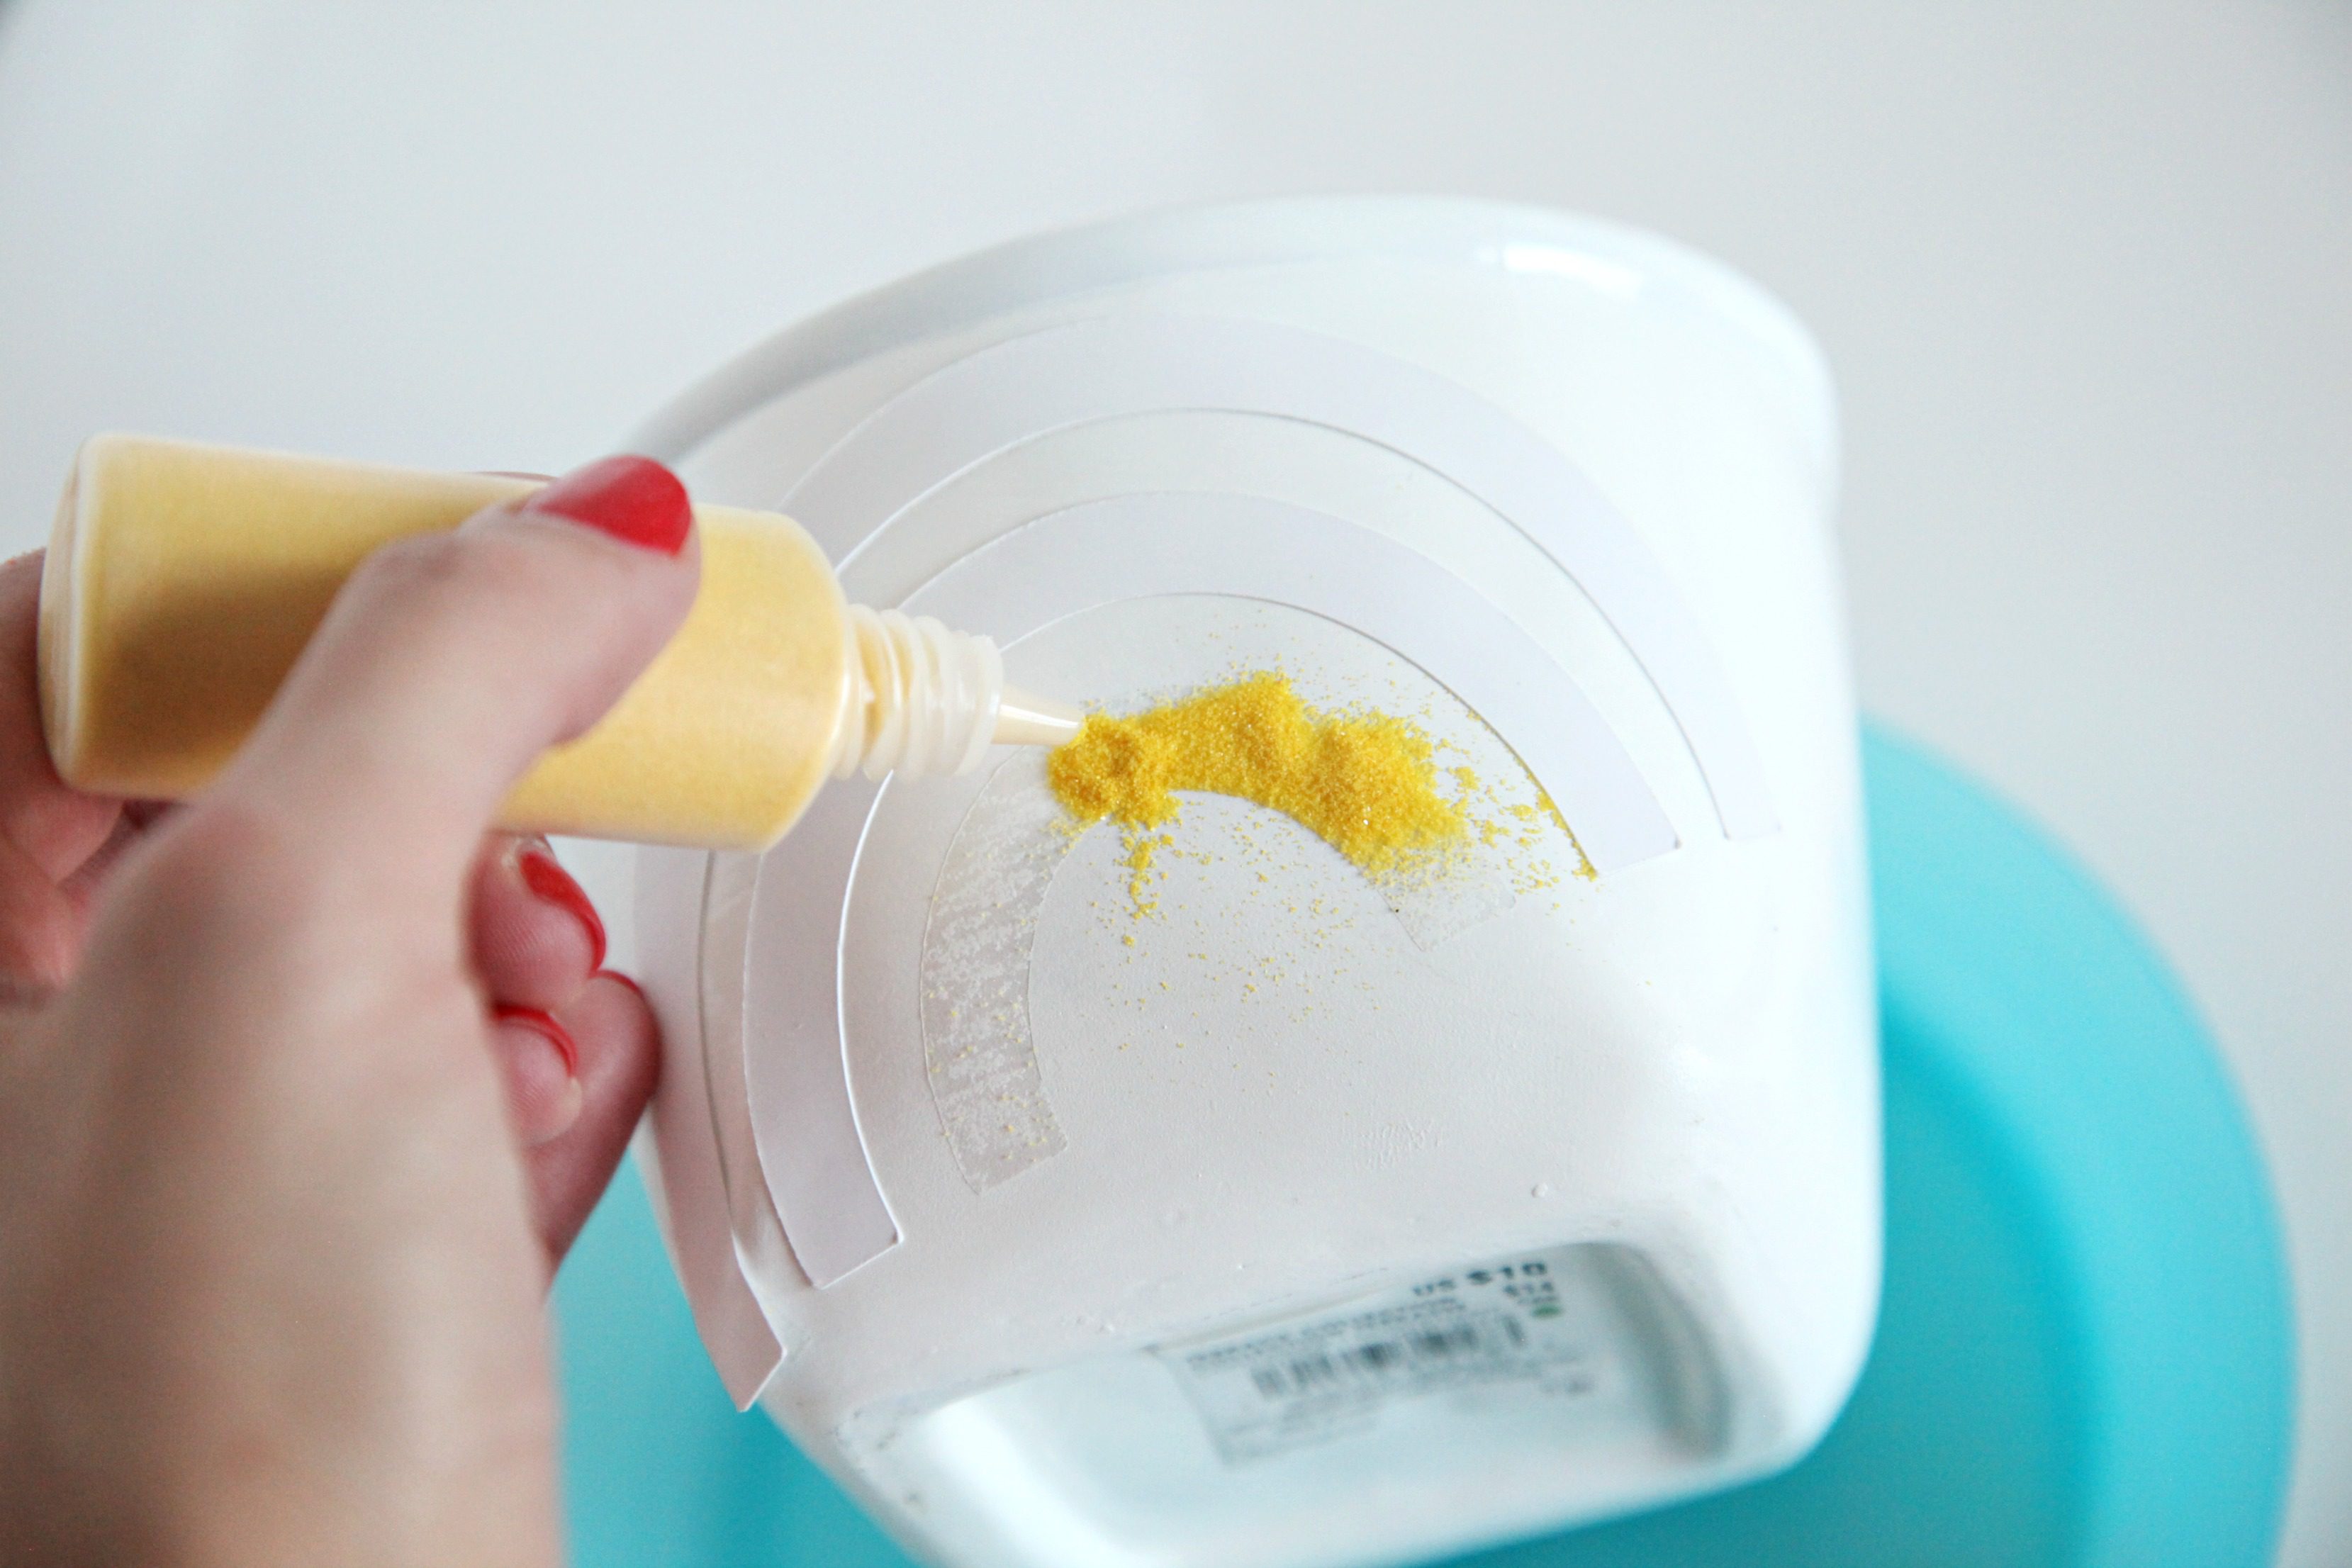
Step 3: Apply the sand to the adhesive. Again, if you are using more than one color, remove the white backing one color at a time so your colors don’t mix. Press the sand with your finger to help it stick, and then tap the pot to remove any excess. Repeat with additional colors.
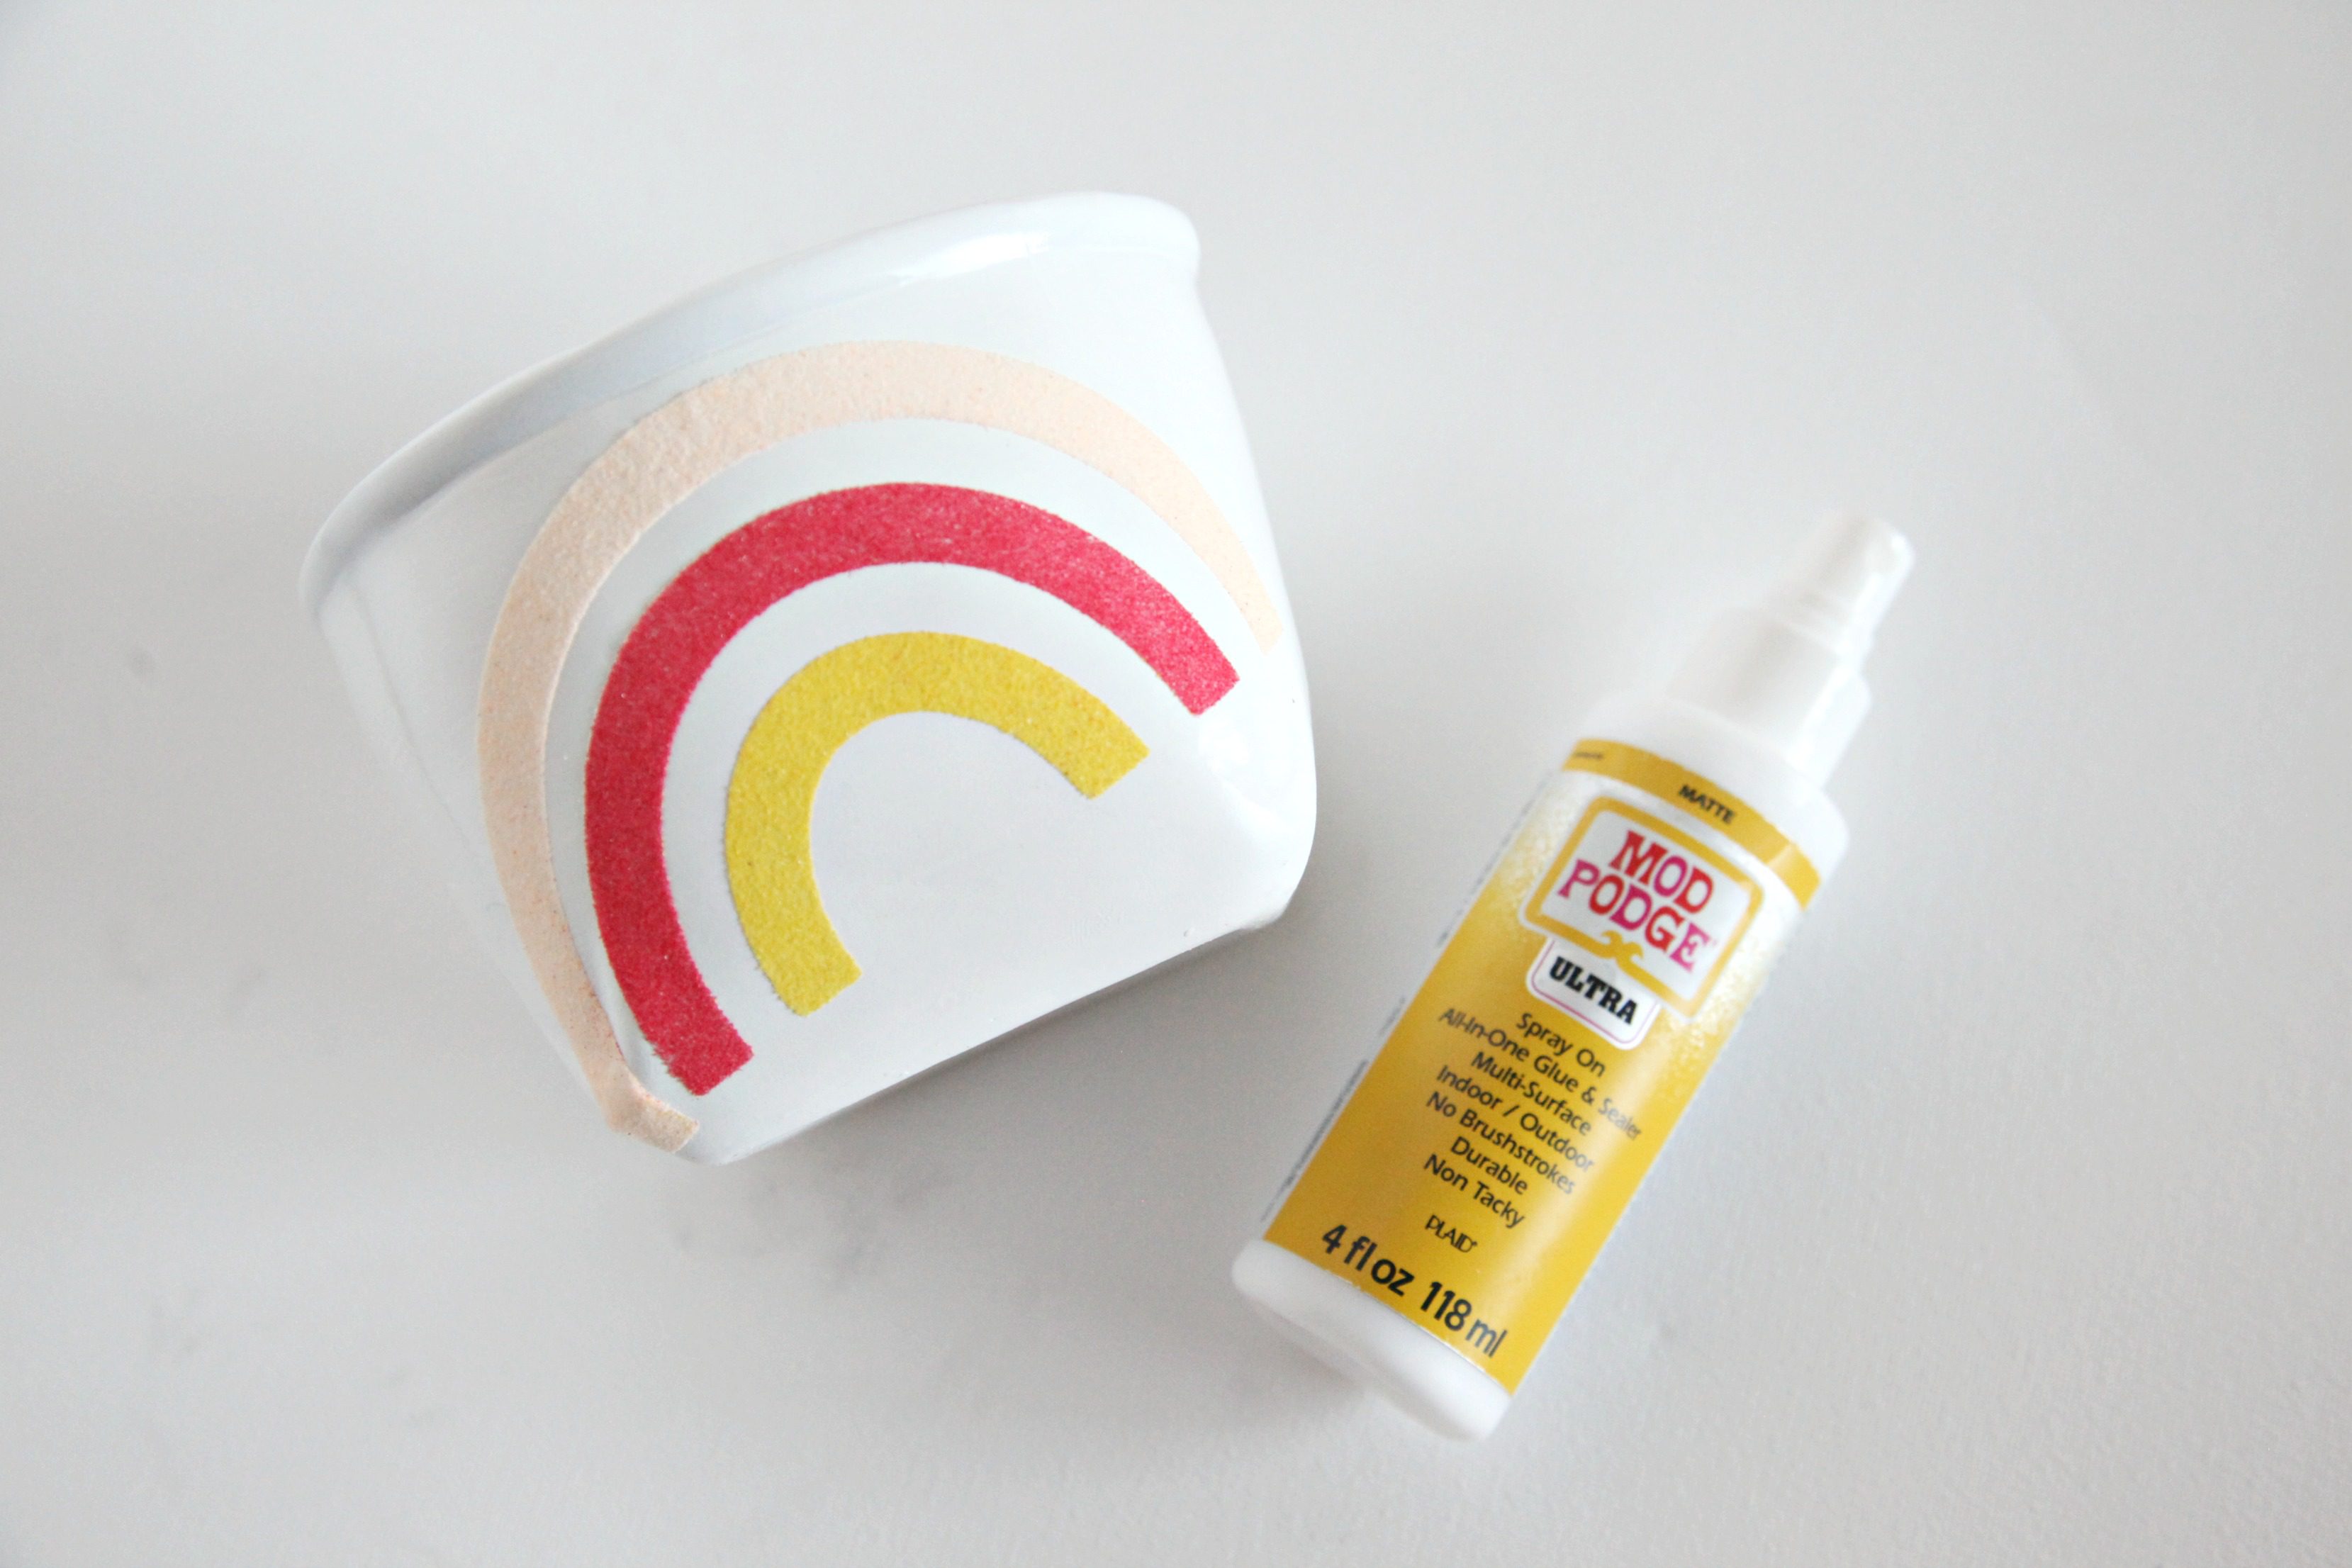
Step 4: Use a spray sealant (we used Mod Podge Ultra) to help the sand stay in place. Let dry completely.


Happy crafting!
xo, Sam
Looking for more planter ideas? Check these out!


