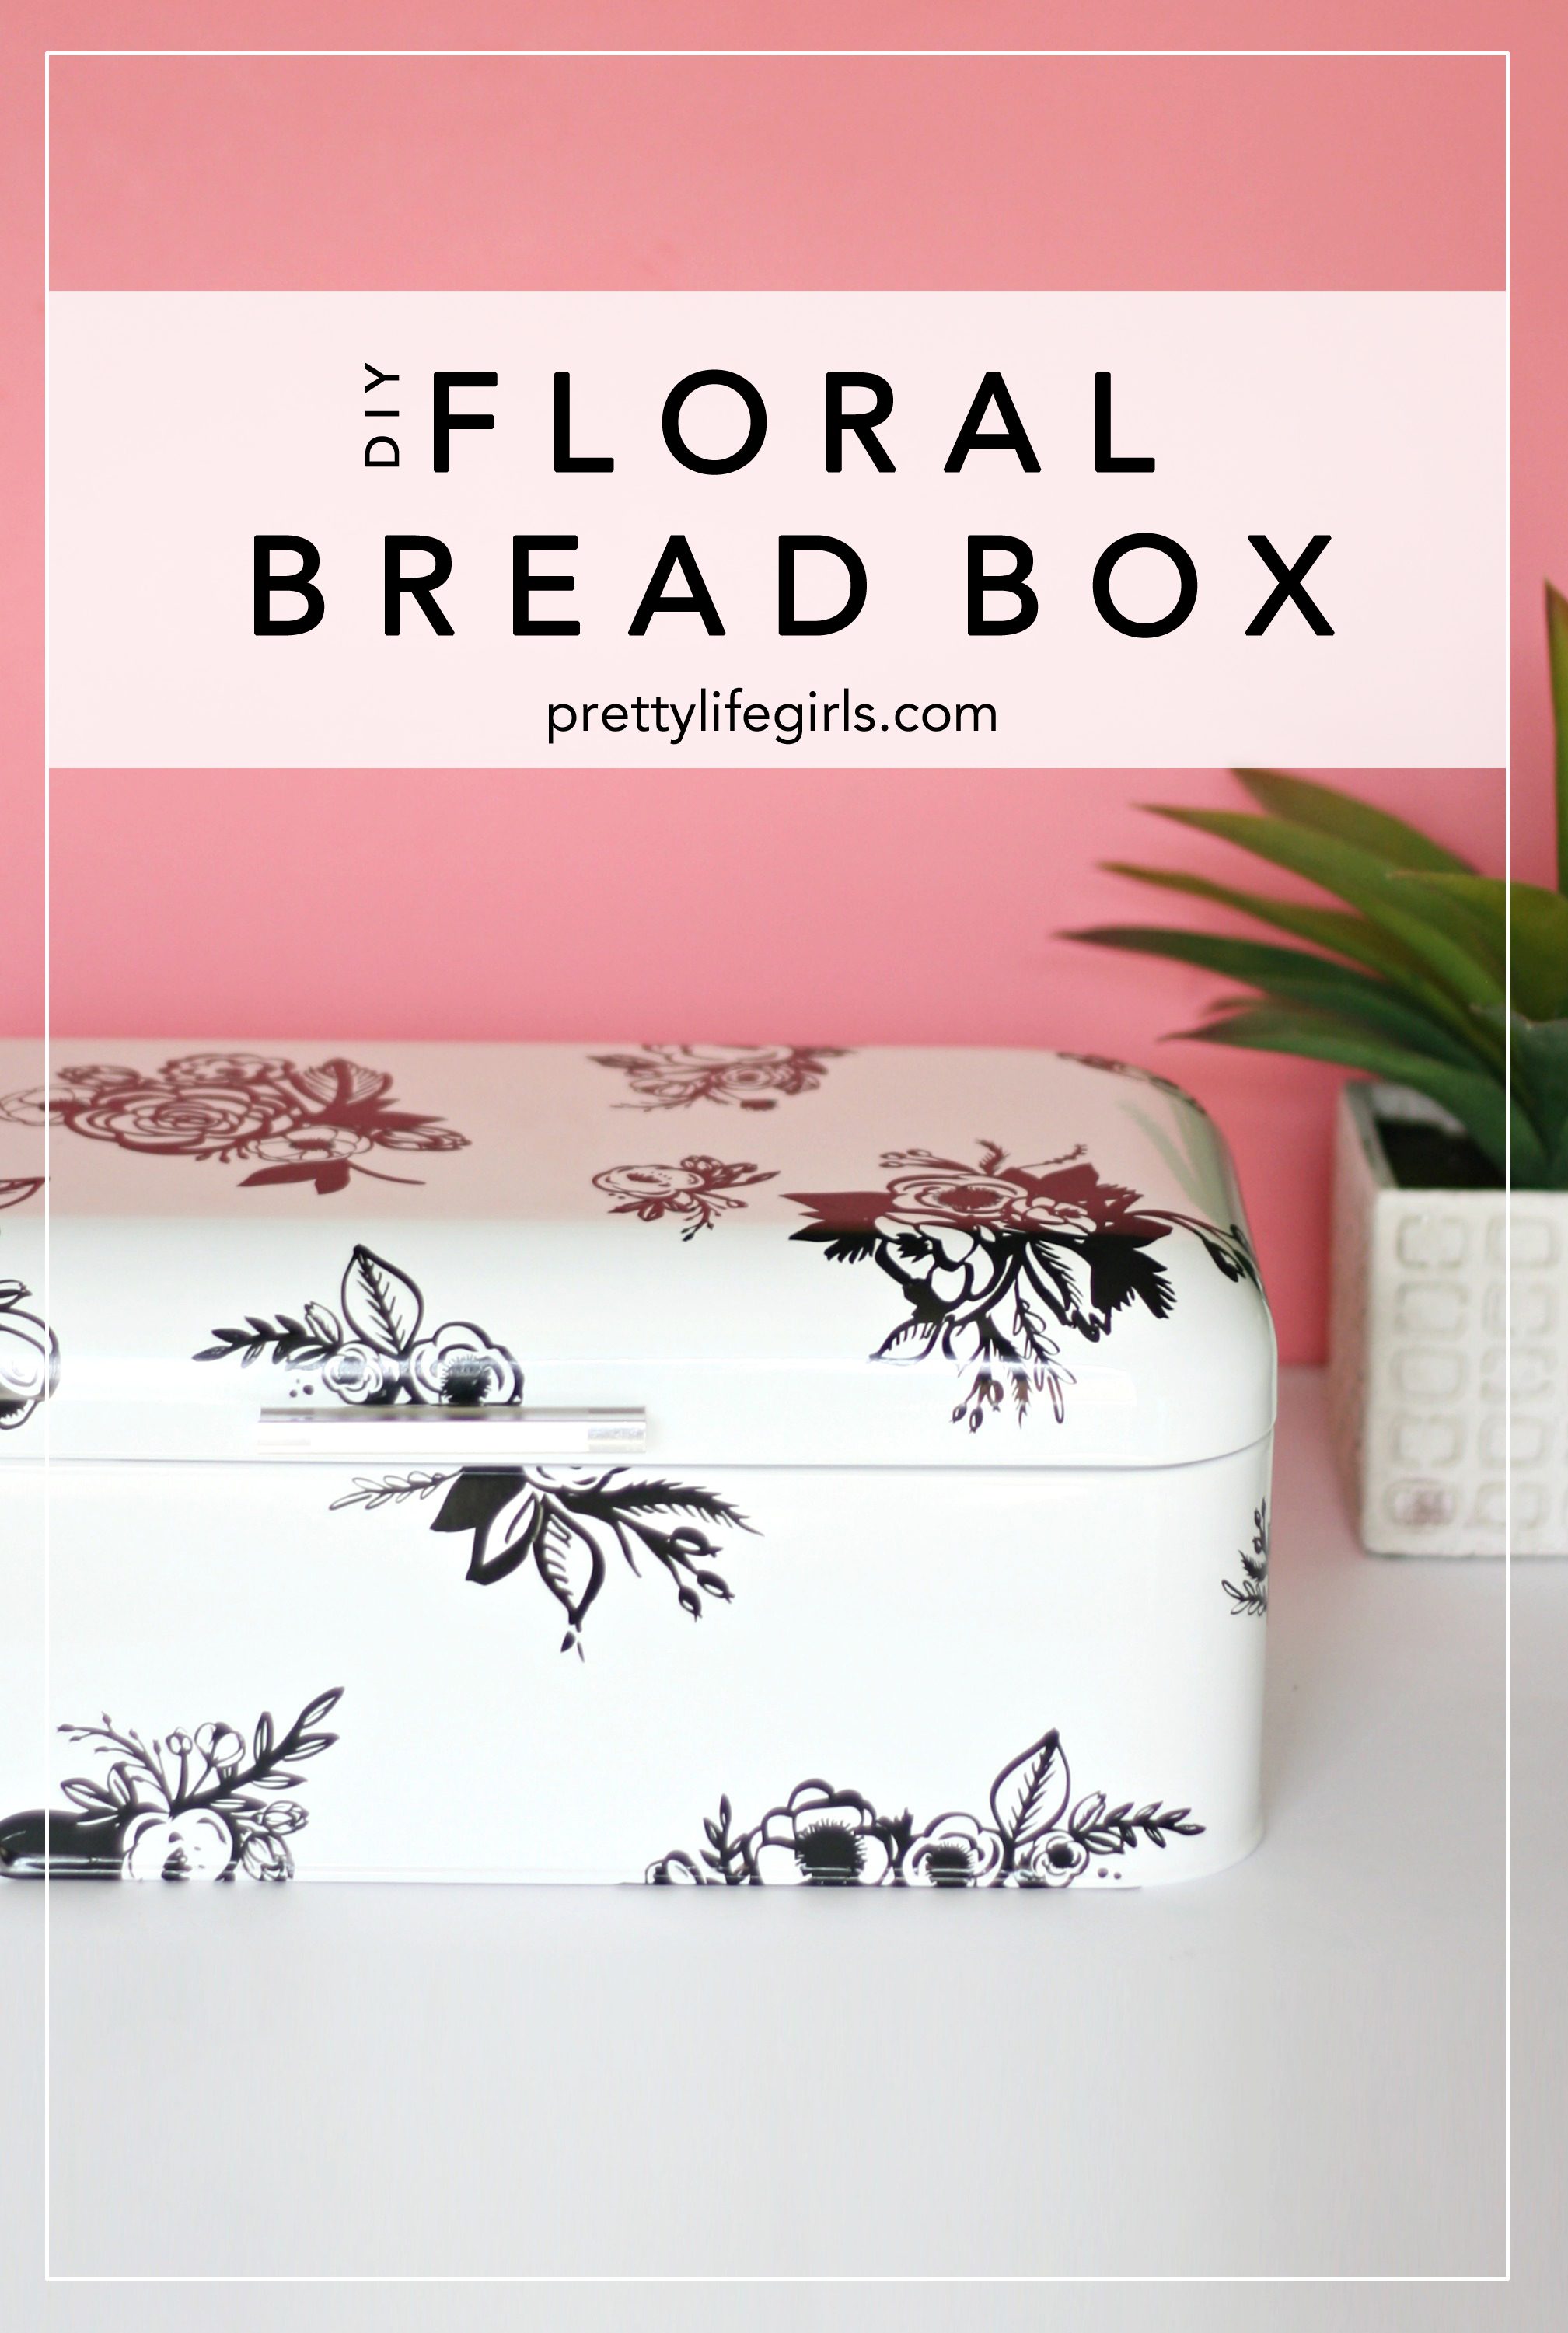
This DIY Floral Bread Box tutorial was sponsored by Silhouette America.
All opinions expressed are our own.
I have been a little bit obsessed with organizing and de-cluttering my house lately. And of course, if it can be done with cute storage, it makes it a lot more fun!
One of the messes that has been bothering me the most is the pile of bread on our counter… and we eat a lot of bread so its a BIG pile. I decided I would get it under control with a nice bread box – add a little bit of vinyl and you have the cutest bread box ever! Keep scrolling for the simple tutorial for this DIY Floral Bread Box!


Supplies
Bread Box
Silhouette + Oracal 651 Vinyl


Step 1: Cut and weed your vinyl. I used these gorgeous floral designs from Rhonna Farrer (found in the Silhouette Design Store).


Step 2: Using transfer paper or painter’s tape, remove the vinyl from the carrier sheet, and apply to the box. We used Oracal 651 for Silhouette, which is a premium, glossy vinyl. It has a stronger permanent adhesive, which allows for indoor and outdoor use. It’s gentle enough for most indoor walls, but resilient enough to withstand the sun and outdoor weather.


My kitchen counter has never looked so good. With this adorable floral box, instead of a pile of bagels and bread, it’s tidy and pretty!


Happy crafting!
xo, Sam


This box is so cute! You ladies are wizards with your Silhouette!
Adorable box to keep your bread in.
http://www.amysfashionblog.com/blog-home