


This post was originally published June 2017
and updated as of June 2022.
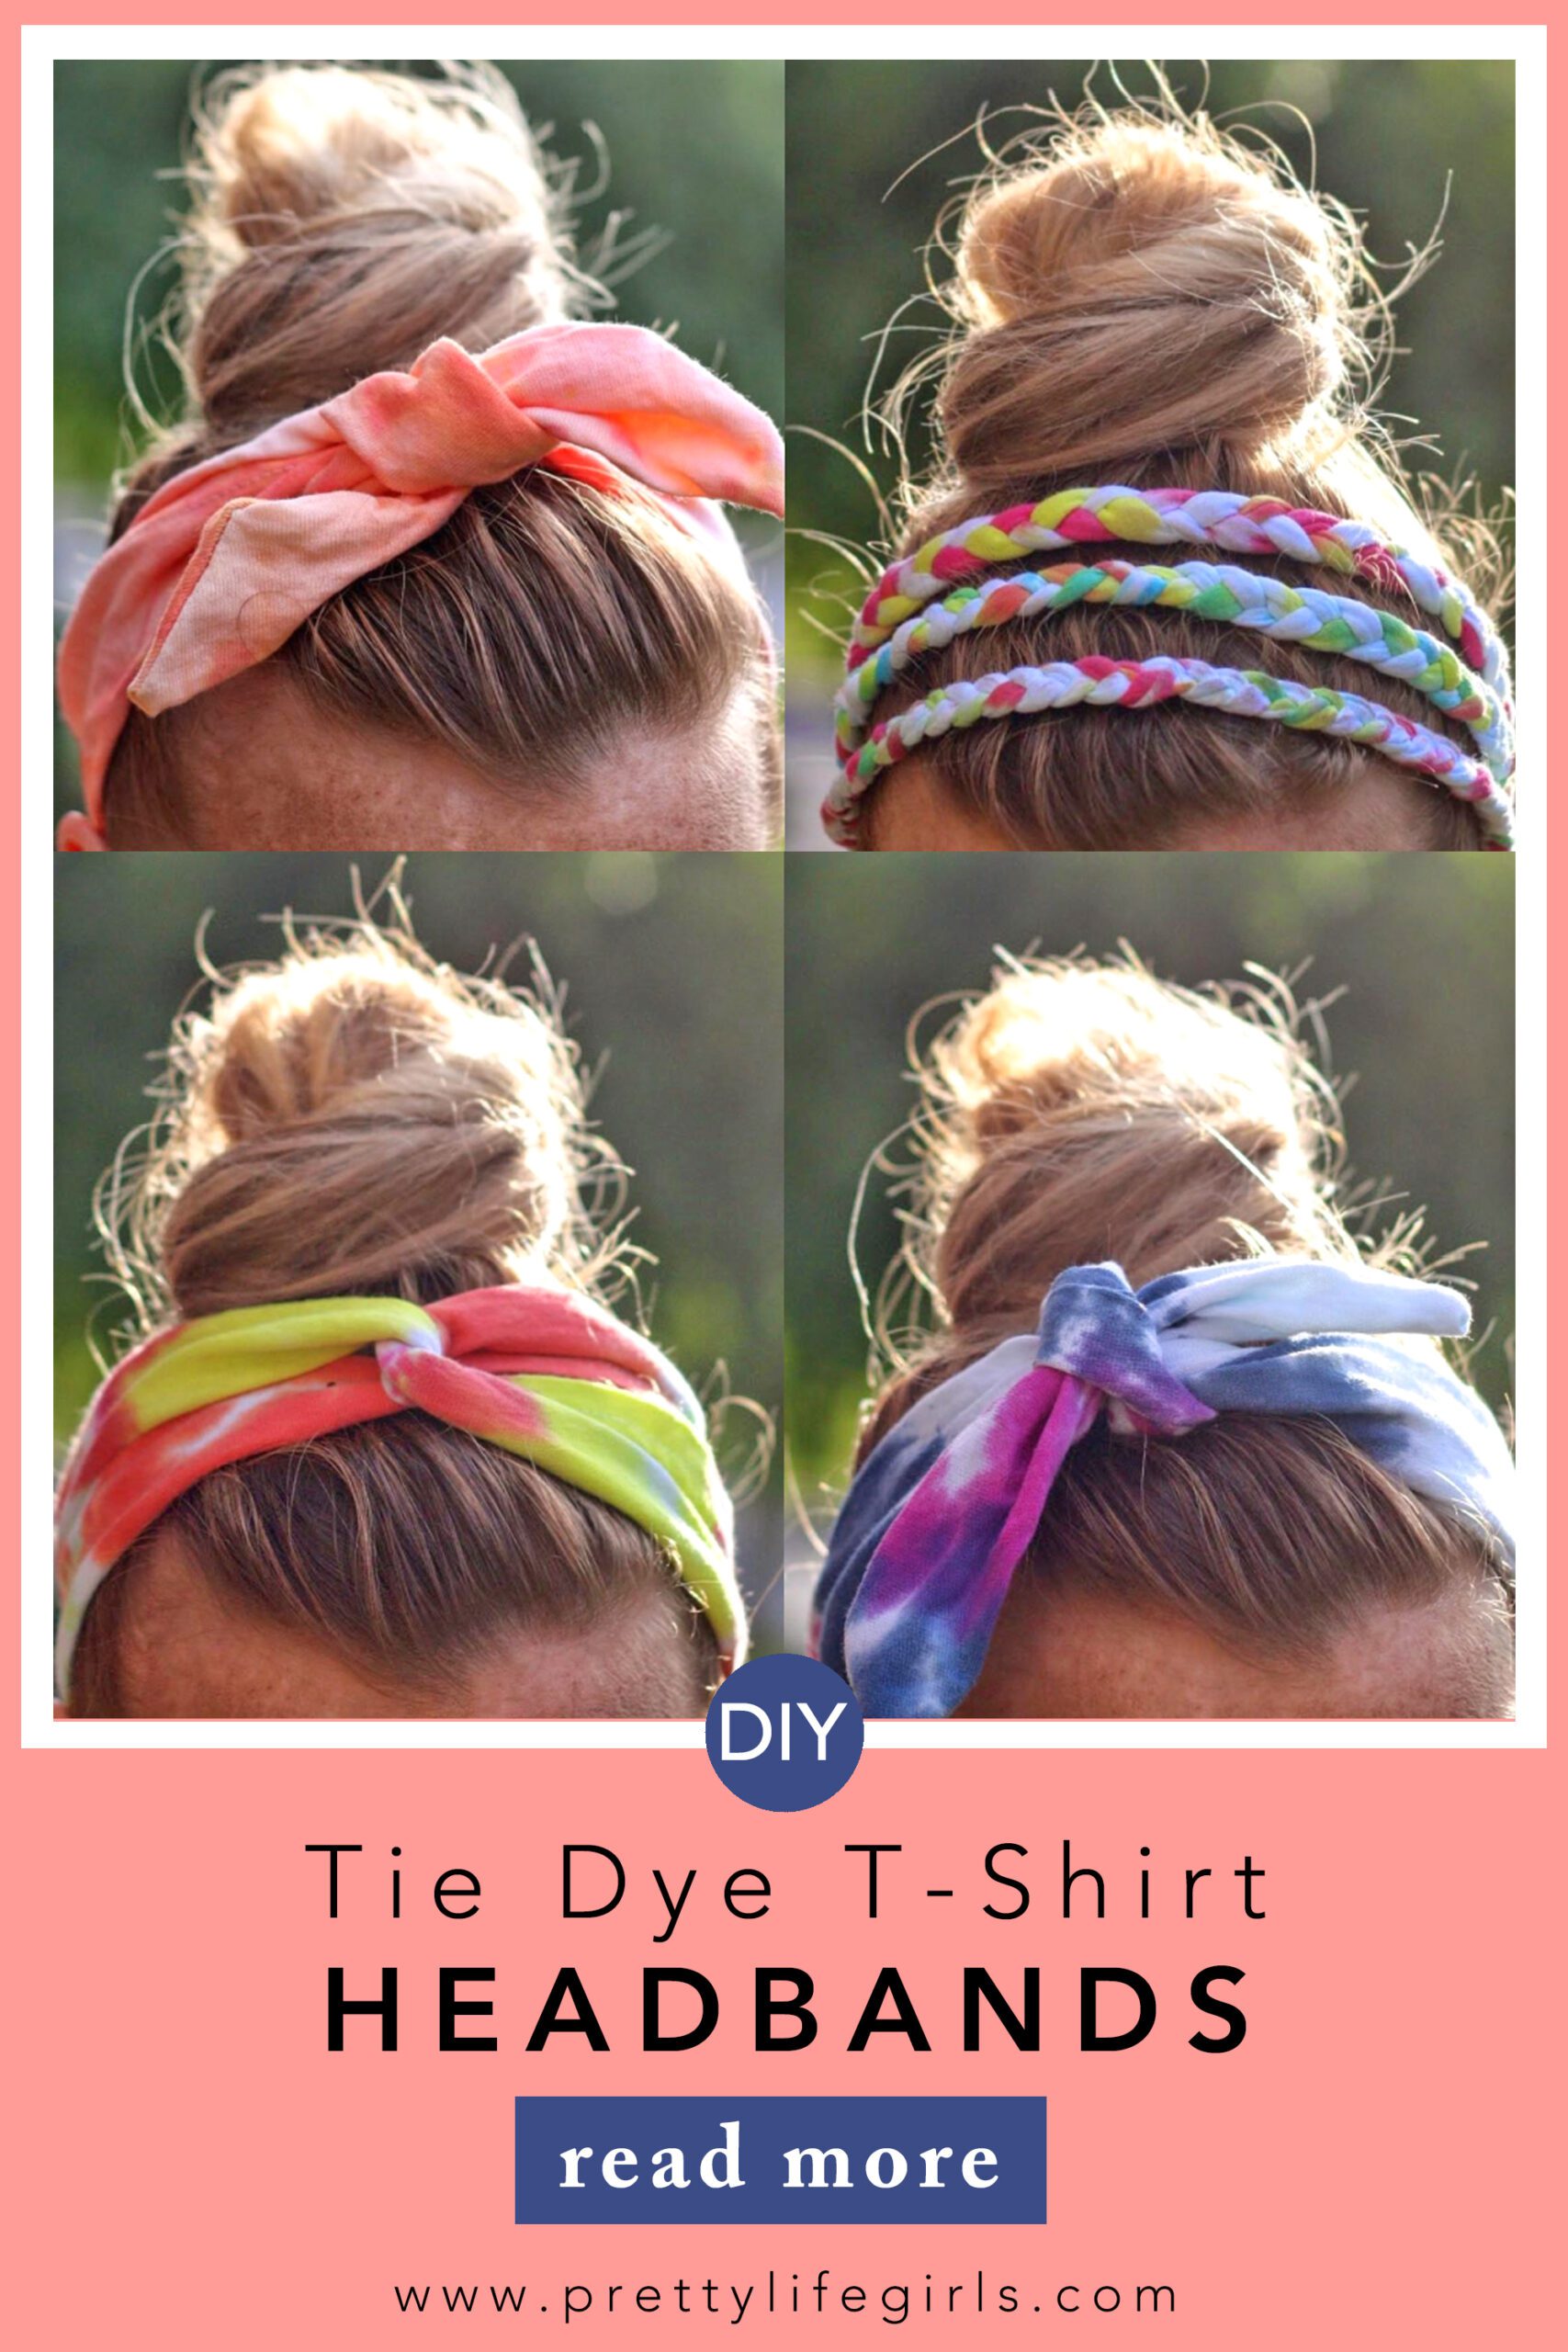
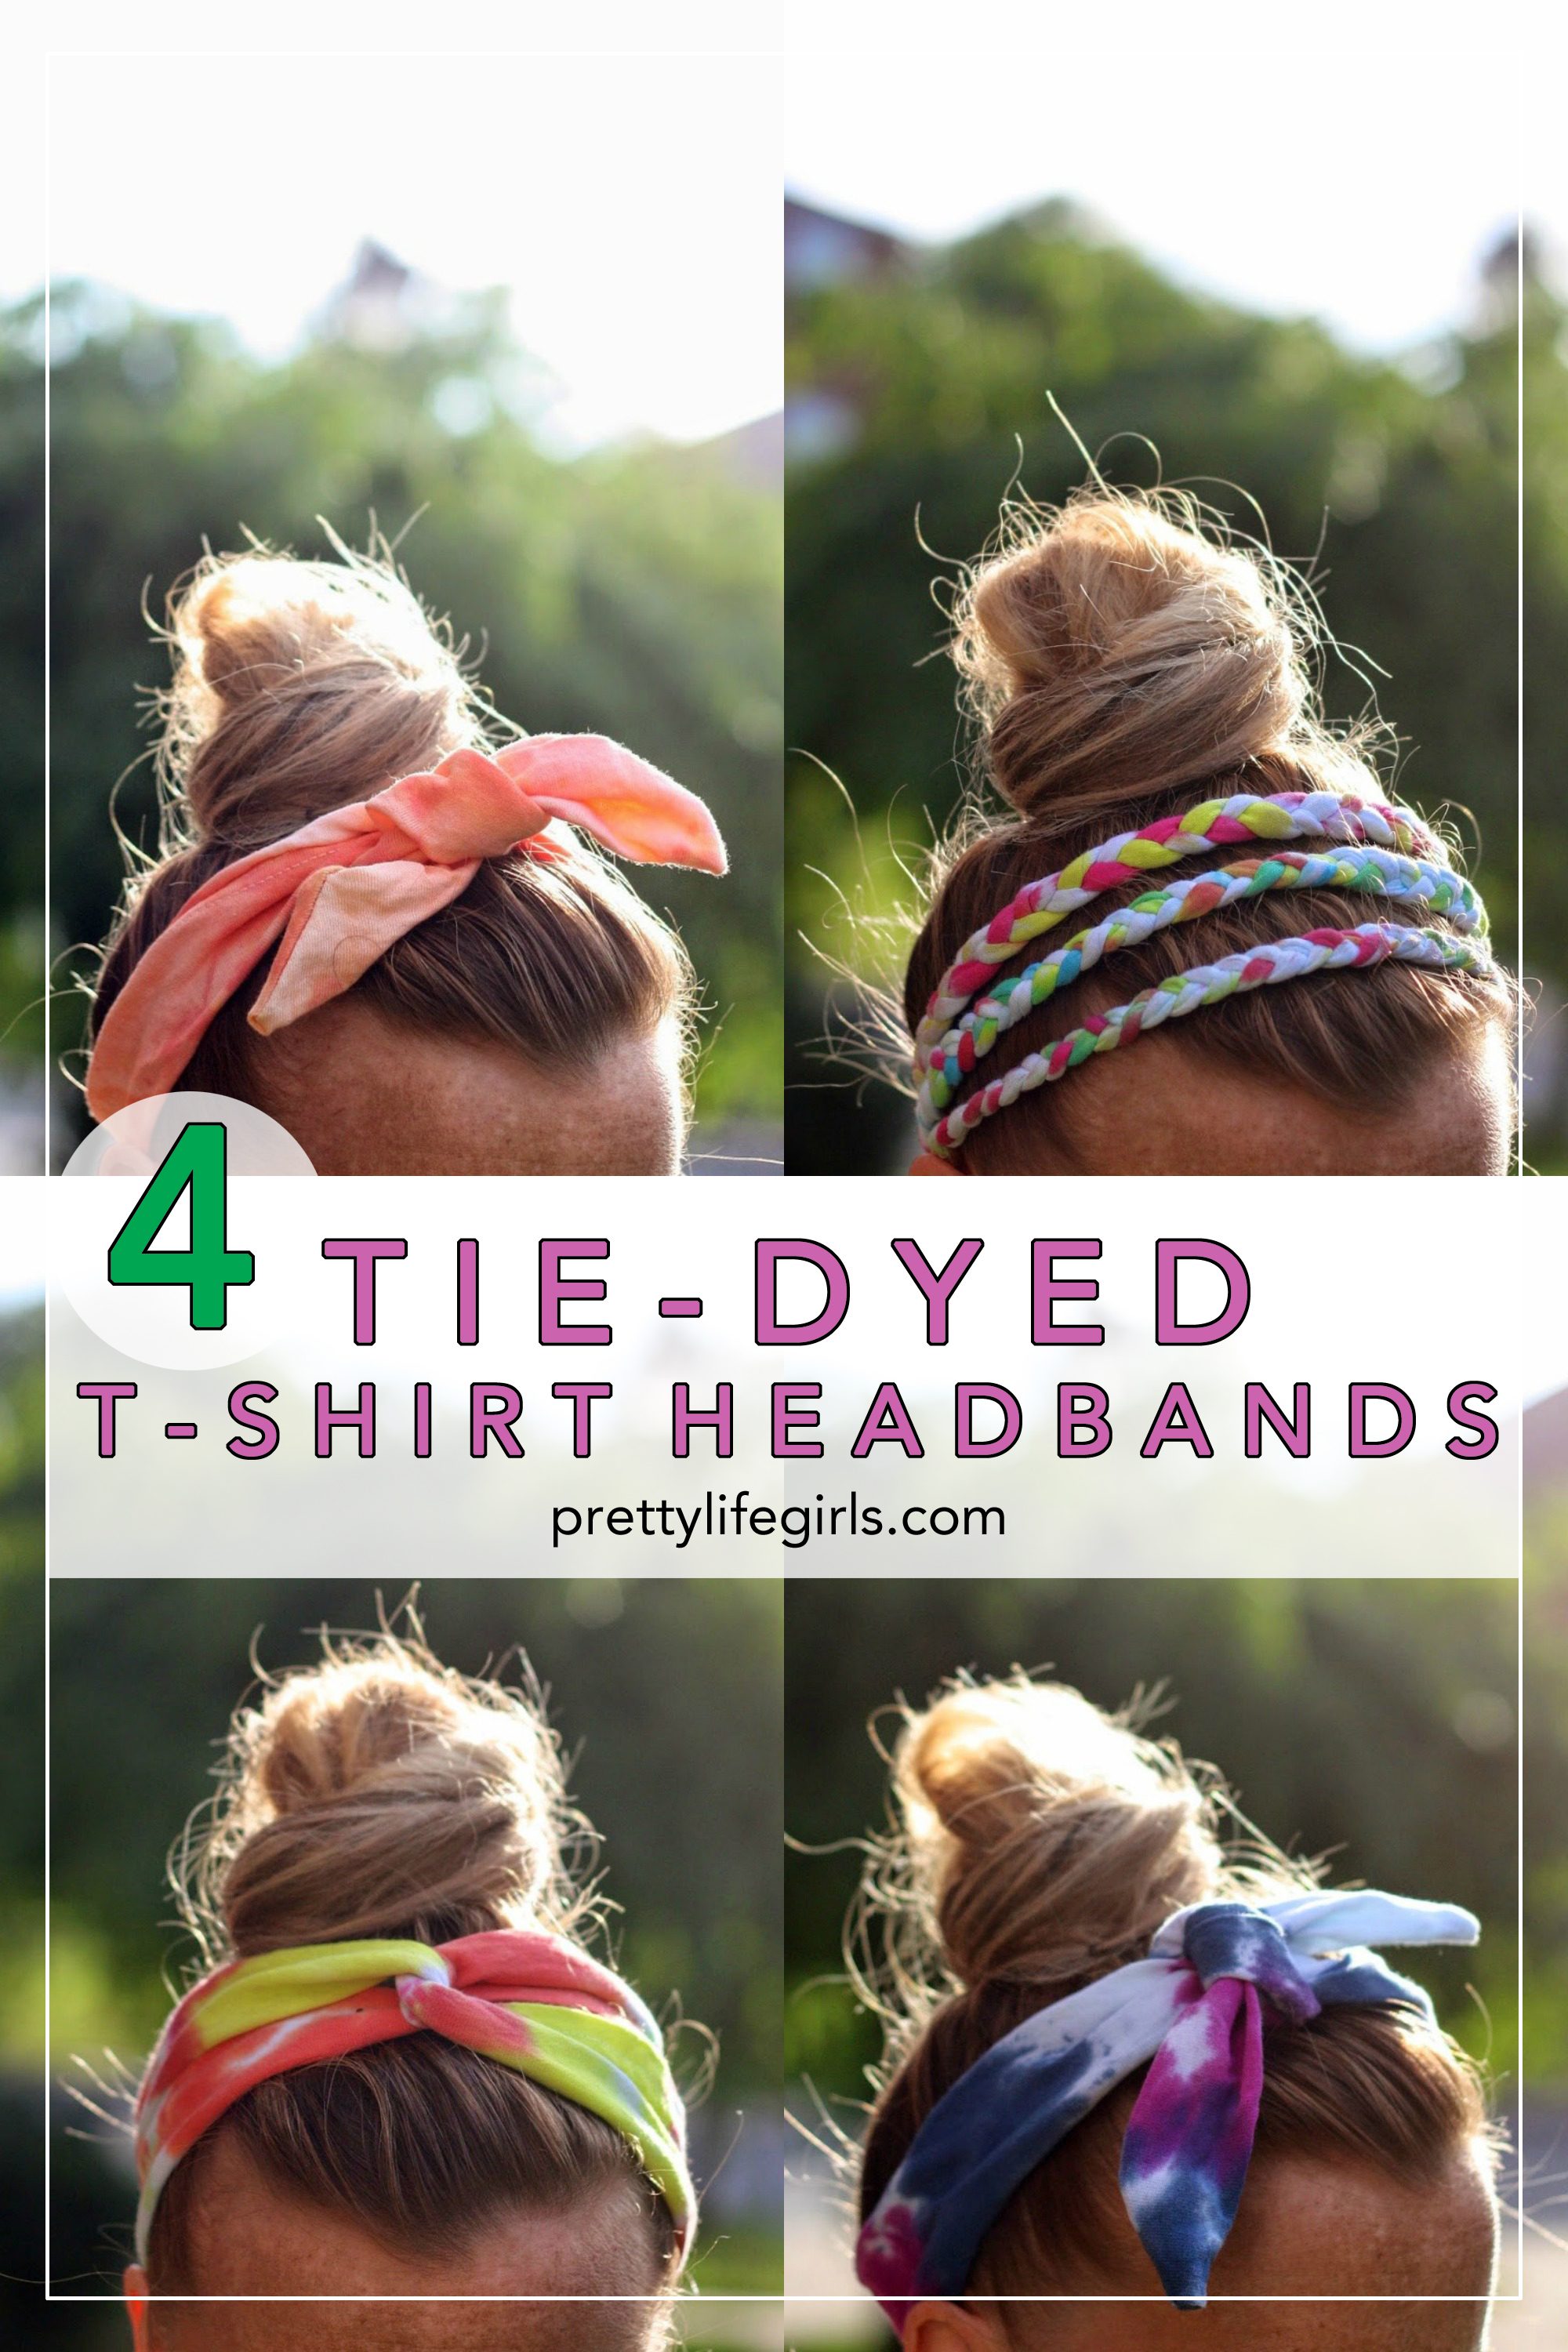
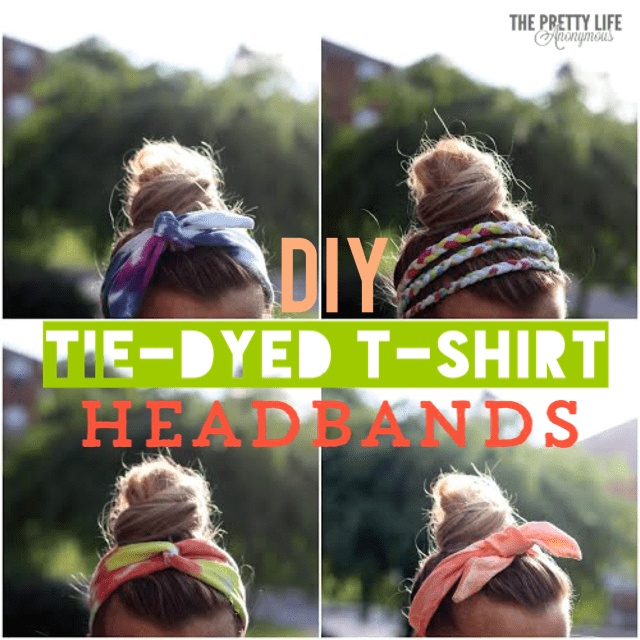
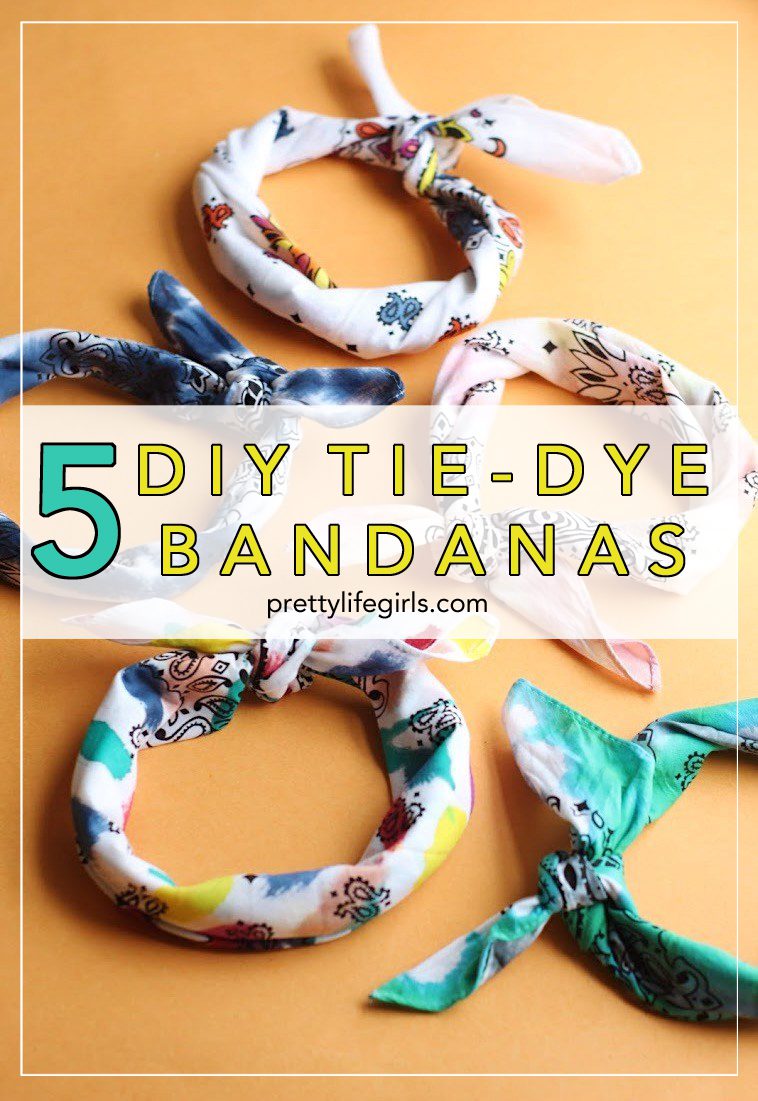
These DIY Tie Dye Headbands are made so easy by taking some white cotton t-shirts that were taking up space in my closet and giving them a little tie-dye makeover. I was able to whip up a handful of fun and summery headbands and the result is adorbs. Here’s what I did:
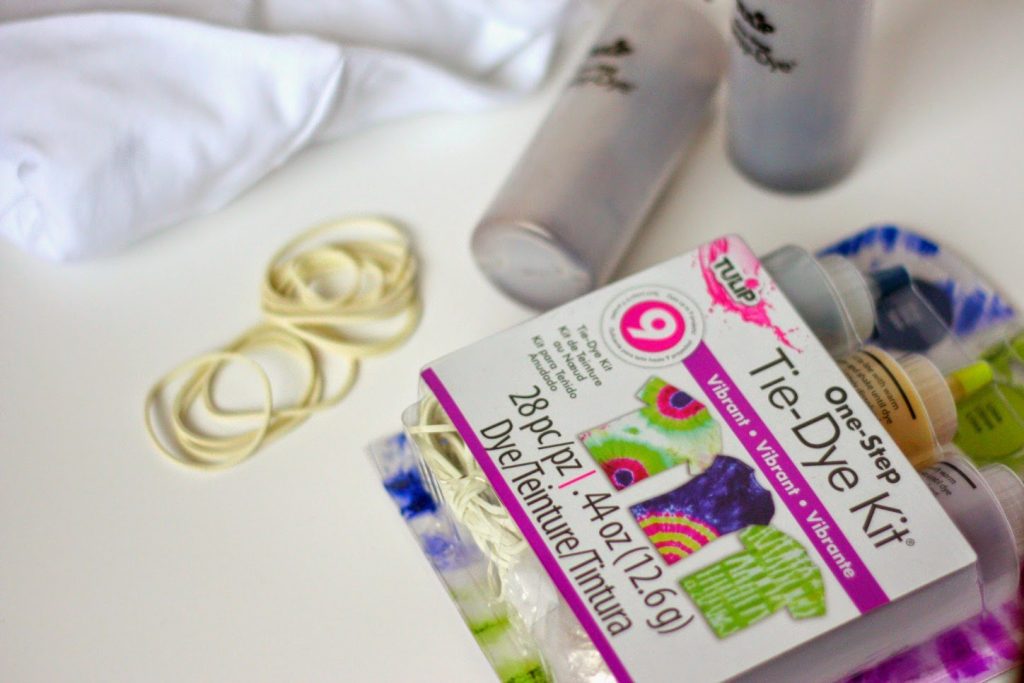
Supplies needed to make Tie Dye Headbands
Tulip’s One-Step Tie-Dye Kit (This kit has everything you need for a tie-dye project: Rubber bands, gloves, plastic wrap, and dye)
Cotton t-shirt (I used white but you could use any light colored shirt you have laying around)
Sewing machine for putting the headbands together
The best fabrics for Tie Dye
Sticking to certain fabrics for dyeing projects is our #1 tip for tie-dyeing success. Natural fibers like cotton, jersey, muslin, and silk will provide the best results for dying. In general, the more synthetic a fabric is, the less likely it is to hold dye. However, there are some dyes intended specifically for use on synthetic fabrics, like Rit Dye More. While other fabrics like rayon will hold dye, they may not hold up as well to twisting, tying, and binding. Be sure to keep fabrics in mind when you plan any dye projects!
How to make Tie Dye Fabric
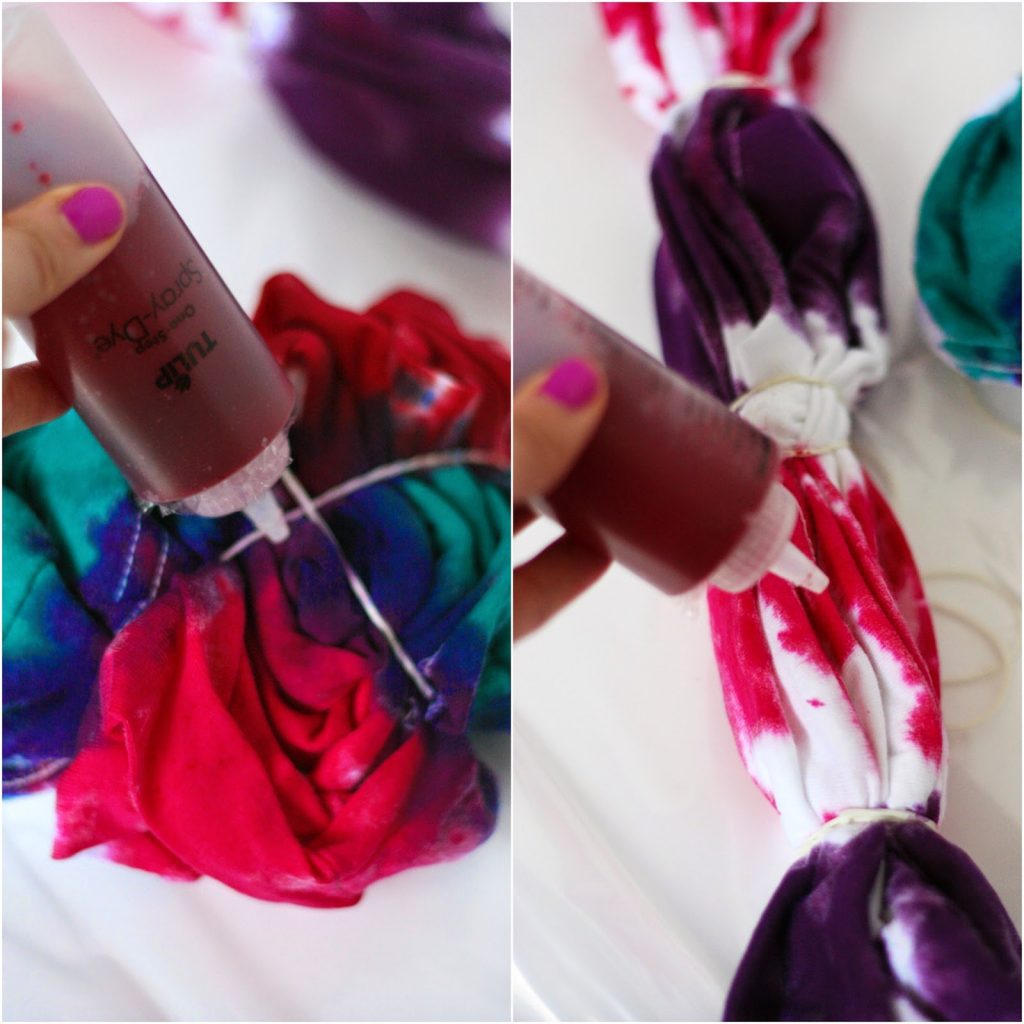
One of the funnest parts about using tie-dye is the different patterns you can make depending on how you fold and bundle your fabric (you can see lots of techniques here.) I love the surprise of seeing how the tie dye headbands turn out after the colors have set! Once you have chosen your pattern, fold and bundle accordingly, apply tie-dye according to package directions, and wrap in plastic wrap to keep moist. Since I used the Tulip kit this was a piece of cake. All you do is fill the squeeze bottle with water and squeeze it on the fabric.
Next you let the fabric set. For the most vibrant colors, allow to set for 6-8 hours. If you want to produce more pastel colors only let set for 30 minutes or so. Once the dye is set to your desired intensity, unwrap, remove rubber bands, rinse off the remaining dye, and toss t-shirt(s) alone in a hot washer with minimal soap. Dry normally. You have now created some one-of-a-kind fabric for some adorable tie dye headbands!

How to make Tie Dye Headbands
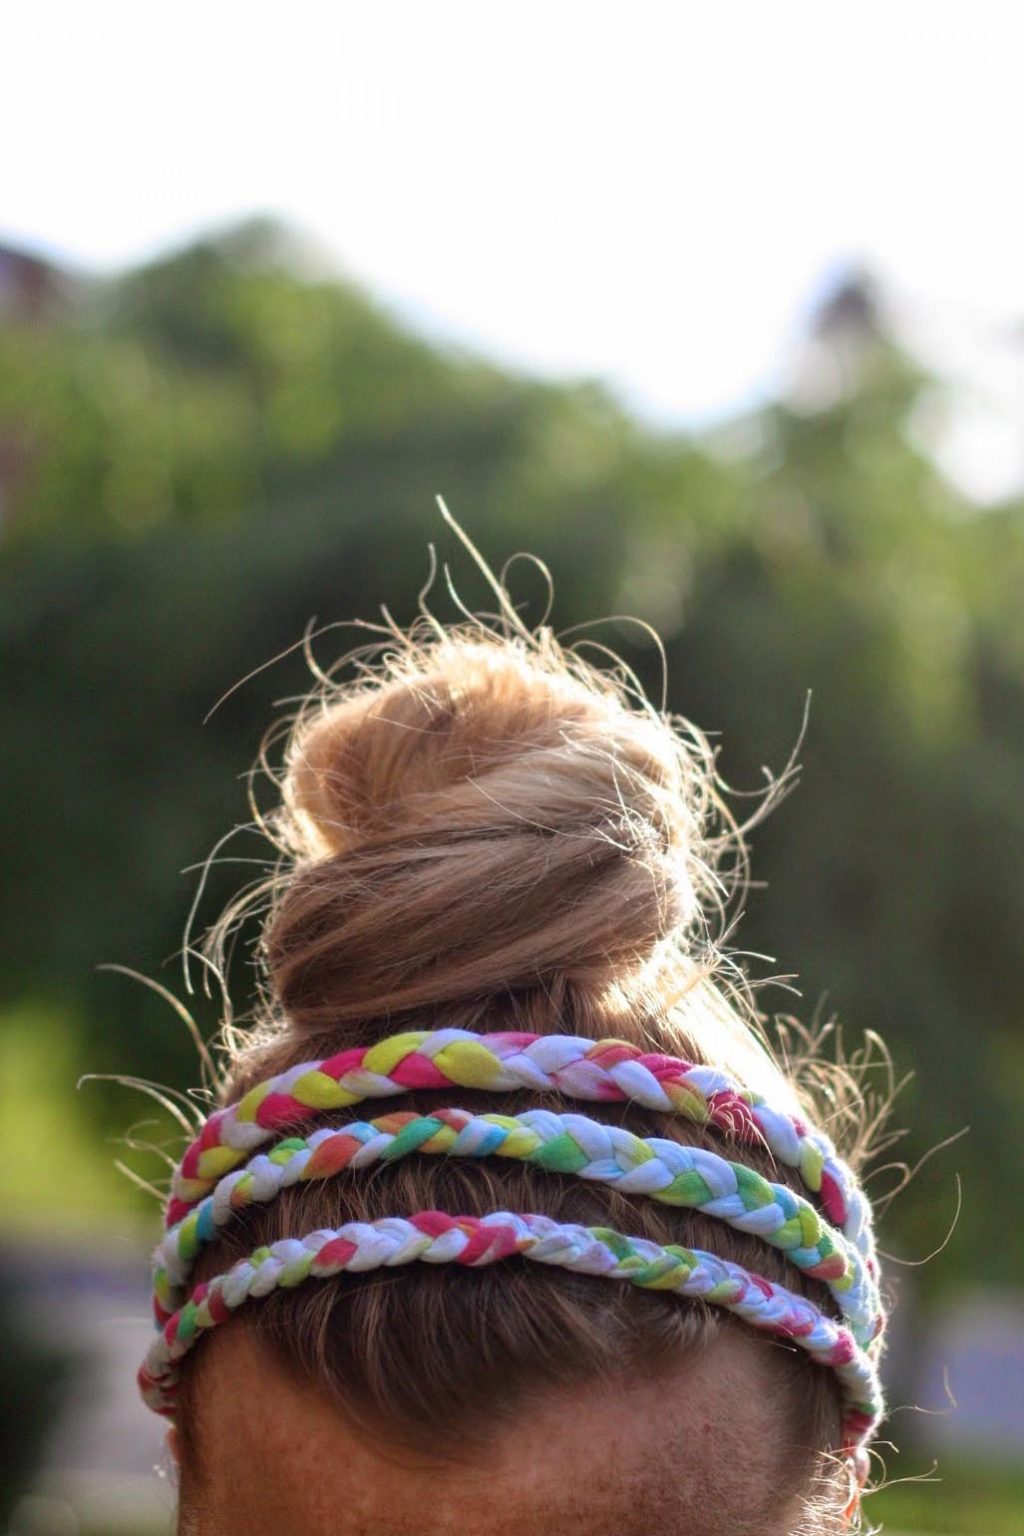
1. Braided Tie Dye Headband
If you can braid, you can make this tie dye headband! Cut your fabric into nine 1/2-inch strips, long enough to wrap around your head. Create three braids. Connect the ends of each braid individually by own running them through your sewing machine. Once each braid is connect separately, line up each braid and run through the sewing machine again, attaching them to each other. You’re done!
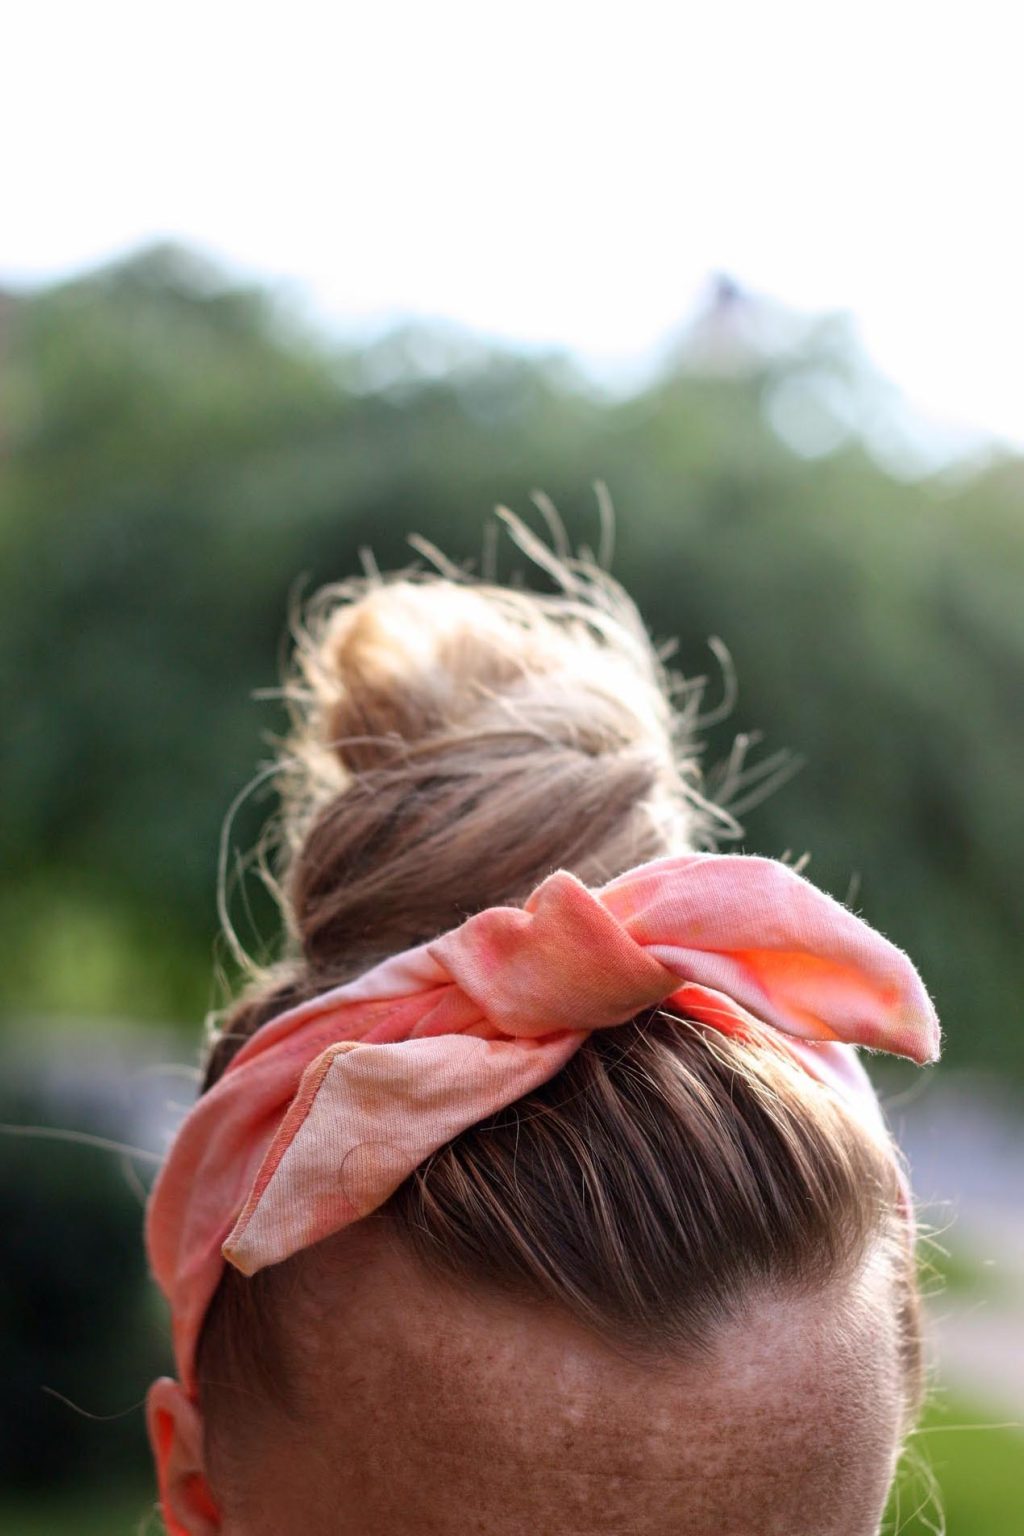
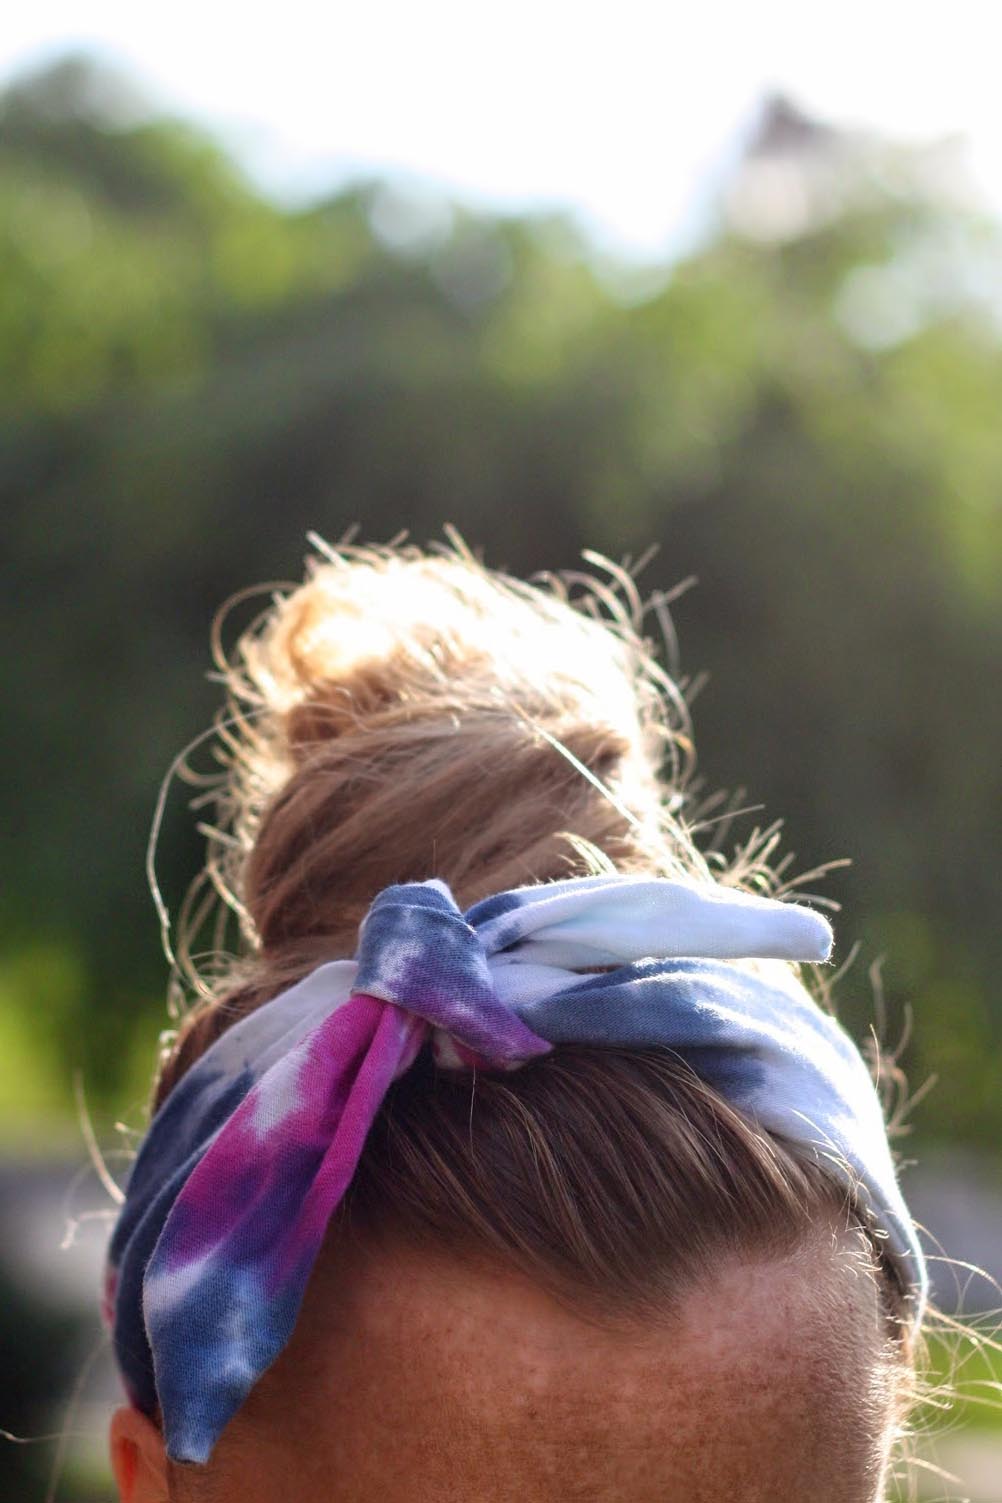
2. Knotted Tie Dye Headband
Once I got the hang of this technique I like it so much that I made it twice (pictured at the top of this post)! I also plan to make a couple of these for baby W too. I loooove them. To make them I followed this very simple to tutorial and adjusted the measurements to fit my adult-sized head.
3. Twisted Tie Dye Headband
To make this twisted tie dye headband I followed the steps shown here. This was definitely the easiest to make, and I love the way this style lends itself to really letting the tie-dye patterns stand out. Also makes me want some rainbow shaved ice, so you know it’s a success.

Now you’re set to get have your head lookin’ colorful and cute all summer long with these tie dye headbands!
Now get yourself some tie-dye and get to craftin, ya’ll!
ox-Liz


Great project. Just a tiny bit of tie dye – super cool, not hippie at all!
[…] Tie-Dye Headband – Transform an old tie-dye shirt into a workout headband in just a few steps! These are great gift ideas too, and very simple to make. […]
[…] Tie-Dye Headband – Transform an old tie-dye shirt into a workout headband in just a few steps! These are great gift ideas too, and very simple to make. […]
[…] article from Pretty Life Girls has several takes on the headband, but we included it here because they all specifically feature […]
Hi,
I hope your day is going well! I was wondering if you could give me the instructions to the twist headband. The link supplied is not found.
thank you.
Hi Denise! You can see instructions toward the end of this post: http://streetscenevintage.blogspot.com/2012/07/vintage-diy-6-easy-and-quick-diy.html. Or you can just type in “twisted headband” on Pinterest and find lots of tutorials!
[…] a couple of other fun posts we did with tie-dye (you can find our tie-dye t-shirt headbands here, and our tie-dye maxi dress here). So, when I decided to make a pile of bandanas to jazz up my […]
[…] Tie-dyed t-shirt headbands by The Pretty Life Girls. Three ways to wear old t-shirts as headbands: braided, knotted and […]
[…] These colorful tie-dye headwraps are made from t-shirts you have laying around your […]
[…] Here are 4 creative ways to make a fun tie-dye headbands with your old tshirt via Pretty Life Girls. […]
[…] up, it is imperative to have a way to hold back your hair that is both functional and stylish. The Pretty Life Girls have done a great job by utilizing their old t-shirts to create these adorable tie-dye headbands. […]
[…] up, it is imperative to have a way to hold back your hair that is both functional and stylish. The Pretty Life Girls have done a great job by utilizing their old t-shirts to create these adorable tie-dye headbands. […]
[…] 15. Tie-Dye Hippie Headband […]
[…] and the vibrancy it can give to projects (See our tie dye bandanas here and our tie dye headbands here!), but have you ever tried REVERSE tie dye? We had no idea this method existed until we came across […]
[…] Tie Dyed T-Shirt Headbands […]
Do you have instructions on dyeing the key chains? Thank you.
The macrame keychains? You can see the tutorial here: https://prettylifegirls.com/2020/05/a-step-by-step-diy-macrame-keychain-tutorial.html.