


Ever since I had a little girl I have loved making girly toys for my her. I don’t know if it’s because I had a couple years of spiderman everything and I was really ready for some pink, or if I’m just trying to relive my childhood toy fantasies, but pretty toys are one of my favorite things to craft. Last year I went all in on this girly dollhouse and today I am sharing another toy I made for myself my little lady: DIY Nesting Dolls!
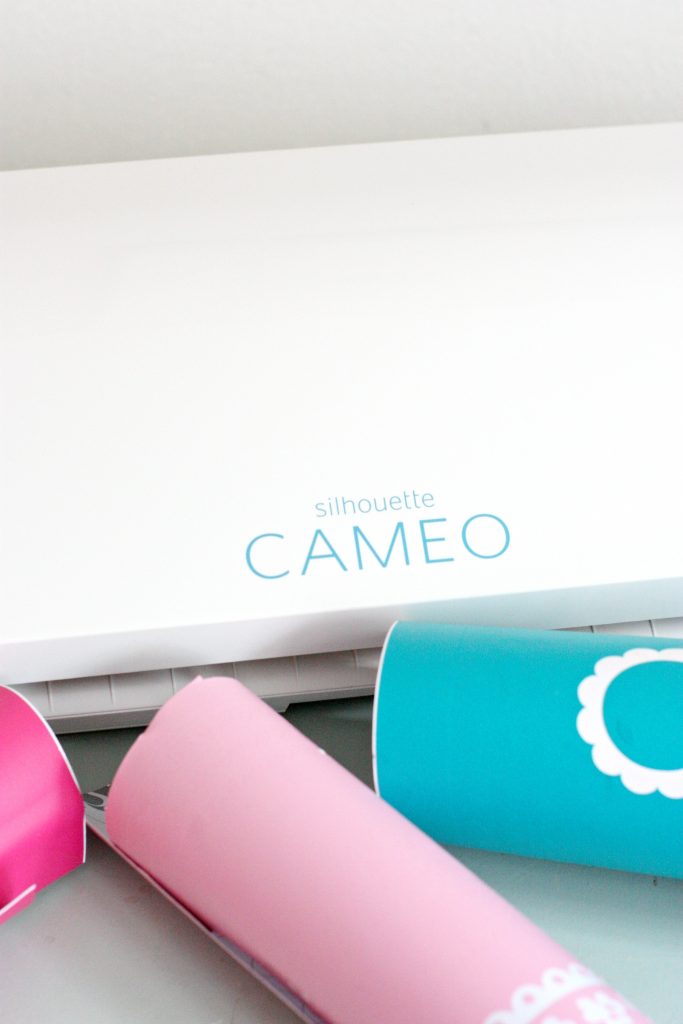
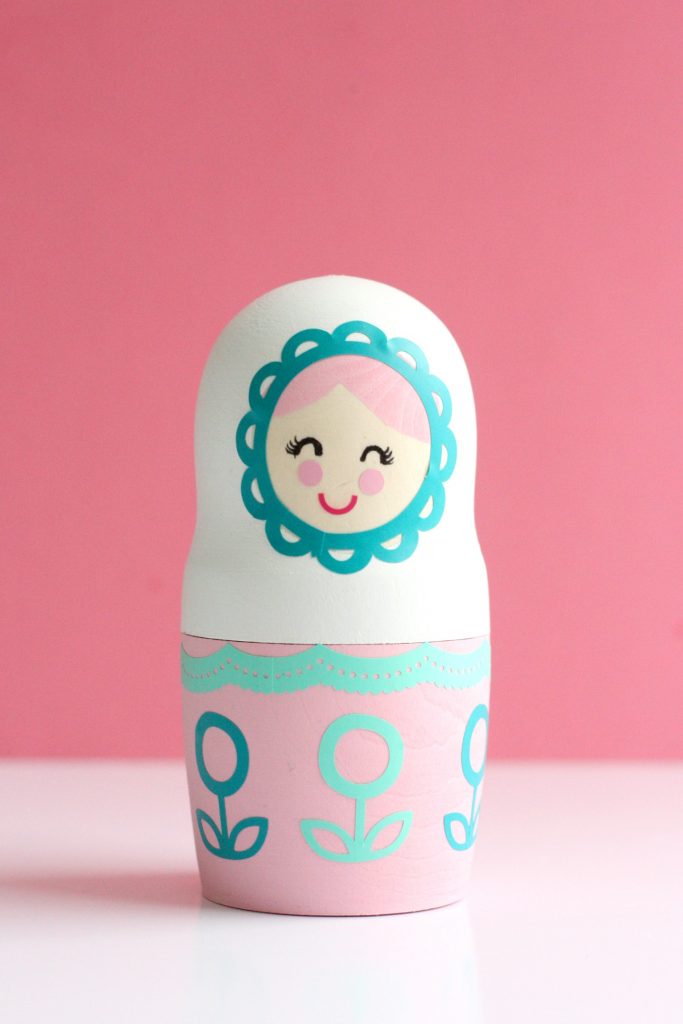
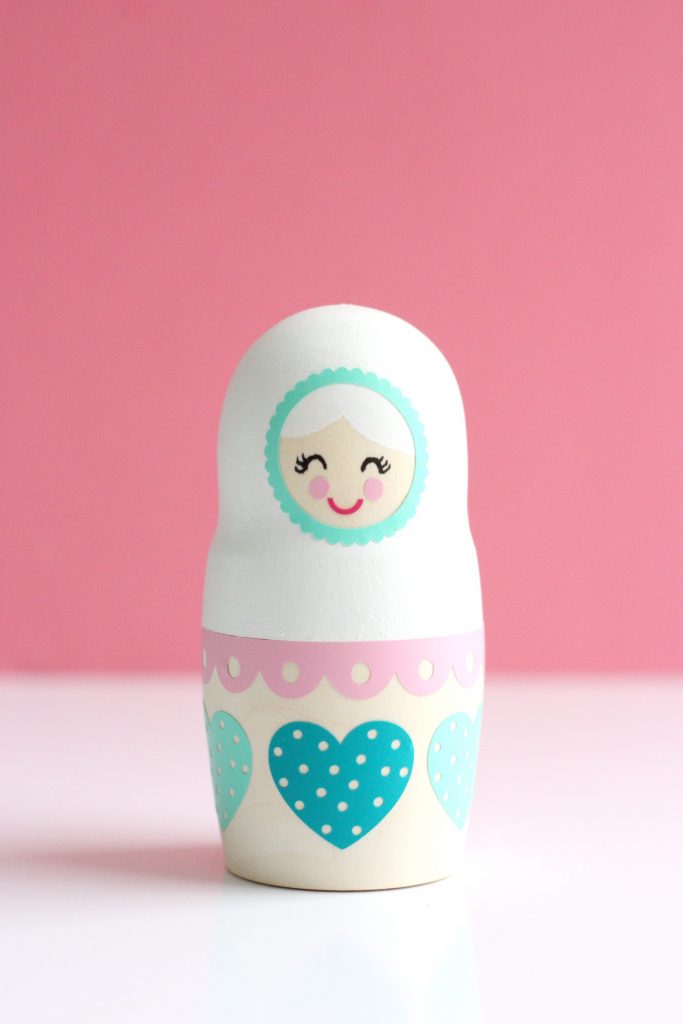
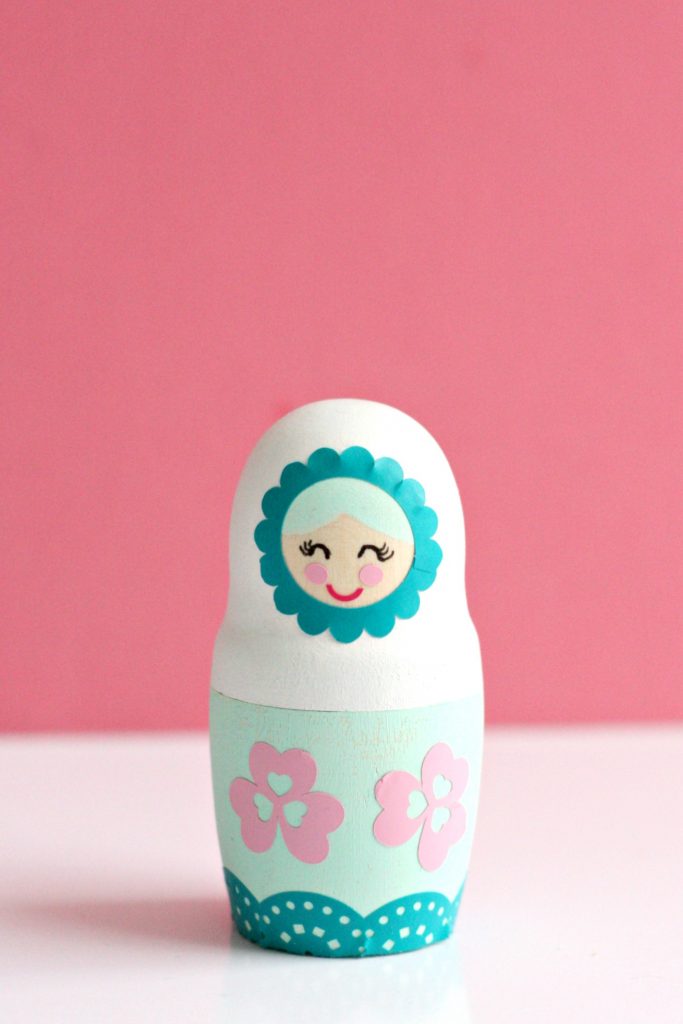
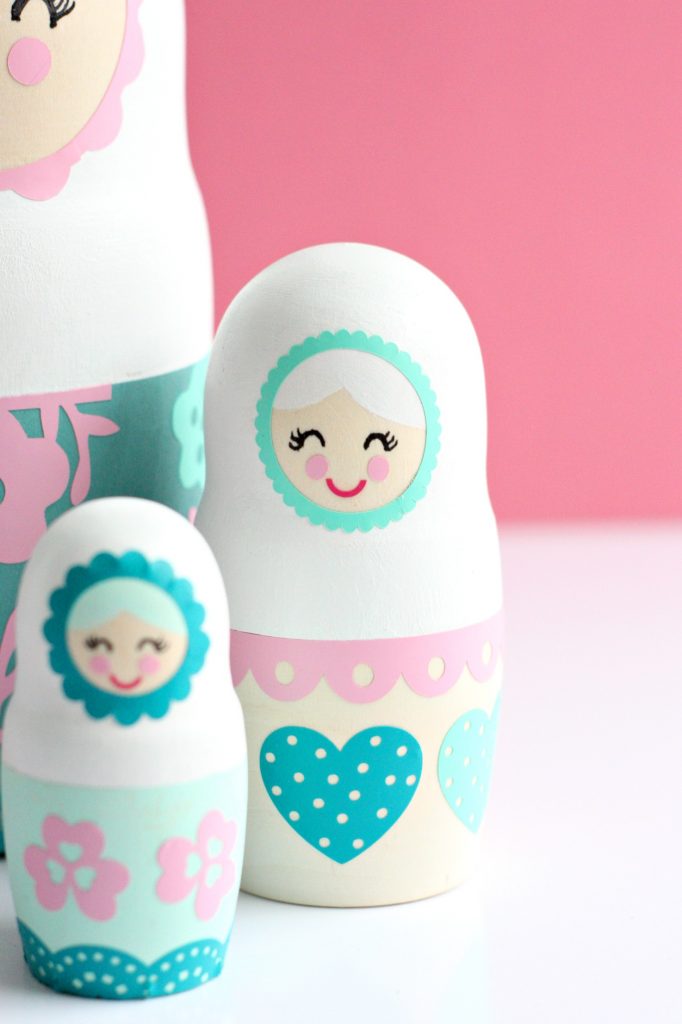
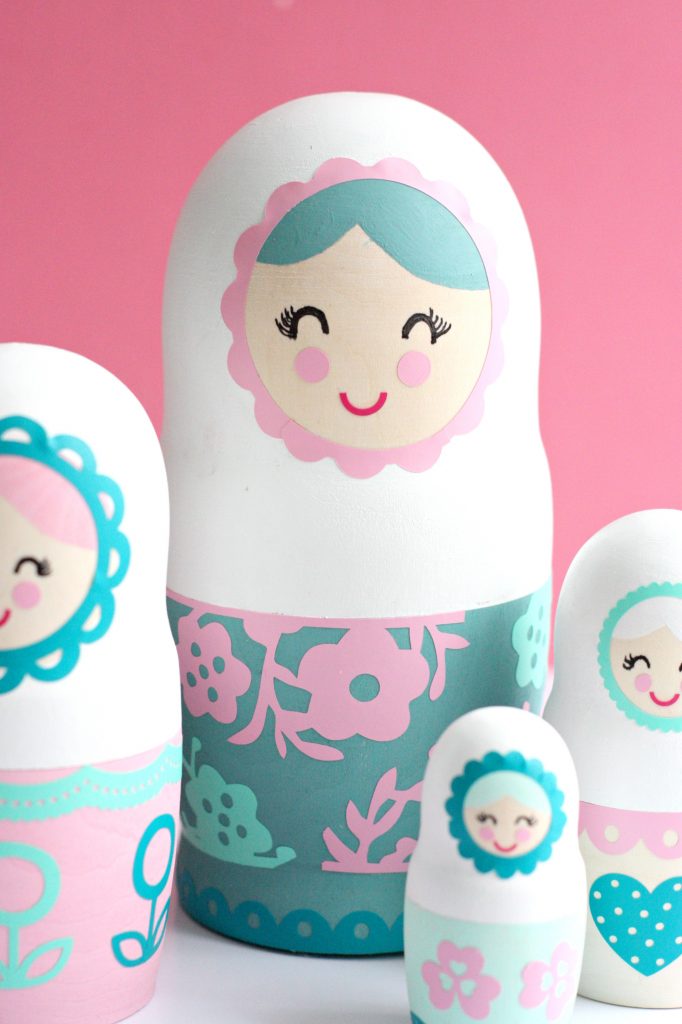
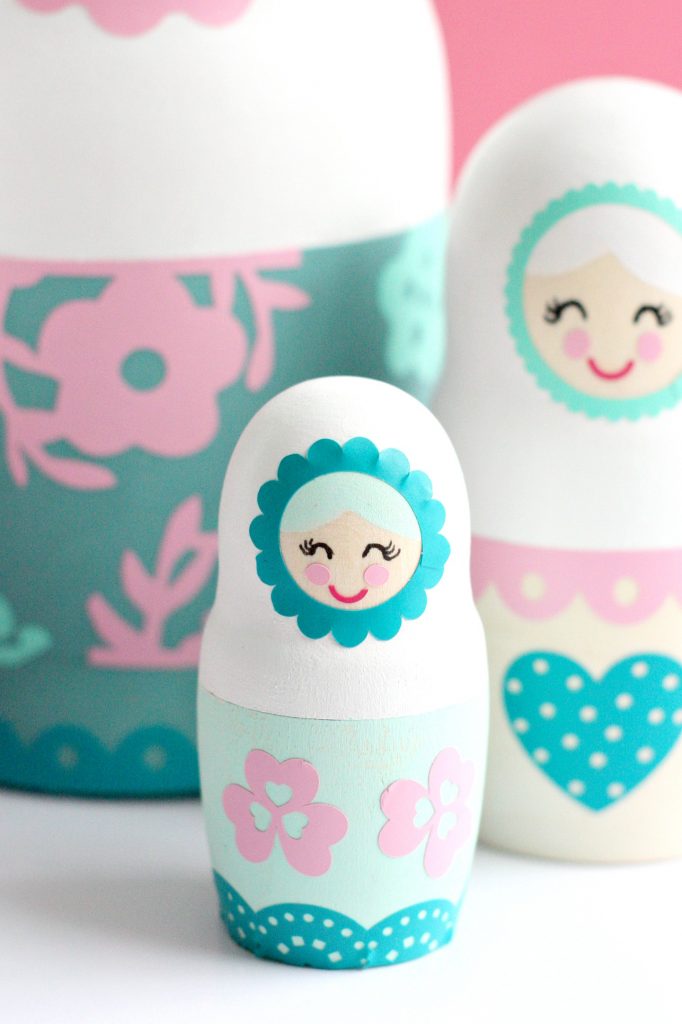
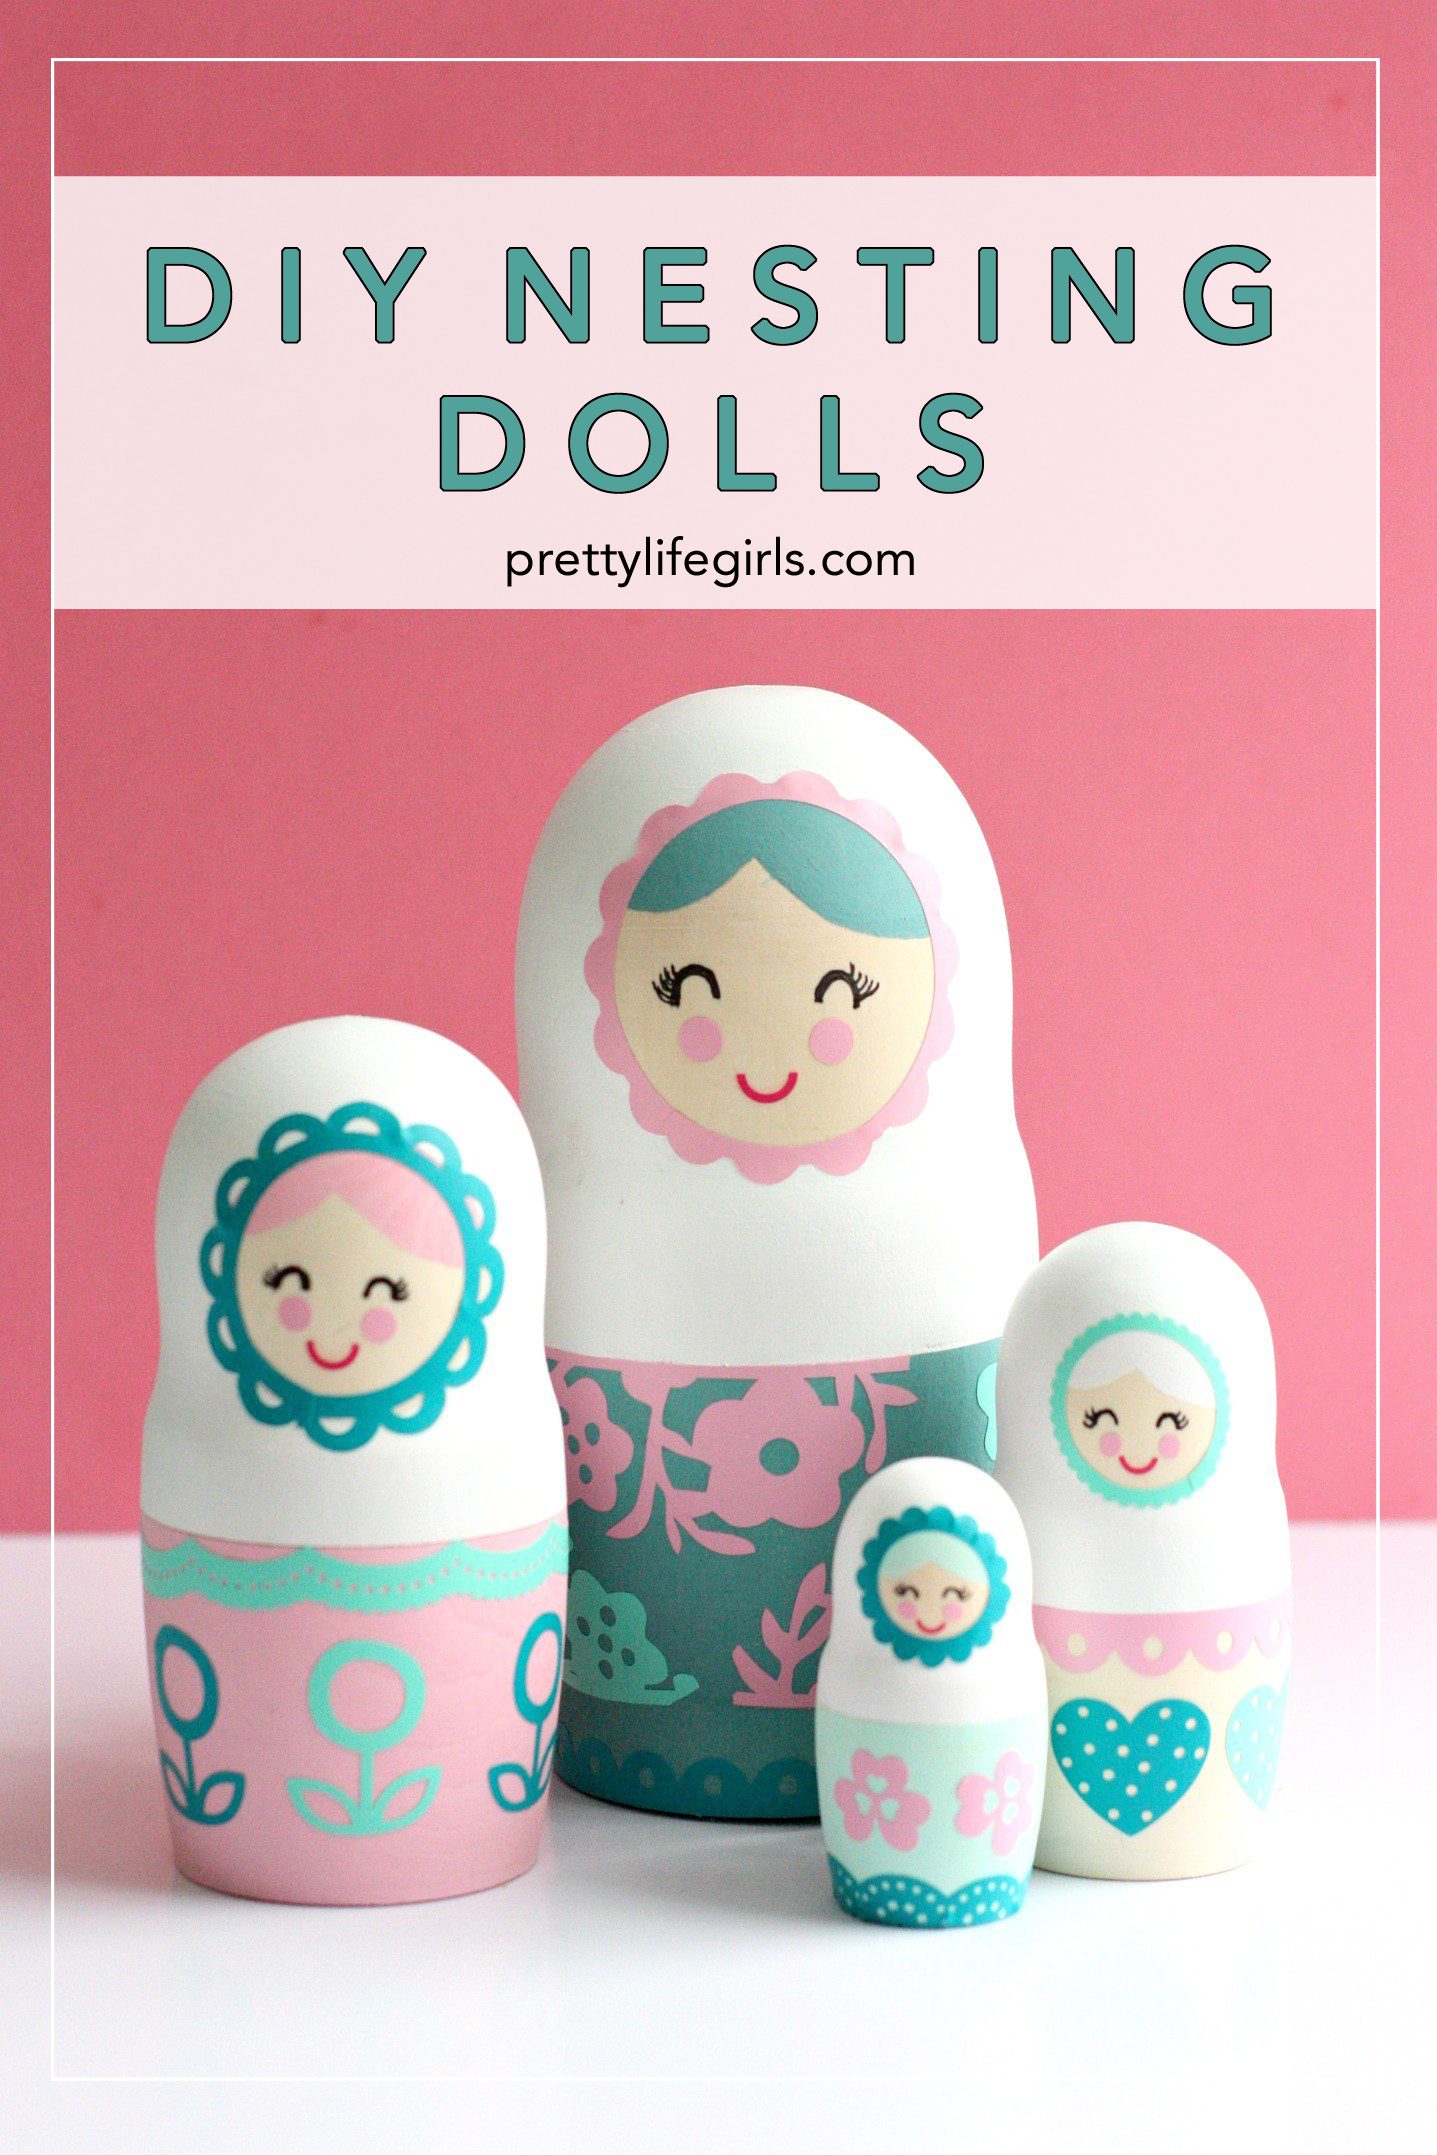
These dolls were SO much fun to make. I have mentioned before that I struggle with my lack of artistic ability so I am always looking for ways to combat this deficiency in my crafting and with this project I let my Silhouette CAMEO 3 do ALL of the hard work, with gorgeous results. To make these beautiful dolls you only need to be able to paint around one circle and your Silhouette CAMEO 3 will do the rest. Every design I used was already created in the Silhouette Design Store, I just picked them out, cut them out, and stuck them on! I’m so obsessed with how these cuties turned out and I love seeing something pretty in the toy room in the midst of the all the Ninja Turtles.
Here’s how to make your own:
Supplies Needed:
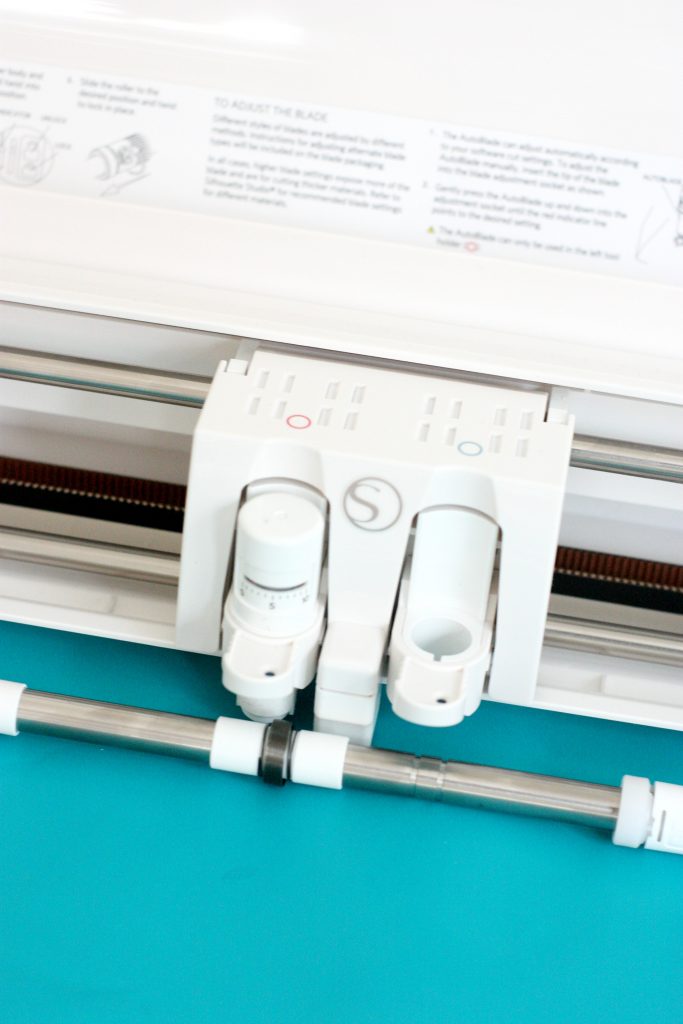
Silhouette CAMEO 3
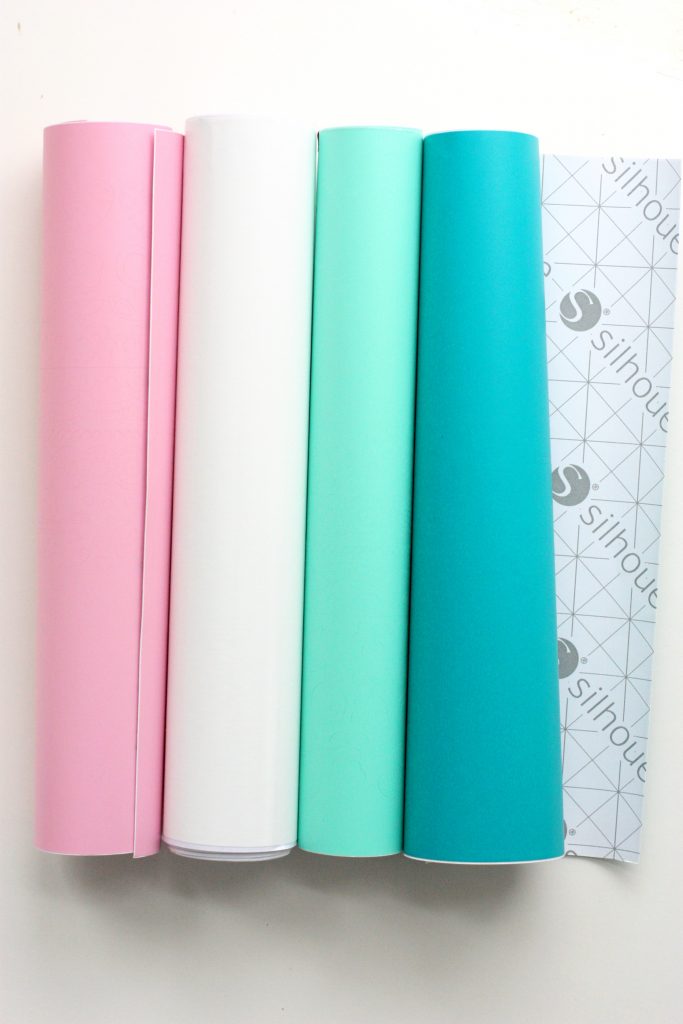
Silhouette Adhesive Vinyl (I used the Bright & Bold Vinyl Sampler Pack)
Unfinished Nesting Dolls
Acrylic Paint + Brushes
Pencil

Let’s Make It:
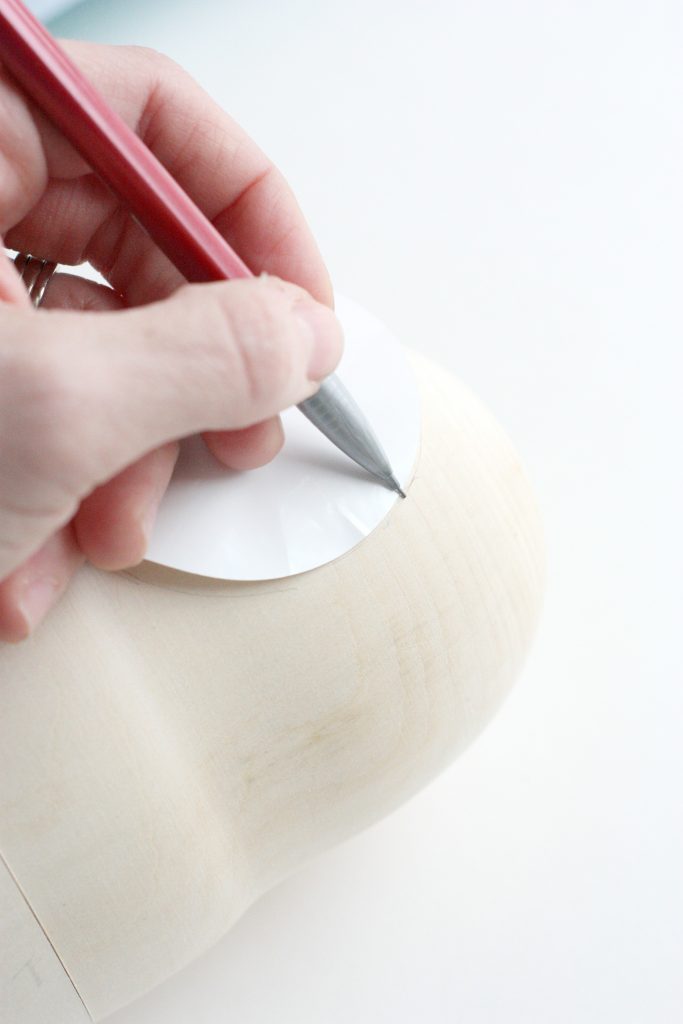
1. Using your Silhouette CAMEO 3, cut out circles to fit the faces of your dolls and act as a stencil. Using a pencil, trace the circles onto your dolls.
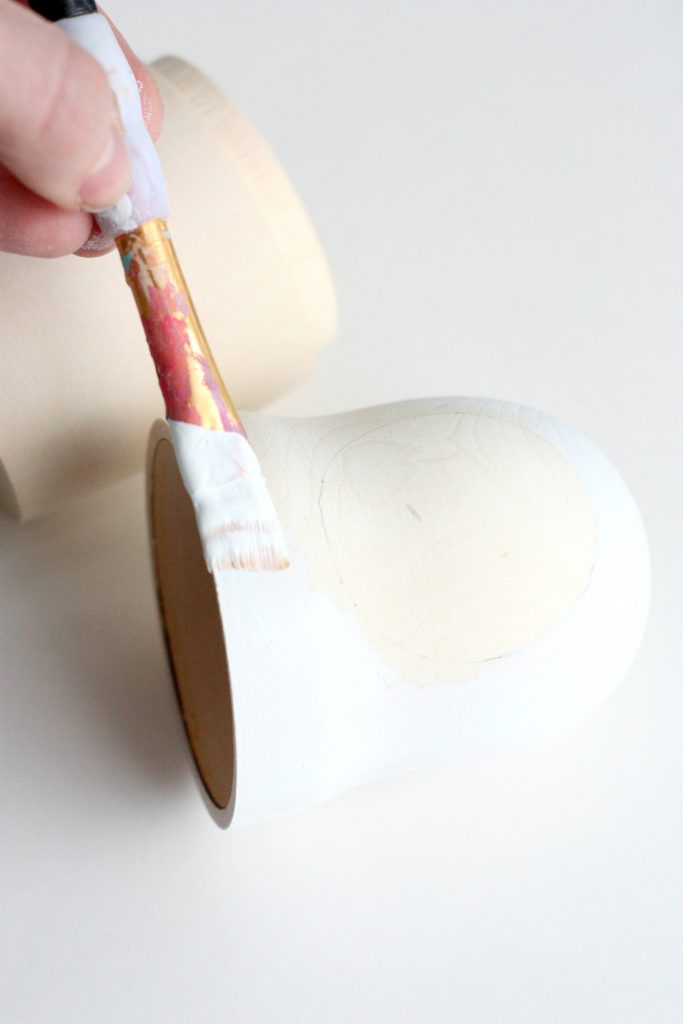
2. Paint the top portion of your doll, using the circle you drew as a guide for where to paint. Apply two coats and let dry completely.
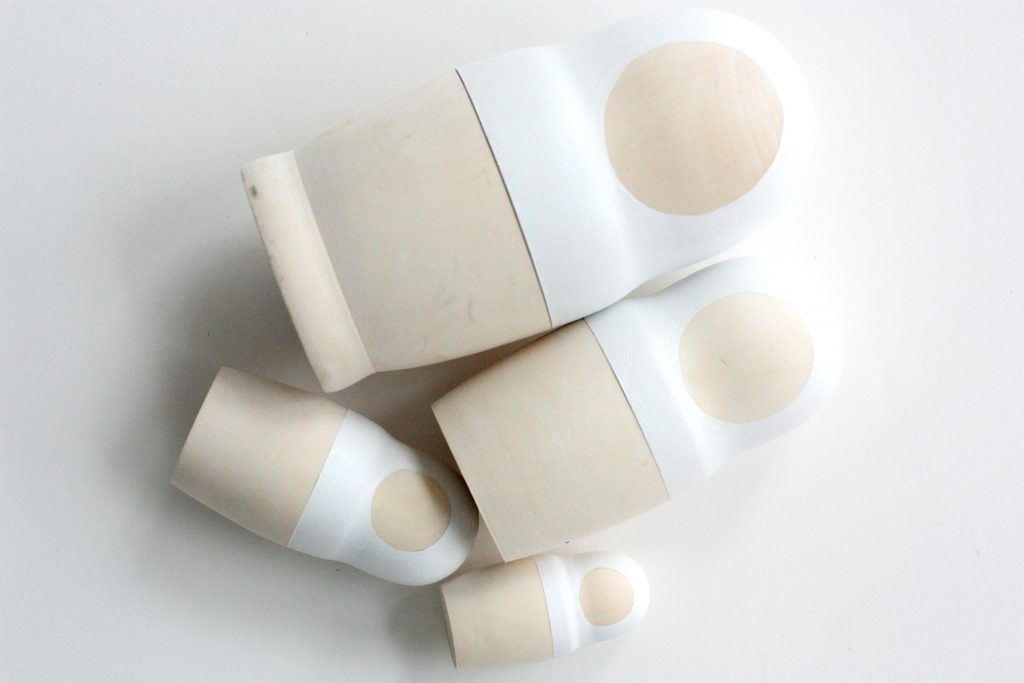
3. Remove the top of the doll and paint the base of the doll in an accent color. Apply two coats and let dry completely.

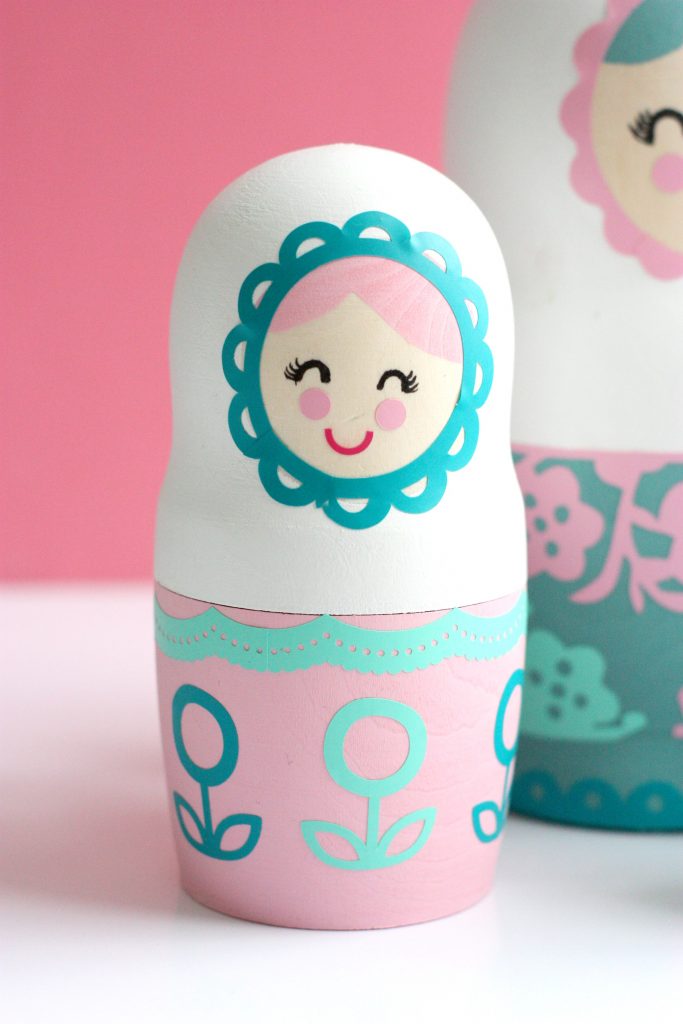
4. While the dolls are drying, it’s time to choose your designs for the base of the dolls. I used about a million different designs from the Silhouette Design Store and mixed and matched my favorites. The Silhouette Studio software that comes with all Silhouette machines is SO awesome because it lets you change the size, width, etc., of your designs so easily so that it is perfect when it is time to cut.
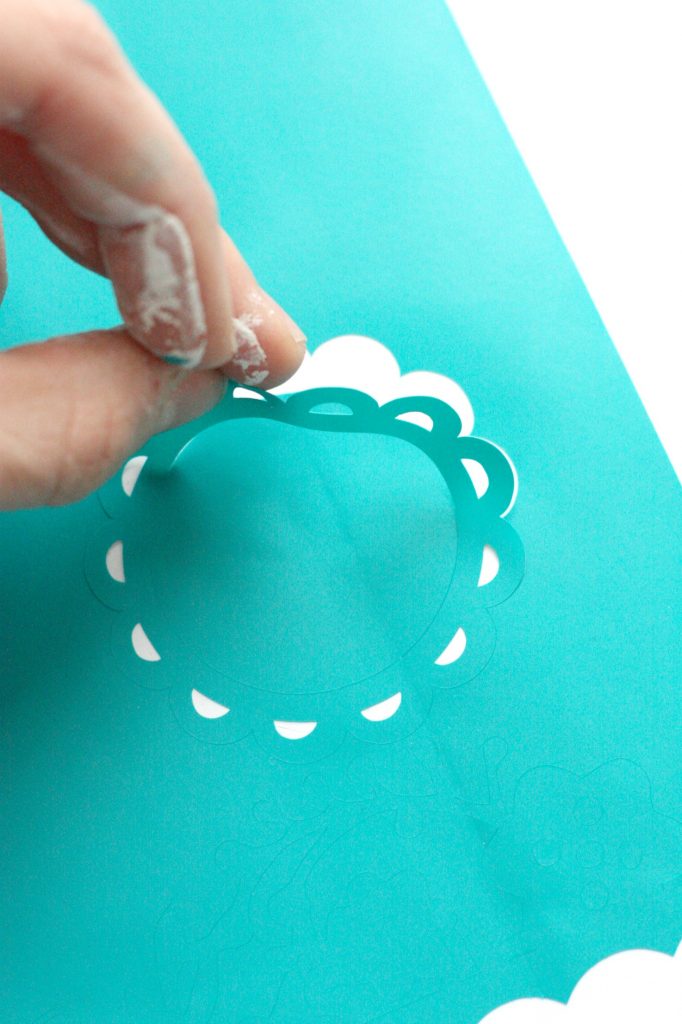
5. Once you have chosen your designs it’s time to cut your vinyl! I decided to choose a bunch of designs and cut each design out on each color of vinyl so that I could mix and match the designs on the dolls as I went. This gave me so many options and made it so easy to make them really colorful and beautiful.
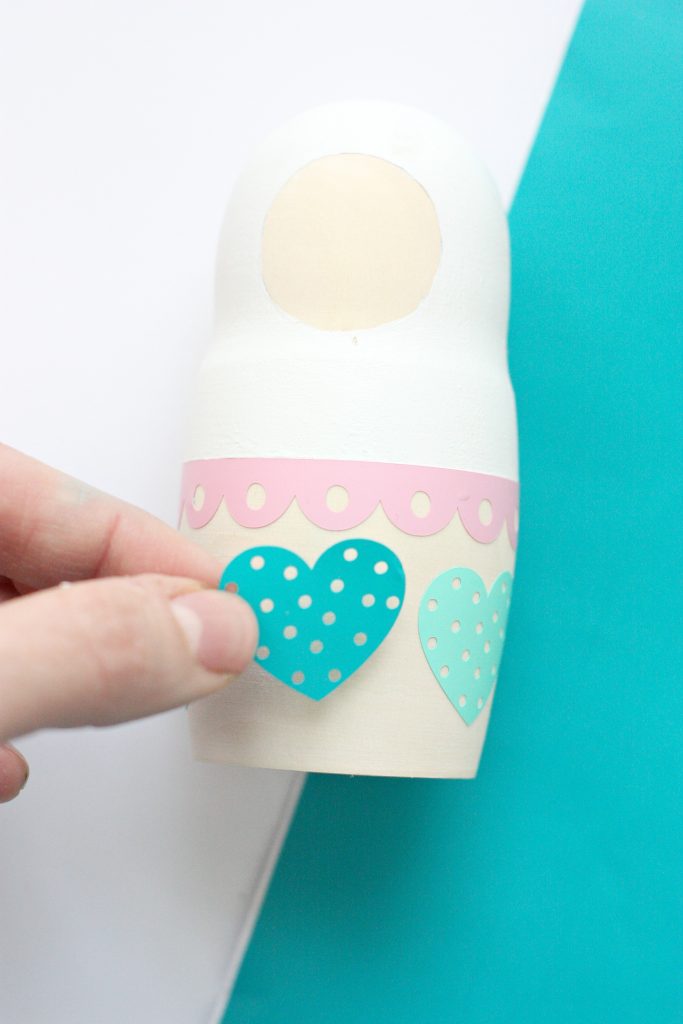
6. Apply your vinyl designs to the base of the dolls! This part was so much fun. Using vinyl is perfect for this project because it lifts so easily if you change your mind and want to move things around, but stays put really well once you are satisfied.

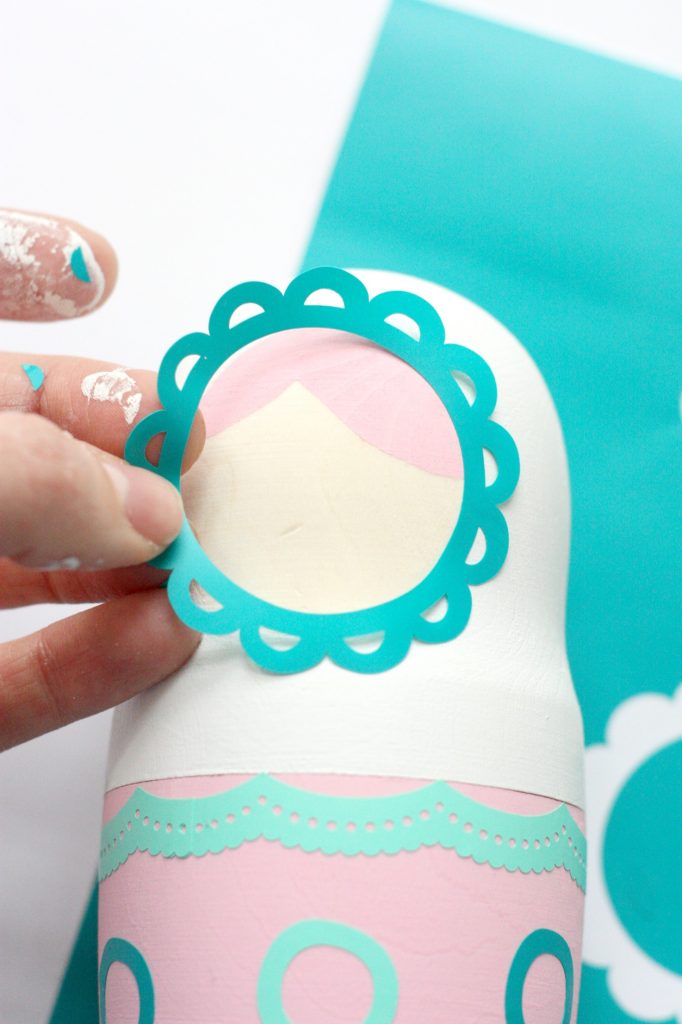
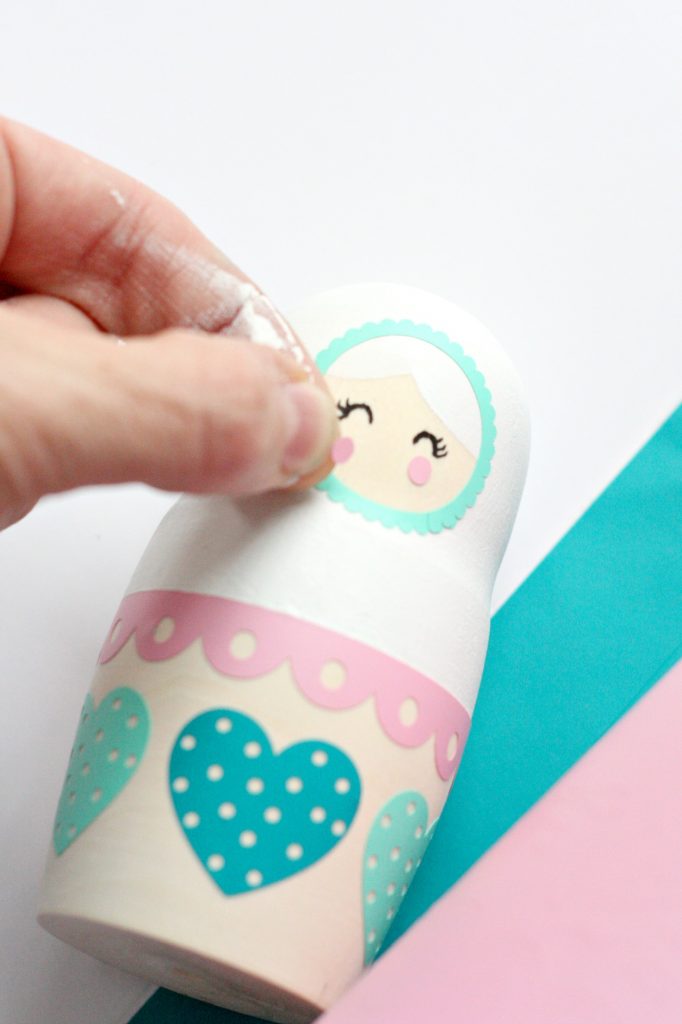
7. Once I finished the base of the dolls and had a vision with how I wanted them to look, I started to work on the faces! First, I drew bangs with a pencil and then filled them in with paint. Then, I used a permanent pen to draw their eyes. Lastly, I used my Silhouette CAMEO 3 to cut out lips, cheeks and a scalloped frame and applied them all to the faces!
Isn’t this so much fun? It is the best to not feel worried while working on a project like this. If I was trying to paint these designs I would be a HOT MESS, and using vinyl made it feel like a puzzle I was putting together that I could move around until it was perfect with no stress. Plus, I love the idea of getting another set that my kids can play around with and create their own design (also doing that means they won’t mess up your pretty, pretty set.)
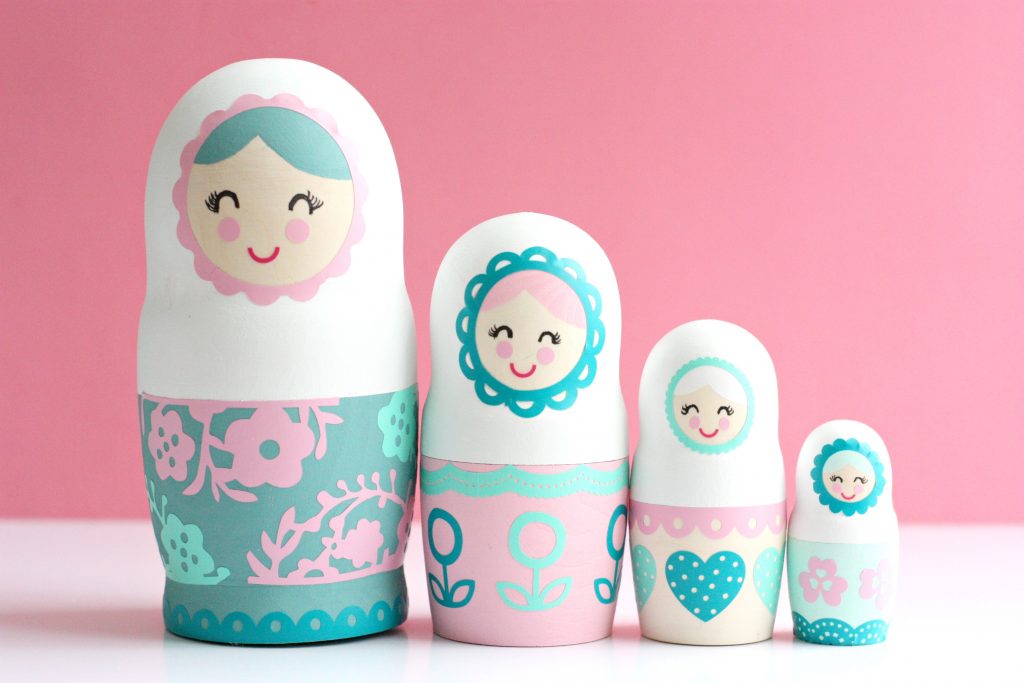
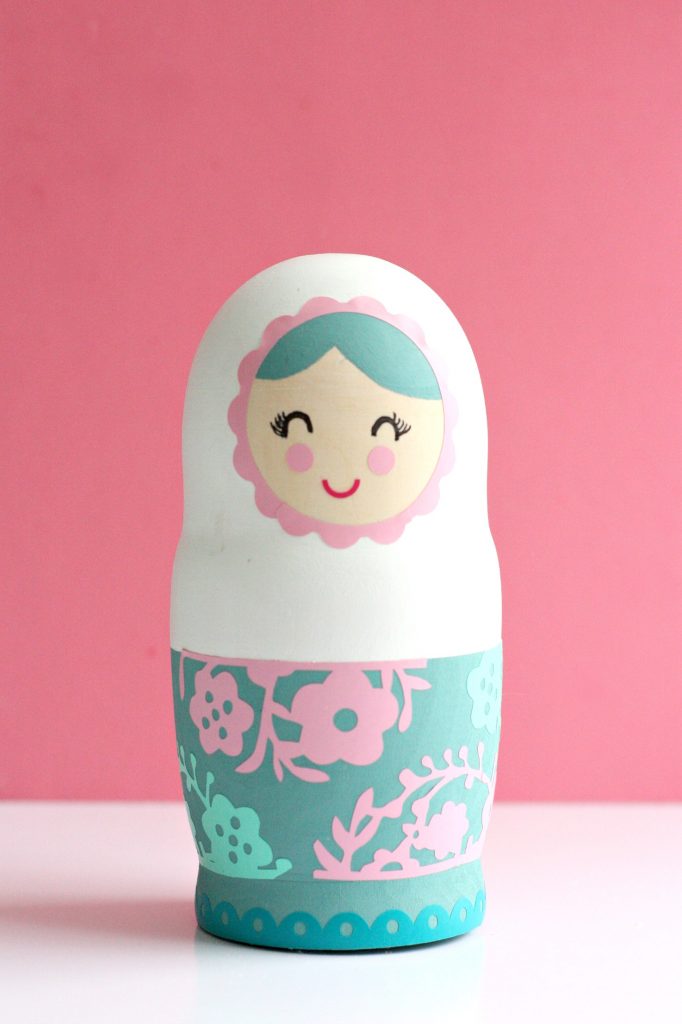
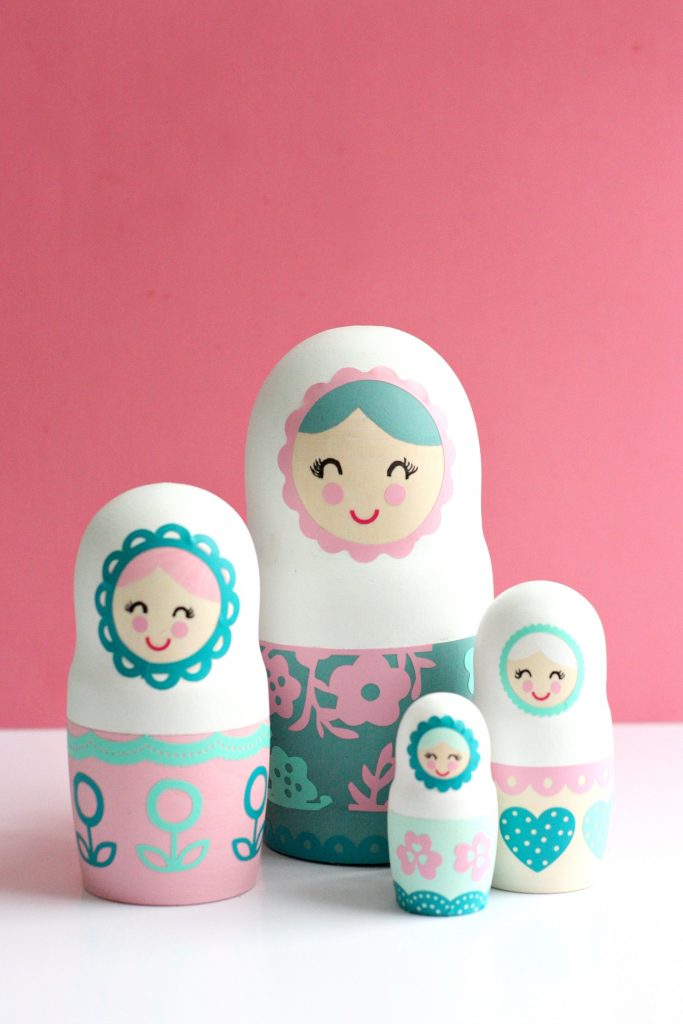
Aren’t they just the sweetest? The possibilities for this project are ENDLESS, and the result is so darling. Literally anyone can do this one, creating a toy that kiddos can love on for years or a keepsake that no one touches ever, EVER. Either is OK. No mom judging here. This is a safe place.

What fun design ideas do you have for your own set? I’d love to hear them!
Happy making!
ox. Liz
Full disclosure: This post was created in partnership with Silhouette Inc. All opinions expressed are mine alone.


These dolls are so cute! You girls did an amazing job!
Paige
http://thehappyflammily.com
Great Job! Love these – so cute!!!
These little nesting dolls are so pretty and perfect for little hands. Also love the colors in the bright and bold sampler pack!
Thanks for using my flowers die cutting files on your design. What a great DIY project.
These are so damn cute! I really seriously am in love with them!j The colors you have chosen Liz are absolutely perfect! I remember my eldest daughter spending hours and hours packing and unpacking these dolls when she was young!
These are gorgeous – I just love the pastel colors! Thanks for the great tutorial. My daughter would love for me to make her some of these with my vinyl cutter.
[…] DIY Nesting Dolls: These dolls are one of my favorite DIY projects EVER. They are so easy to make since they use […]
[…] DIY Nesting Dolls […]
[…] Nesting Dolls […]
[…] Nesting Dolls […]
[…] Nesting Dolls […]
[…] Nesting Dolls […]